
This Flower Tutorial was published in the last ScrapArtZine Issue Winter 2010 and I thaught I should share it with you :)
Dieses Blumen Tutorial war in der letzten Winter ScrapArtZine 2010 veröffentlicht und ich dachte, ich zeige Sie Euch mal :)
You will need: Canvas Fabric, a Brad, Wire or a rubber band, cheese cloth or mull, Paper – optional Tattered Angels Glimmer Mist and Glam, Sicissor and Marker
Du brauchst: Leinwandstoff, einen Brad, Draht oder ein kleines Gummiband, Mullbinde, Papier und optional Tattered Angels Glimmer Mist und Glam, Schere und Marker
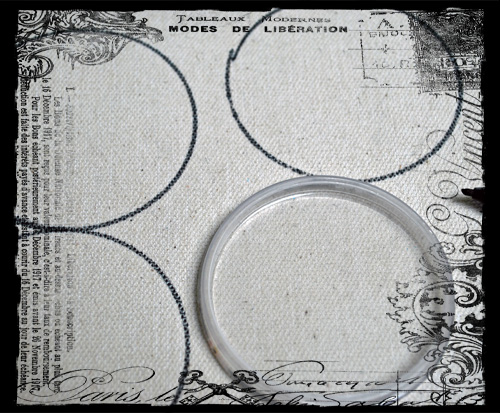
Draw a circle- or several circles on Canvas fabric.
Zeichne einen – oder gleich mehrere Kreise auf Leinwandstoff.
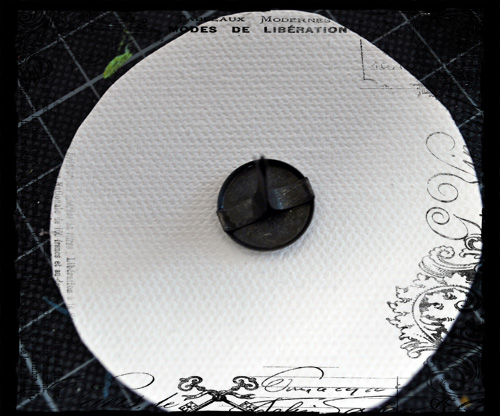
Ich had Canvas that was treated with gesso on one side. As I wanted to have the untreated side on top of the flower I put the Brad top down on top of the treated side.
Ich habe auf einer Seite mit Gesso behandelten Leinwandstoff genommen – hier möchte ich die unbehandelte Seite als Blumenoberfläche haben- also den Brad kopfüber auf die Gessoseite des Kreises legen.
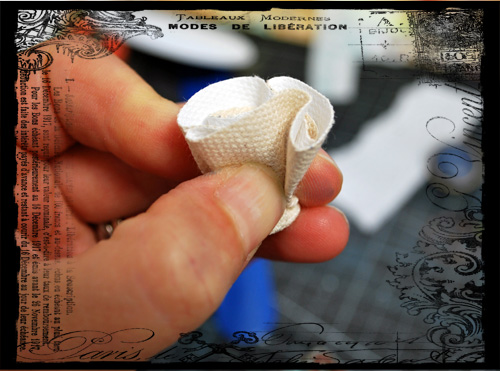
Now fold the circle over the Brad in Pleats- it is a bit hard to do as the canvas is stiff because of the gesso. But you can do it :)
Nun fältel den Kreis über den Brad – ist ein wenig schwierig, da die Leinwand wegen des Gessos ein wenig steif ist, aber Du kriegst das schon hin :)

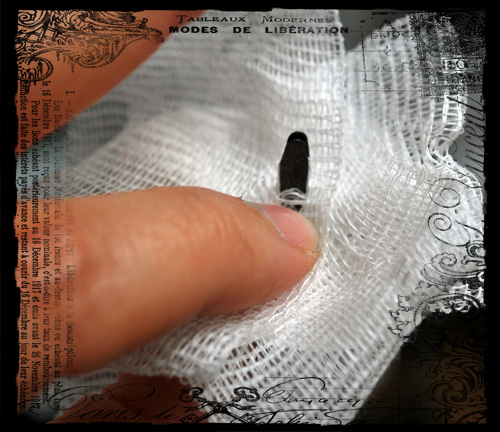
Now take a wire (which I find a bit better with the super stiff canvas) or a little rubber band (which is perfect with thin fabric) and put it around the neck of the brad.
Nun nimm einen Draht (find ich besser mit der steifen Landwand) oder ein kleines Gummiband (welches sehr gut ist wenn man mit dünnem Stoff arbeitet) und befestige es um den Hals des Brads.
Open up the canvas again
Entfalte den Leinwandstoff
You can use cheese cloth and put it over the nibs in loops.
Du kannst Mullbinde verwenden und diese in Schlaufen über den Stift des Brads legen.
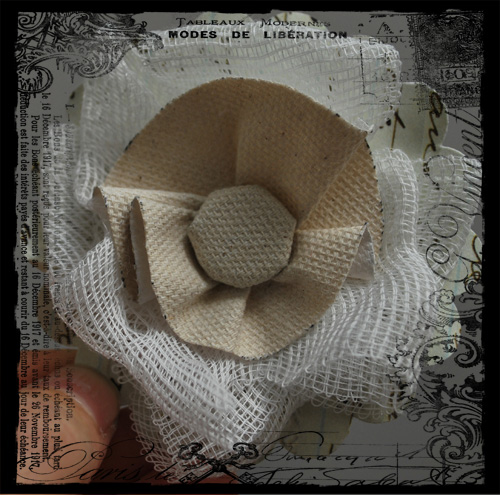
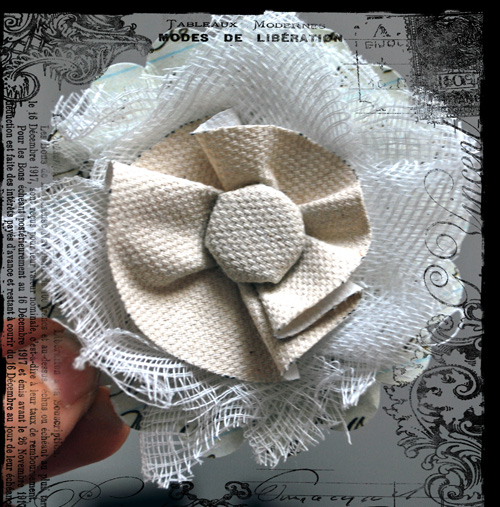
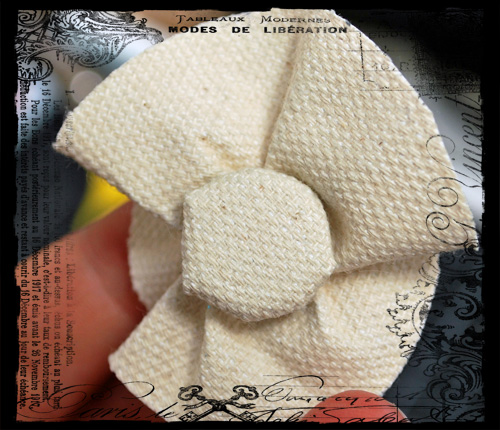
Put a paper circle underneath the cheesecloth and bend the nibs of the Brad. You can leave the flower as it is or you can cut the cheesecloth loops – you can see the outcome in the first picture – it makes for a more distressed look.
Unterhalb der Mullbinde kann man nun einen Papierkreis befestigen und die Bradstifte umlegen. Die Blume kann so bleiben, oder man kann die Schlaufen wie im allerersten Bild der Anleitung zu sehen – aufschneiden um einen etwas zerfetzteren Look zu erhalten.
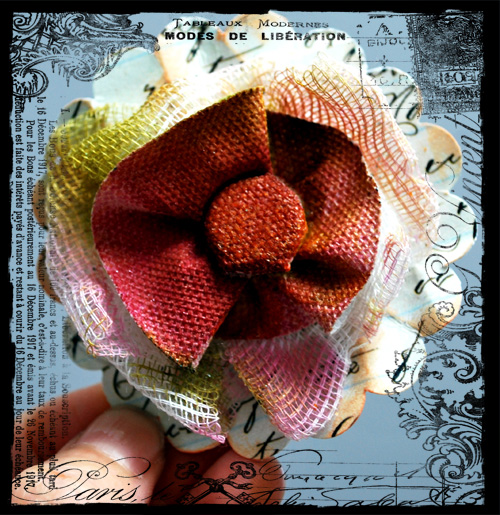
The beauty of canvas and cheesecloth of course is that you can treat it before or after with Tattered Angels Glimmer Mist, Glimmer Glam or other Media to archive a one of a kind look.
Das Tolle an Leinwandstoff und Mullbinde ist natürlich, dass man es vorher oder nachher mit Tattered Angels Glimmer Mist, Glimmer Glam oder anderen Medien bearbeiten kann um einen einzigartigen Look zu bekommen.
Have a great one!
Comments (5)
Kim Sonksen
| #
Wow, that is so clever! Thanks for sharing
Reply
JJ
| #
dang it – I could have used this idea a couple days ago, haha! Love it!
Reply
Linda64
| #
Nat, thank you this is a great tutorial. Have to find some canvas and try it out.. Hugs
Reply
Martha Richardson
| #
Must make! ;)
Reply
sylvia
| #
sehr sehr schön! muss ich mal “nachmachen”… xx
Reply