Art Journal

Stencil Hop – Oldtimer

NatKalbachStencilbloghop


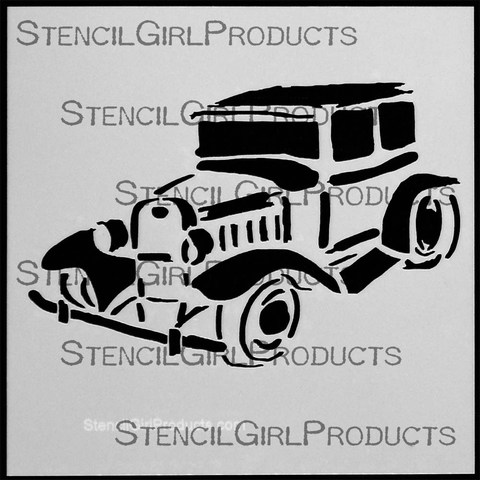
Welcome to my first Stencil Blog Hop! I invited four wonderful artist friends to hop along with me today and play with my StencilGirl Products Oldtimer Stencil which is a 6 x 6 Stencil:

NathalieKalbach_OldtimerStencil


You have four chances to win this stencil. Leave a comment on each of the listed blogs (Jamie’s comment function didn’t work in the morning – so if you posted on all blogs a comment that worked I will count them as if you did comment on hers too;) ) and on my blog  and let us know how you like the projects and I will pick randomly one lucky winner. You have time to comment till July 30th, 2013 – midnight EST.

Edited August 4, 2013: The winner is Gerd Andersen – Congratulations. Gerd please email me with your postal address so I can get this stencil sent out to you :), Nat
 

Here are my friends joining me:

Jessica Sporn who does wonderful Mixed Media art and has her own amazing range of StencilGirl Product Stencils.

Stephanie Schütze – a super talented Scrapbooker from Switzerland

Jamie Dougherty – who is a super good workshop teacher and does stunning Mixed Media- and Scrapbooking-Projects

Maria McGuire – she does beautiful scrapbooking and Mixed Media Projects and coordinates also the awesome StencilGirl Products Blog called StencilGirl Talk


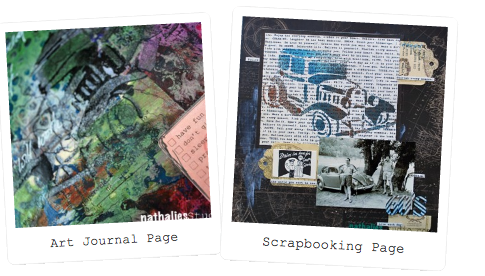
I am a big fan of oldtimer cars and so I knew I wanted to do this stencil for all kinds of projects. Check out some samples here:

OldtimerStencilProjects


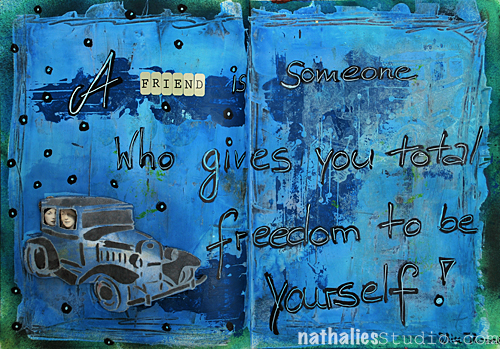
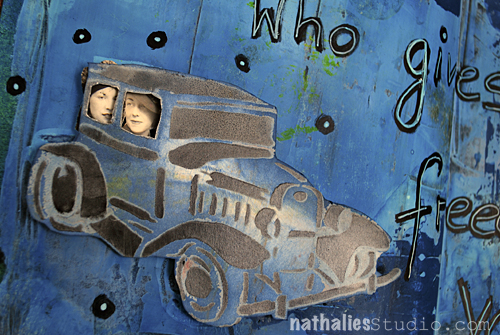
Here is what I created for today:

NatKalbach_OldtimerStencil01

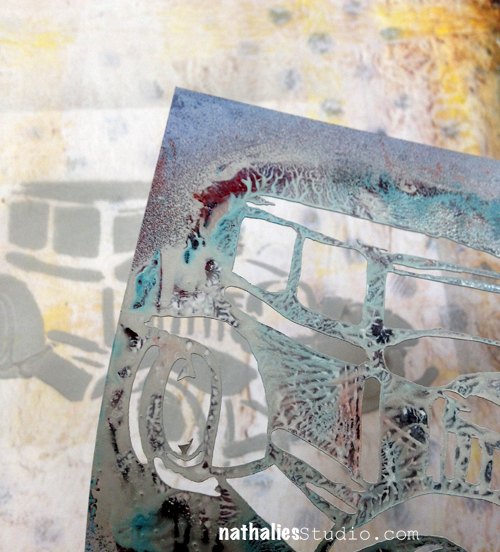
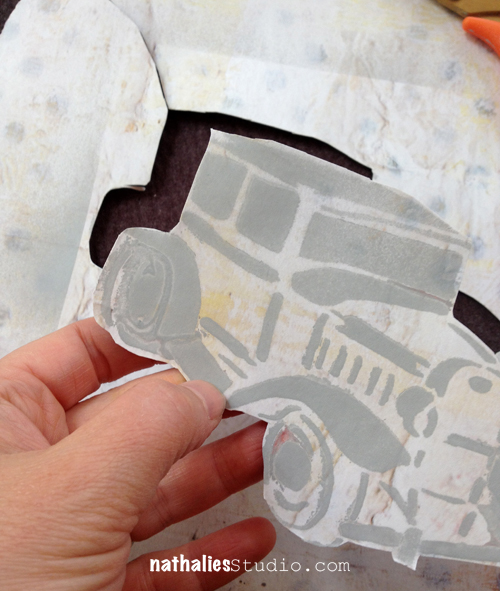
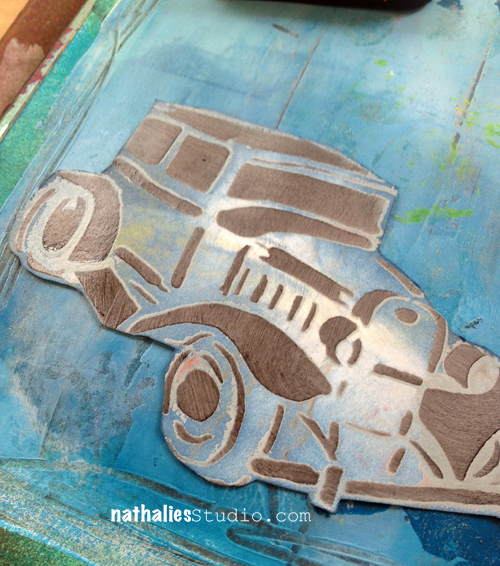
I do love to create some depth with my stencils -so here is how I did it here. I sprayed through the Stencil with Liquitex Spraypaints- but you can use any other paint media.

NatKalbach_OldtimerStencil03


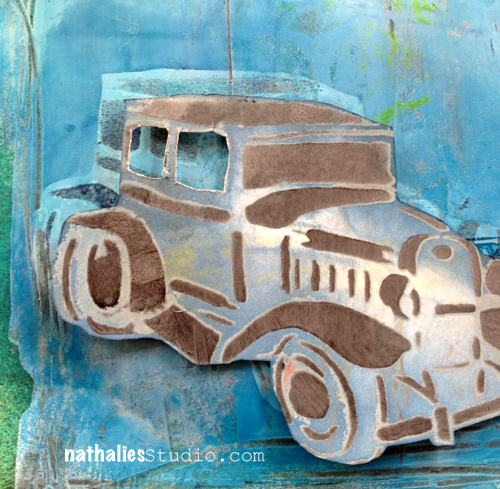
Then I cut out the car – just around the outline

NatKalbach_OldtimerStencil04

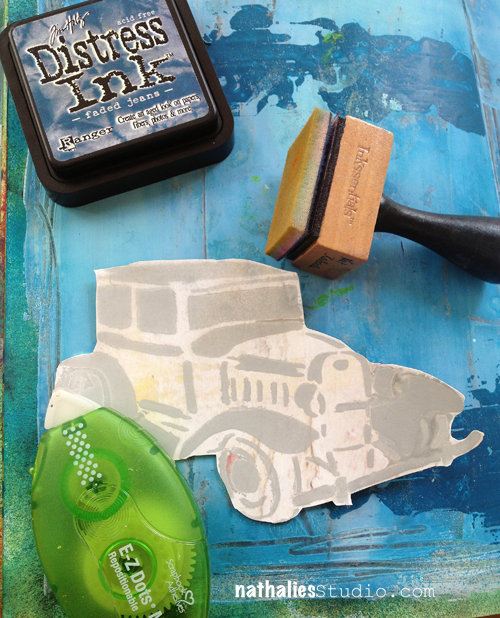
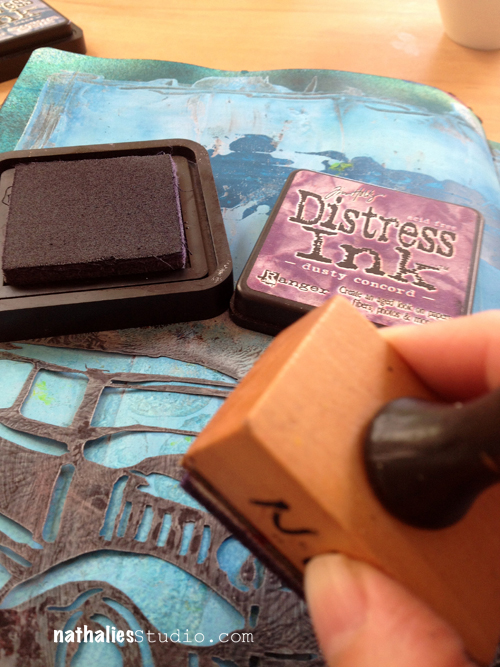
I picked a page in my art journal where I had already played a bit with a background and gathered some repositionable double sided adhesive, distress ink and a blending tool.

NatKalbach_OldtimerStencil05

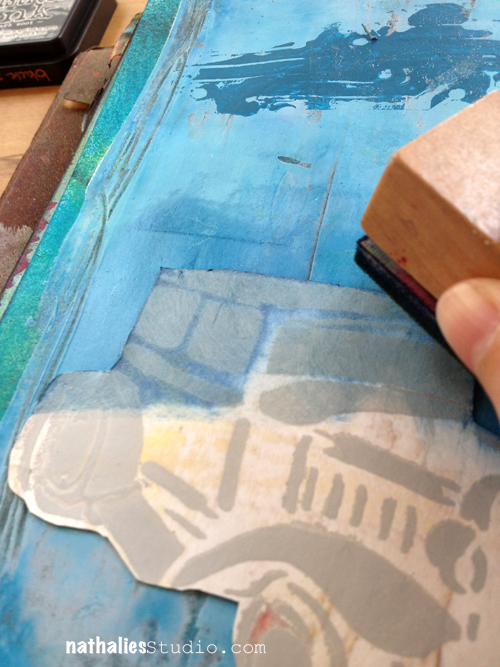
I adhered the old timer with the repositionable adhesive  and then applied a bit darker distress ink with the blending tool – to outline the car.

NatKalbach_OldtimerStencil06


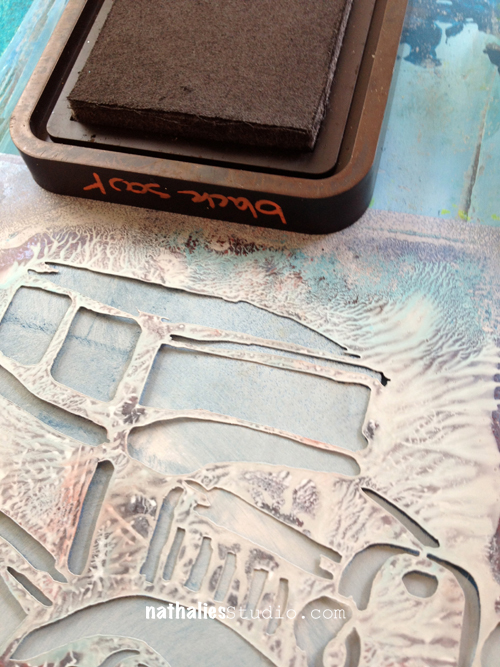
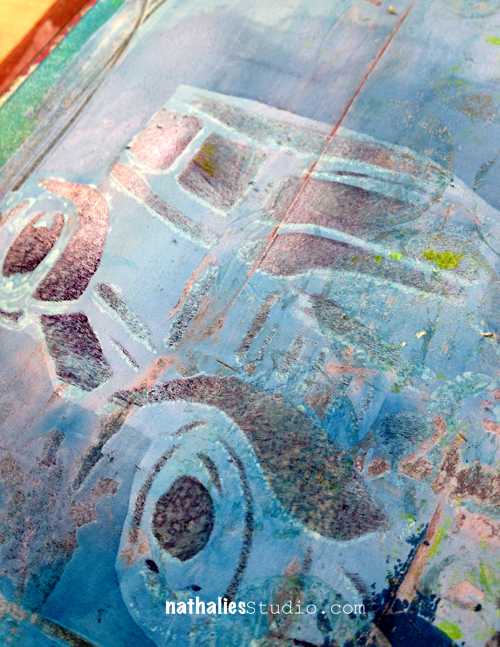
I used another distress ink color and the stencil again, which I laid over the car again and went over it again with the blending tool.

NatKalbach_OldtimerStencil07

As you can see it gave a another shadow- as the first sprayed stencil image still peaks through- and it adds already more depth to the oldtimer

NatKalbach_OldtimerStencil08


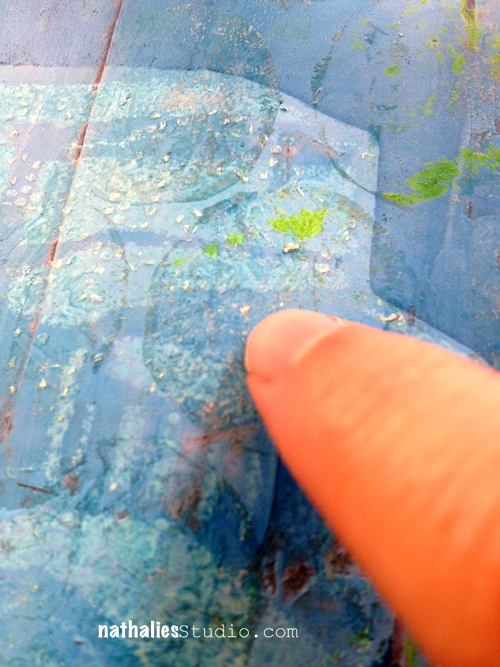
Now I peeled of the oldtimer car and then carefully rubbed off the adhesive dots.

NatKalbach_OldtimerStencil09


Next I placed the car directly onto the background into the before outlined borders-

NatKalbach_OldtimerStencil10


I do this so later when you raise the car with foam pads- there is a shadow visible.

NatKalbach_OldtimerStencil11


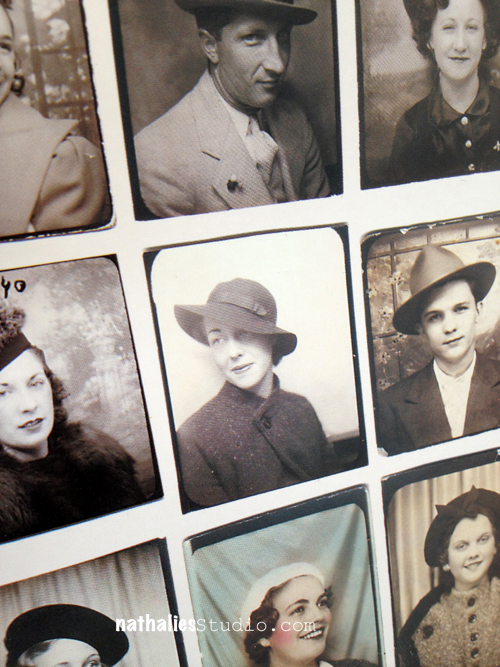
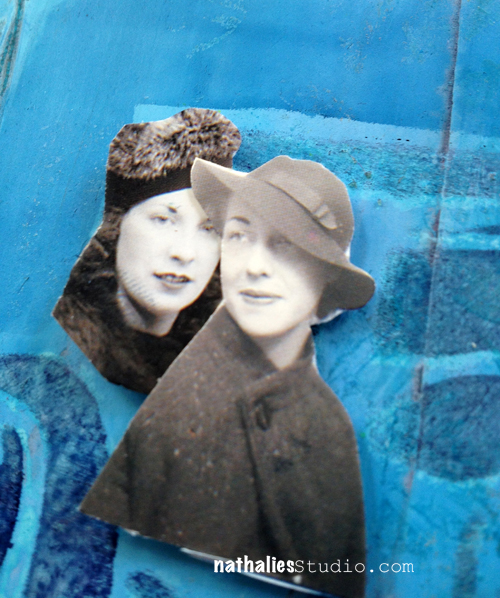
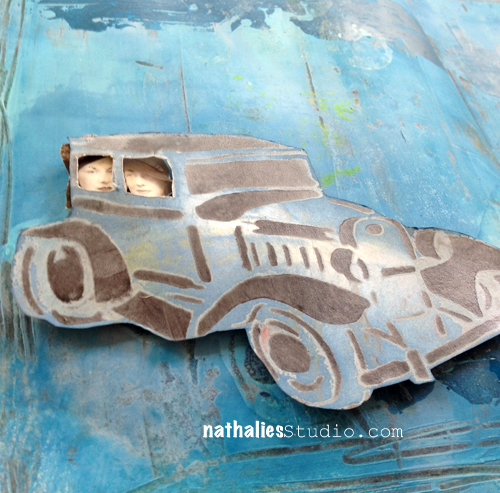
Then I cut out some faces that would fit behind the windows

NatKalbach_OldtimerStencil12


and I cut out two windows of the oldtimer car on the paper

NatKalbach_OldtimerStencil13


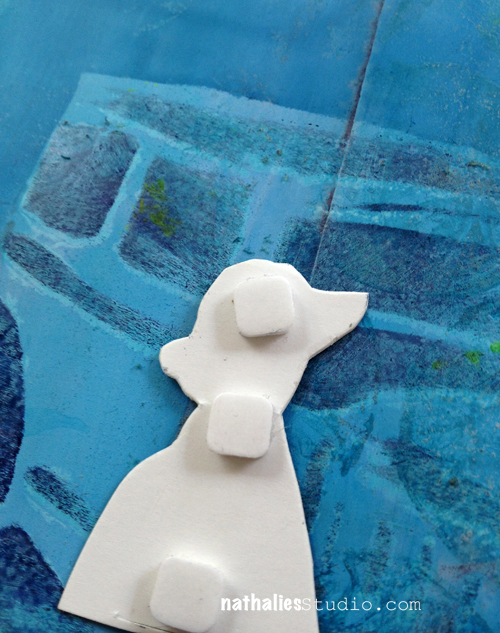
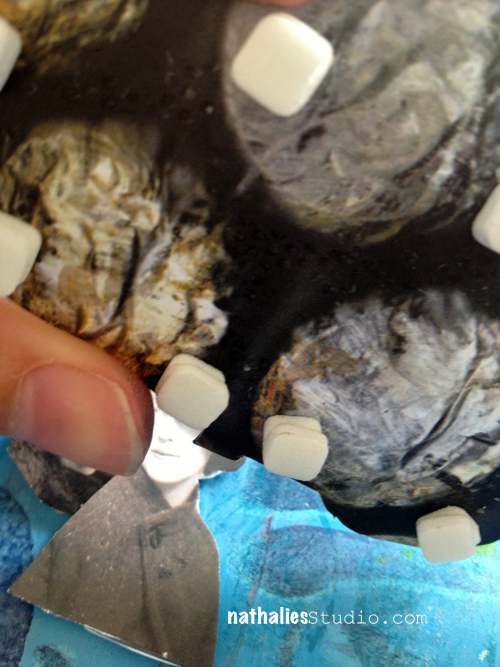
I applied foam pads to the backs of the faces

NatKalbach_OldtimerStencil14


adhered them using the image of the oldtimer on the background and slightly a bit off

NatKalbach_OldtimerStencil15


then I stacked two foam pads on top of each other- to give more height -to the back of the oldtimer car on the paper

NatKalbach_OldtimerStencil16


and adhered the car also slightly off

NatKalbach_OldtimerStencil17


and there you have it :) I think it is a great way to add dimension and depth with stencils.

NatKalbach_OldtimerStencil02


Here are the supplies I used:

nSupplies


Now hop on over to my friends and check what they did and comment for some changes to win the stencil :)

Edited August 4, 2013: The winner is Gerd Andersen – Congratulations. Gerd please email me with your postal address so I can get this stencil sent out to you :), Nat
Jessica Sporn 

Stephanie Schütze

Jamie Dougherty 

Maria McGuire

Nat
LogoBlogSignature

Comments (39)

  • Jacalyn Claes

    |

    Nat, What a cute page. I love the idea of putting people in as passengers

    Reply

  • Glenda Hoagland

    |

    Oh My Gosh, I just love what you did, The people in the car just thrilled me and it was so simple, but lifting the card on dots you could put the passengers in. I just love it.

    Reply

  • Vicki Romaine

    |

    This piece is amazing. I just love that car stencil! So different!

    Reply

  • Deleted User

    |

    After this, i started loving those vintage stencils, in special this car. As soon as i finish with the Acrylic Paint workshop, (which i am delighted with) will let my juices flow! ! Love also the Blog Hop!…

    Reply

  • Sue Clarke

    |

    I had to come back and leave another comment after visiting the other blogs. Oh my. Such a variety of ways to use the car stencil. Each one more unique than the last. Thanks for the chance to win and the inspiration is wonderful Nat!

    Reply

  • donna

    |

    Great dimensional look Nathalie, thanks for sharing with US!
    Peace,
    Donna

    Reply

  • Stephanie C.

    |

    Hi Nath,

    I love what you did with the old timer! Btw, I have just purchased your crackled stencil and cannot wait to play with it! Thanks :-)

    Reply

  • Janelle R

    |

    Wow – a whole new way to use the stencils. Would love to win that stencil! Following your blog for a while now, and I can get lost in your work. Can’t wait to try this!

    Reply

  • Johanne L.

    |

    I love your page. Great tutorial. And I love the design of your stencil. Thanks for the chance,

    Reply

  • Jeanne Kelly

    |

    Funny, I just found the “stencil girl” stencils site and now I am directed to your site by artist Julie ….like all of this was meant to be. I read your post re the Jewish Museum and could not comment as my stomach was just sick…thank you for having the courage to post about your experience and share with all of us…that was brave in so many ways.
    Thank you for also sharing your beautiful art work!!!

    Reply

  • Pat

    |

    Stencils, spray paint, and masks, oh my! I love the how you used dots to enhance the 3D effect! Very cool!

    Reply

  • Rhonda Strickland

    |

    Thanks for the awesome tutorial and the chance to win. You have some very AWESOME friends too. Thanks! :o)

    Reply

  • Andrene

    |

    Your spread is awesome – love all the blues! The stencil is too cool but then again all of your stencils are great!

    Reply

Leave a comment

Whatevers Round 2 #1 or Choice

the WHATEVERS 2 A


Are you ready for the 1st of the Second Round of Whatevers? If you missed what the Whatevers is all about or want to see all the past photos and takes…check it out here.

Click here to see what Cat, Vicki, Martha and Cuchy made out of the photo and which story they tell.

Here is my take:

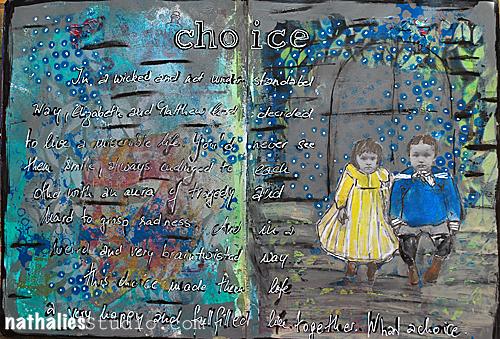
NatKalbach_Choice_05


Journaling:

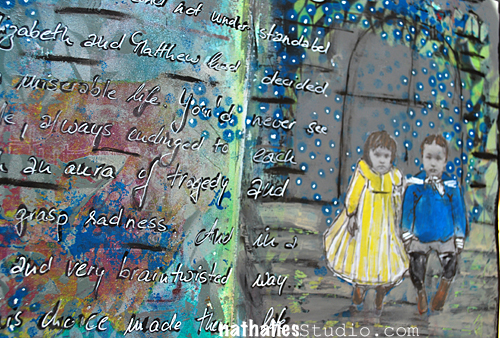
In a wicked and not understandable way, Elizabeth and Matthew had decided to live a miserable life. You’d never see them smile, always clinged to each other with an aura of tragedy and hard to grasp sadness. And in a weird and very brain twisted way…this choice made them life a very happy and fulfilled live together.

NatKalbach_Choice_04


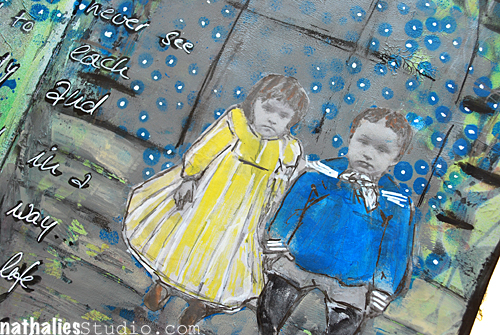
When I saw this picture of the siblings and how sad they looked , this journaling came instantly in my mind. And as you know from the first round of the Whatevers – I like to give my Whatevers a dark twist- LOL- so here we go again.

NatKalbach_Choice_03


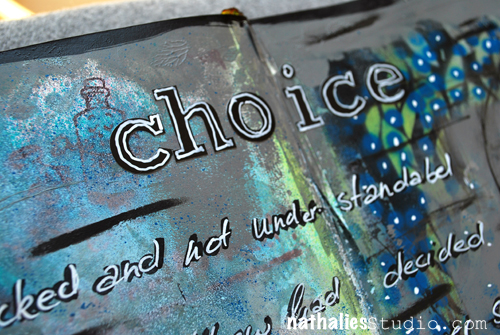
I used Liquitex Acrylic Paints, Liquitex Spraypaints and Markers on this art journal page as well as my Stencil Girl- What’ s The Point Stencil and Jessica Sporns Cascading Leaves Stencil. I love white colored journaling and in order to make this work, I usually journal first with a black marker and then go over with a white marker.

NatKalbach_Choice_01

And here is the photo of this month’s Whatever for you:


July2013_Whatevers01


Here is how it works

  • Vicki, Cat, Cuchy (Carmen), Martha and I and I have made a one-year commitment to each other and picked twelve photos with Whatevers whom we will give a story.
  • Every month – if possible always on the 15th –  each of us will do a post with an individual story that goes along for us with the same photo.
  • If you want you can play along and we will have the photo for you to download and show us your version of The Whatevers. The photo will be posted at the end of our blogposts- not on Facebook!
  • There is no rules to the story itself- it can be funny, sad, uplifting, breathtaking- WHATEVER
  • There is no rules on the length or the form of the story– it can be a short sentence, an essay, a poem or a soap opera – WHATEVER
  • There is no rules on the artform you choose – it can be a scrapbook layout, an altered art project, an artjournal page – WHATEVER
  • Here is a rule though: if you take the photo you have to link back to us and show us your story.
  • These pictures are from our personal stash and are for personal use for you only! If you want to use them for a publication whether a book or magazine in print or digital form please ask for permission!
  • If you want to participate we’ll have a linky list for each Whatever Post.
  • You can also join our The Whatevers -Facebook Page


Two Button

Nat


Comments (11)

Leave a comment

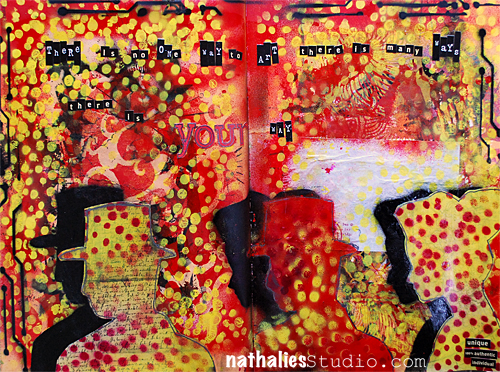
There Is No One Way To Art

There is no one way to art. There is many ways. There is YOUR way. – Robert Ryman

I love this quote and it makes me fall even more in Love with Robert Ryman and his approach to art.

NathalieKalbach_YourWay01

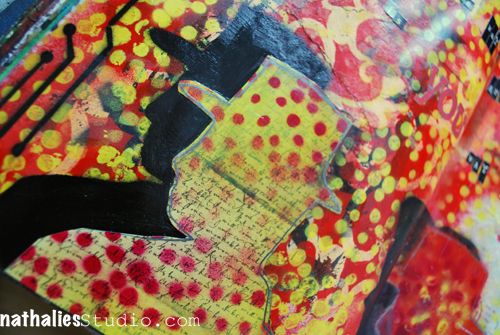
Lot’s of fun playing with my What’s The Point Stencil and some silhouettes I cut.

NathalieKalbach_YourWay02

I had cut out the silhouettes and played with the mask and the stencil which I got out of the two figures. I layered the stencil over too and sprayed with Liquitex Spray Paints over it -I like the effect.

NathalieKalbach_YourWay03

For the paper I used some Distress Inks – I just love how the Distress inks make every color pop.

NathalieKalbach_YourWay03

Here is what I used for the page:

nSupplies

Comments (4)

Leave a comment

I Am Enough Art Journal Page

NathalieKalbach_Iamenough01

I played a bit around in my art journal and I love especially how the left page turned out . Sometimes it is good to just play because accidentally you might find a fun new way for a background – like I did :)

NathalieKalbach_Iamenough02

I also got a new color combo crush…you better get used to it- hehehe- I might use it again ;)

nSupplies

Have a creative day today :)

Nat

Comments (5)

Leave a comment

Closed Doors …or Word Emesis

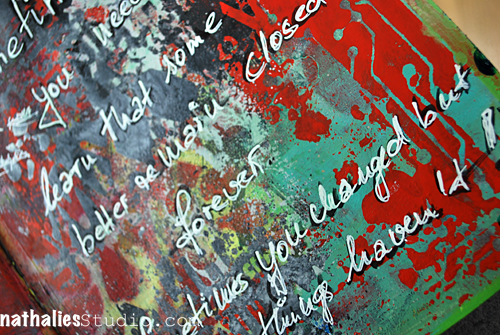
My art journal is not only my technique-play book, it is also my way to express feelings and often an outlet for emotions. I think art is an amazing therapist- LOL- so much cheaper actually when a real one ;) This page was done after I was REALLY upset a couple of weeks ago – LOL- doesn’t happen to often- but hey…can happen ;)

NathalieKalbach_ClosedDoors01

Lot’s of Liquitex Spray Paint over Stencils on here and then I played with the Liquitex Paint Markers-I love how you can paint with them over magazine pages, use them for writing or sketching and to blend areas in.

NathalieKalbach_ClosedDoors02

I wanted a grungy look here ….I guess I archived it. Actually I want this page as a wall of my studio- that would be cool- LOL.

NathalieKalbach_ClosedDoors03

If you art journal would you agree that it helps you deal with emotional stress better?

nSupplies

have a beautiful day

nat

Comments (7)

Leave a comment

Whatevers #12 or Girls Just Wanna Have Fun

Are you ready for the 12th Whatevers? If you missed what the Whatevers is all about…check it out here.

Click here to see what Cat made out of this photo and which story she tells

Click here to see what Vicki made out of this photo and which story she tells

This is supposed to be our last Whatever photo…but mmhh – well….maybe we have news for you in the next days ;)

I love this photo – I will definitely use it again- it totally cracks me up! I had only a couple of art media with me when I was traveling- which was kind of fun to create with limited supplies and limited time too.

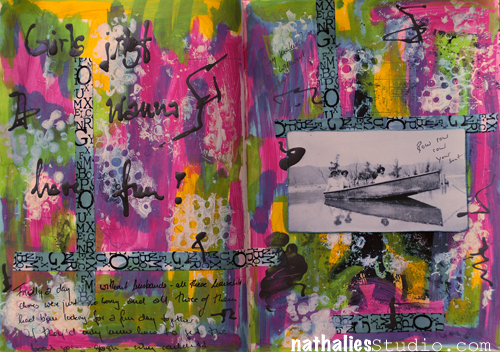
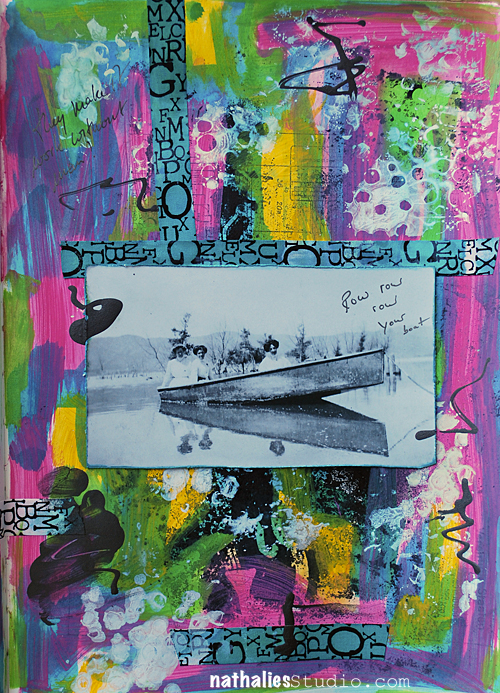
Girls Just Wanna Have Fun

NatKalbach_GirlsWhatever01

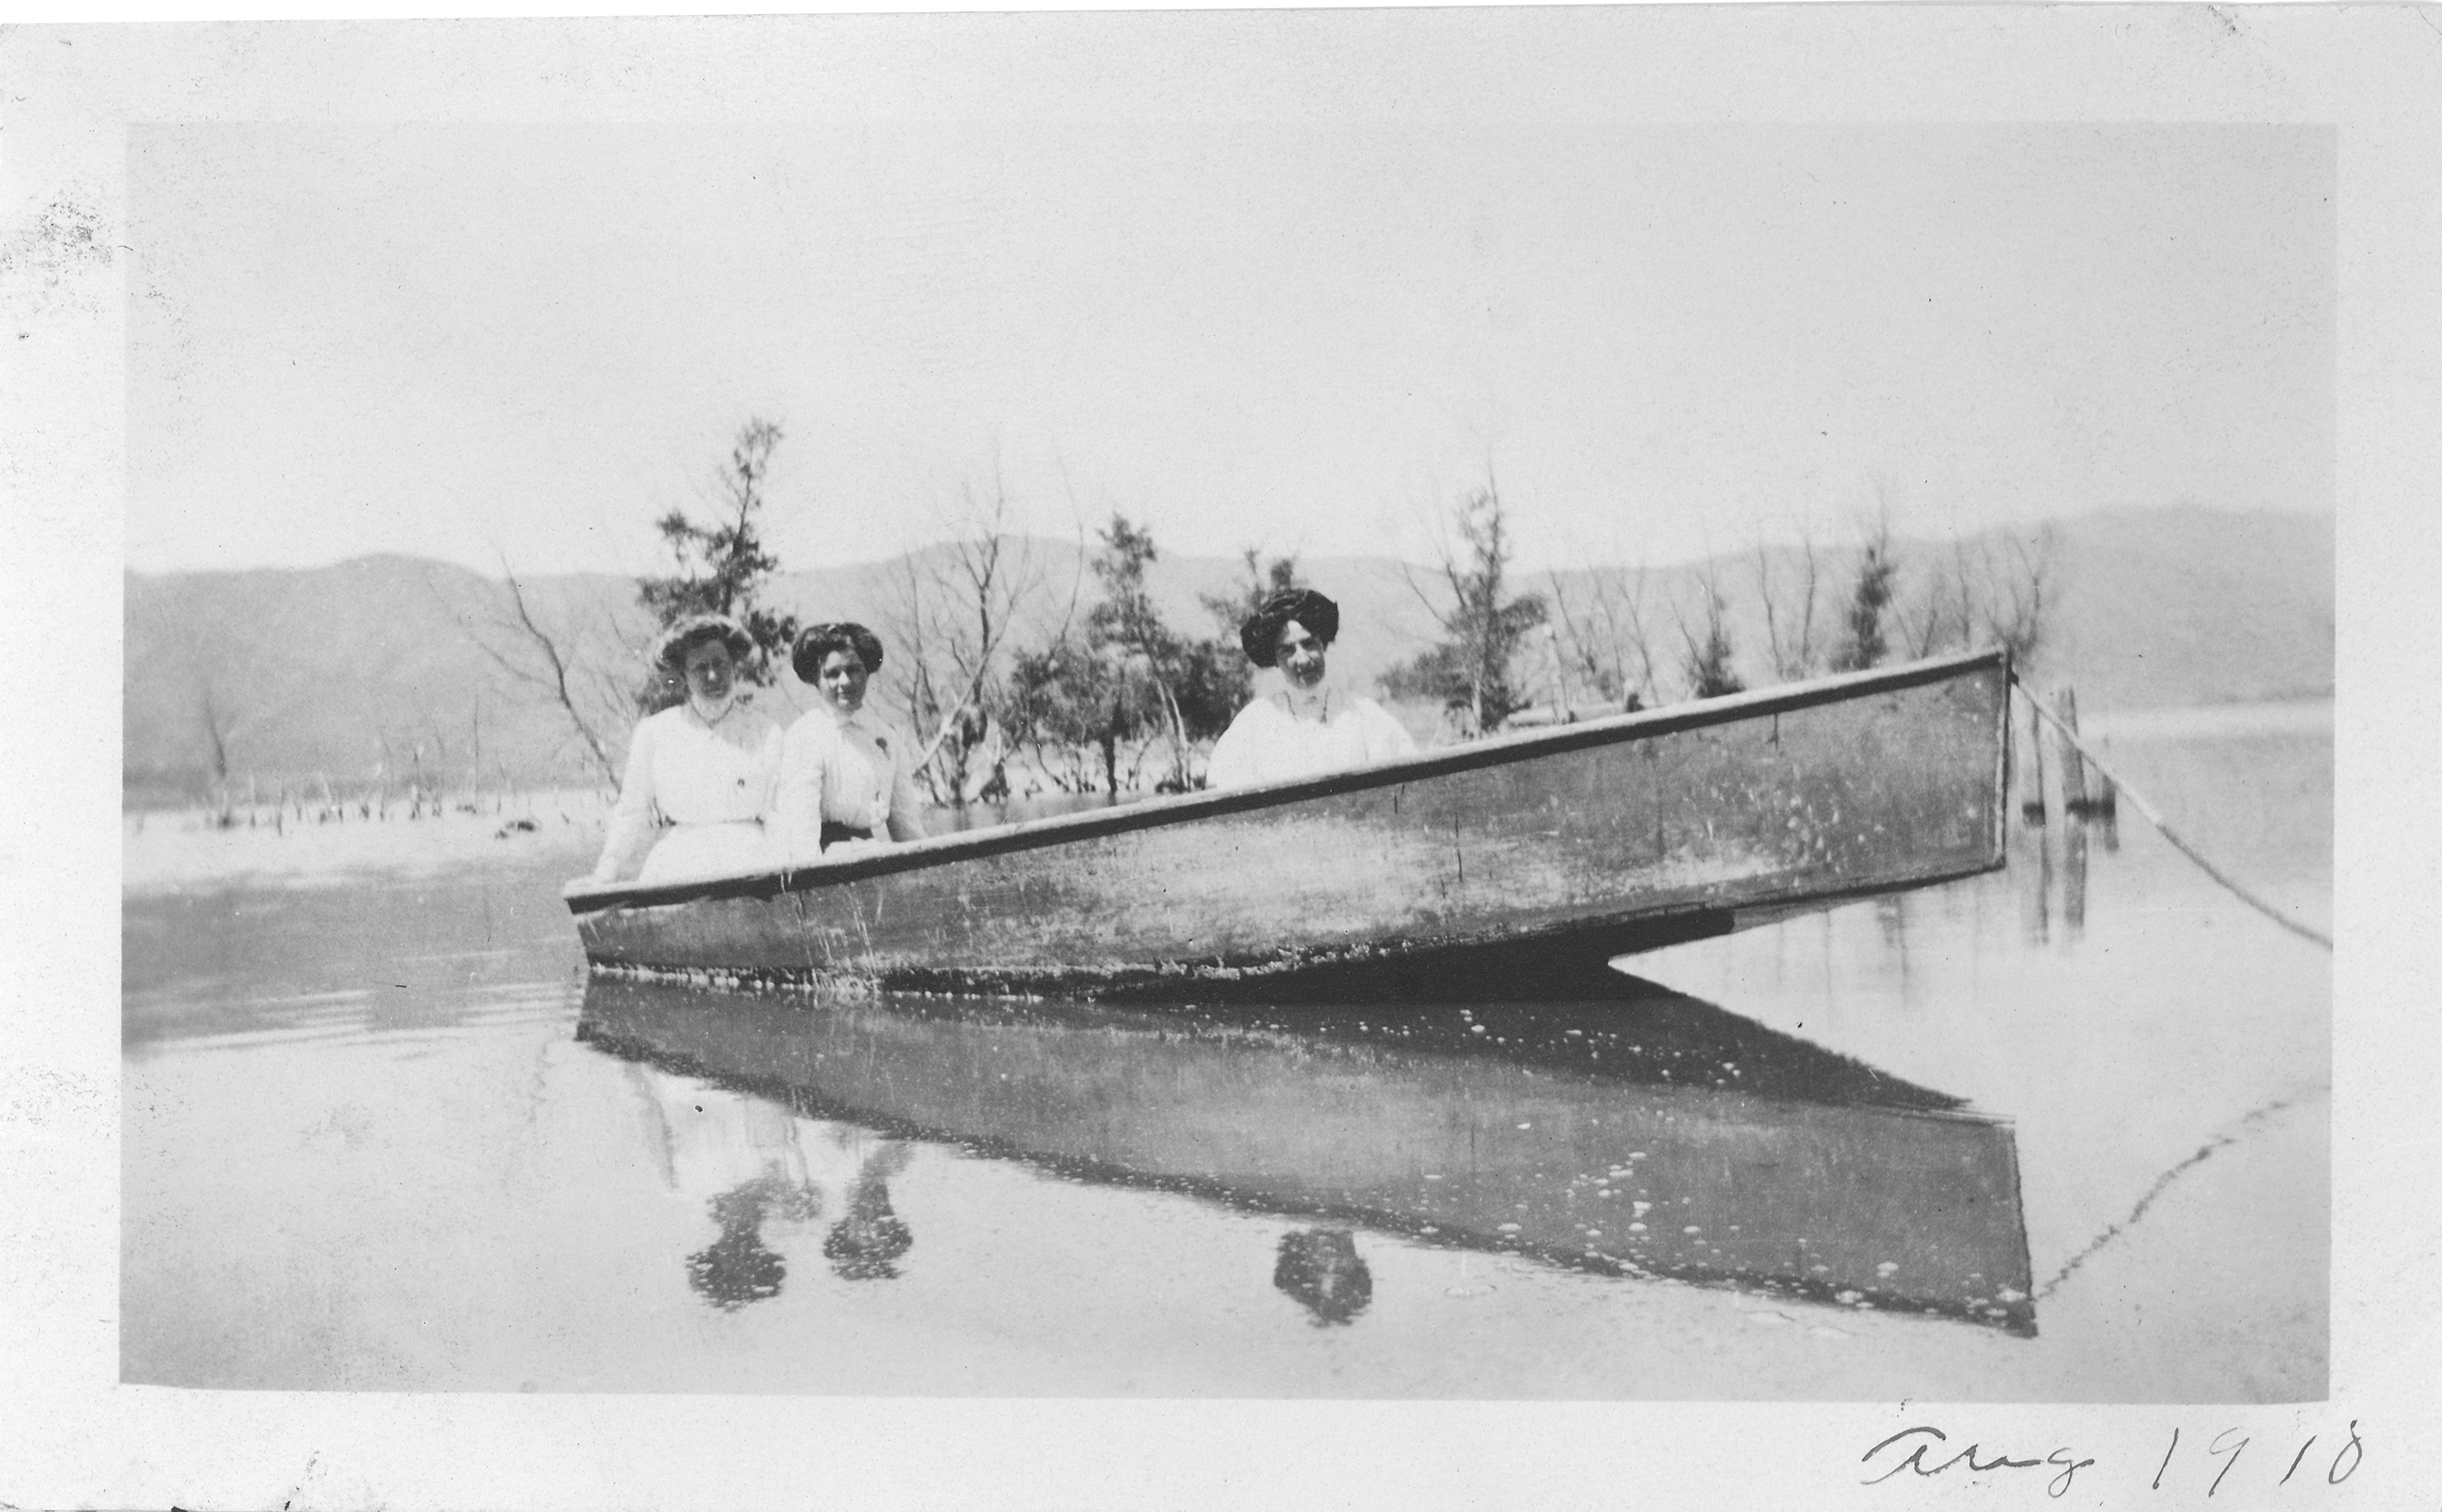
Finally a day without husbands- all these household chores were just so boring all three of them had been looking for a fun day together. If they’d only knew how to get the boat going…gosh – why couldn’t they make it work without men?

NatKalbach_GirlsWhatever03

Their names: Margariete, Mary and Myrtle

NatKalbach_GirlsWhatever04

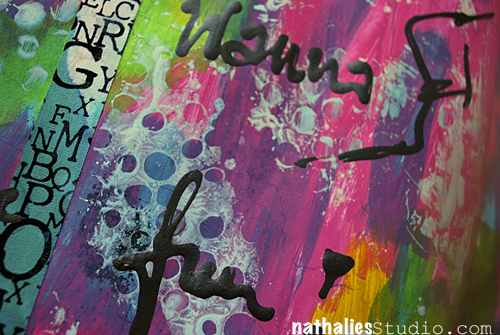
I used Ranger Distress Paints, Distress Inks, a white Sharpie Poster Marker and a Liquitex Professional Paint Marker as well as a new bought item I have to play more with: Liquid Pencil by Pam Carriker. The Fabric Tape is actually by a German Brand – I am not really sure which one it was though -I need to find out – LOL- I love it and need more ;) You can also see some negative prints of my new What’s The Point Stencil.

And here is the photo of this month’s Whatever for you:

12_May2013

Here is how it works if you want to play along:

  • Vicki, Cat and I have made a one-year commitment to each other and picked twelve photos with Whatevers whom we will give a story.
  • Every month – if possible always on the 15th –  each of us will do a post with an individual story that goes along for us with the same photo.
  • If you want you can play along and we will have the photo for you – just right-click on it to safe it to download and show us your version of The Whatevers.
  • There is no rules to the story itself- it can be funny, sad, uplifting, breathtaking WHATEVER
  • There is no rules on the length or the form of the story– it can be a short sentence, an essay, a poem or a soap opera – WHATEVER
  • There is no rules on the artwork you choose – it can be a scrapbook layout, an altered art project, an art journal page – WHATEVER
  • Here is a rule though: if you take the photo you have to link back to us andshow us your story.
  • These pictures are from our personal stash and are for personal use for you only! If you want to use them for a publication whether a book or magazine in print or digital form please ask for permission!
  • If you want to participate post in the comment section .
  • You can also join our The Whatevers -Facebook Page

Nat

Comments (5)

Leave a comment

Standup Bass or…New Stencil with Stencil Girl Products

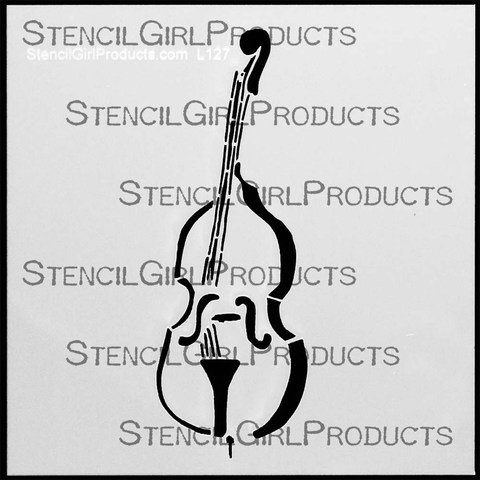
StandUpBass Stencil

New Stencil in the house and it is a 6×6 Standup Bass Stencil :)

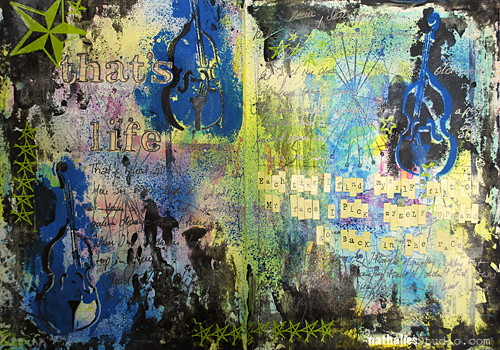
NathalieKalbach_StandupBassLife01

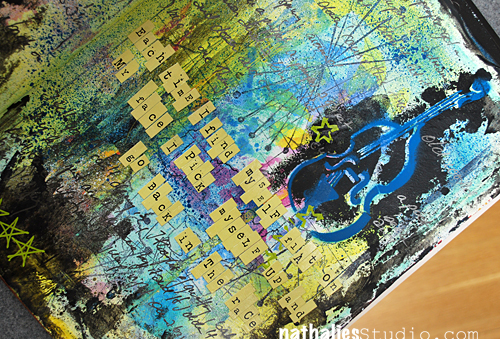
One of my favorite things in our household is my husband’s standup bass- I just love that thing  – and I thought it would be a great stencil using it for everything related to music, or lyrics you quote , or layouts with bands, theater, concerts…etc :)

NathalieKalbach_StandupBassLife02

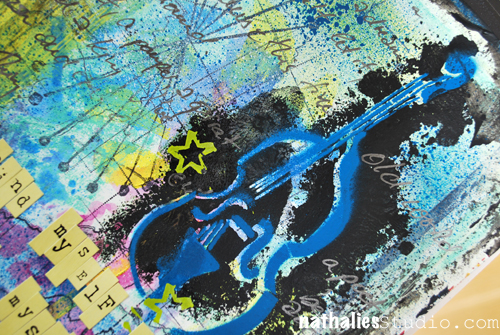
I used the stencil positive and negative at the same spot – meaning I sprayed over the stencil , then flipped it over at another spot to get the access paint onto the page and then took another color and sprayed over it again .

NathalieKalbach_StandupBassLife03

Love the dimension and the layers you build up with this method. Other than that I used Derwent Arbars, Dylusions and Liquitex Spraypaints with the background. The stamps you see are stamps I found at a store around the corner I am so in Love with them.

NathalieKalbach_StandupBassLife04

I hope you like my new stencil. It comes in two different sizes 6×6 and 4×4 inches.

NathalieKalbach_StandupBassLife05

Here is what I used for this art journal page

nSupplies

Have a beautiful and creative day !

huge hugs

Nat

Comments (4)

Leave a comment

Typewriter or…New Stencil with Stencil Girl Products

TypewriterStencil

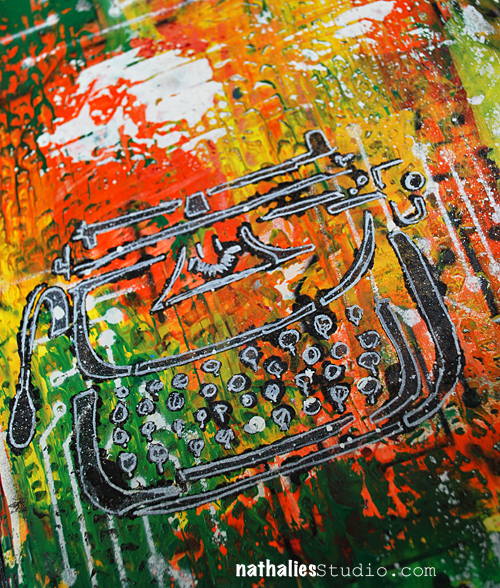
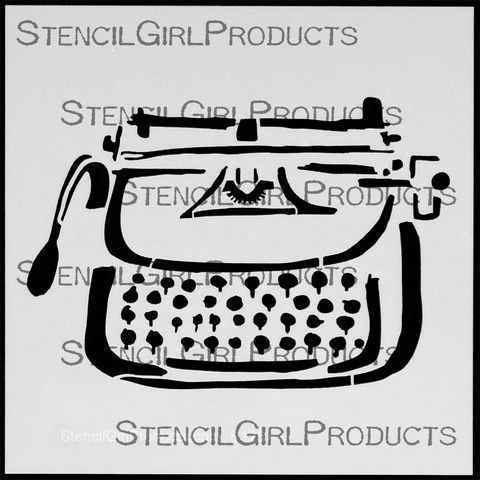
Time to show you my new 6×6 Typewriter Stencil :)
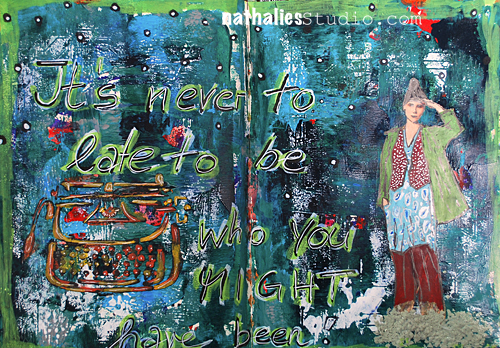
NathalieKalbach_nevertolate_Type01

Typewriter …just love them..especially vintage ones. When I was in highschool I owned a huge office typewriter from the 40s. I wanted to be a writer or study journalism when I was a teenager and so my uncle and aunt gave me this typewriter and I hacked on it (you won’t believe how loud this thing was!) and started several books…they usually contained about 5 pages until I thought I would move on and write a different story- LOL. Anyway I knew I wanted to design a typewriter stencil since especially with art journals, vintage photos etc. I saw how it would be so much fun to use it.

NathalieKalbach_nevertolate_Type02

I used Wendi Vecchi’s Black Embossing Paste over the stencil which is 6×6 inches – love the fluffy consistency the paste has and once it was dried I dabbed some Liquitex Markers over. The black of the paste makes the colors really pop off ad add even more dimension to the typewriter. Love it.

NathalieKalbach_nevertolate_Type03

I used the heavy body acrylic paints for the background because I do love the texture I can create with it.

nSupplies


Hope you like it :)

Have a beautiful day
Nat

Comments (8)

Leave a comment

What’s The Point or…New Stencil with Stencil Girl Products

WhatsthepointKalbach

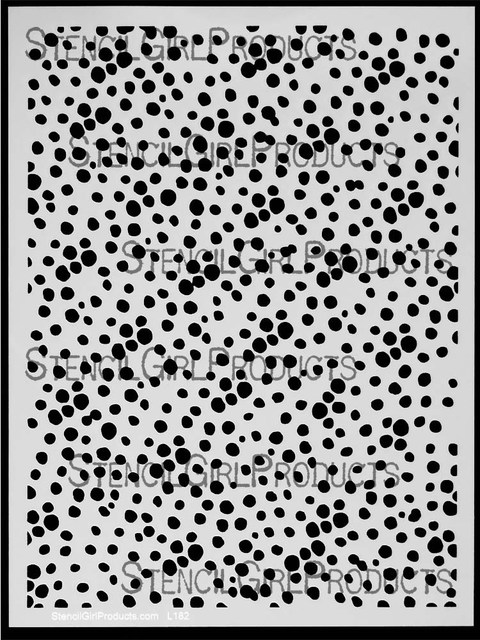
Ohhh I am so excited about this new What’s The Point stencil too because it has so many possibilities.

NathalieKalbach_WhatsThePoint01

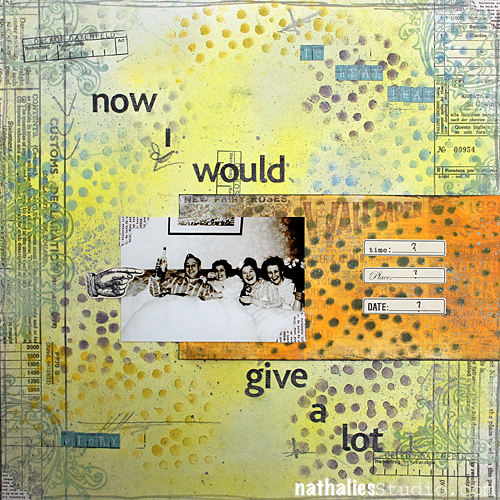
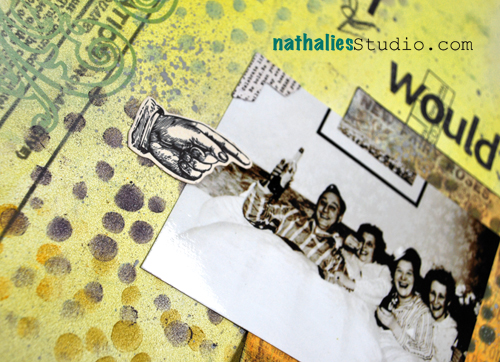
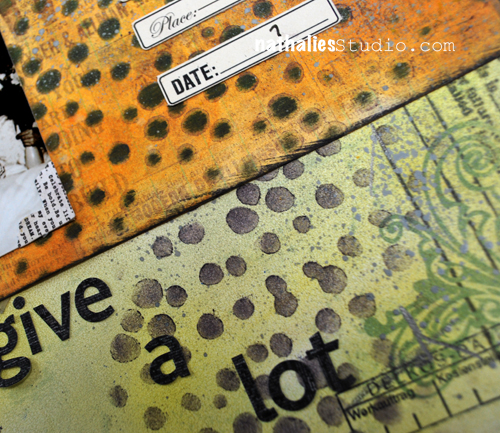
For this Scrapbooking layout I used my new What’s The Point Stencil with PanPastels. Beforehand I had also treated the paper with PanPastels, then laid the stencil on top and dabbed the paint through. I love how vibrant the dots become.

NathalieKalbach_WhatsThePoint02

The photo btw shows my grand-aunt with I think some friends…I found this photo when I was moving her apartment and it made me laugh hard. I hope I can trigger her memory on the story behind this :)

NathalieKalbach_WhatsThePoint03

It is a fun stencil to tie elements together :) and I hope you like it

nSupplies


have an amazing day

huge hugs

Nat

Comments (9)

Leave a comment