Blog: Flower Pots

DIY Vertical Garden – Stamped Flower Pots

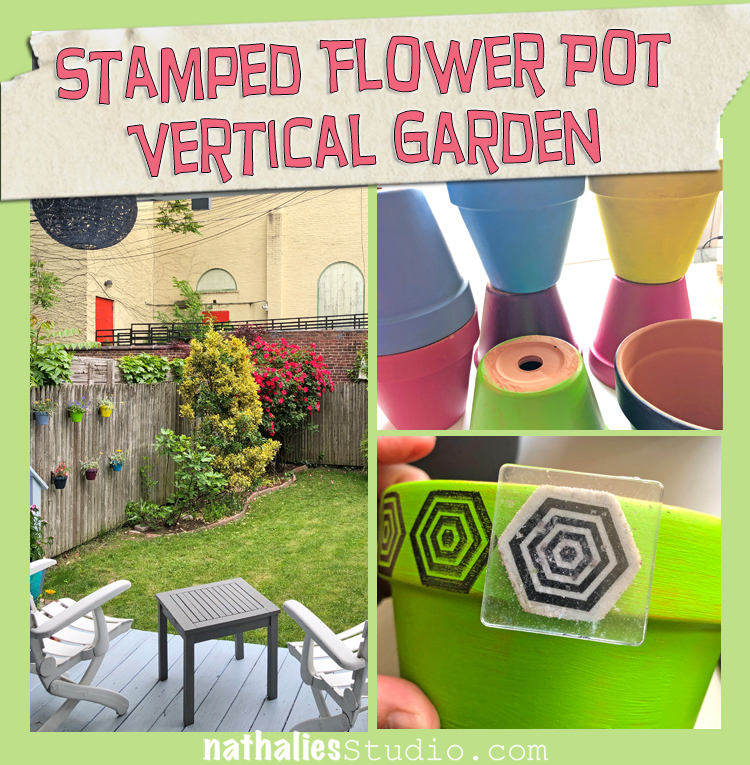
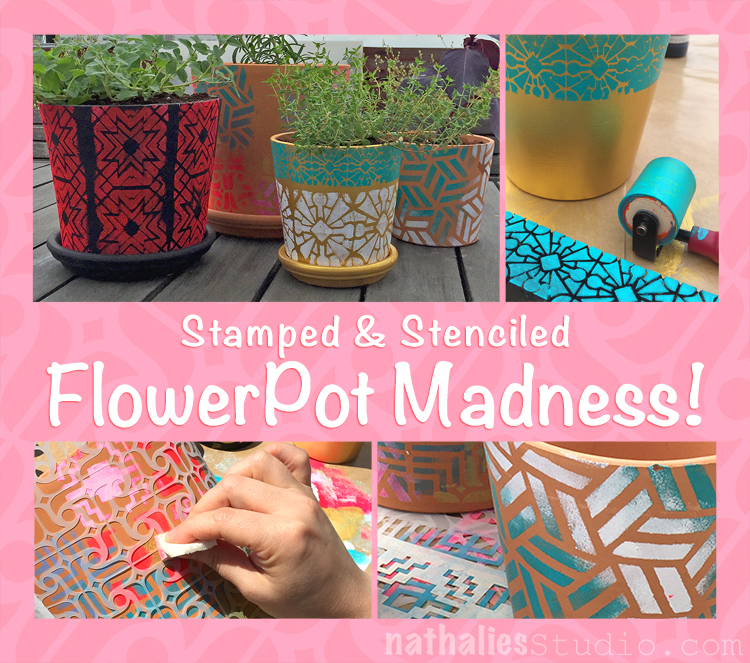
This project has been a long time in the making – I began during the renovation of my house last year and then put it all on hold until this spring. Anyway, I’m happy to share with you my DIY vertical garden that I made with simple terra cotta flower pots, some acrylic paint, my rubber stamps, and stazon inks.

Here’s how I did it:

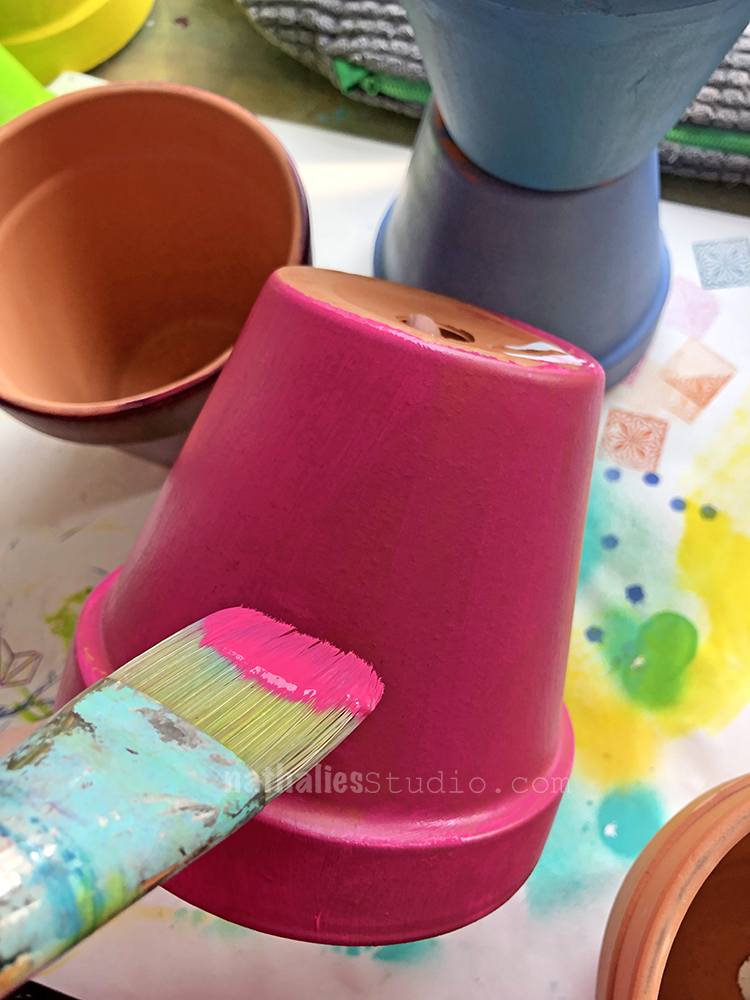
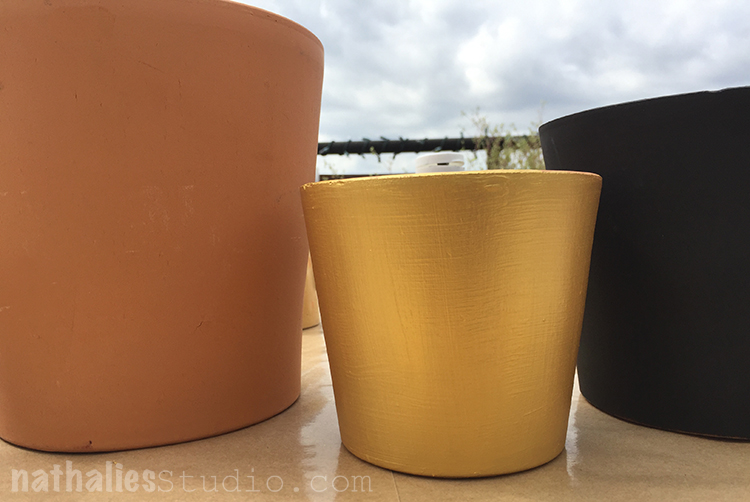
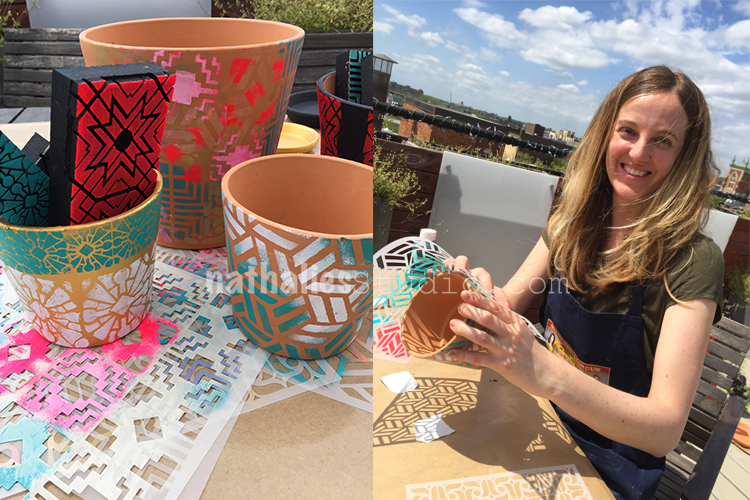
I painted a bunch of pots on the outside with a colorful array of acrylic paint. I know these may not last forever, but I am happy to enjoy them for definitely a few seasons :)

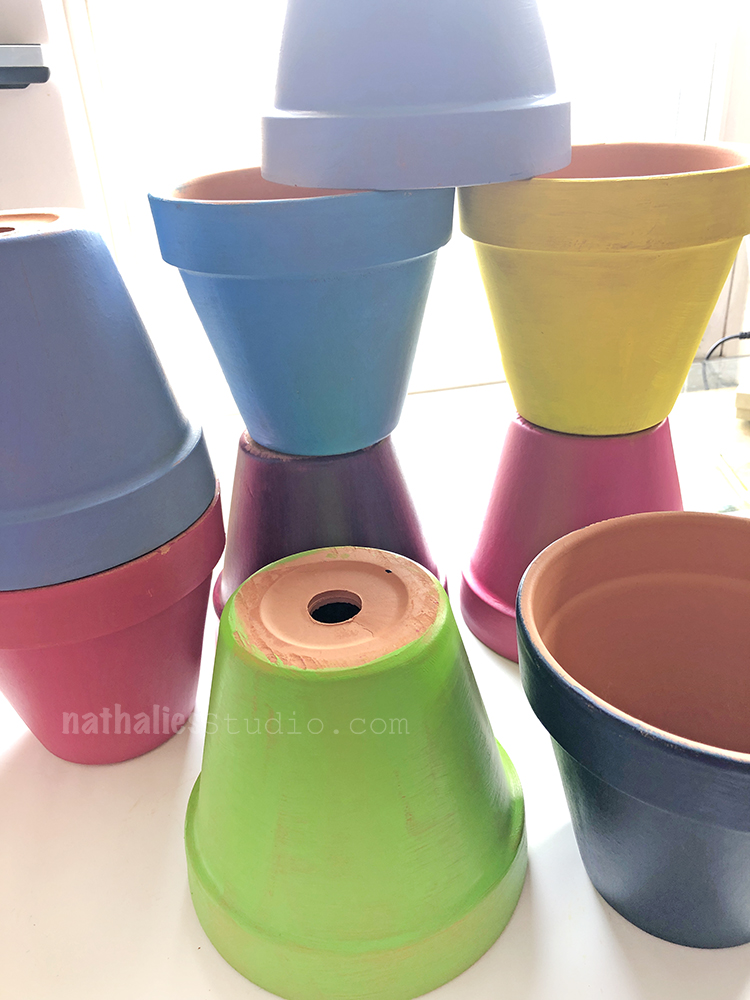
Can you tell I like happy colors lol

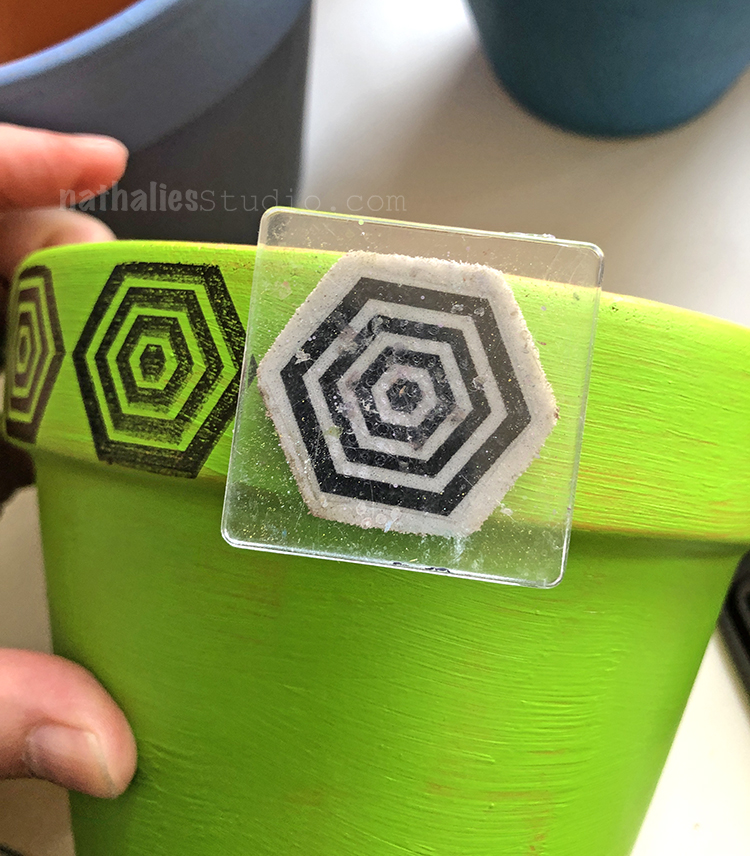
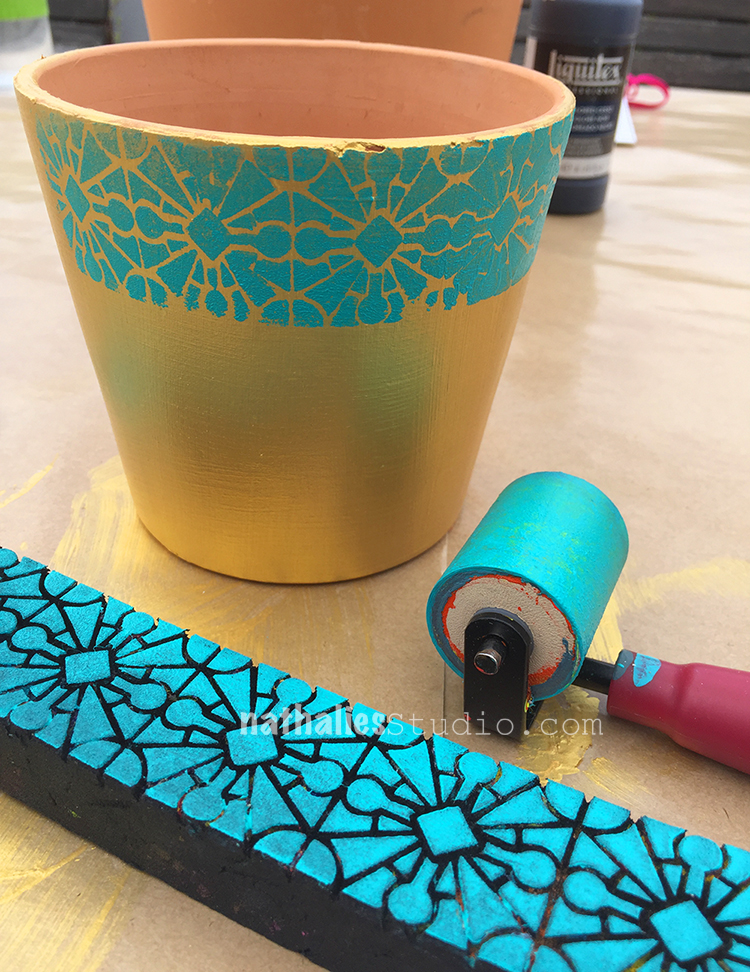
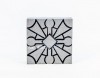
Then I went for rubber stamps that would work well around the rim. Here is one from my Hex Set Large set – and that set has 6 stamps that would work perfectly for this. I used Stazon inks.

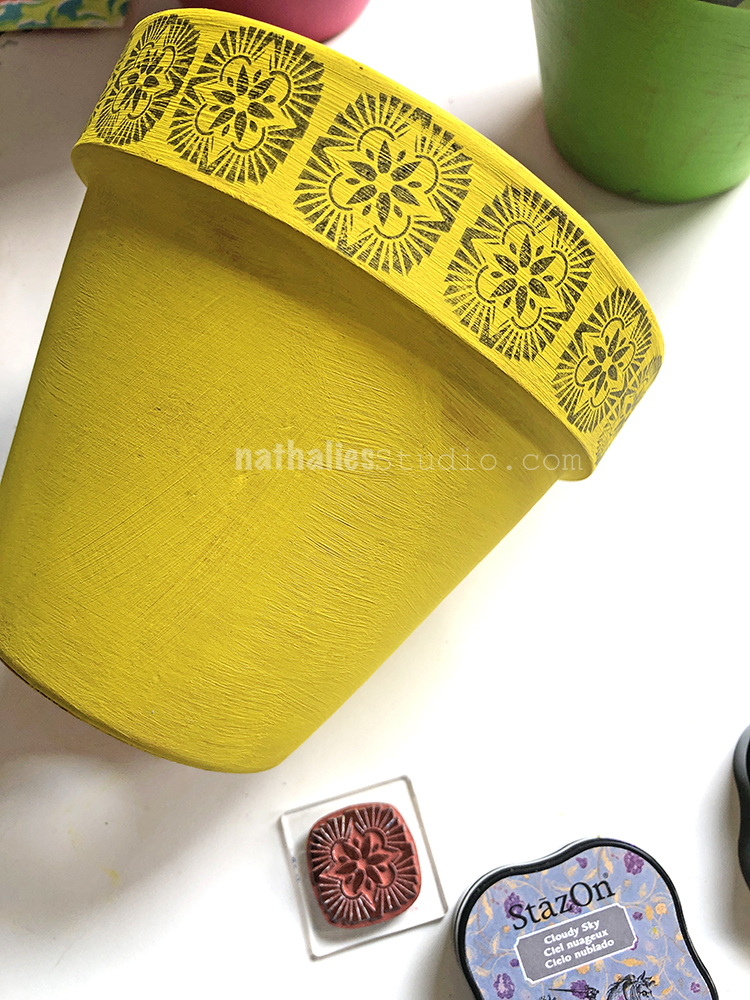
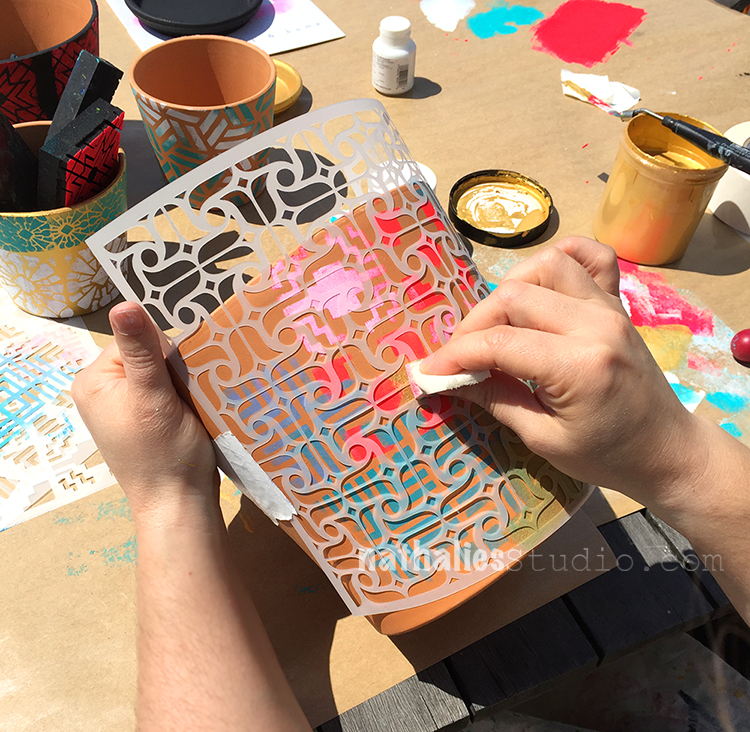
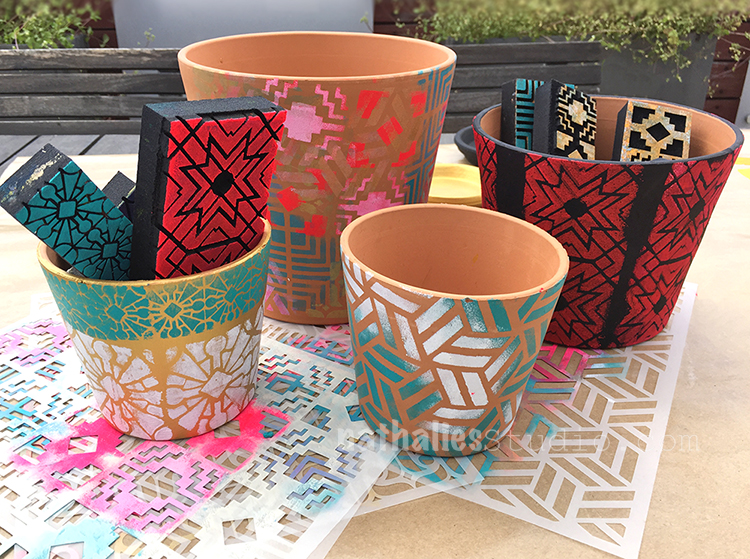
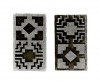
Here is one of the stamps from my Floral Tile Small set in action – another great stamp set option for making a group of pots with an array of designs.

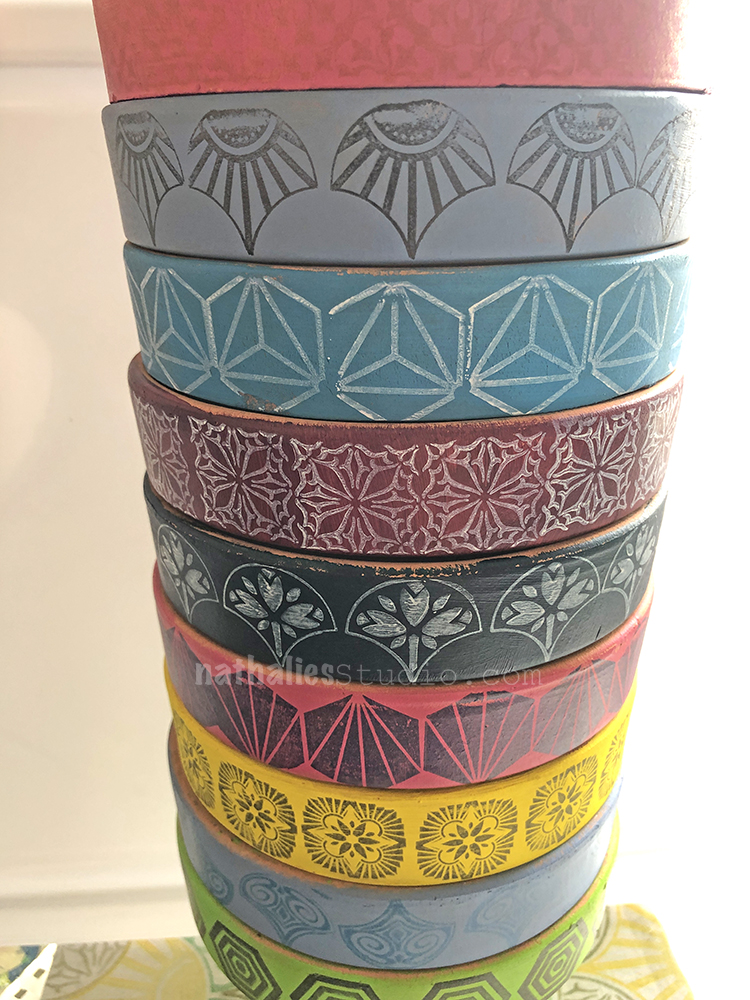
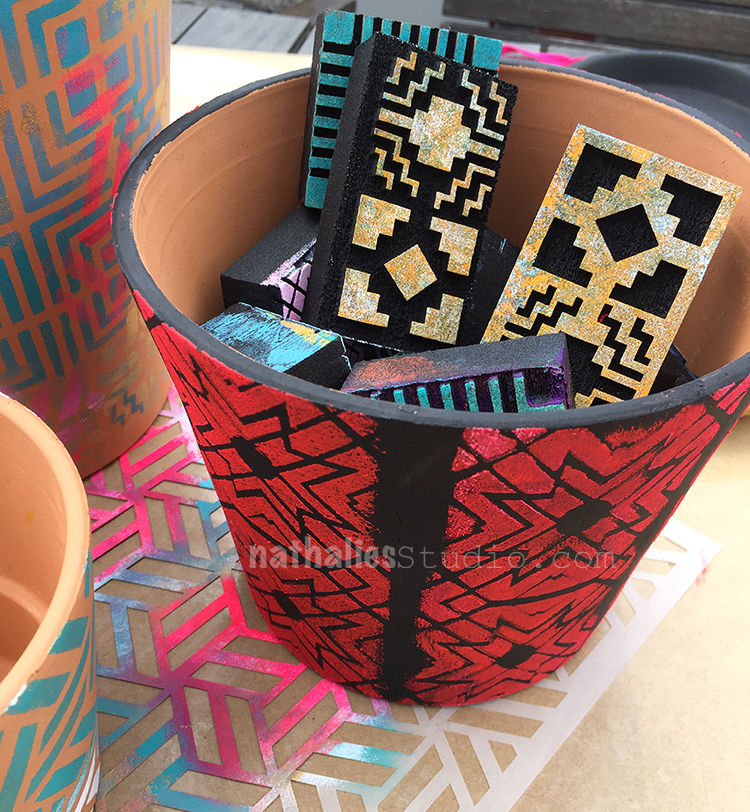
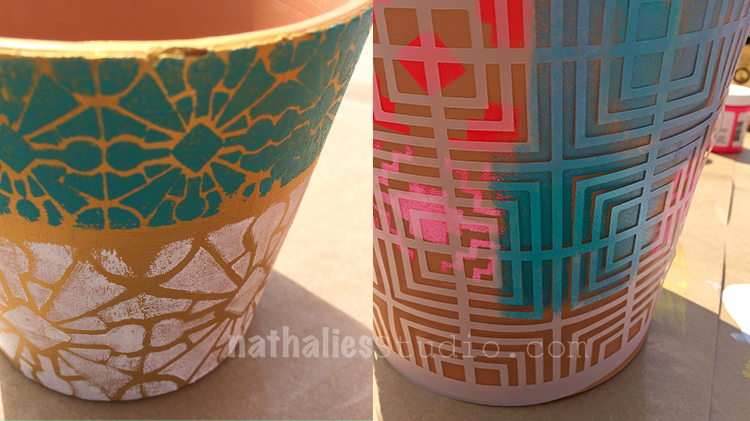
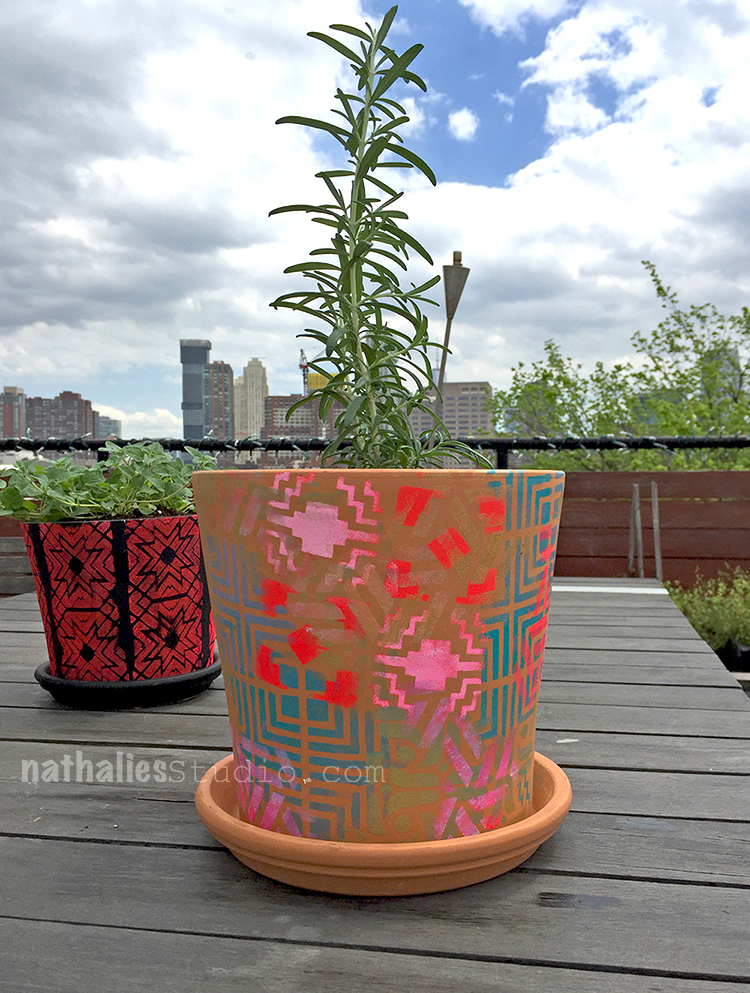
I created quite a few in a variety of colors and patterns.

I installed the pots on the fence in our back garden. The fence is old and a bit shabby and a new one is not in the budget right now, but until it is – here is a nice pop of color. I used some nifty brackets to hang the pots – see the link in the supplies below.

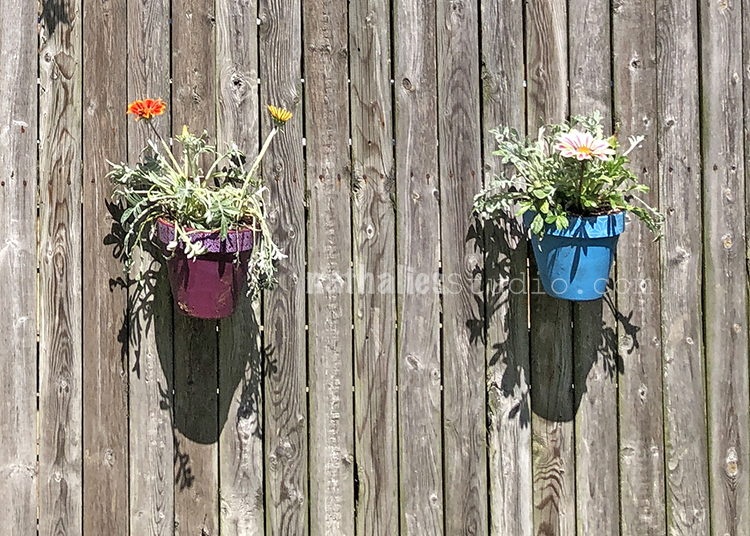
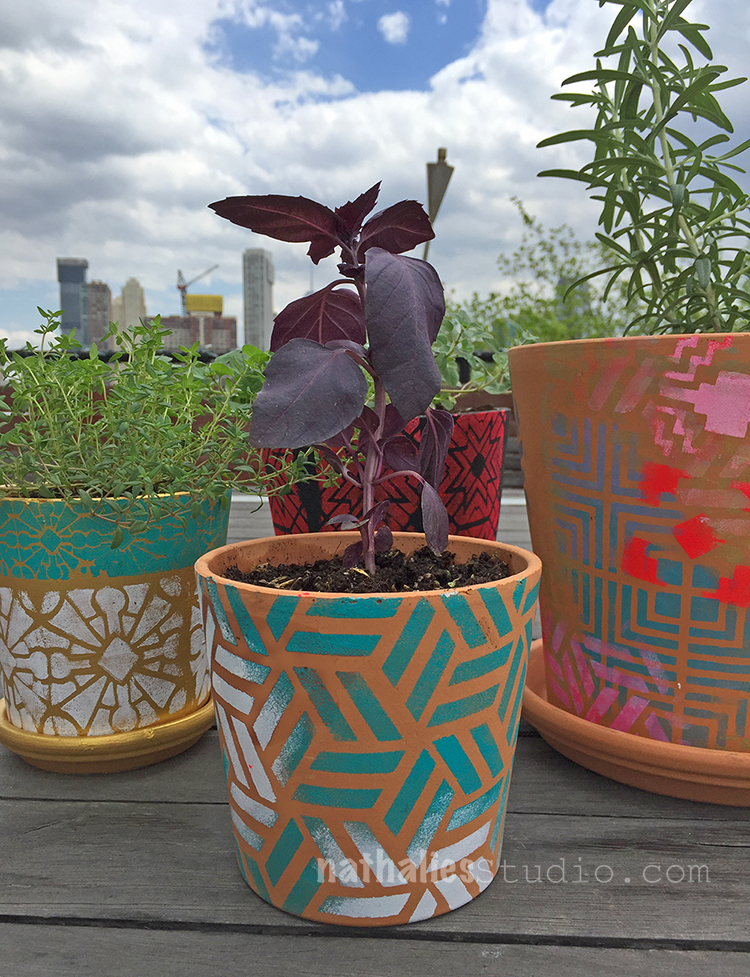
I got a variety of different flowers in a mix of colors to fill them.

Like these! I got a flat from a local plant shop that created a mobile plant store in a truck that they drove all over the city, selling plants, while we were being careful during the lockdown. Pretty cool way to support a local small business!

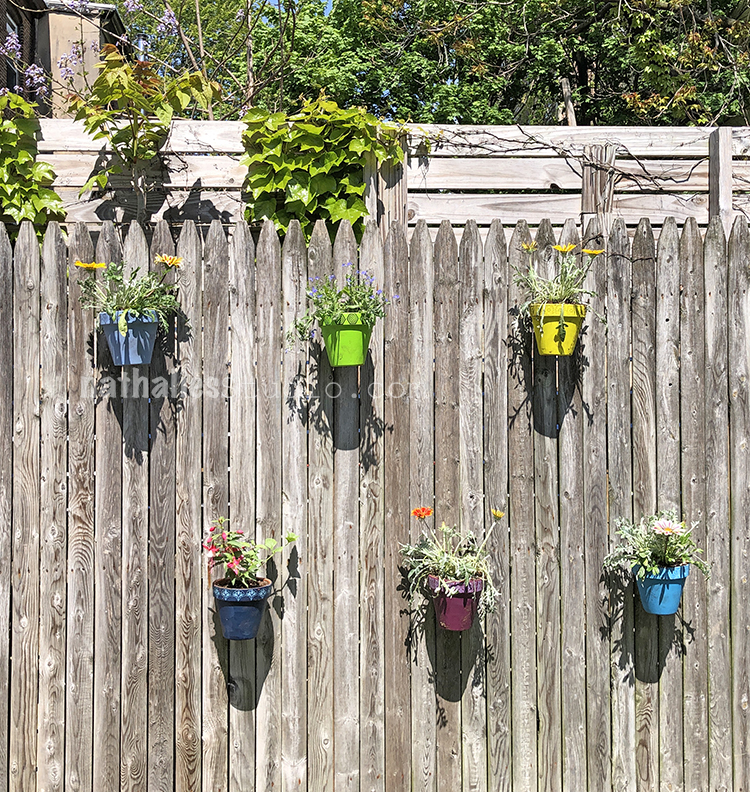
Ta-da! My colorful vertical garden :)

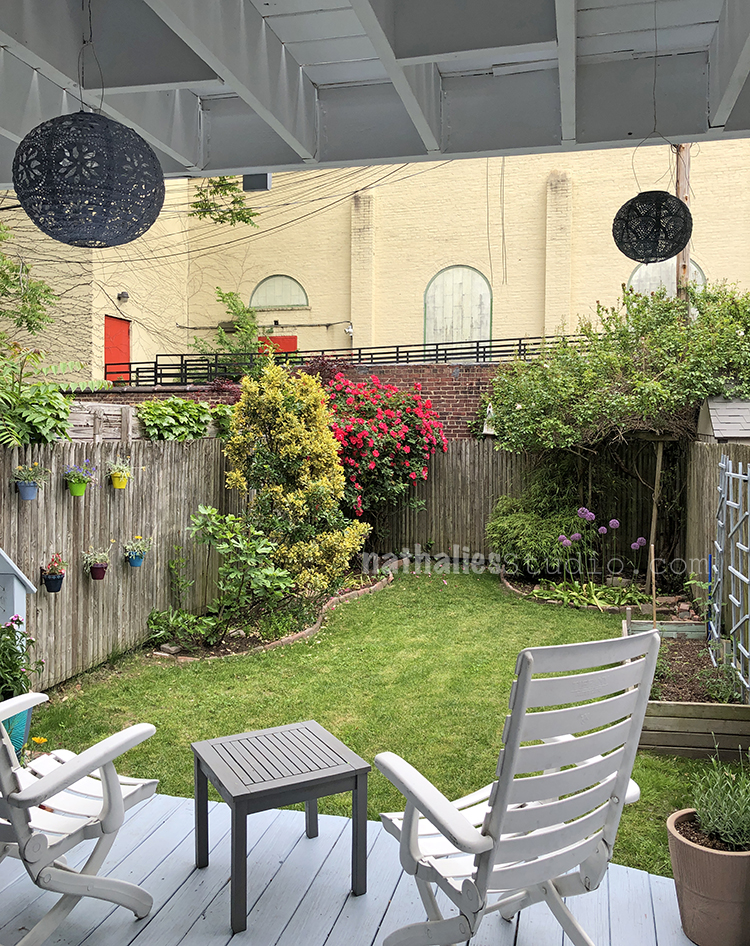
And a view of our happy oasis. I love spending time back here with hubby at the end of each day. 

Are you planting anything this year?

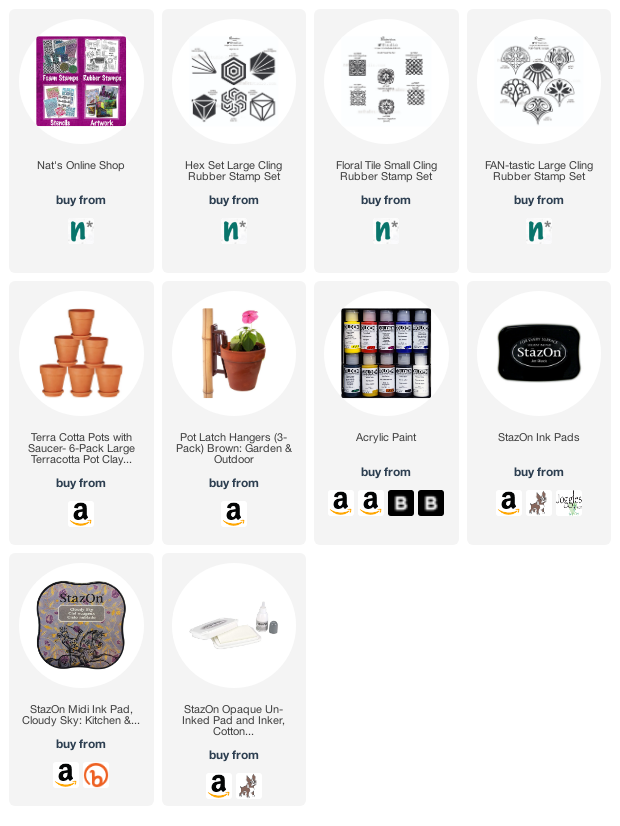
Here are some of the supplies I used for this fun project:

Comments (2)

  • Sue Clarke

    |

    So bright and cheery Nat. That’s a nice oasis you have there!

    Reply

Leave a comment

DIY: Flower Pot Madness

My friend Kim and I decided a while ago that we would stamp and stencil some flower pots and even create some as an upcoming Mother’s Day gift. I also think that Kim can’t bare seeing my really badly neglected plants on the terrace ;) (I do have a brown thumb for sure!)

We left some pots in their natural color and painted others with golden gesso and black gesso.

On some pots we used my ArtFoamies Foam stamps. We used a brayer to apply acrylic paint to the foam stamps and then used them on the pots. Especially the border stamps worked well since they can easily and carefully wrapped around the pots.

We both really loved how the colors popped off the black and golden gesso-ed pots.

For some pots we used Stencils – we secured the stencils with masking tape and it was so fun and quick.

On one pot I got a bit wild and layered all kinds of stencil designs.

While Kim took a more “less is more” approach and used one stencil with variations of color – I like that very much :)

We loved being outside and it was such an easy and colorful project – I could do this all day long- no kidding.

And then we added some herbs and dirt and voila

Don’t you think this rosemary should be happy in this new home? Well…I promised to also water it ;)

Mother’s Day can come now and …summer – Cannot wait to sit outside and enjoy my new funky colorful pots on the terrace!

Here are some of the supplies we used – some links are affiliate links:


Hope you have a wonderful day and enjoyed this little project!!!

Comments (4)

  • Sherri Scott

    |

    Nat, they’re beautiful! I might try to brighten my flower pots

    Reply

    • nathalie-kalbach

      |

      Sherri, so glad you like them and yeahhhh – brighten yours too :)

      Reply

  • Sue Clarke

    |

    Looks like you and Kim had fun and what a nice collection of pots you ended up with as well.
    Will you put any kind of protection over the paint to help the design last longer Nat?

    Reply

    • nathalie-kalbach

      |

      thank you Sue :) You can seal those with Matt Medium of course.

      Reply

Leave a comment