Creative Squad

Creative Squad: Life in Bloom – Emilie Murphy

Hello from my Creative Squad! Today we have a beautiful final post from Emilie Murphy who will be moving on from the Squad at the end of March. We have loved having her on and sharing her gorgeous style and talent for illustration with you. This month Emilie is using my Art Deco Summit, Art Deco Wallpaper and New Orleans stencils and our theme: Life in Bloom – It’s been a long winter where we are and I’m dreaming of flowers and gardens and spring. Indulge us all in a project that focuses on one of Mother Nature’s most exuberant symbols of life: flowers flowers flowers!


Hi there!

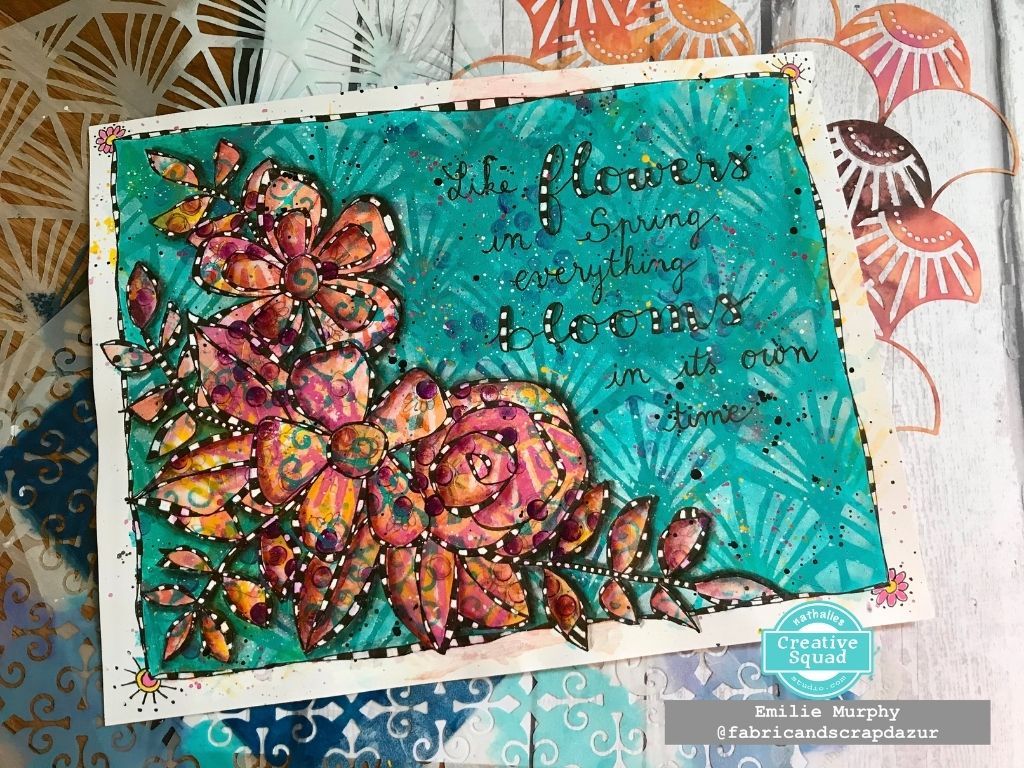
Can’t believe that we are already in March. Time flies, for sure, despite the long and pretty cold winter we had this year. I can’t wait to see the first flowers blooming. Let me show you, today, how I made my art journal page to illustrate the “Life in bloom” theme of this month.

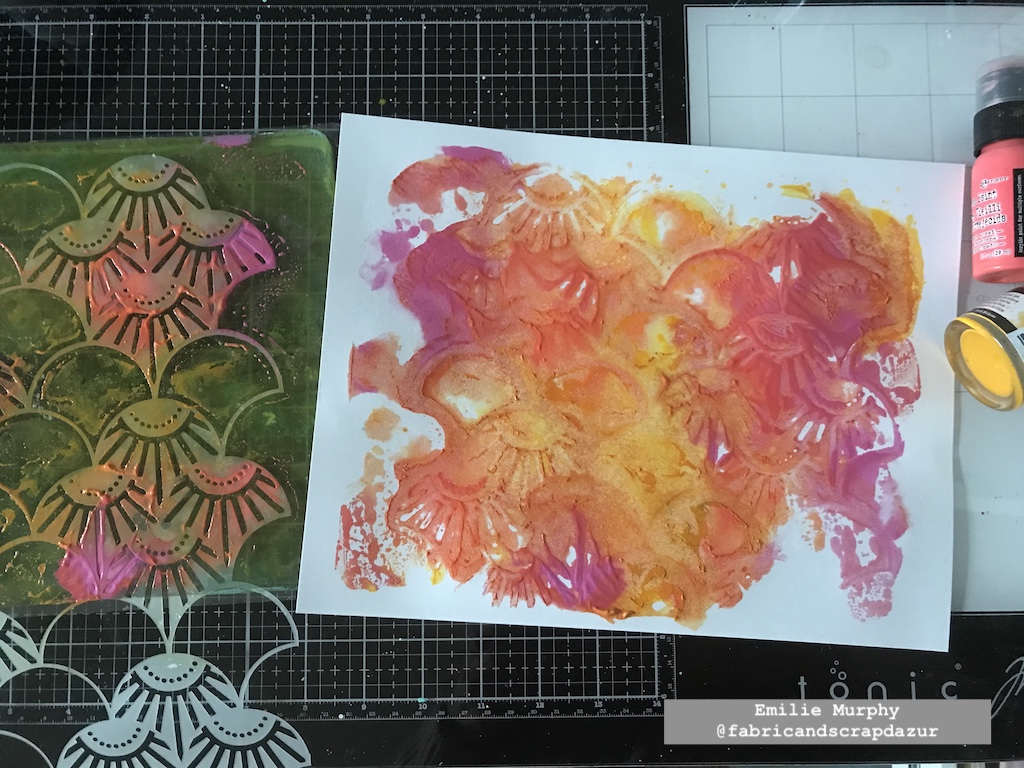
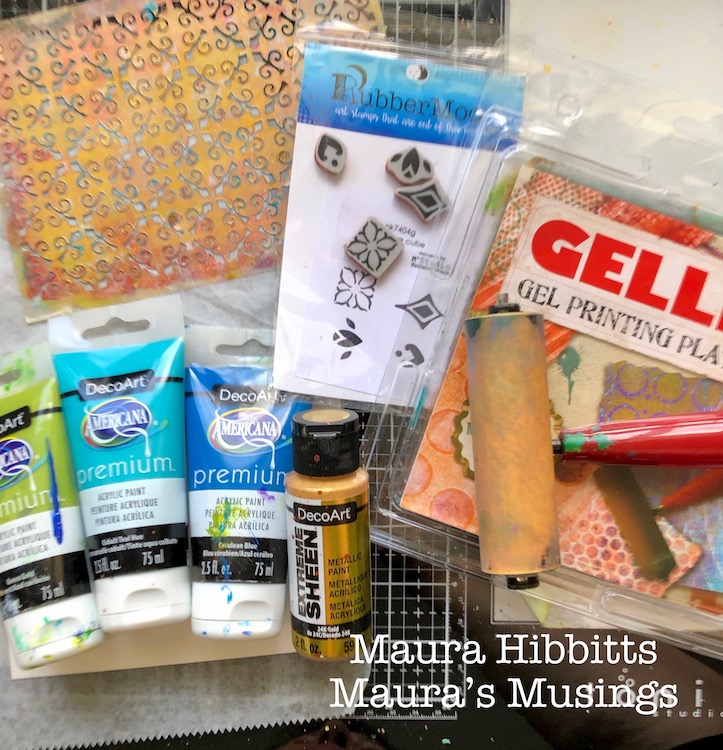
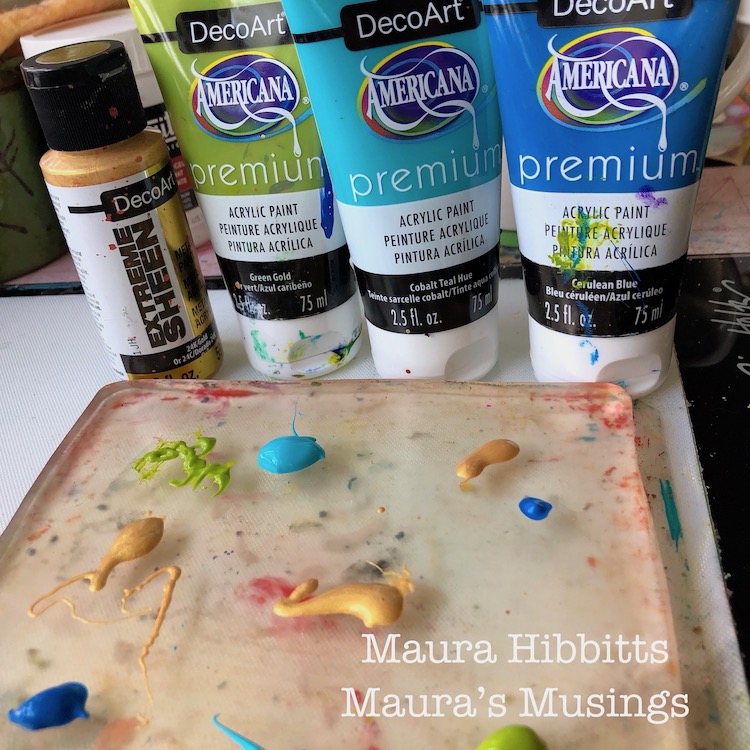
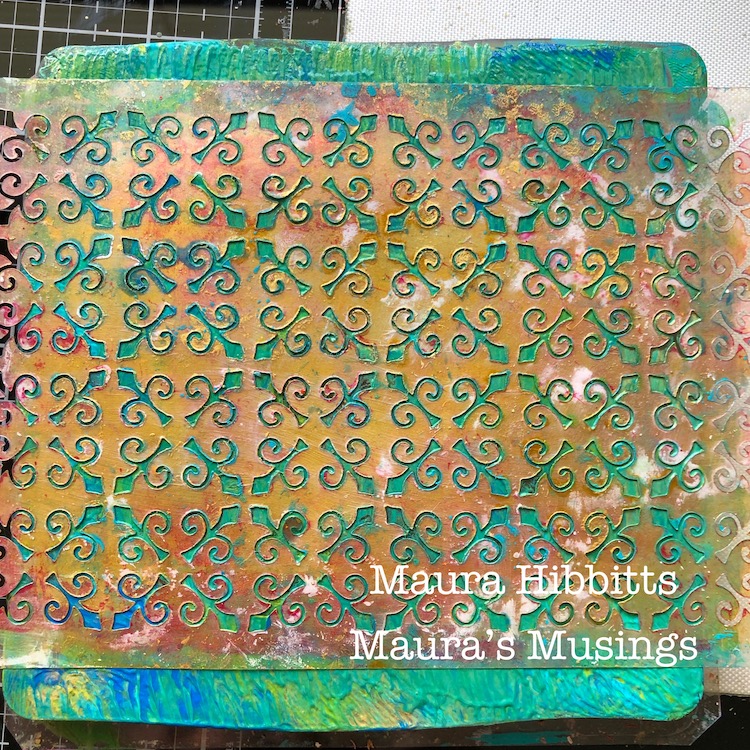
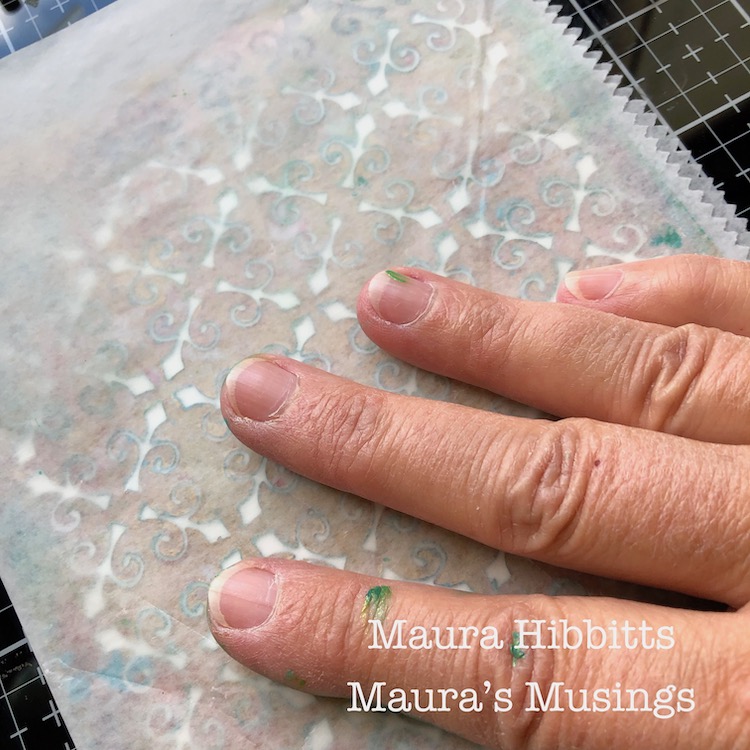
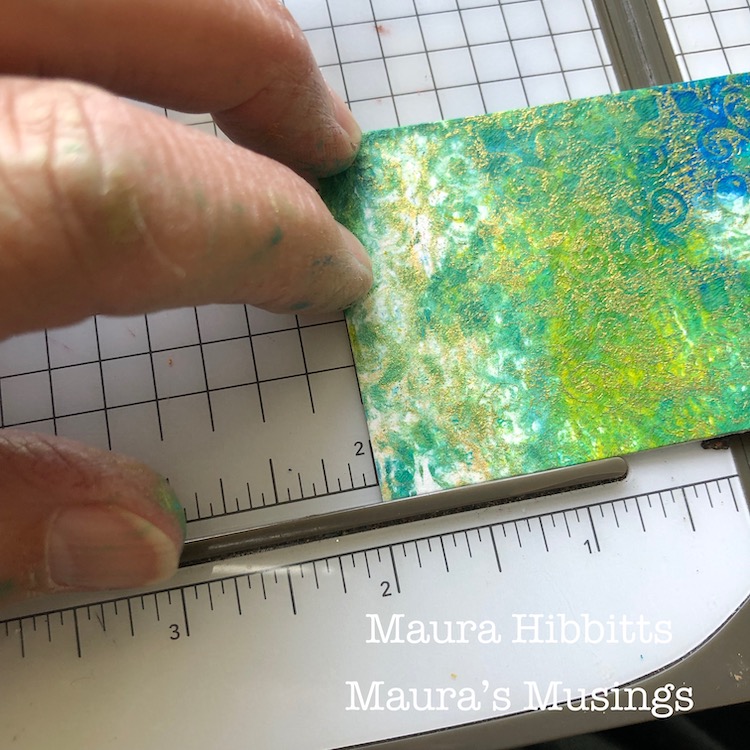
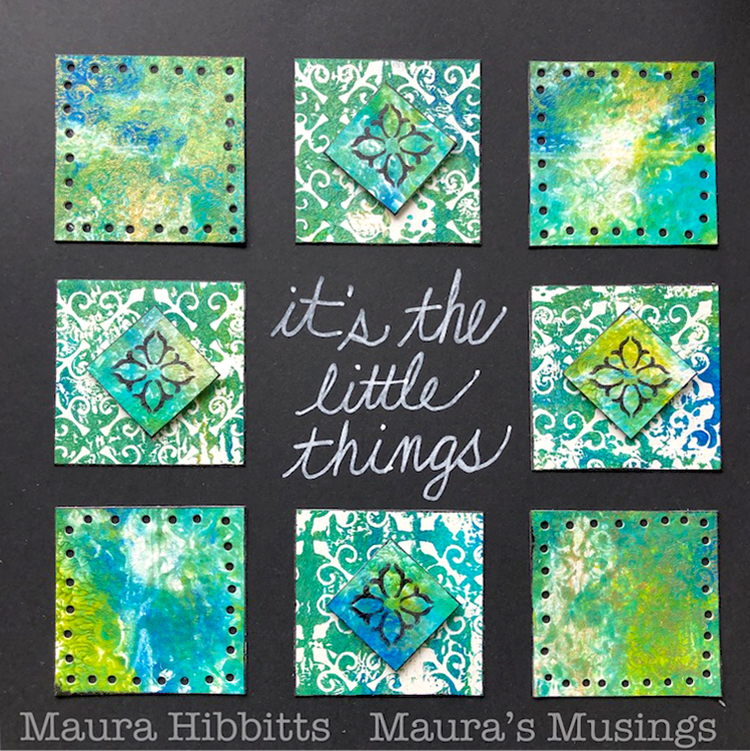
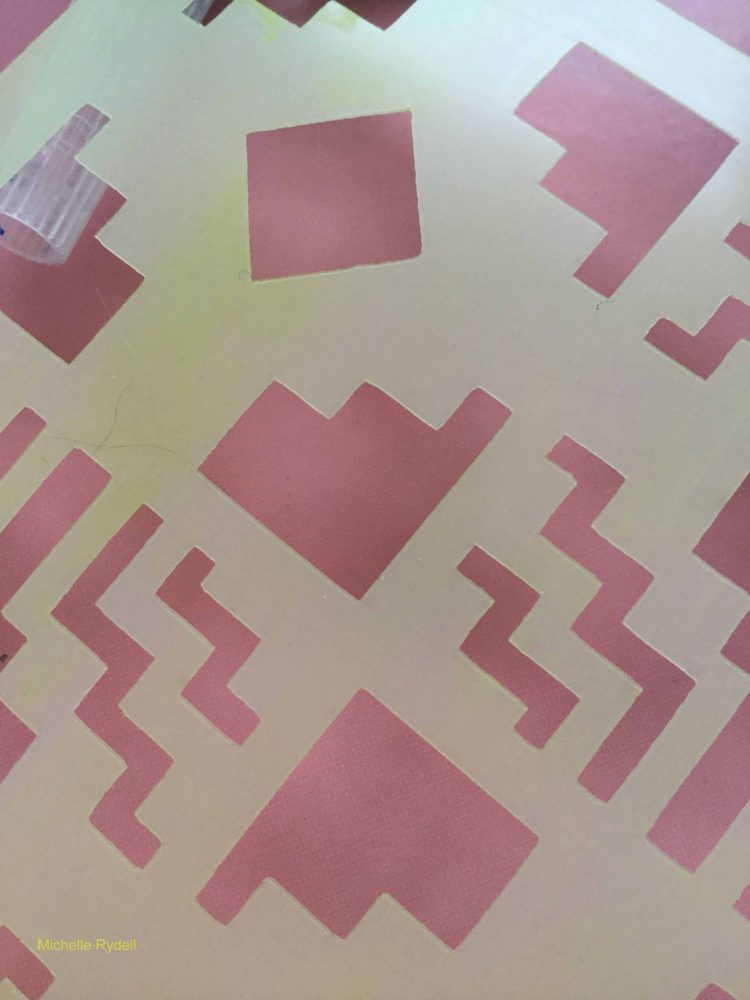
To start my project, I used my Gelli plate with my favorite warm colors using a sheet of 8.5×11 white cardstock. I first applied the paints by mixing them a little bit with each other, I then laid down the Art Deco Summit stencil and pulled the print. I mixed acrylic paint and ink to get a kind of washy look.

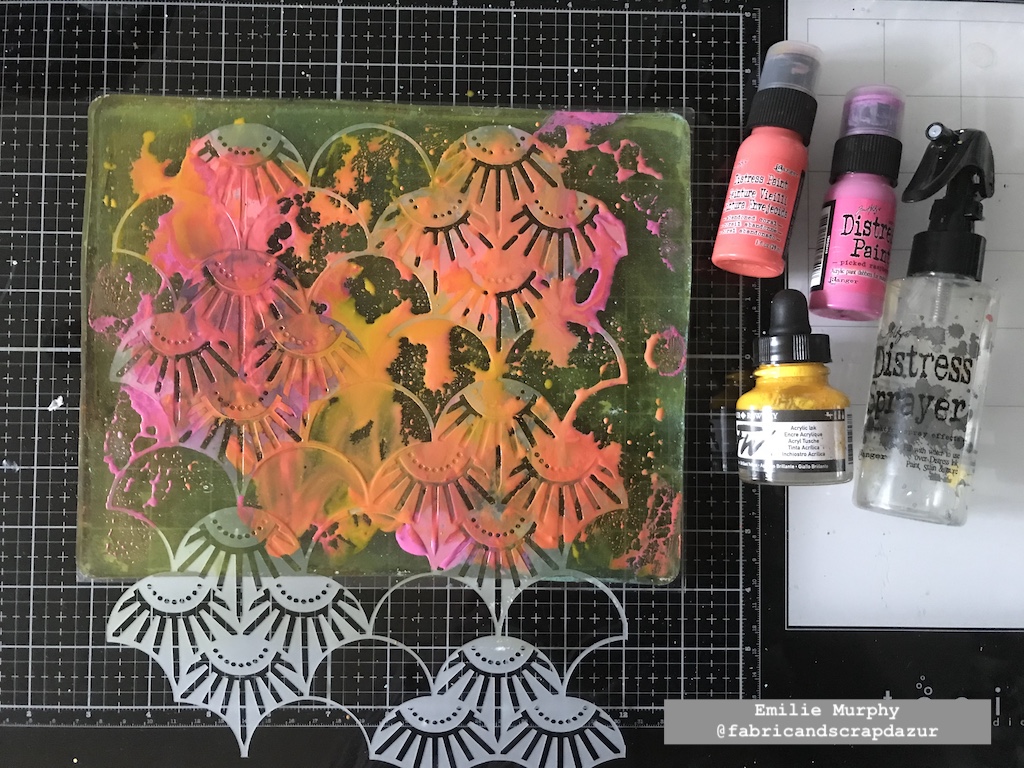
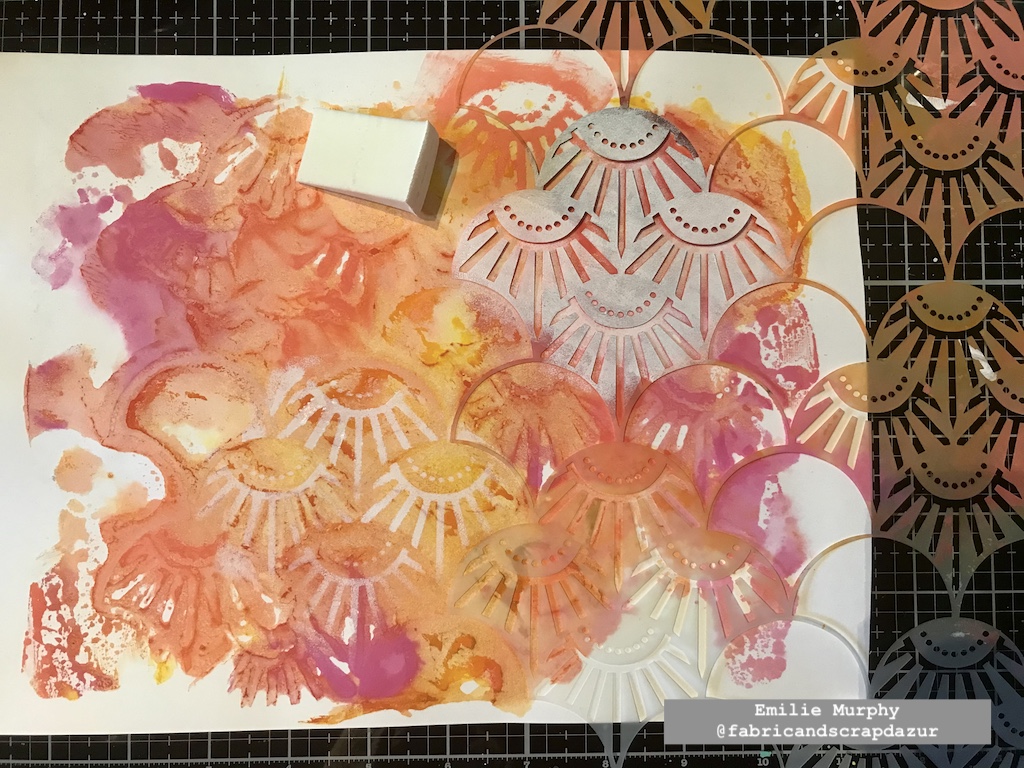
Next, I started to build my background by applying white paint through the Art Deco Summit stencil again.

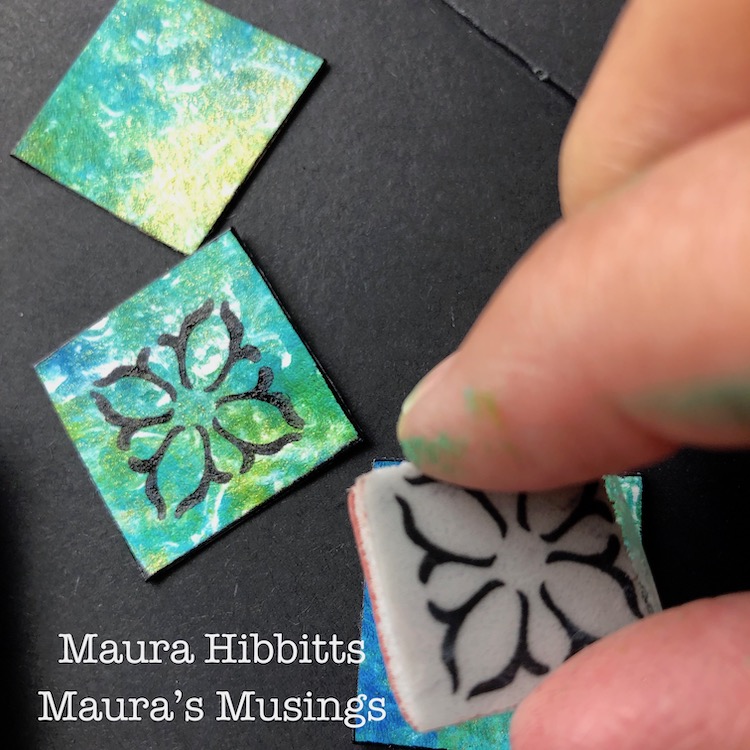
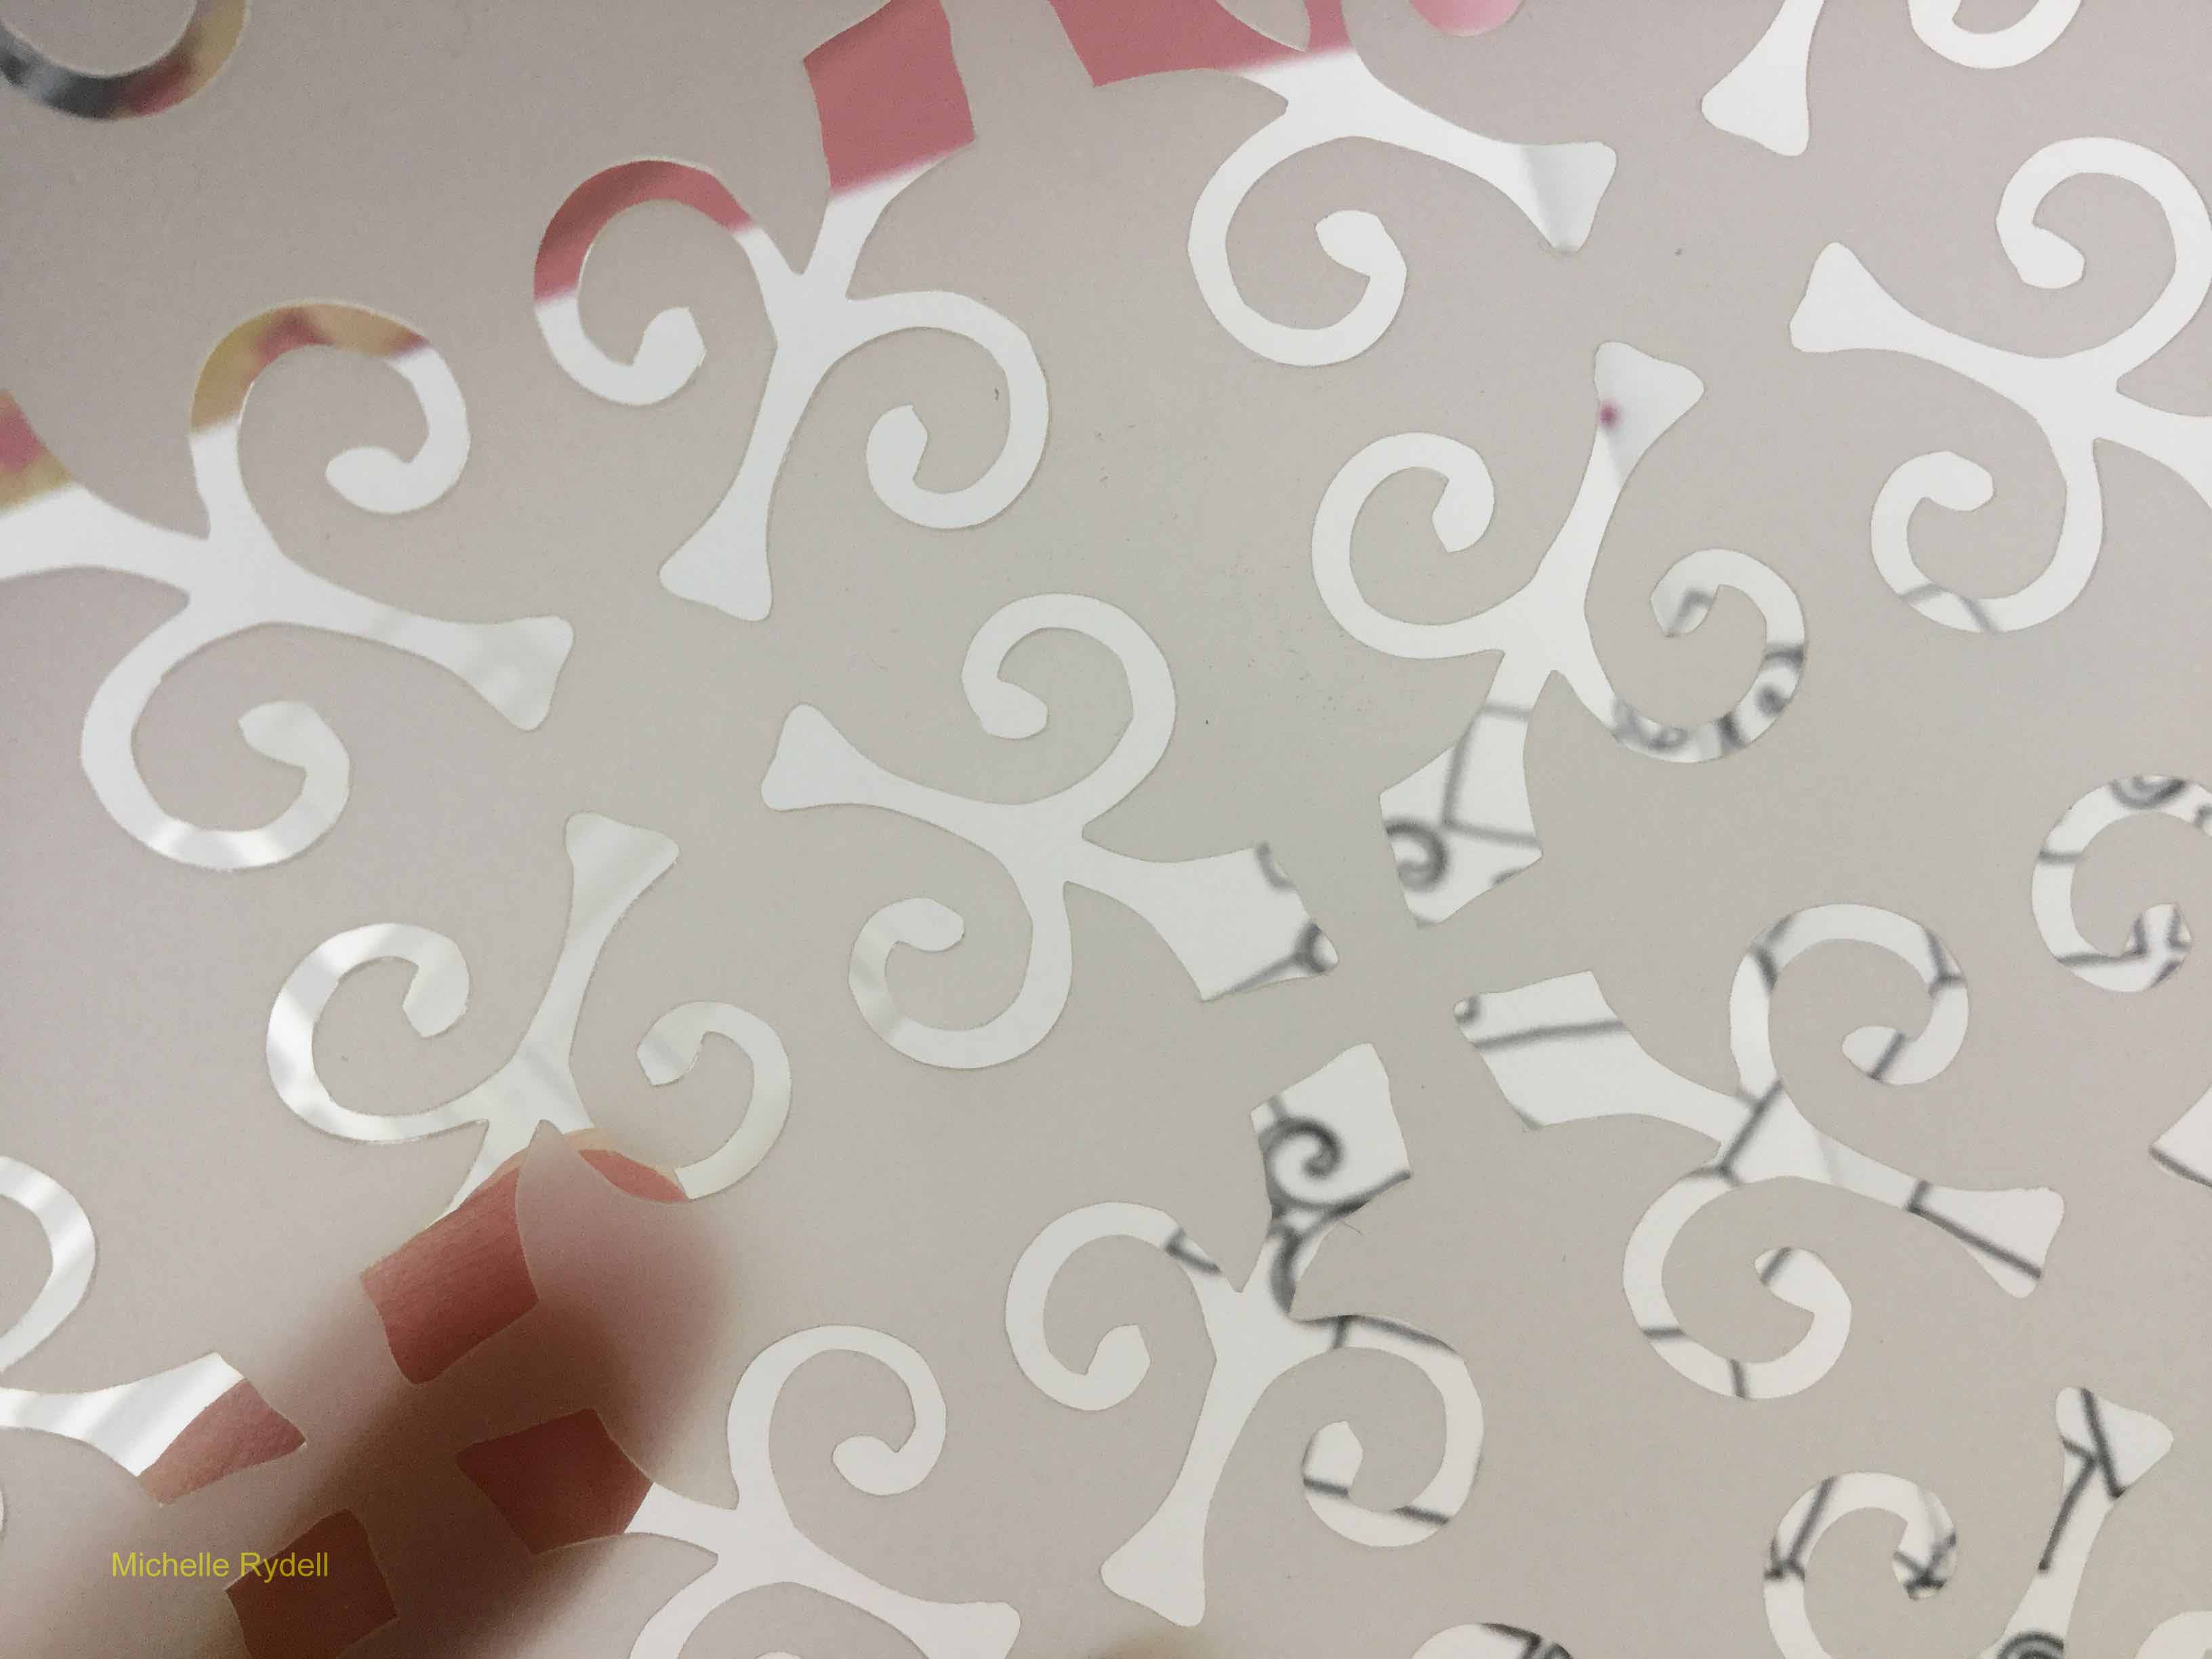
Then I did the same thing with the New Orleans and Art Deco Wallpaper stencils.

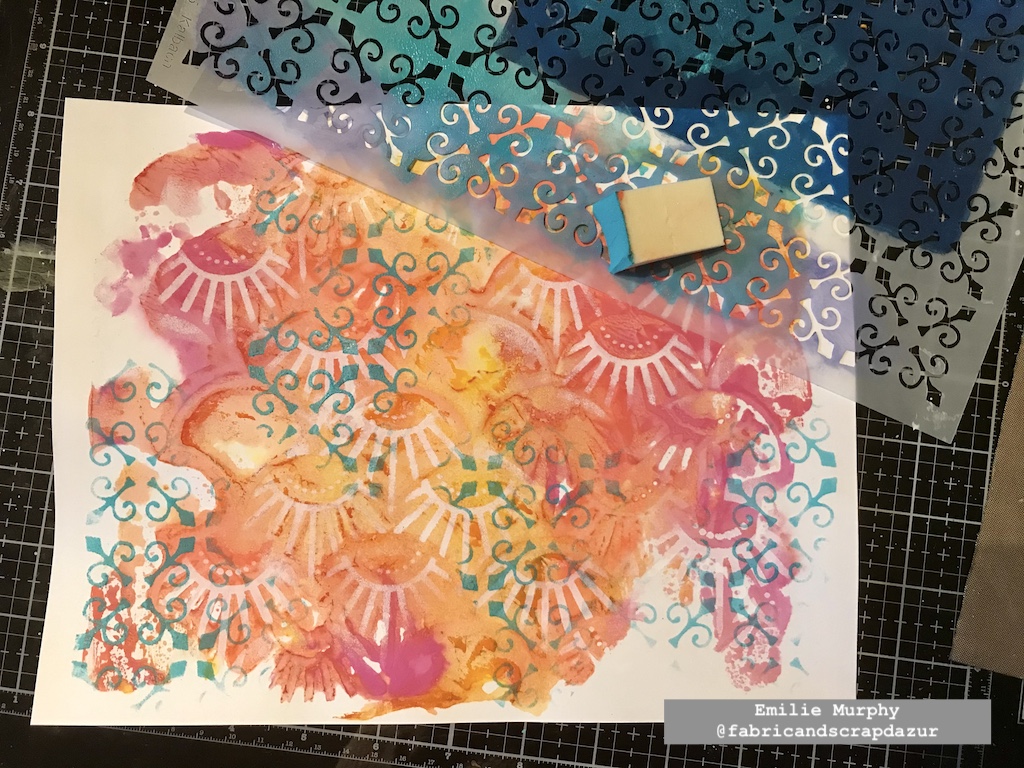
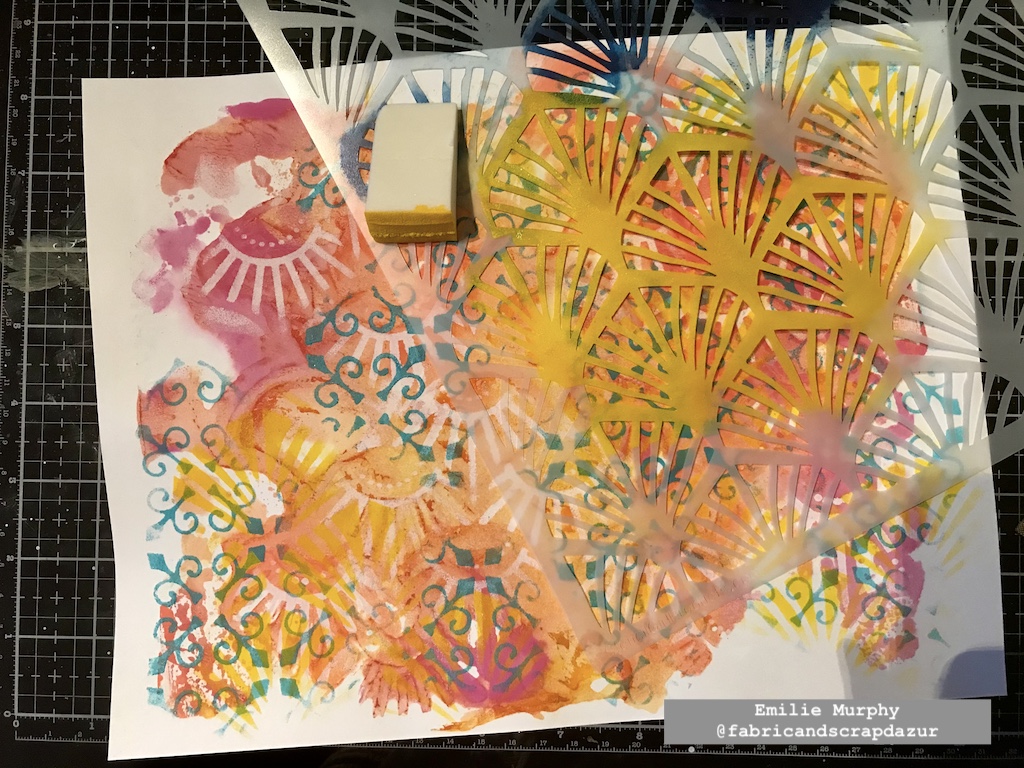
I kept adding layers with my warm colors, alternating between the pattern stencils.

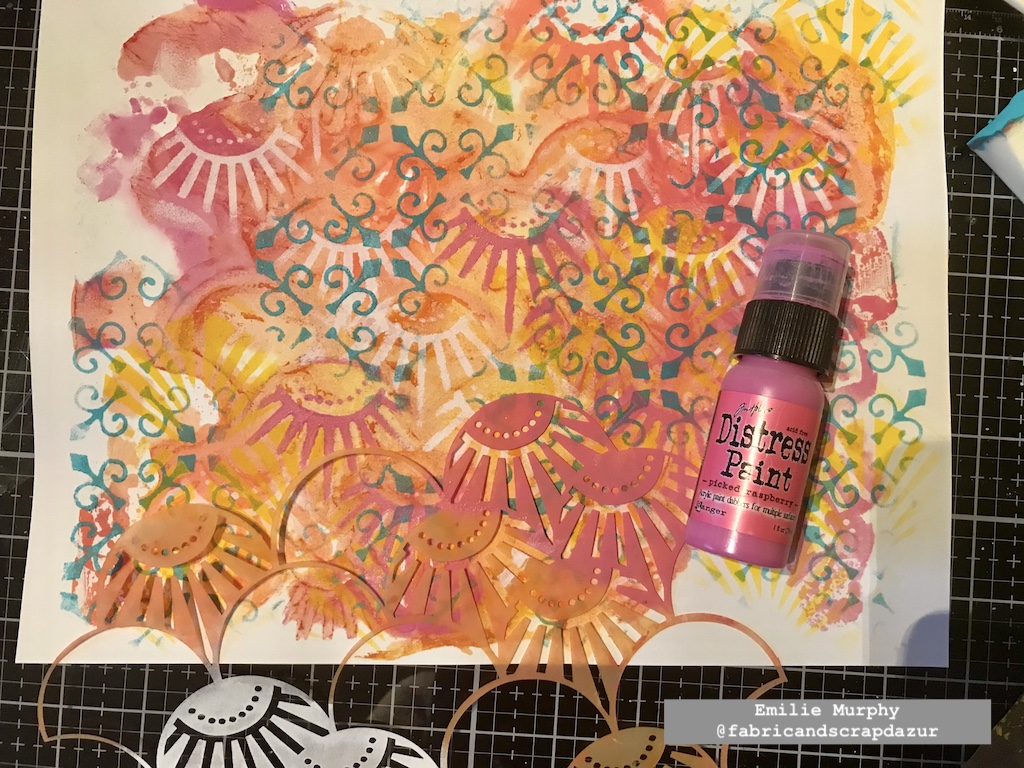
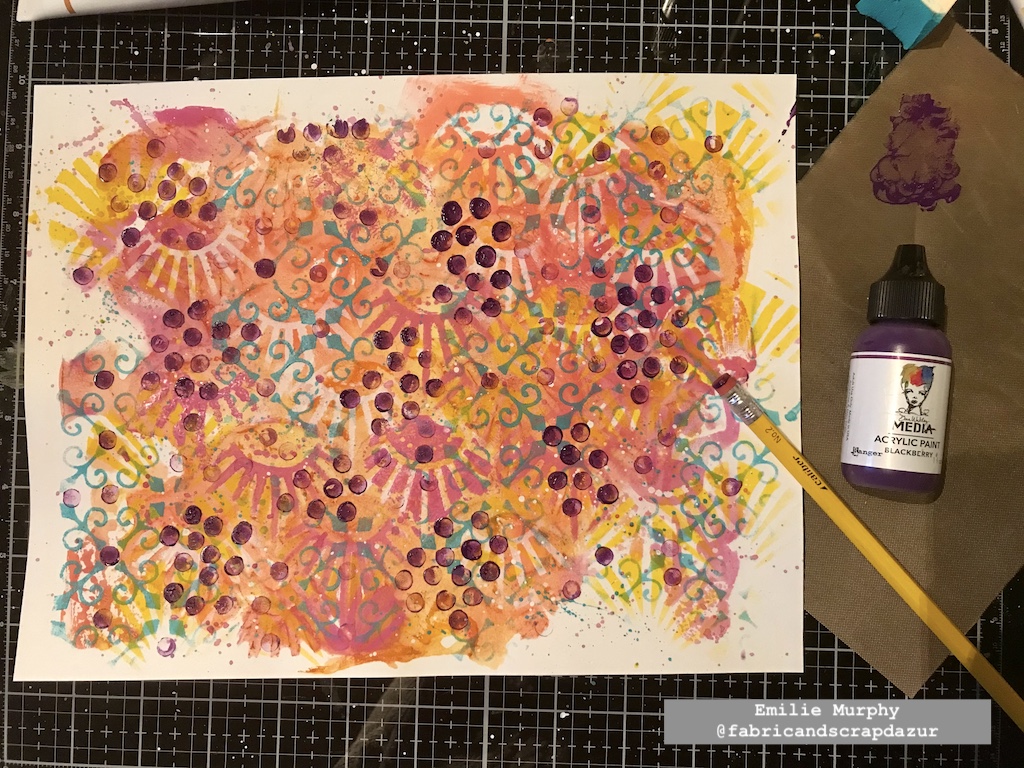
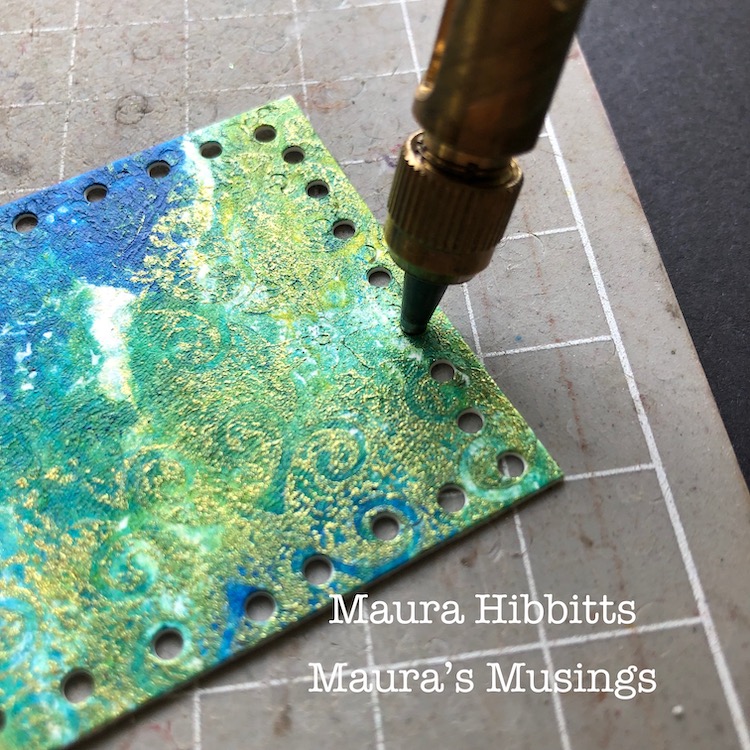
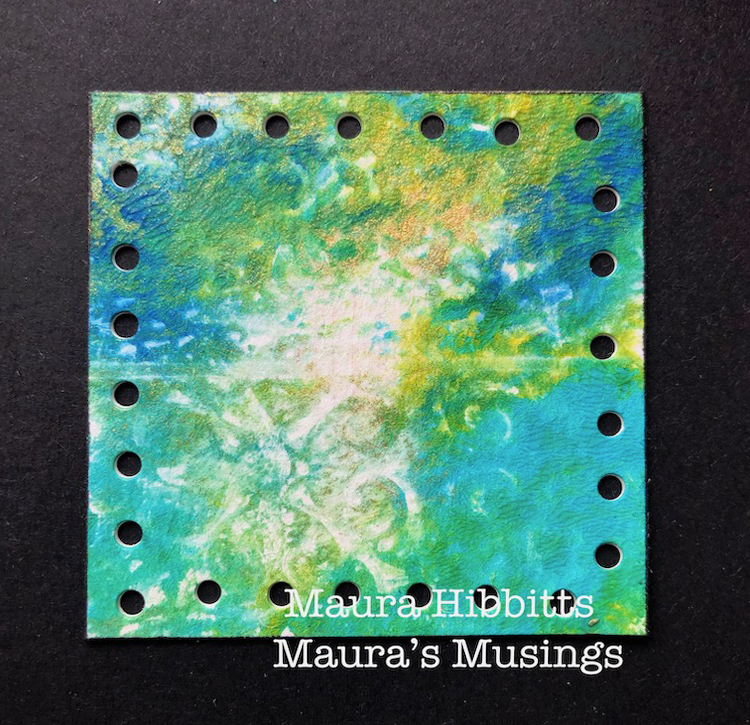
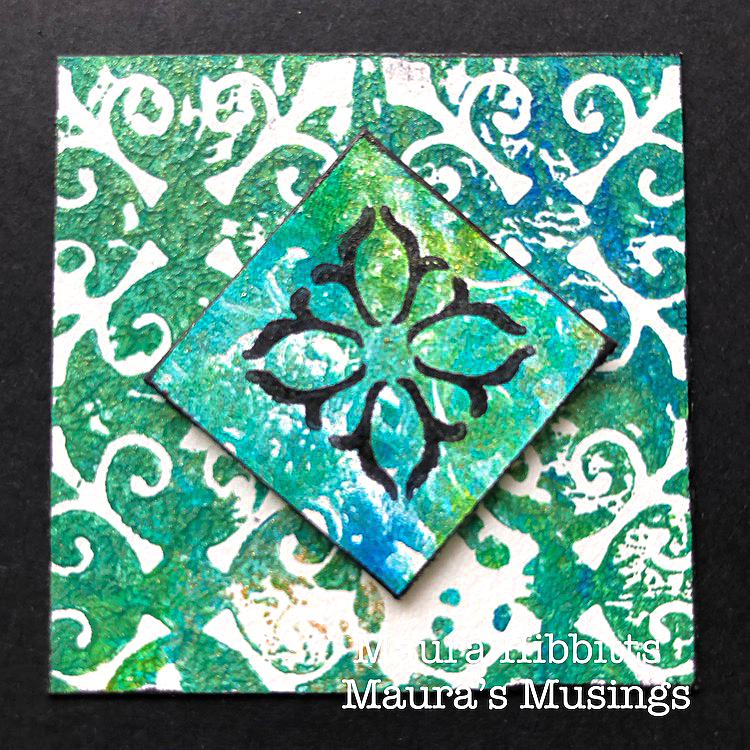
I added some dots with the rubber tip of my pencil.

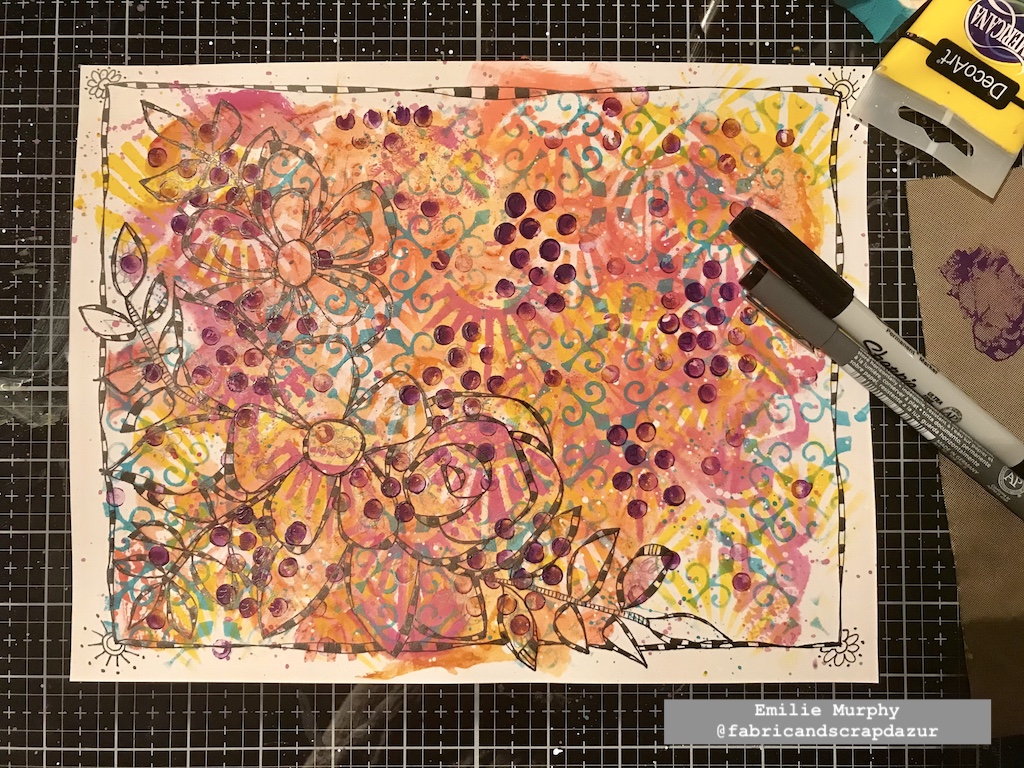
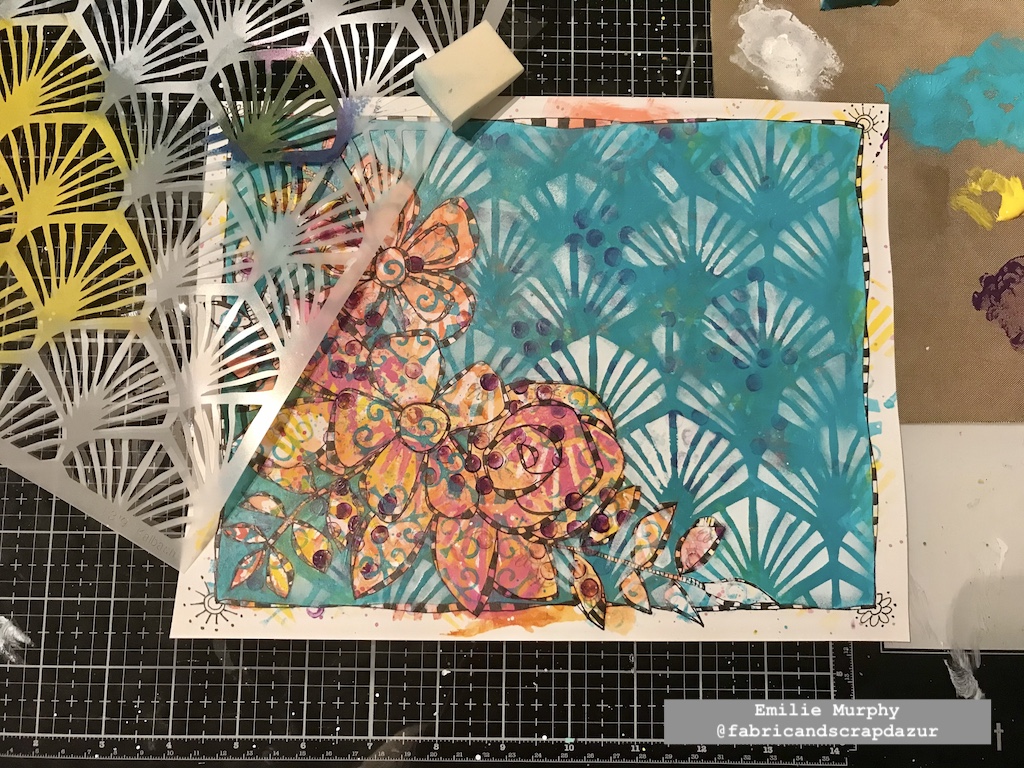
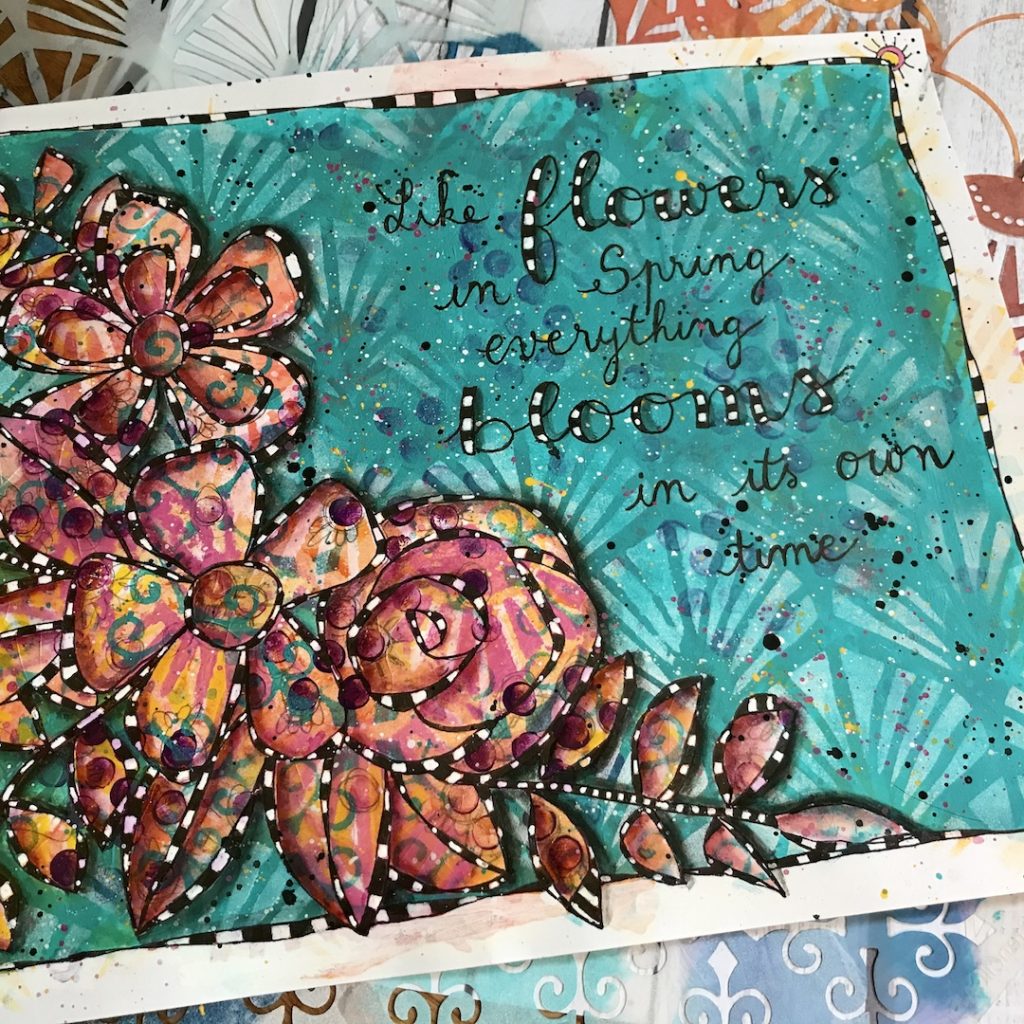
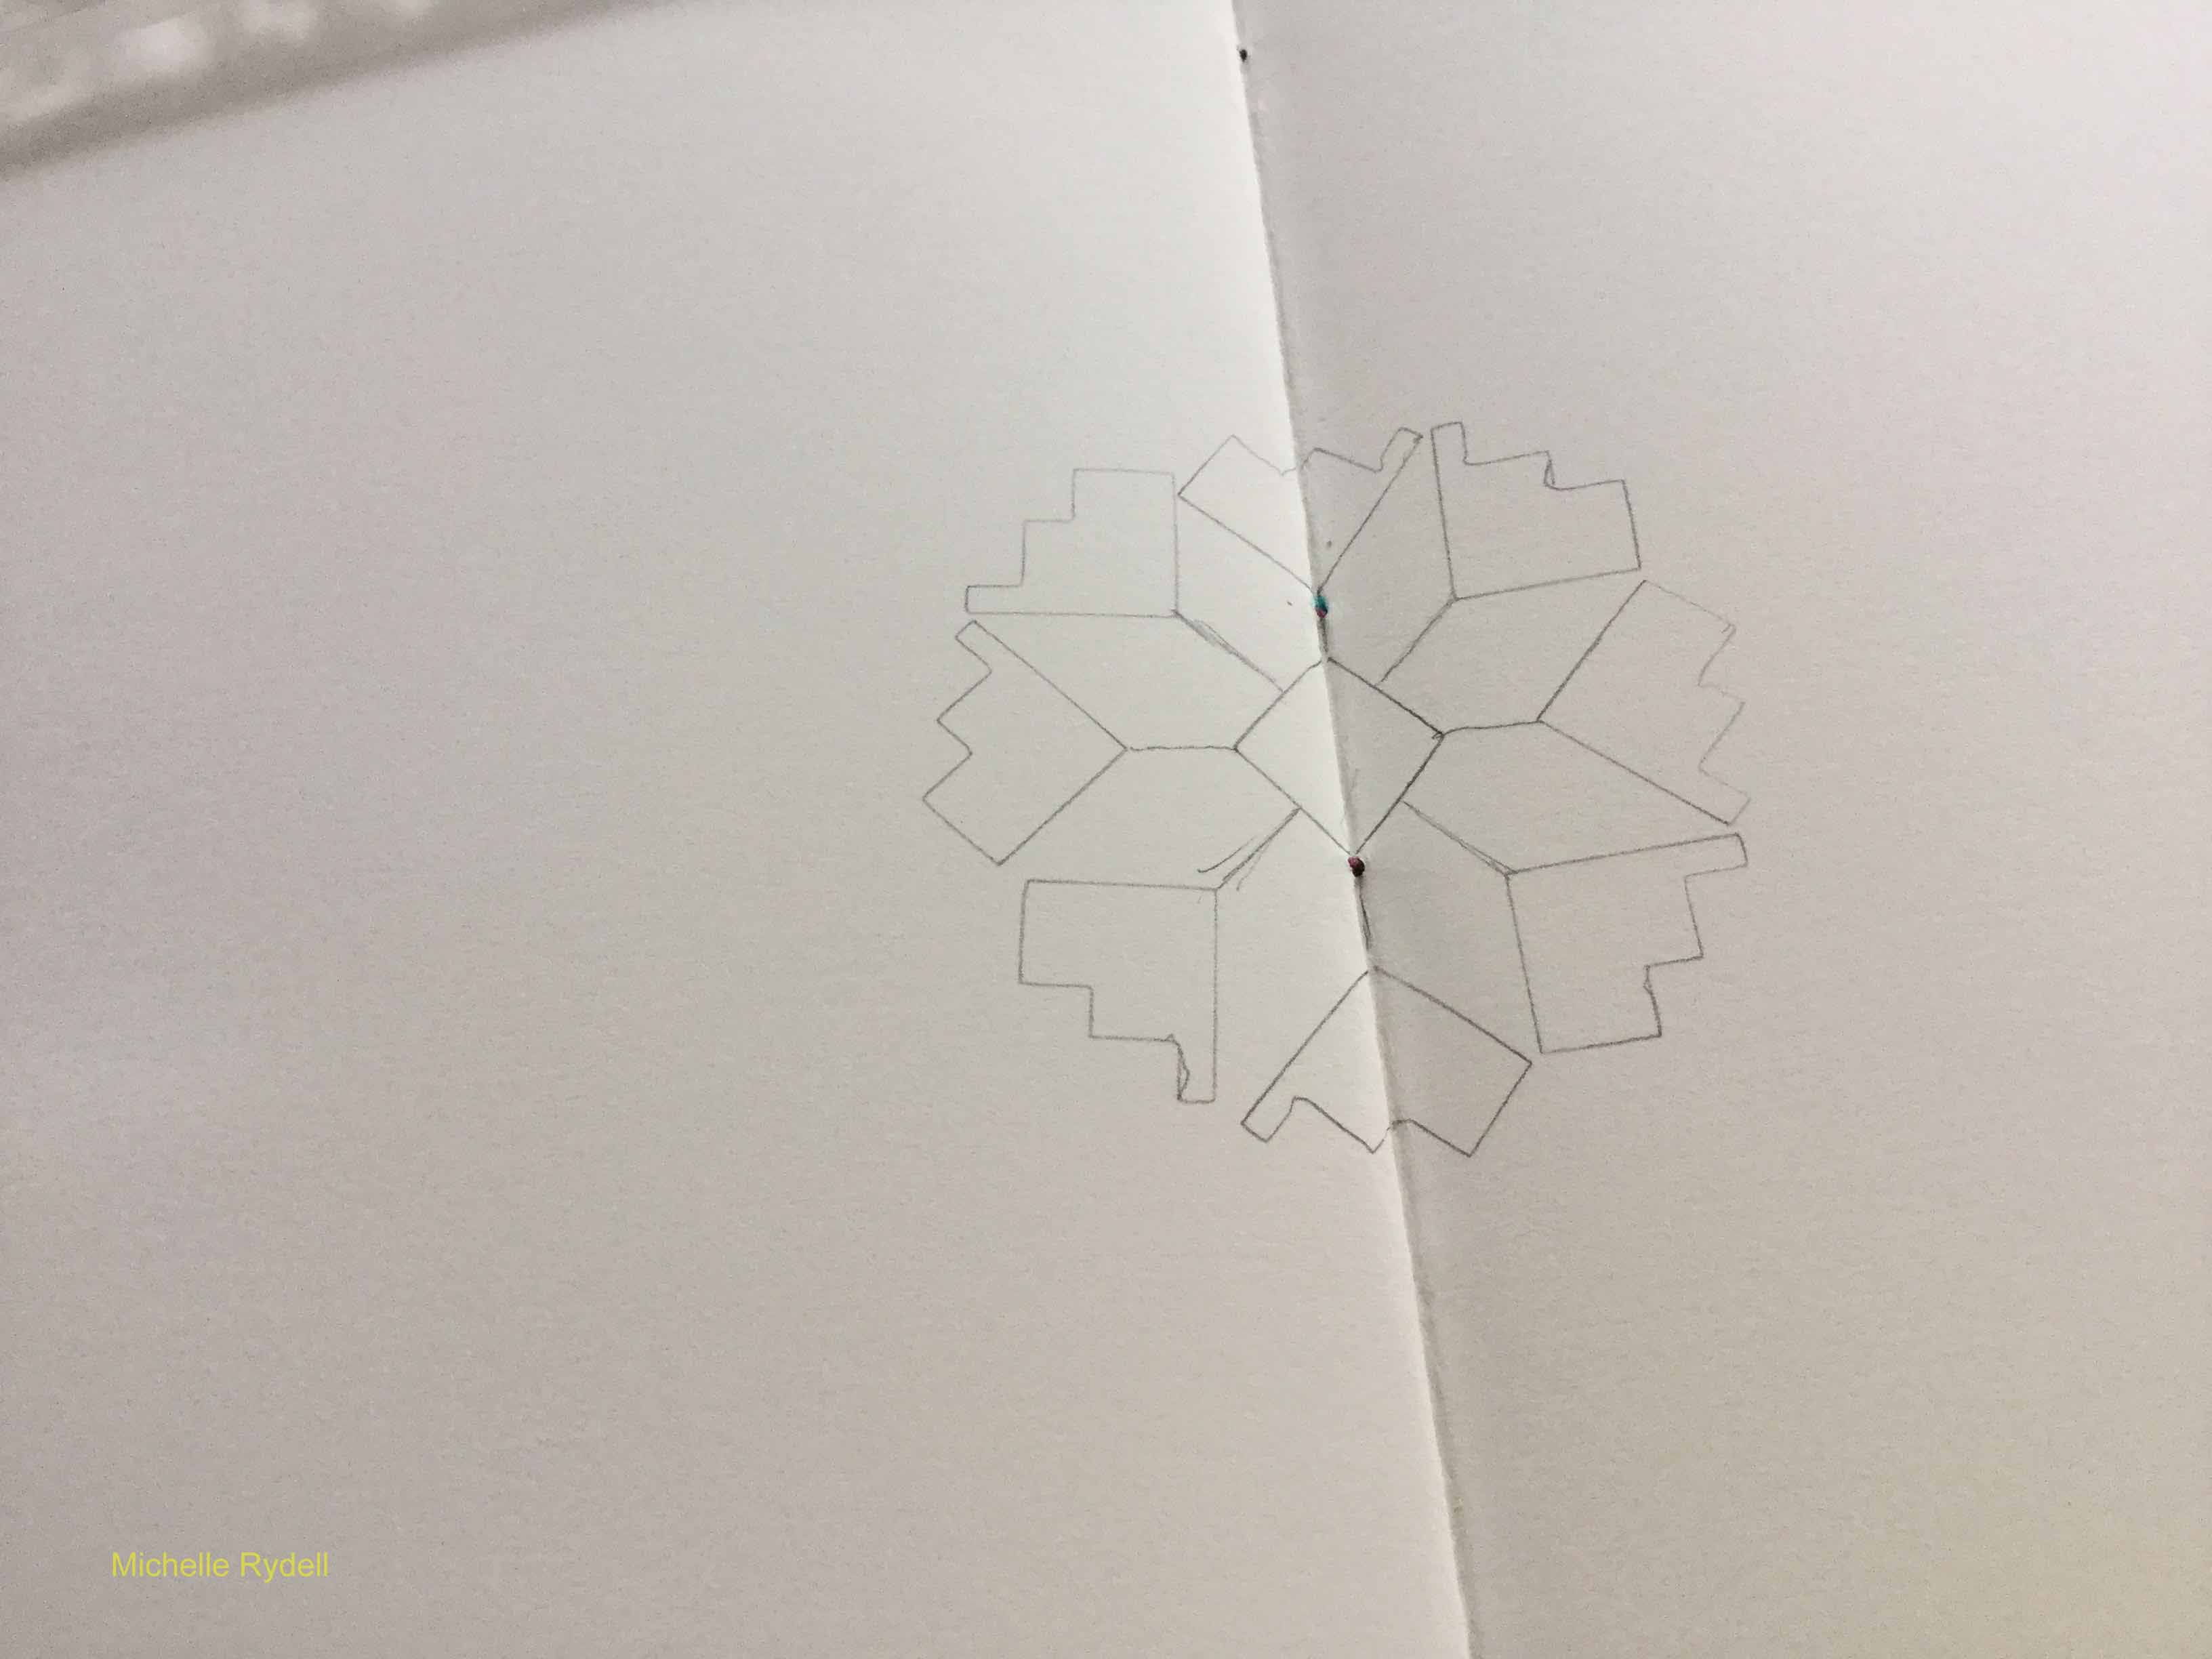
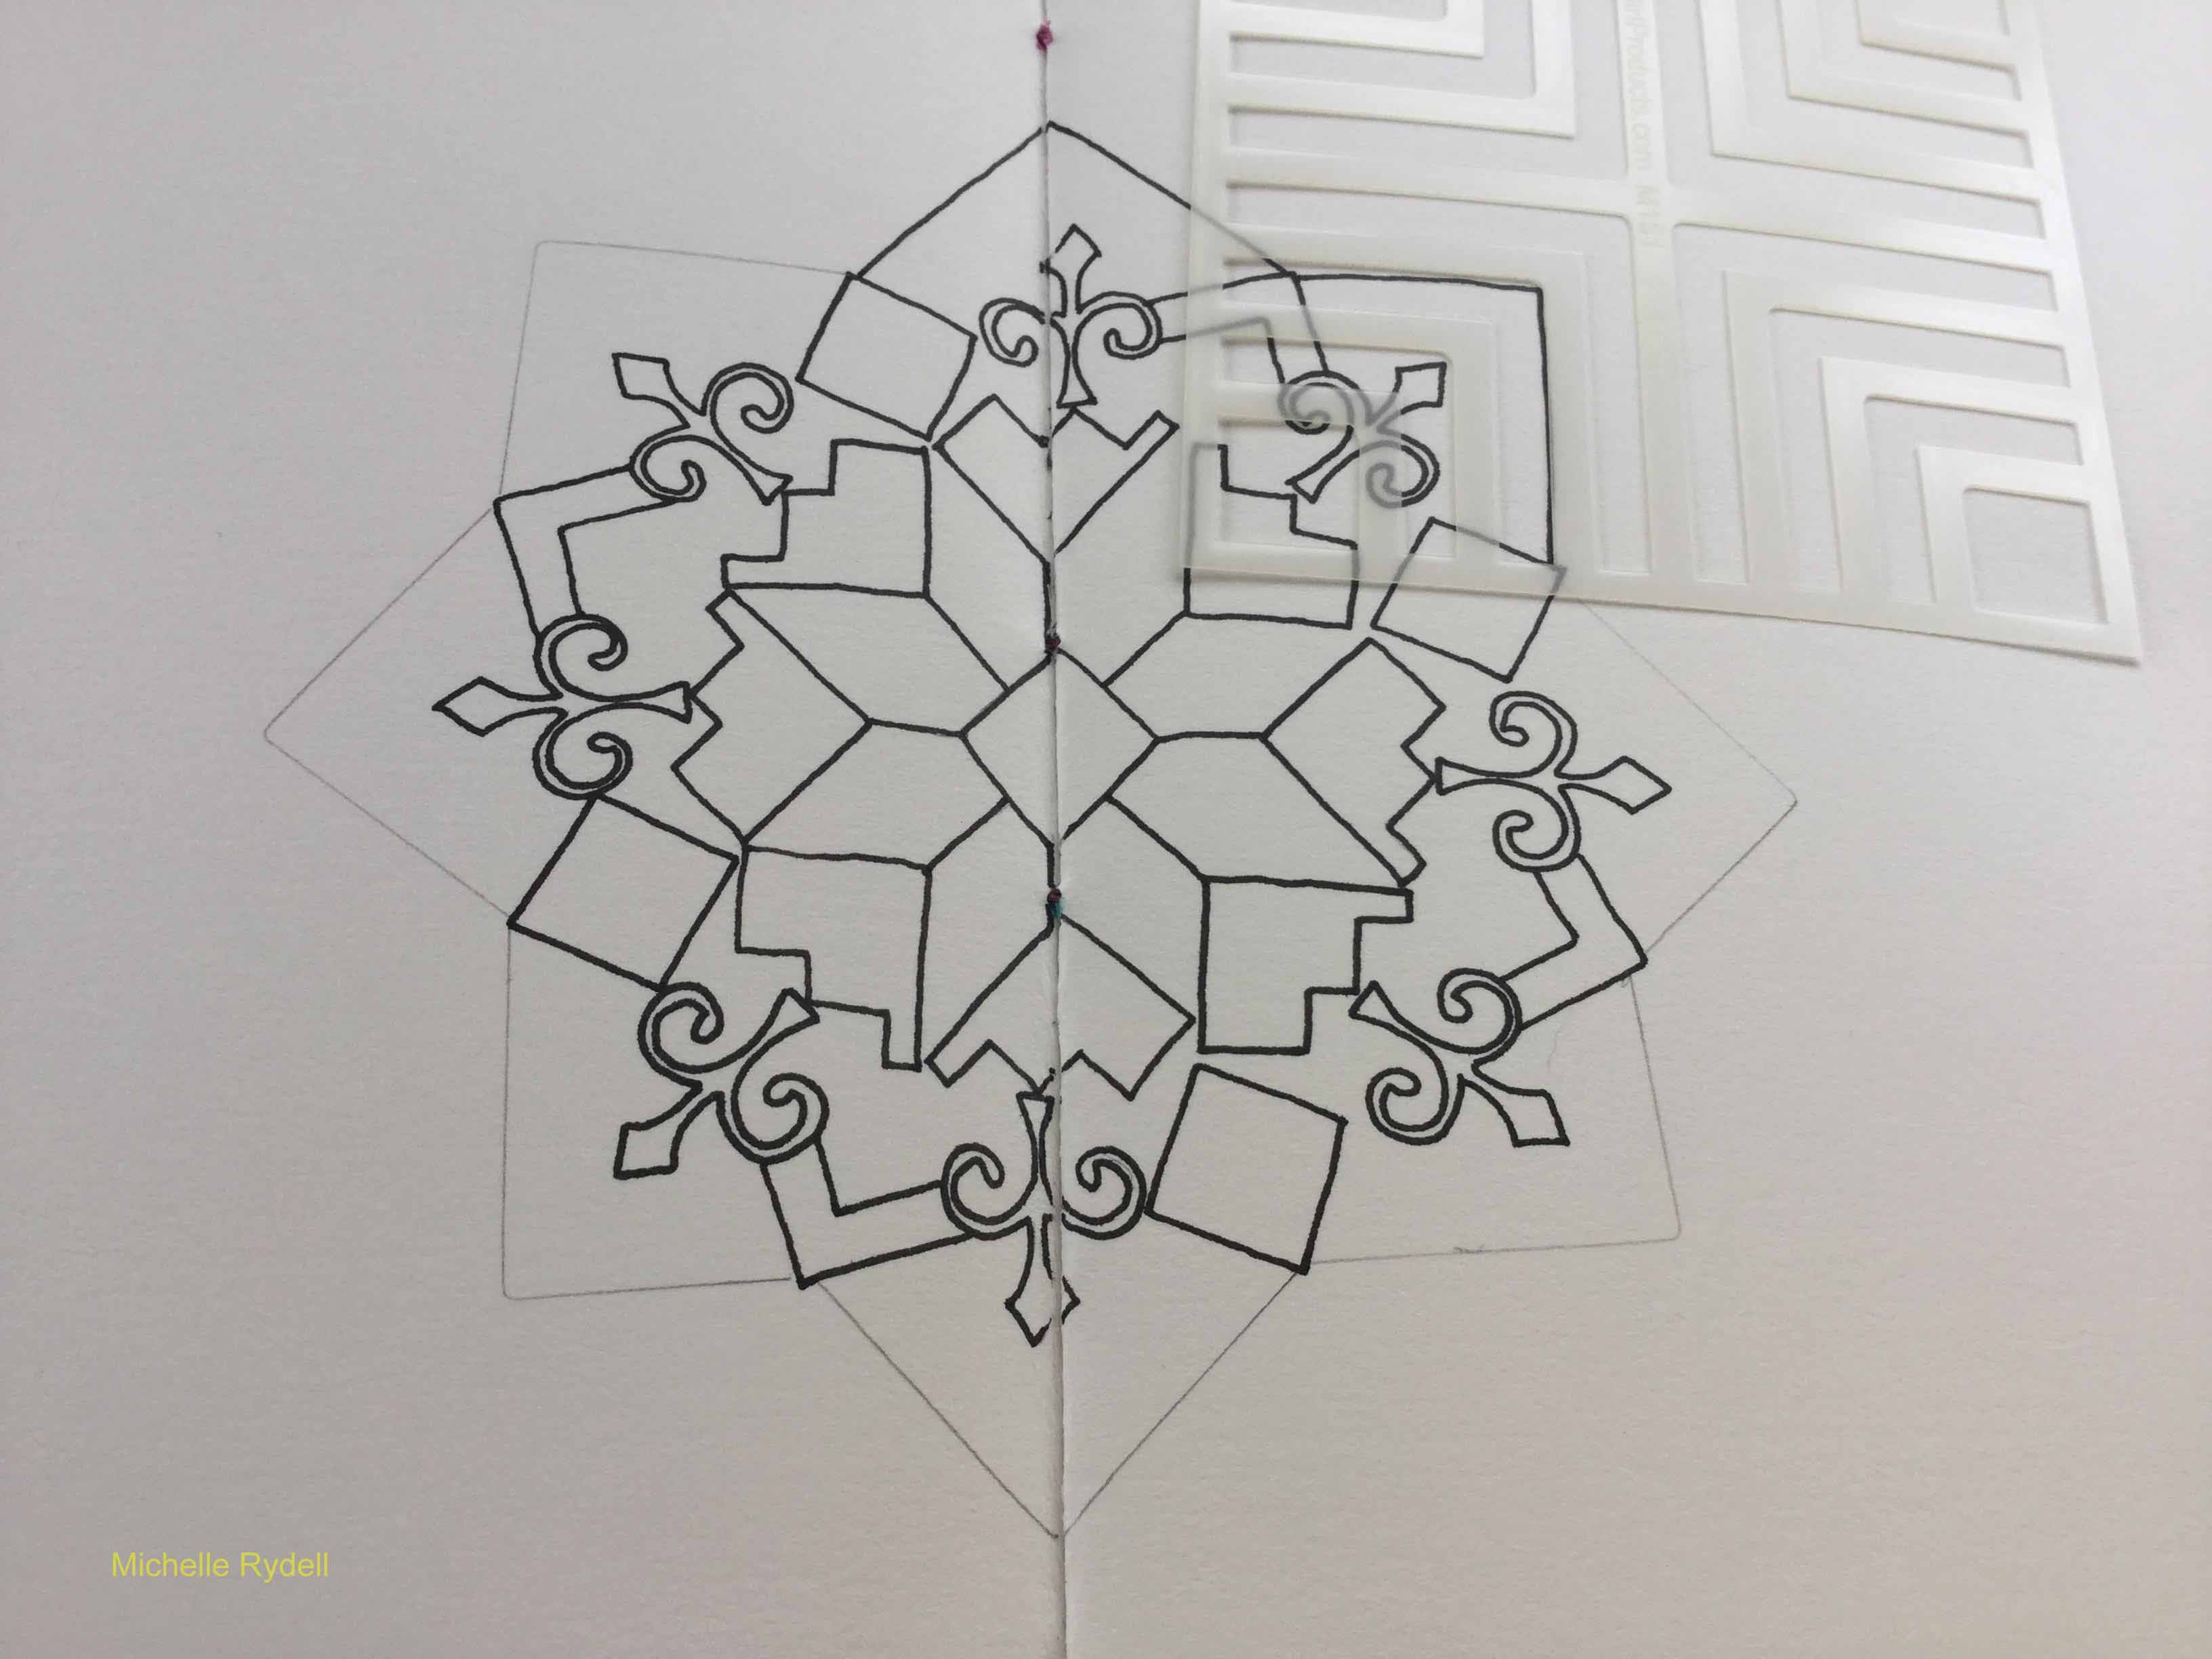
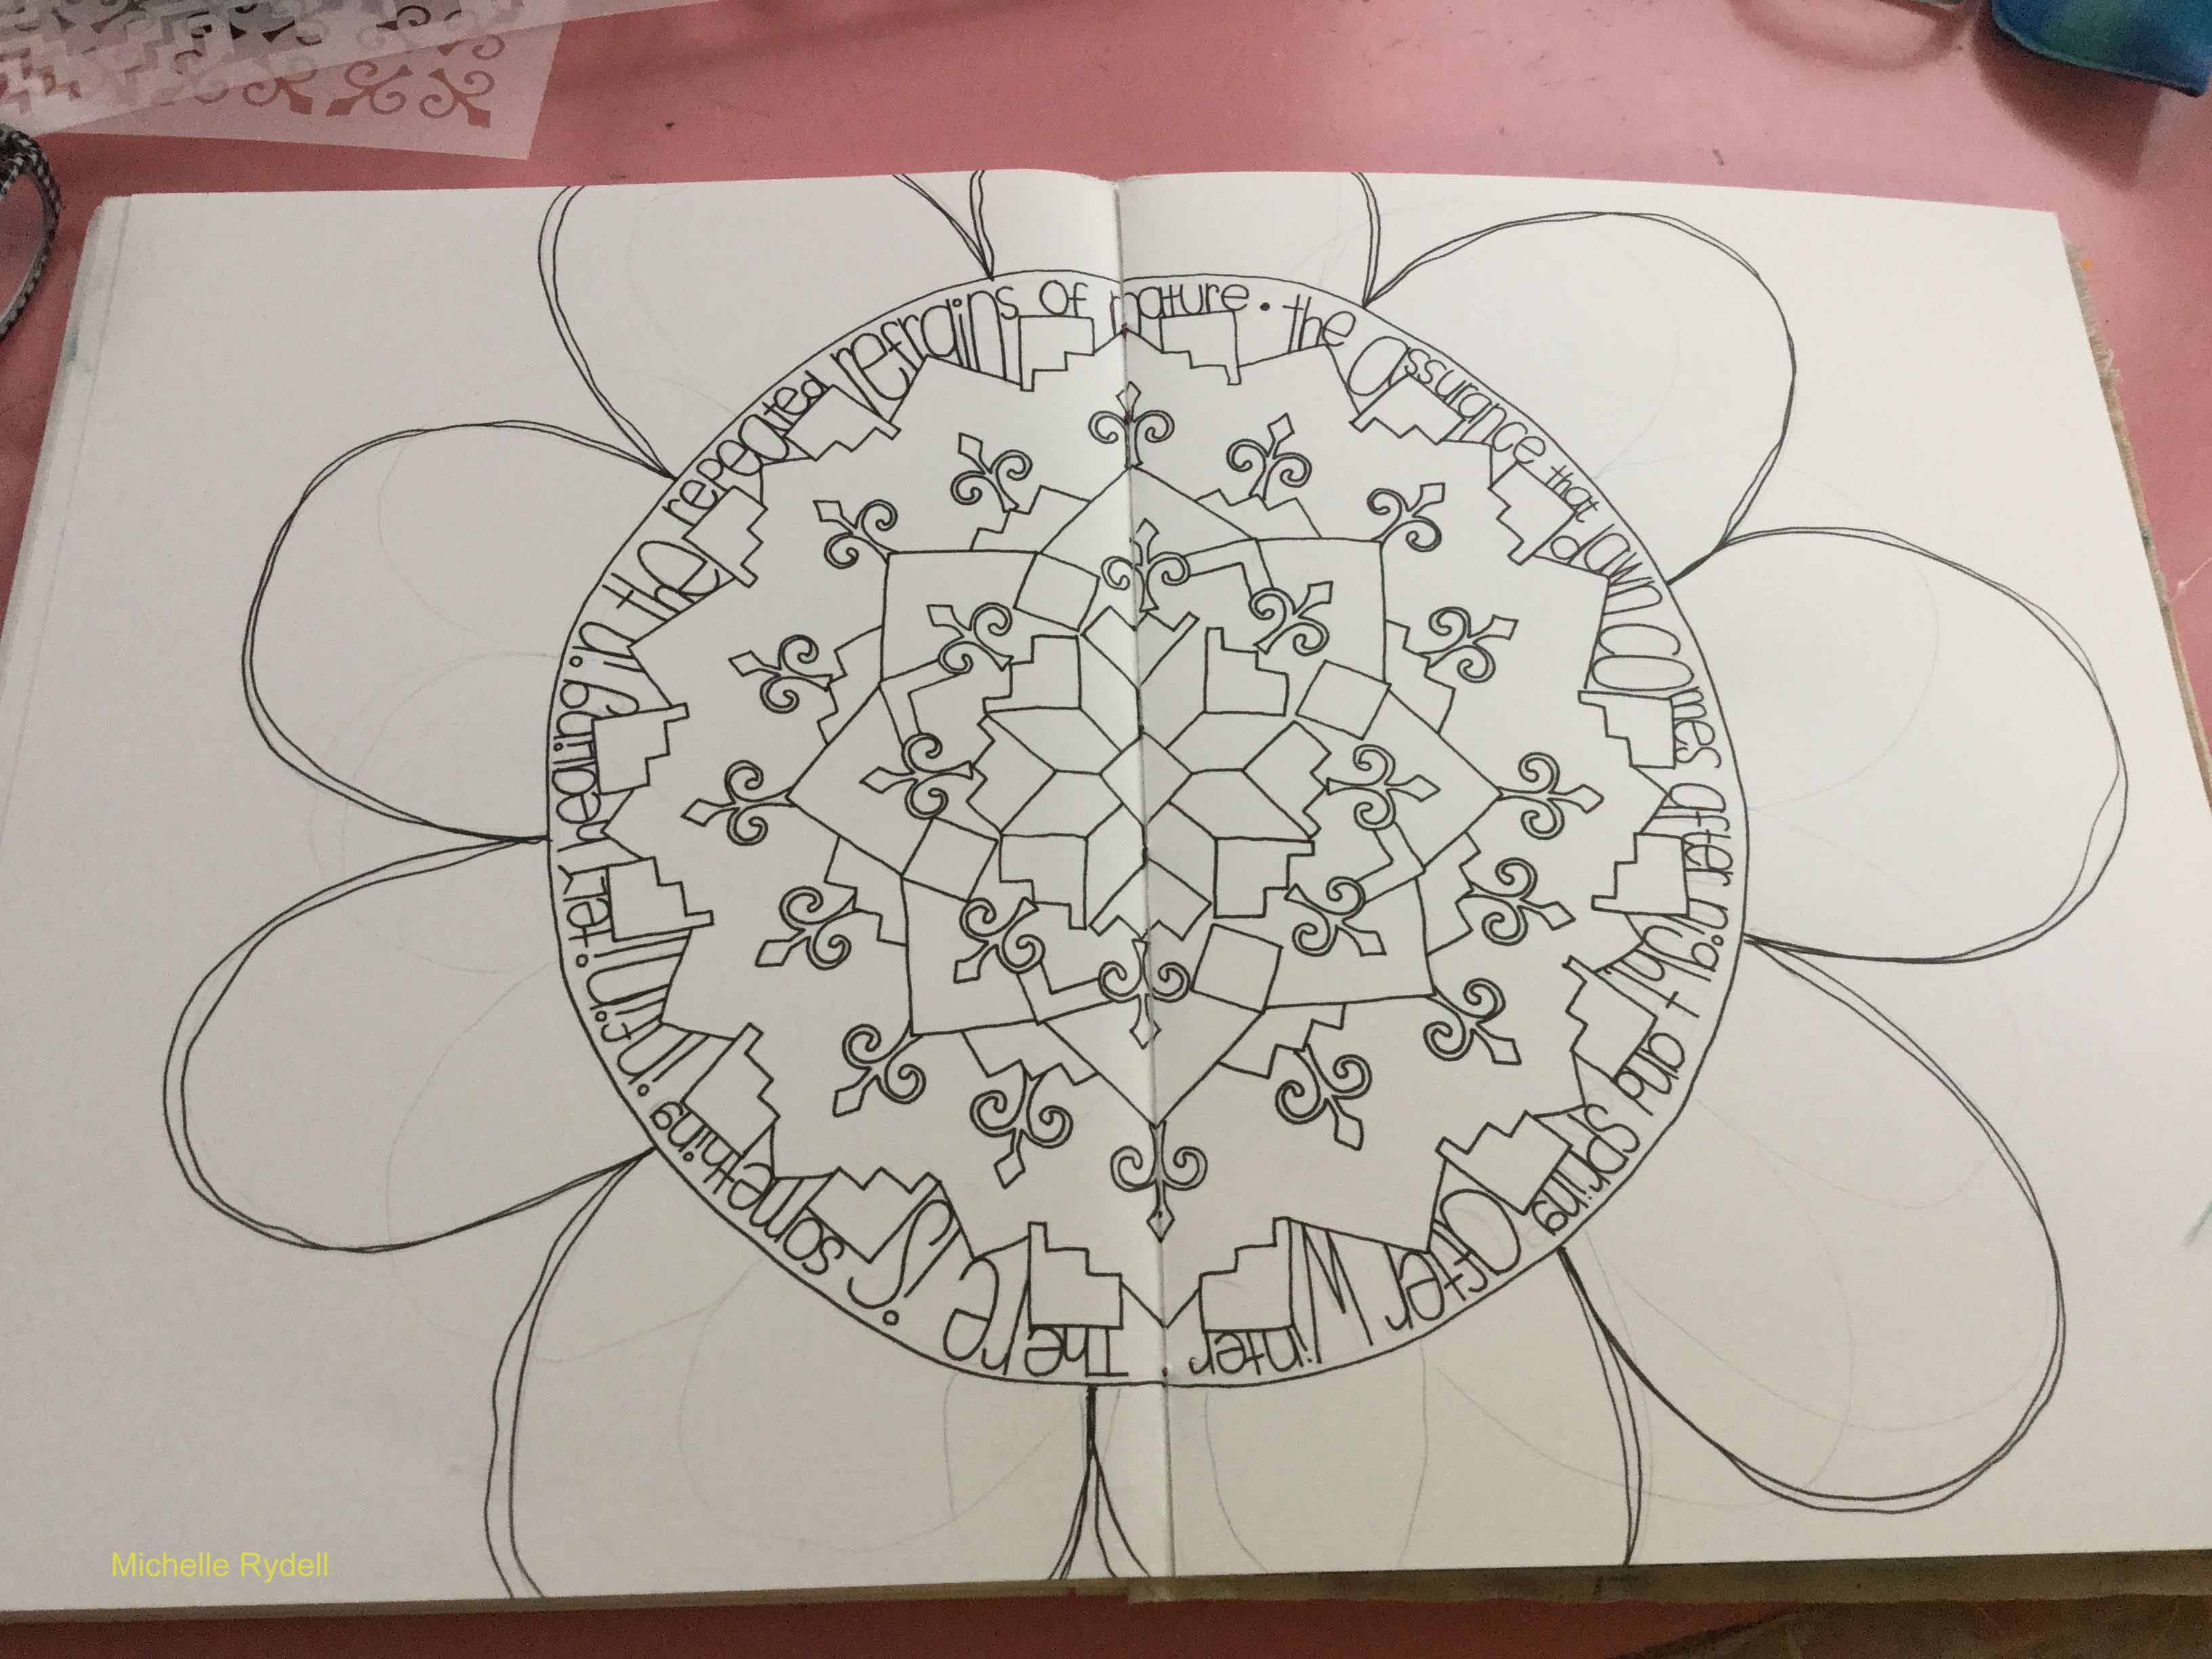
Once I was happy with the look of my background, I doodled some flowers and foliage.

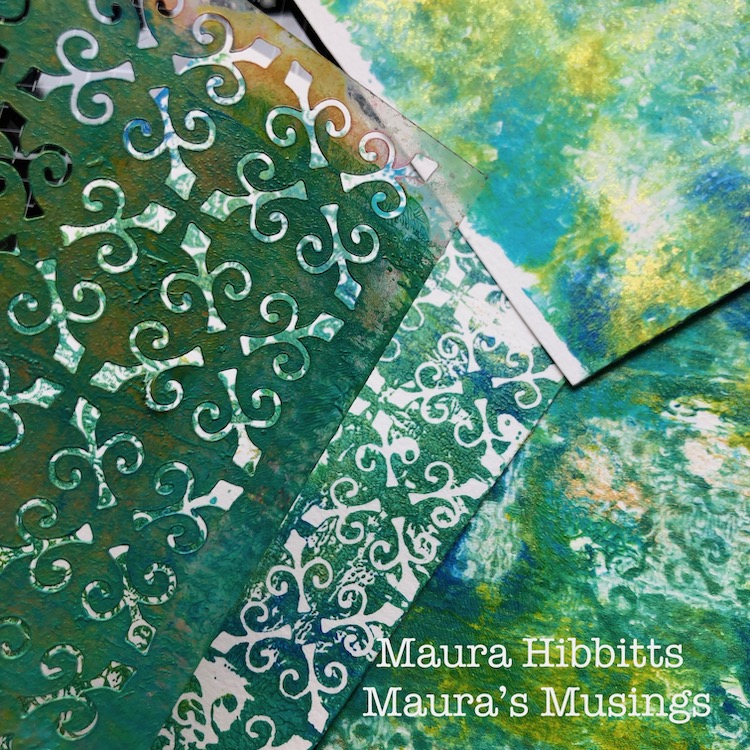
I covered all my background except the floral pattern with a cool color to make it pop out. I absolutely love this technique. It allows seeing through the different layers of the background, making it more interesting.

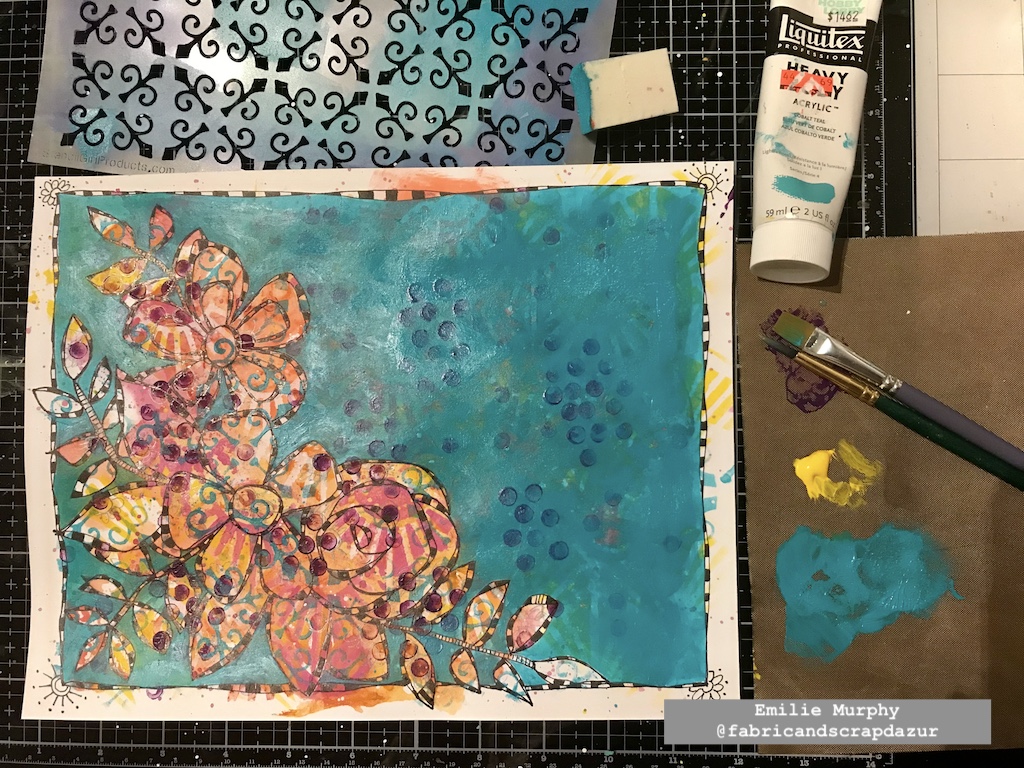
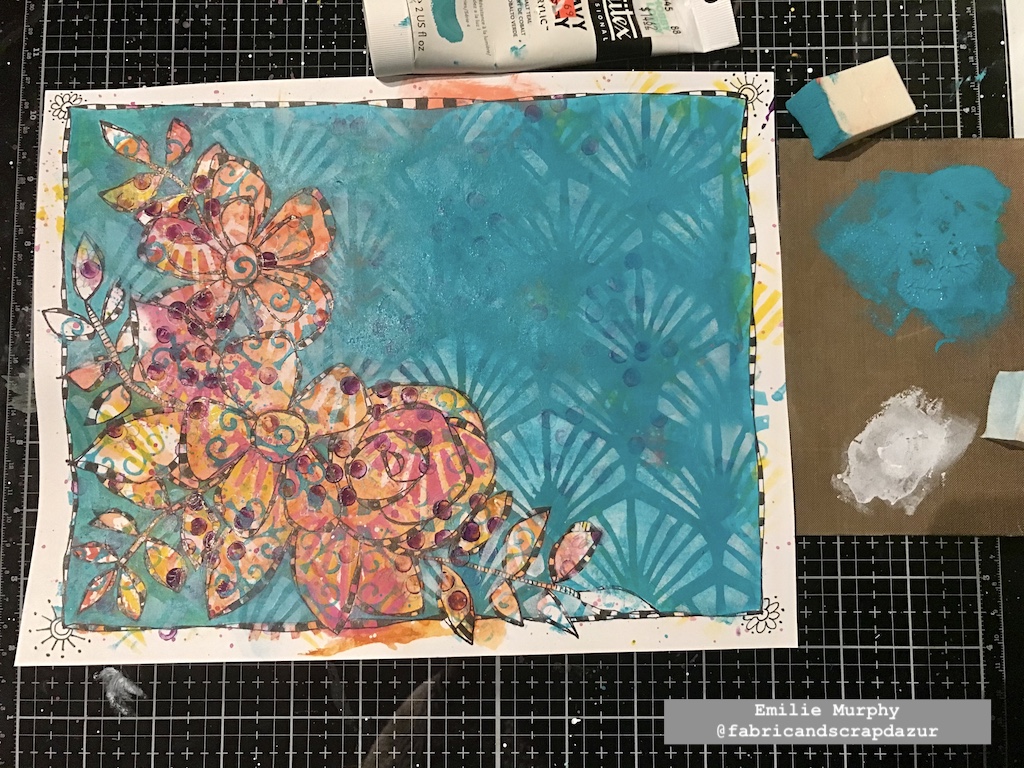
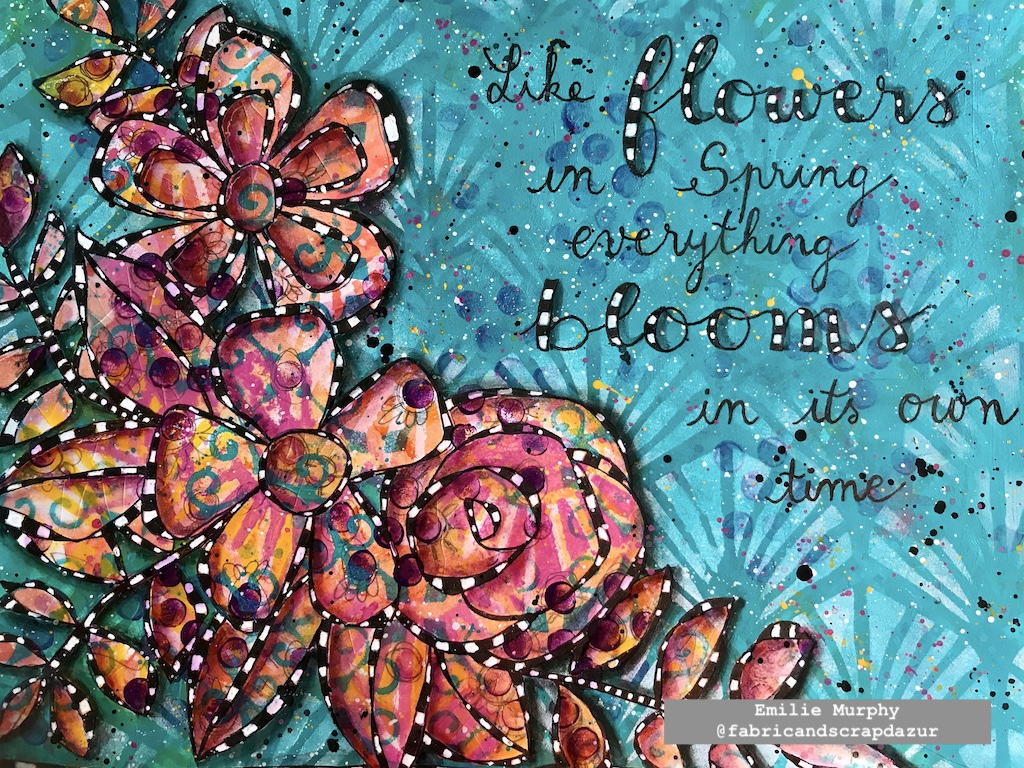
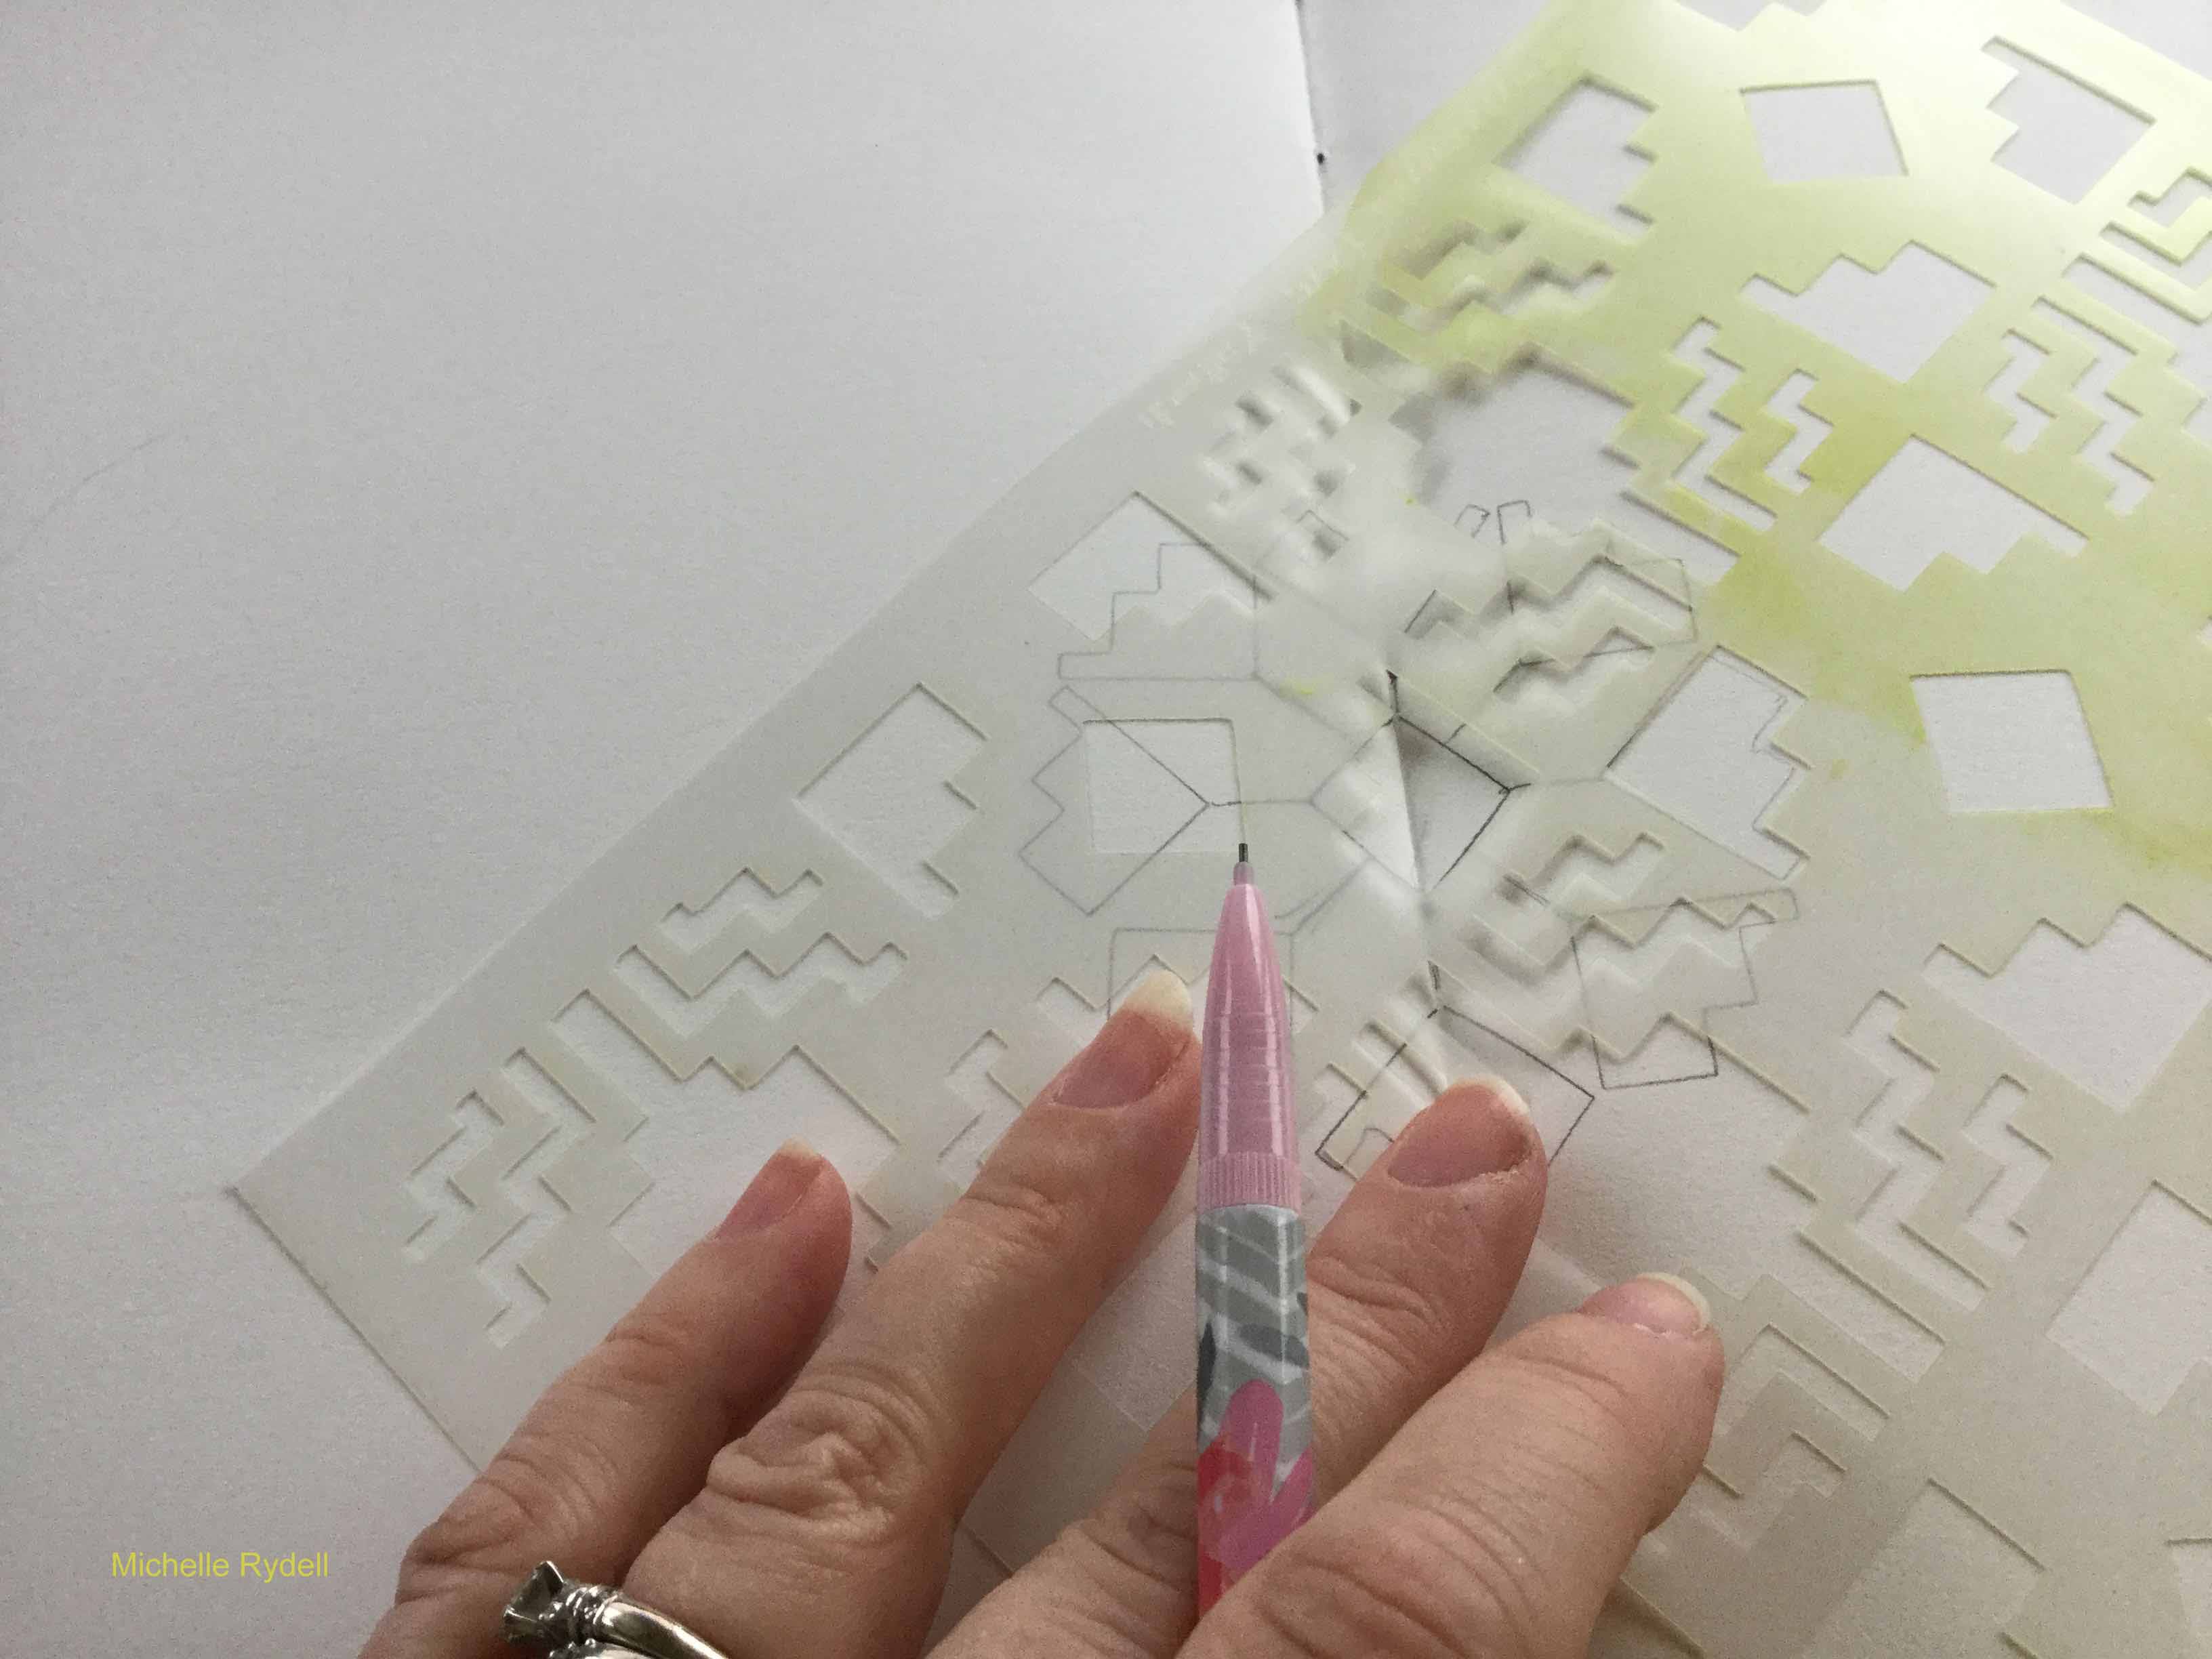
I once again used the Art Deco Wallpaper stencil and applied some white paint through it in order to add some texture to this plain background. I just love this pattern.

I toned down a little the white paint to embed the pattern to the background.

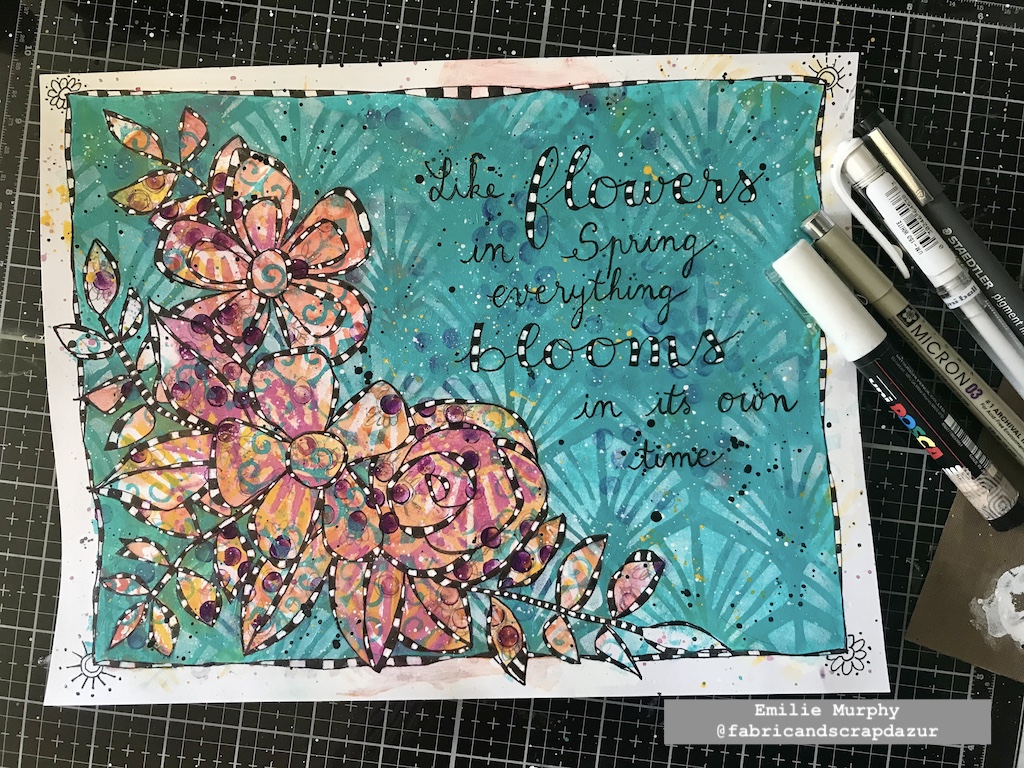
I added some splatters with yellow, black, and white paints. It’s not really visible on the picture but I also traced my quote with a pencil.

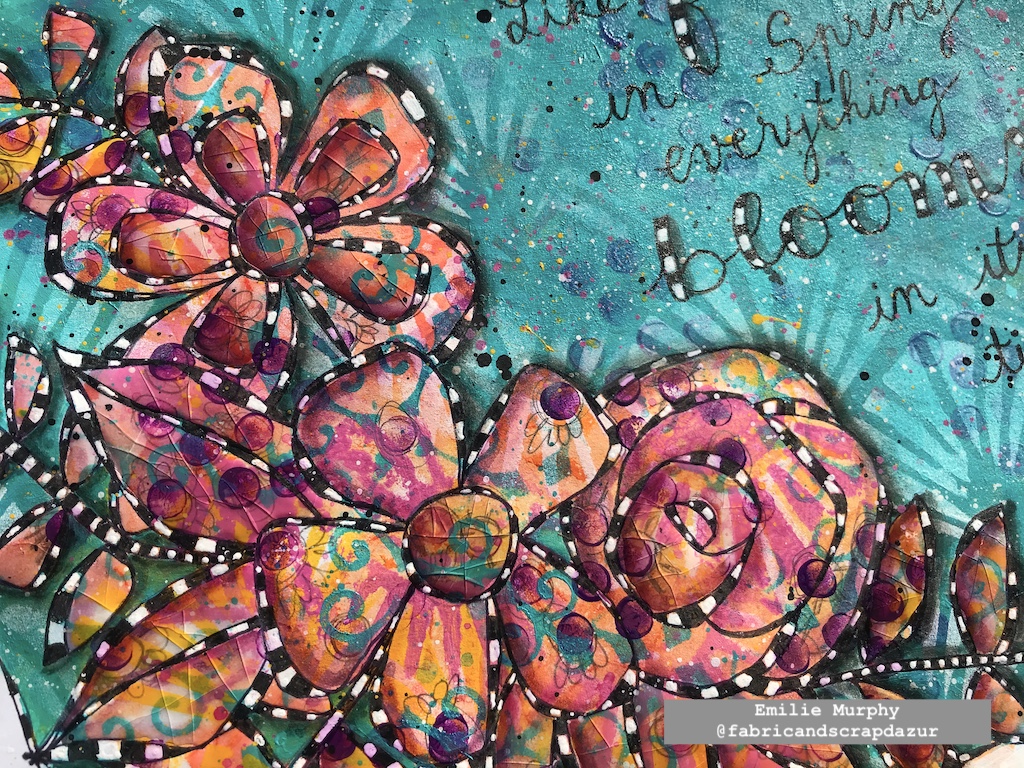
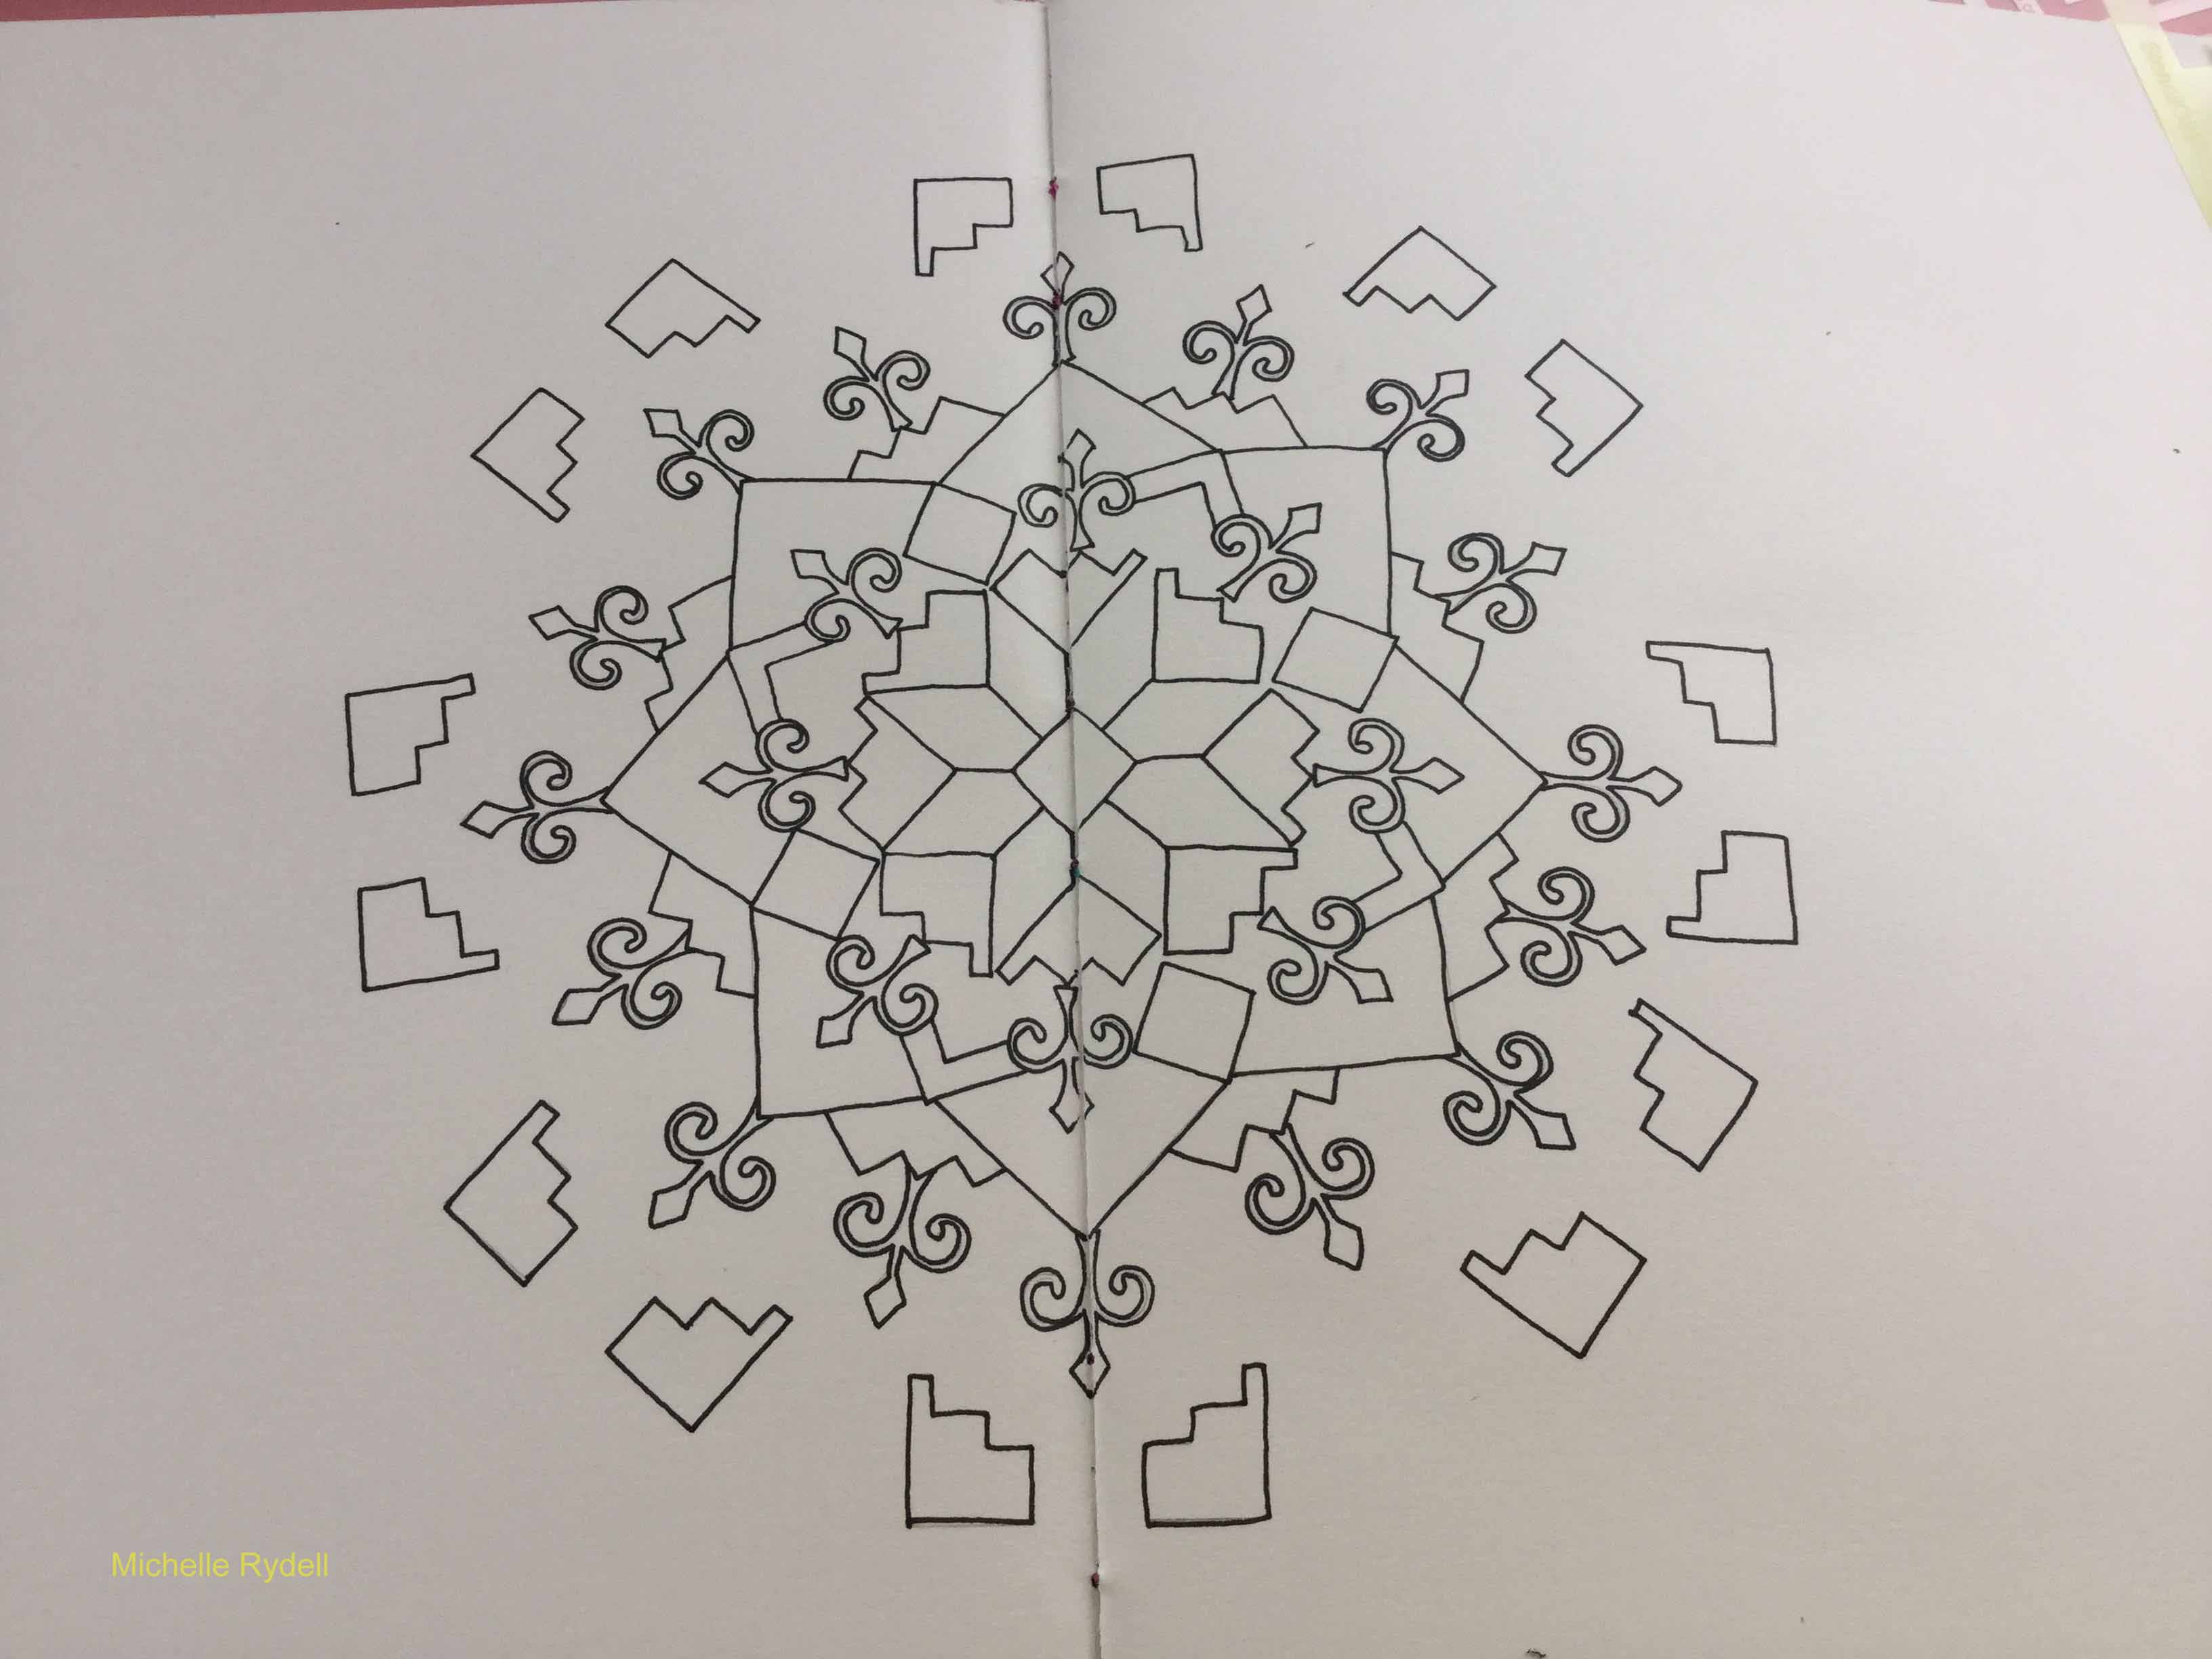
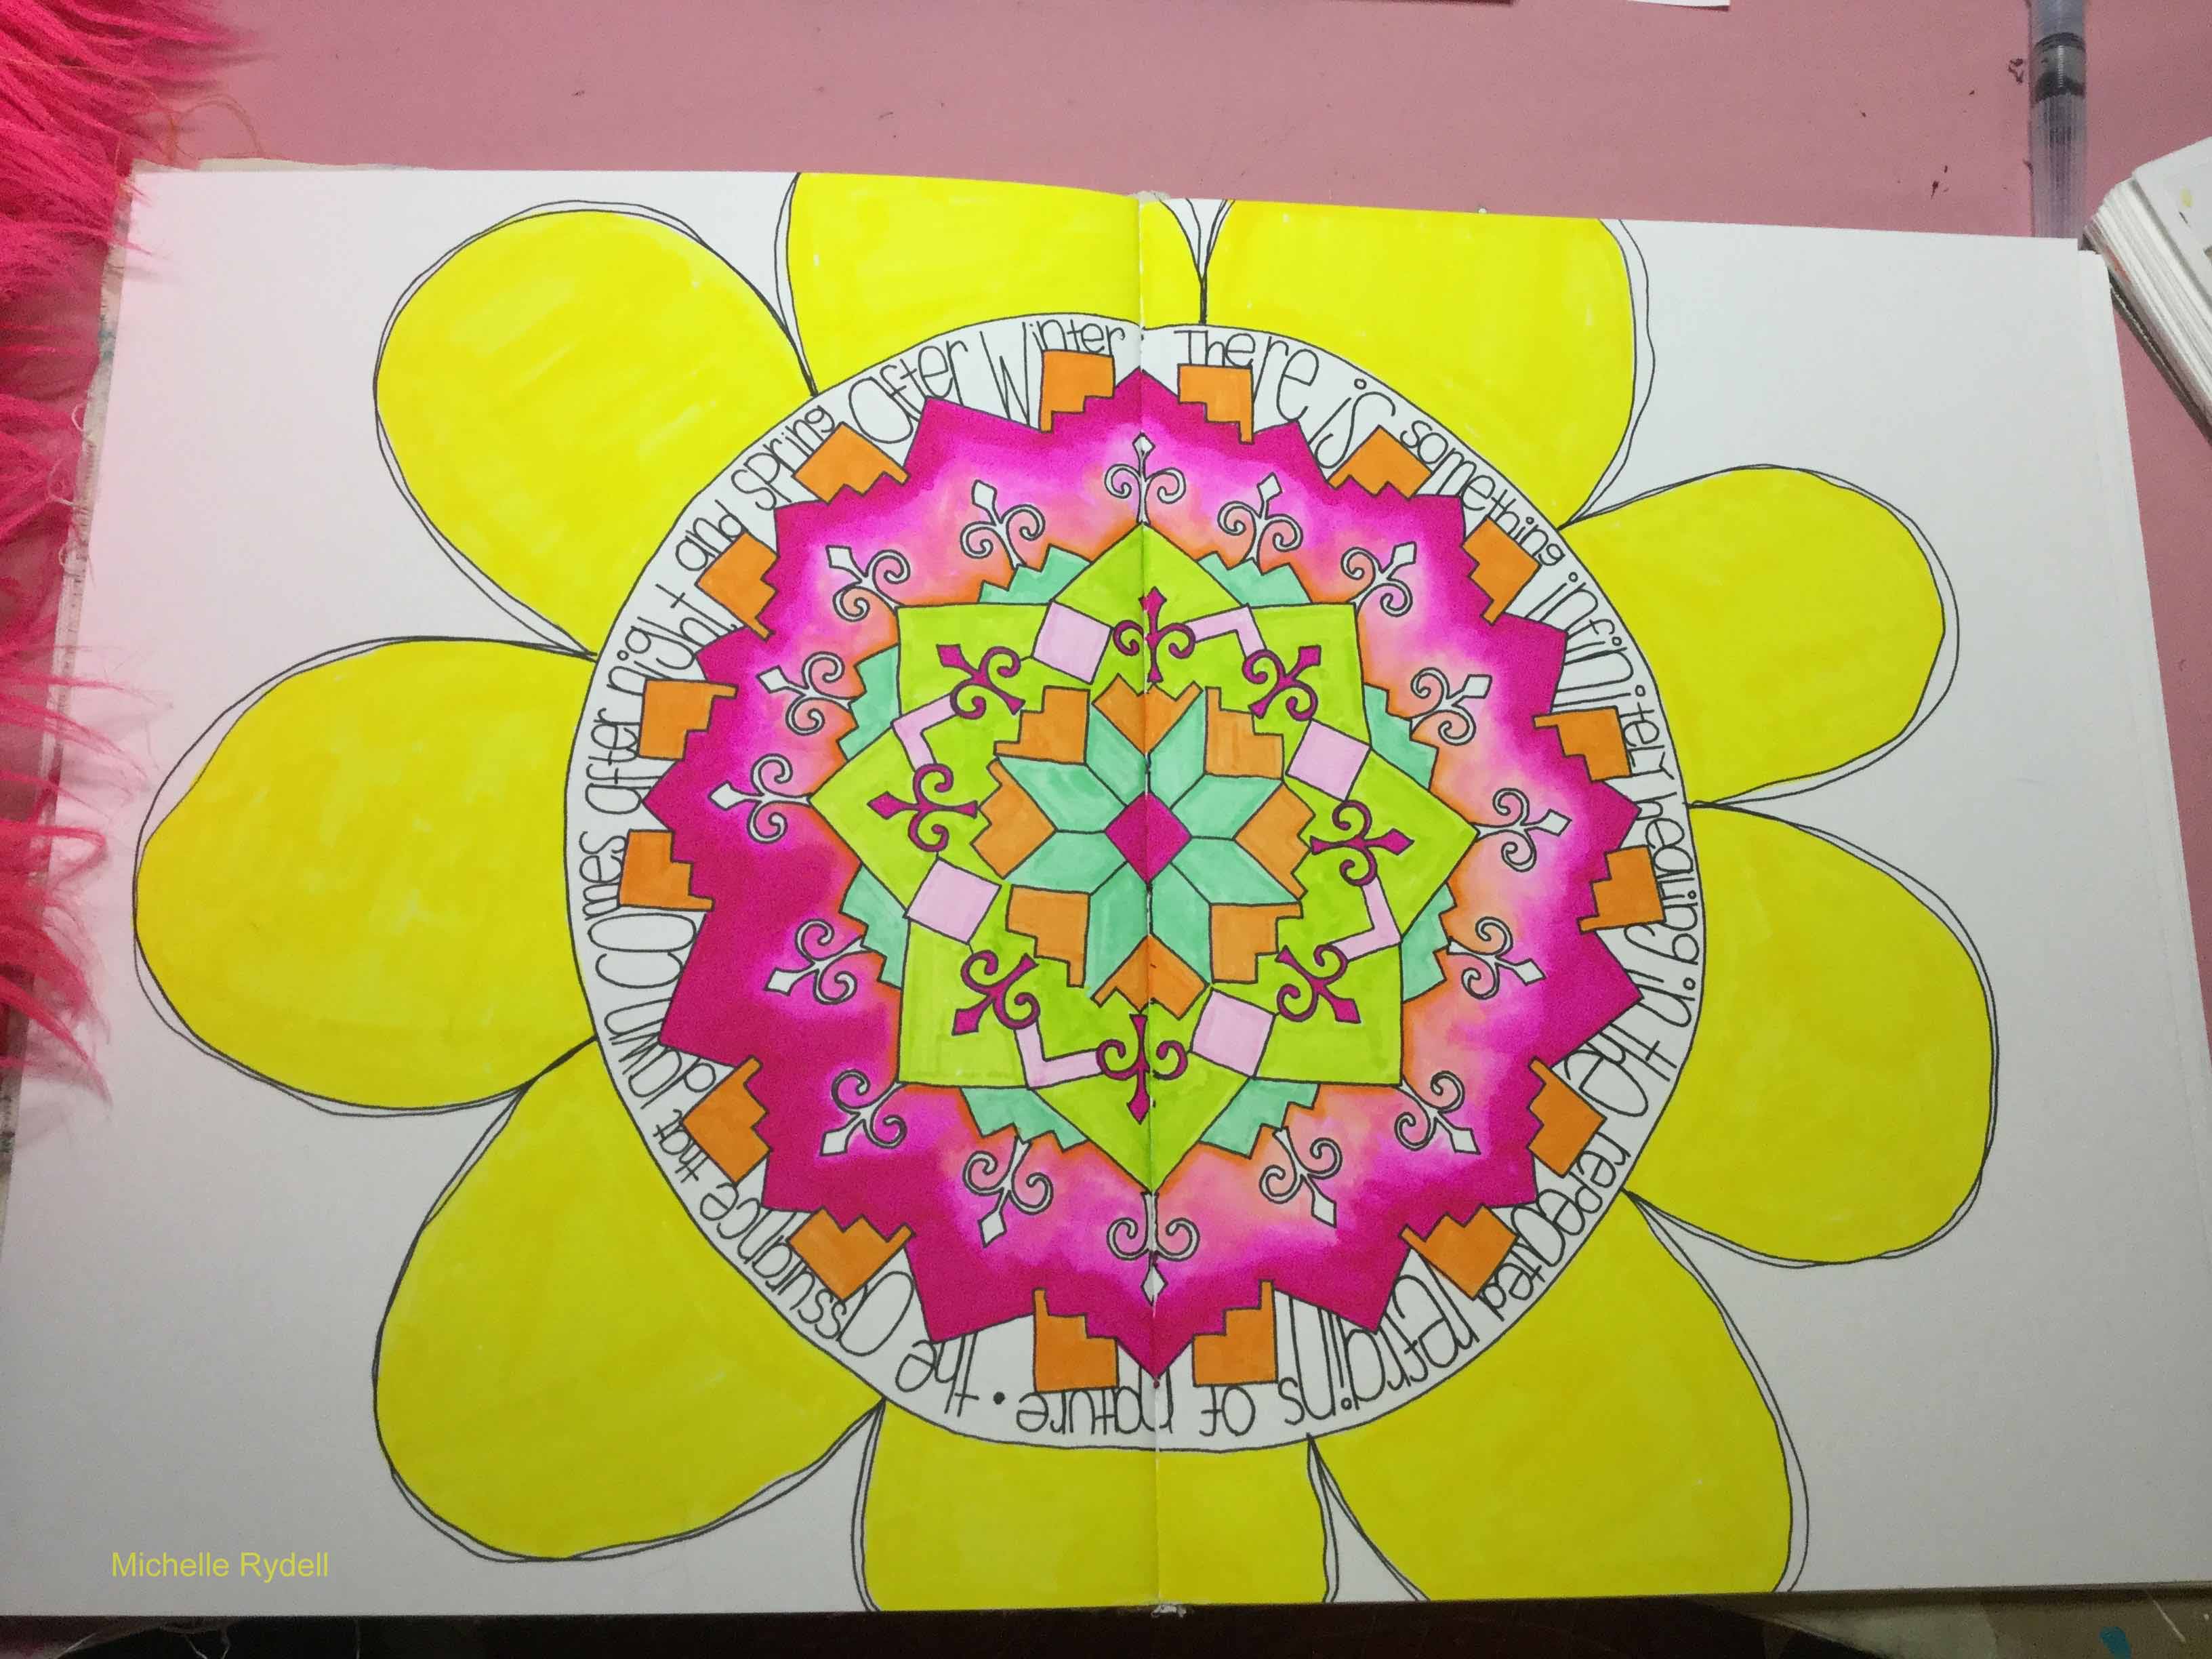
I outlined my quote with a permanent black pen and I finished coloring the checkerboard pattern with white gel pen. I reinforced the whites with a white posca pen when the white was not opaque enough.

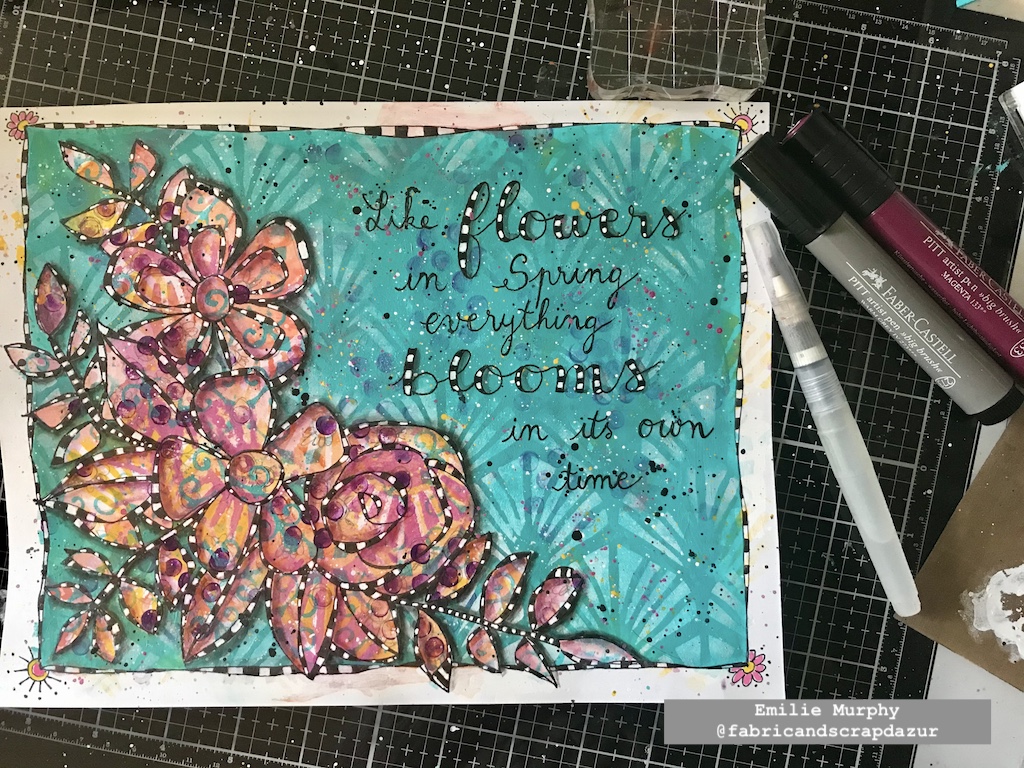
I added some depth and shadow to my floral pattern and to the letters of my quote with a PITT pen marker.  I also added some extra pink splatters.

I could have stopped there but I found my art journal page too flat, so I decided to use some Glossy accent to give some dimension to my floral design. I didn’t put it everywhere. I just applied some on the center and inside petals of one of my flowers and on the leaves. I let the glossy accent dry completely.

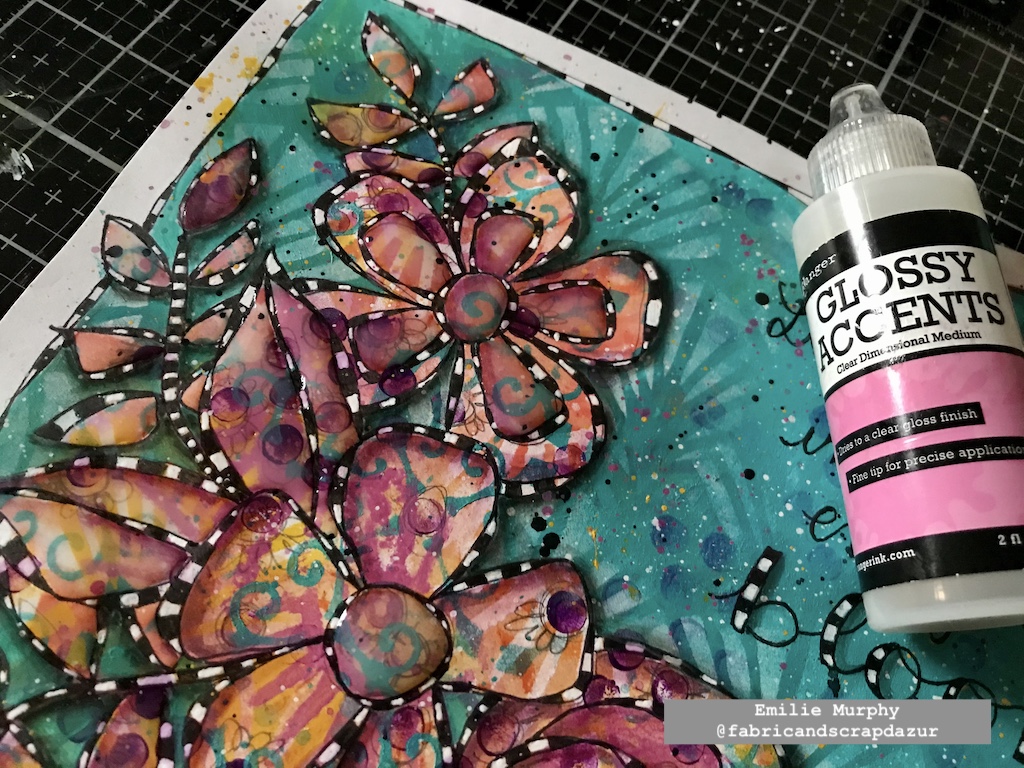
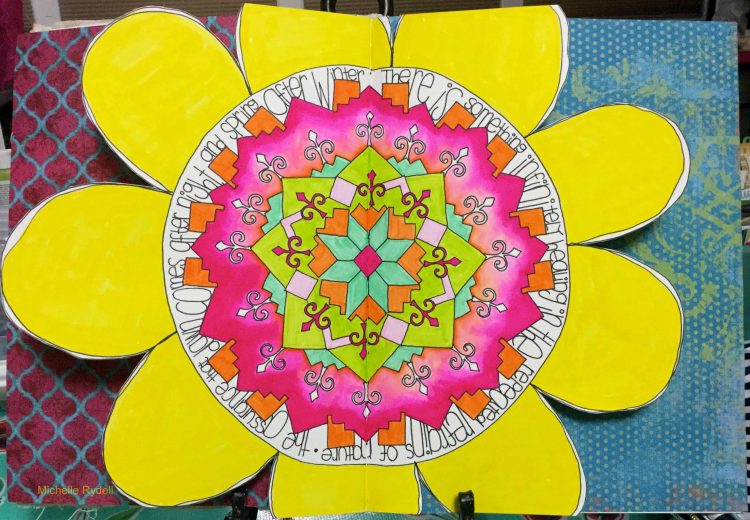
I finally finished my art journal page by bending and folding the paper in different directions, where I applied the glossy accent in order to create some cracks. Isn’t it cool? I think it gives an interesting look. Be sure to apply a generous layer of glossy accent to get some nice cracks.

Hope you enjoyed this project, which ends my collaboration as a Creative Squad member. I just can’t thank Nathalie enough for giving me this opportunity to be a part of her team. It has been such a wonderful and pleasant experience in my creative journey. I really enjoyed working on every project I made using Nathalie’s wonderful products. The possibilities playing with them are endless. Of course, I will still be around on social media for the next coming of team member’s projects. Hope you will do, too!

Have a good rest of the week!


Thank you Emilie for this beautiful reminder to be a bit more patient! And, thank you for all your posts over the past year. We have loved seeing you style and learning more about you as an artist :)

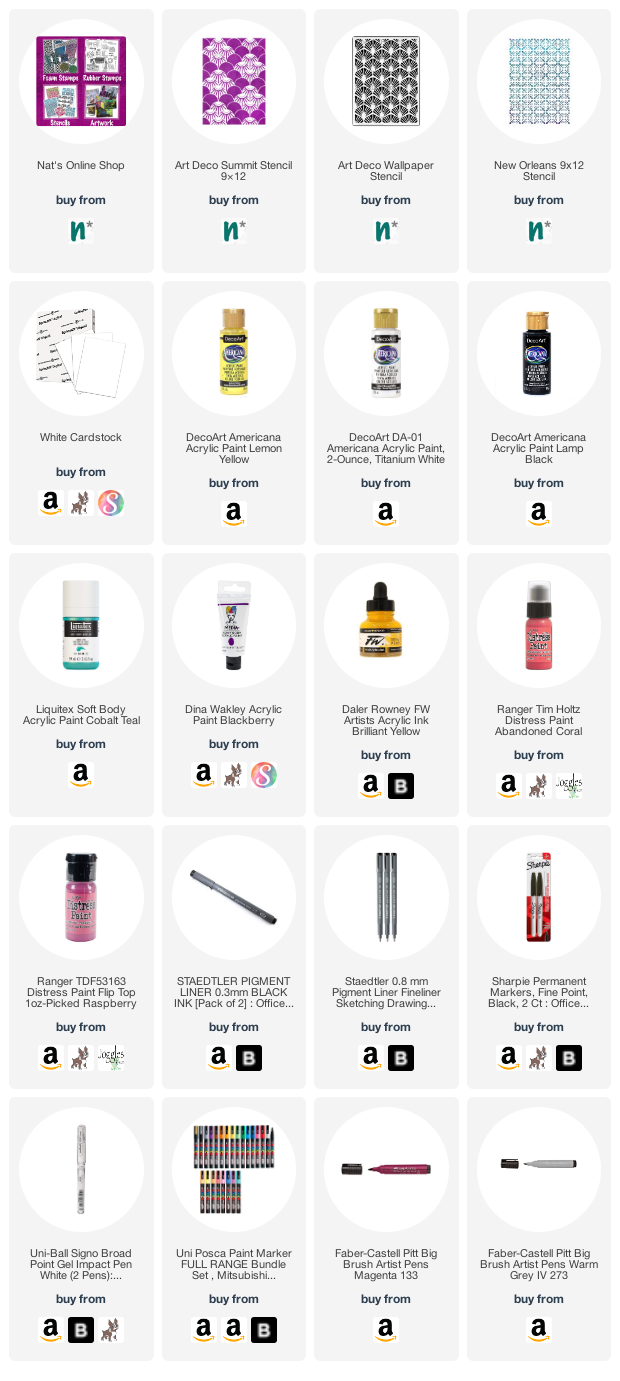
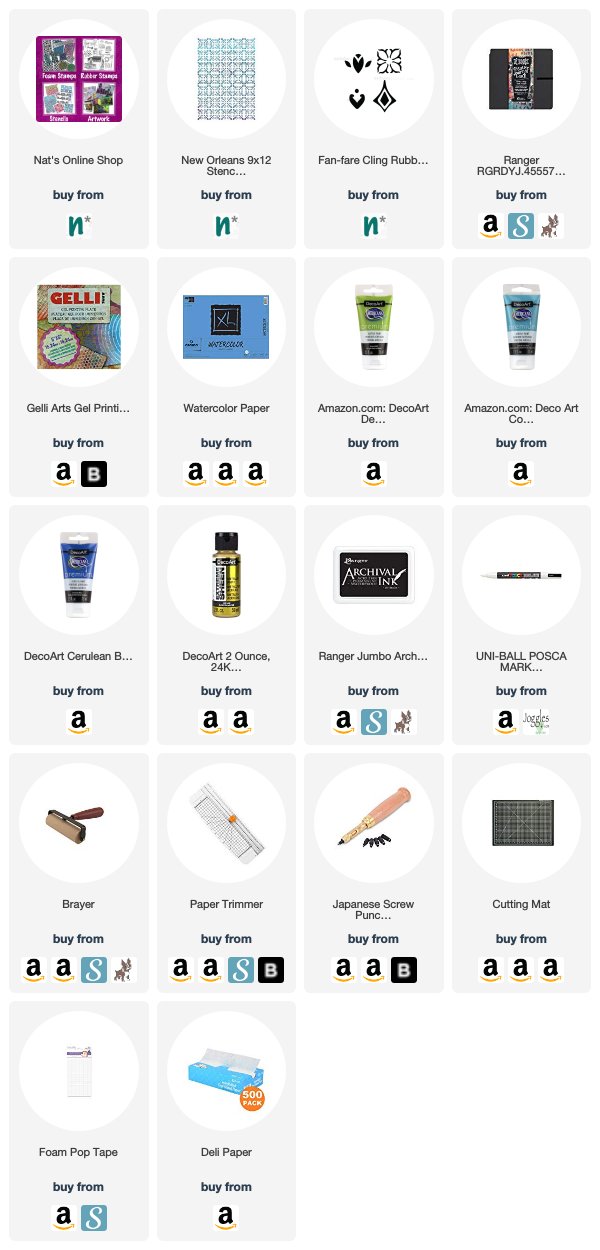
Give it a try: you can find all my Stencils in my Online Shop and here are some of the supplies Emilie used:

Follow Nat’s Creative Squad on Instagram too: Each week we post projects, ideas, and inspiration for mixed media art.

Comments (1)

  • Robin

    |

    Emilie. Another gorgeous spread! I love all the layers you used in this project. We are sorry to see you go, but we’ll stay connected through social media for sure.

    Reply

Leave a comment

Little Wonder – Maura Hibbitts

Hello and welcome to another post from the Creative Squad! Here we have an art journal page from Maura Hibbitts using inchies and twinchies (read on to learn more :) Maura is using my New Orleans stencil, one of the stamps from the Fanfare rubber stamp set, and this month’s theme: Little Wonder – We’re thinking small this month and focusing in on a tiny scale, exploring the delicate details, and creating something that is petite and precious.


Isn’t it often the little things that fill our lives with meaning? A smile, a hug, a flower in bloom, the flight of a bird, a good book, quiet moments, a song…to me, these are the little wonders that mean so much. Think about all of the little things that fill your own life to the brim!

I decided to make my little wonders with inchies (1”x1”) and twinchies (2”x2”). You can turn these tiny squares into little works of art, but this time, I’ve kept mine simple. I also decided to keep my supplies simple.

First step is some color blending on the gel plate – Green Gold, Cobalt Teal Hue, Cerulean Blue and Gold. I squirted small amounts of the four colors I am using and blended them with the brayer.

I have to say, I love printing on my gel plate, and once I start, I really having a hard time stopping. Once the paint is blended on the plate with the brayer, I laid the New Orleans stencil down into it, lifted it off with the paint on the stencil and pressed it on the water color paper. Since I still have some paint on the stencil, I laid it between a sheet of deli paper to get the rest off. These extra prints will come in handy in future projects.

I wanted a mix of designs, so I repeated the process, but this time after laying the stencil in the paint, once I lifted the stencil, I laid the paper on the gel plate.

I decided to add a bit more gold to one of the sheets, so squirted the gold on the gel plate, brayered it, and laid the stencil onto the paint. Then I lifted the stencil and pressed it over one of my painted sheets, just to add another layer.

The papers are dry and ready to be cut to size, 8 twinchies (2”x2”) and 4 inchies (1”x1”).

On the inchies, I stamped a design from the Fanfare set with archival black ink. I also edged all the pieces with the black ink.

Just to add one more little element to my art journal page, I decided to punch small holes around several of the twinchies with my Japanese awl. I like the contrast between the painted pieces and the black background.

Then, I adhered all twinchies to the art journal page with adhesive, popped up the inchies with foam tape, and wrote my thought in the center with a white paint pen.

It’s the little things…day to day, in art, in nature…that add so much to our lives. Think about all the little wonders in your life, and enjoy each and every one of them! Maura


Thank you Maura and yes, we could not agree more that it is so important to be thankful for the little things in life :) Gorgeous page and gorgeous message!

Want to try making something yourself? You can find all my Rubber Stamps and Stencils in my Online Shop and here are some of the other products Maura used:

Feel inspired? Working on something yourself that you’d like to share?  I love to see how you interpret our monthly themes. Email me how you used my stencils and stamps with the theme and email me an image – I would love to share your projects in my next  “n*Spiration From Around the Globe“.

Comments (1)

  • Sue Clarke

    |

    Maura, I just love the message, colors and the page you created. Nice!

    Reply

Leave a comment

Live Like It’s Spring – Michelle Rydell

Hello from the Creative Squad! The monthly theme is Live Like it’s Spring – Springtime is when Mother Nature kicks it into high gear. It’s the time to wake up and approach life with renewed energy.  Let’s join Mother Nature in this reawakening and create some things in the Spirit of Spring! Today Michelle Rydell is playing with different parts of my stencils  to celebrate spring with a gorgeous mandala. Check out her nifty beautiful idea to use stencils!


When I heard that the theme for this month was about springtime, the first thing I thought of was flowers! Then I took out my Wanderlust stencils to see what I could see. I love looking deeply into Nat’s stencil patterns, because you can see so many patterns within patterns. This time, what I saw was a cute little tulip within the Santa Fe Stencil. Do you see it too?

That gave me the idea to create a springtime mandala with the little tulips as a starting point. I’m creating this spread on watercolor paper in a 9” x 12” journal. The guideline I’m setting for myself is to only use bits and pieces from the following Wanderlust stencils: Santa Fe, New Orleans, and Manhattan. Here’s the step-by-step…

I started with the basic diamond shape (from the Santa Fe) in the middle, tracing it with pencil in the middle of the page. Then I drew a line straight out from each point and side of the diamond. Then added a “tulip” at the end of each line…

From there I just started building outward with various shapes from the stencils; first tracing with pencil, then going over it with pen, once I knew I liked the way it looked.

When I reached this point, I started to see the center of a giant daisy emerging! I found a quote that felt perfect to tie the mandala in with springtime. I drew a circle around the mandala, leaving a little room to add the quote to the inside of the circle. In case it’s hard to read, here’s what it says…

“There is something infinitely healing in the repeated refrains of nature – the assurance that dawn comes after night, and spring after winter.” ~ Rachel Carson

Then I drew the petals, to complete the flower…

Colored it in with tombow markers…

And cut the shape of the flower out, so you can see the journal page before and after behind it.


Wow – I love how all those different parts of the stencils created something new and beautiful – stunning, Michelle! She used these supplies – some links are affiliate links:


Play along with us! I love to see how you interpret our monthly themes. Email me how you used my stencils and stamps with the theme and email me an image – I would love to share your projects in my “n*Spiration From Around the Globe“.

Comments (2)

  • Sue Clarke

    |

    It’s amazing how a crafty person can create such beauty while using different pieces of this stencil.
    Thanks for the ideas Michelle as I tend to create “in the box”.

    Reply

  • Julie Tucker

    |

    This is gorgeous! LOVING how you assembled that flower!!!!!!!!!!!

    Reply

Leave a comment