Creative Squad

Creative Squad: Masquerade Party – Robin Seiz

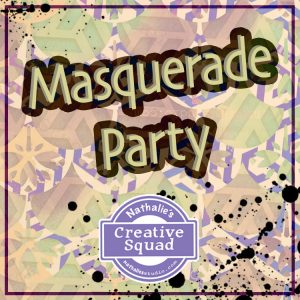
Hello from my Creative Squad! Today we have some fantastic cards from Robin Seiz who is using my Grove Street, Central Avenue, Valley Road, and Park Blvd stencils and our theme: Masquerade Party – Let’s play with disguises, the technique of masking, or maybe creating a bit of mystery this month. Not everything is what it seems, and it can be an interesting artistic trick to obscure or reveal in your artwork.


Hi friends, This month’s theme is Masquerade Party. I’m not a big fan of Halloween (I know I must be the only person in the US) LOL So I decided to interpret this theme in the broadest sense of the word. (One of the many great things about being on this Creative Squad is that we have license to do this! )  I thought about what the word Masquerade means — to conceal something  — and I decided to use the mixed media “masking” technique for my project. 

I find “masking” a bit challenging, both in terms of the layers of paint and really thinking through and planning in advance the results that I want. I am more of a “put it down and see what happens” artist typically, but that doesn’t really work with masking. How about you? Do you find masking easy or challenging?

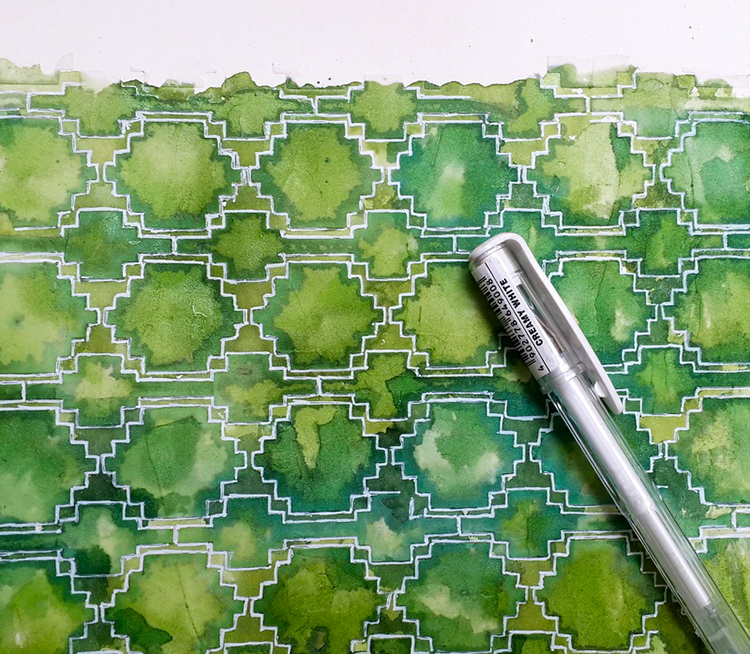
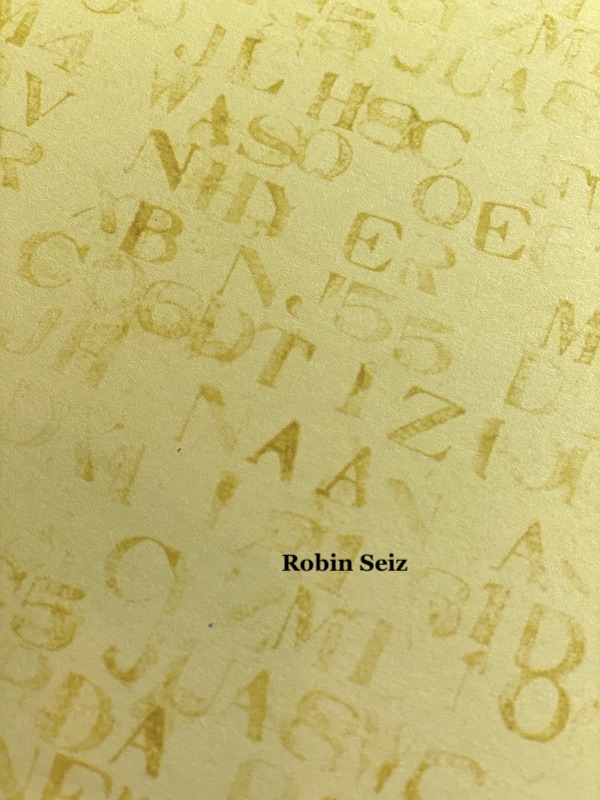
I am committed to working with supplies that I have in my studio rather than buying new things. As a result, I decided to use the paper from a 12×12 paper pad that I had on my shelf. I love using patterned paper for Gelli printing. The paper I chose dictated the size of the Gelli plate — 12×14. 

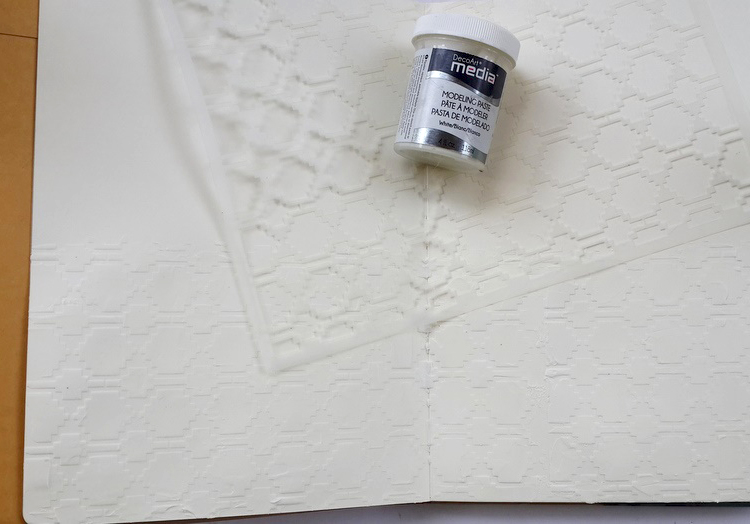
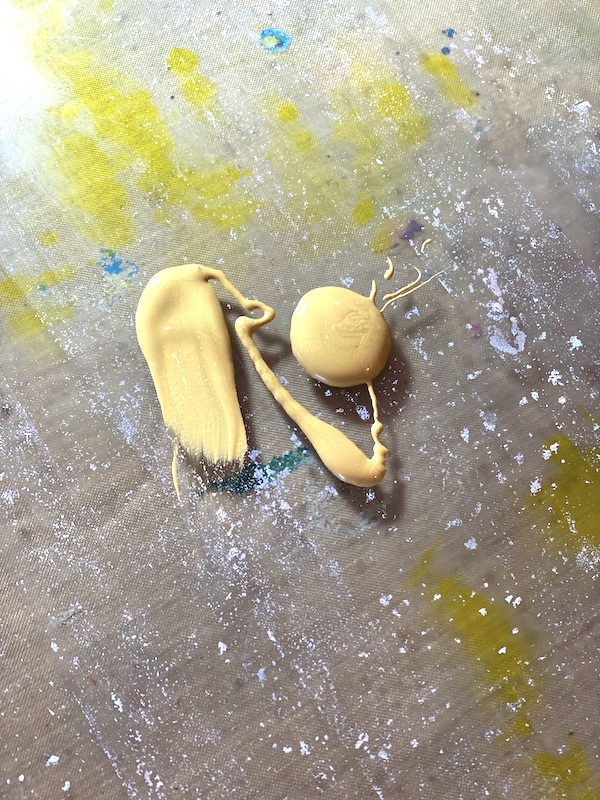
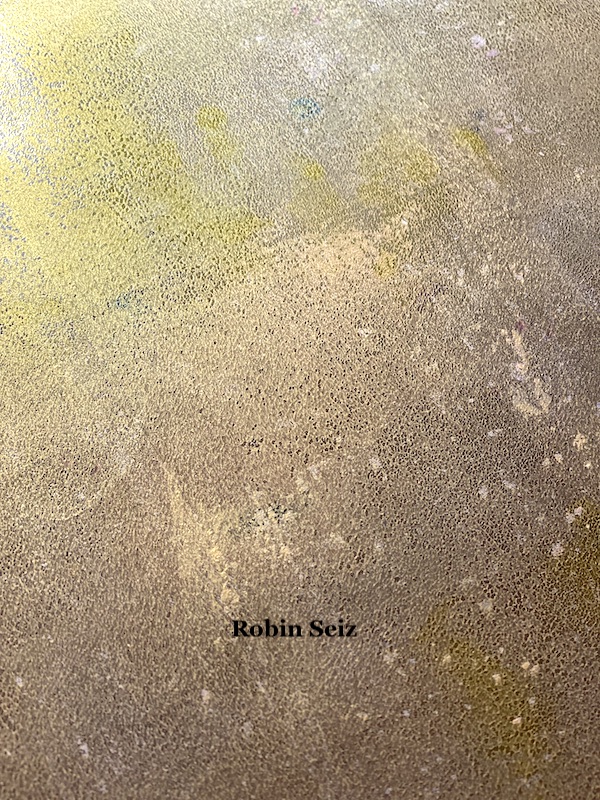
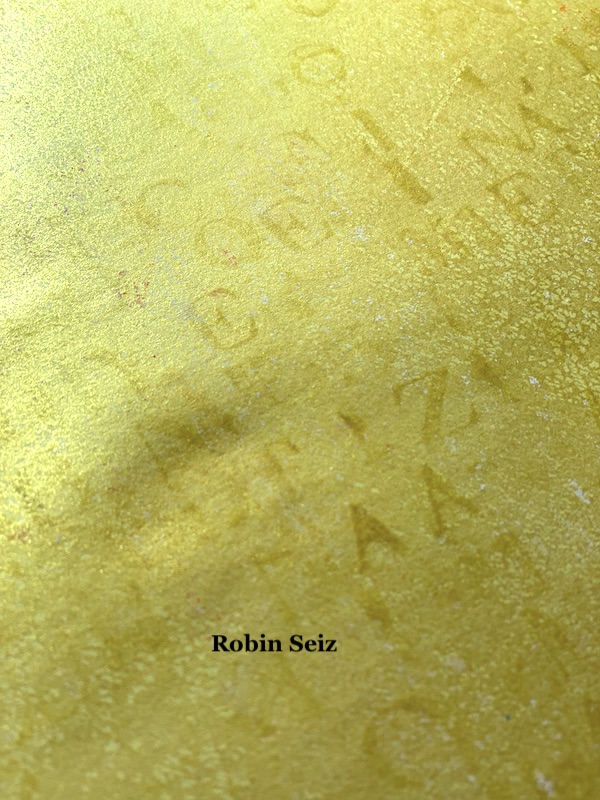
If you have read my recent blogs for the Creative Squad, you know that I have been loving Gold Gesso. I believe gold adds so much to a piece of art. I began this project by putting gold gesso down on the Gelli Plate and pulling a print. I wanted enough paint to have good coverage, but I also wanted the pattern to show through.

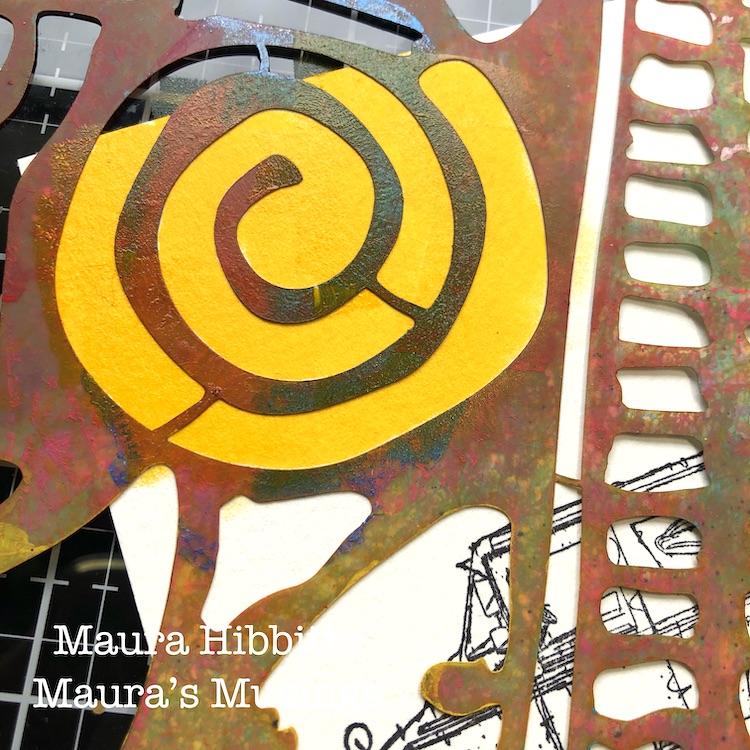
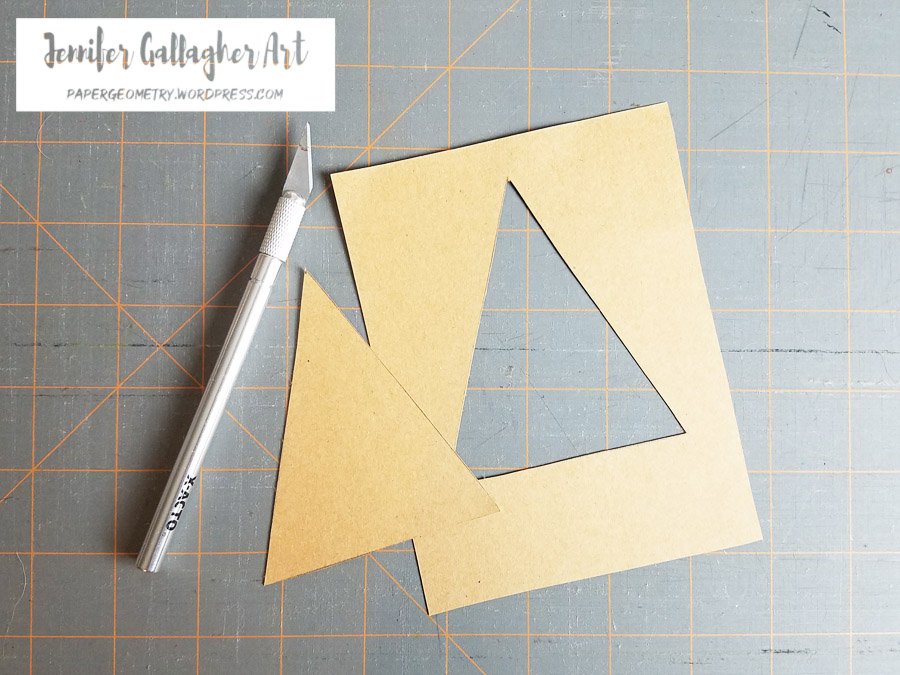
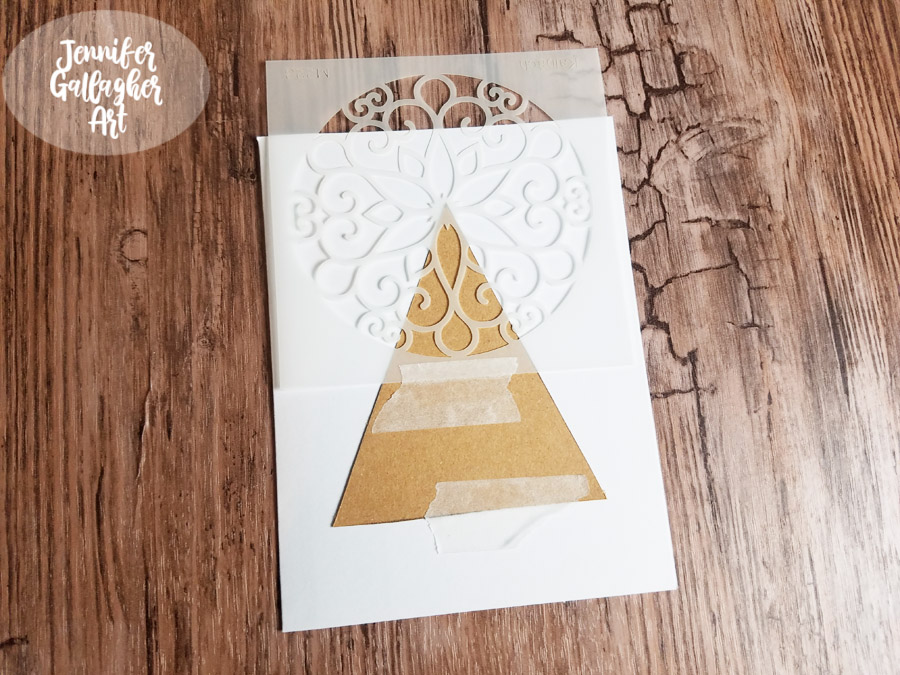
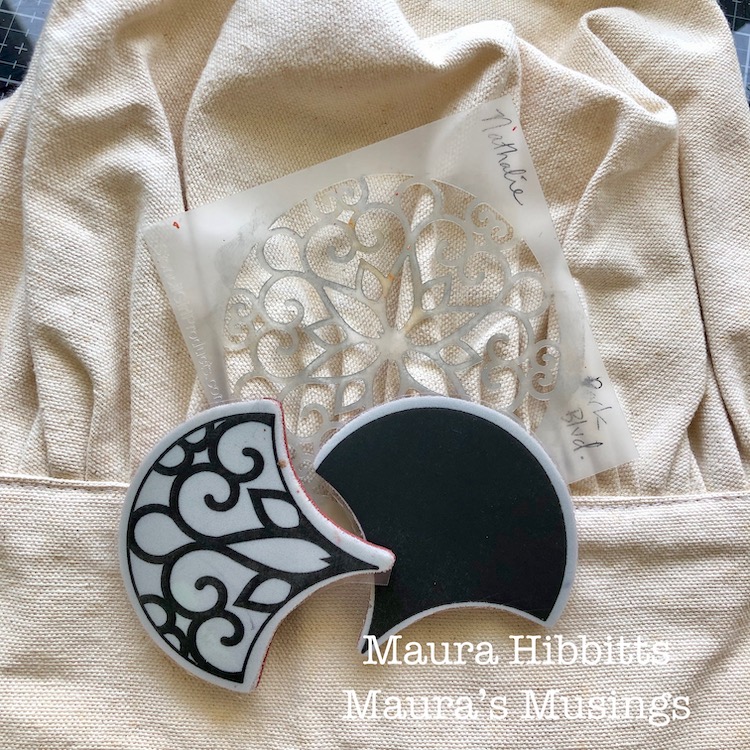
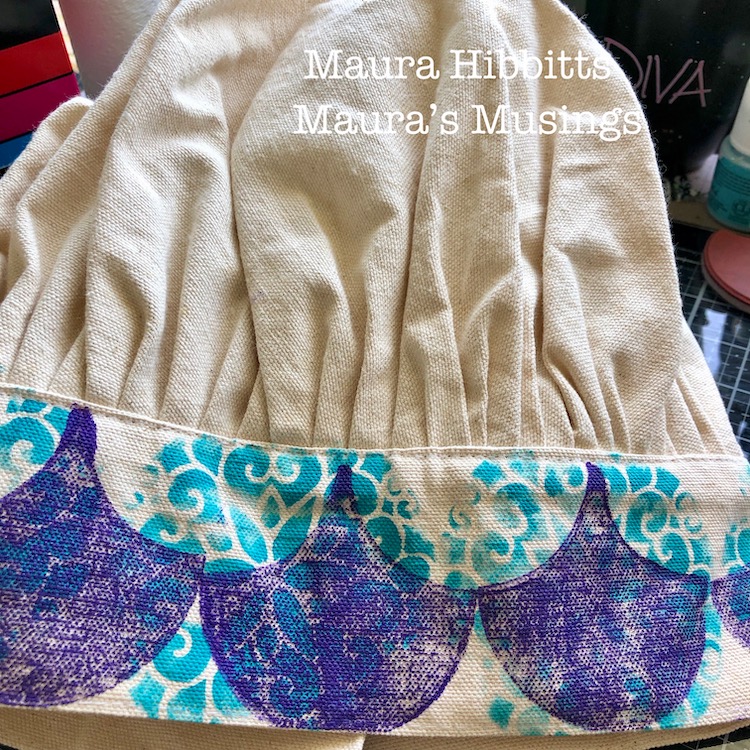
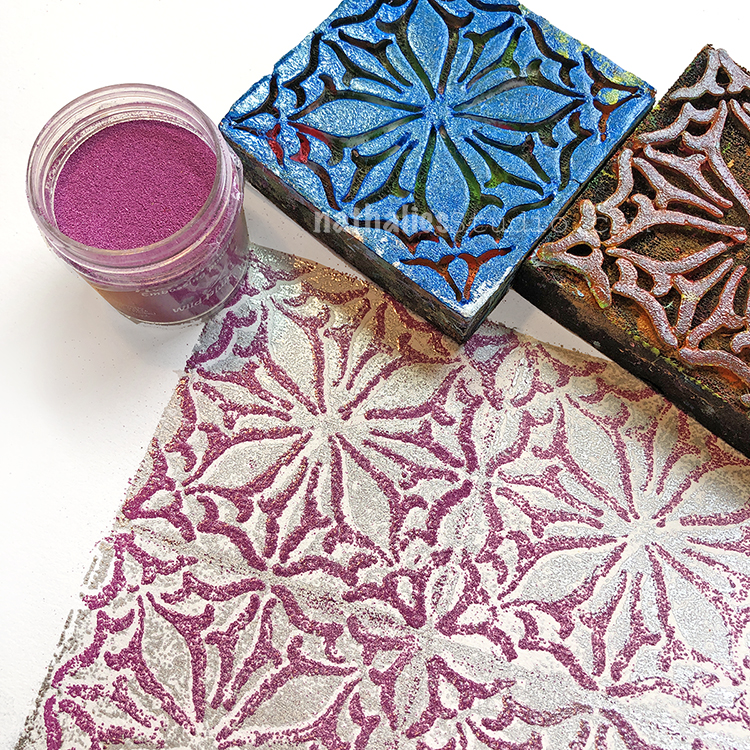
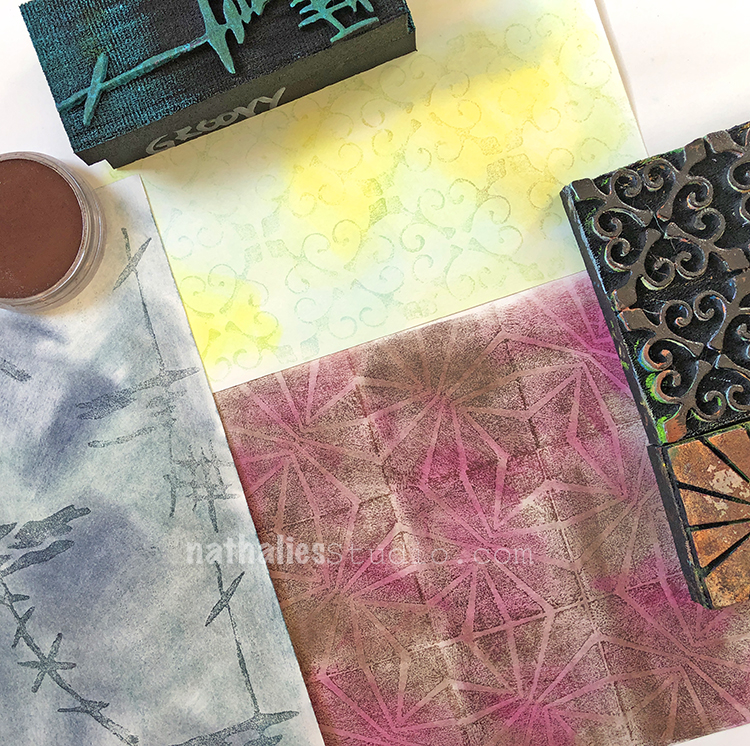
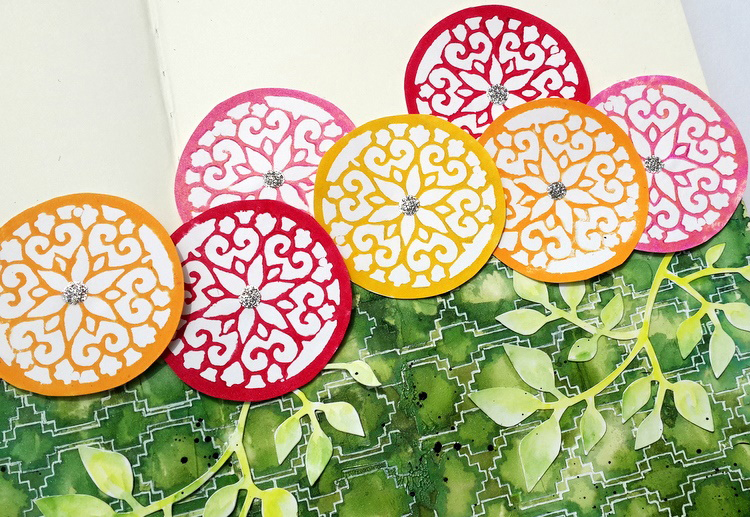
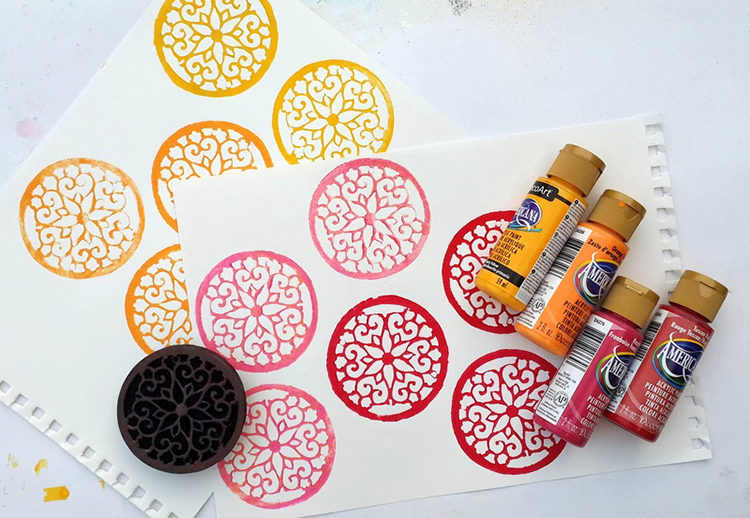
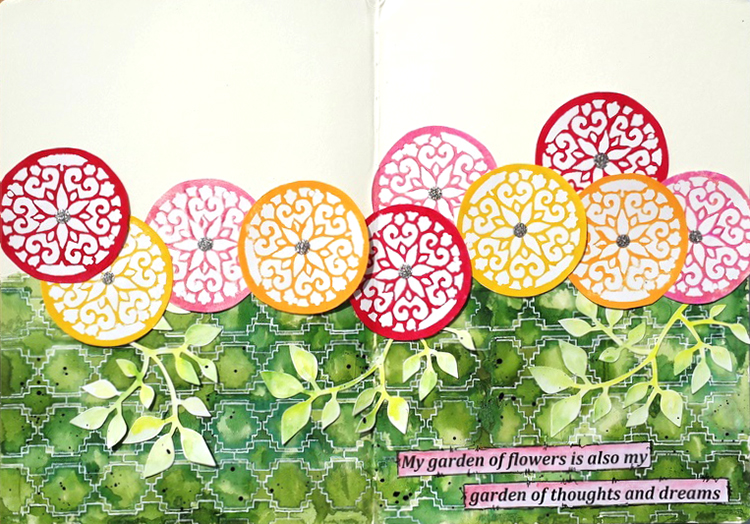
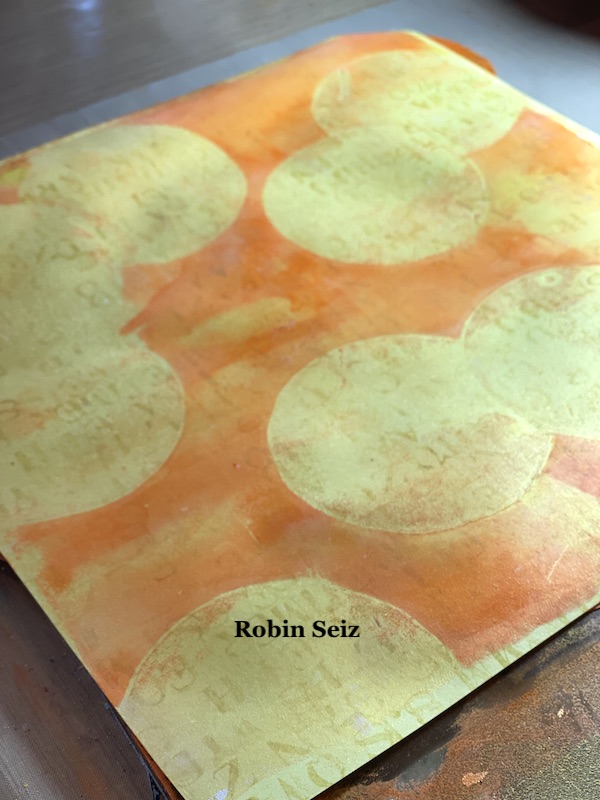
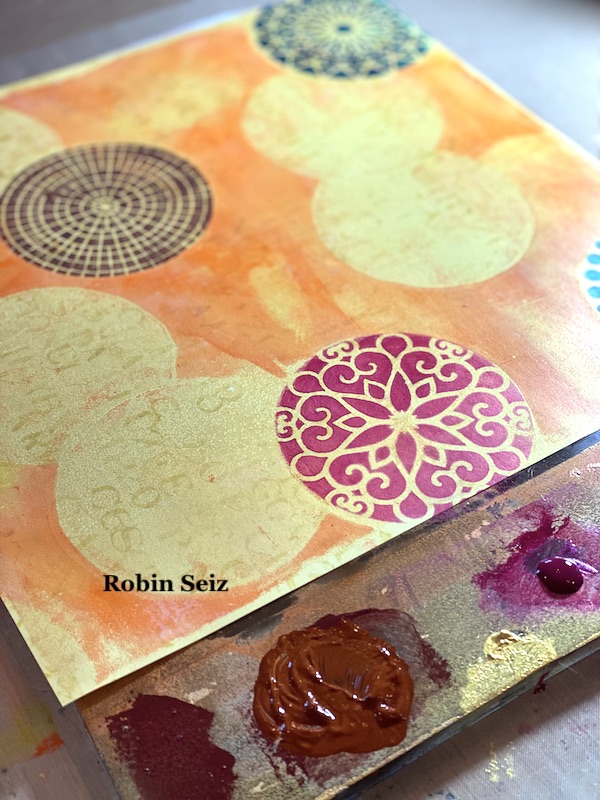
I cut out nine circles the same size as the patterns of the 4×4 stencils I planned to use (Grove Street, Central Avenue, Valley Road, and Park Blvd) These became my masks. Next I placed them down on the Gelli Plate, remembering that the pattern would be reversed when I printed it. Sometimes taking a “practice print” at this point is good. You can rearrange the masks if you don’t like how they turn out when printed. Once I was satisfied with the arrangement, I spread orange and yellow paint with a brayer over the masks. 

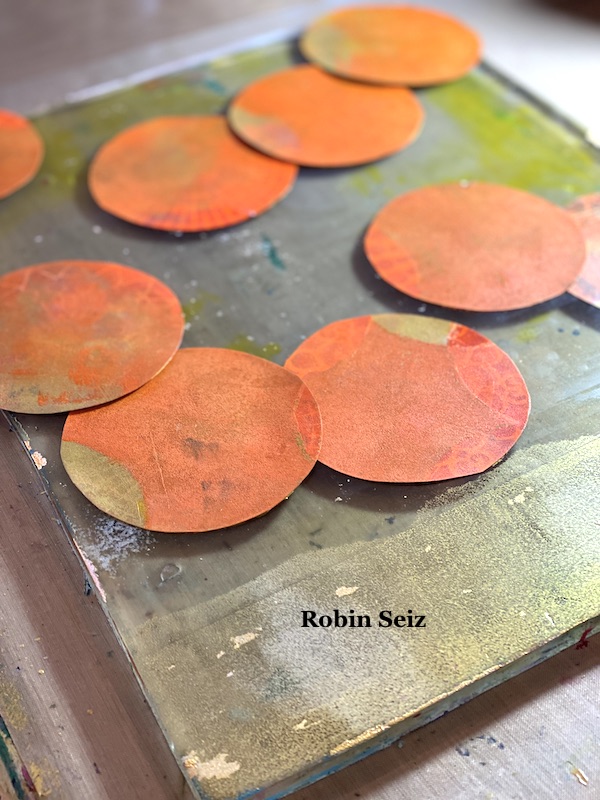
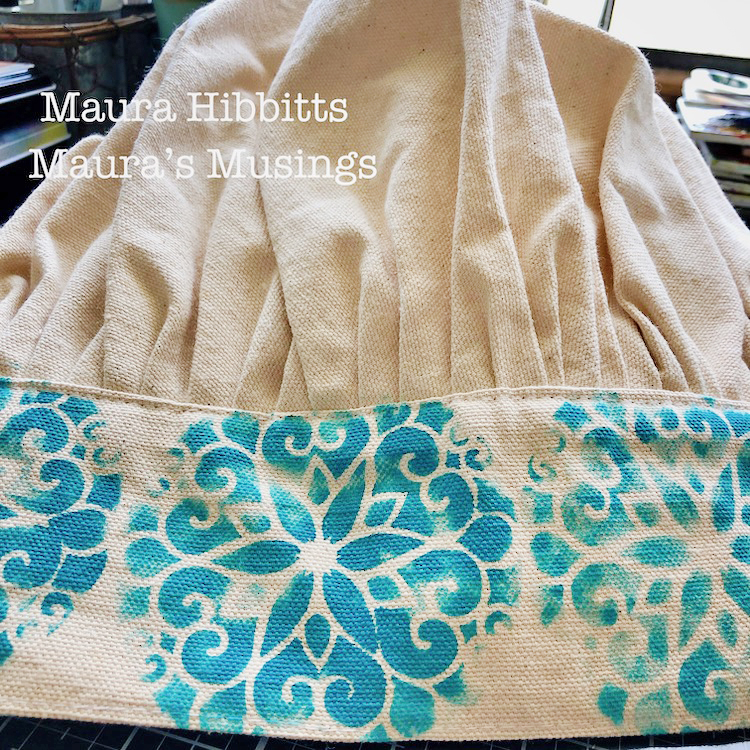
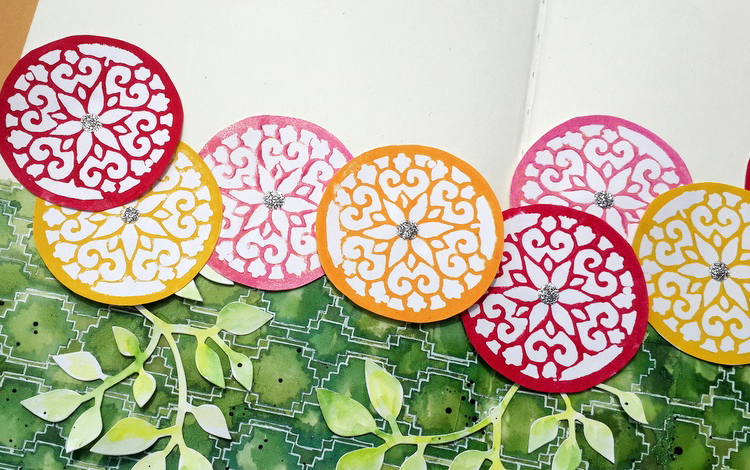
Next I removed the masks and now gold circles were visible where the masks had been. These circles were my guide to where I wanted the stencils and provided a lovely gold background for each stencil. 

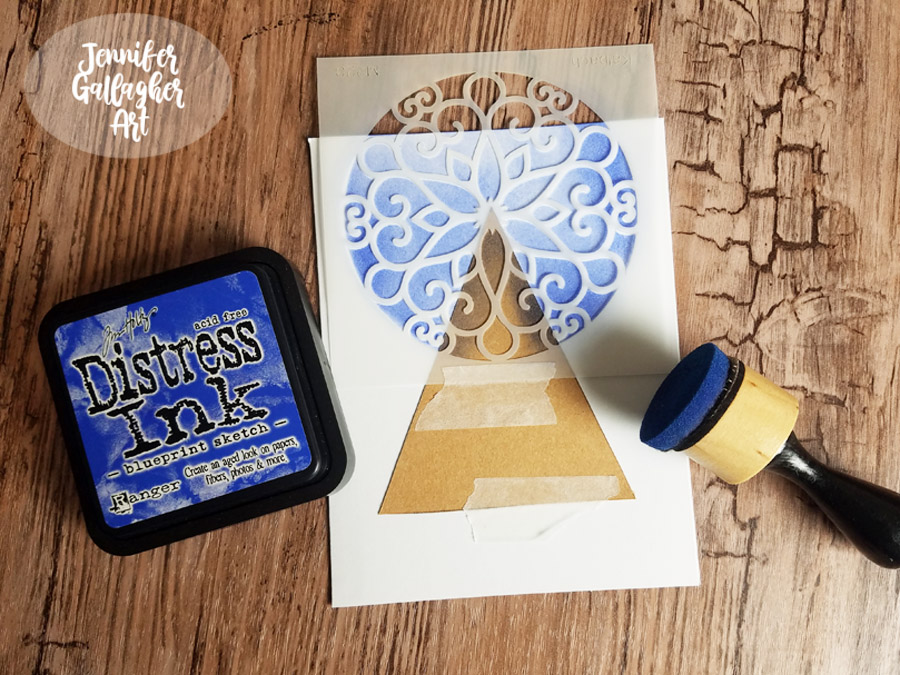
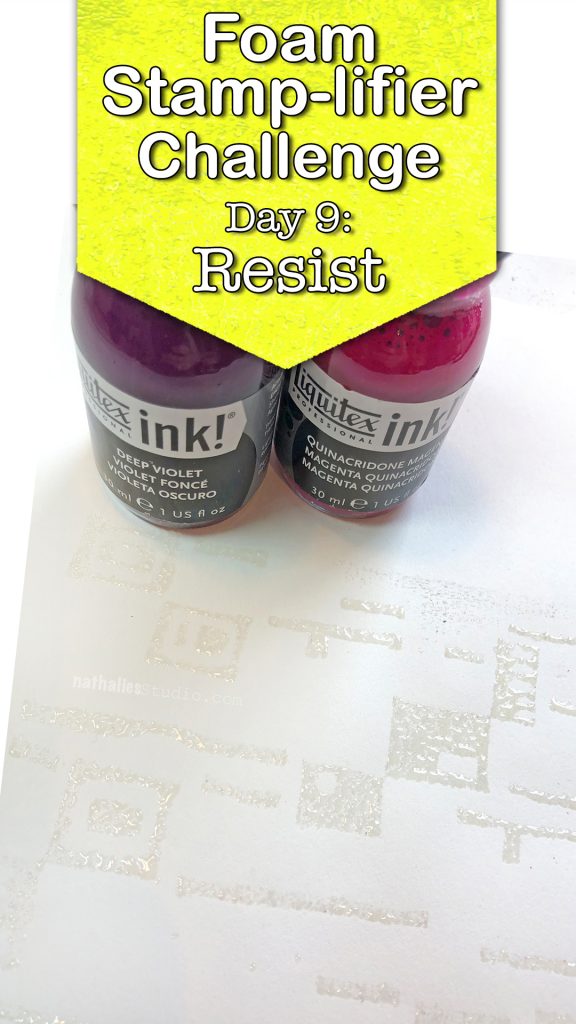
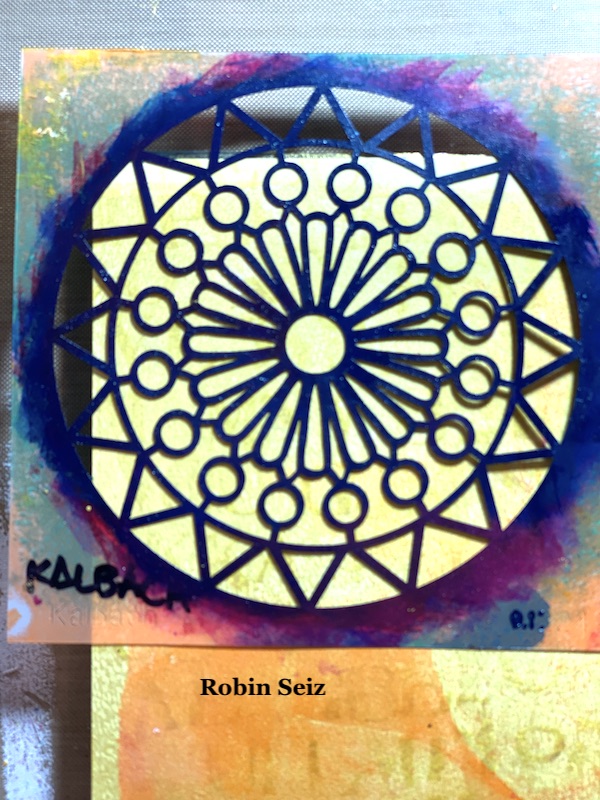
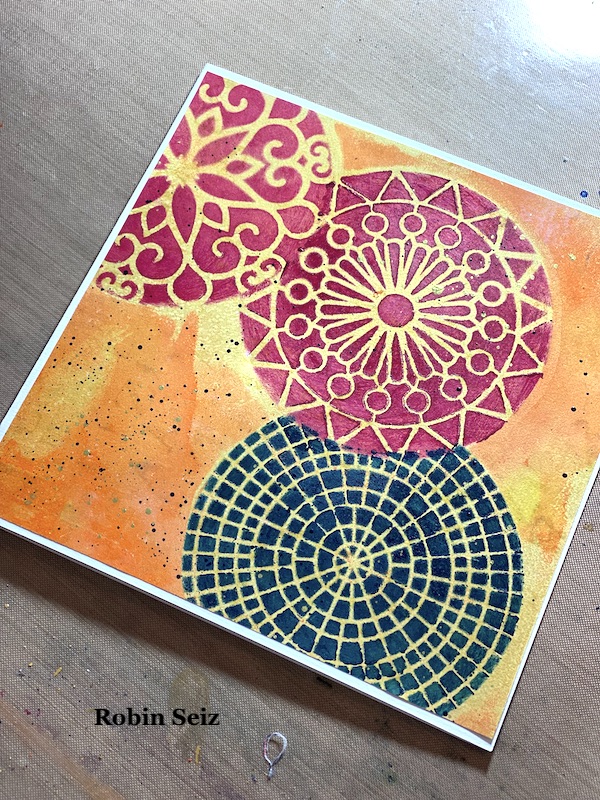
The next step is the one I find most challenging — determining which stencils to put down first. The rule of thumb in masking is to complete all the pieces in the foreground first. Once you do that, and your stencil is dry, you can then place the mask back over what you just stenciled to move on to the next piece that will be concealed. On my page, I started in the upper left hand corner with the blue Valley Road stencil.

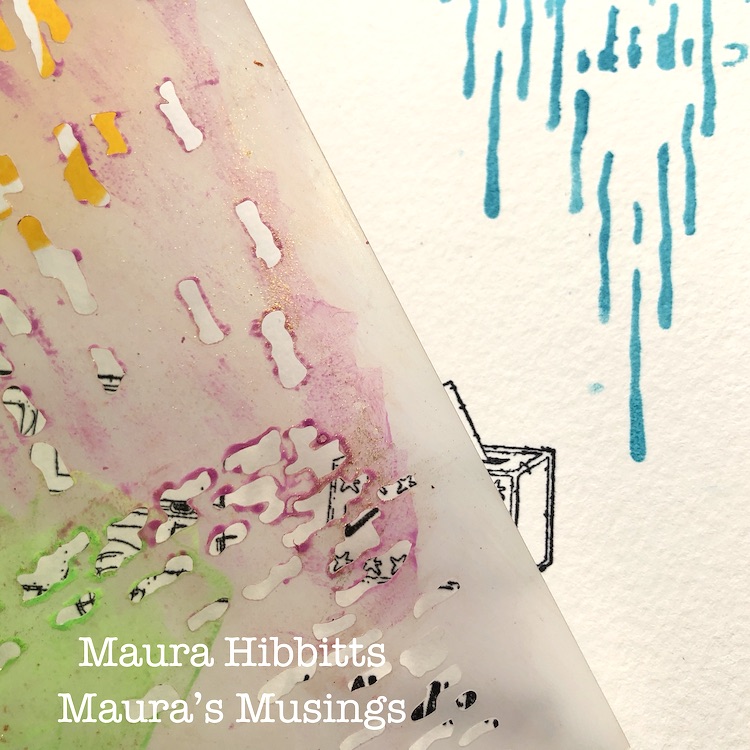
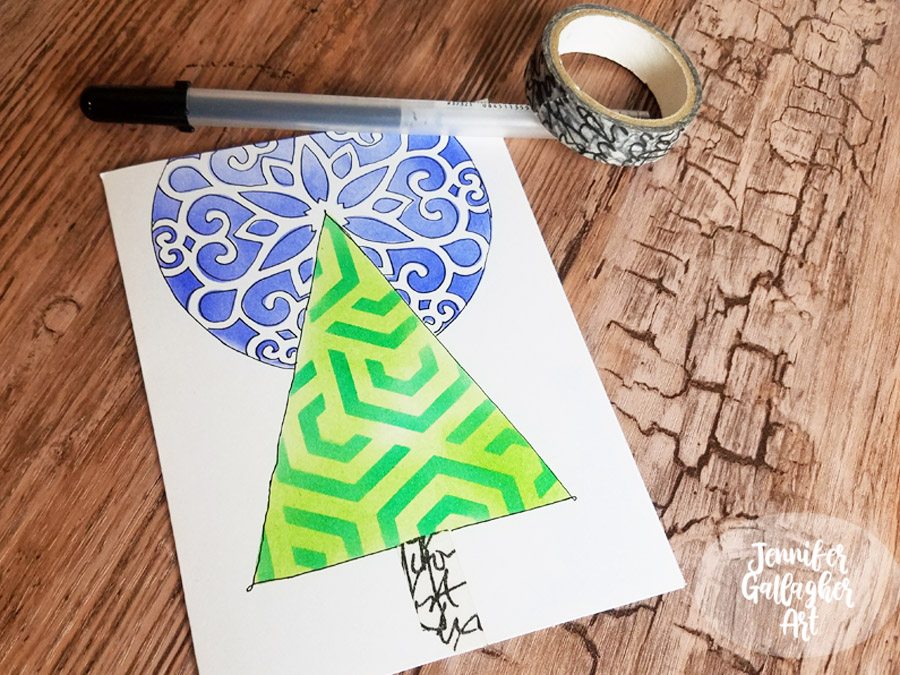
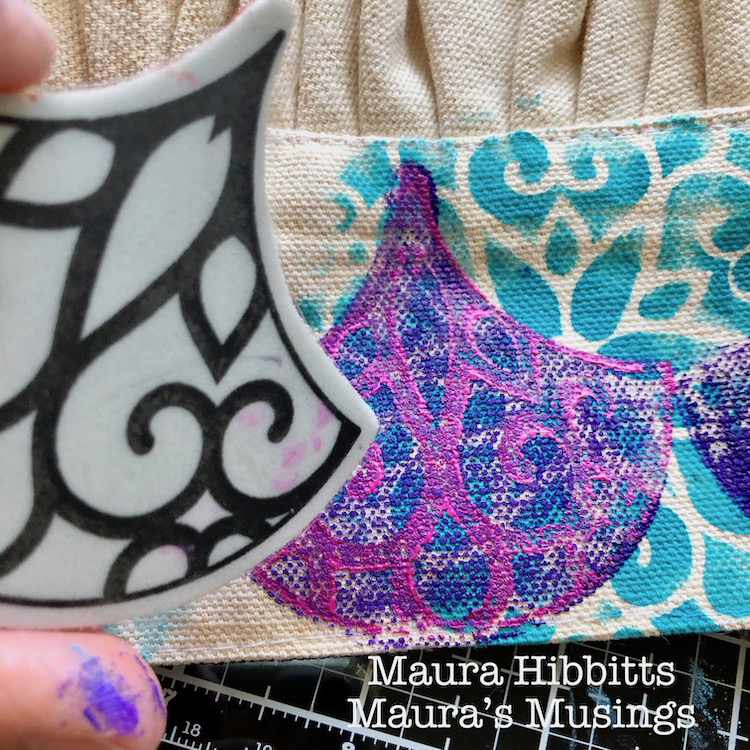
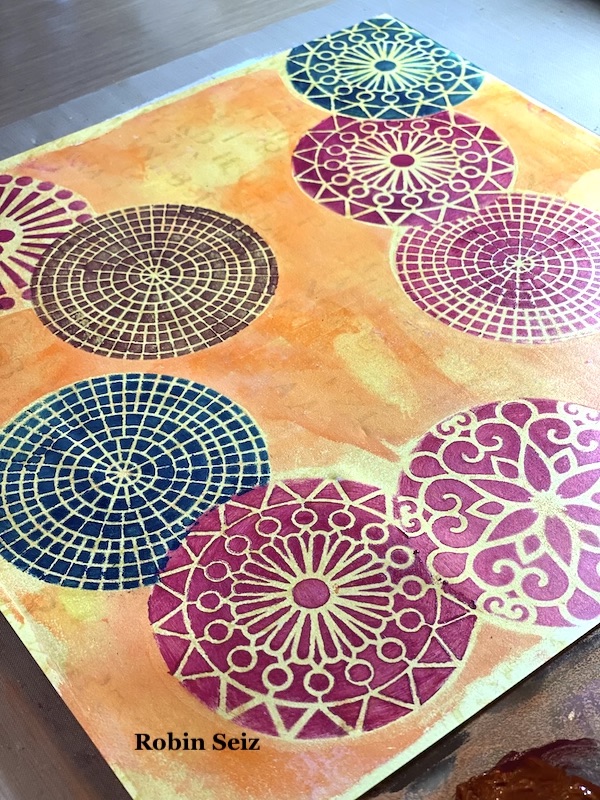
Then I did the Magenta Park Blvd stencil on the right middle and then the brown Central Ave stencil on in the lower left hand corner because all of these were going to be in the foreground. Once these were dry, I could move on to masking each one and stenciling the ones next to them that would be concealed. (In this case the two Quinacridone Magenta Grove Street circles on the right middle and upper left and the Quinacridone Magenta Valley Road Stencil in the lower left).

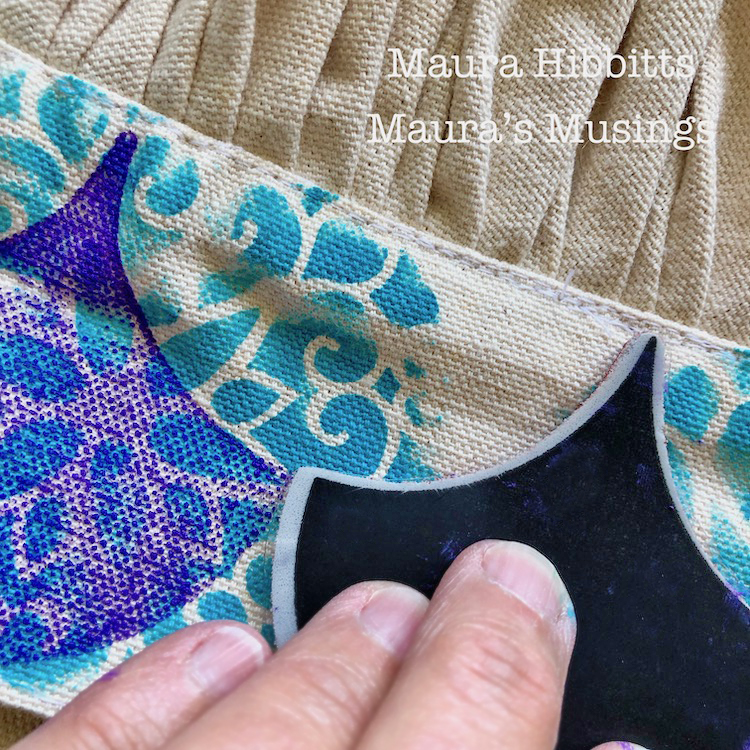
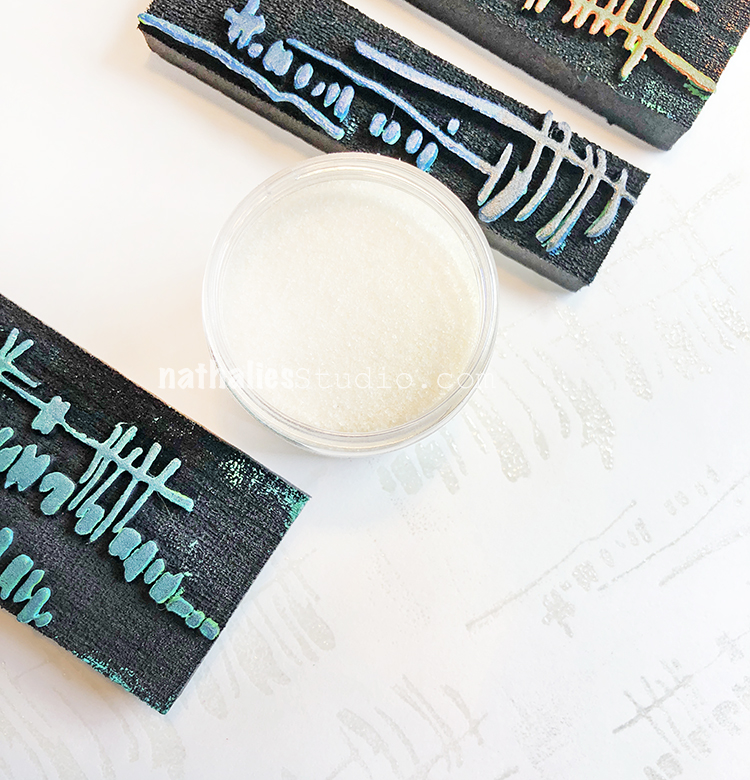
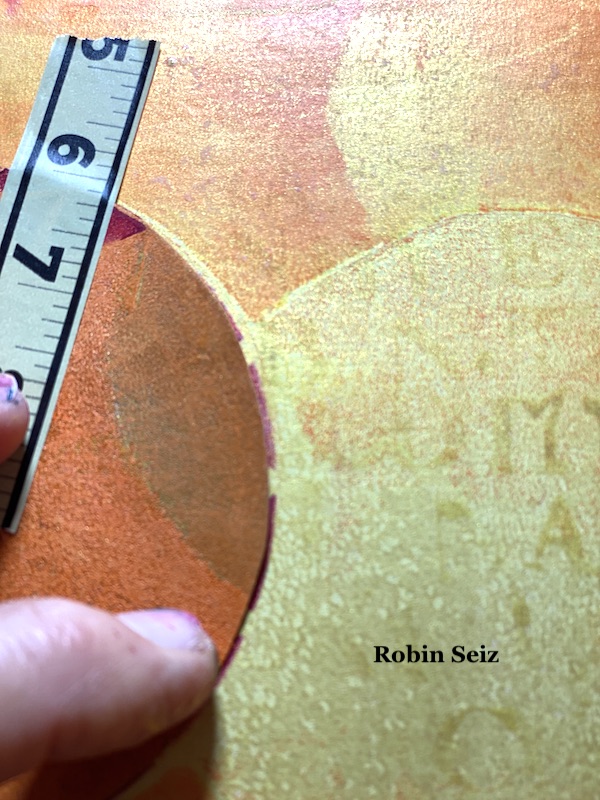
The most important thing to remember when you move to your second piece (or the piece that will be concealed) is to place the mask about 1/8” inside the first stencil — so 1/8” of the masked stencil  is showing outside the mask. If you don’t do this, you will get a gap and the conceal won’t look natural. You will have white space (or in this case gold space) between the two pieces. I used washi tape to place the mask on the page. 

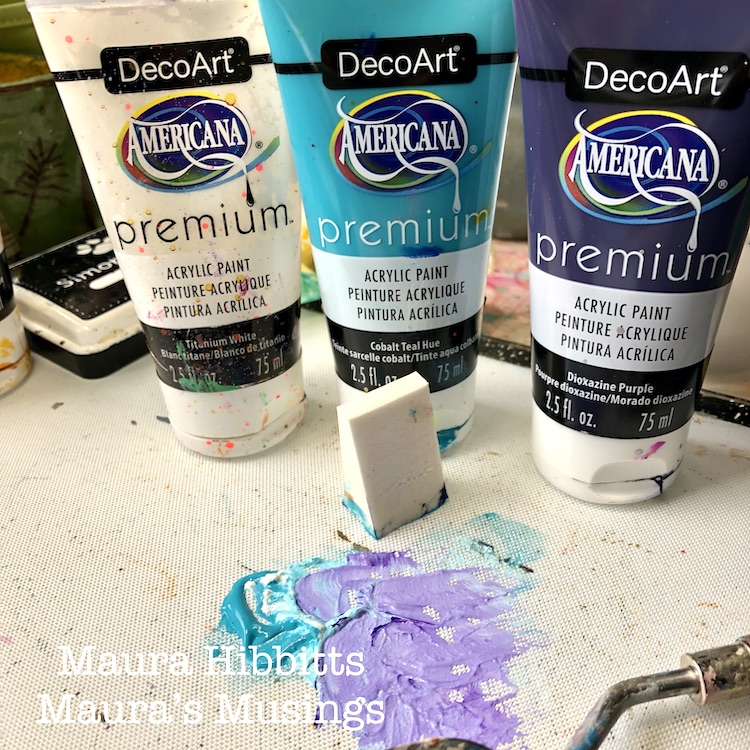
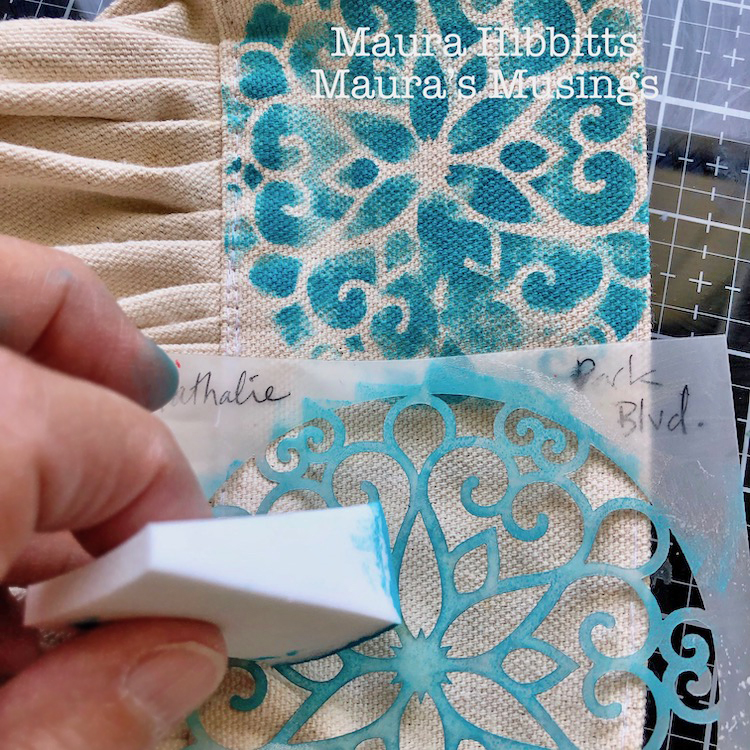
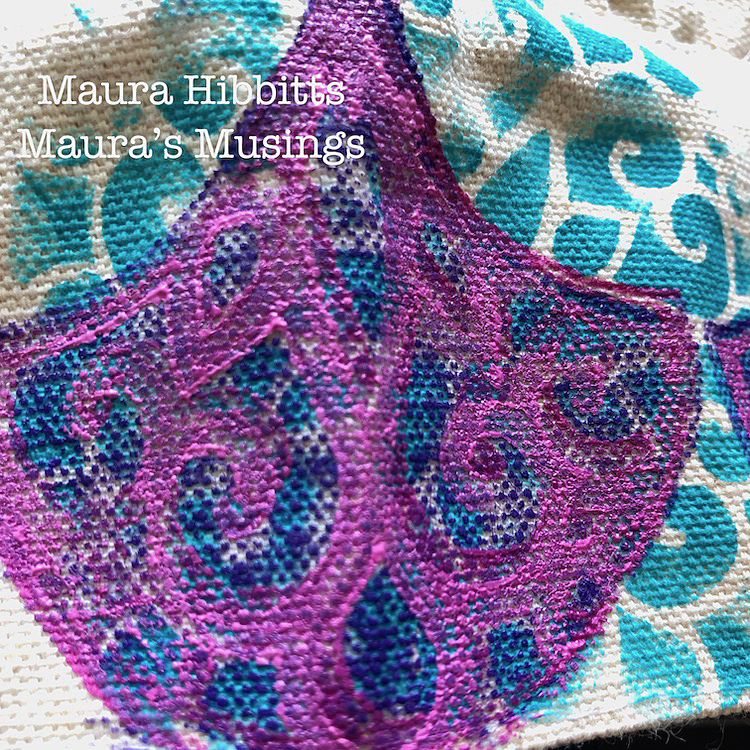
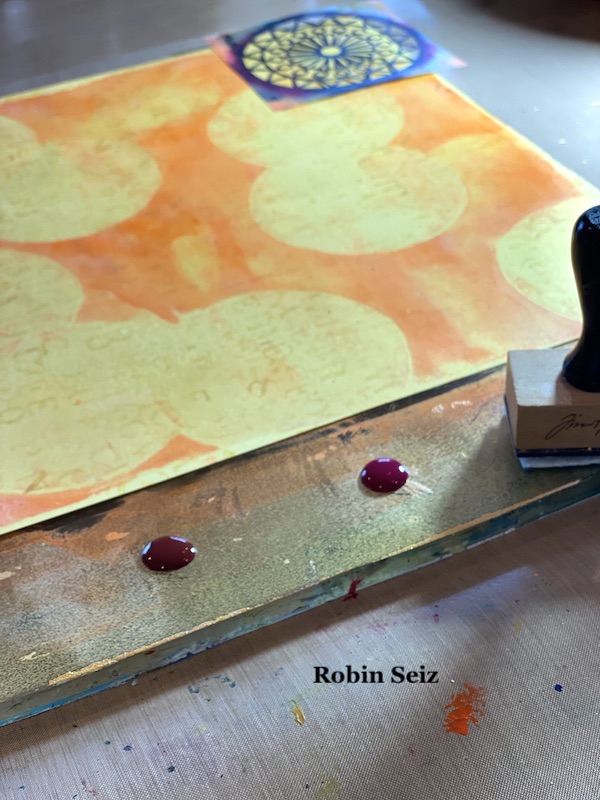
Just a note about applying paint to the stencils. I first tried a makeup sponge, but found that I am too heavy handed and the paint tended  to glob up. I used one of my Tim Holtz applicators that are made for distressed inks or alcohol inks. I found rubbing the paint over the stencil worked best for me and gave me a clearer image. You may be skilled at the make up sponge, but I’m a heavy paint user!!!! LOL

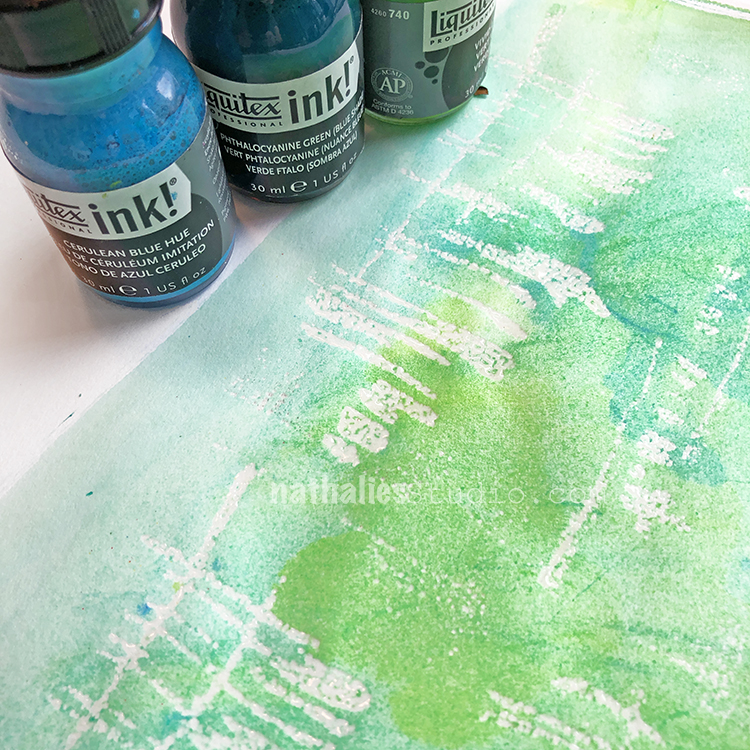
I repeated this technique, masking the second stencil so that the third would be concealed. (see the middle center three.) 

I’m realizing this is a hard process to describe in words. I hope it’s clear. Just send me a note if you have questions.

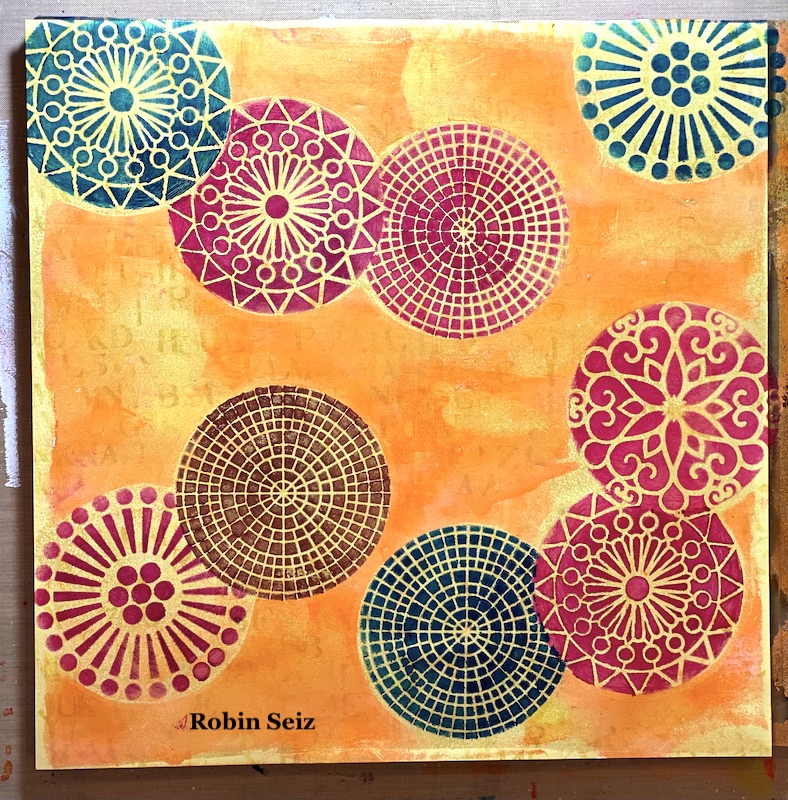
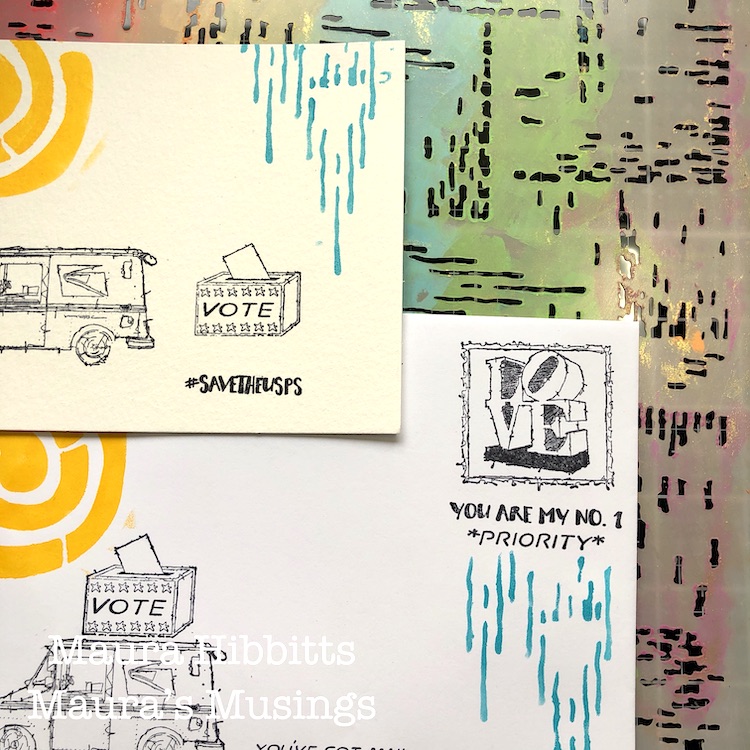
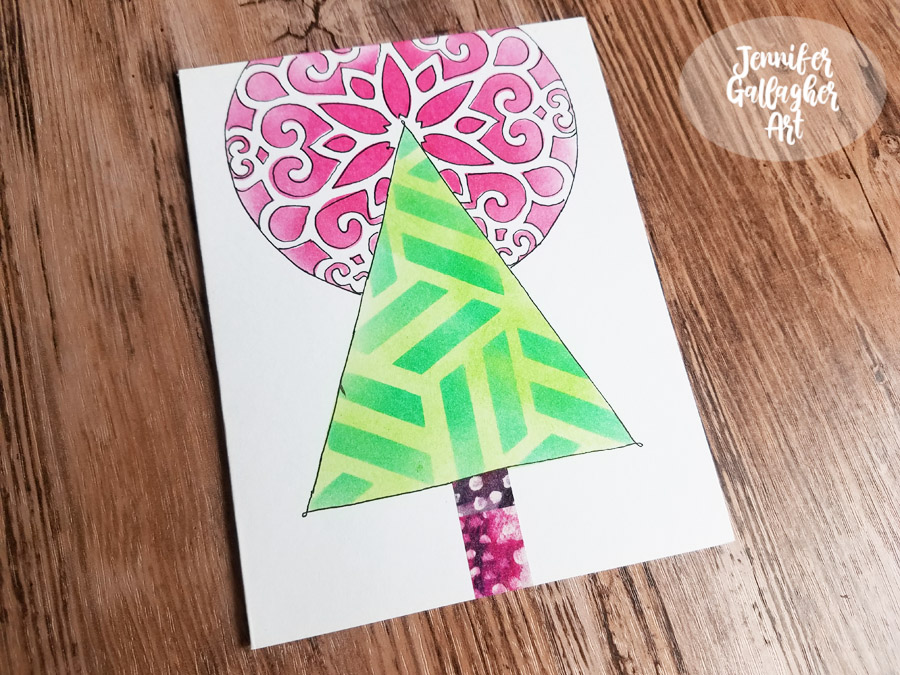
When I was finished with all the masking, the page looked like it needed a little something else. I laid down some black and gold splatter on the  page. This always gives a piece a finished look.

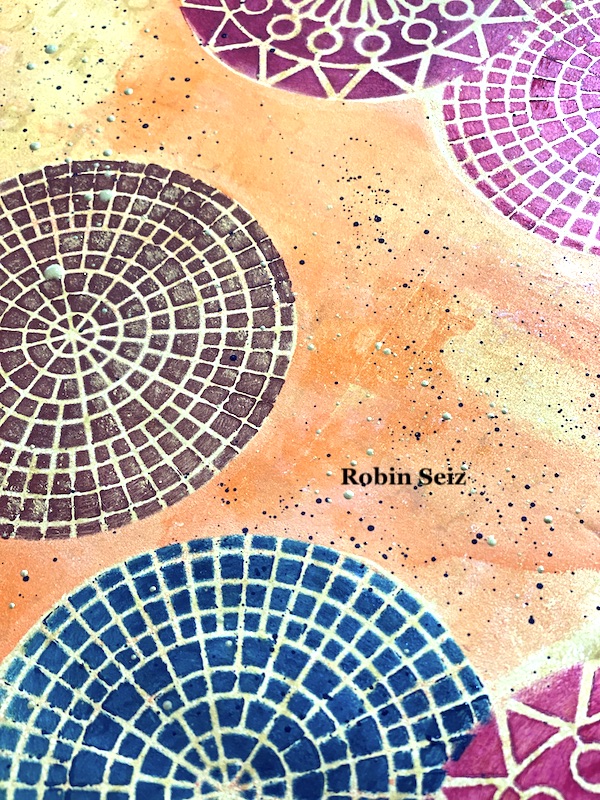
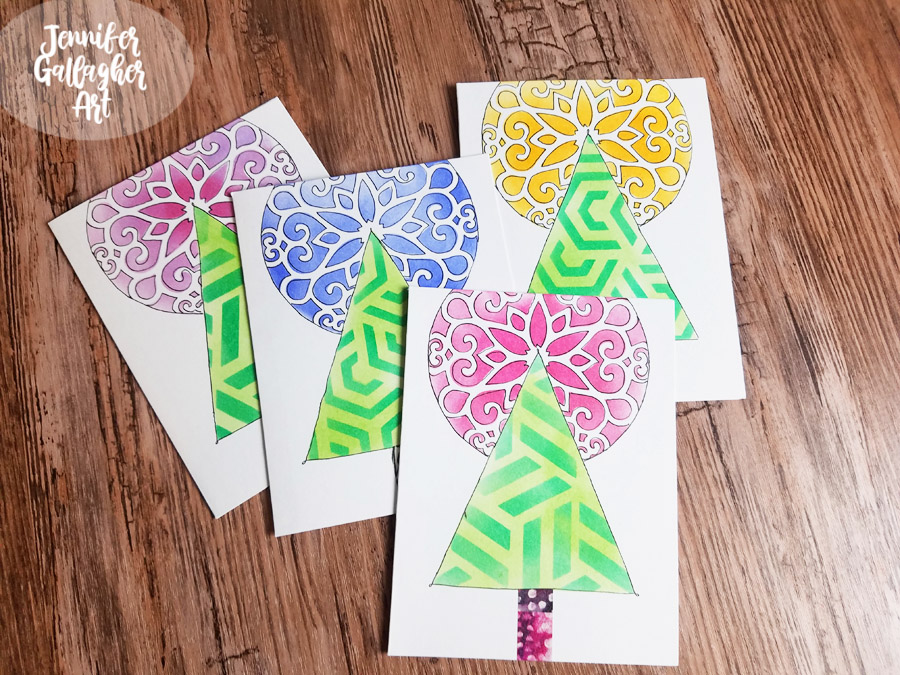
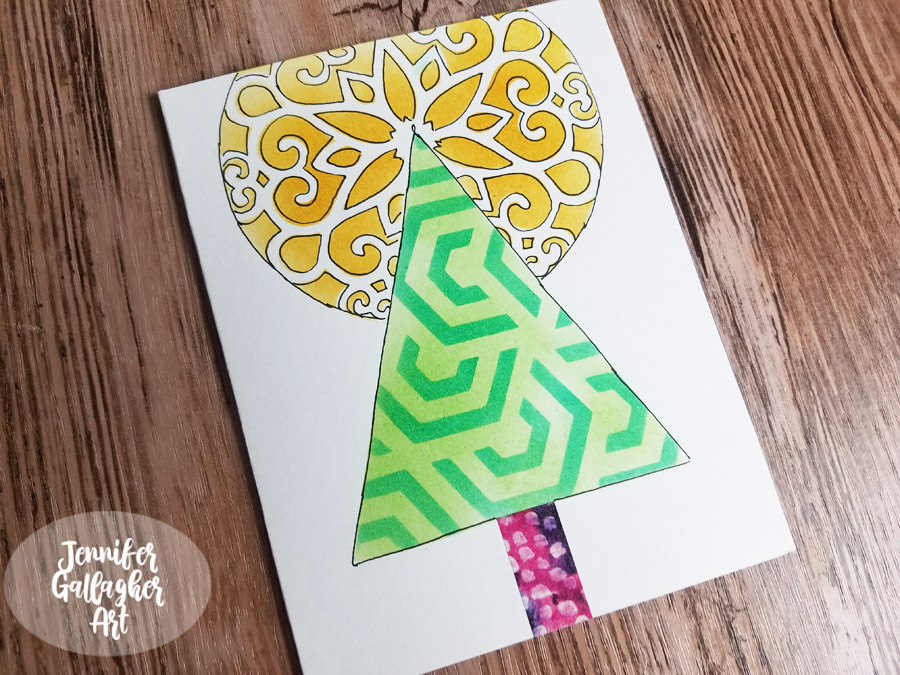
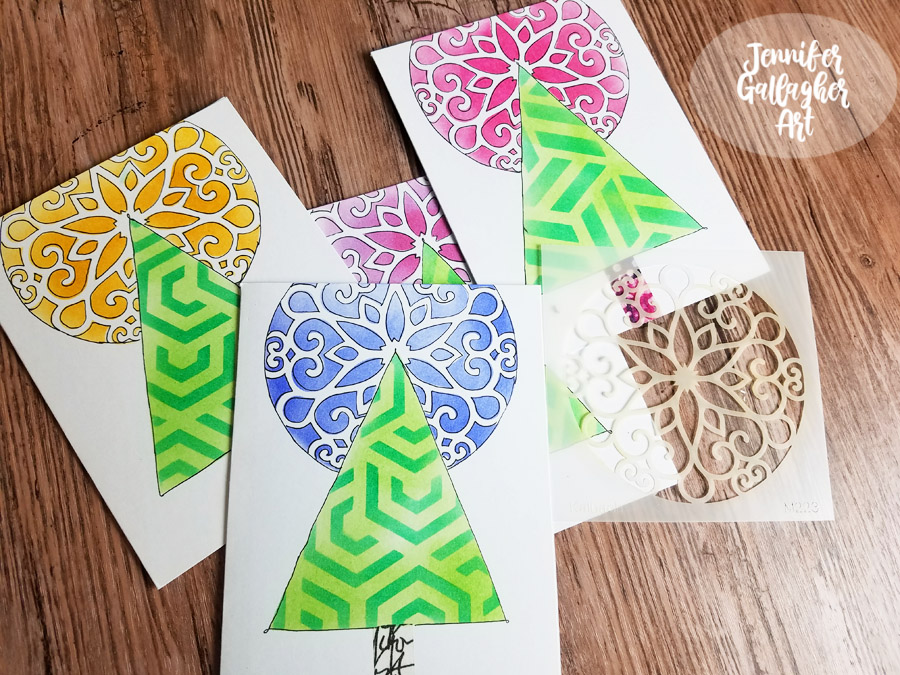
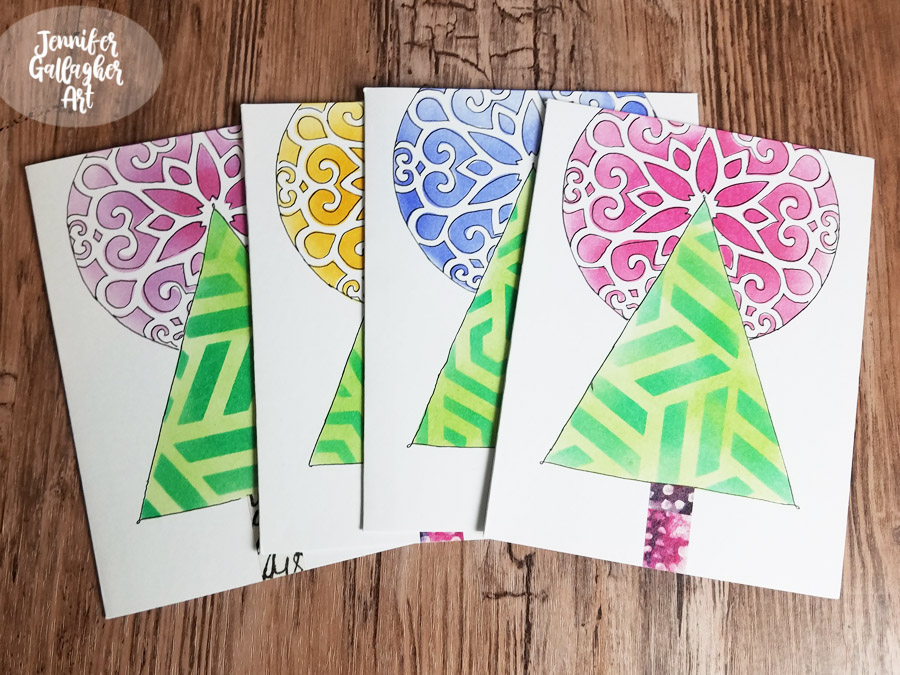
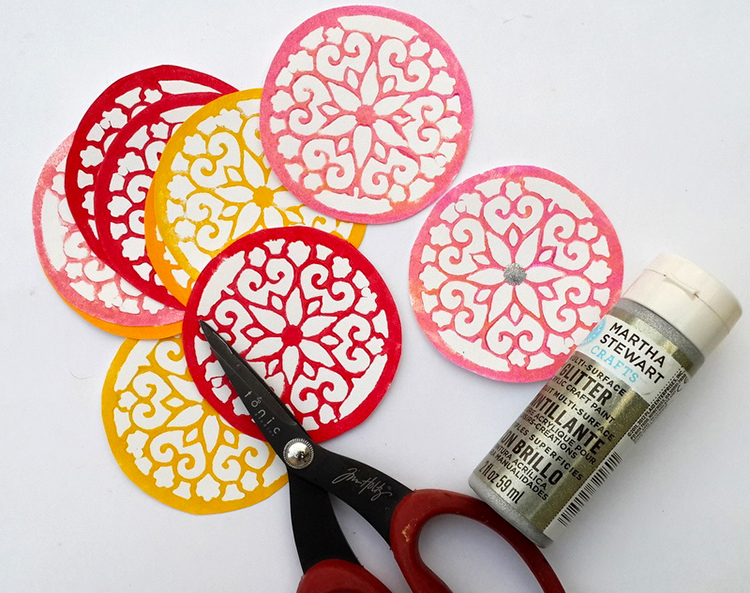
This page, since it’s large, could be used as a journal page, gift wrap, emphemera (if you cut out the stenciled pieces), or greeting cards. I chose to cut the paper into 4 sections and make  6×6 greeting cards. I love the size and how vibrant they turned out. I sometimes like my work more when I cut it into smaller pieces. Don’t be afraid to try this! You might be surprised at the results. 

I hope you try this Masquerading project. Please post your projects. I can’t wait to see them! 


Thank you Robin and I love that you chose the more abstract interpretation of this theme and showed us a masking technique!

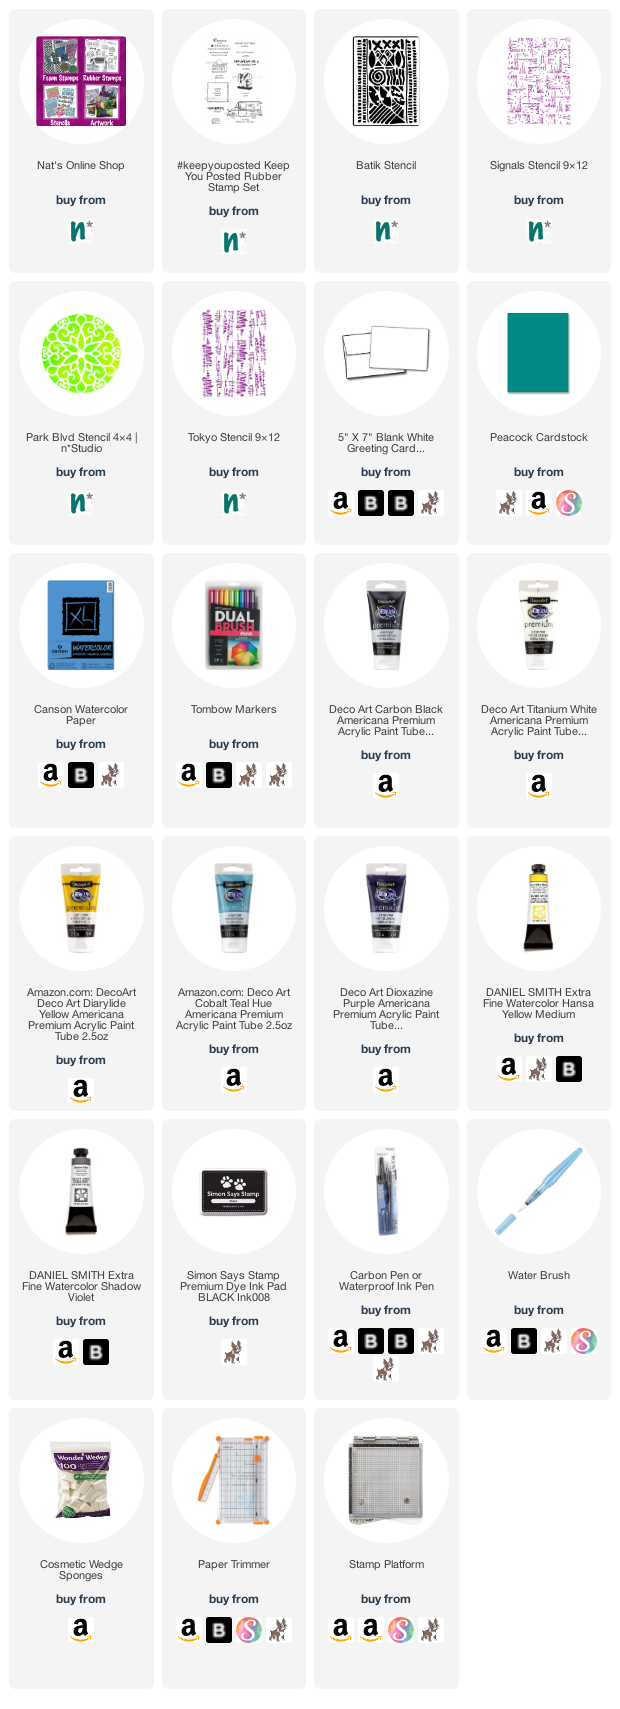
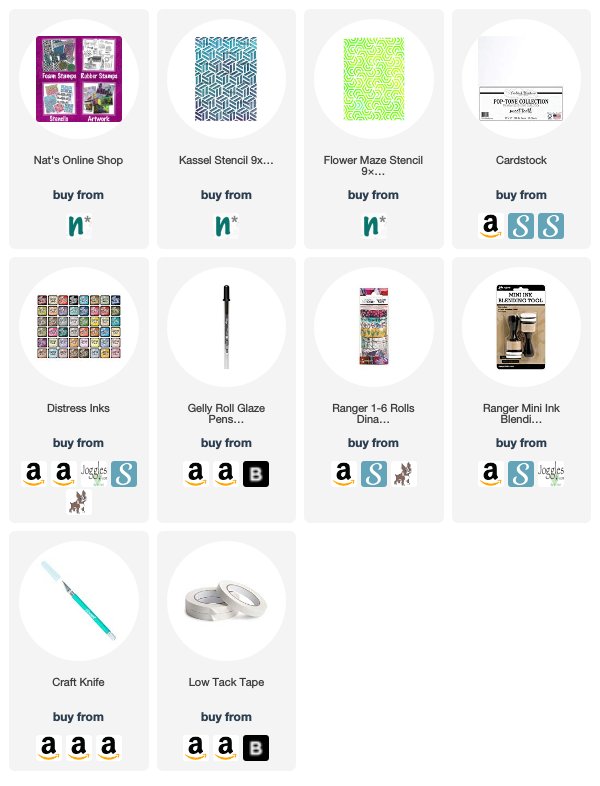
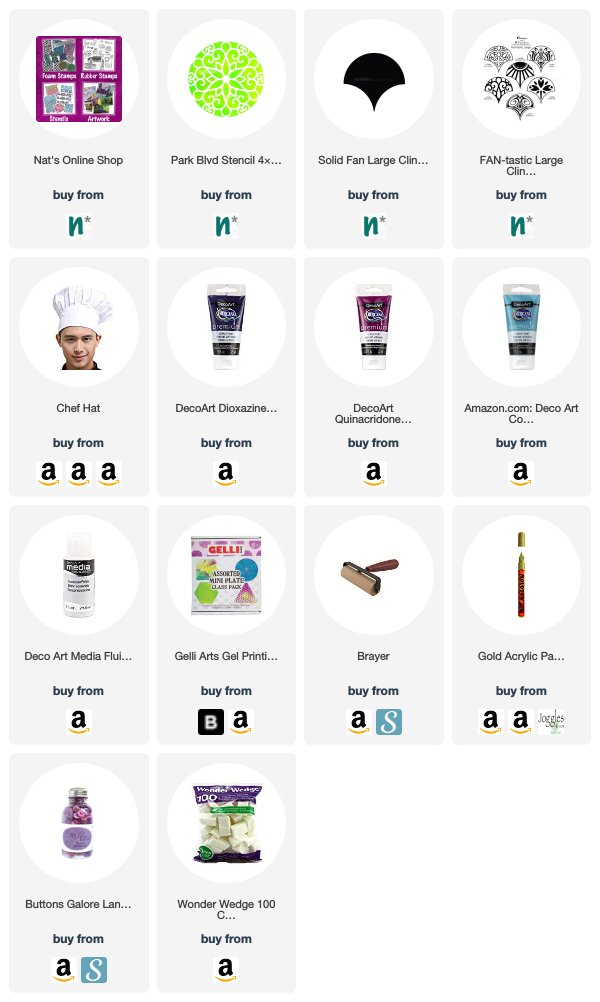
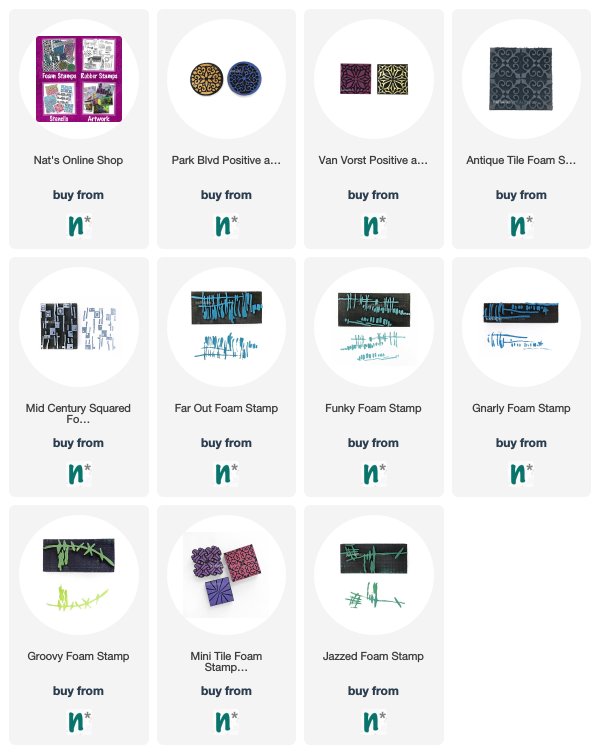
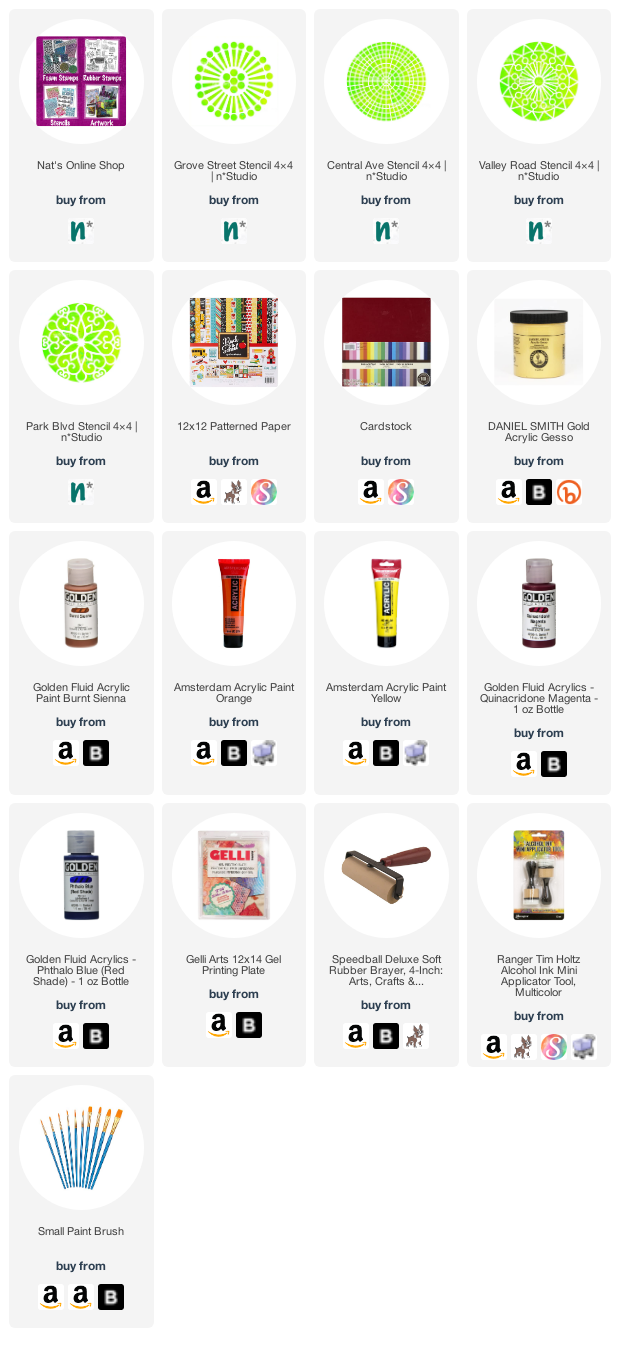
Give it a try: you can find all my Stencils in my Online Shop and here are some of the supplies Robin used:

Follow the Creative Squad on Instagram for weekly posts, artwork, and inspiration.

Leave a comment

Creative Squad: Mail Art – Maura Hibbitts

Hello from my Creative Squad! Today is Election Day and we have a wonderful Mail Art project from Maura Hibbitts using my #keepyouposted rubber stamp set and some of my stencils. Our new theme this month is: Mail Art – During these times of social distancing, old fashioned mail is a fun way to keep in touch and lift someone’s spirits. Create some mail art, and then actually send it off! Address it, put a stamp on it, and put it in the mailbox. You will make someone’s day :)


Today is a momentous day in the United States, it’s Election Day, so be sure to get out there and vote and make your voice heard! This year I voted by mail for the first time, and I have every confidence my ballot was carried by the USPS to the Election Board in a timely manner. After all, I feel like I have the best postmen and women! We share stories, tips, garden produce, treats and friendship. My best tips for you today is to get to know your postal carrier and use your local post office!

WIth our focus being mail art this month and working with Nat’s awesome new stamp set #keepyouposted, of course I had to make a card and envelope! I started by stamping the images on the envelope and the watercolor sheet with black archival ink. I like to use a stamp platform to help me get the perfect image.

Next, I wanted images to represent the weather, since the mail comes no matter what it’s like outside. For the sun, I am using the Batik stencil and Diarylide yellow paint. I like to use a cosmetic sponge with just a bit of paint to stencil with. I added the design to both the card and envelope.

To create rain, I used a bit of the Signals stencil and a blend of Cobalt Teal Hue with Titanium White paint.

Next comes snow, where I used the Park Blvd 4×4 stencil with a mix of Dioxazine Purple, Cobalt Teal Hue and TItanium White paints. Again, use a cosmetic sponge to dab the paint into the stencil.

Where I live, we often get “black ice” in the winter, so I had to add that weather element in also with the Tokyo stencil. I added just a bit of Carbon Black paint into my previous mixture.

Add in some color details with Tombow markers and a water brush onto the card portion next.

Blend in some watercolor around the images on the card with Shadow Violet and Hansa Yellow Medium. These will represent stormy and sunny weather.  Let dry and edge with the black ink. (I made some little dot cards for a class I taught, and it came in handy for this project. If you don’t want to carry all of your watercolors with you, why not try this?)

Since the envelope could get wet in mailing, I chose to color my images with colored pencils instead of the watercolors.

Once the card background was dry, I wrote on some weather terms like sunny, snow, rain, fog, and ice. I also hand lettered Thank You! and mounted it on Teal cardstock, then onto the card base.  I am planning to mail this to my local post office and carriers in thanks for all they do.

I am so thankful for my postal carriers and local Post Office! When I think about how many letters and packages they have delivered to my family alone over the years, it truly is amazing. Good news…and bad, have come through the mail, memories, gifts, and so much more. I appreciate their dedication to get it to me, no matter the weather. Today, November 3 is such an important day here in the U.S., and this year especially, the Post Office is playing a critical role in voting in the midst of a pandemic. I wish you all the best, and get out there and vote! – Maura

Thank YOU Maura! Love how you got creative in representing the weather and absolutely adore your message here too :)

Give it a try: you can find all my Rubber Stamps and Stencils in my Online Shop and here are some of the other supplies Maura used:

Feel inspired? Working on something yourself that you’d like to share?  I love to see how you interpret our monthly themes. Email me how you used my stencils and stamps with the theme and email me an image – I would love to share your projects in my next  “n*Spiration From Around the Globe“.

Leave a comment

Happy Holidays – Jennifer Gallagher

Hello everyone and welcome to a Happy Holidays post from our Creative Squad. Today we have a group of super cool looking cards from Jennifer Gallagher that you can make with the whole family! Jennifer is using my Kassel, Park Blvd 4×4, and Flower Maze stencils and this month’s theme: Happy Holidays – It is a time of year where we are celebrating and coming together and enjoying some merriment. Create something holiday related (whatever holiday you may be celebrating) and enjoy the season!


This month we are celebrating the holiday season and what better way than to create some fun holiday cards. You’re going to love this tutorial because it’s fun, easy, and family friendly. So break out your favorite n*Studio stencils and let’s get started.

I began by drawing a simple tree shape onto craft card stock and cutting it out with a craft knife. I kept both pieces, one we will use as a stencil and the other as a mask.

Using the tree mask and Nat’s Park Blvd 4×4 stencil, I placed the designs down using a low tack washi tape. The mask allows me to protect the area where I don’t want to apply color.

Next, I applied distress ink in blueprint sketch to the Park Blvd. stencil. This creates a lovely halo around the tree.

I placed the tree stencil in the spot where the mask was and applied mowed lawn distress ink. Next, I laid Nat’s Kassel and Flower Maze stencils down and applied lucky clover distress ink over that.

Now is the time to pull out all of your favorite washi tapes. I chose one of my favorites and used a small piece to create the tree trunk. Then, using a Sakura Gelly Roll in black, I outlined my tree and halo.

Now it’s time for the remix! Change up your ink colors, stencil designs, and washi tapes to create different designs. I suggest trading out the Kassel stencil for Nat’s Flower Maze stencil in your trees. Some additional ink colors I used are picked raspberry, wild honey, and shaded lilac. Check out these variations:

I hope you have enjoyed this tutorial. This would be a great craft to make with your kids and grandkids. There is nothing better than receiving a handmade card around the holidays. If you try out any of this month’s tutorials, be sure to share with us. Happy Holidays!


Thank you Jennifer for this kick off to our December Creative Squad posts – love how doable the cards are and the very fun results – great design!

Give it a try: you can find all my Stencils in my Online Shop and here are some of the other supplies Jennifer used:

Feel inspired? Working on something yourself that you’d like to share?  I love to see how you interpret our monthly themes. Email me how you used my stencils and stamps with the theme and email me an image – I would love to share your projects in my next  “n*Spiration From Around the Globe“.

Leave a comment

Food for Thought – Maura Hibbitts

Hello from my Creative Squad! Today we have a cute project from Maura Hibbits for all you chefs out there (or maybe hat enthusiasts???)! She is using my Park Blvd stencil and my Solid Fan and Fantastic Large rubber stamps, along with this month’s theme: Food for Thought – Let’s take a lighthearted look at food! While the culinary world has become an art and a science in terms of preparation and presentation, sometimes it is the simplest foods that bring us the most joy. Simple fare or elaborate family traditions, we all have our favorite foods. What is yours?


Do you have a King or Queen of the kitchen at your house? Anyone who loves to cook? Why not create a crown themed chef’s hat for them? One of my sisters loves to cook, and loves the color purple which got my muse thinking. I found a canvas chef hat in my stash, and purple made me think of royalty, hence the crown reference.

I started with simple materials for my project, chef hat, stencil, stamps, and paints. Of course, this could easily be done on a canvas bag too. 

My first step was to stencil around the headband portion of the hat with Nat’s Park Blvd stencil. I used a cosmetic sponge with the Cobalt Teal Hue acrylic paint and dabbed lightly. In retrospect, I would have waited to do this step until after I did the fans, which would have made the placement better. I also would have lightened the blue. Oh, the things we learn as we go!

I blended the Dioxazine Purple and Translucent White on the gel plate with the brayer, then used this as a stamping base for the Solid Fan. I found I had to repeat the paint stamping onto the hat two to three times in order to get it dark enough.

Next, I blended Quinacridone Magenta and Translucent White on the gel plate, and stamped into this with the large Park Avenue Fan to transfer it to the hat. I stamped this design on top of the solid fans around the brim. Then, I decided there wasn’t enough contrast, so mixed a second blend using more white, and re-stamped the design. If you look closely you can see a shadow effect.

To create a royal feel to the chef’s hat, I outlined the fans with a gold acrylic paint pen.

Then, I figured a “crown” needs jewels, so sewed a purple button to the top of each fan.

Time for the “foodie” shot, so I am modeling the Royal Chef Hat.

I can’t wait to see my sister’s reaction when I hand her the Royal Chef Hat in honor of her love of cooking and creating. I think it’s a good thing she enjoys wearing hats, even weird ones that look like a dragon or jester, lol. Time to honor the Queen of the Kitchen!


Thank you Maura – I love the idea of donning one of these in the kitchen :) You can find all of my Rubber Stamps and my Stencils in my online shop. Here are some of the supplies Maura used:

If you are working on something yourself that you’d like to share, please do!  I love to see how you interpret our monthly themes. Email me how you used my stencils and stamps with the theme and email me an image – I would love to share your projects in my next  “n*Spiration From Around the Globe“.

Leave a comment

Foam Stamplifier Challenge Prompts 8-10

Day 8 – Emboss

I love to emboss with my foam stamps. The foam surface creates some added texture even if you use super fine embossing powder.

Simply press the clear embossing pad onto the foam stamp and then stamp on paper. You can add just one solid color of embossing powder to your image and then heat emboss.

Or for even more fun, add several different colors of embossing powder and heat emboss one after the other.

Another fun way to use embossing powder is to use the positive and negative sets and layer the embossing. I hope you try it

Day 9 – Resist

I am a huge fan of resist techniques and this has always been one of my favorite ones.

Apply clear embossing ink to your foam stamp. Stamp onto paper. Sprinkle UTEE (ultra thick embossing powder) on top and heat emboss. Let cool and then apply a very thin layer of acrylic paint or acrylic ink over the surface.

The paint or ink will dry slower on top of the UTEE as that area will resist the paint. Use a moist rag or a baby wipe and gently wipe over the raised UTEE pattern to remove the paint.

What remains is a wonderfully textured clear pattern.

Day 10 – Pastel

I love using Pastels with my foam stamps. In order to make the pigments stick you need a little trick though. I usually use a clear embossing ink pad and apply it to the stamp, then I stamp onto paper.

My favorite pastels are PanPastels but you can use over pastels as well.

I apply the pastel with a tool over the stamped surface and wherever the embossing ink is on the paper the pastel will accumulate more and collect more of the pastel.

The stamped design will appear darker.

Here are the foam stamps I used for those prompts. Hope you enjoying the Foam Stamplifier Challenge!


In case you missed the prompt list  here you go:

Leave a comment

Colors Are My Friends – Shilpa Nagaonkar


Happy Tuesday my friends from the Creative Squad! Today we have an art journal spread from our new member Shilpa Nagaonkar, using my Mesa Verde stencil and my Park Blvd foam stamp. Shilpa is working with our theme: Colors Are My Friends – Let’s kick off the new Creative Squad with a celebration of color! What are your favorite, go-to signature hues? Let’s go bold and bright this month and use color to ring in a new season of inspiring projects!


Hello Everyone, super excited to share my first post on Nathalie’s N*studio blog :) As you are aware, the Creative squad is using the theme “Colors are my Friends” this month. Ahh… colours are inspiration to me…especially bright ones! Orange, yellow, pink and red are my  favourites … so I chose them for today’s journal. I get a lot of inspiration from our home garden too. Winter has just begun in India and beautifully colored flowers are blooming in our garden. .. here comes my garden theme journal spread with lots of colors.

I started by applying modelling paste through the Mesa Verde Stencil. I let it dry completely.

I used Twinkling H2O watercolors here, in greens.

When the green colors were dried, I outlined the stencil design using a gelli roll pen.

On another paper, I stamped designs with Nat’s Park Blvd foam stamp using acrylic paints in yellow, pink, orange, and red.

I cut them out to use them as flowers. I applied silver glitter paint in the middle of all my flowers.

I arranged them all with diecut leaves on the pages. Lastly I colored the leaves with watercolors and created splatters with black ink.


Thank you Shilpa for this beautiful homage to your garden and your favorite colors! Shilpa used the following supplies (some are affiliate links):


Play along with us too: I love to see how you interpret our monthly themes. Email me how you used my stencils and stamps with the theme and email me an image – I would love to share your projects in my next  “n*Spiration From Around the Globe“.


Also, please drop by and join me for a Facebook Live Kaffeeklatsch tomorrow afternoon. I’ll be chatting about Inktober and playing with ink throughout the month of October, I’ll recap my workshop retreat in the UK, and I’ll tell you about some fun adventures I had with graffiti in Birmingham, England. Come say Hi and join in on the chat!

SaveSave

SaveSave

SaveSave

SaveSave

SaveSave

SaveSave

SaveSave

Leave a comment