Blog: Printmaking

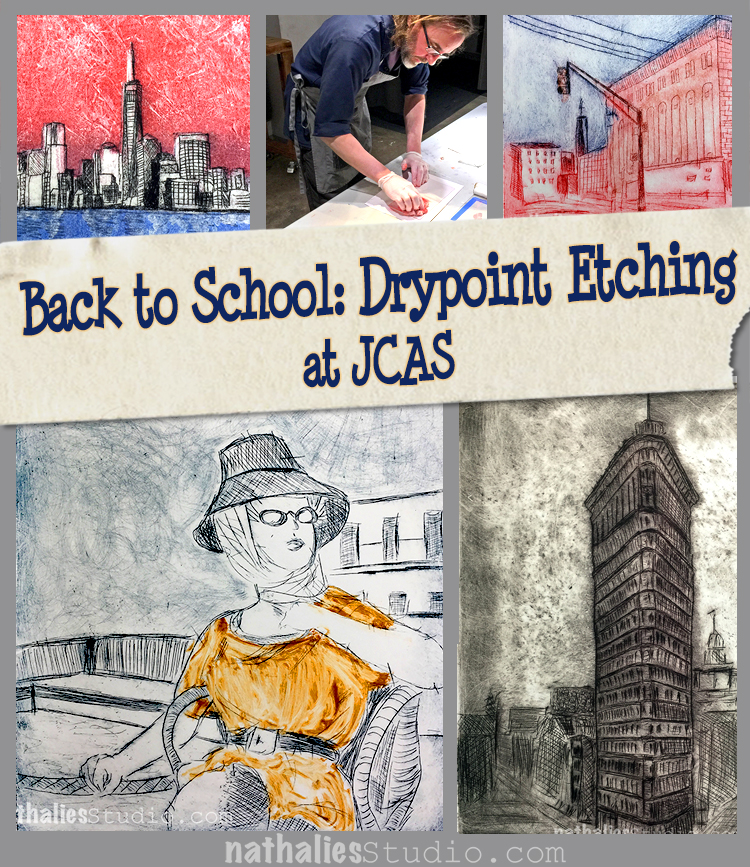
Back to School: Drypoint Etching at JCAS

This winter I took a drypoint etching class with Bruno Nadalin, a fellow Jersey City artist at the Jersey City Art School. I have taken a Linocut Class with him before and he is an amazing teacher, so I knew it would be good. And I wasn’t disappointed. The class with 6 x 3hour lessons  was AWESOME.
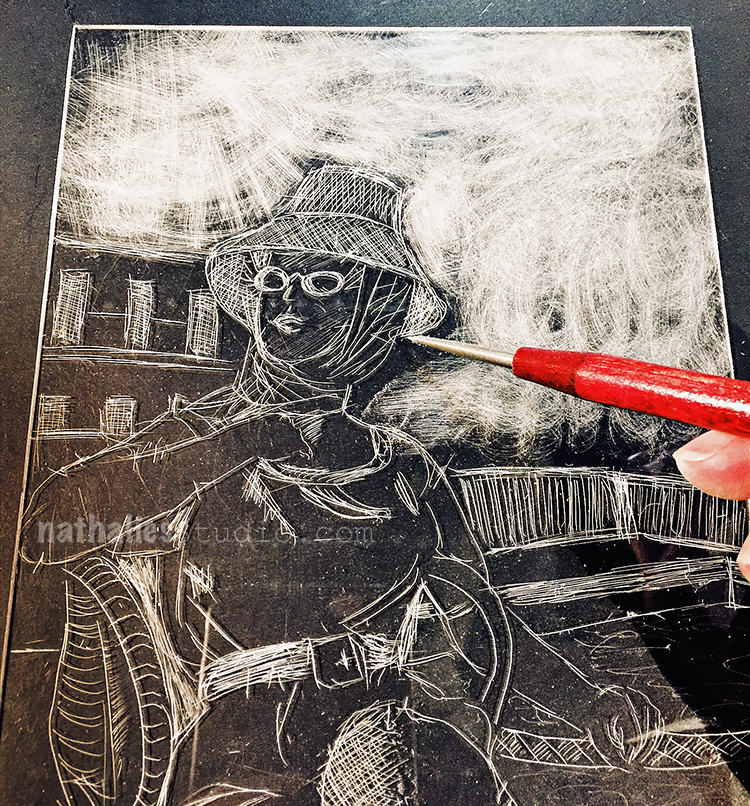
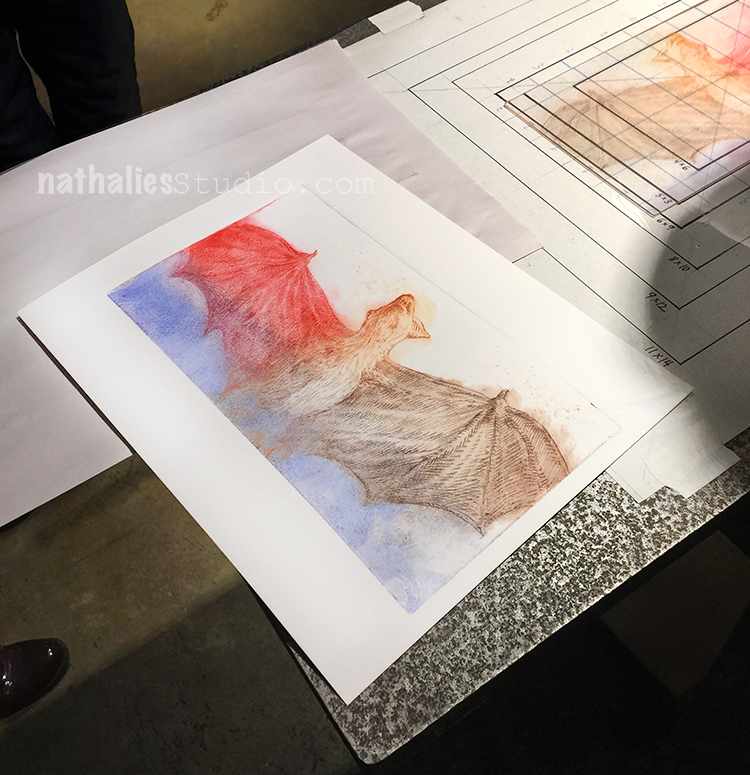
In this class we did drypoint on acetate/plexi plates. Using a sharp needle and/or other tools you scratch an image into the plate. The plate above is the one I did in the first lesson after we practiced with some different applications and tools
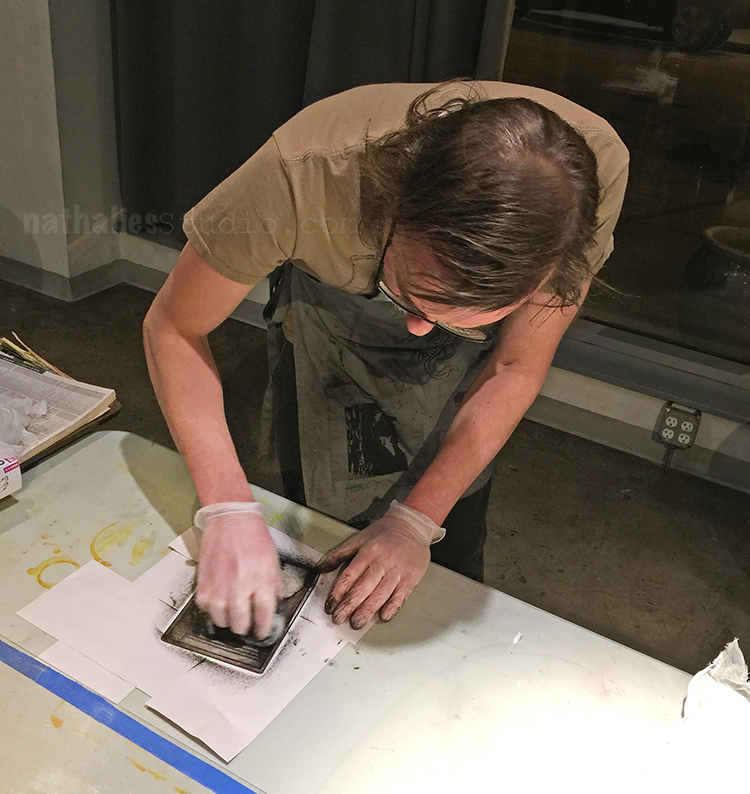
The plate then is getting inked up and then the ink is wiped off again – the ink remains in the creases of your etching and that is where the magic happens.
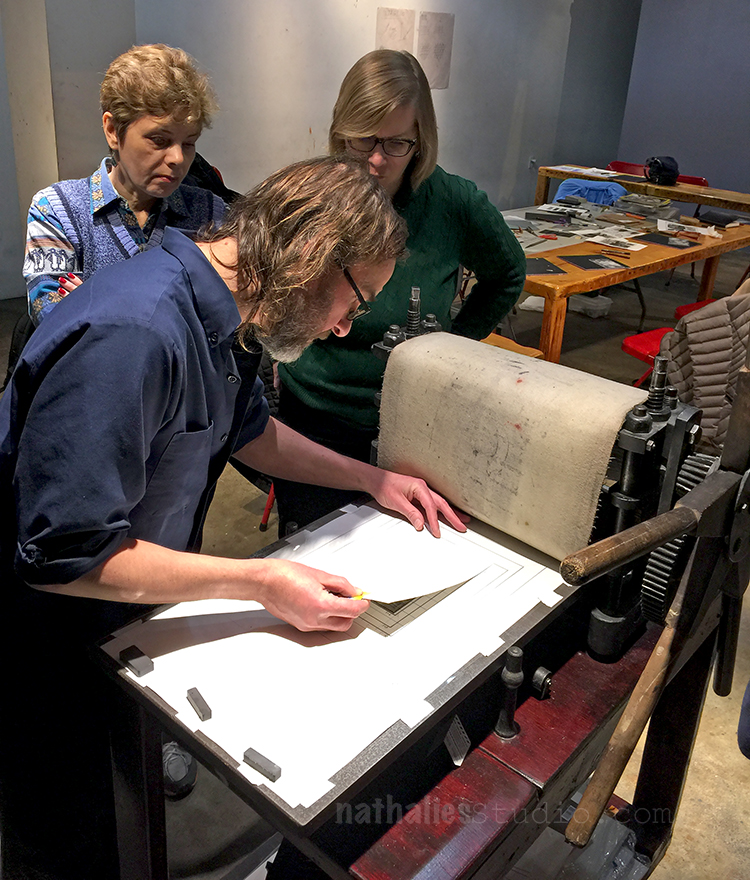
Here is Bruno putting a sample onto the printing press at the JCAS.
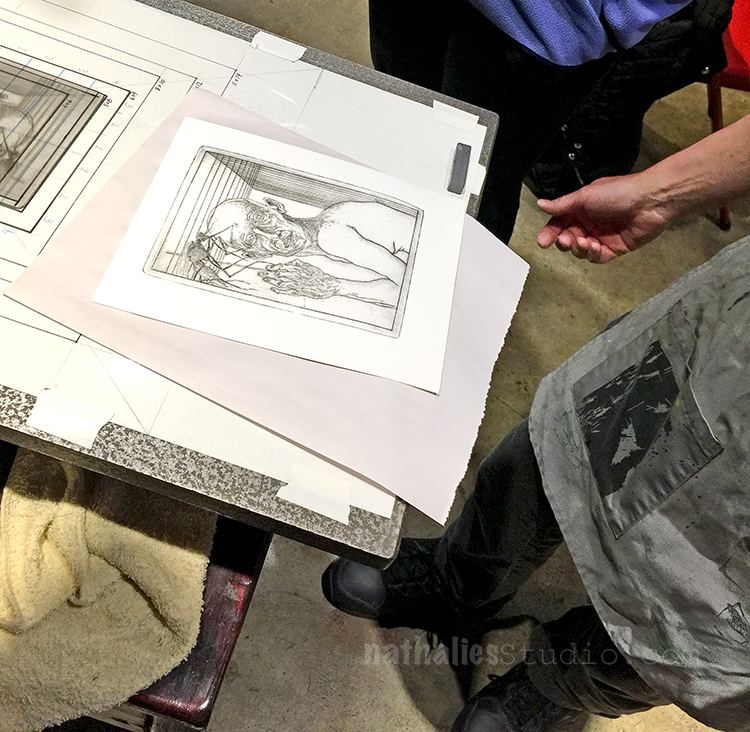
and here is his amazing sample coming out of the press!
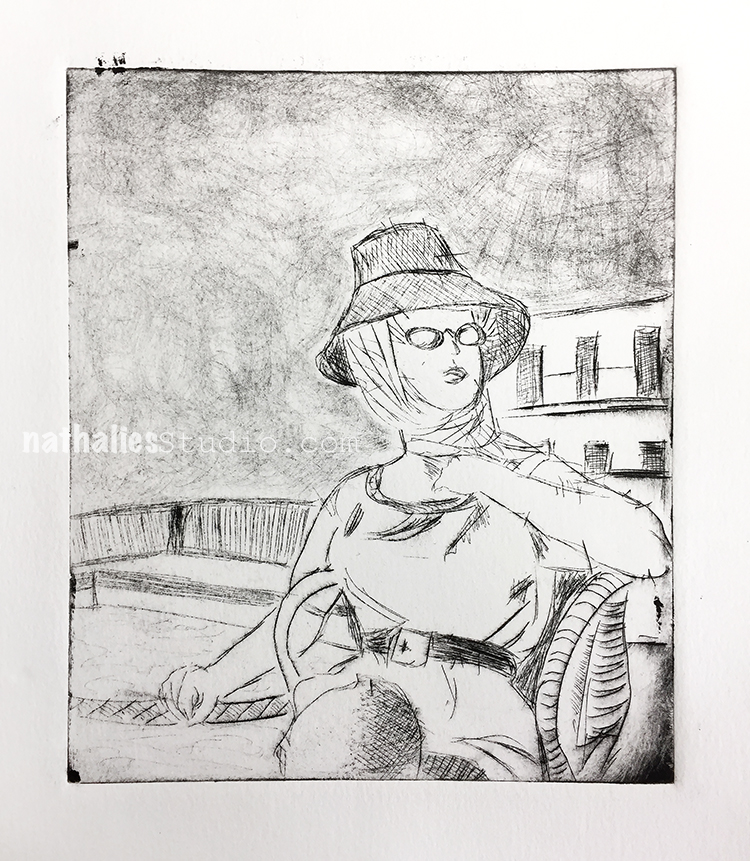
Above is the very first print I did with that plate.
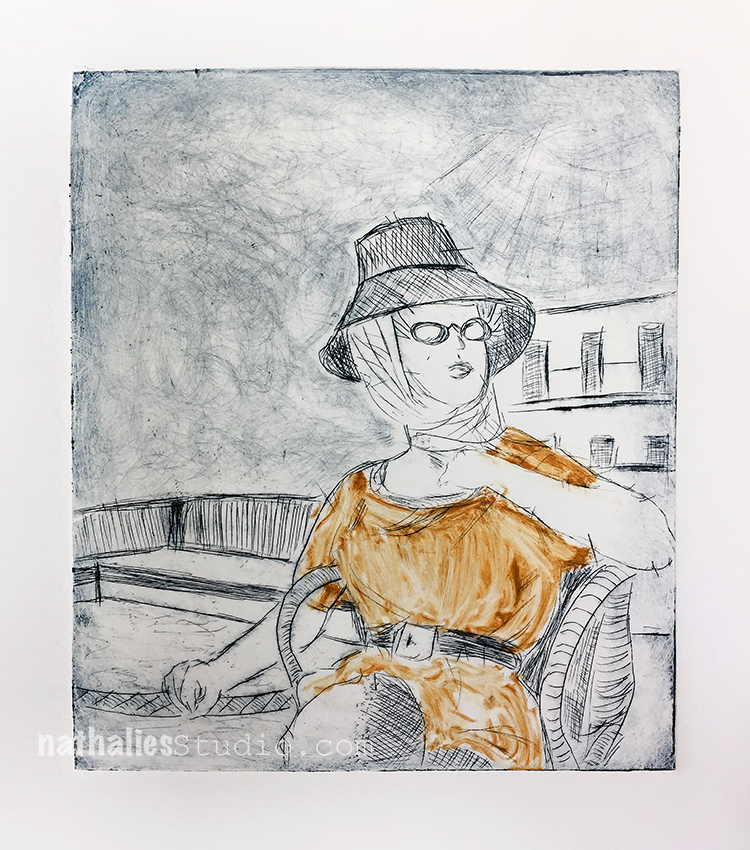
For the second one I applied a bit of color to the jumper.

In the second lesson, Bruno showed us how to make multicolor prints with the technique called a la poupee.
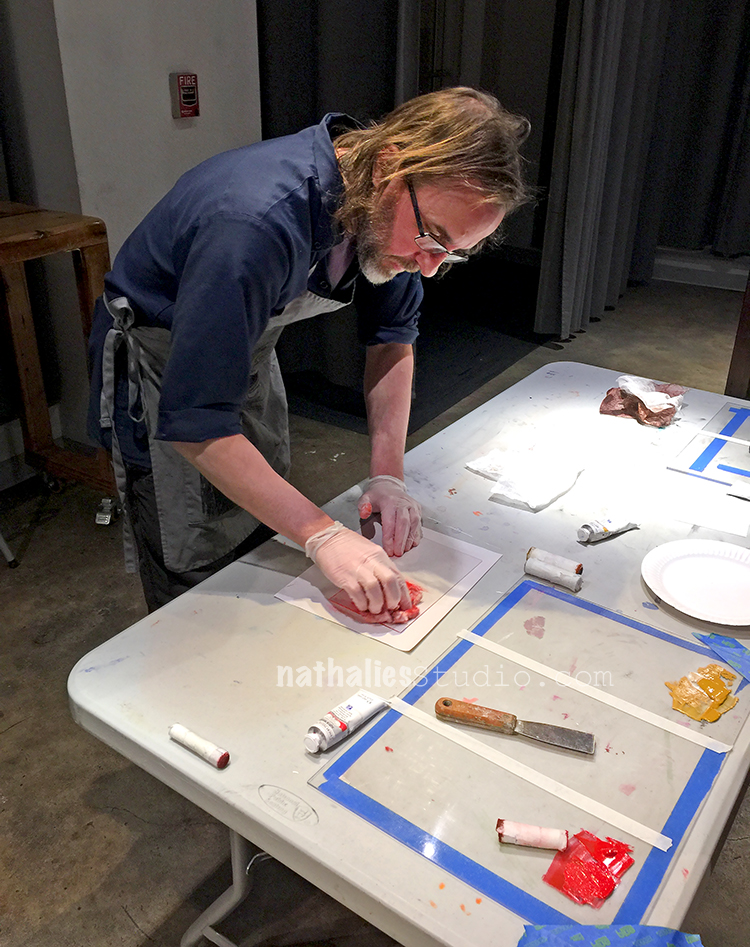
And below is his sample
I started with a new plate which I had prepared at home- see I just couldn’t stop scratching at home- LOL
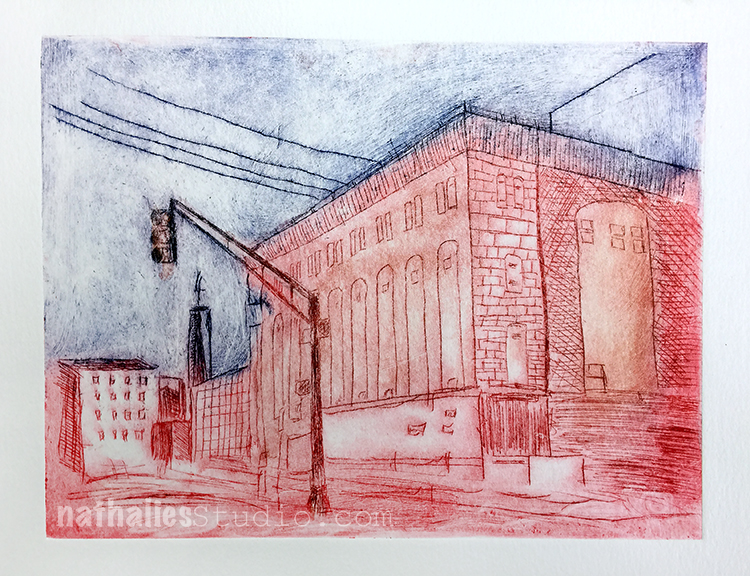
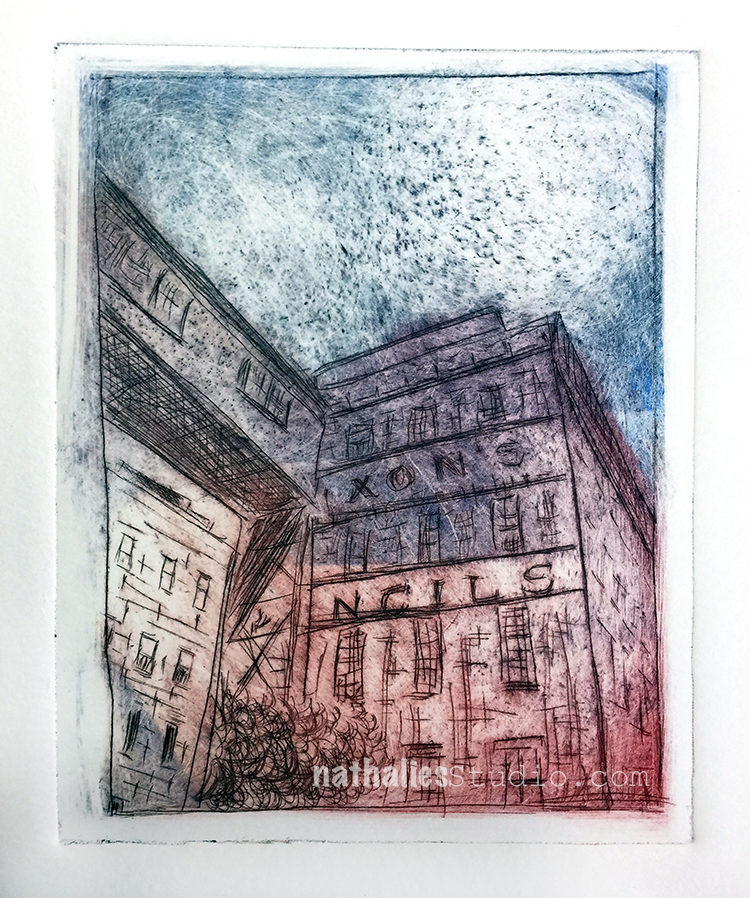
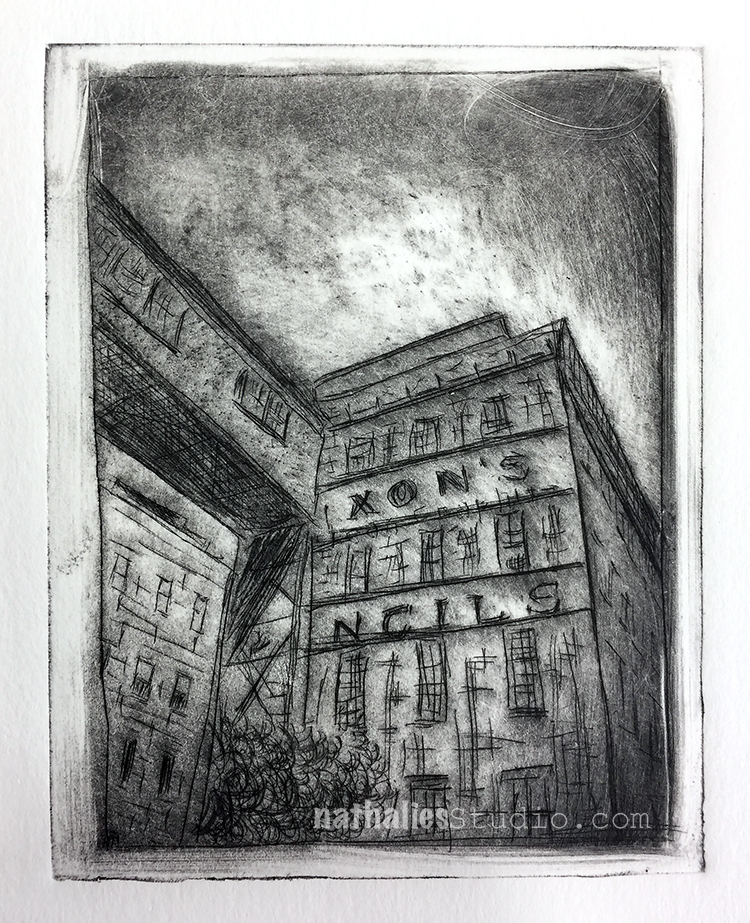
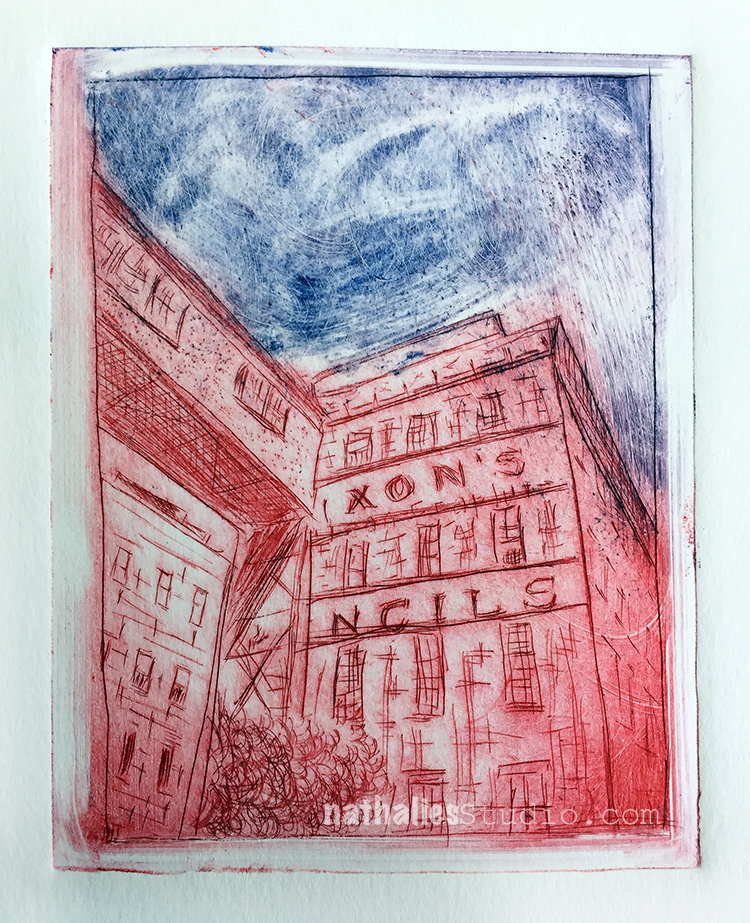
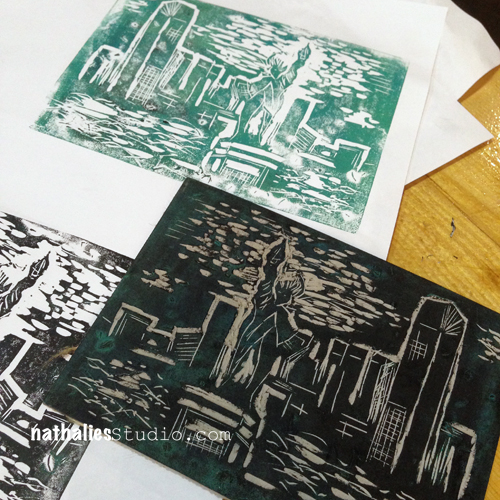
And here is the second one with the powerhouse – some of you might recognize this building :)
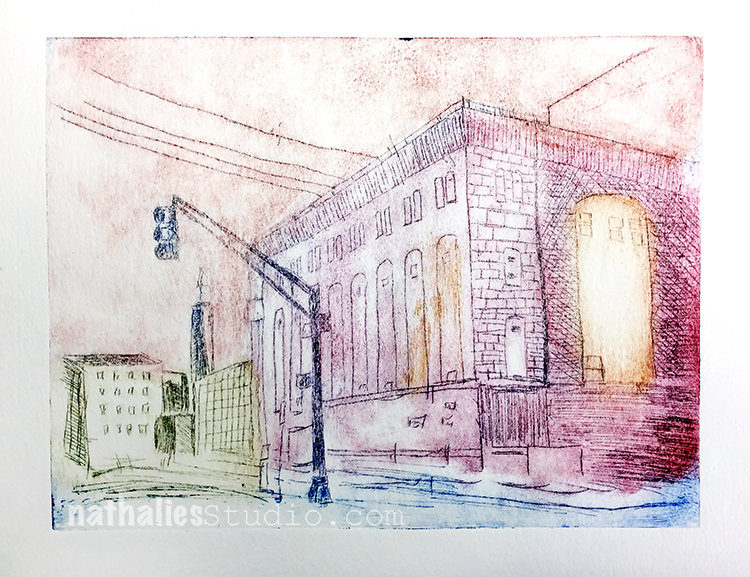
The third print came out the way I envisioned – I really love it. As Bruno says it is all in the wiping. Making the plates is actually not the work load, it is inking those plates up and then wiping them down again that makes up most of the technique and time.
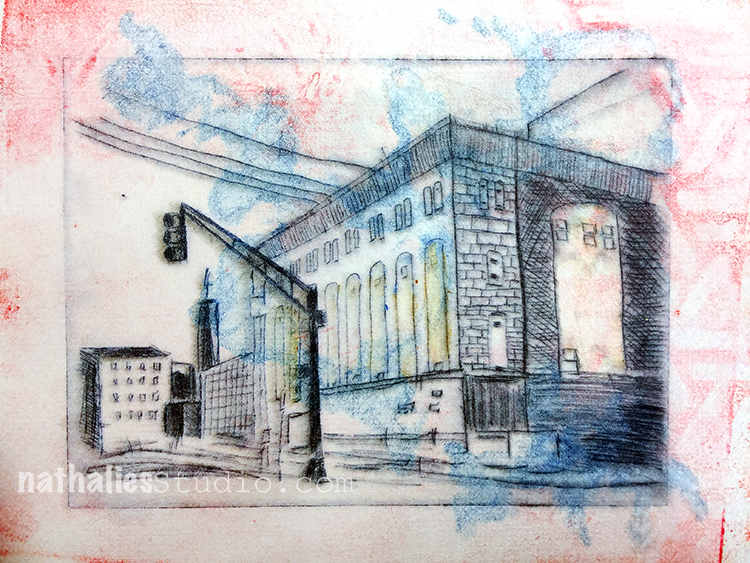
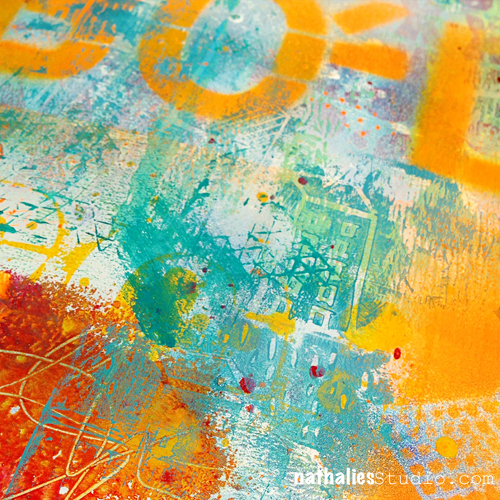
The print above was an experiment. I did some mono prints at home with Akua Inks which I always wanted to try out on a gel plate and I used this interesting paper which I had gotten at a convention many years ago. It is made out of plastic but feels like cloth. I printed on top of the mono print and I really like the outcome.

Here is a another plate I made in different stages – a part of the factory building I live in.
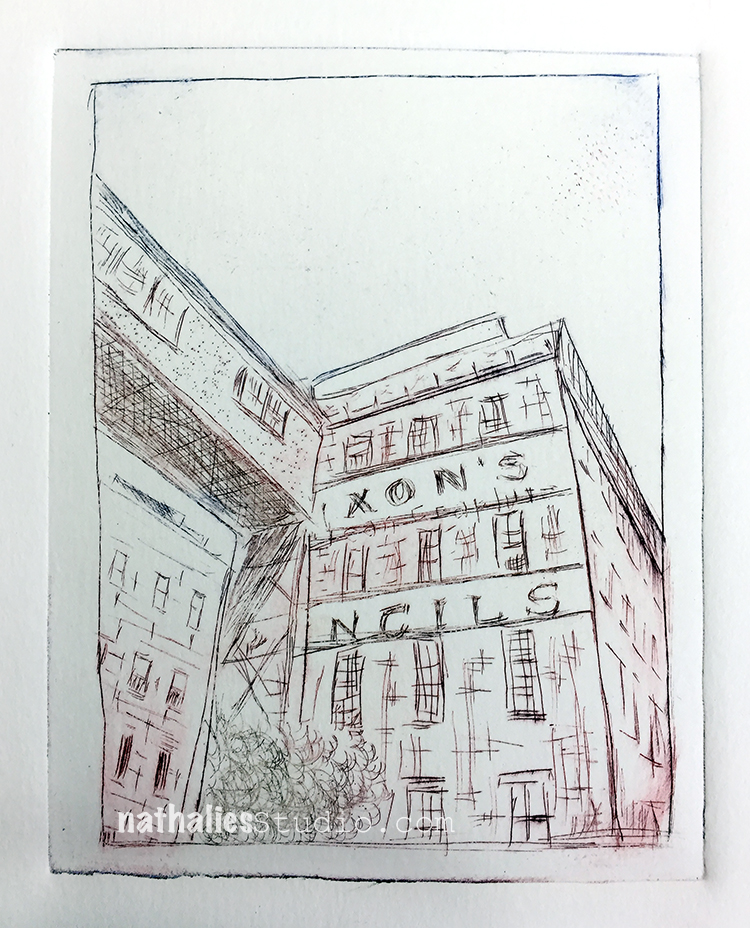
Isn’t it cool how different the images look and the mood they convey based on the inking? So cool to experiment with that.
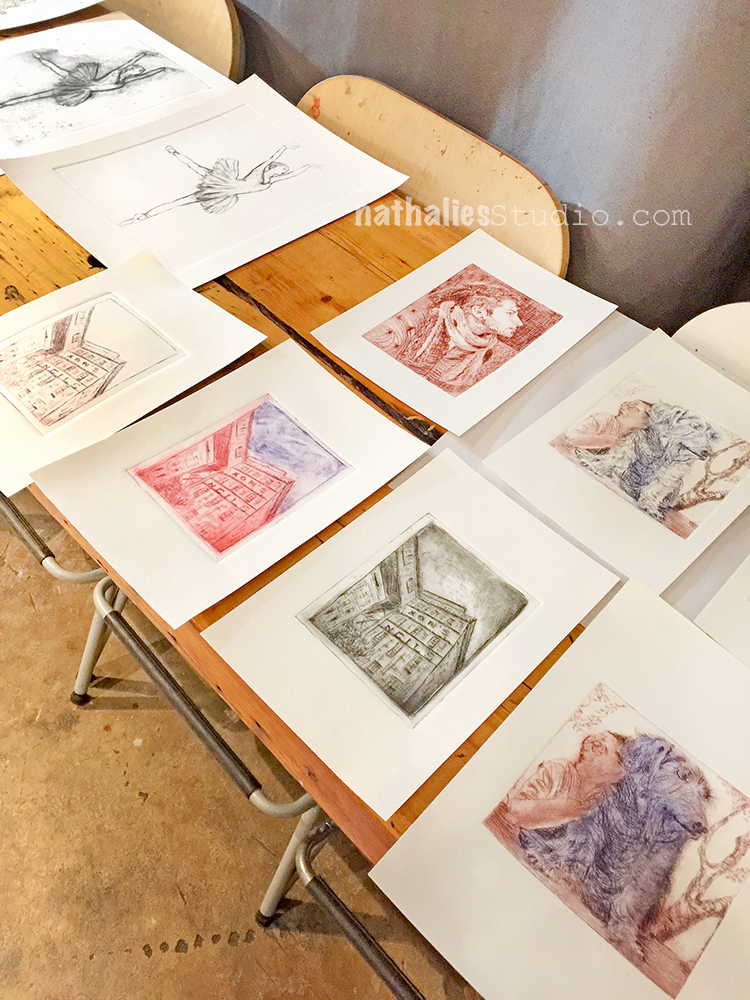
Here are a couple prints from the students in the class.

I don’t want to bore you , but here are a couple more- the Flatiron Building – as you know it is a reoccurring image in my work, so of course I had to make a plate with it as well.
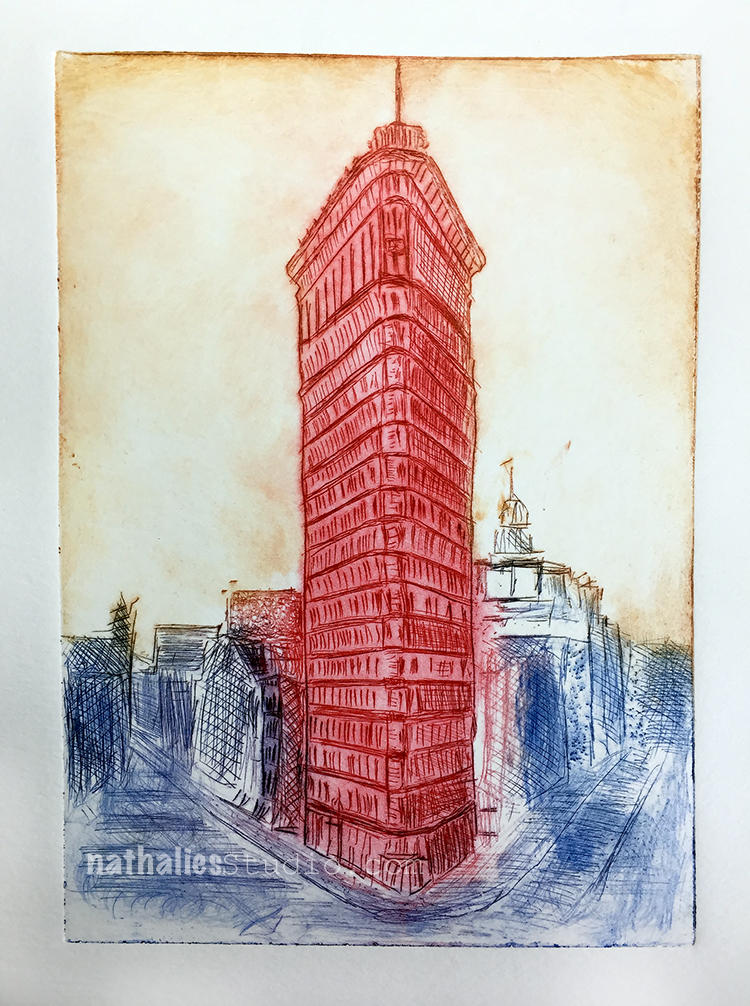
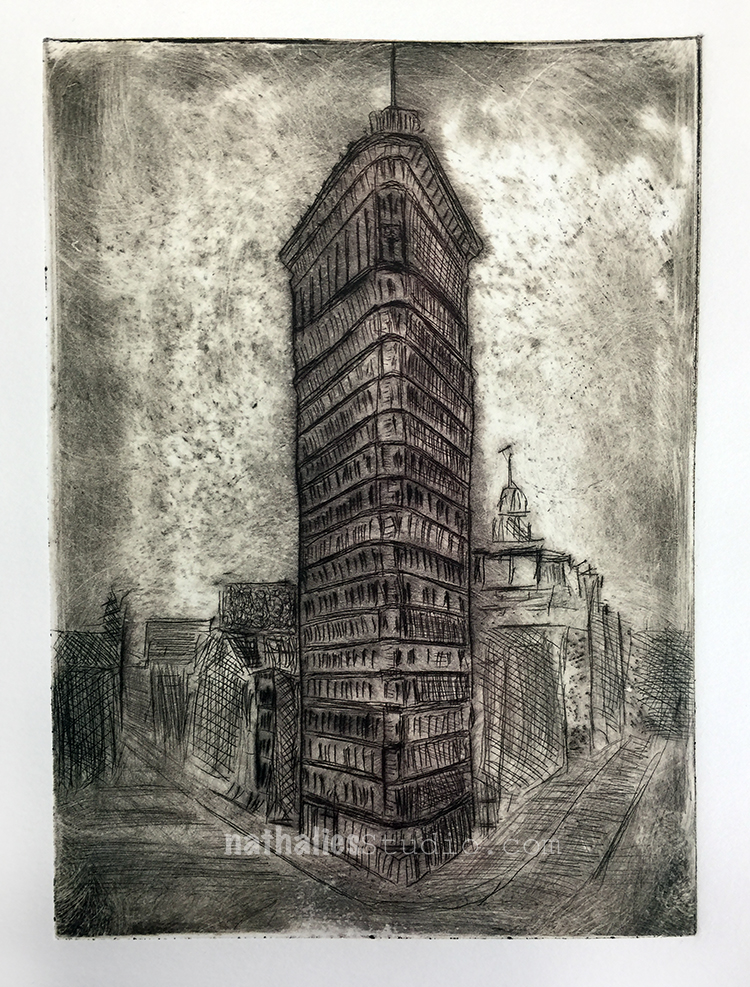
And then some prints from the last lesson where we did some two plate printing. Basically you create a mono type and then print on top of it – there are different ways to approach this of course.
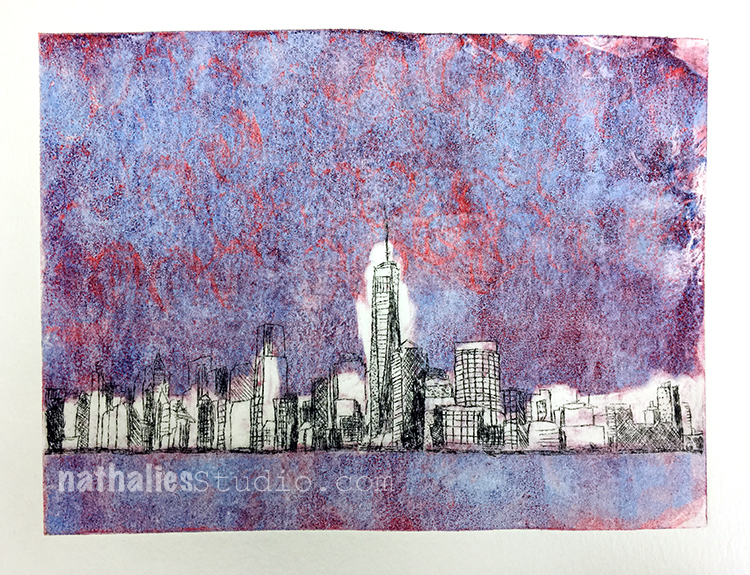
First one above as you can see I didn’t wipe that well – but I still love how the colors came out
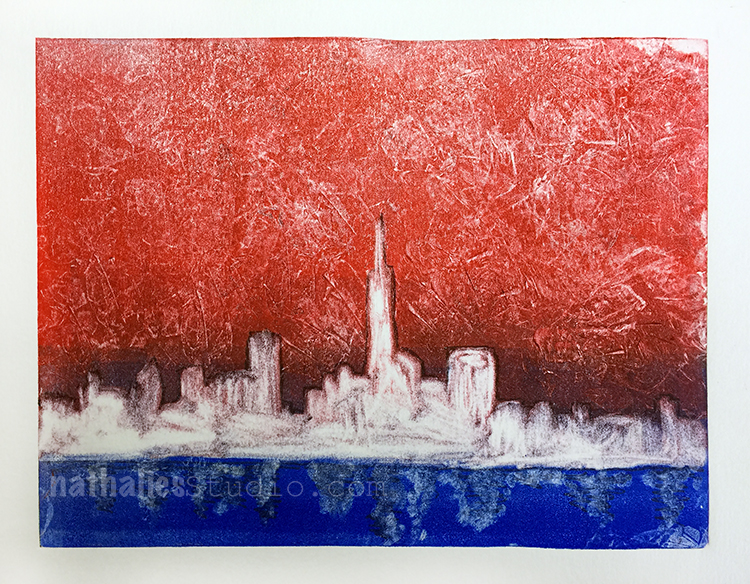
Here I had way too much ink on the first plate so I didn’t print the second plate on top, but I actually love it as it is. I kept it and might do something else to it later – I will see.
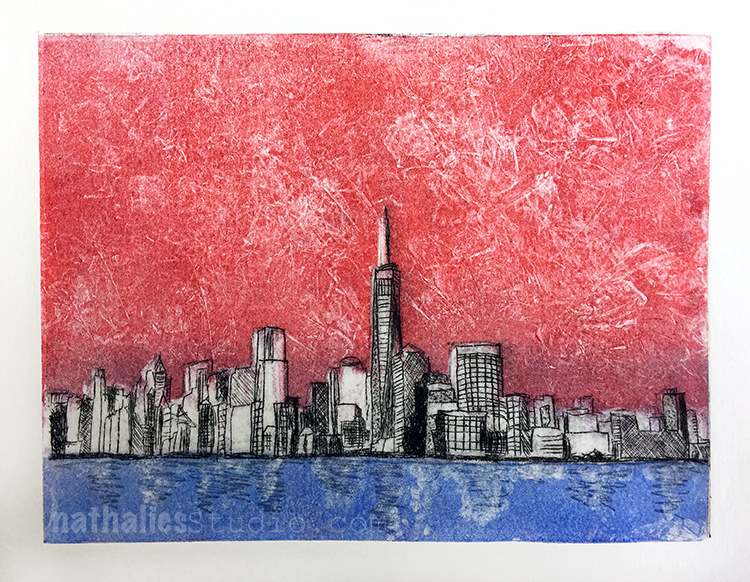
Here is the second try – less ink now- basically the ghost print of plate one and now with the second plate printed on top.
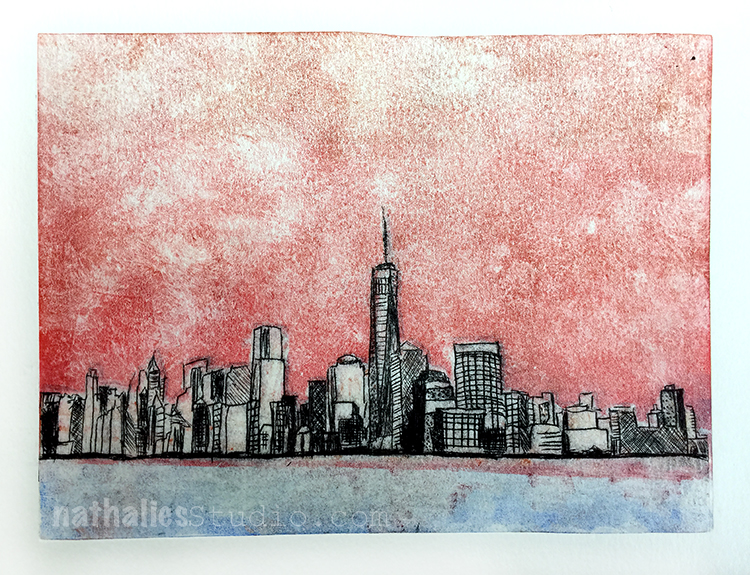
Another one – I like that one a lot.
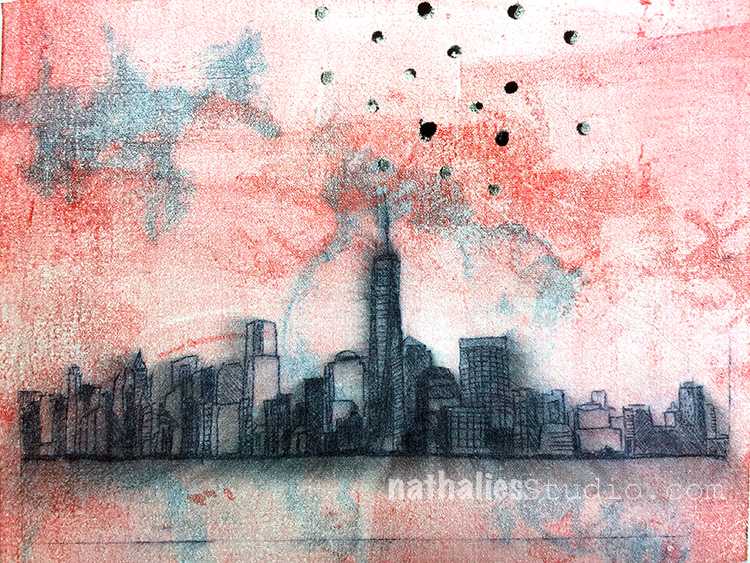
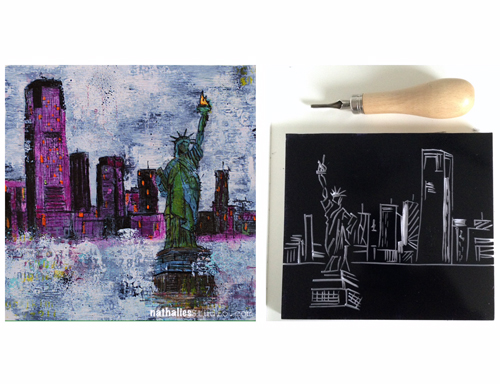
And last but not least one where I used once again one of those mono prints I did at home – the cloth-like paper had the ink of the skyline bleed a bit – I love this.

What I learned in this class:

  • It was first a bit hard for me to think I would not be able to do this all the time at home without a printing press but then that made me more focused and prepared for the lessons
  • The application of the ink and the wiping was a technique and whole process on it’s own and what a fascinating one it is
  • I loved the different ways one plate could be treated for different prints
  • I love the little time span where you just don’t know what is coming out of your press – when you lift up your print and see what happened. It reminded me of going to the photolab to finally get the vacation photos and seeing them for the first time.
  • There are art forms you just cannot get away with not being clean and organized …clean your space, clean your hands, clean the plates, clean the press …so much cleaning. LOL
  • I loved combining mono types with this class
  • There is only a certain amount of prints you can use the plates, and then that is it forever

What I take away for the future:

  • JCAS has print parties where you can use the printing press for a small fee- I def. will make up some new plates and join in the future to make some more prints
  • A way to take some of the mono prints on the gelli plate further – I want to explore this more
  • I enjoyed taking a class even though it was sometimes tough to go for 3 hours after a whole day of work- I need to do this more often again
  • I loved the pace of the class, I think I sometimes pack too much in my own classes and forget that it is also great for the students to just explore what they learned for a bit. Of course that is easier to do when you have a class that spans over several weeks but I def. look for a way to think about this in my multi-day-classes.


If you are in the area, I highly recommend taking a class with Bruno Nadalin or a class at the Jersey City Art School– it is a great place and they offer a lot of fun and different workshops and art events.

 

Comments (5)

  • Jill McDowell

    |

    Nat, love seeing your class and your prints. They look awesome. I know what you mean about wiping the plates. It takes a long time to get to know them. And keeping clean is definitely an issue. But it’s so worth it when you pick up the felts, see that lovely embossing on the back, and then reveal the print. Glad you had a good time. I’ve signed up for the spring Printmaking class at Creative Arts Workshop in New Haven. It’s addictive. ?

    Reply

  • Bruno

    |

    I’m so happy you enjoyed the class, Nathalie! It was great having you as a student again :)
    I really like reading your thoughts on your work. I find I often move so fast through things I don’t take the time to reflect on what I’ve done, so it’s good to be reminded about how important that is. I also like your 4th observation about the time span when you’re waiting for the print to be revealed. That little surprise is what makes it fun!

    Reply

    • nathalie-kalbach

      |

      It was fantastic- you are really an amazing artist and teacher! It is always a huge booster in inspiration for me to take a class with you and I learn so much – plus you are the most patient person even when we are super messy and can’t stop giggling about a la poupee ;) Cannot wait for a new class with you in the future.

      Reply

  • Clavell

    |

    These are incredible!…fascinating! I hope some of these find themselves FRAMED and HUNG on your walls! They are wonderful pieces of art! ♥

    Reply

    • nathalie-kalbach

      |

      Awe thank you Clavell! Yeah- I started matting some of them and some of my friends are already in line for some- so I am super stoked that they are finding some nice homes :)

      Reply

Leave a comment

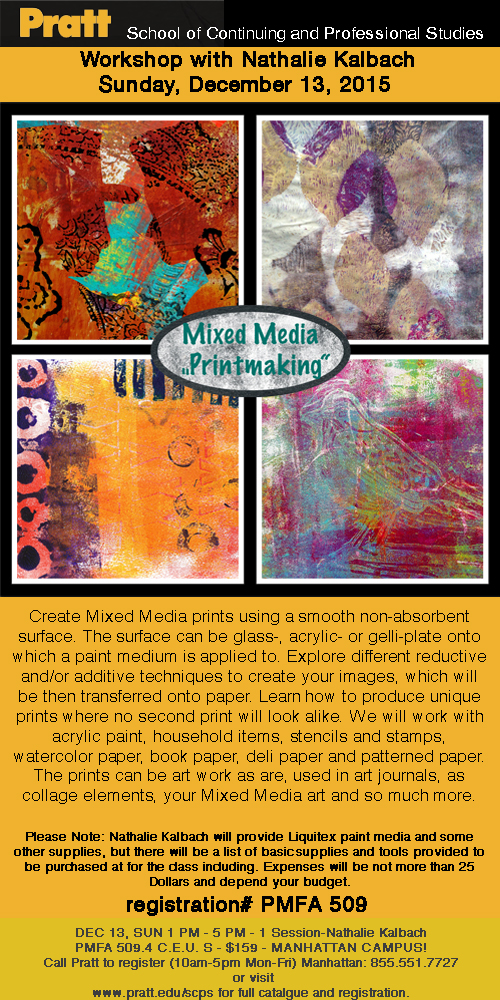
Mixed Media “Printmaking” : Upcoming Class at Pratt SCPS December 13,2015

Sign up for my Mixed Media “Printmaking” Class December 13, Workshop at Pratt School of Continuing and Professional Studies, Manhattan Campus, NYC, USA – it is going to be heaps of fun!

Printmaking

Registration is open here or better yet call 855.551.7727 at Pratt to registrate. I hope to see you there!!!


Comments (1)

  • Peggy

    |

    Interested in calendar…I live in Colorado. Email to you didn’t work.

    Reply

Leave a comment

Europe Workshop Tour- Part 6 – H.N Werkman Exhibition in Groningen, The Netherlands

Natkalbach_werkman_01

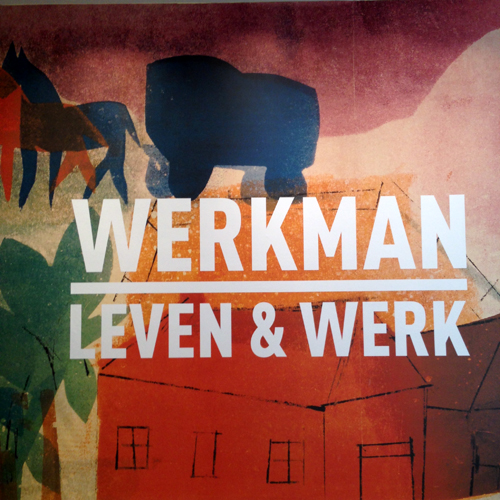
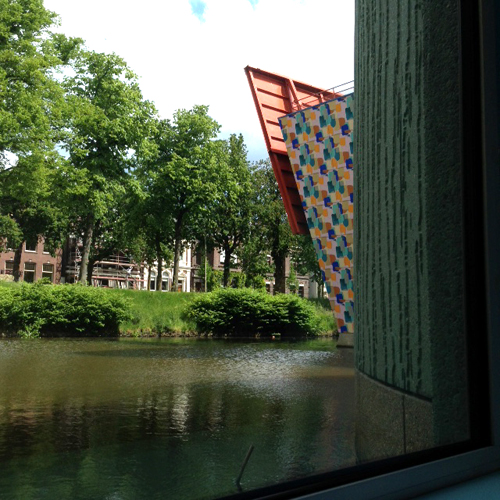
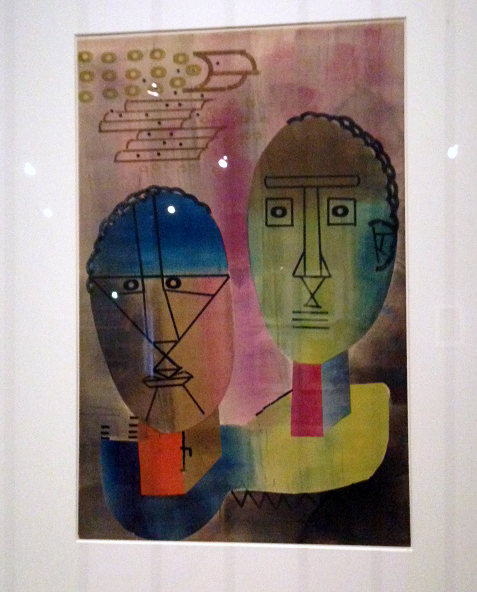
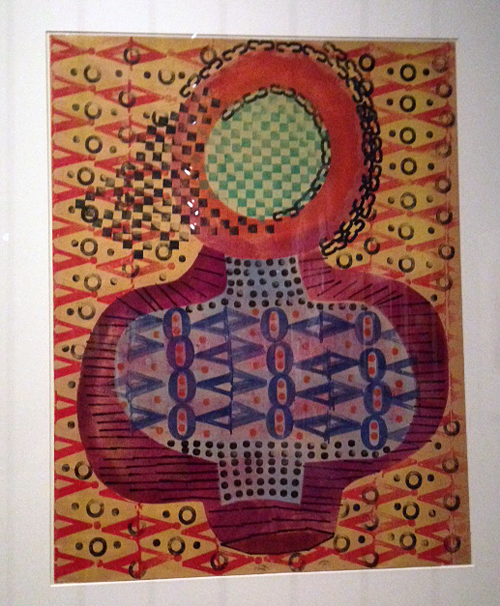
From Helsinki Birgit and I flew to Amsterdam and I stayed for a couple days at Birgit’s home, which was awesome and we did so many fun things together- more about it in a different post. One fun thing was that one day we went to the Groninger Museum to see the Werkman Life & Work Exhibition.

Natkalbach_werkman_02

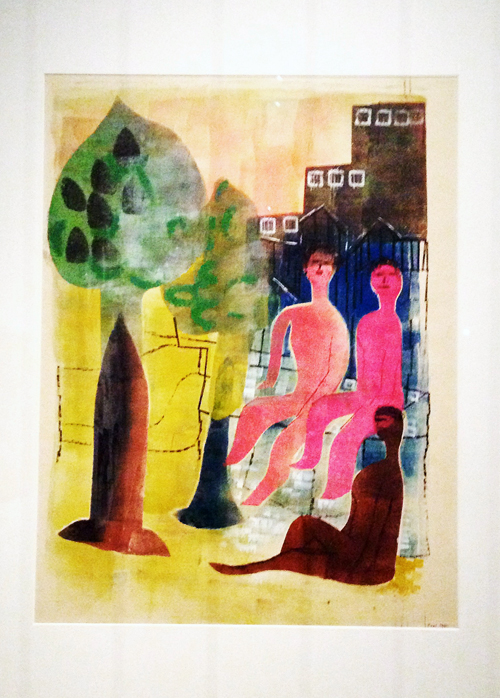
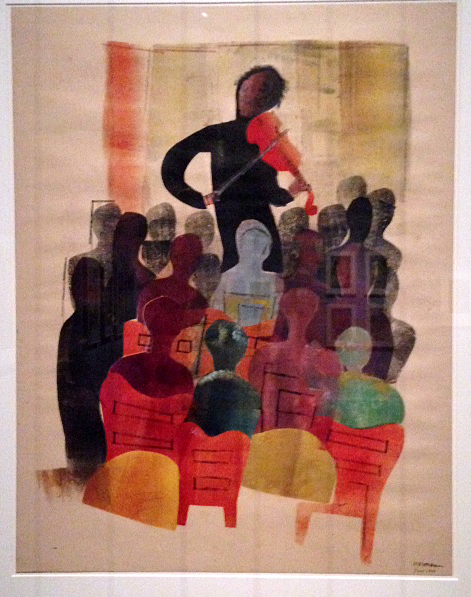
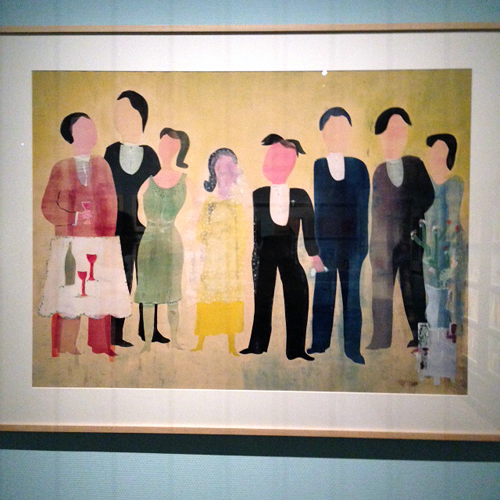
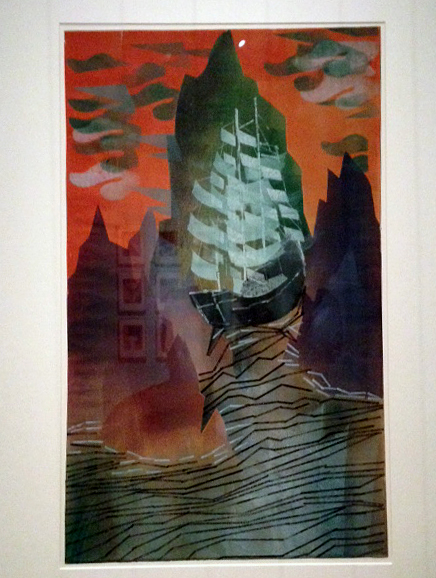
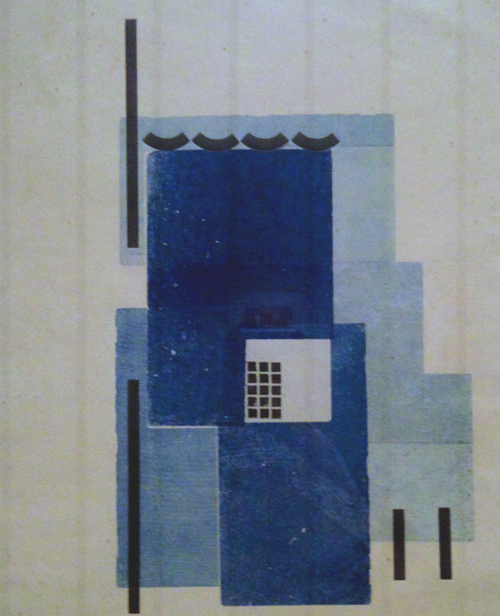
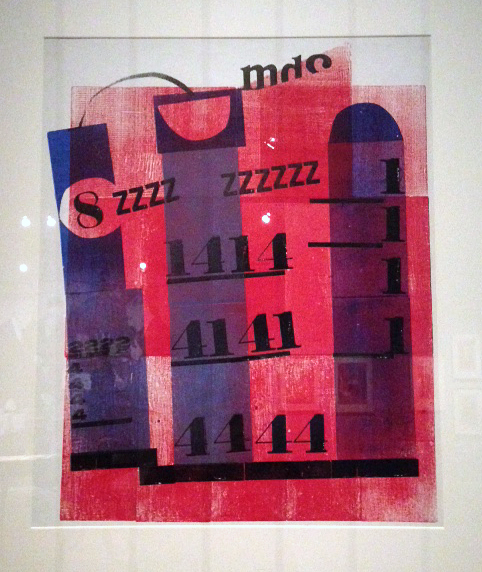
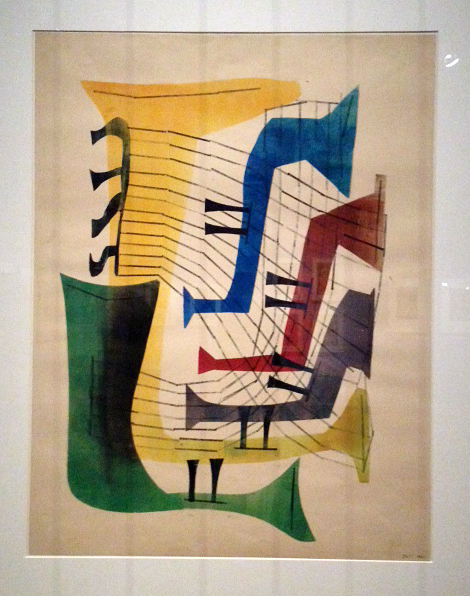
Werkman was a printer and artist and a member of the artist dutch avantgarde group De Ploeg . He lived from 1882 – 1945 .  “He developed a printmaking process he called “hot printing,” a technique incorporating found materials that added repeated design elements directly onto the paper—all without the use of a printing press.” (Alston Purvis, H.N. Werkman)

Natkalbach_werkman_03

Birgit and I were so inspired by the colors and the prints- and ideas- we could hardly contain ourselves and our heads were spinning with ideas and the urge to go home and work on prints ourselves. We were just standing forever in front of each print trying to figure out how he did it. If you have the chance to see some of this work- go and see it – these photos do not do his work justice but I wanted to show them so you get a sense.

Natkalbach_werkman_04

Natkalbach_werkman_05

Natkalbach_werkman_06

Natkalbach_werkman_07

Natkalbach_werkman_08

Natkalbach_werkman_09

Natkalbach_werkman_10

Natkalbach_werkman_11

This was just amazing! I will share some of my H.N. Werkman inspired Mono prints soon. And I think … a class inspired by this is going to be in order too ;)


Comments (6)

  • Joi@RR

    |

    Happy 4th to you too Nat. These pictures – and all the others – are just soooo wonderful. I absolutely love seeing the world thru your eyes. What an amazing prints you have shown is in your pictures… but I just have to say… some of them remind me of your own personal artwork. Can’t wait for you to get home and start painting your versions of some of the pictures you have taken on this trip :) Hugs. j

    Reply

    • nathalie-kalbach

      |

      Awe thank you Joi! It is amazing how powerful this inspiration of this visit was :) showing soon what I made inspired by Werkman :) Hugs back!!!

      Reply

  • Denise Spillane

    |

    Love this Artist. I always love seeing your posts because I learn a lot. Thanks for introducing us to this artist. So cool. I hope you can add on line class for mono print.

    Reply

    • nathalie-kalbach

      |

      thank you Denise -! I will most definitely add a class for mono printing soon – promised :)

      Reply

  • Kathy P

    |

    Wow, what an awesome trip you have had, Nat! Glad you could find some time to play amidst your hectic schedules! Love today’s artwork….can’t wait for the mono class!

    Reply

    • nathalie-kalbach

      |

      Thank you Kathy :) the Class concept is in my head – now to bring it down ;)

      Reply

Leave a comment

Back To School …or Printmaking Class

PrintmakingWS_NatKalbach

I love teaching but I also love taking classes. When I saw that Bruno Nadalin was teaching an Introduction to Printmaking class here at the Jersey City Art School and it did fit with my schedule, I signed up right away. 4 Thursday evenings – well spent :)

NatKalbach_Printmaking01

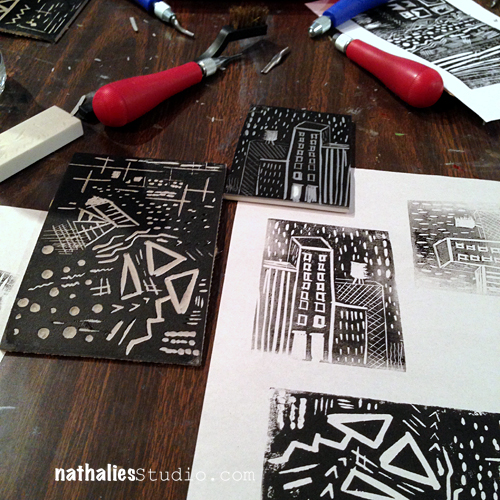
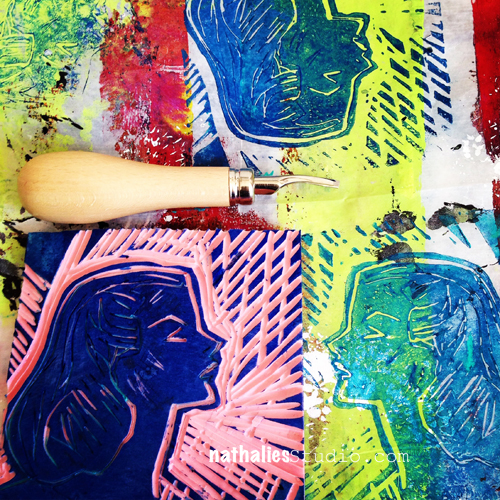
We did Linocuts in elementary school and I have been interested in picking this up and incorporating it into my artwork for a while again- as stamp carving is all the craze right now – but for some odd reason, I needed an outside push to do so. And so the class came at a perfect timing. We started with basic shapes and patterns in linoleum and also rubber to get used to the tools and materials.

NatKalbach_Printmaking02

I started playing with those two very simple cuts on the top and trying them out with all kinds of Acrylic Paint Mediums in my Art Journal but also as collage elements after printing.

NatKalbach_Printmaking03

In the 2nd session we started cutting designs based on our own images. I started cutting linoleum and chose a painting of mine – On The Flip Side . I loved the result. While I was not happy with some areas and learned a lot about negative and positive space – I really loved the way how detailed the pattern can get on linoleum and how the prints come out.

NatKalbach_Printmaking04

I was so inspired by the class, that I couldn’t stop thinking about designs, drawing up designs and carving like a maniac. As you can see I sticked to rubber though as this can be incorporated easier with the acrylics I use and also with the kind of art work I do usually.

NatKalbach_Printmaking06

I went also through an even more insane phase of testing the carved stamps with different acrylic mediums – like printing with acrylic paints, and inks but also intermixing them – and had a blast :)

NatKalbach_Printmaking07

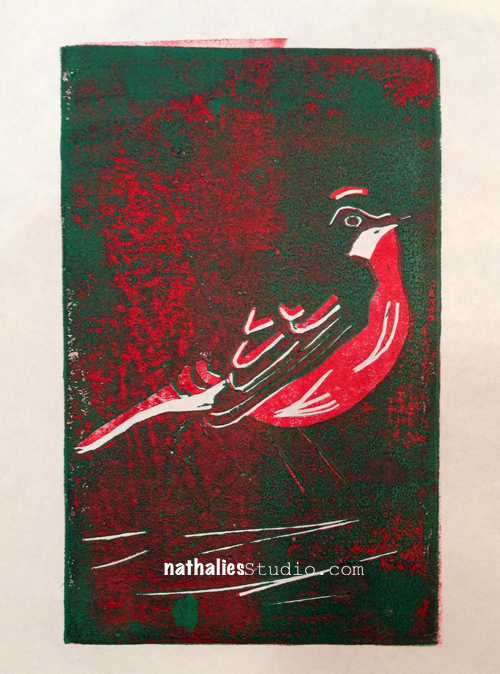
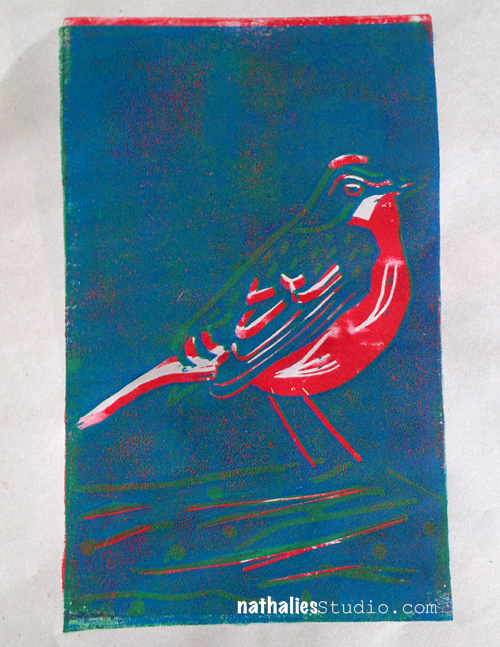
In the 3rd sesssion we did something which is called “Reduction” Print, where you basically print in different colors layered on top of each other, altering your carving in between each printing process.

NatKalbach_Printmaking08

The funny thing was that I was first a bit hesitant about this technique. WHAT – you make me do all the work in carving and then I have to change my carving and the piece is gone? Yeah- to all my students reading this – stop giggling- I know I know- I make you change your beloved layers all the time! But that is exactly why every teacher should take classes too – just to remember what it is like to be back in school ;)

NatKalbach_Printmaking09

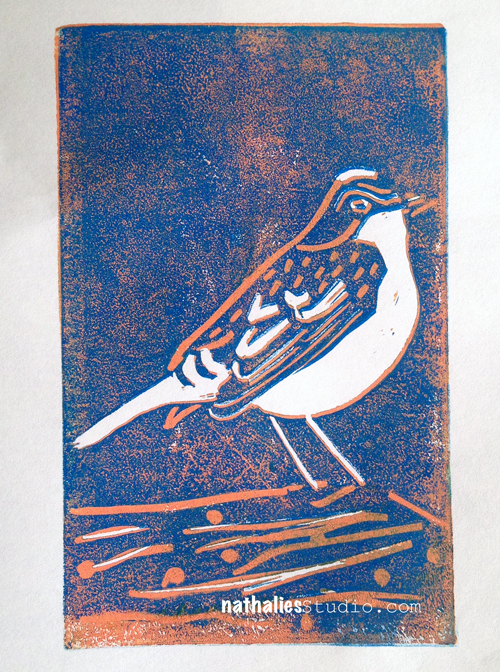
Anyway- I happened to LOVE this technique so much- cannot even tell you!

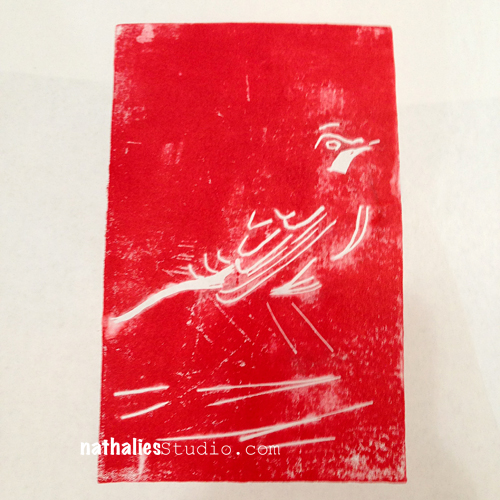
NatKalbach_Printmaking10

I couldn’t stop

NatKalbach_Printmaking11

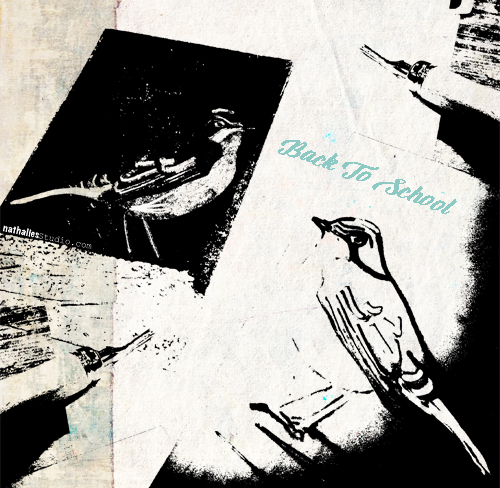
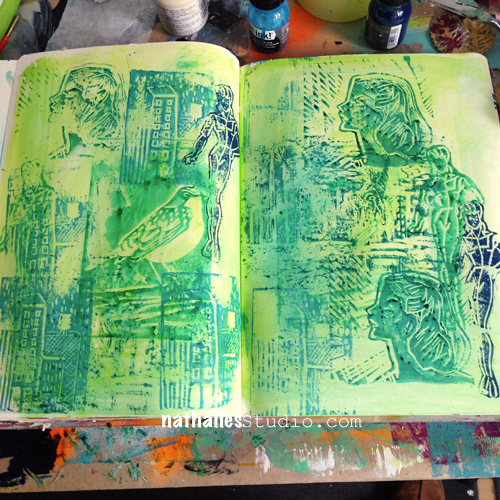
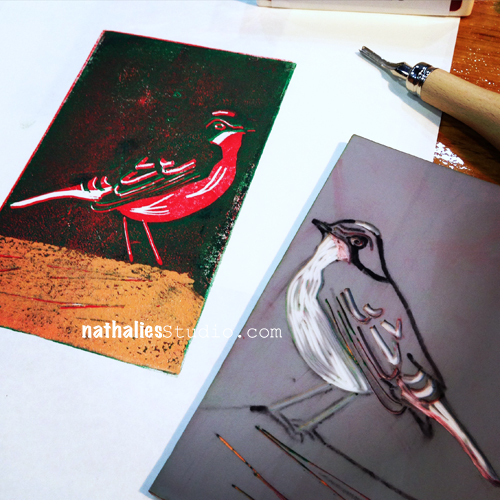
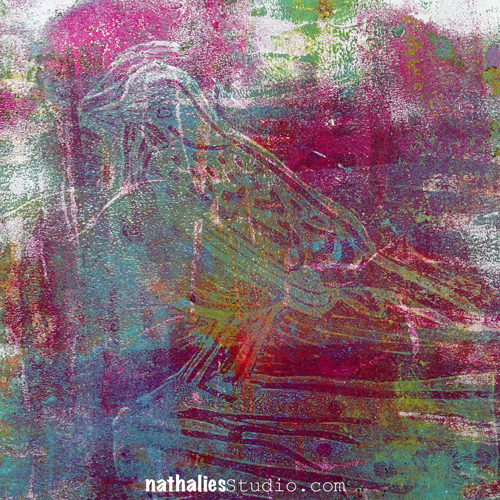
And even at home I kept on going with the bird …getting smaller and smaller, experimenting with Monoprints/-types. Fun!

NatKalbach_Printmaking12

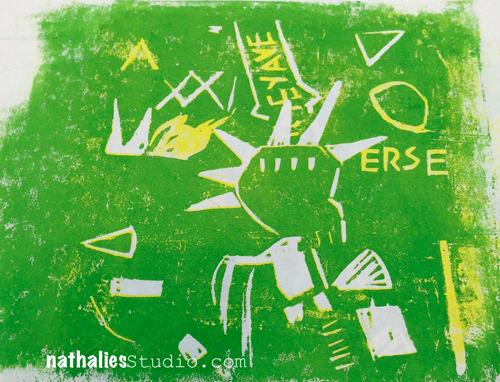
The last session was all about printing and manifesting the things we learned. I wasn’t super productive and my wayyyyy to complicated design of another former painting of mine turned into a bit of an Jean-Michel Basquiat butchering attempt- LOL. Doesn’t matter- still had fun ;)

NatKalbach_Printmaking13

Bruno was a great teacher and his prints and carvings on his website are extremely cool – so are his ink and pen paintings. If you are in the area I can really recommend taking a class from him!

NatKalbach_Printmaking15

What I learned in this class:

  • Sometimes you really have to think through from beginning to end.
  • Taking a class can spark so much and give you new drive for your own artwork
  • It is ok to create a tool which is going to look different in about 5 minutes …change is good ;)
  • Although I really loved the prints with linoleum I found it extremely hard on my hands and I also had a hard time incorporating them in my own style of artwork at home
  • Rubber is less forgiving than Linoleum
  • A rubber brayer needs care when used in printing
  • It’s just rubber … ;)
  • Which brayer rollers for which methods and paint mediums work best

What I take away for the future:

  • I love incorporating my own paintings in a different way into other pieces of my artwork- I want to do this more often.
  • I love the look of hand carved lines and patterns in prints that I tear up and then use as collage pieces.
  • Do not get too complicated too early- practicing is key – do as you tell your own students- LOL


Hope you enjoyed this little Back To School post – there will be a new one coming soon :) Guess what …I am taking another class starting this week. More later ;)

Have a great start into your week!


Comments (6)

  • stephanie

    |

    Great post Nat

    Reply

  • Sue O'Mullan

    |

    I have a scar on my hand from when I did this way back in middle school art class…. perhaps I shall give it a try again!!!!!!

    Reply

    • nathalie-kalbach

      |

      Ouch Sue! that sounds bad. There are bench hooks that you can use to protect yourself then carving- maybe you would want to buy one! I am also a bit scared about the super sharp tools and try to always carve away from my body and have no hand place right in front of the blade.

      Reply

  • Joi@RR

    |

    Oh dear me Nat – I’m blushing!!! Hehehehhe!! It was fun looking at your teachers artwork though. Talk about a creative mind. My fav was the very dressed up “rich” man holding the “poor” scrawny person on a leash. That could represent so many different things on so many different levels. Anyway – on to YOU YOU YOU!! Soooo glad you went back to school! If your teacher was anything like his artwork – I bet there was never a dull moment! YOU DID GREAT. I bet he enjoyed having you there. Loved seeing some of the things you did. I really like the design around your girls face – makes her look “glowing”. And your bird is so cute as well as all the different ways you used him. Of course, I love when you do skylines – wish you would do more of them. VERY happy to see you do something for yourself. And of course, eventually your loyal students will reep your knowledge!!! :) j.

    Reply

  • Sue Clarke

    |

    It’s always good for the teacher to be a student once in a while.
    Happy Spring Nat!

    Reply

  • Kathy Gledsdale

    |

    Wonderful work, just trying to do this myself at home, by have trouble thinking of ideas. Yours are great.

    Reply

Leave a comment