Blog: Santiago

Speak Carefully – Art Journal

“The words you speak become the house you live in!” In other words, speak carefully – a good motto but definitely a tricky one to always follow :)

This was another study for a new painting. On the left I spread gesso through the Manhattan stencil and on the right I spread gel medium through the Santiago stencil. I wanted to play a bit with stencil texture underneath the painting or around it to see how it would look.

Once the gesso and gel medium dried I added thin paint over both sides and then wiped it off the surfaces before it totally dried – as the gesso and the gel medium resist the paint longer. I am not sure if I like it as a surface to draw on though – it really makes it hard. Better to think first of where I want the image to go and then spread out that area for the background… but that is why I love an art journal to play with such things!

Here are some of the supplies I used:

Leave a comment

Pattern Lovers – Marsha Valk


Happy Tuesday from the Creative Squad! Today Marsha Valk brings us a fresh and colorful set of tiles for the home using my  Santiago stencil and my Embroidery stamp set. This month’s theme is: Pattern Lovers Love Patterns: We admit it – sometimes we go a little crazy over cool patterns. We see them everywhere and whether it’s in the human-made stuff all around us or in the designs by Mother Nature, we love them all. So this month we’re playing with pattern and giving it the attention it deserves!


I love patterns! I’m especially drawn to clear, graphic designs and that’s why I love Nat’s stencil designs so much!

We’re in the middle of painting our living room and I’ve been dying to add a splash of fresh colour to our home decor. So that’s why I decided to decorate a couple of plain white ceramic tiles, that I plan on using as coasters or to put plant pots on.

Here are the steps I took: First clean the tiles before you start. They need to be dry and free of grease.

Place the Santiago stencil on top of the tile. Use tape to keep the stencil in place. You can also use washi or masking tape to block off parts of the tile you want to keep white.

Use a cosmetic sponge to dab porcelain paint through the stencil onto the tile. Dab the cosmetic sponge in the paint and dab the excess paint off before applying it to the tile. Keep the sponge as dry as possible to prevent the paint from seeping under the stencil.

I used a hand-cut stencil to apply the circles onto the tiles.

Dab paint onto one of the stamps from the Embroidery set (in this case the Cross Circle stamp) using a cosmetic sponge and stamp the image onto the tile.

Let the paint dry and then let it harden following the instructions on the porcelain paint you are using. To become wash resistant, the porcelain paint I used needed to harden in an oven at 300F/150ºC for 45 minutes.


Thank you Marsha – these are a great project for the home! Marsha used the following supplies (some are affiliate links):


Play along with us too! I love to see how you interpret our monthly themes. Email me how you used my stencils and stamps with the theme and email me an image – I would love to share your projects in my “n*Spiration From Around the Globe“.

Leave a comment

Look for Stars – Art Journal Spread

“When it rains, look for rainbows, when it’s dark, look for stars.”

The color scheme I used for this spread was actually inspired by a student using it in one of my classes at The InkPad a couple months ago. I so loved the mixture of ochre, blue and purple that I made a mental note to play with this some time. And there it is :)

I painted the background blue and then layered the Santiago 9×12 Stencil on top using yellow oxide spray paint . I layered the Stencil again on some of the areas – some on the previous stenciled areas, some slightly off and used some light purple paint which I stippled with cosmetic brush through the stencil here and there.

I used the Santiago Tile Foam Stamp which has the same pattern but in a smaller scale with purple acrylic paint and stamped on top of some tags. I love how the different scales of the same pattern- but also the different quality and texture of applications play with each other and tie the design together. I love Foam Stamps also for the texture the stamped image reveals when using a smaller amount of paint.

Here are the supplies I used for this spread – some links are affiliate links


I hope your day is filled with rainbows and stars today!

Comments (2)

  • Torsa Saha

    |

    Brilliant!! Love this page ??

    Reply

Leave a comment

Return to the Light – Marsha Valk

cs-december-theme

Today, Marsha Valk from my Creative Squad is sharing a wonderful and illuminating project using my small Santiago, Toledo, and Buenos Aires stencils for this month’s theme: “Return to the Light.” As we pass through the Winter Solstice here in the Northern Hemisphere, the ever lengthening nights turn to ever lengthening days. This ancient marker in the calendar has always been a celebration of light and the promise of a new day. Let’s Return to the Light with some bright and luminous mixed media projects!


marsha-dec-headshot

I do not like the dark days of December. I mean: it’s OK when the sun comes out for a couple of hours, but here in the Netherlands December weather is mostly gloomy and grey… Candles and fairy lights are a must, because they make even the greyest days a bit brighter.

marshavalk_nstudio_light-4

These votives do not take long to make and chances are that you already have everything you need to make them. They look cute on a festive table, but they will also keep until after the holidays!

marshavalk_nstudio_light-step-1

Choose two colours of StazOn ink that when blended will make a third colour. In my sample I chose teal and pink and those two colours together make a purple shade. Darker shades will ensure that your stenciled pattern is still visible once a tealight is lighted inside the jar.

marshavalk_nstudio_light-step-2

Use a cosmetic sponge to apply StazOn ink through your stencil onto a sheet of vellum. I used Nathalie’s Buenos Aires, Santiago, and Toledo stencils.  Just dab the cosmetic sponge onto the ink pad and then lightly dab the ink onto the vellum.
Tip: Use rubbing alcohol to clean your stencils afterwards.

marshavalk_nstudio_light-step-3

Find three small jars and cut the vellum to size so you can wrap the vellum around the jars.

marshavalk_nstudio_light-step-4

Add a strip of double-sided adhesive to one side of the vellum, remove the backing and then place the vellum around the jar.

marshavalk_nstudio_light-step-5

Add LED tealights and enjoy the lights!

marshavalk_nstudio_light-1

marshavalk_nstudio_light-3


Thank you Marsha for brightening these dark winter days!  I love this idea – it is simple and yet so beautiful.  It’s definitely something I’m going to make. In addition to some small jars, Marsha used these supplies – some links are affiliate links:

supplies


Play along with us! I love to see how you interpret our monthly themes. Email me how you used my stencils and stamps with the theme and email me an image – I would love to share your projects in my “n*Spiration From Around the Globe“.

Comments (6)

Leave a comment

Return to the Light – Tina Walker

cs-december-theme

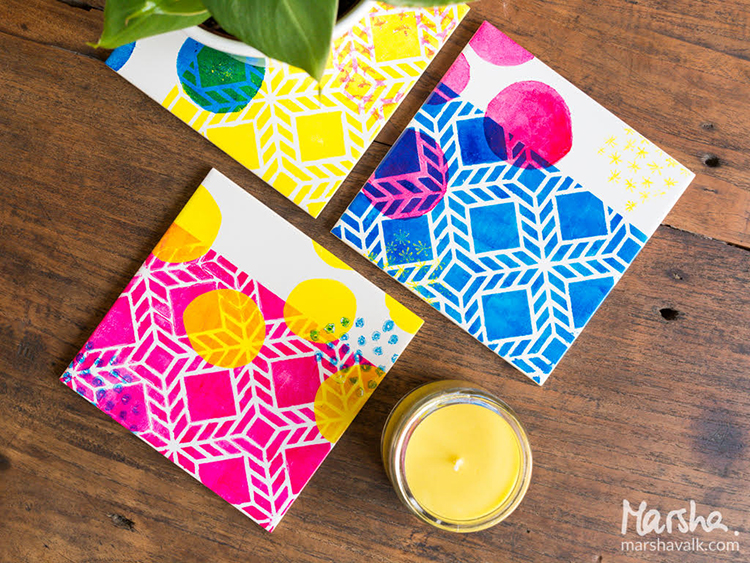
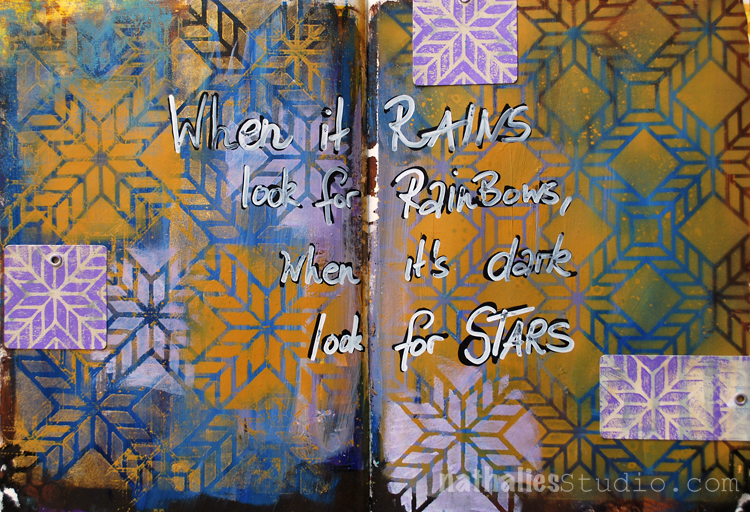
Today, Tina Walker from my Creative Squad is sharing a very creative clay project using my Toledo stencil and this month’s theme: “Return to the Light.” As we pass through the Winter Solstice here in the Northern Hemisphere, the ever lengthening nights turn to ever lengthening days. This ancient marker in the calendar has always been a celebration of light and the promise of a new day. Let’s Return to the Light with some bright and luminous mixed media projects!


tina-dec-headshot

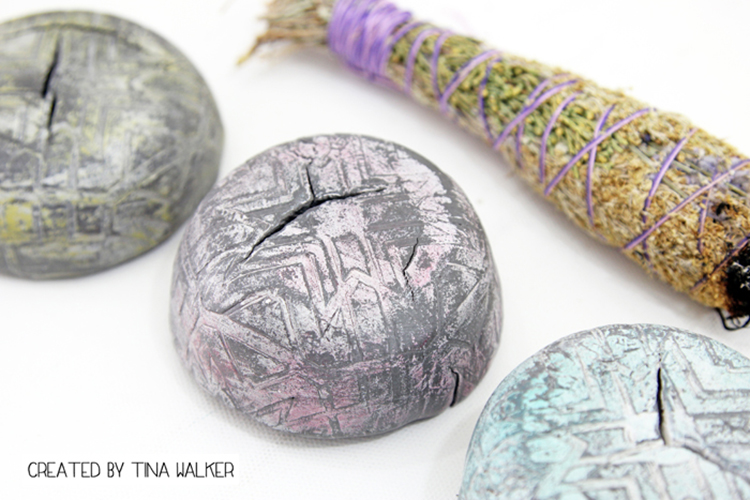
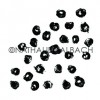
Hi! Tina Walker here today to kick off the new month with a new Theme. This month, our theme is ‘Return to the Light’. I thought long and hard about how I wanted to interpret the theme and searched deep within myself for meaning. As part of my creative ritual, I cleanse my art space and remove negative energies from my creative aura by burning sage and pinion resin. The ‘lightening’ of these ancient plants allows me to connect with my inner soul and celebrate a new day.

If you have a creative ritual and use smudge pots in your cleansing, love to create with clay, or are just looking to try a new technique, today’s project is just what you’ve been looking for.

dec-tw1

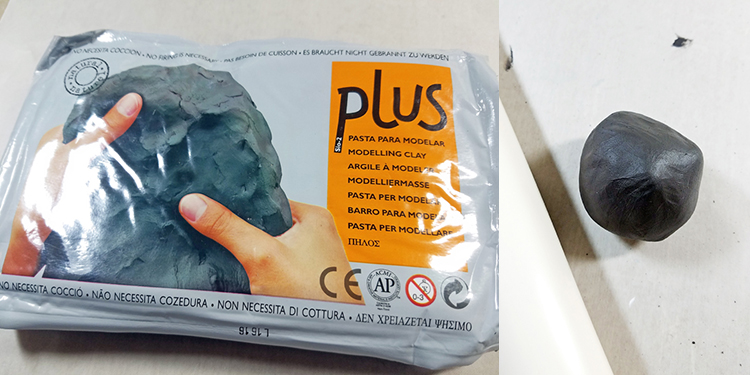
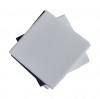
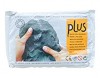
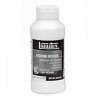
Using any brand of air-dry clay, condition a small portion of clay, per manufacturer’s instructions. (Clay portion depends on the size of bowl you will make.)

dec-tw2

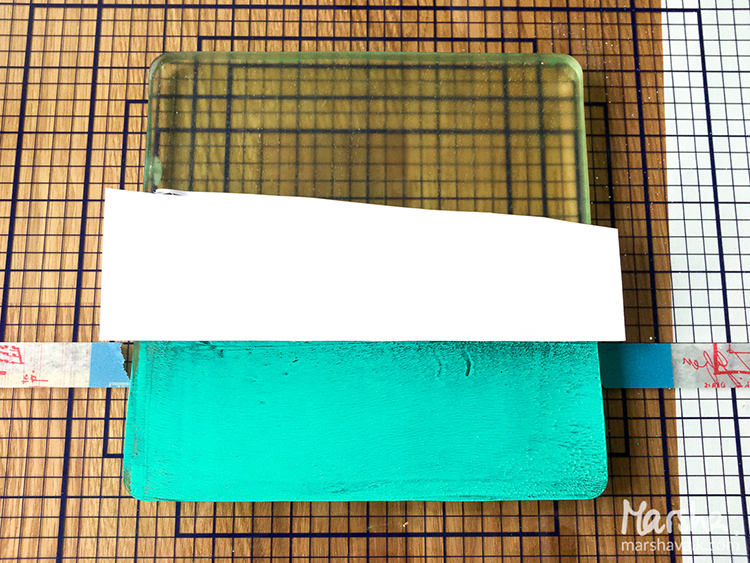
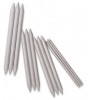
Flatten clay using a rolling pin or piece of PVC pipe. Flatten to approx. ¼ inch thick. As you flatten, continually flip clay over to ensure even thickness.

dec-tw4

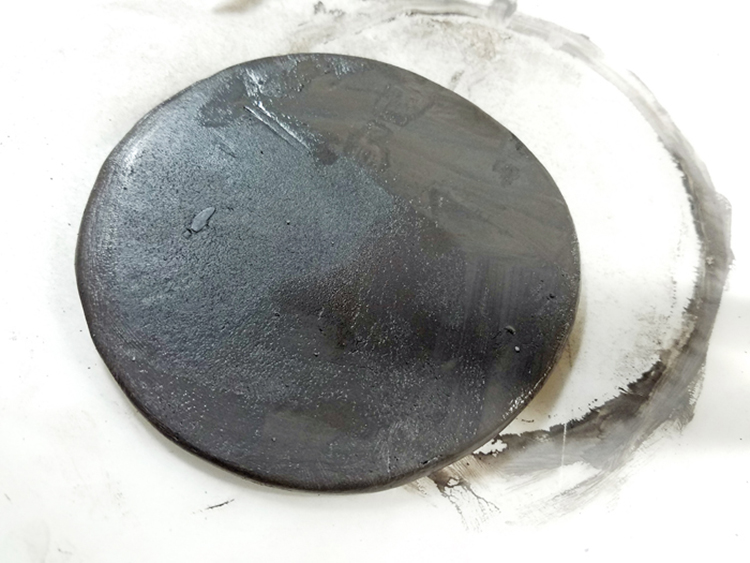
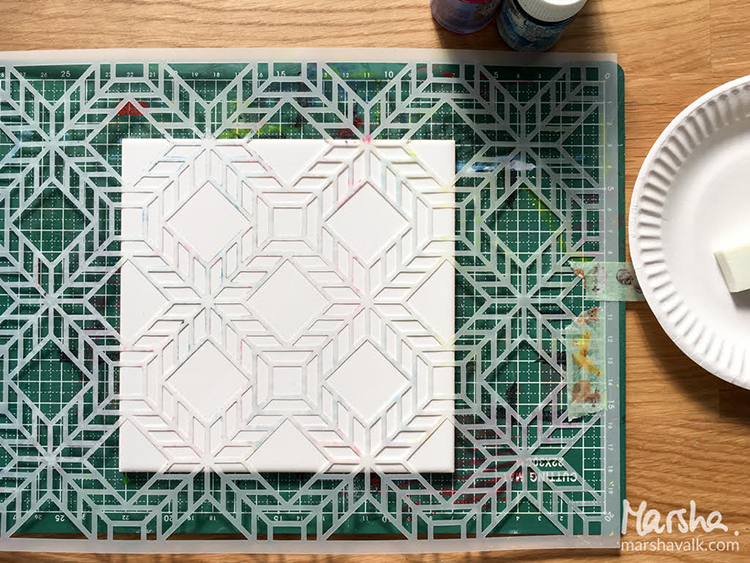
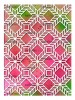
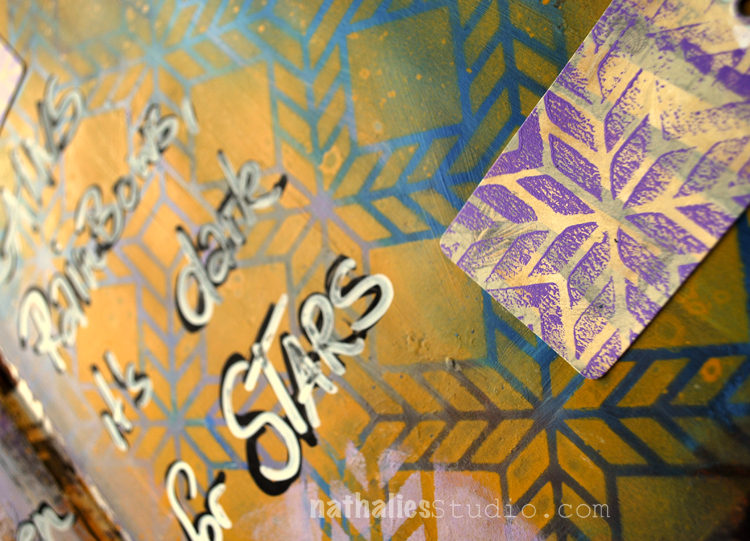
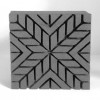
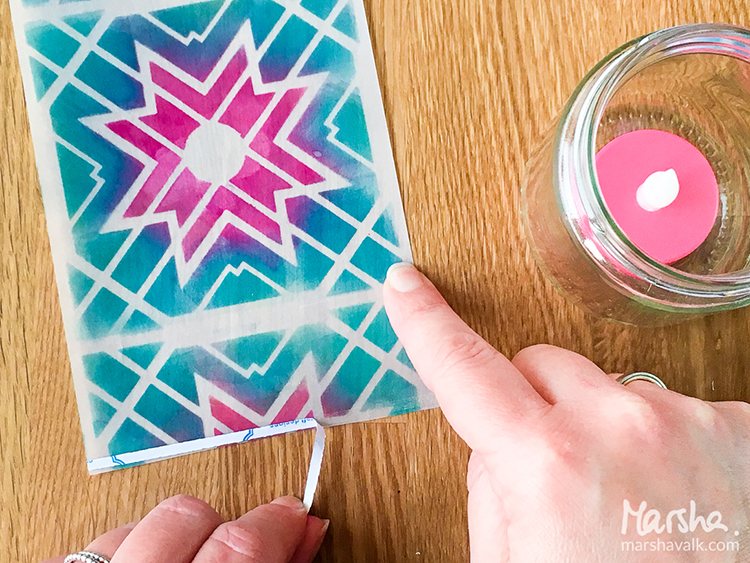
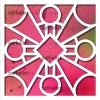
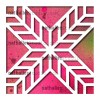
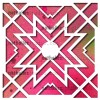
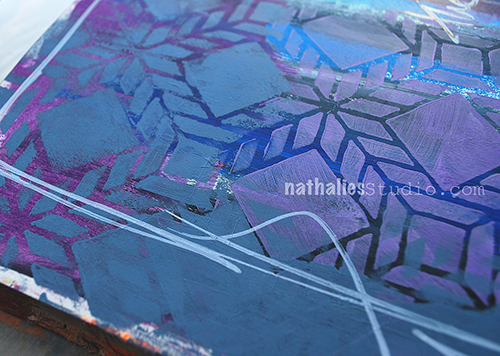
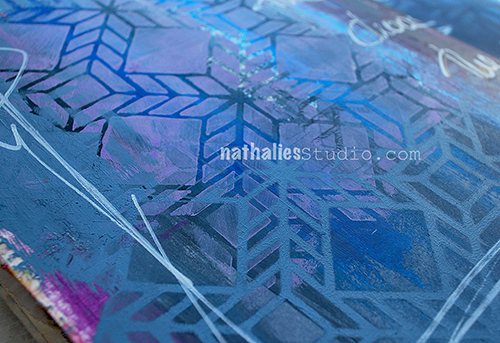
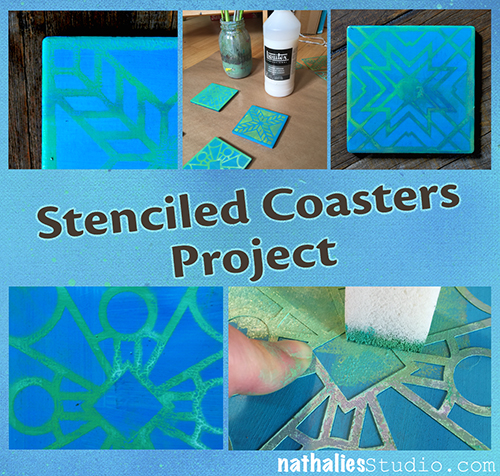
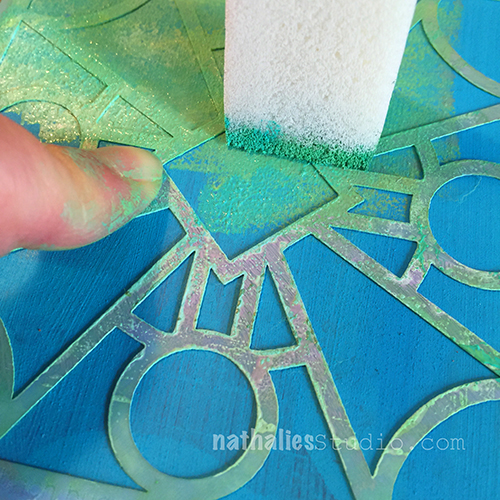
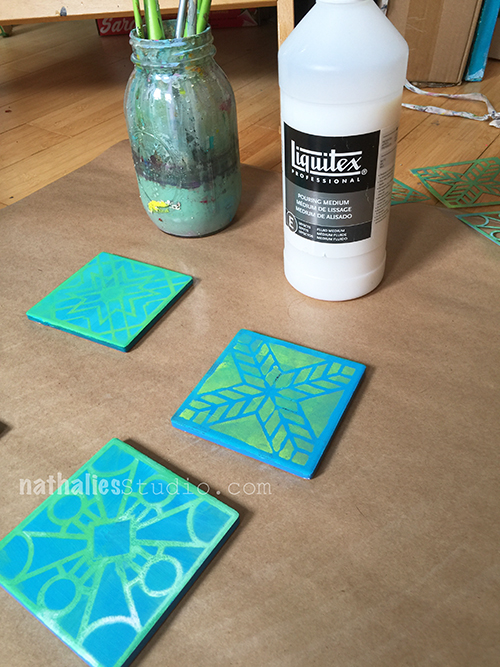
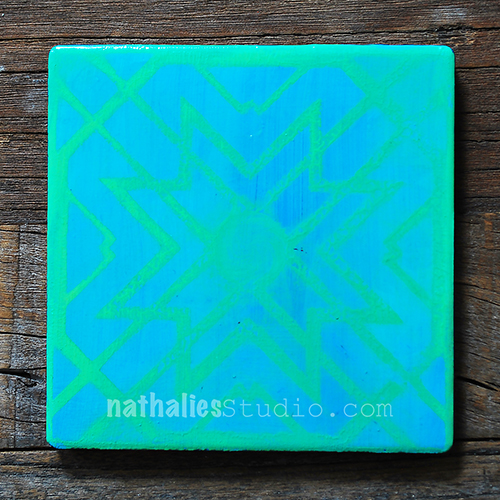
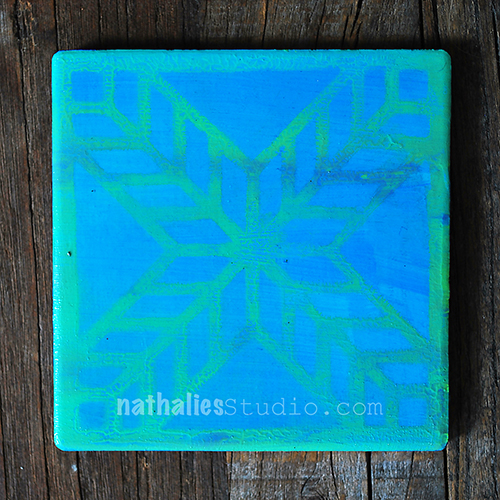
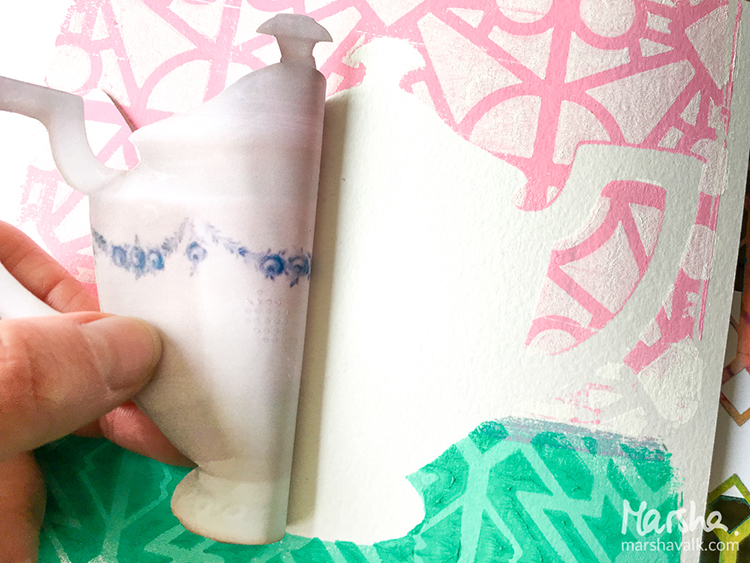
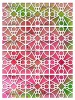
Using your favorite Nathalie Kalbach StencilGirl stencil such as Toledo as seen here, place stencil on clay and press into clay using a brayer.

dec-tw5

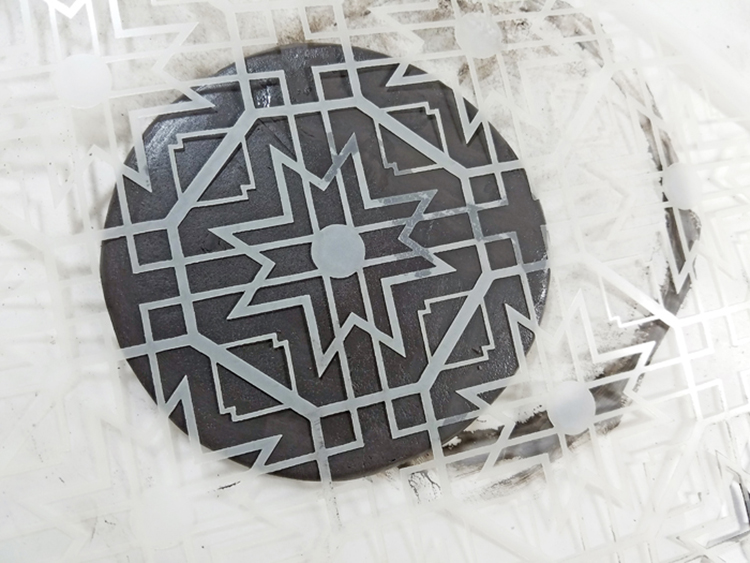
Place the stenciled clay over the bottom of a used yogurt container or other small round shape. Gently form clay around container to desired shape.

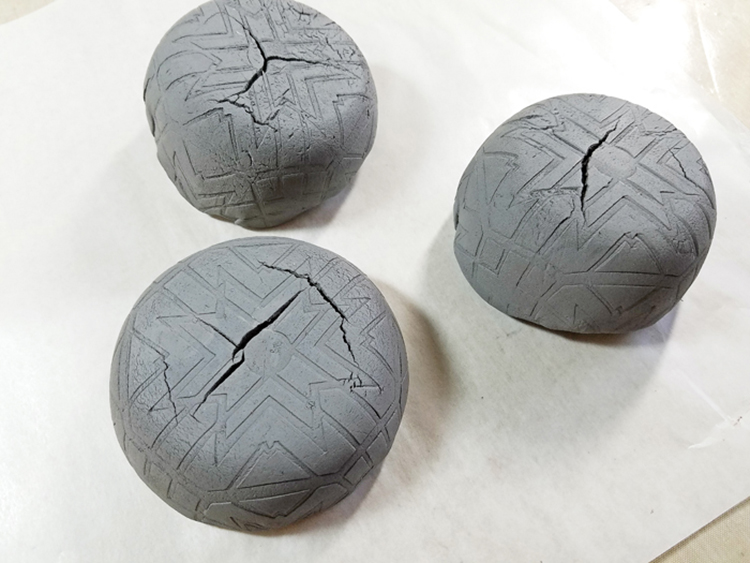
Allow to dry per instructions. (It took approx. 3 days for my bowls to completely dry).

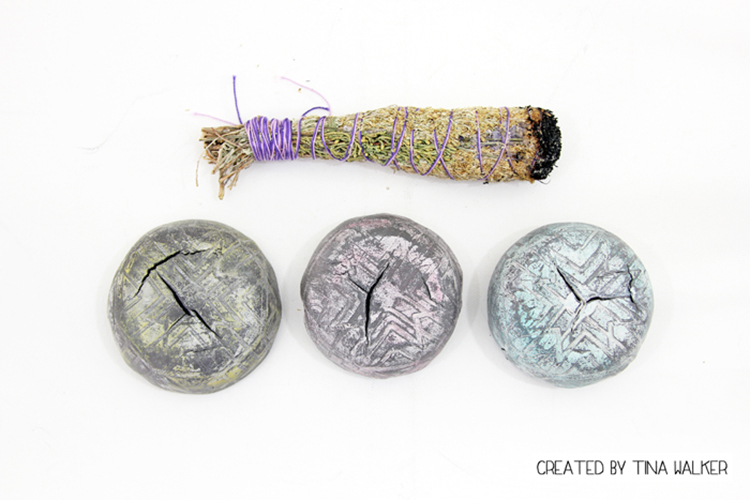
Note: My bowls cracked on the bottom, so I’m not sure if I didn’t condition my clay properly, stretched the clay over the container too much, or just user error. Since my bowls were not containing liquid, I was okay with the cracks.

dec-tw6

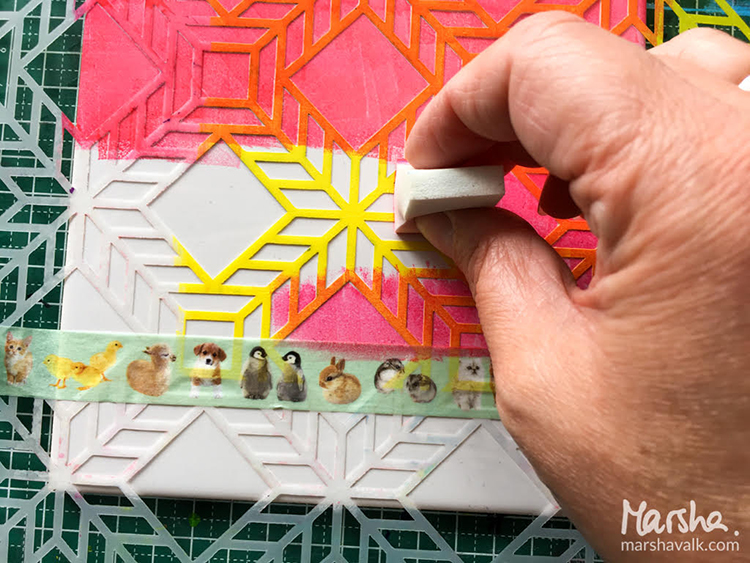
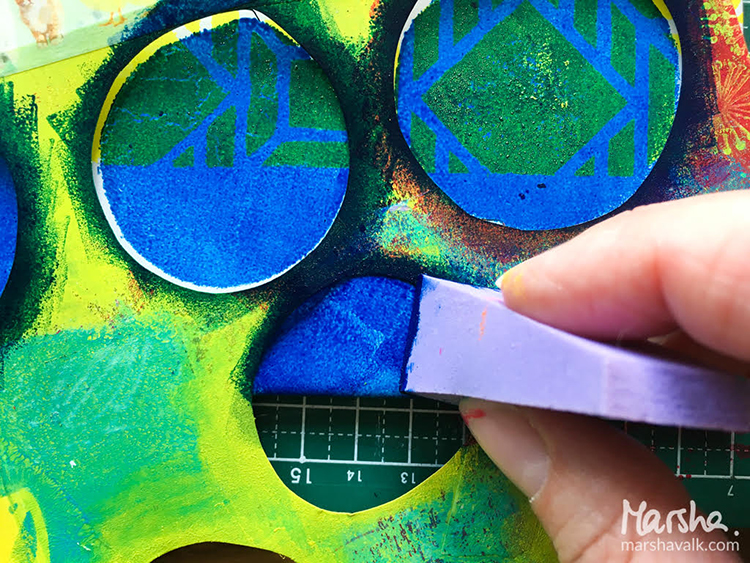
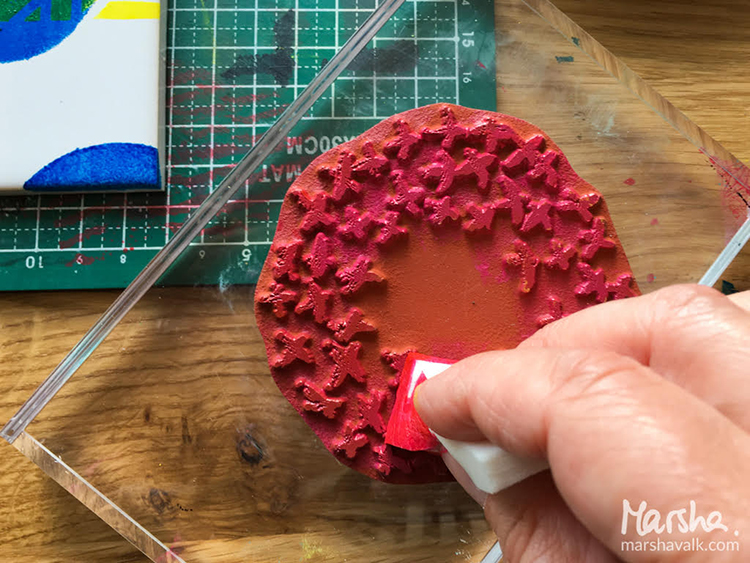
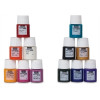
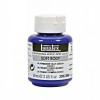
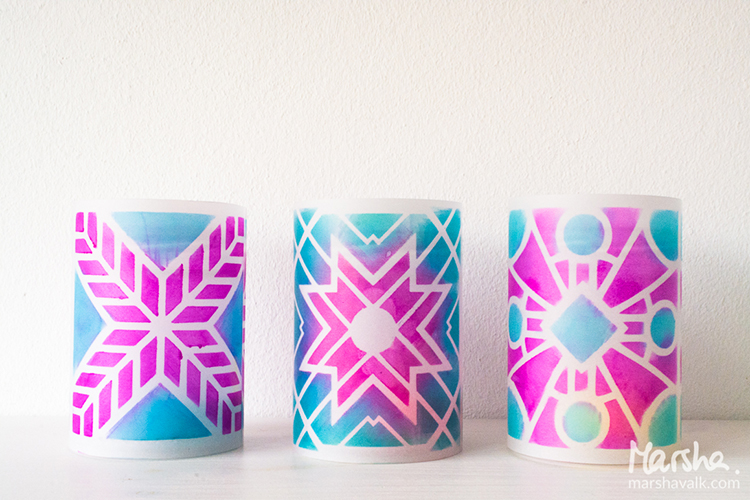
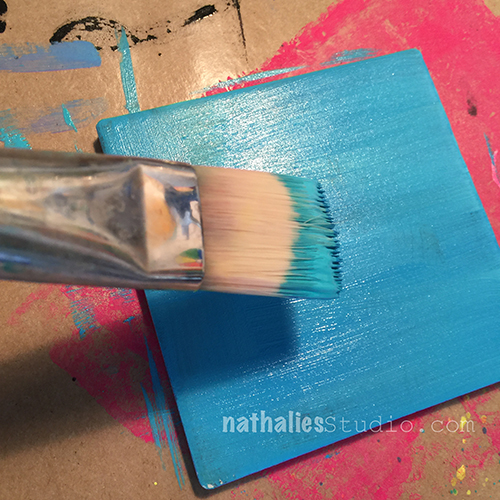
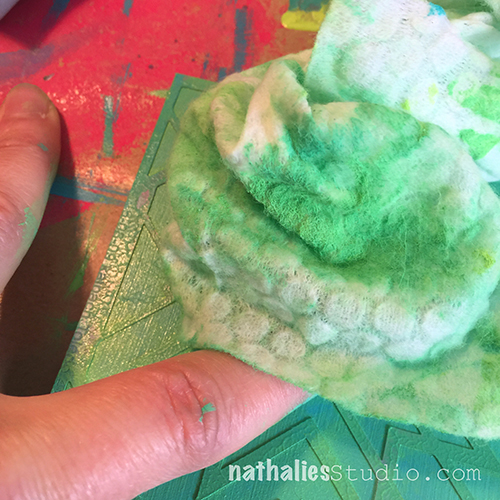
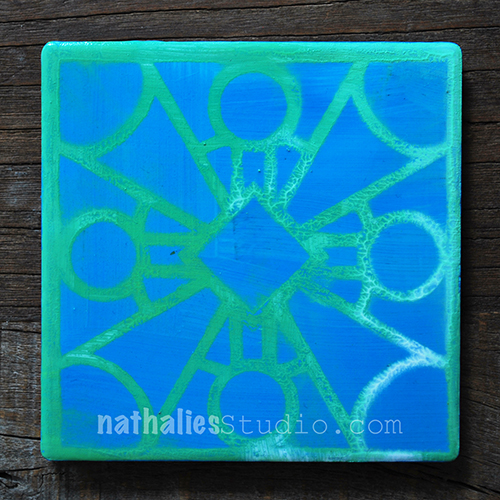
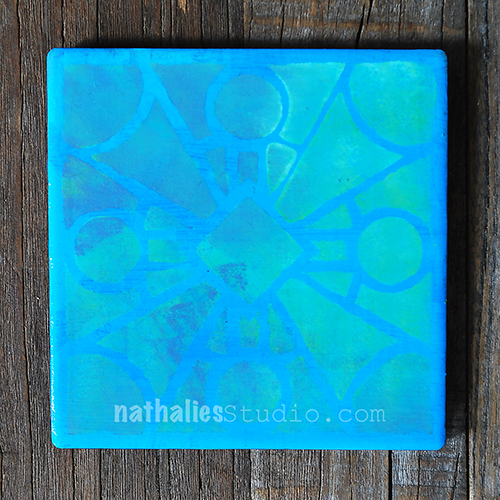
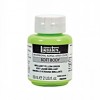
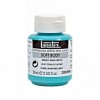
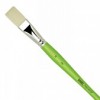
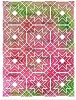
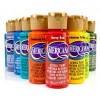
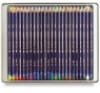
Dry brush acrylic paint over bowl, allowing the stencil design to ‘appear’. I would brush and remove layers of paint to create a worn, aged look.

dec-tw7

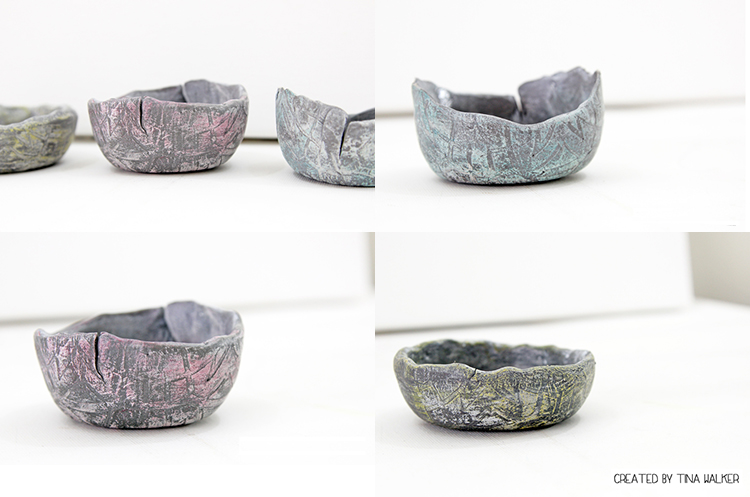
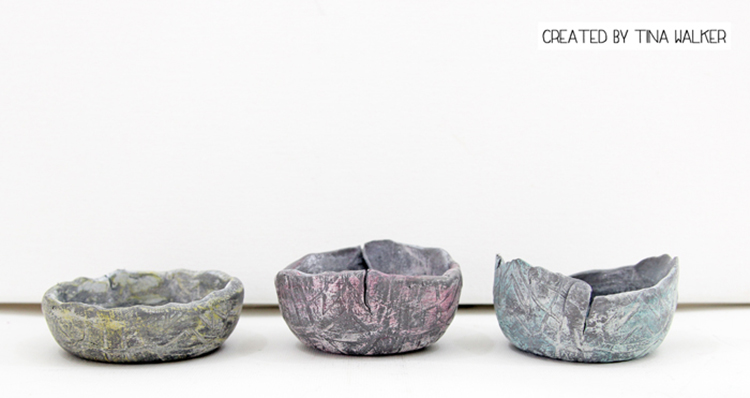
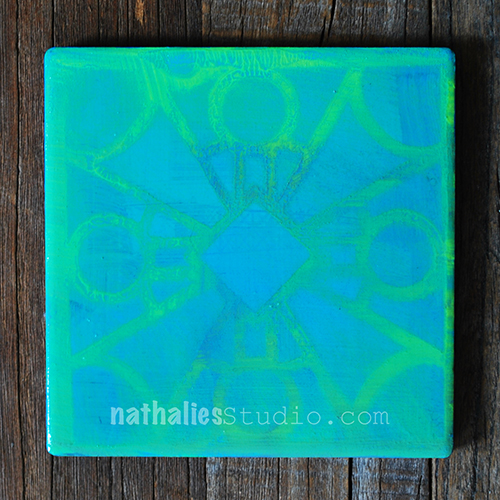
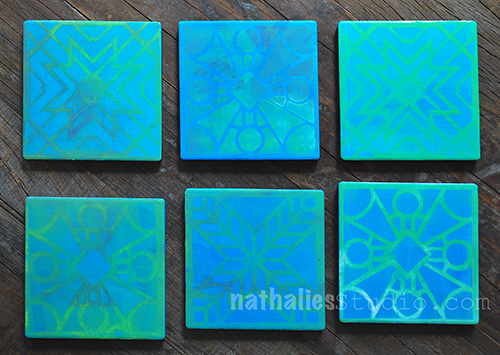
You can use the same technique with any stencil and create any size of clay bowl. I would love to create an entire collection of handmade bowls. How cool would that be?

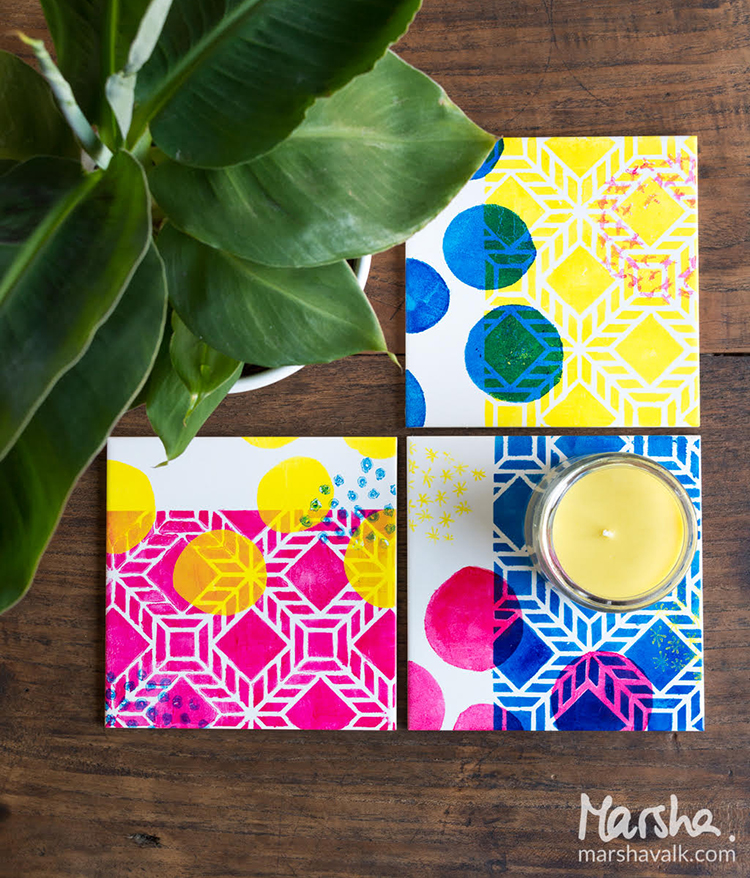
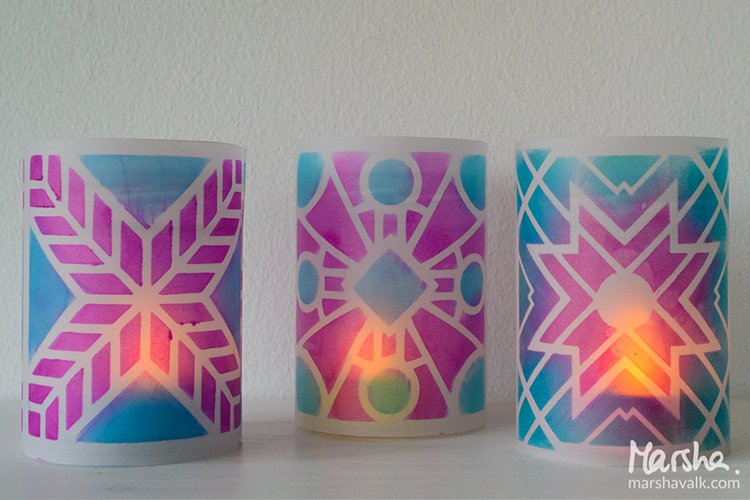
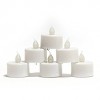
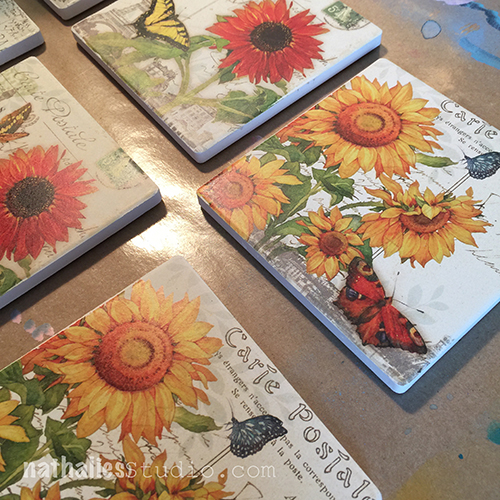
I now have three handmade smudge bowls that are just perfect for smudging.

dec-tw11

dec-tw12

Thank you for taking time to visit us today. See you next month.


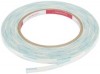
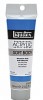
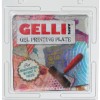
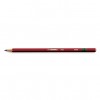
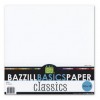
Thank you Tina for such a cool and unique project to do with my stencils!  I love how the dry brushing and cracking gives these smudge pots an almost ancient feel.  In addition to a PVC pipe or rolling pin and some empty yogurt containers, Tina also used these supplies – some links are affiliate links:

supplies


Play along with us! I love to see how you interpret our monthly themes. Email me how you used my stencils and stamps with the theme and email me an image – I would love to share your projects in my “n*Spiration From Around the Globe“.

Comments (1)

  • shelley-rydellie

    |

    Wow! What an awesome project! Tina, you are so creative!

    Reply

Leave a comment

Art Journal: The Wand Chooses The Wizard

kalbachthewandaj01

“Honey, just remember: the wand chooses the wizard” – what a fun quote.

kalbachthewandaj02

I painted the background in different purple tones and shades with acrylic paint and then used the Santiago 9×12 Stencil on top with some grey and also some purple.

kalbachthewandaj03

I used acrylic markers on top of a magazine image and added some detail with a black pen and a pencil.

kalbachthewandaj04

Love the worn painted look and the stencil gave it a lot of dimension.

Here are the supplies I used for this art journal spread- some are affiliate links:

supplies


Hope you are wearing a great wand this week :)

Leave a comment

Upcycled , Recycled: Stenciled Coasters Project

kalbachcoasterscollage

These coasters were so much fun to make. A couple years ago, someone had given me those coasters, which were pretty, but not quite my taste. Time to upcylce and recylce!

kalbachcoaster10

I painted all coasters in the same color  mix of two different blues with acrylic paint and let them dry.

kalbachcoaster11

Then I grabbed the Buenos Aires, Santiago and Toledo 4×4 stencils which fit exactly onto the coaster. For some coasters I simply placed the stencil on top of the surface and stenciled with a different acrylic paint color through.

kalbachcoaster12

For some I layered some color directly on top of my blue background and then placed the stencil in the wet paint surface and removed paint through the stencil with a baby wipe.

kalbachcoaster13

Once all the stenciling was done and the paint was dry, I coated the coasters with Pouring Medium. I let everything dry overnight and gave them another coating with Pouring Medium to seal the surface off and also to give the coasters some depth and sheen.

kalbachcoaster14

And here you go – the different coasters

kalbachcoaster02

kalbachcoaster03

kalbachcoaster04

kalbachcoaster05

kalbachcoaster06

kalbachcoaster07

I gave those to my sister in law and she really loved them as they are in her favorite colors. Now …time to make some for myself…maybe for Thanksgiving .

kalbachcoaster01

Here are the supplies I used to make those coasters – some are affiliate links:

supplies


What have you put aside to upcylce or recylcle, but haven’t gotten around to do it yet?

Comments (2)

  • Joi@RR

    |

    These turned out so much more YOU Nat! Perfect way to showcase your stencils. Xj.

    Reply

Leave a comment

Inspired by… Santiago de Chile

kalbachsantiagoibcollage

My husband was invited to give a talk and a workshop at a conference in Chile. So I went and met him in Santiago de Chile for a little vacation. A day later than planned, as my trip wasn’t starting off very pleasantly. I missed my connecting flight in Houston after sitting three hours due to insane thunderstorms on the runway here in Newark, had to go back home after watching an entire movie on the plane and arrived 24 hours later than planned at my destination.

kalbachsantiagoib01

But …I was determined to not let this start ruin the trip and as soon as I woke up after a 16 hour flight at 8am in the morning and crossed along the Andes to land in Chile I was super excited and ready for new adventures for the next five days.

kalbachsantiagoib03

It is spring in Santiago right now and the temperature reached already about 91 F (33C). The flowers and colors everywhere were just so beautiful!

kalbachsantiagoib02

This is a gorgeous door of the main cathedral in Chile – I just love how modern and happy this looks.

kalbachsantiagoib04

We climbed up the Santa Lucia Hill from which you can see the snow covered Andes far away and have a beautiful view over the city

kalbachsantiagoib05

Found a beautiful little church on top of the hill too – which made us feel as if we were in a small village and not in a big and buzzing city.

kalbachsantiagoib06

I loved this broken tile pavement near an artisan market.

kalbachsantiagoib07

And there was a lot of street art too.

kalbachsantiagoib09

And more views from another hill in the city

kalbachsantiagoib10

with this statue on top.

kalbachsantiagoib11

And a lot of yummie good food – Ceviche – a fish salad with corn , cilantro, lime, red onions, and sweet potato – delicious and definitely something I will make next summer and Pisco Sour …a very delightful cocktail – and some Empanadas …nom nom nom.

kalbachsantiagoib12

There were demonstrations on the street every day by government workers because of the privatization of pension funds and due to those strikes the museums and other public places were closed the whole week. I was able to go to some museums before our flight home on the last day- and will of course share an Art Stroll with you soon :) We also had a little earth quake which could be felt by the conference attendees and my husband in the university (it was a 6.4 magnitude earth quake about 50 miles away and shook the building quite a lot – luckily nothing bad happened) while I two blocks away stepped accidentally into the middle of the demonstration and if it shook- I must have thought it was the police tanks- LOL – I did not realize anything. And yes- I was safe – these were very peaceful demonstrations!

kalbachsantiagoib13

This was my favorite graffiti not knowing that it had a deeper meaning too. I just loved this guy and the dimension and the shadow and then later in the museum I found photographs from the turn of the century of the last living members of a tribe called Selk’nam and in those photos one of the body paintings for ceremonies and head gear was like the one in the graffiti. One wasn’t allowed to take photos of the photos- but I found a pinterest board with some of the images if you are interested. It filled me with a lot of sadness that the Selk’nam tribe in these photos taken just a bit over a hundred years ago is now extinct.

kalbachsantiagoib14

Here is more street art from Santiago

kalbachsantiagoib15

These two were close to the Museum of Fine Art. I found them so unique and different in their colors, of course the symbols etc. and I wish I had the key to read the deeper meaning to those.

kalbachsantiagoib16

Hope you liked the little trip to Santiago- there is more to come from my trip there – stay tuned .

have a gorgeous weekend!

Comments (9)

  • Judi

    |

    We went to Chile in 2007. Truthfully, I felt safer there than in my own country the USA! Several people reached out to help us without us asking for assistance. We had a wonderful time there visiting several cities including Santiago. It was memorable!!

    Reply

    • nathalie-kalbach

      |

      judi that sounds wonderful, which other cities were you at? Nat

      Reply

        • nathalie-kalbach

          |

          Thank you so much for sharing Judi! Valparaiso was my favorite. But that was all I saw- Santiago and Valparaiso – I guess I have to come back :)

          Reply

          • Judi

            |

            We hate flying long flights so I doubt we will go back but we have great memories of that trip. Chile was one of my all time favorite countries we have visited. We felt very safe and cared for by the very kind people living there. I hope you get a chance to return to see more. Take care.

            Reply

  • JoAnn

    |

    Thank you for sharing and I love your new website.

    Reply

    • nathalie-kalbach

      |

      Thank you so much JoAnn- so glad you like it :) Have a wonderful weekend!

      Reply

  • Carolina Nicewarner

    |

    Natalie,

    Thank you so much for the window into Chile. That trip is on our bucket list, something we both want to do before we don’t have time left. Do you feel safe during your trip? We lived in Venezuela for 3 years, about 12 years ago, and the people were so so kind, and the country was gorgeous. Unfortunately, since we left, there have been many changes and travel there is not suggested, which is so sad.

    Cannot wait to see the rest of your pictures…

    Carolina

    Reply

    • nathalie-kalbach

      |

      Hi Carolina, glad you enjoyed the post. Yes- I felt safe- I mean of course as in every city you have to be aware to not flash your belongings around or keep your bag close to you etc. Pickpocketing is an issue. But other than that I did not feel more unsafe when being in NYC. Everyone was super helpful and nice and I had a very positive experience. Hope you will have a good time as well.

      Reply

Leave a comment

Good Things Just Keep Happening – Marsha Valk

cs-november-good-things

Today, Marsha Valk from my Creative Squad is sharing two gorgeous prints using this month’s theme: “Good Things Just Keep Happening.” I invite you to join me and my Creative Squad this November, in the spirit of the Thanksgiving holiday in the US, to remind ourselves to be thankful for even the smallest things.  Every once in a while it feels nice to slow down and recognize the good stuff that’s all around us.  What Good Thing happened to you today?


marsha-november-headshot

I already had a long and hard thought about the theme before it occurred to me that the answer had been staring me in the face each morning:
One of the smallest things that I’m thankful for nearly every single day is the pot of tea that my husband prepares before he leaves to go to work. So each week day morning, when I get up and go into the kitchen, there’s a warm pot of tea sitting there to greet me. Just for me! It’s the small things that count and I know this is just one of those things that will be etched in my memory forever.


marshavalk_nstudio_goodthingsjustkeephappening-7


So the idea for my project formed in my head and I wanted to use the Gelli Plate to execute it. That meant that I needed a mask of the teapot. I decided that the easiest way was to just take a photo, print it and then use the print as the mask.


marshavalk_nstudio_goodthingsjustkeephappening-1
marshavalk_nstudio_goodthingsjustkeephappening-2


I wanted the backdrop for the teapot to look like wallpaper, so I printed solid colours on the background first and then I printed over those colours using n*Studio stencils.


marshavalk_nstudio_goodthingsjustkeephappening-3
marshavalk_nstudio_goodthingsjustkeephappening-4


To get a (fairly) crisp edge I masked off the edge in the middle before placing the stencil on the Gelli Plate. I also stuck the teapot mask to the already printed paper before I pulled the stencil print and I used the lines on my glass mat to line up the paper.


marshavalk_nstudio_goodthingsjustkeephappening-5


Once the printing was done I sketched in the details with graphite pencil and I used a paper stump to create the shadows. I also added a little bit of colour with Inktense pencils. That’s it!


marshavalk_nstudio_goodthingsjustkeephappening-8
marshavalk_nstudio_goodthingsjustkeephappening-9

Ohh , I love this – thank you Marsha!  Looks wonderful and is such an awesome idea.  I love the teapot!
Here are the supplies Marsha used to create her prints – some links are affiliate links:


supplies


Play along with us!  I love to see how you interpret our monthly themes. Email me how you used my stencils and stamps with the theme and email me an image – I would love to share your projects in my “n*Spiration From Around the Globe“.

Leave a comment