A couple months ago I was looking for some little bowls or plates that I could use for dropping of my bling in the evening but nothing really made me truly wanna spent money as colors or shapes weren’t what I was looking for.
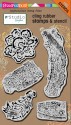
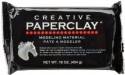
So I remembered a tutorial that I had seen a long time ago on Pinterest on using Paper Clay and Lace to make your own little bowls and decided to give it a try with my newly arrived Stamp Sets. The Paper Clay I used doesn’t need any firing or heating and just air dries. Easy peasy :)
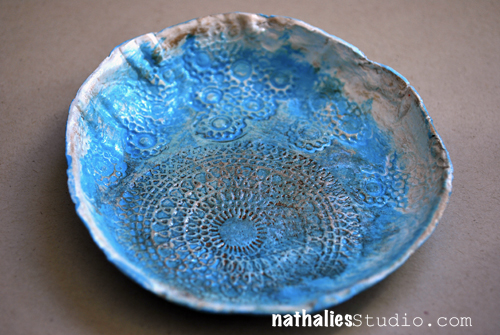
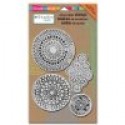
For this bow I rolled a piece of Paper Clay to a little ball and then rolled it out with a rolling pin to a flat wonky circle. I then stamped into the clay with some of my Kaffee Klatsch Stamps. You don’t need to press to hard to get a nice sharp impression. I found a bowl where I liked the shape on the bottom as a guide – since I wanted mine to be not a high bowl and a bit quirky – and pressed the top onto the clay to cut out a nice circle. Next I formed the clay circle into the bottom of the bowl. I let everything in the bowl dry for 12 hours and then carefully took the new paper clay bowl out. Since the moisture in the paper clay mostly is evaporated by then it shrinks a bit so that it is easy to get it out of the template bowl. It was still a bit moist on the bottom since now air could get there so I just put the paper clay bowl upside down and let it dry for another 12 hours.
I did the same steps with this plate – just using a plate as a template and the Fiesta Stamp set for the Impressions
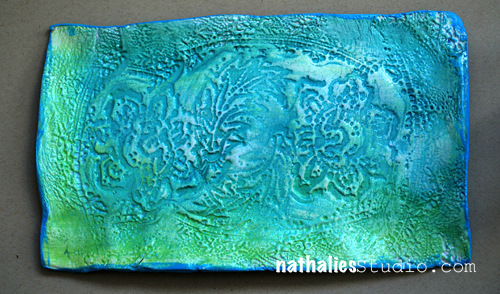
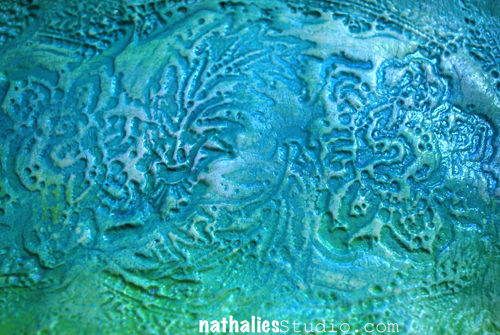
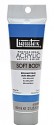
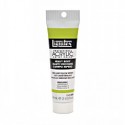
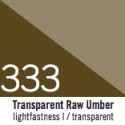
Once they both were dry I used Liquitex Soft Body paint thinly over the surfaces, waited a couple seconds and then using a paper towel rubbed some of the paint off again, so that the impressions were more colored and more prominent. That way the texture really popped off. For the plate I used two colors to and blended them. I painted outside of the bowl and the bottom of the plate and then everything dry again. I applied some Liquitex Transparent Raw Amber Acrylic Ink over the circle impression of the bowl to have it pop up even more and to give it some patina and let that dry again. To finish everything off I coated the bowl and plate with Liquitex Pouring Medium which gave it a nice shiny glossy and glass like look and feel. I coated it twice leaving a couple hours in between for curing.
Done :) Hope you like this little crafty fun project – I also made some christmas ornaments using the same technique…there is a lot of potential in this – you just have to play . Here is the full supply list:

Comments (11)
AmyO'
| #
I have some Paper Clay in my stash from long ago – I’ll be digging it out this weekend to see if I can still use it – I love these!
Reply
Stephanie
| #
Great project. Thanks for the tutorial
Reply
andrene
| #
OK I am so doing this. Hope mine turn out as beautiful as yours!!
Reply
Sue Clarke
| #
That dish is so sweet and I love the new stamp on it.
It’s nice to have a place to place one’s rings and such at the end of the night (or while washing yucky pots and pans).
Reply
nathalie-kalbach
| #
Thank you Sue!
Reply
Petrin Diaz
| #
Oh, Nat…so long not writing, but always take time to read all your publications…Love thiis “little idea”…and will try asap, as soon as i can. Thanks always for your kindness! lovely colors!
Reply
nathalie-kalbach
| #
So good to “see” you again! thanks for your sweet words!
Reply
Kathy Gledsdale
| #
Oh these are gorgeous, I adore them, thank you for sharing the idea.
Reply
nathalie-kalbach
| #
thank you Kathy!
Reply
Win Dinn
| #
Love these, and I love it that you made it rather than buying something that was less then appealing – living the art-ful life!
Reply
nathalie-kalbach
| #
Thank you Win! I agree, making something your own instead of buying is always double the fun!
Reply