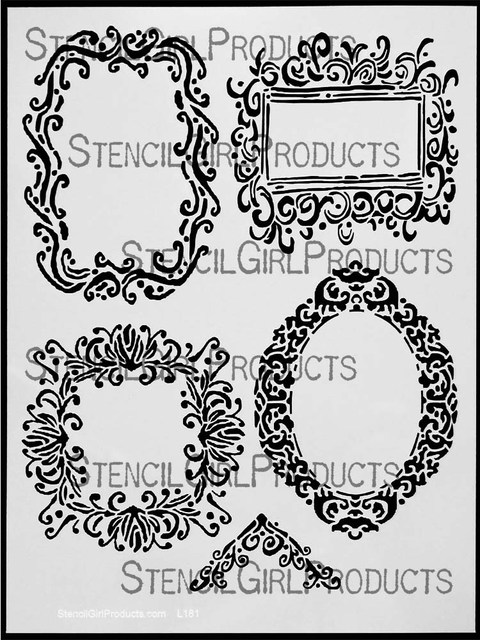
So thrilled to be part again of the Stencil Test Drive featuring Jessica Sporn‘s Frames Stencil for StencilGirl Products.
![]()
Today along with some others I show you what I created using her Frames Stencil.
Here is my art journal page
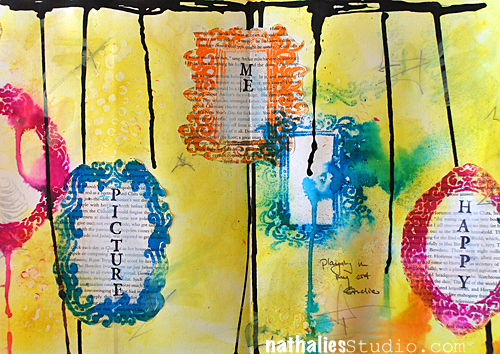
And here is how I created this
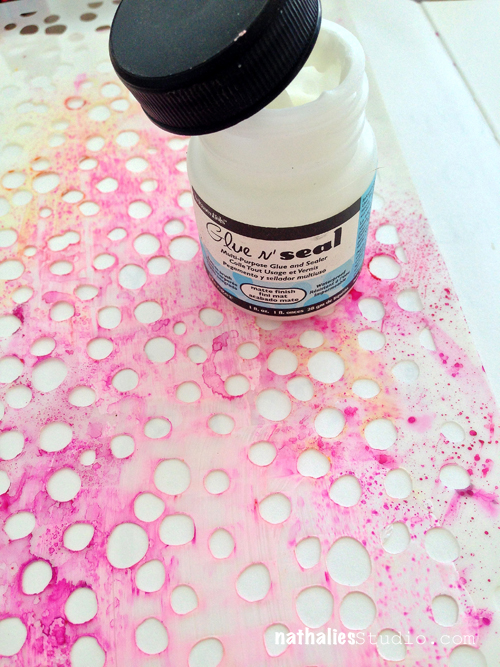
I used some Glue N’ Seal over my What’s The Point and while it was drying
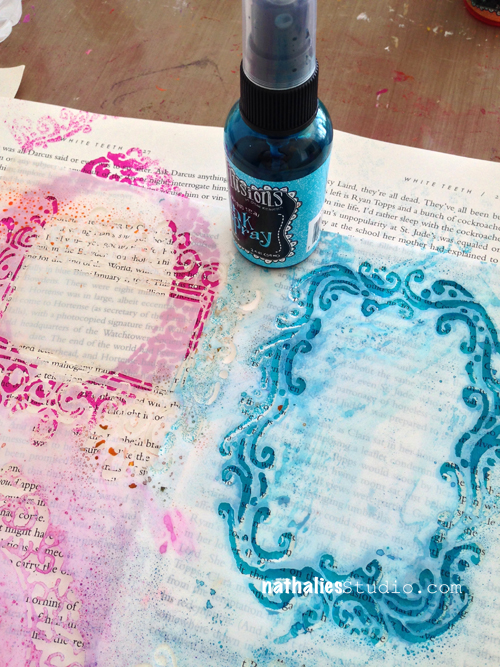
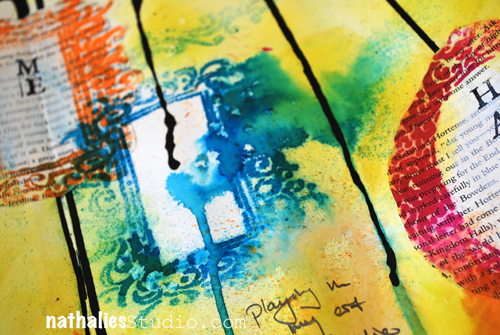
I used spray paints through the frame stencil on book paper that I had just as a left over from a different project.
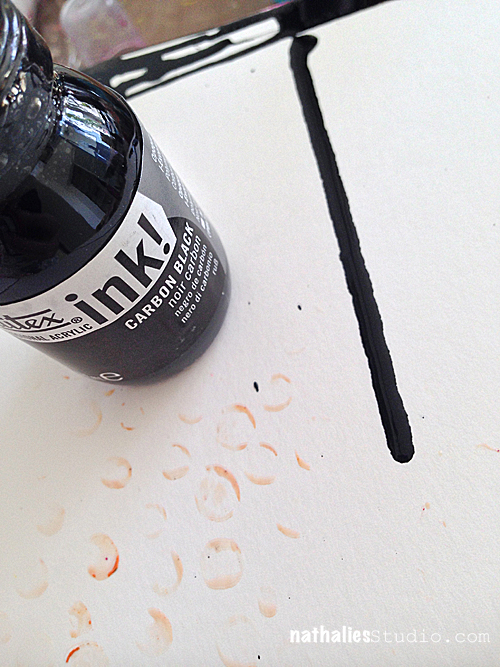
I added some Ink to the top of the artjournal page and let it run down
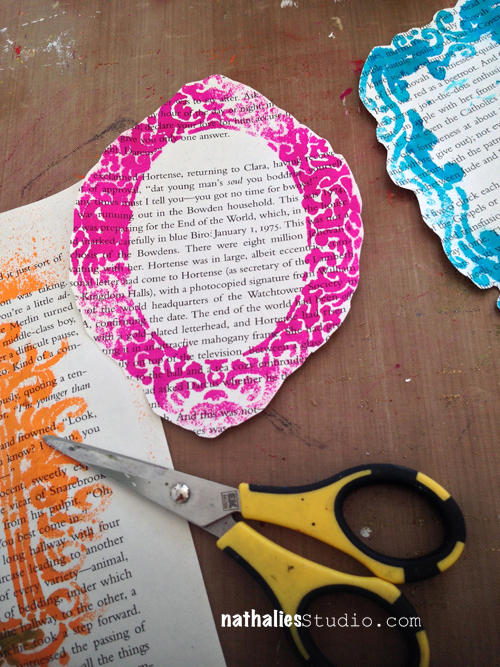
I cut out the frames out of the book paper
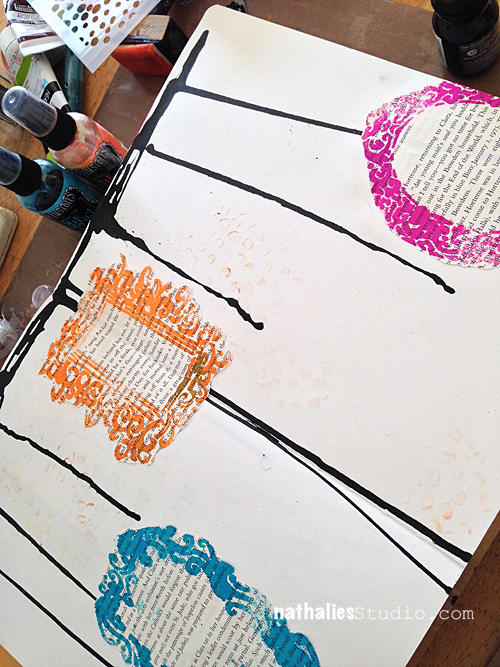
and adhered them with a glue stick
and then I sprayed through the frames stencil again – quite a lot- I wanted to have a more runny and non perfect image
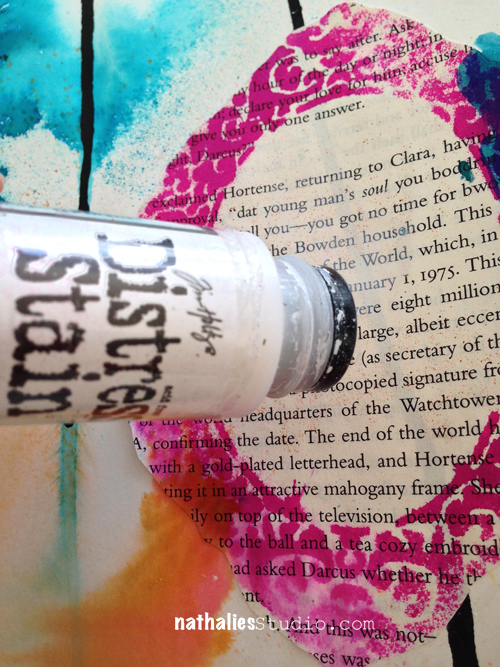
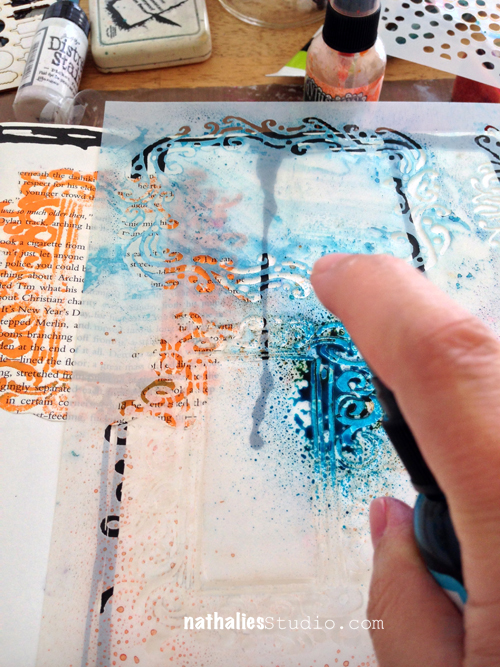
to tone down the book paper a bit I used some distress stain on it
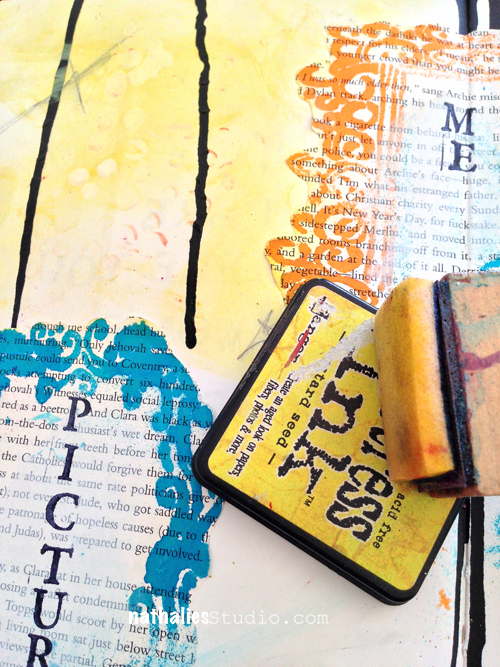
and then I used some Distress Ink to pop the What’s the Point Bits and the frames out a bit more :)
Now go see what the other artists did with the Frames stencil! But before you do, be sure to leave a comment by midnight EST 10/13here because Jessica is giving away a Frame stencil to one lucky winner, and EVERY comment in the test drive will be eligible to win. The more times you comment, the more chances you have to win!
And for those of you who want a complete list of supplies- here you go:

 |
|
 |
 |
|
|
|
|
|
|
|
|
|
|
|
|
have a wonderful day
Nat
![]()
Comments (32)