

Hello from the Creative Squad this fine Tuesday! Today we have a super creative way to dress up some storage boxes with Jennifer Gallagher. Jennifer is using my Mini Batik Pattern 1 foam stamp and my Batik stencil, as well as this month’s theme: Each Day is a New Adventure – Be adventurous this month and try something new in your art-making! Use a new tool, medium, or technique that you’ve been meaning to try for too long now. Go on a new adventure TODAY!
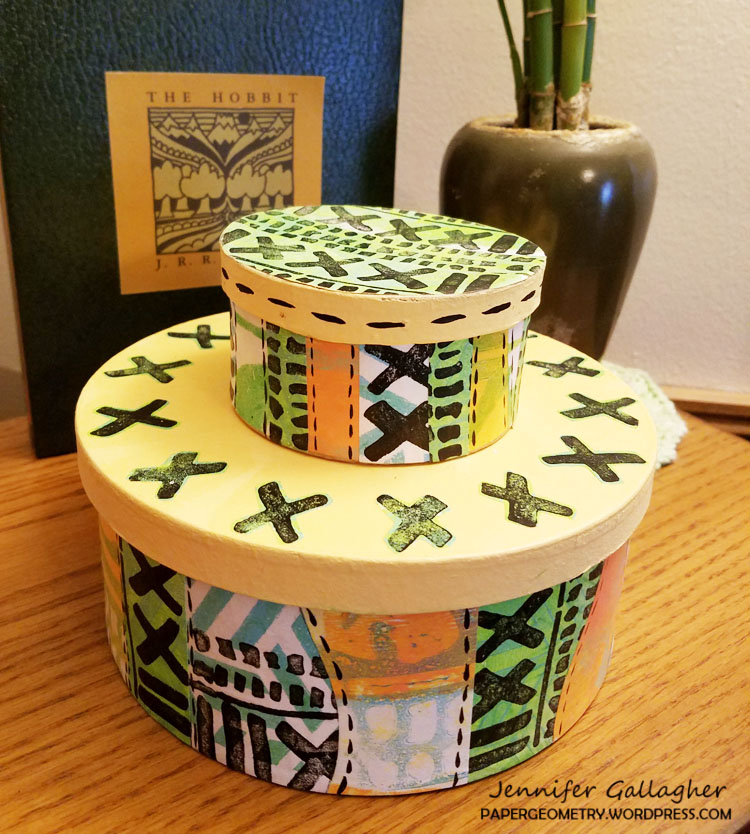
I am so excited to be back with you again this month for another creative squad post. This month our team is focusing on new artistic adventures. Each day really is a new adventure! Keeping that theme in mind, I decided to try something I have always wanted to try. I have always wanted to decorate a few pre-made paper mache boxes for some decorative storage. I figured this was the perfect time.
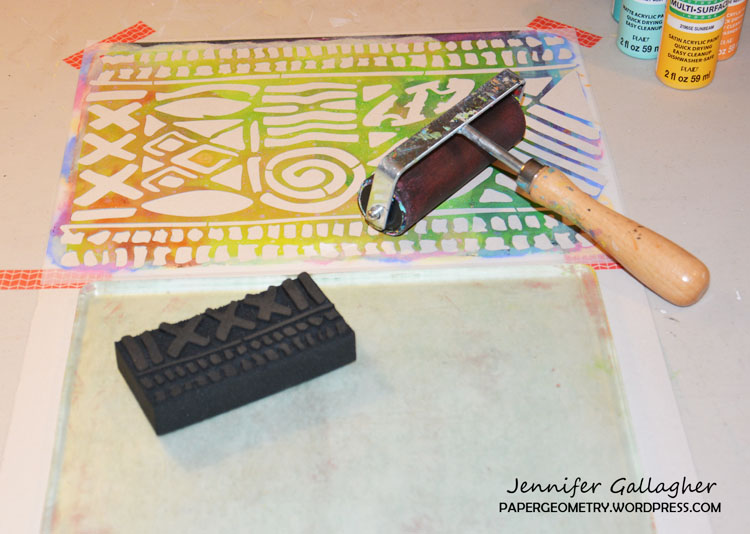
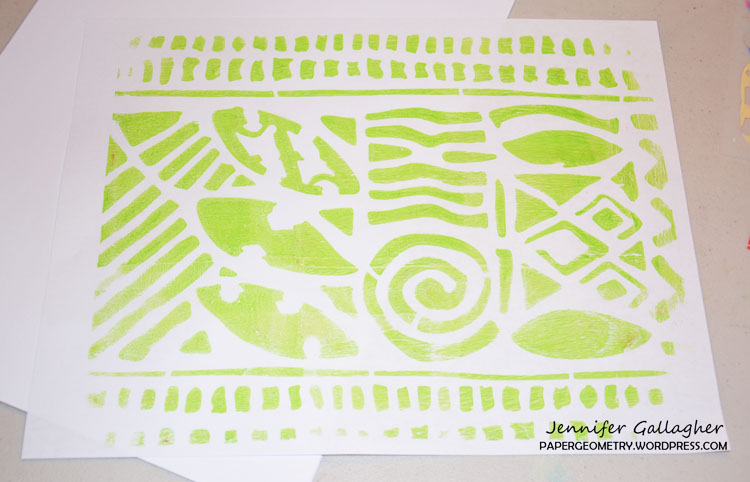
I began this project on my 8×10 inch gelli printing plate. After selecting several shades of blues, greens, and oranges, I decided to go with a Batik design. (Color list: Sunbeam, Nectarine, Laguna, Key West, Cool Blue, Parakeet, Black) Lucky for me, Nat has a great Batik stencil and set of Batik foam stamps. I used my 9×12 inch Batik stencil and gelli printed multiple pages on white paper.
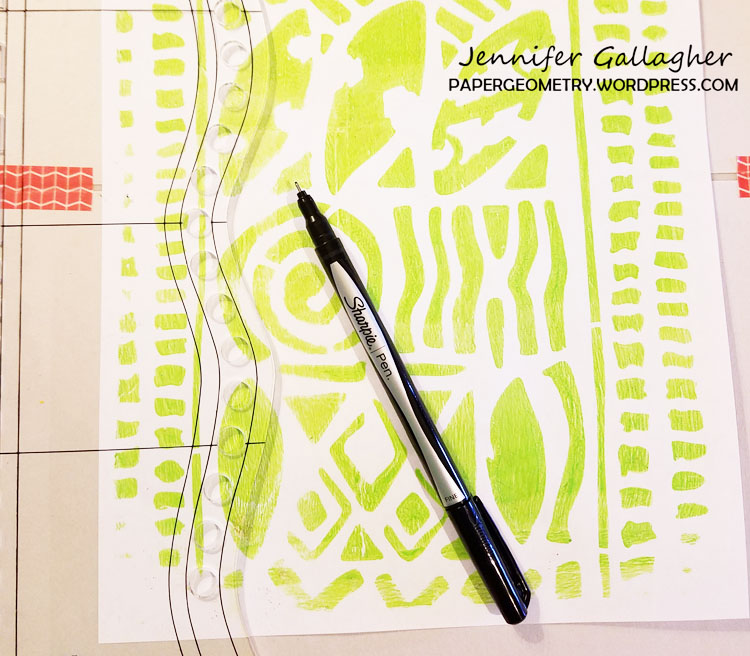
I picked through my gelli-printed papers and chose my favorites. I then used my large Dylusions journal block and a black fine tip sharpie and drew alongside the outside edge of the journal block. I saved a few sheets of batik paper for another step.
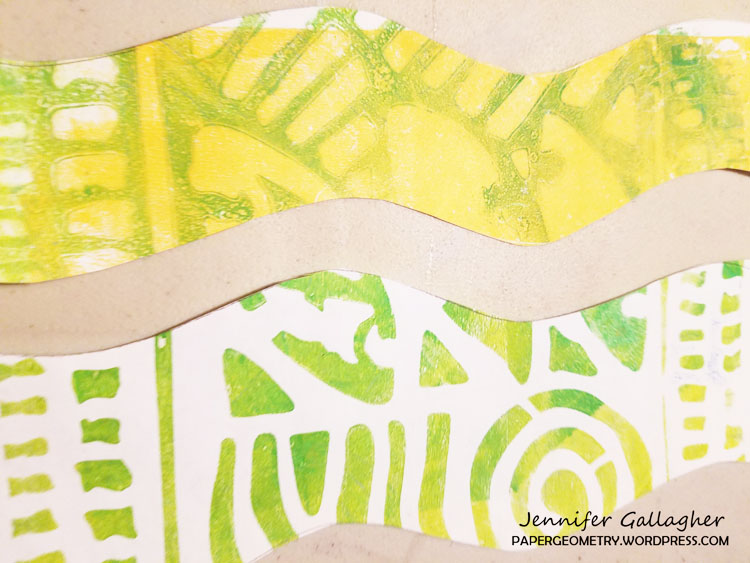
Then I cut along the drawn lines. These strips will eventually be glued down the paper mache box in alternating strips.
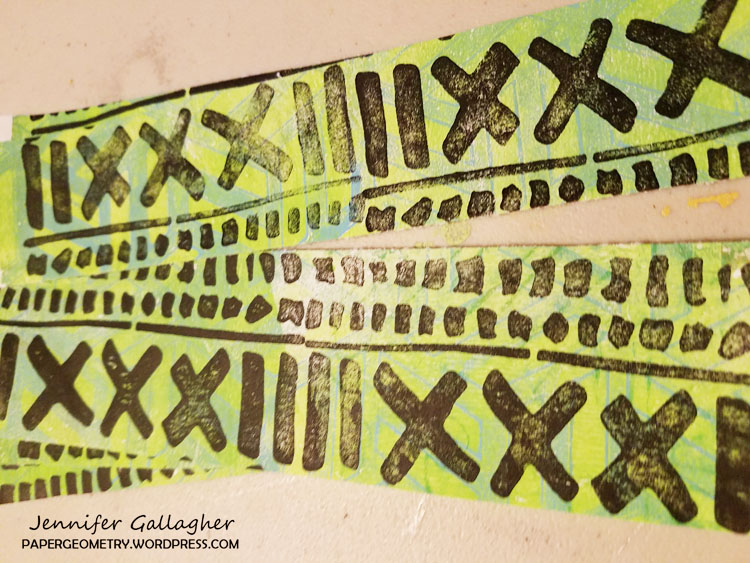
While I had my gelli plate out, I thought it would be quicker to use it instead of a stamp buddy. I brayered the black paint out in a small spot. I then pressed my Mini Batik Pattern 1 foam stamp onto the black paint and pressed the design on the paper I had reserved earlier. I continued this design all along the paper. I then cut the papers into strips.
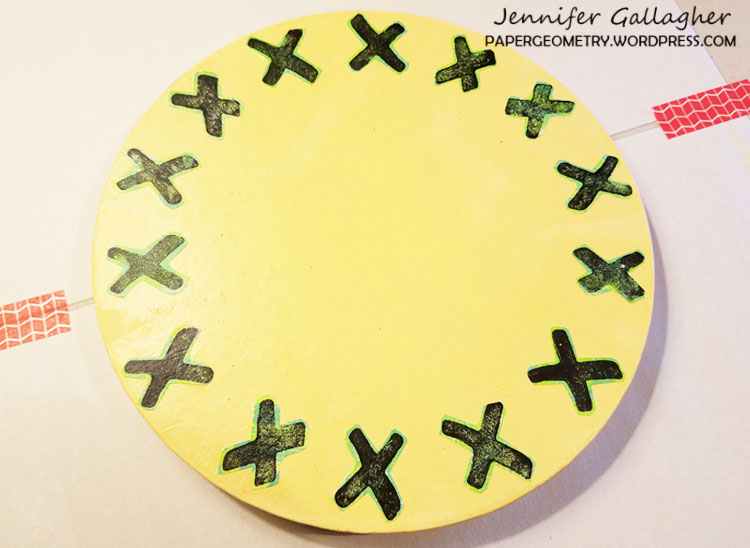
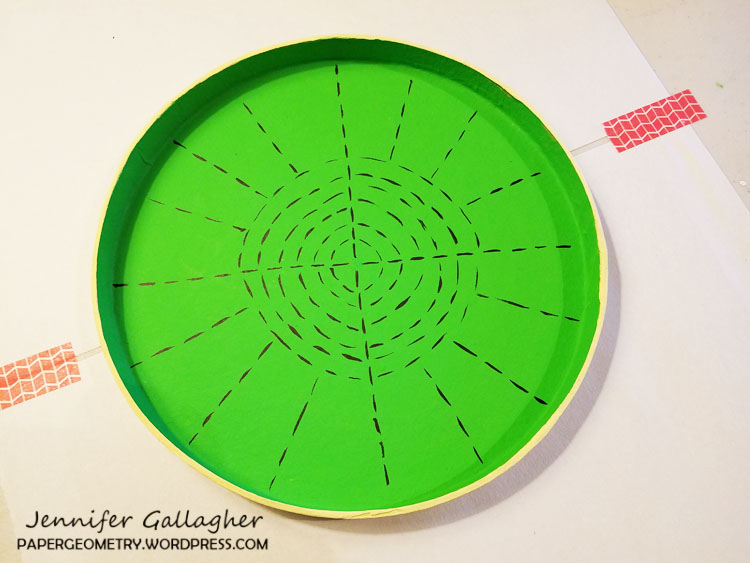
I painted the inside of both containers and their lids with Dylusions paint. One box I painted with cut grass and the other with vanilla custard. Let the acrylic paint dry before moving on.
Using matte finish mod podge, I glued the strips down to both of my boxes while alternating the colors and patterns. Patience during this step is the key to a nice finished piece. Do not try to glue too many at once and allow sections to dry before moving on. I also glued down strips to the top of the small box. Using the leftover paper, I cut out all of the x’s. I then arranged them on top of the large box top. Once I had them arranged how I wanted, I glued them down too.
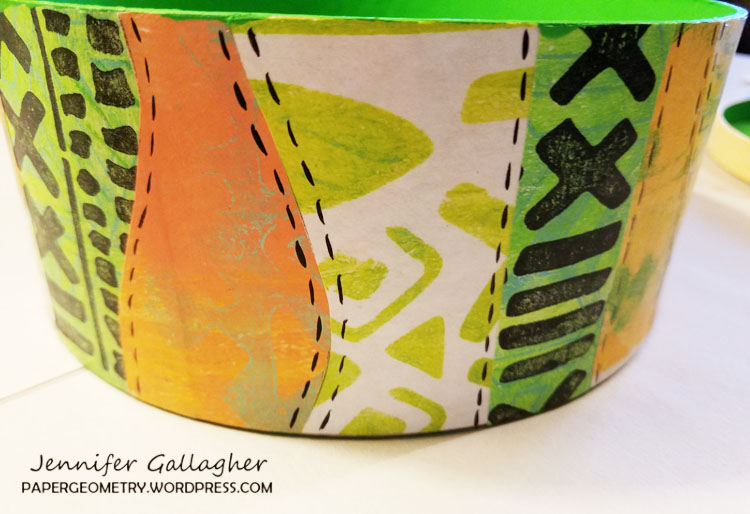
After gluing down all of the strips to the containers and their lids, and allowing them to thoroughly dry, I decided to add some final details. Using black Dylusions paint I added some fun designs to the interior of each container. I also did some dashed lines alongside the strips on the outside.
I hope this post has inspired you to try something new. I am very happy that I did! Be sure to comment and let us know how you intend to try something new. See you next time.
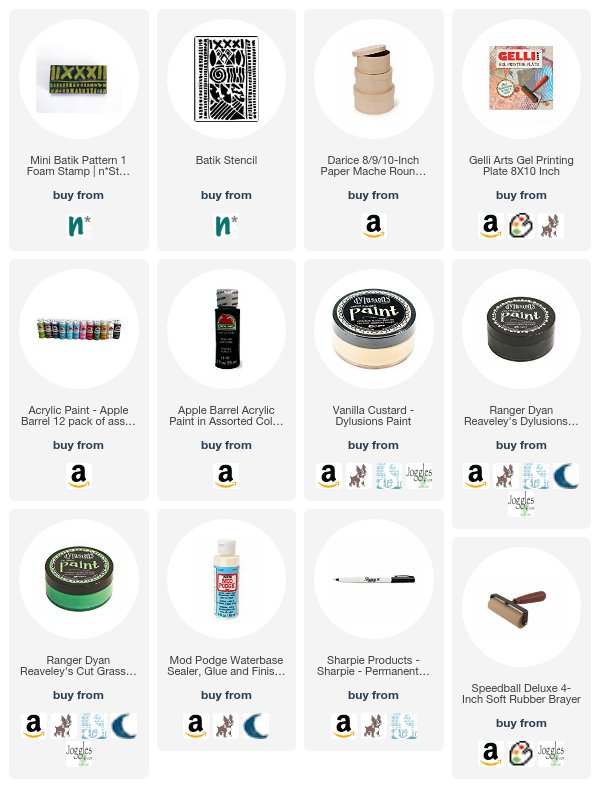
Thank you Jennifer – I love your colors! In addition to white paper, Jennifer used the following supplies (some are affiliate links):

Play along with us too: I love to see how you interpret our monthly themes. Email me how you used my stencils and stamps with the theme and email me an image – I would love to share your projects in my next “n*Spiration From Around the Globe“.