Today is a special Creative Squad day because we are welcoming the very talented Tania Ahmed to the team! Tania’s fresh style will be a great addition to our lovely little group :) You can read more about Tania in this Nice to Meet You post from last week. Today she brings us a beautiful little book that totally rocks my Santiago and What’s the Point stencils. She’s working from our new theme: Layers of Love – We love layers and all the juicy yummy goodness they bring to mixed media. This month we’re layering it up and letting viewers discover all the different strata of our artistic mark making.
Hi Everyone, this is my first post as part of the Creative Squad! Thank you to dear Nathalie and Kim for inviting me to join the team, I am so pleased, thrilled and honoured! I am so excited to be kicking off this month’s challenge: the theme is Layers of Love and there’s nothing better to demonstrate this than Stencils!
I adore stencils and love to incorporate them into my work. There are so many ways to use them, you can sponge paint or medium through them, stamp with them, use mists with, the list is endless. At the moment I am really obsessed with gel plate printing and I thought what better way to demonstrate layering than with monoprinting!
I created a variety of prints and I started by centring my Gelli Arts plate on a piece of A4 sized paper. This will help you create a register for your print so that you can line up the pattern stencils each time you pull a print.
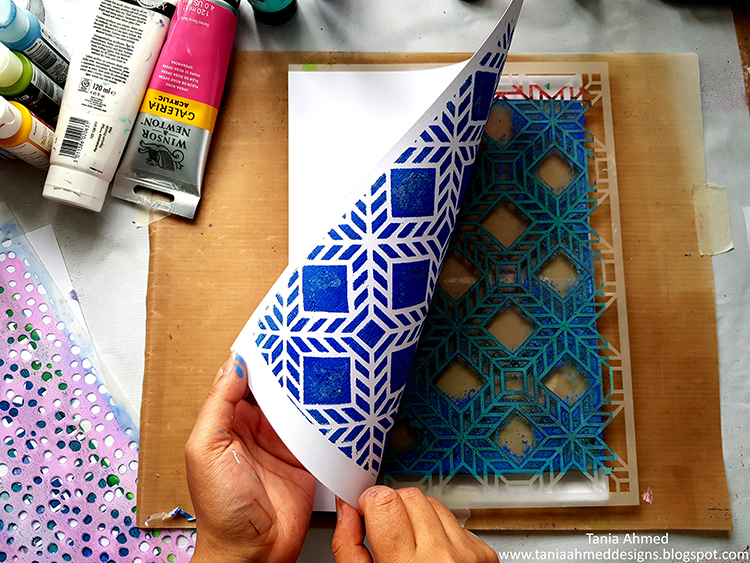
I started by spreading Permanent Light Blue and Cobalt Blue acrylic paint with a brayer on my gel printing plate. I lined the 9 x 12 Santiago Stencil with the paper under my gel plate along the bottom left corner. This will be my register every time I place either my stencil or my paper:
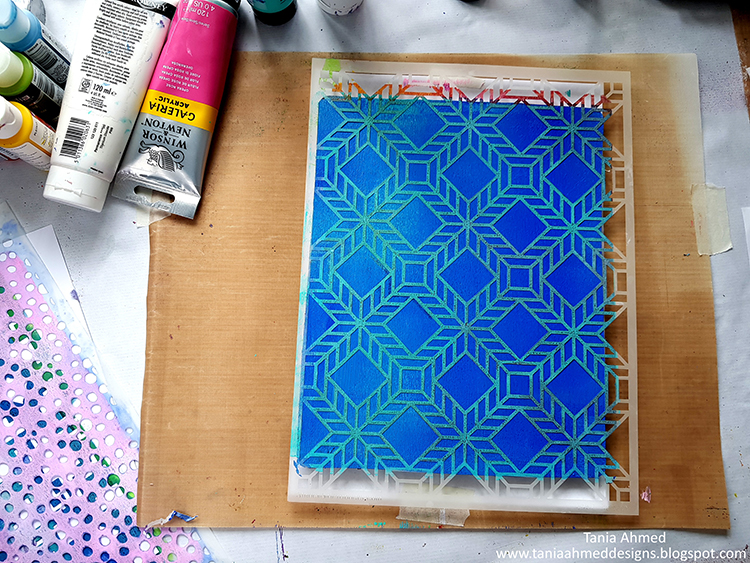
I then pulled a print:
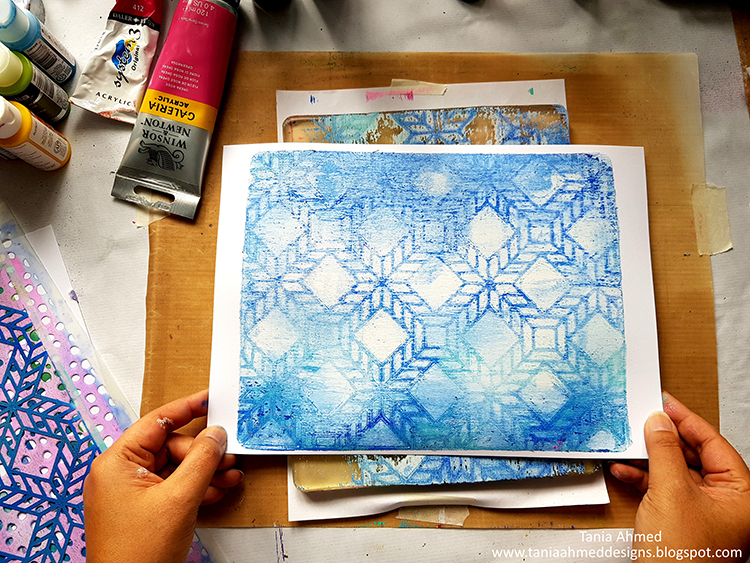
I removed my stencil let the paint dry on my gel plate. I then brayered white acrylic paint all over the plate and pulled another print with new paper. This will be my ghost print:
I cleaned my gel plate off and then applied Process Magena and Opera Rose acrylic paint with my brayer and lined up the stencil again and pulled a print on the ghost printed paper. I made sure to line up my print with the paper under the gel plate!
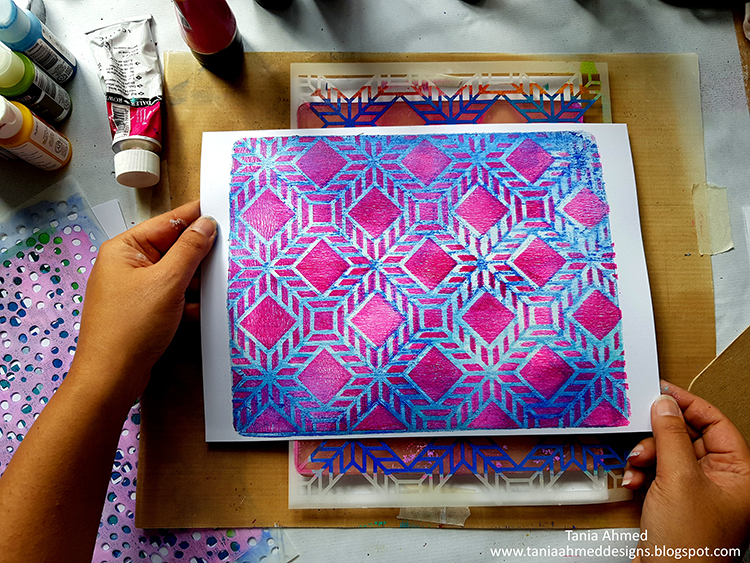
I removed the stencil and quickly pulled another print using the first gel printed paper, making sure to line it up with the paper under the plate:
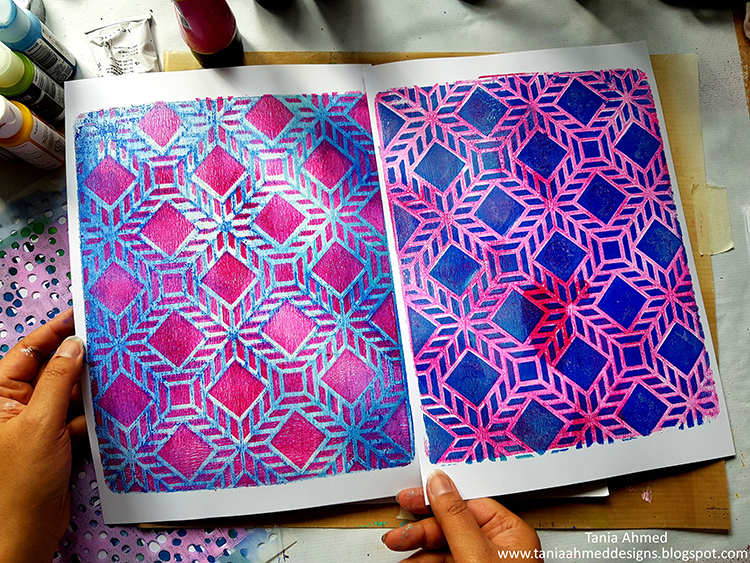
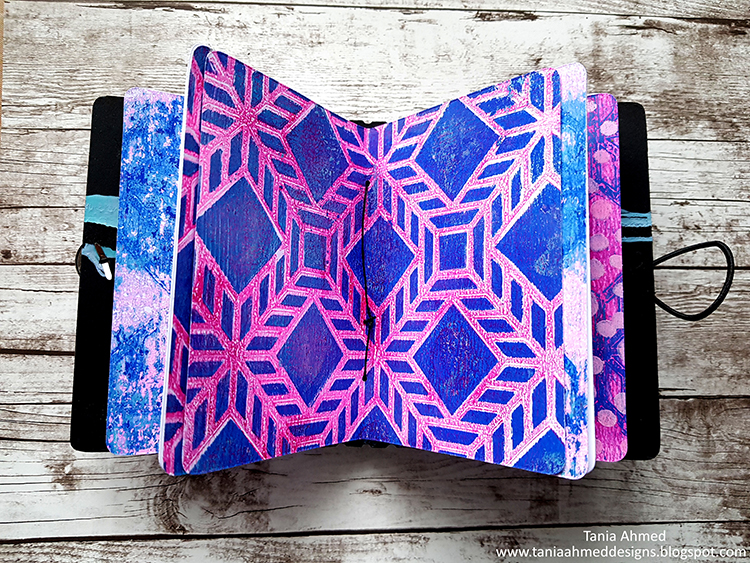
I repeat this using the same colours with other stencils until I had a few prints to choose from.
I then die cut some mount board (or you can use light chipboard sheets) using the Eileen Hull’s Passport Sizzix Die, and added my printed papers to the cover. I painted the spine with black chalk acrylic paint. I also die cut some pages for the journal using the same die. I assembled the journal, added some beads to the spine, elastic and a brad for the closure. I am really looking forward to filling this little mini album with photos and journaling!
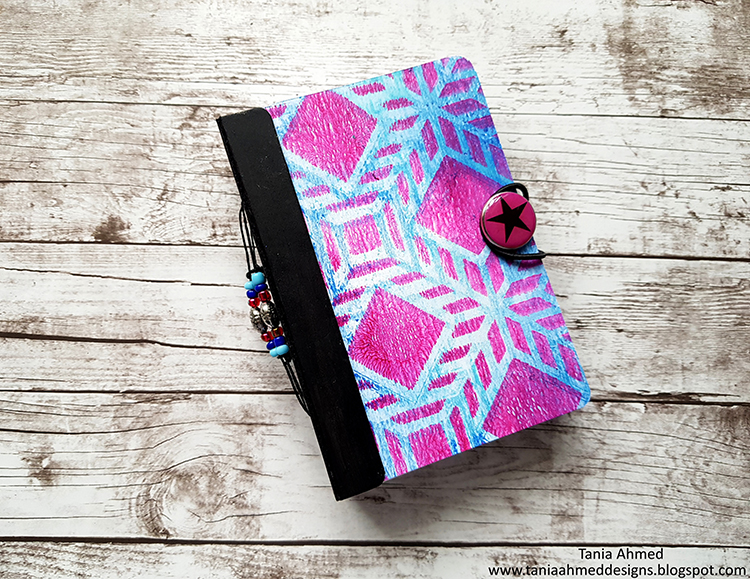
Thank you so much for stopping by, I had a blast making this project :)
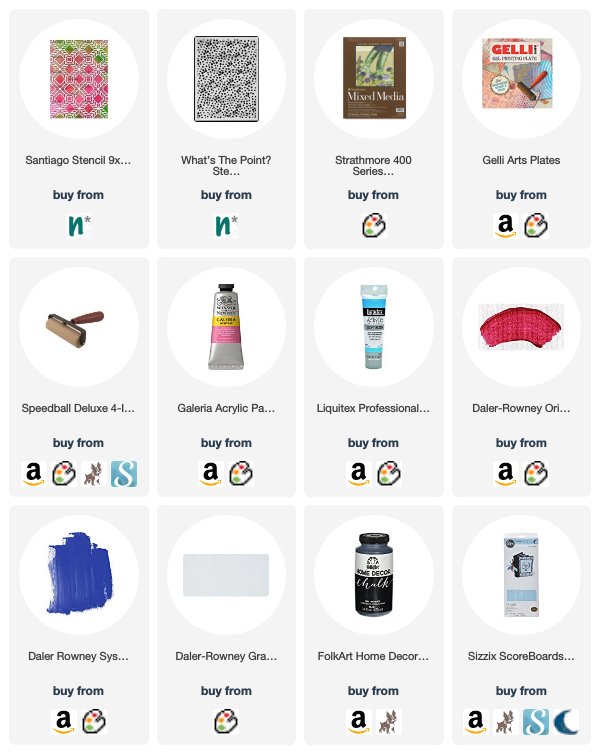
Thank YOU Tania! So glad to have you and absolutely loving this first project from you! Here are some of the supplies that Tania used:

Feel inspired? Working on something yourself that you’d like to share? I love to see how you interpret our monthly themes. Email me how you used my stencils and stamps with the theme and email me an image – I would love to share your projects in my next “n*Spiration From Around the Globe“.