
Today we have a special Creative Squad post from the super talented Judi Kauffman, an honorary member. You can learn more about Judi from our Nice to Meet You blog post featuring her creative story and artwork. This time Judi is presenting some delightful and definitely inspiring miniature decor items that will surely put a smile on your face! She worked with my Downtown and Central Ave stencils and this month’s theme: True Blue – Blue is the color of honesty and serenity. It’s calming and has even been shown to promote healing. It reminds us of the water and the sky. Let’s slow things down this month and bask in the tranquility of the color blue.
I received two stencils to use for this month’s Creative Squad theme: True Blue. Though I didn’t pick them, I was so happy when Downtown and Central Ave arrived! They are two of my favorites from Nathalie’s new release.
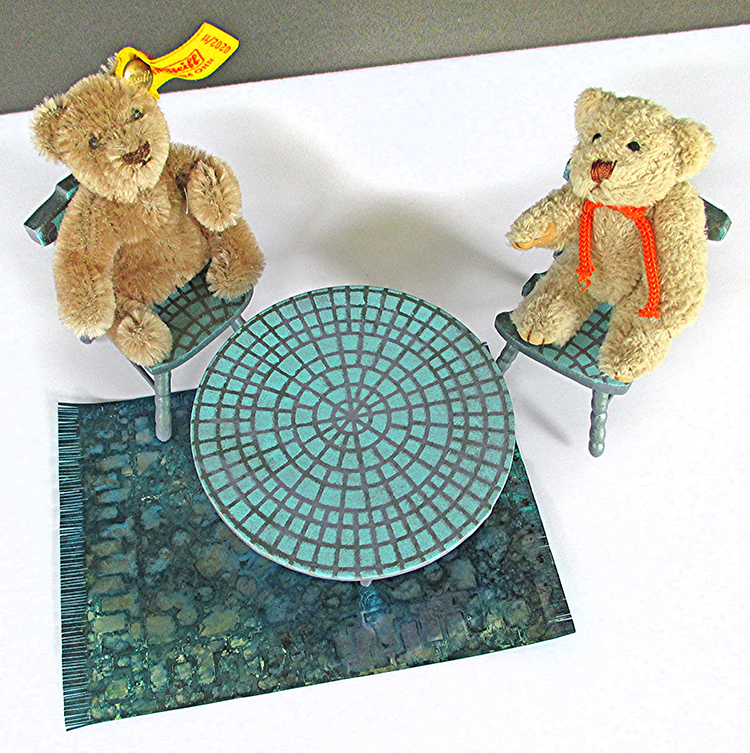
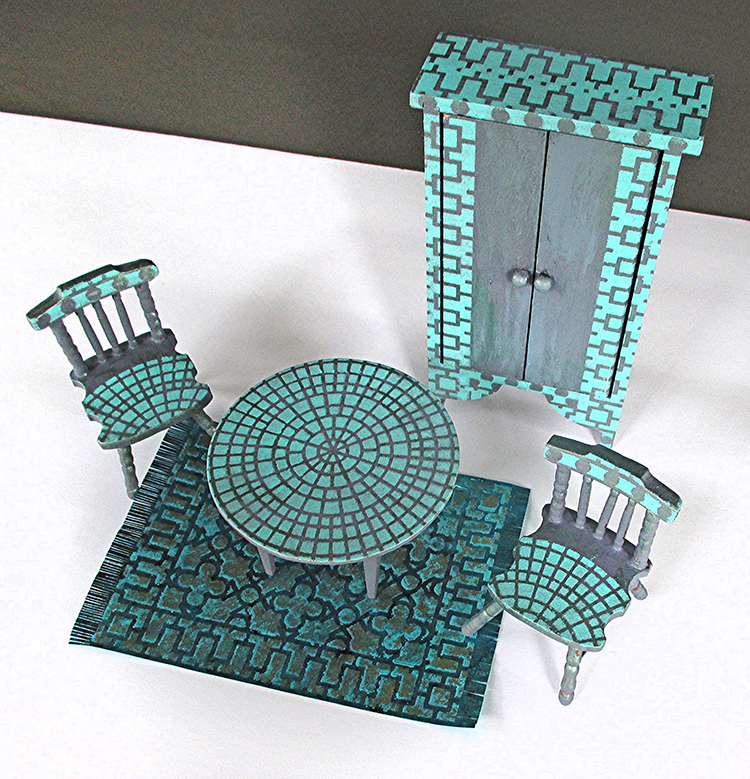
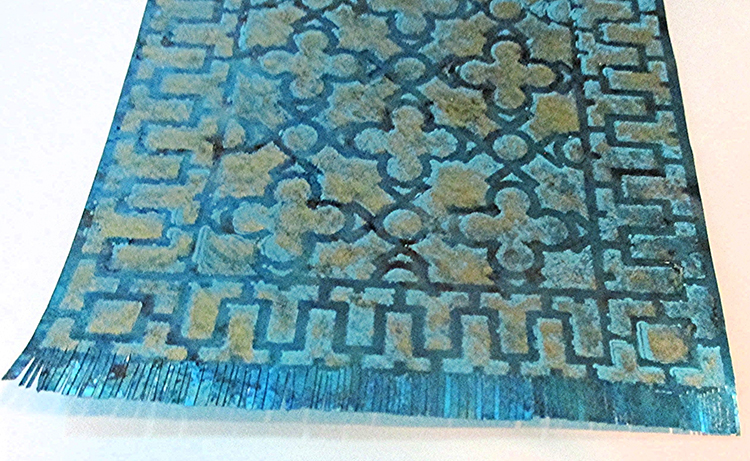
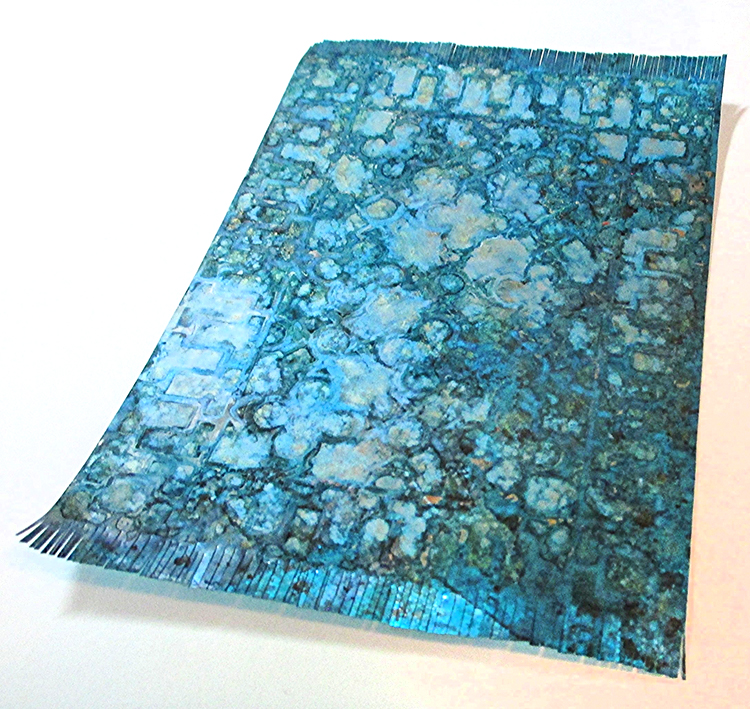
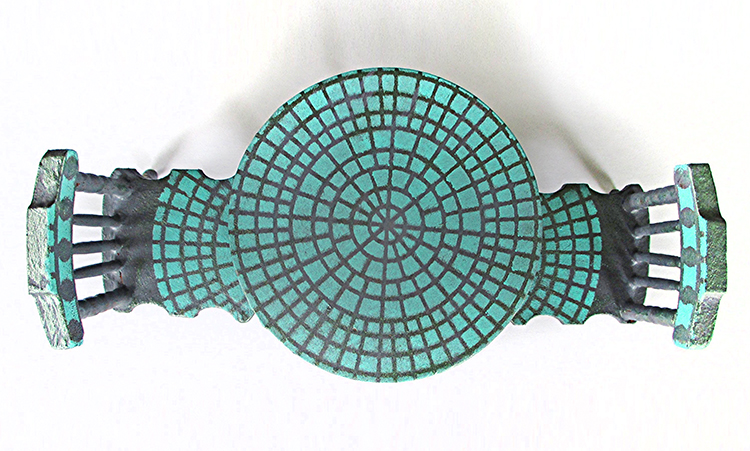
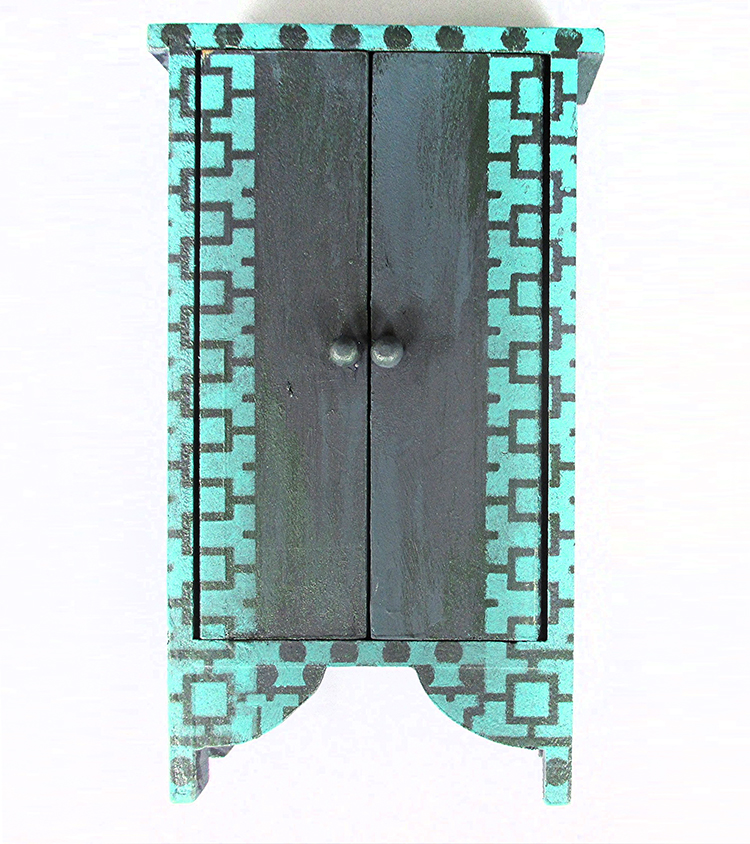
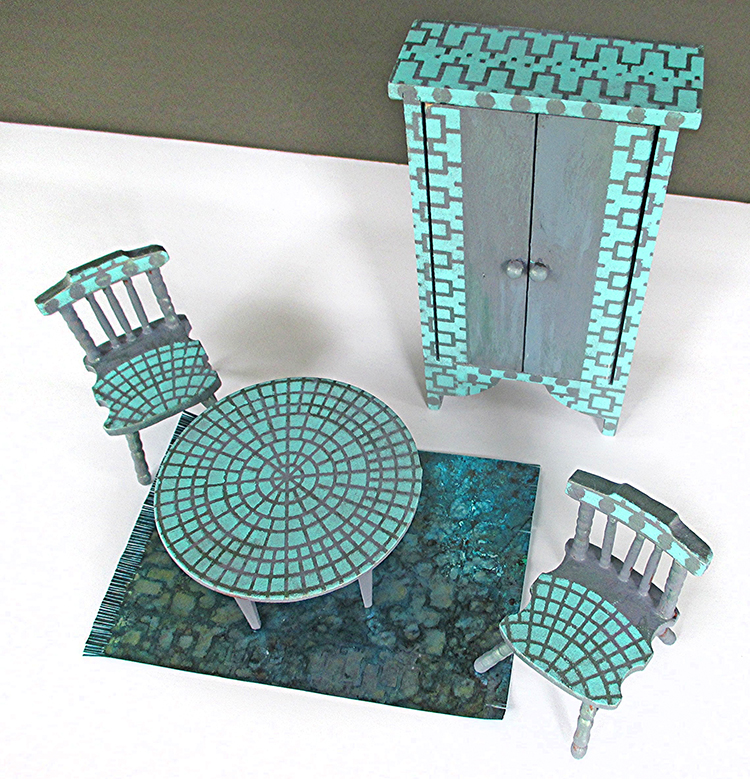
Right from the get-go Downtown looked like a rug and Central Ave evoked a mosaic table top. I’m going to stencil Downtown onto a piece of 18 count needlepoint canvas and stitch a miniature Oriental rug, but that’ll take me weeks and weeks, so meanwhile I created two stenciled Shimmer Sheetz rugs (Shimmer Sheetz is 5 x 12 so one sheet is enough for two rugs). And I stenciled some doll house furniture, sticking to a palette of blues that includes blue-gray, light teal, periwinkle, turquoise, and dark navy.
This project is fast and easy – VERY fast and easy. And it can be customized in so many ways. With the holidays fast approaching, I hope the design strategies in this tutorial will spark some fun.
The rug uses only one quarter of the 9” x 12” stencil, but it could be repeated to up-size the design. Stenciled canvas with a durable sealer would be great for a table runner or even a floor cloth.
If doll house furniture isn’t your thing, stenciled Shimmer Sheetz rugs could star on the front of a card congratulating a friend who has moved to a new home or could be sliced into strips for durable and elegant bookmarks! Instead of a 3D cabinet, stencil the front of a gate-fold card and use brads for the knobs. Instead of a table top, stencil mosaic-style chipboard Artist Trading Coins, adding collage elements. Or make flat, easy to mail holiday ornaments. (You get the idea…)
INSTRUCTIONS:
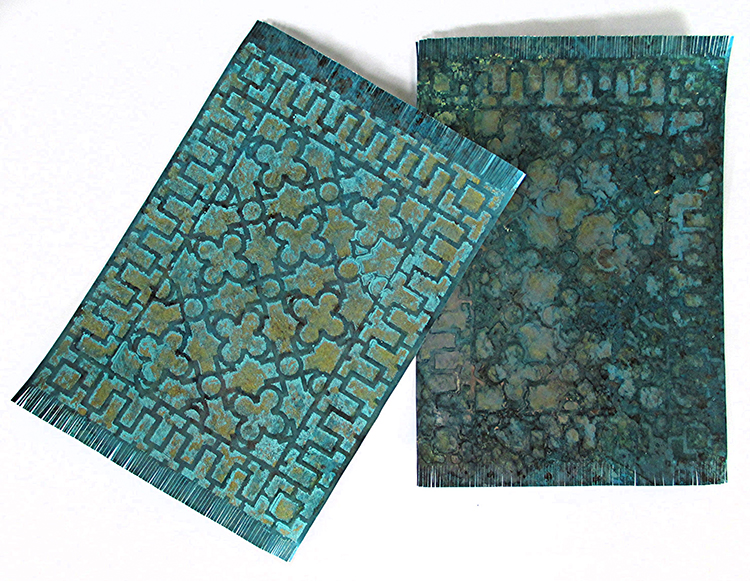
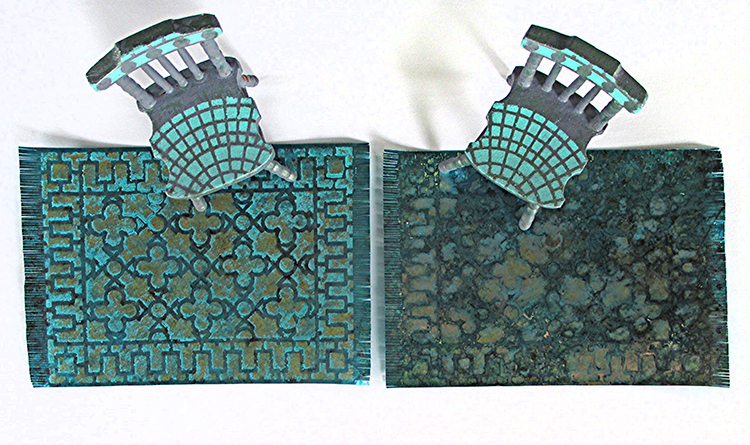
- For each rug – Alter the surface of a 5” x 6” piece of Shimmer Sheetz with alcohol inks in shades of blue. Allow to dry. Option A: Stencil with acrylic paint. Allow to dry. Stencil again, slightly offset, with alcohol inks in a light hue plus gold metallic. Option B: Use only alcohol inks for stenciling. For both rugs, use a craft knife, straight edge and cutting mat to trim the long sides, leaving a scant eighth-inch border. Trim the short ends, leaving three-eighths of an inch. Use sharp scissors to ‘fringe’ the short ends.
- For table and chairs – Base coat with a mix of French Blue Gray and Black Plum acrylic paint. Allow to dry. Using a wide, stiff almost-dry brush, add streaks of Dark Patina and French Blue Gray. Using Sea Breeze paint and a stencil brush, stencil top of table and seat on chairs with Central Ave. Stencil dot pattern from Downtown on the top of the chair back.
- Using the same paint and stencil brush, stencil the cabinet with portions of Downtown.
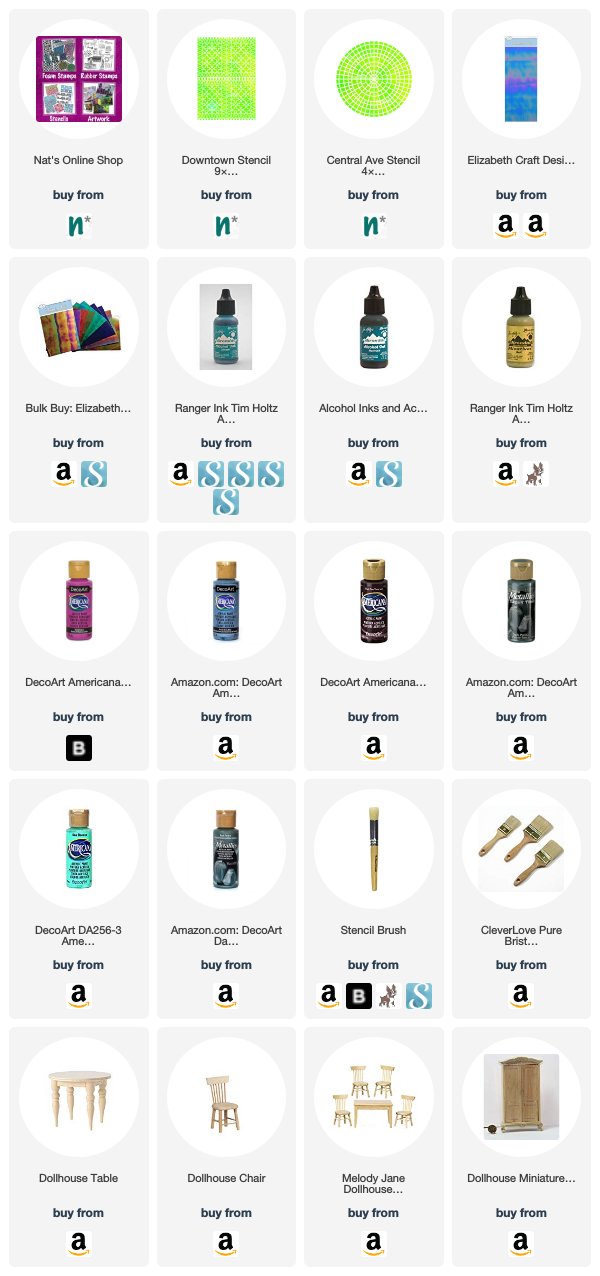
Thank you Judi! This is such a fun and unique project and it definitely brings back many happy memories from childhood, puttering around in the tiny world of the doll house :) You can find all my stencils in my Online Shop. In addition to the Dollhouse Furniture that Judi had on hand, here are some suggestions for the other supplies that Judi used:

Do you feel inspired? I’d love to see what you’re working on with my stamps and stencils. I post projects almost every month in my Inspiration From Around the Globe posts!
Comments (1)
Sue Clarke
| #
Judi, that is the cutest set ever and I wish that I knew someone who would appreciate it as a gift.
I love it and wonder if I could do that with a full size end table?
Reply