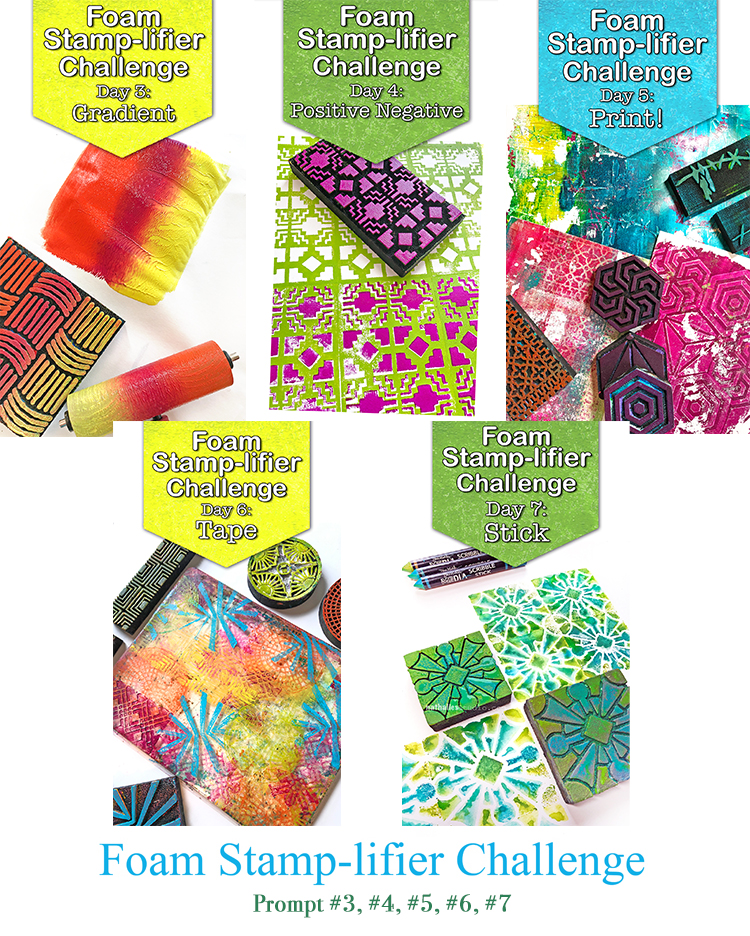
So much fun to see what everyone is doing with the Foam Stamplifier Challenge. Here are my posts for Prompt 3-7
Day 3 – Gradient
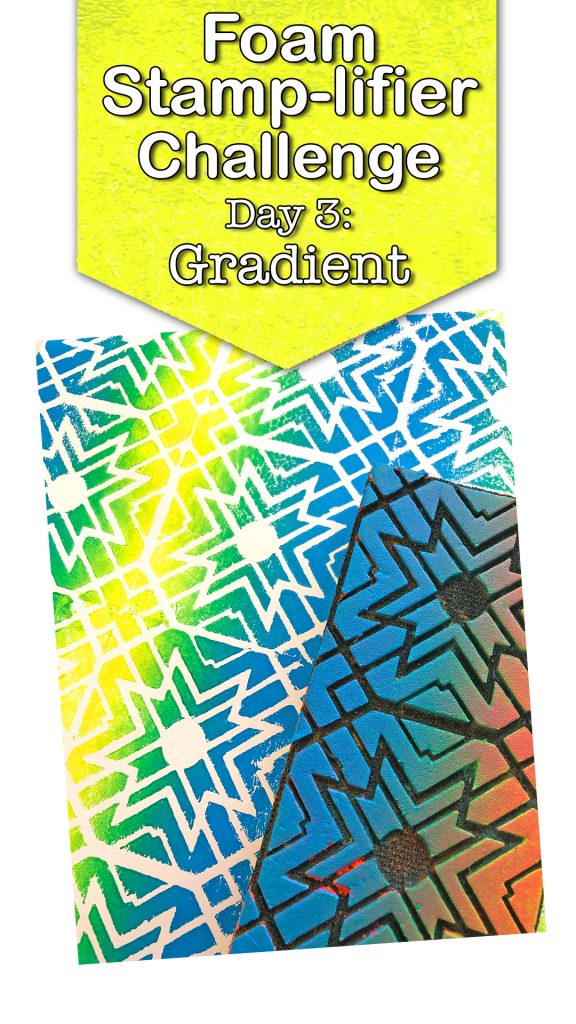
Now I hope this one makes you as happy as me- because I am a total color junkie and having the possibility to easily apply some color oomph with my stamp makes me just all smiles :)
I love to use 3 colors that either mix well or are in the same color family. Using the length of my brayer as a guideline I add three colors in stripes next to each other on the top of a palette.
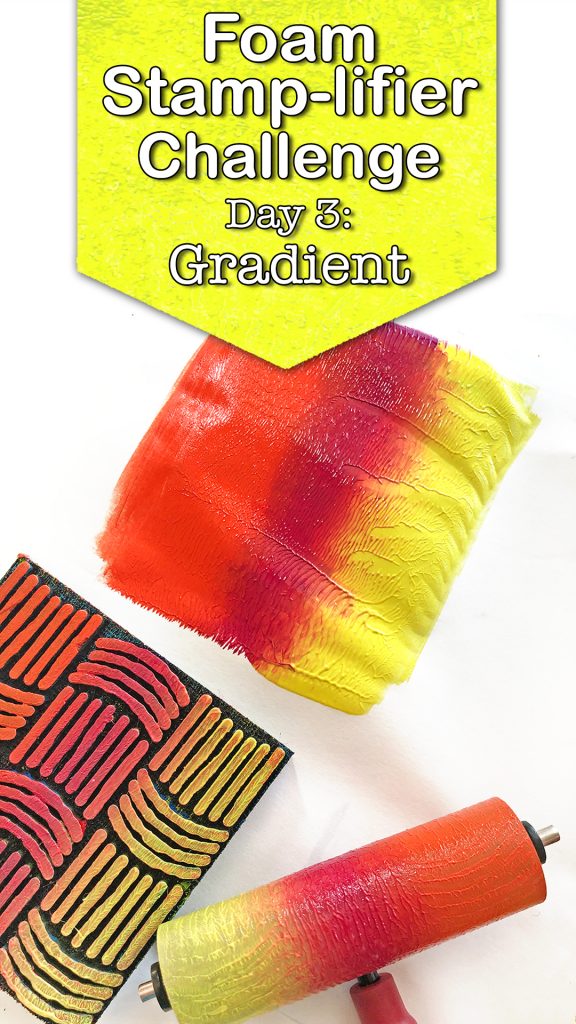
Then I roll the colors out downwards – lifting the brayer and going back up until the brayer is evenly covered. At the same time I also shift the brayer slightly to the left and right (really just a tiny bit) to blend the colors and mix them as well.
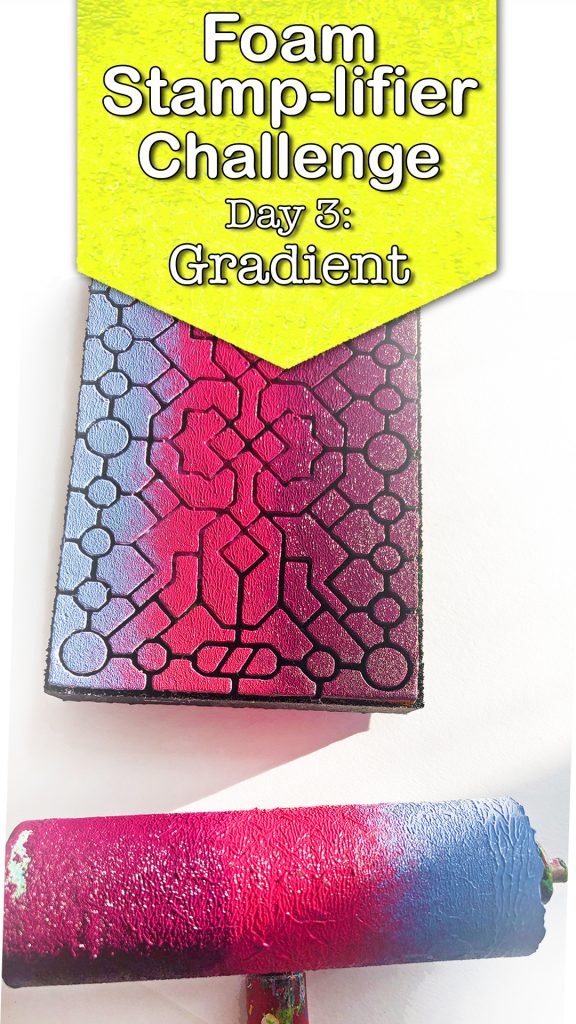
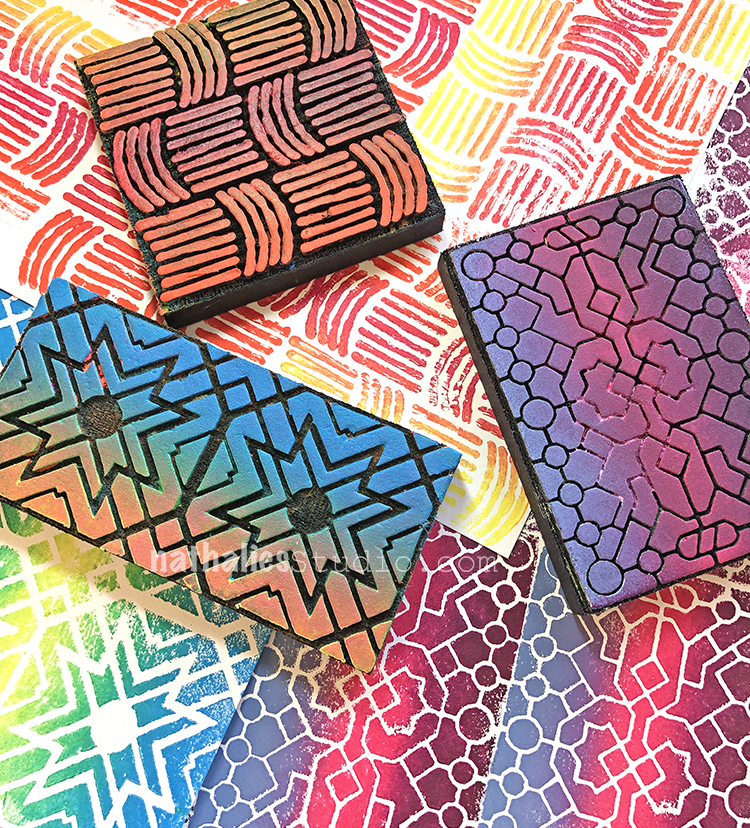
And then I just apply the paint to the stamp and make sure that with every new stamped image I apply the paint to the same area of the stamp. So much fun!
Day 4 – Positive & Negative
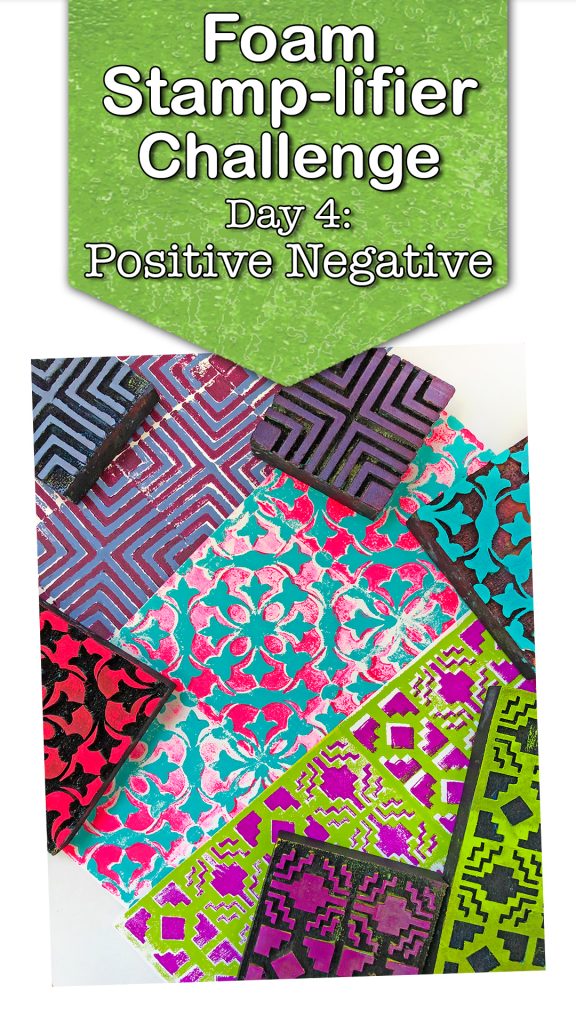
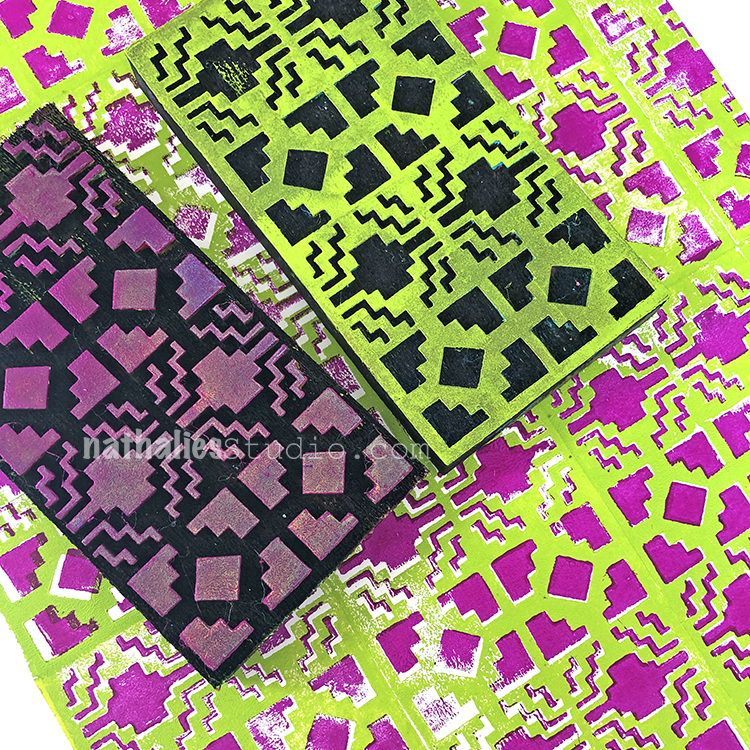
I love how having sets of positive and negative stamp designs can totally amplify your designs. You can use each stamp individually – you can use the back and front as I showed in Prompt 2 but you can also stamp them with different colors on top of each other.
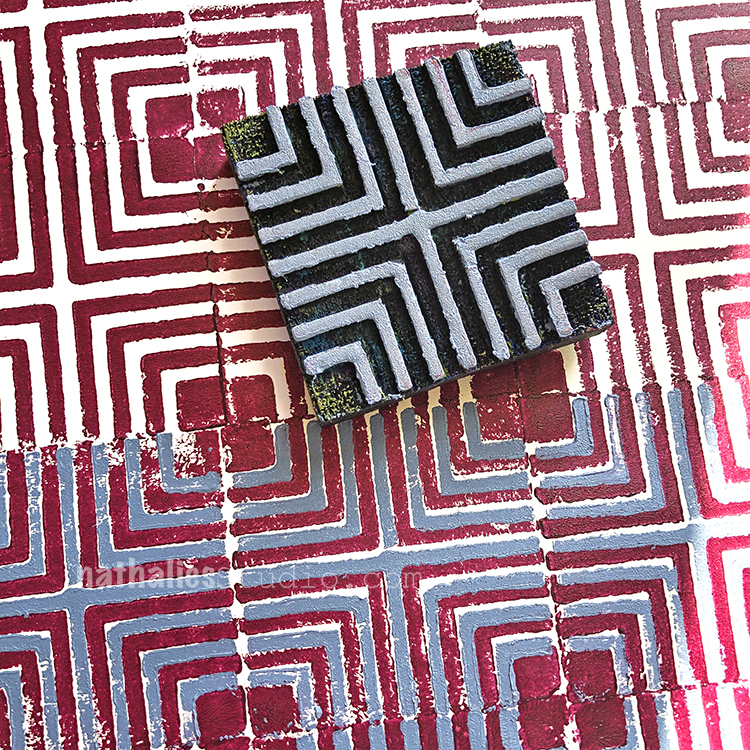
And as you can see the outline of the foam stamp from the side- it is so easy to line them up :) My favorite is when they are not perfectly lined up on top of each other – so they add a bit of dimension as well. Super fun!
Day 5 – Print!
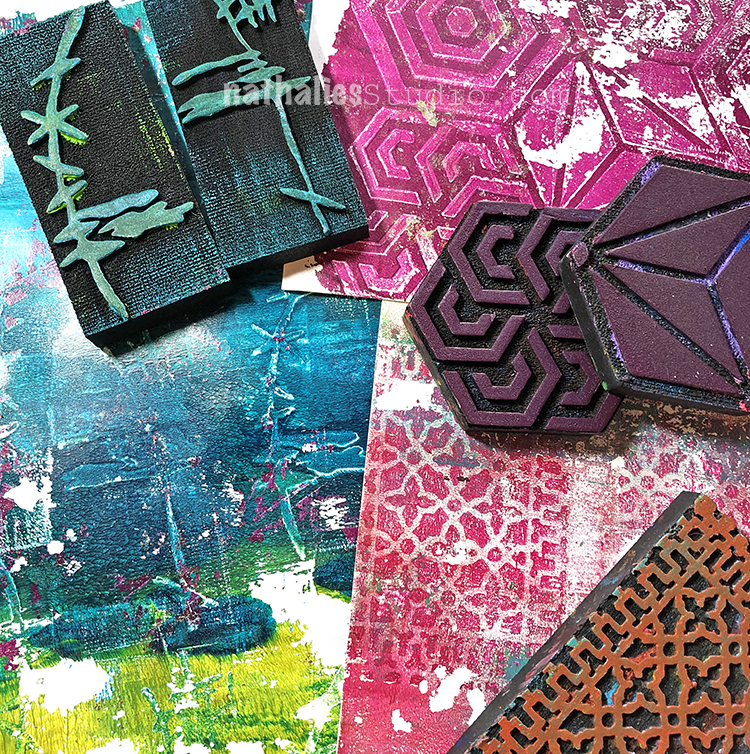
So much fun to use foam stamps for Monoprinting techniques.
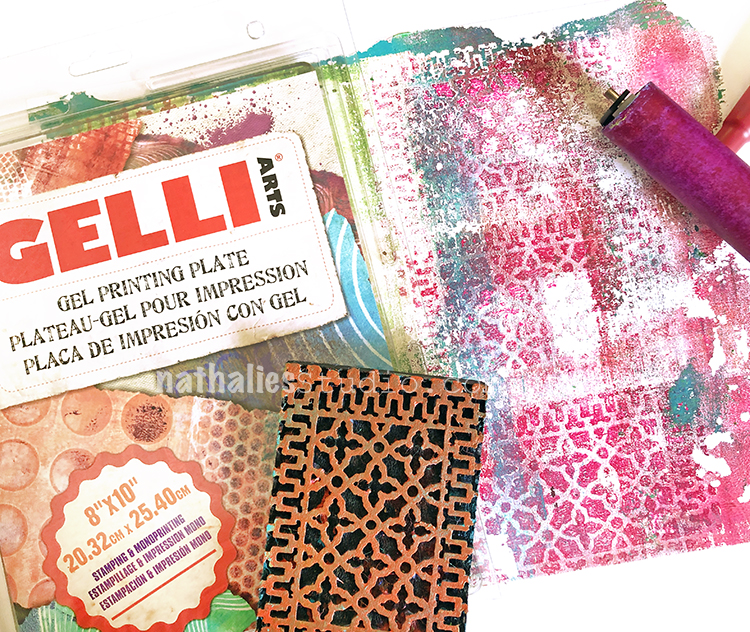
I love the ghostlike image they leave on the prints.
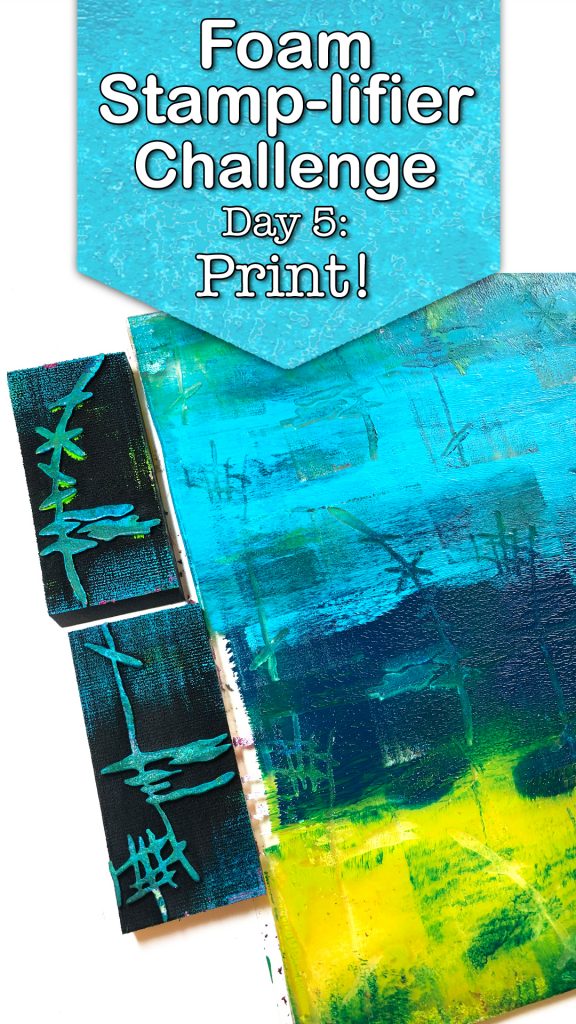
Simply roll out a thin layer of one, two or more colors onto your Gel Plate and stamp into the paint.
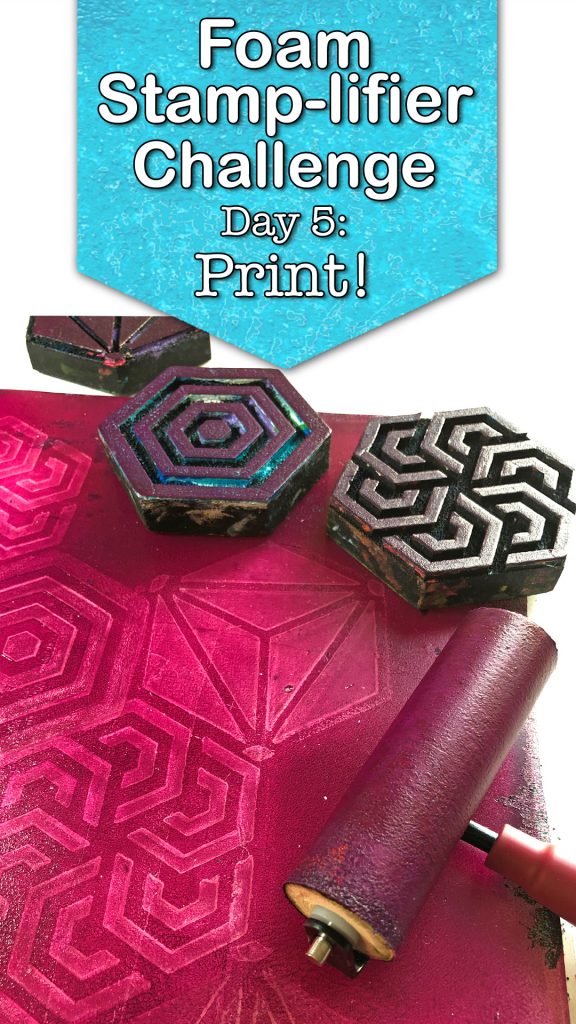
I usually print off to another sheet of paper and then go back into the paint on the plate. If you paint already dried on the plate, don’t worry, just add a layer of white paint on top and print – you will peel off the dried layer as well and get a nice grungy effect.
Day 6 – Tape
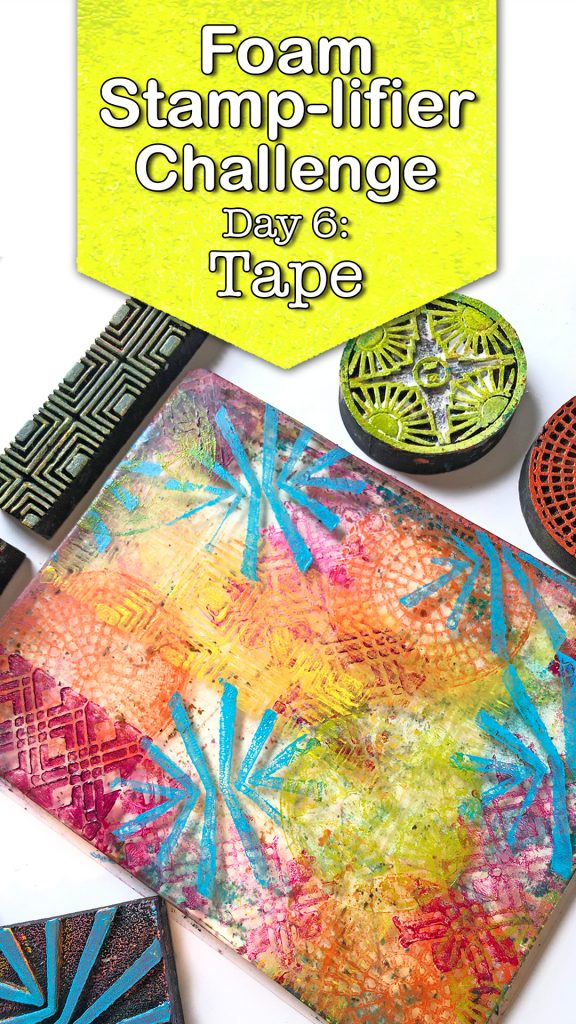
I love including my own printed tape into my artwork whether it be in my artjournals or on canvas.There are two ways I love to create tape.
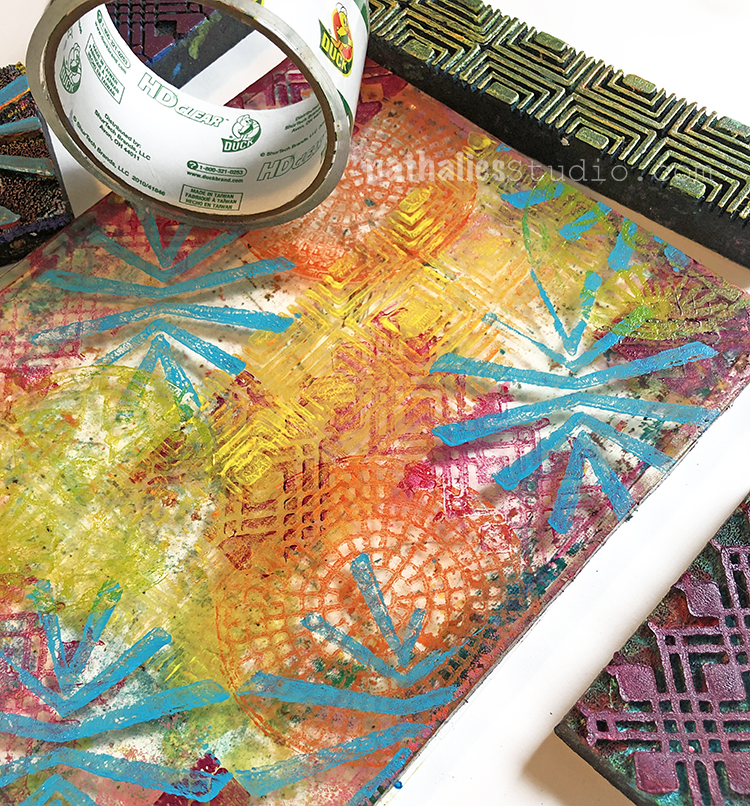
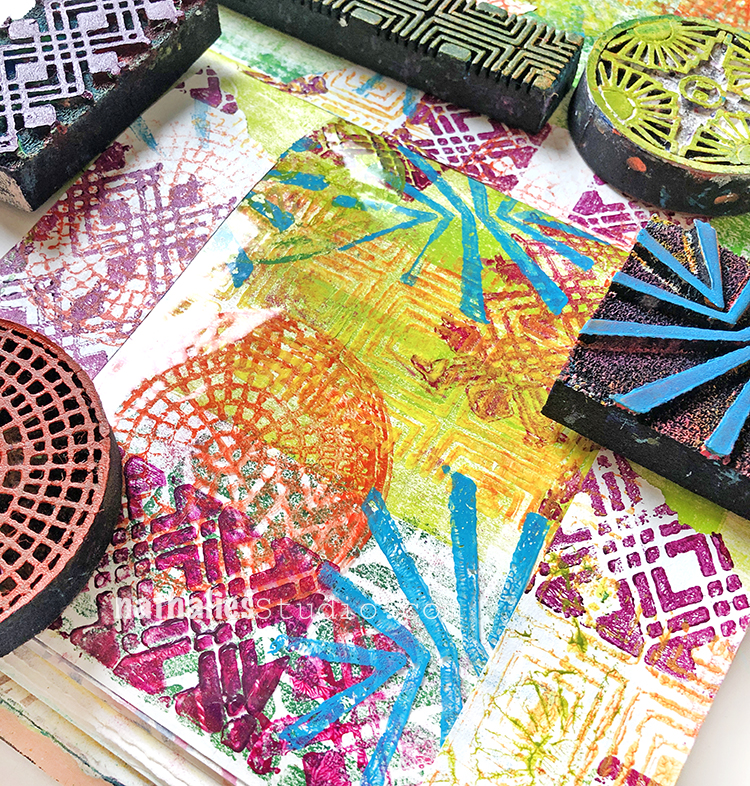
One is to print with different patterned foam stamps and colors onto my gel printing plate leaving some areas clear and letting the paint totally dry on the plate. Then I just add stripes of clear packing tape on top of the plate and burnish the tape carefully to the plate. When you lift the packing tape of you will also lift off the pattern – your plate will be clean again. Depending on how tacky it still is, either apply as is to a paper surface or by add a thin layer of Gel Medium underneath.
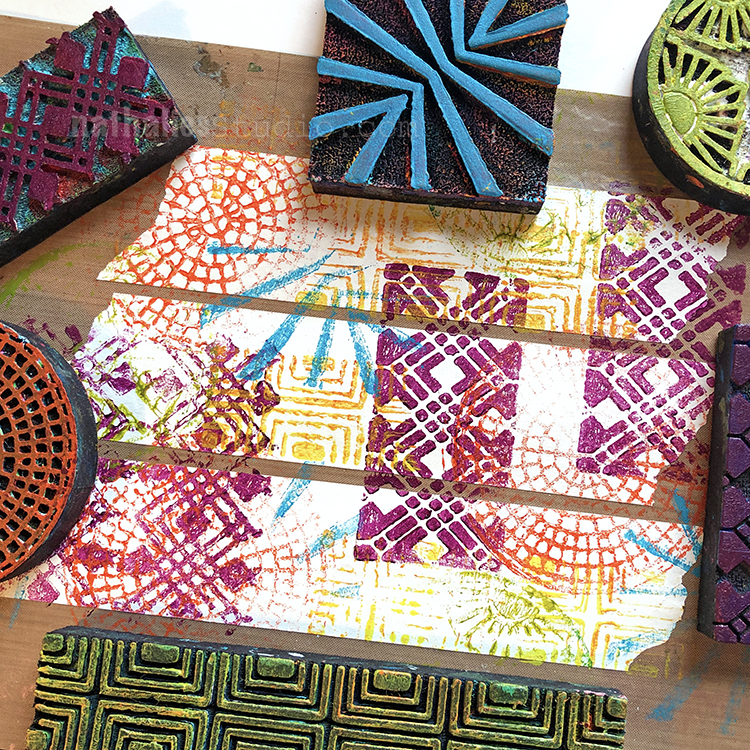
I also love to create my own masking tape by adding strips of tape to a Teflon or craft sheet. Then I stamp over the masking tape strips with different foam stamps and leave the tape strips on the sheet until I actually need them in a project. It is a great way to use up some left over paint with your foam stamps as well.
Day 7 – Stick
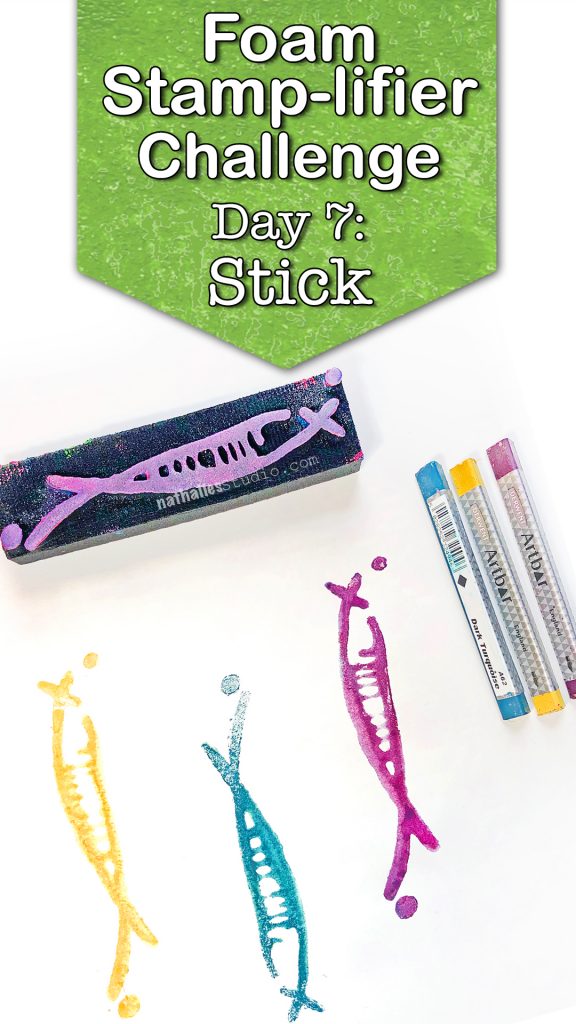
The fact that foam stamps can be used with all kinds of paint media is for me the true amplifier effect. One of my favorite paint media to use with them are all kinds of paint sticks- like Scribble Sticks, or water-soluble wax crayons.
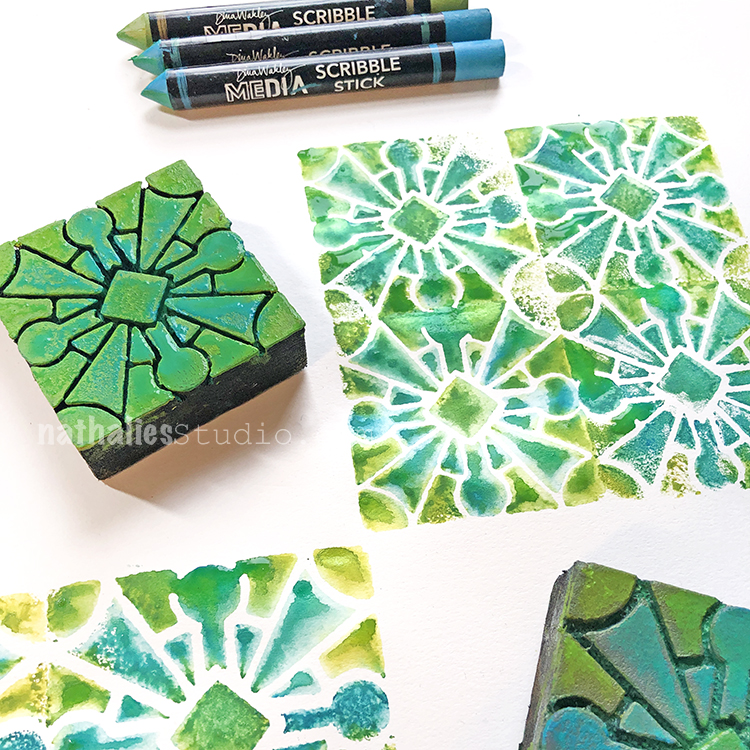
For best results spray a little bit of water onto the foam stamp so that the foam is moist. Then apply the paint sticks and rub them over the raised pattern area. I love that you have a lot of control to blend different colors or create certain color fields to different parts of the stamps. Then simply mist the foam stamp again so that the pigments get reactivated and stamp onto your surface.
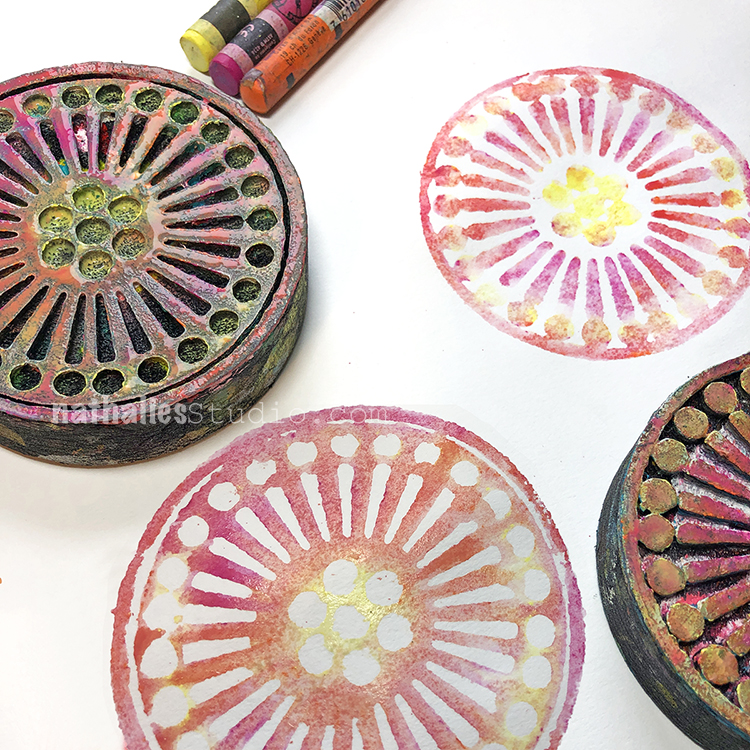
Often times the paint sticks are so highly pigmented that you can even stamp more than once. The result is a beautiful watercolor-like stamped image. To clean the stamp use a baby wipe or wet cloth and gently rub the remaining color off.
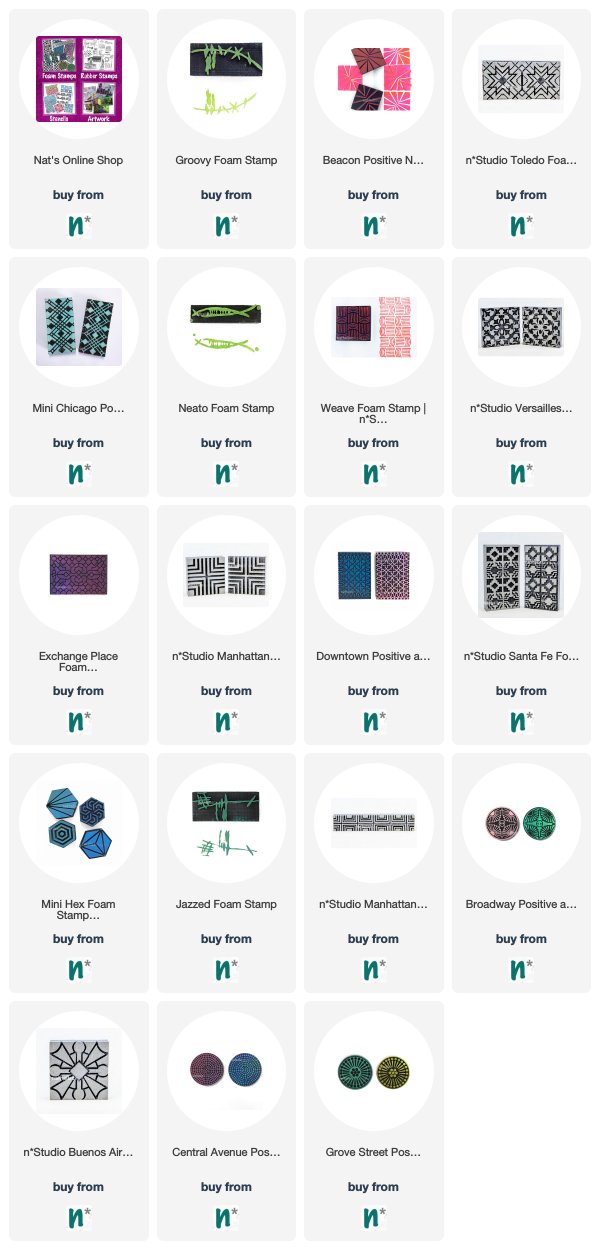
Hope you had fun with those prompts- more are coming daily this month. Here are all the foam stamps I used for these prompts:
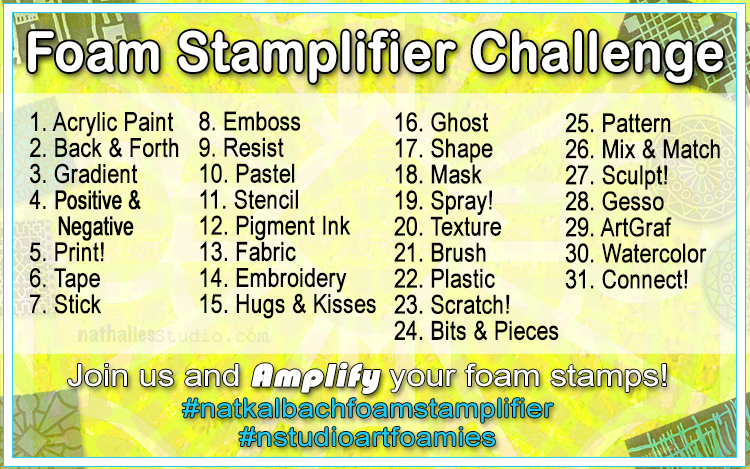
In case you missed the prompt list here -you go:
