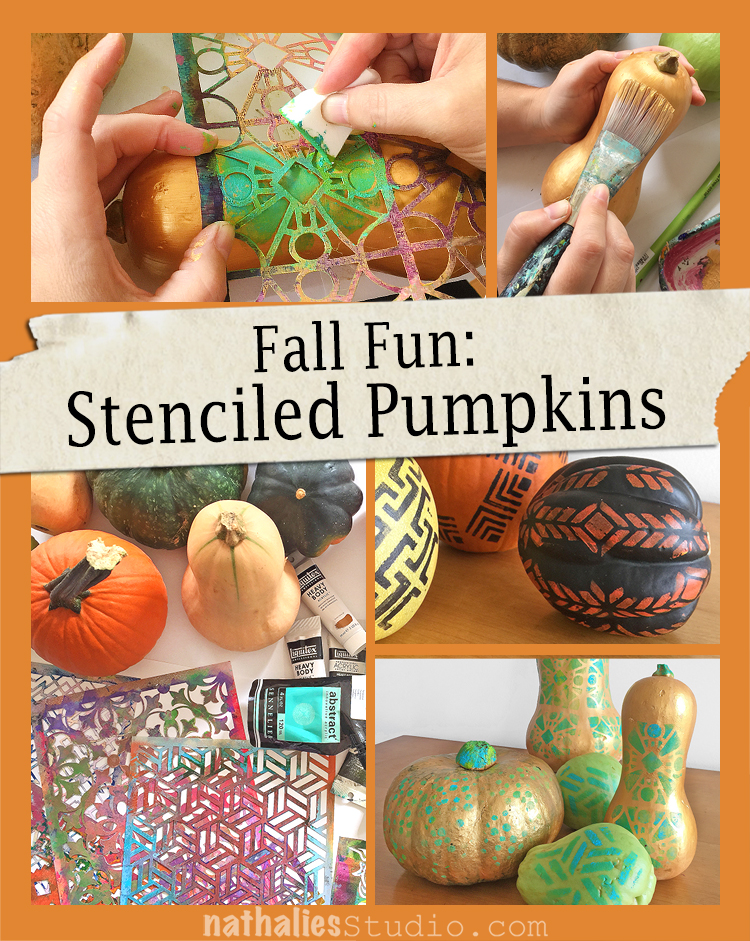
Kim and I had our playdate for October and of course…Pumpkins had to be the stars. I am so amazed by all the different shapes and sorts of pumpkins- I went a bit overboard and bought everything I could find- LOL. I think Kim laughed secretly about that.
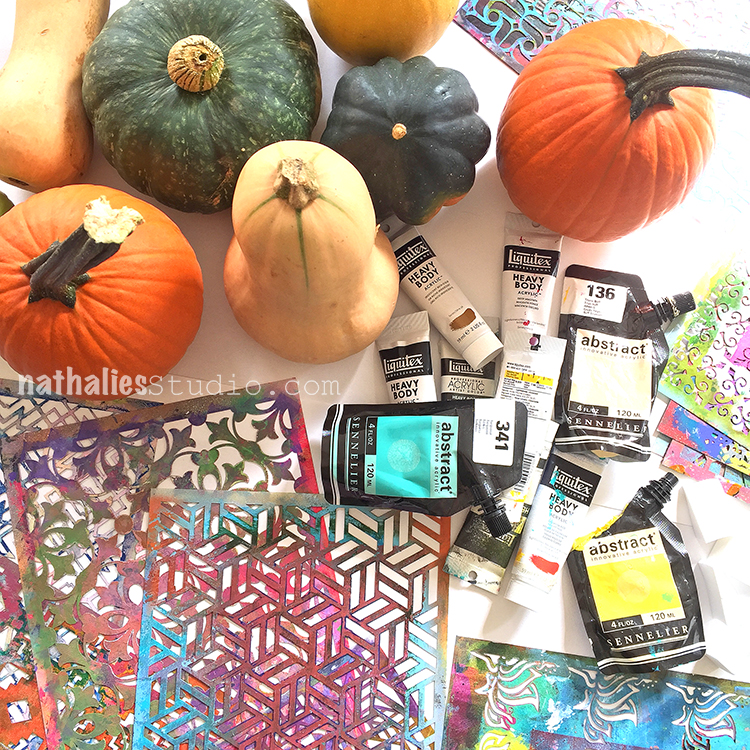
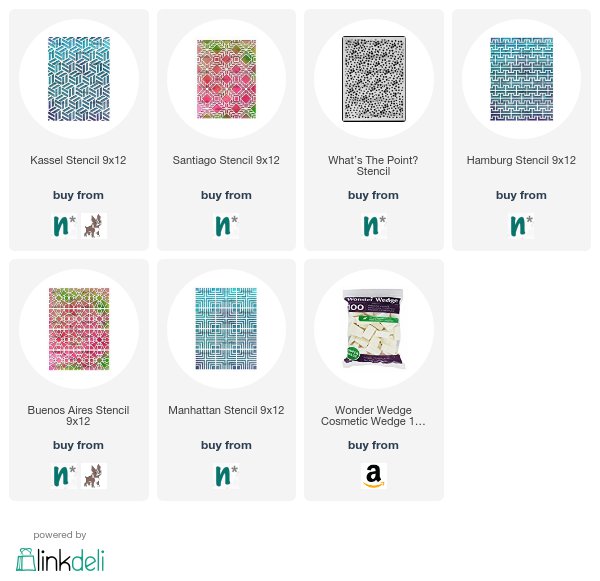
We gathered some of my stamps, StencilGirl stencils, brushes and cosmetic sponges and off we went.

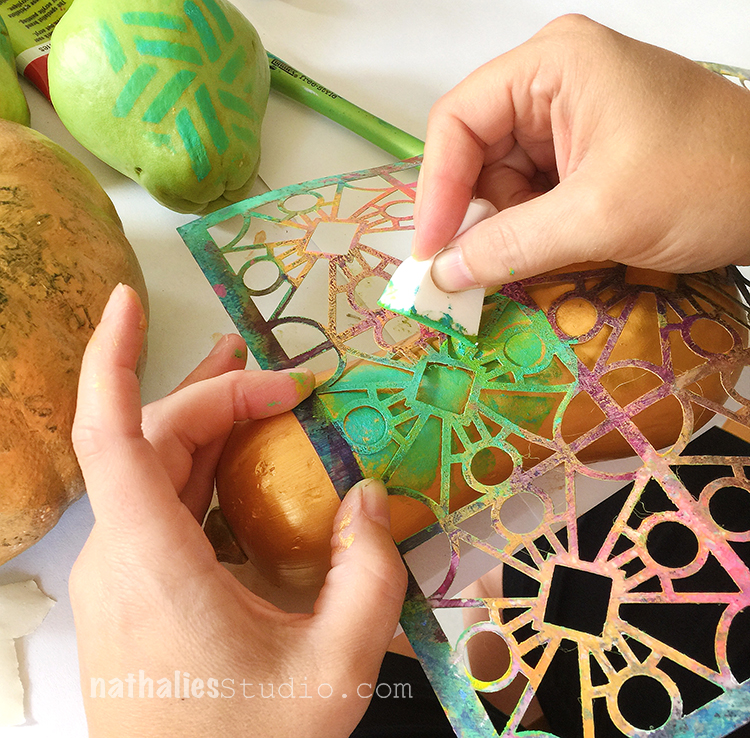
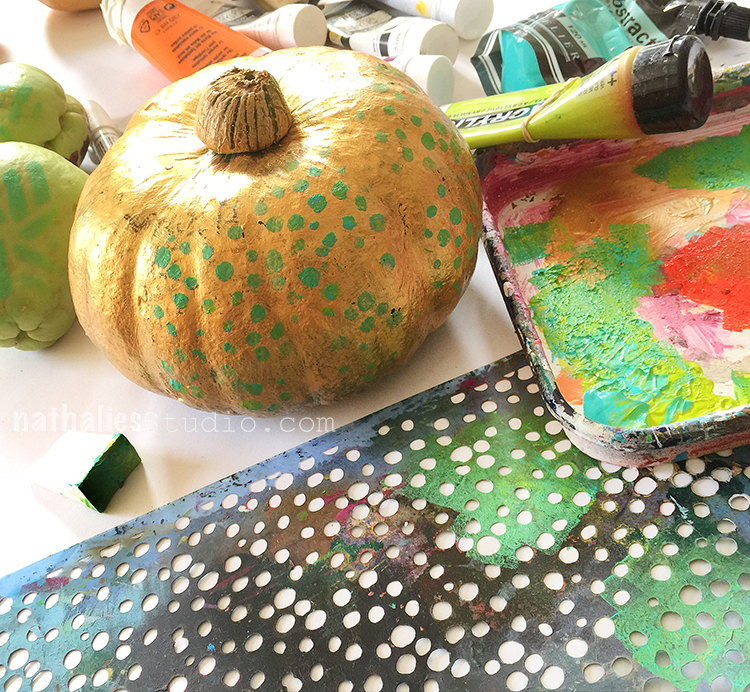
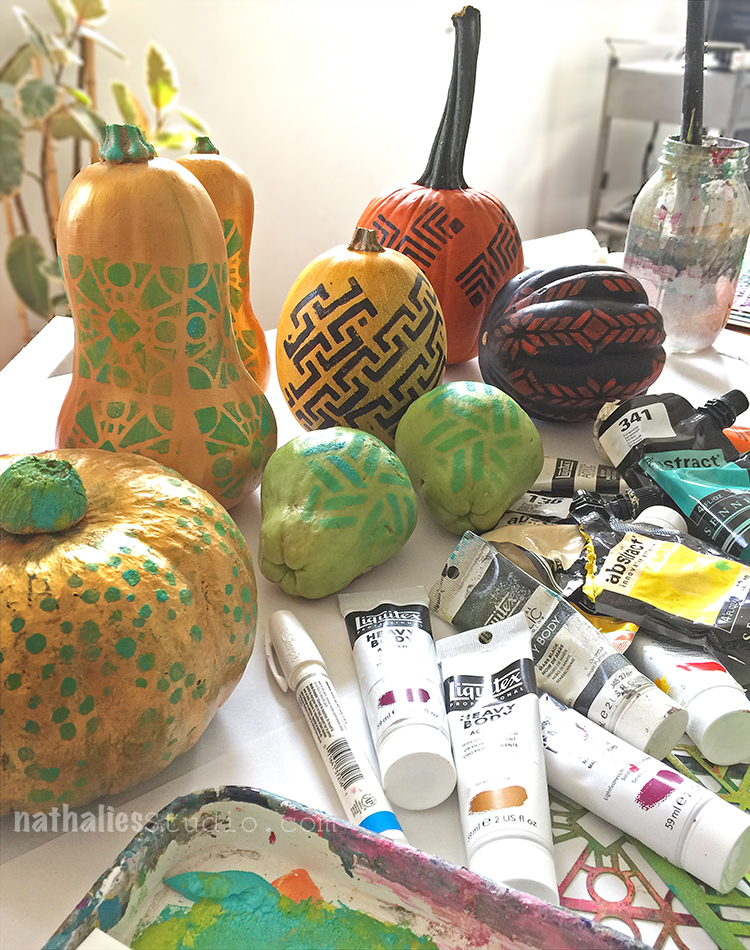
I decided I wanted to go with a gold and lime green theme and painted some of the pumpkins with gold.
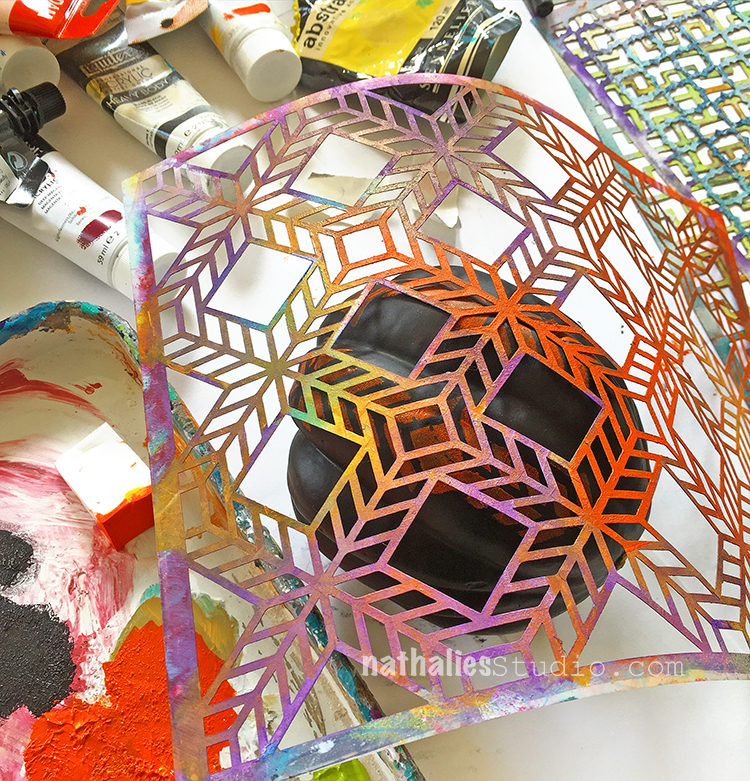
Kim decided to go with a black and orange theme and she painted the acorn squash black before stenciling with a cosmetic sponge using orange paint on top. We held the stencil mostly in place by hand, since the pumpkins have a lot of uneven ridges.
We used a mixture of heavy body and soft body paints- for now real reason but using what we have.
on the squash above the paint didn’t stick very well- and it crackled a bit – a coat of gesso underneath would have prevented this …but at the end of the day…hey- let’s not go super crazy and I came to like the grungy look :)
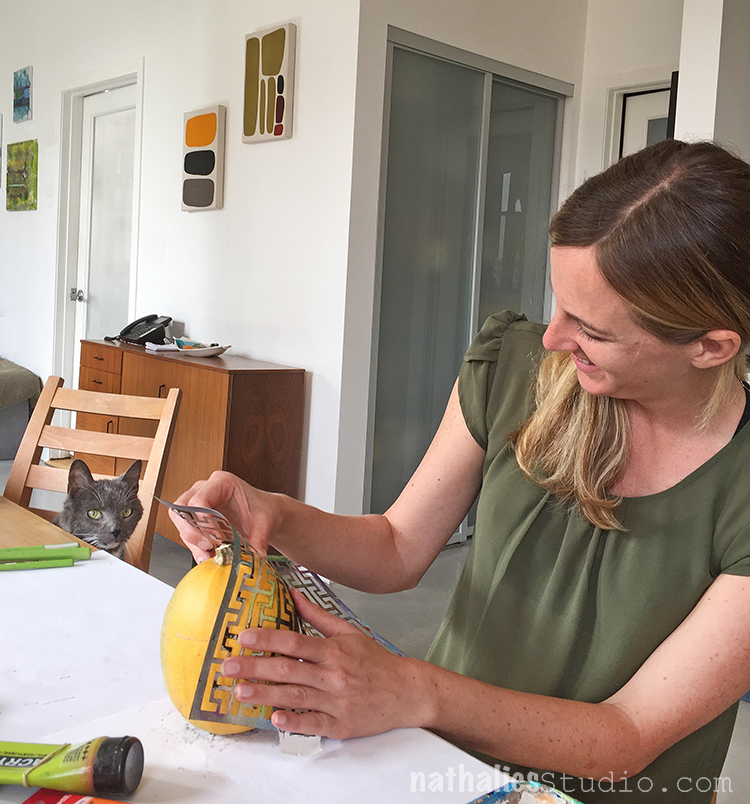
We also had fantastic supervision by Niles – he just wanted to make sure we are doing it all right …I guess also if there was really no treat falling down the table …;)
That was an easy and fast and fun project and one that you can make as elaborate as you want- or as easy as we did.
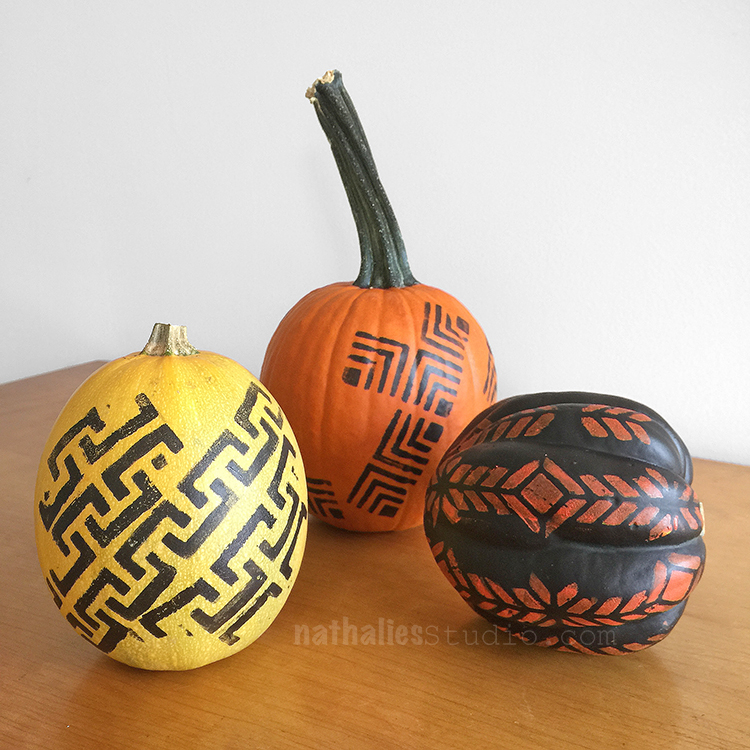
Here are Kim’s geometric patterned pumpkins
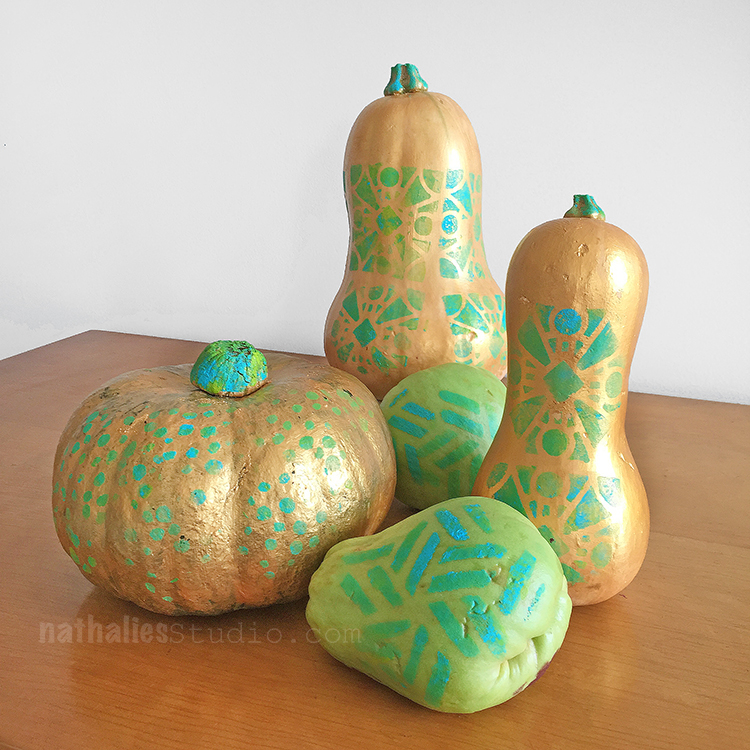
and here is my gold and lime/teal green bunch.
Grab your stencils – decorate a pumpkin and get into the fall mood – I am ready for some pumpkin pie now…and I don’t even like pumpkin that much ;)

Hope you have a wonderful start into the fall so far!
Comments (2)
Sue Clarke
| #
Nice pumpkins and so wonderful of Niles to supervise.
Reply
Carole Morrison
| #
Well, aren’t these just the cutest things ever!!! A refreshing change from the usual “Jack-O-Lanterns”!!! Thanks, gals!! Super project!!!
Carole from Chicago
Reply