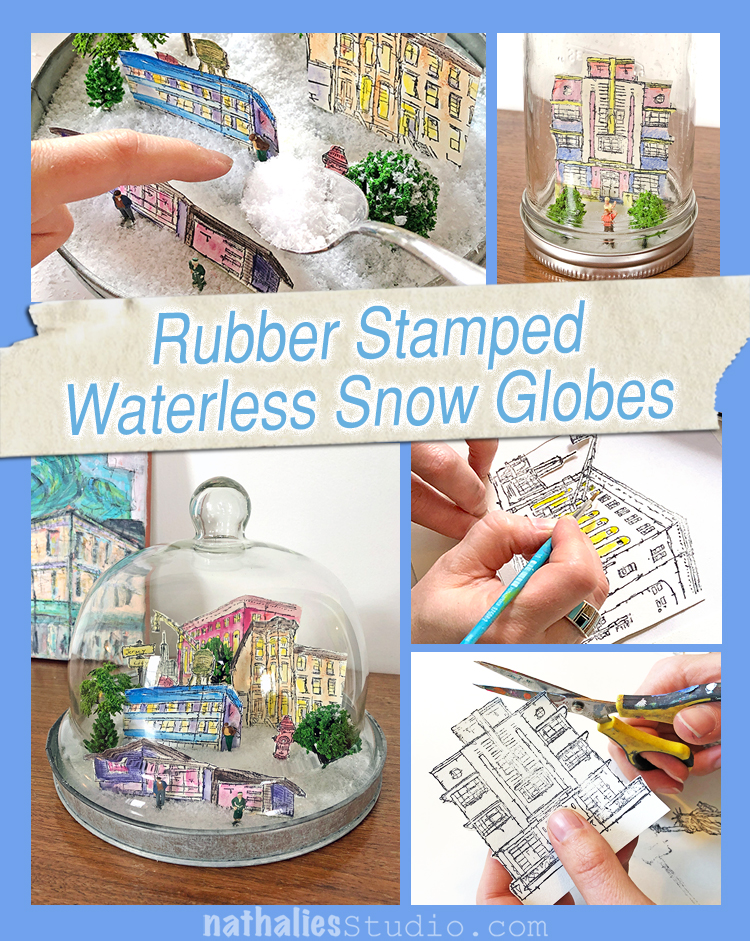
This is my favorite Play Date with Kim yet!!! Seriously, I geeked out on this and had too much fun making a little Winter Wonderland under glass. We knew we wanted to do snow globes and waterless is the way to go – easy peasy and sooooooo cute! Here we go – waterless snow globes filled with little rubber stamped scenes to warm your heart this holiday season and into the winter beyond.
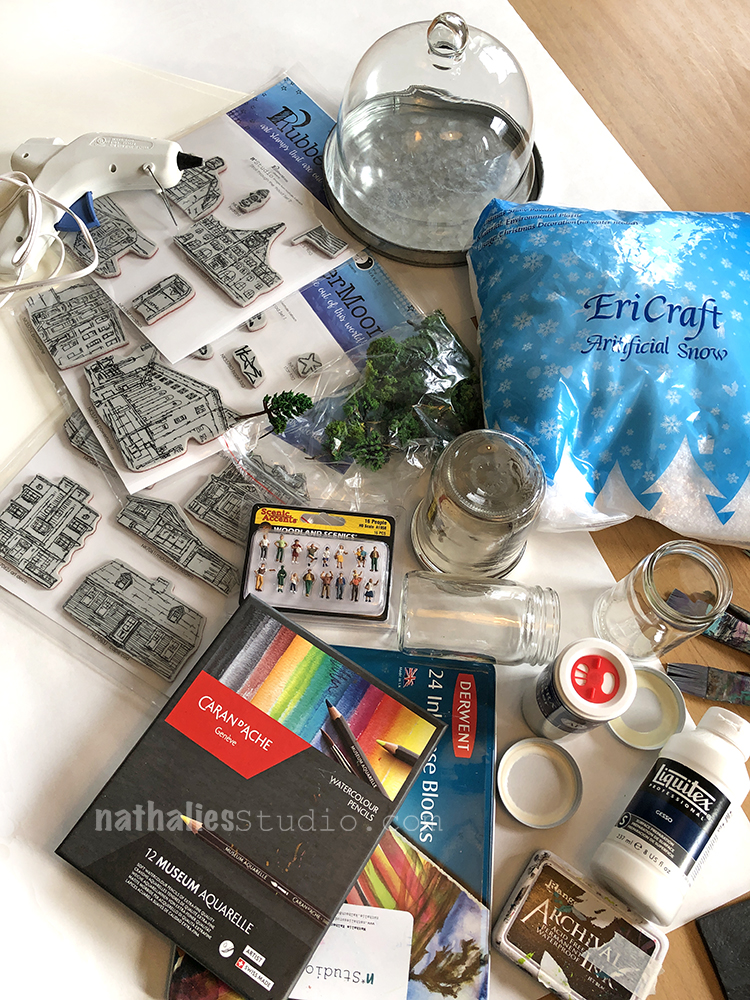
You’ll need a jar or cool glass cheese dome like I found. The size of the jar and lid will determine what rubber stamps you can use. We went right for my Stroll Around the Block house stamps, and the little street elements and buildings in my My Home is my Castle, Stroll Through the Hood 1 and 2 sets. Then we got some fake snow, some tiny trees and tiny people, heavy card stock, archival ink, colored pencils and ink blocks to color our stamped images, scotch tape, a hot glue gun and scissors. How many accessories you want to add is up to you – there are so many choices when it comes to miniature scenery – plants, animals, different people, etc.
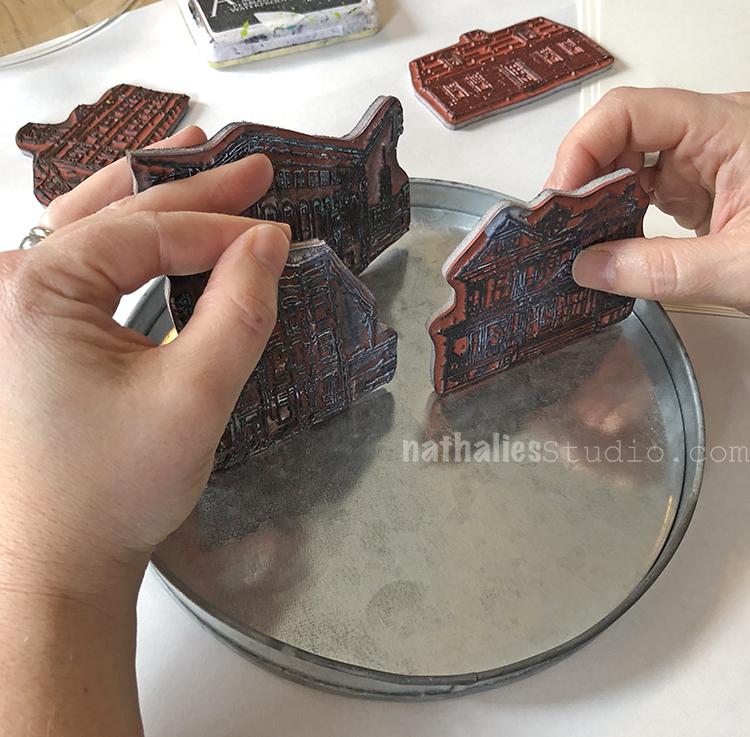
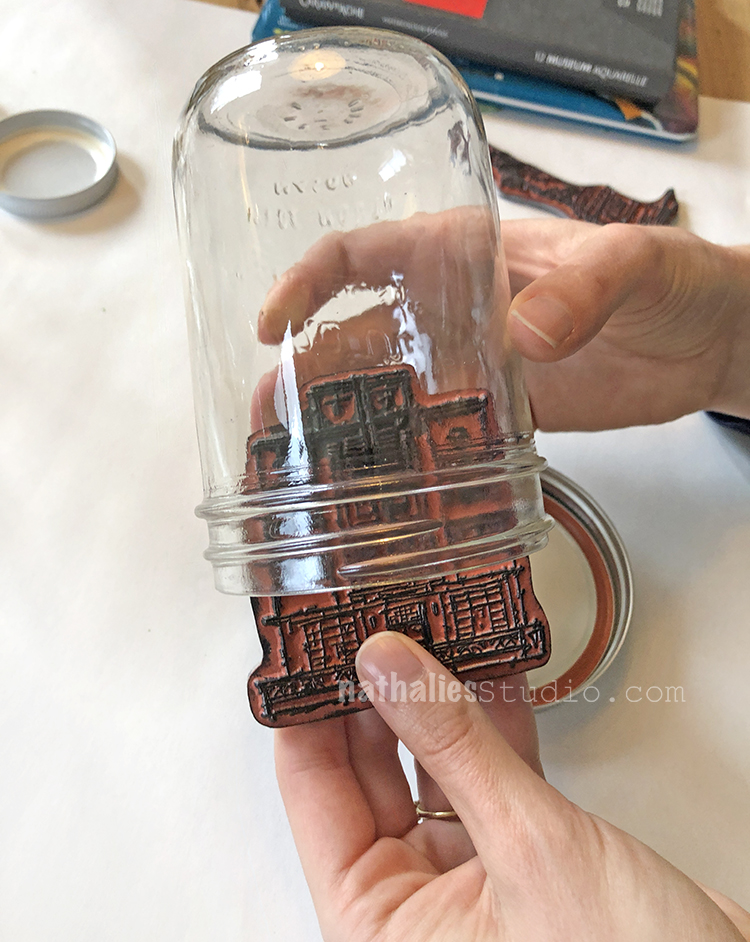
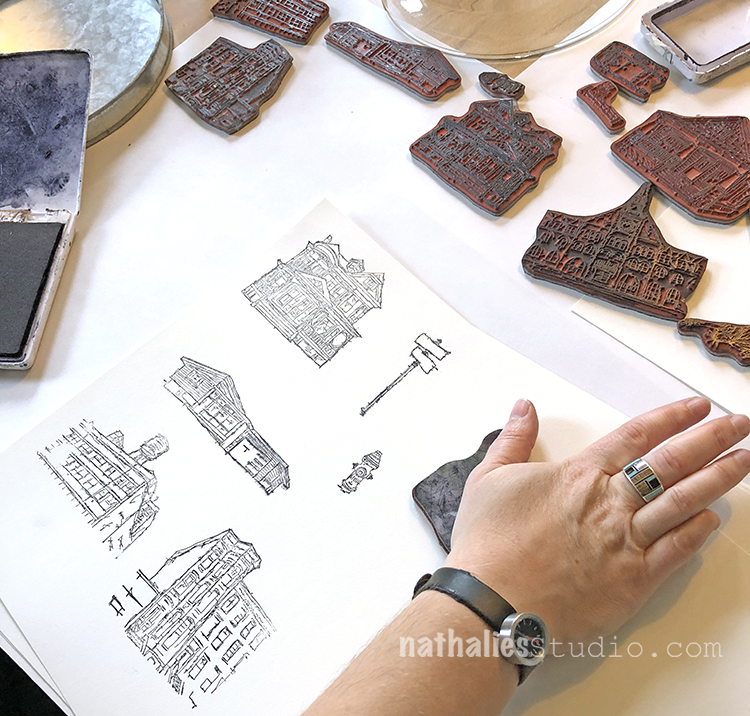
My cheese dome was wide enough to have a little city scene in it, so I played with various arrangements to see what fit. Here I am testing out my Powerhouse, Queen Anne, and Brownstone stamps. You can use the stamps to see what will actually fit in your jars.
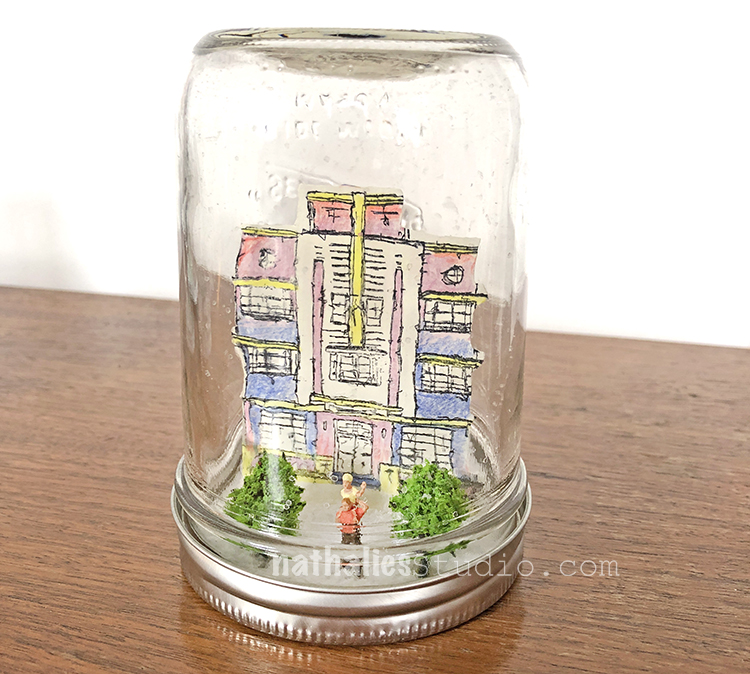
Kim had a canning jar that she found the Art Deco image would fit right into.
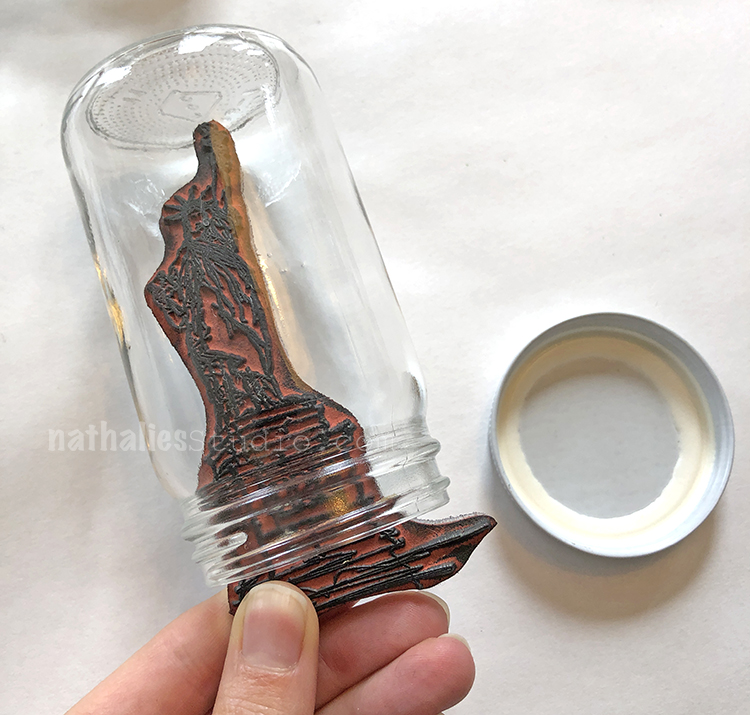
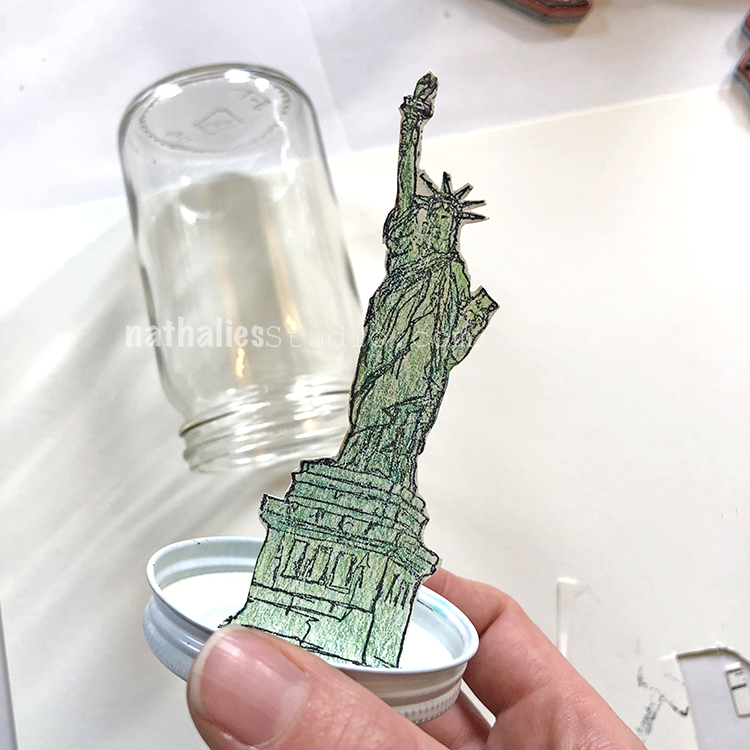
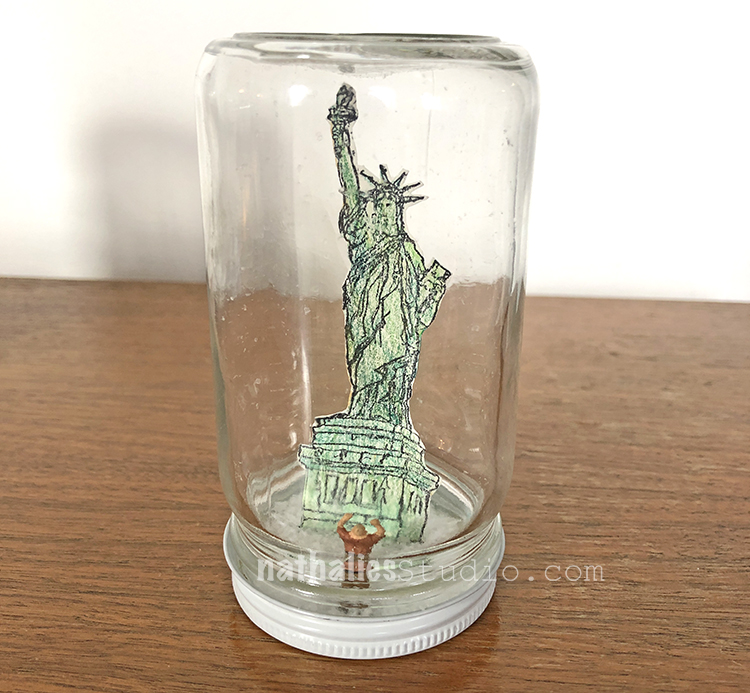
And another smaller jelly jar for a Lady Liberty snow scene :)
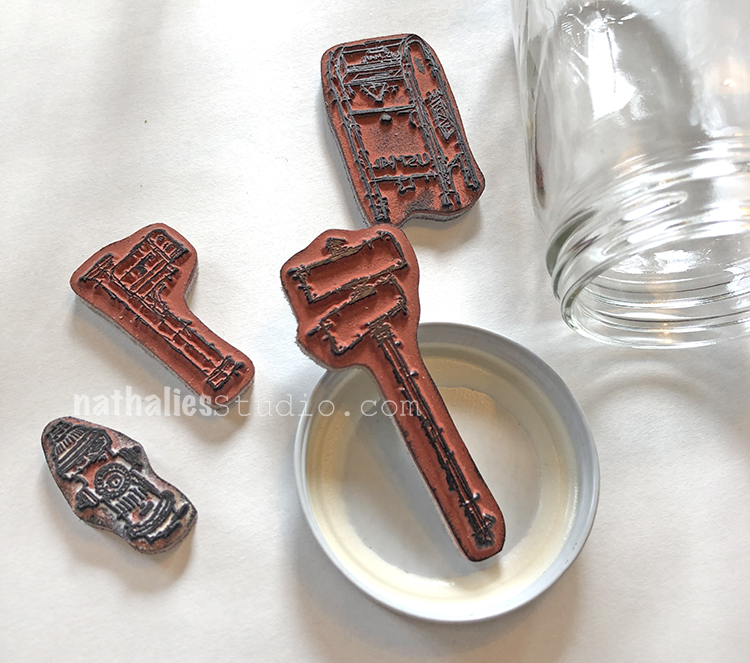
If you have small jars like baby food jars, you can choose small stamps like my Hydrant, Snail Mail, Mailbox, or Street Sign stamps.
Ok time to stamp! I’m using a few different stamps to build my snow globe neighborhood.
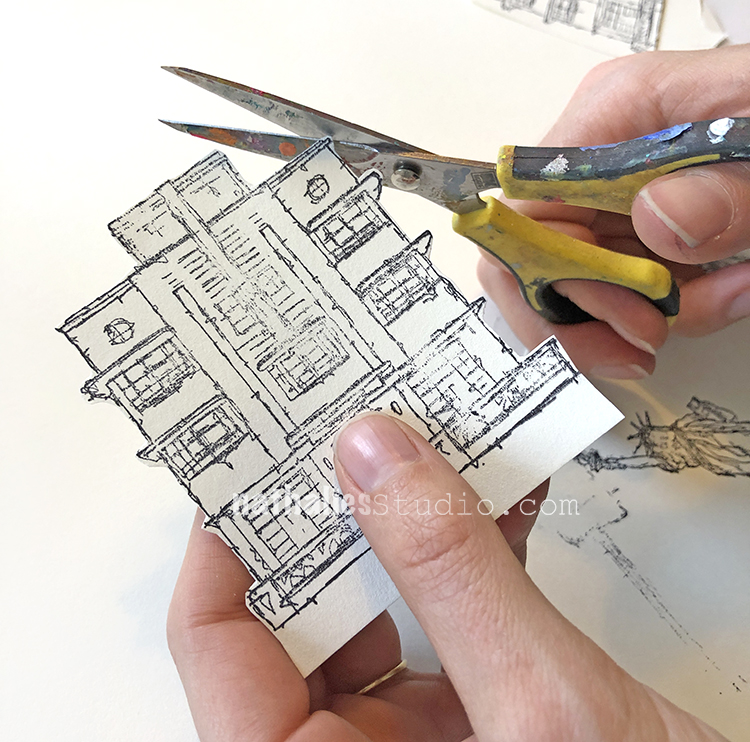
Next you cut them out, leaving a “foot” at the bottom to fold over and tape onto the lid. You can cut them out before or after you color them.
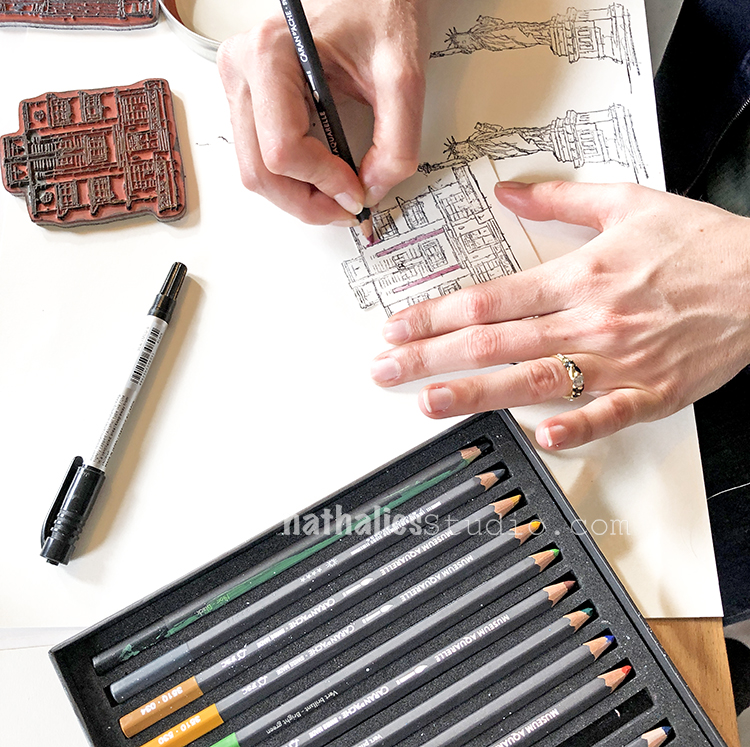
Color your stamped images with watercolor pencils – after all these snow globes won’t have any water :)
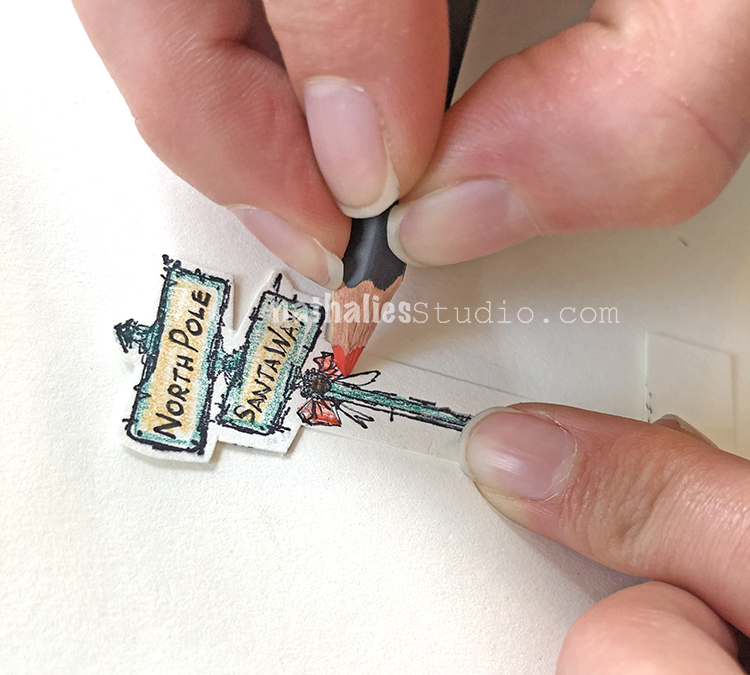
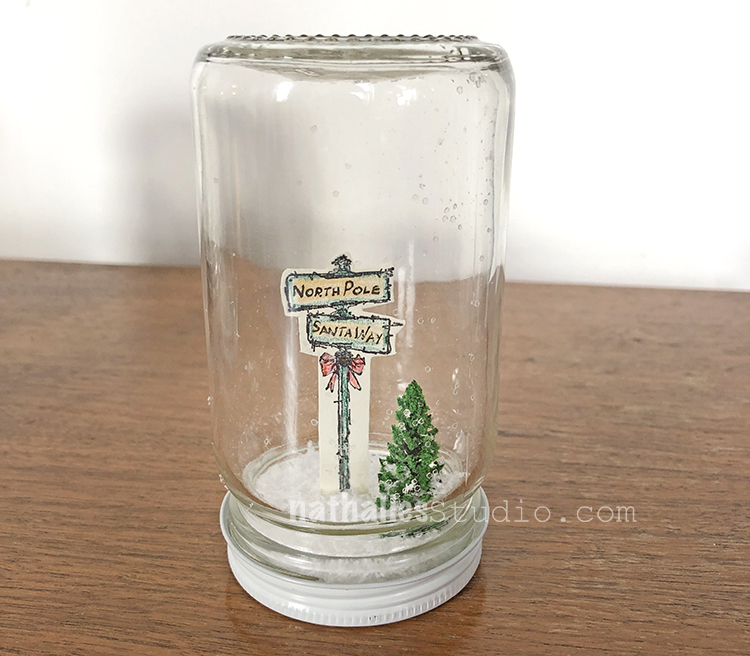
Kim added some seasonal details to the Street Sign stamp.
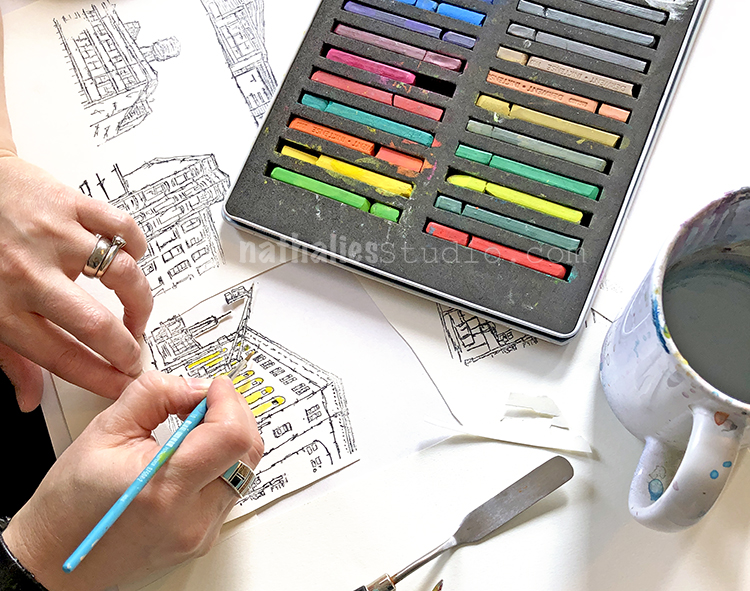
I love to use Derwent Inktense blocks with water and a brush, almost as watercolors to color in my stamps. They have beautiful rich colors and you can use a fine brush to get very detailed with them. Here I am adding some color to my Powerhouse stamp.
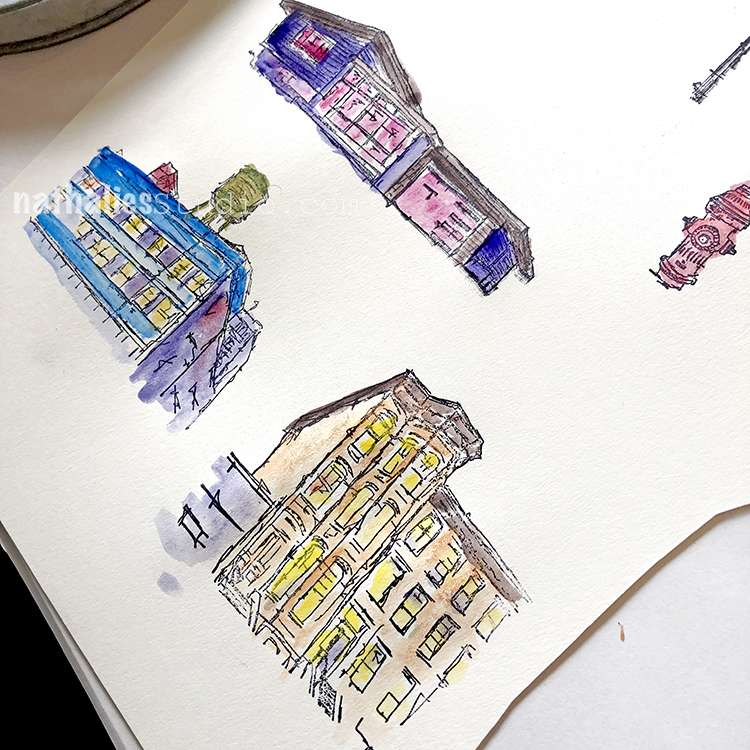
I chose a lot of different colors for my snow globe scene.
Use some tape to tape the image into the lid. Here is Lady Liberty, ready for winter I hope lol
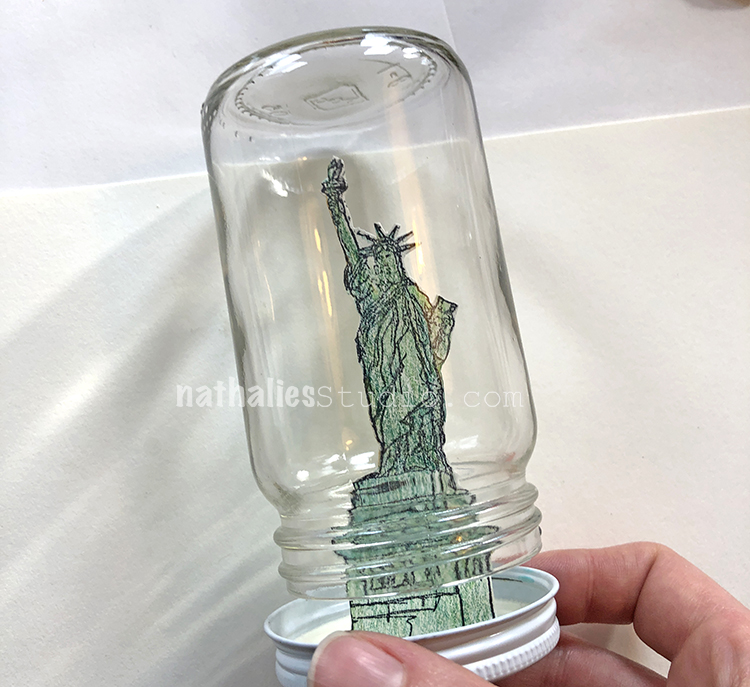
She just fits.
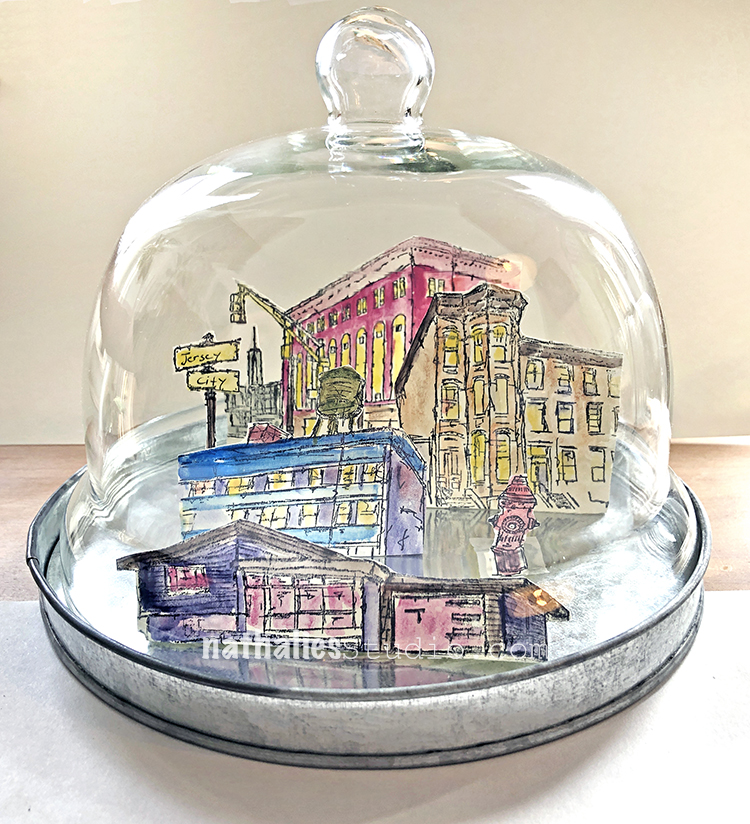
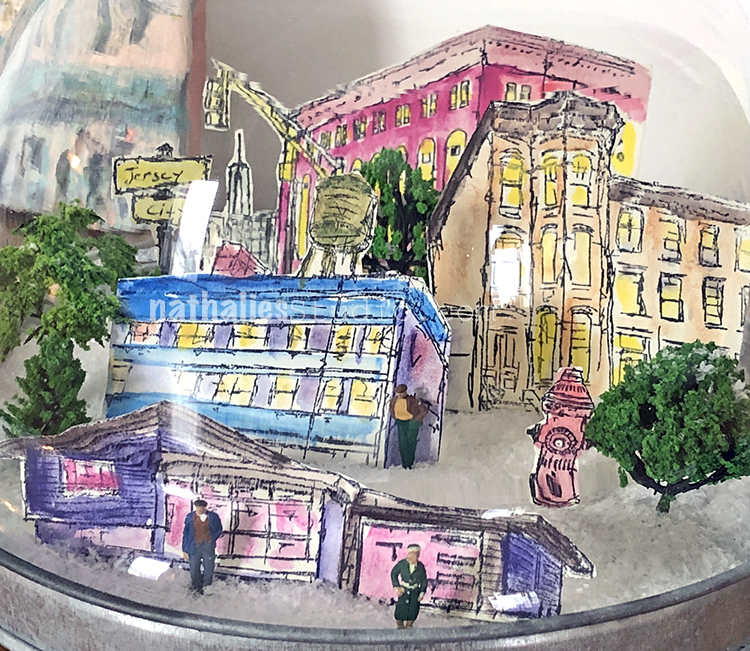
Here is my scene and SQUEEEEEEL it is coming together so amazing!!! This was a test to make sure the lid fit.
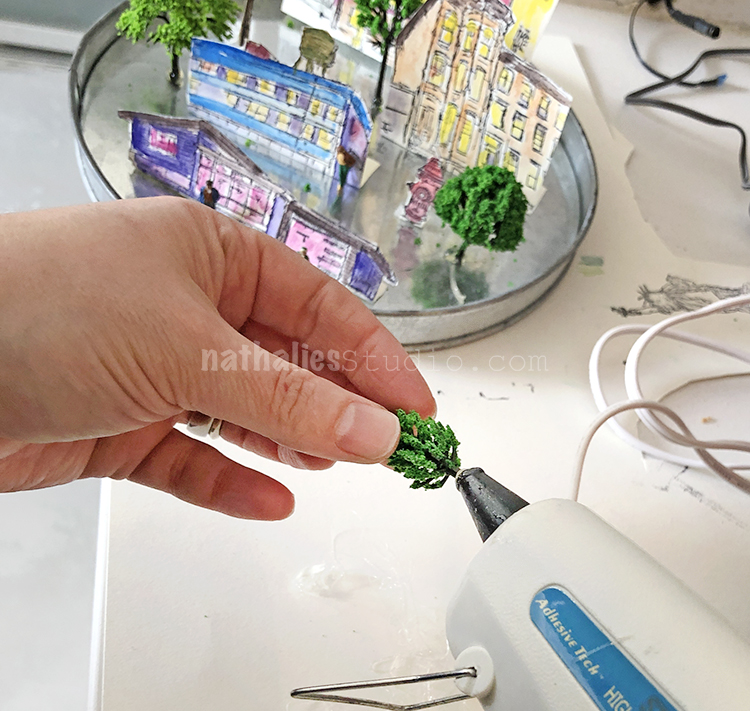
Now I glued in some trees and shrubs with hot glue.
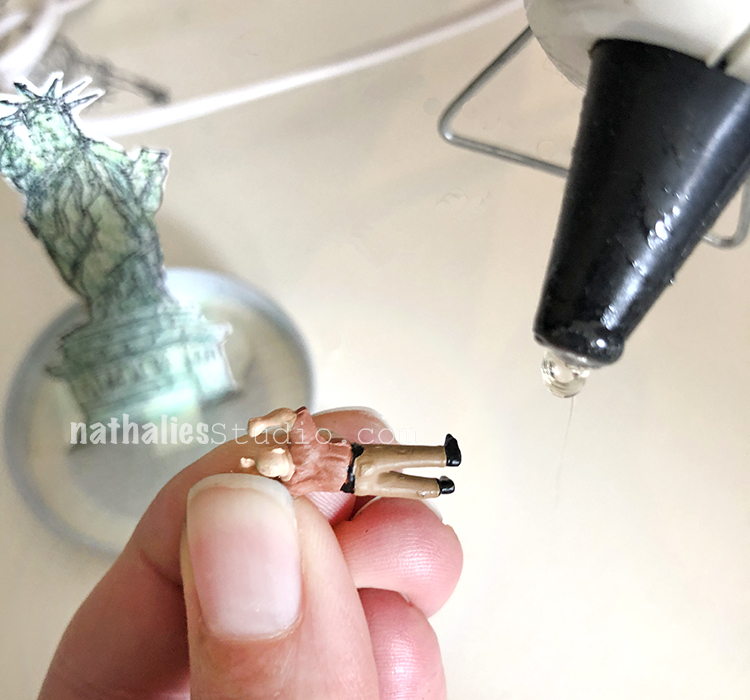
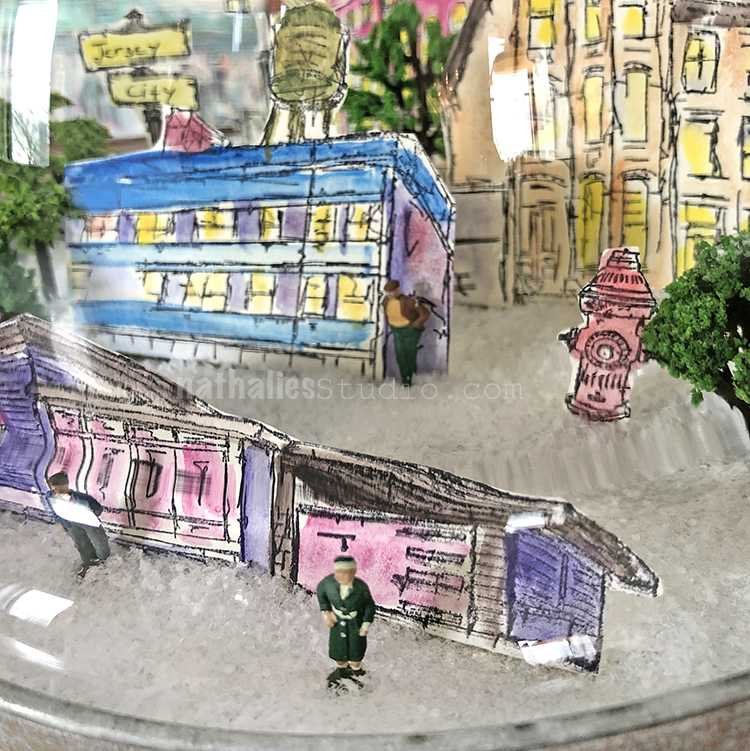
And people to bring your snow globe to life.
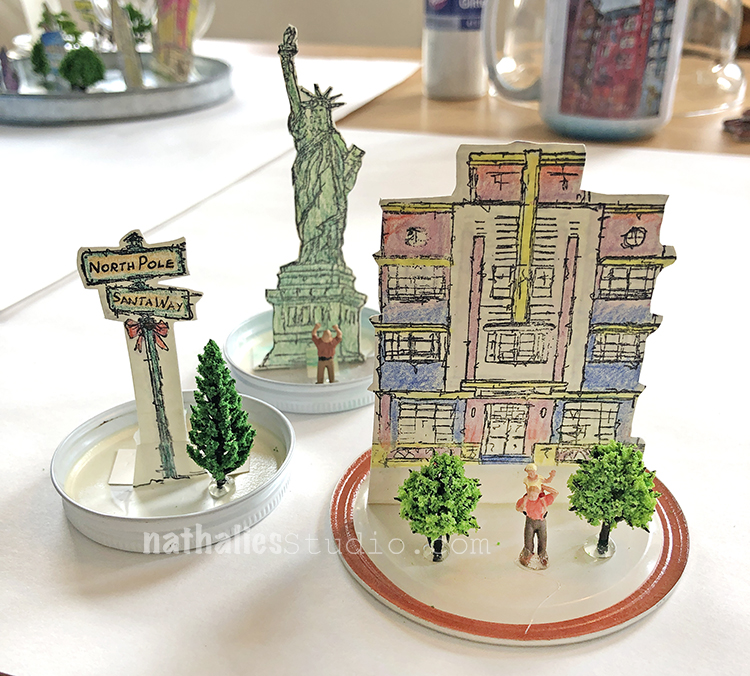
Kim put together 3 scenes.
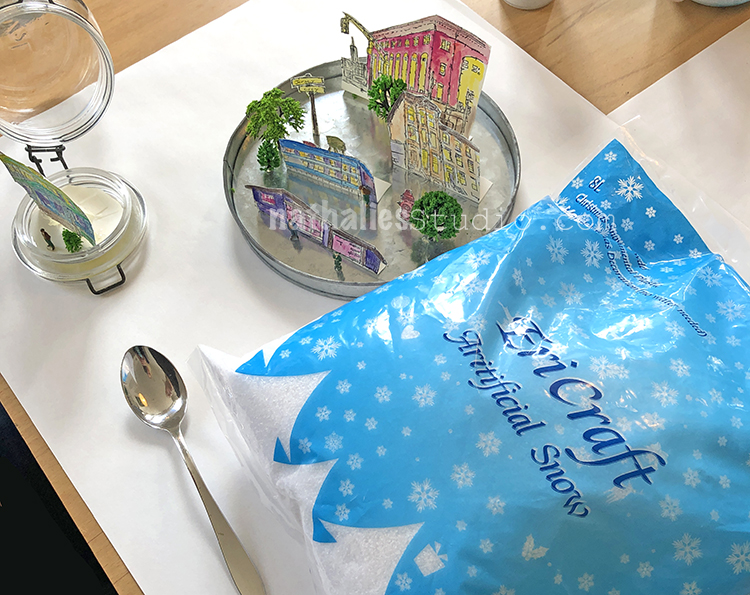
Time for the blizzard!!!
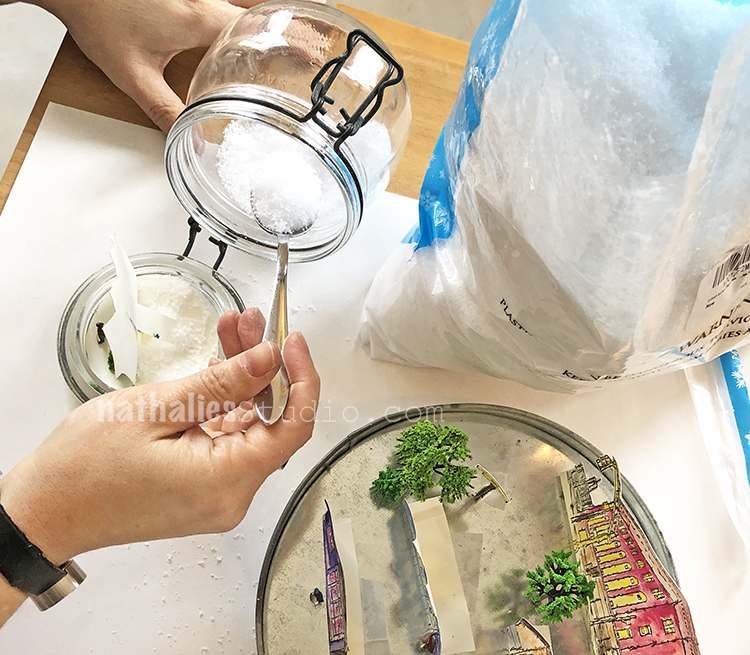
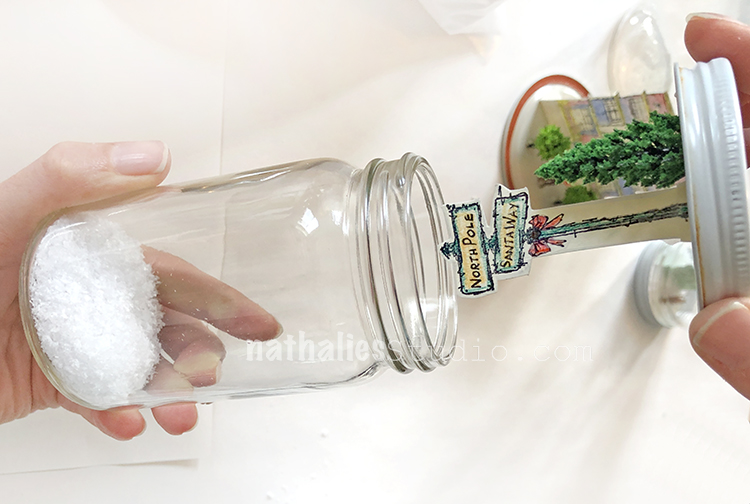
Just spoon some snow into the jars.
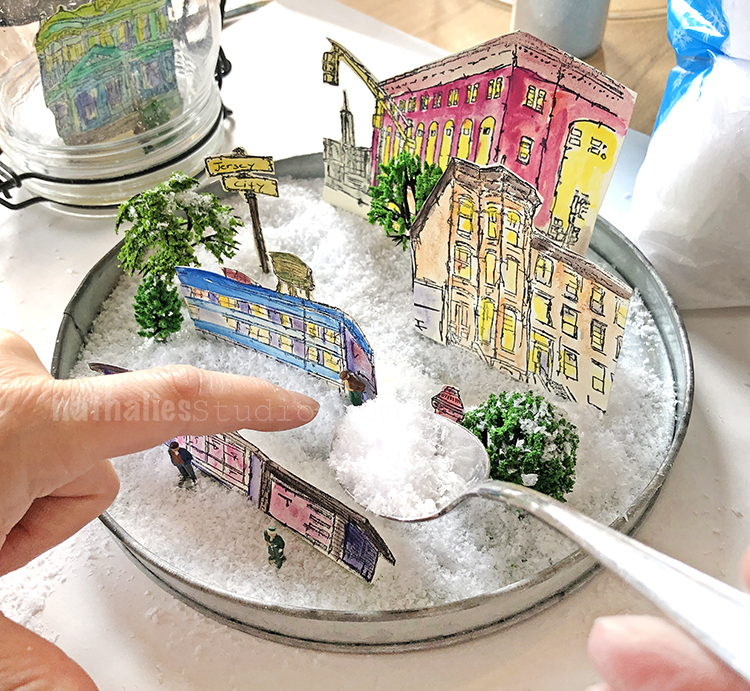
Or gently spoon around the elements in the cheese dome.
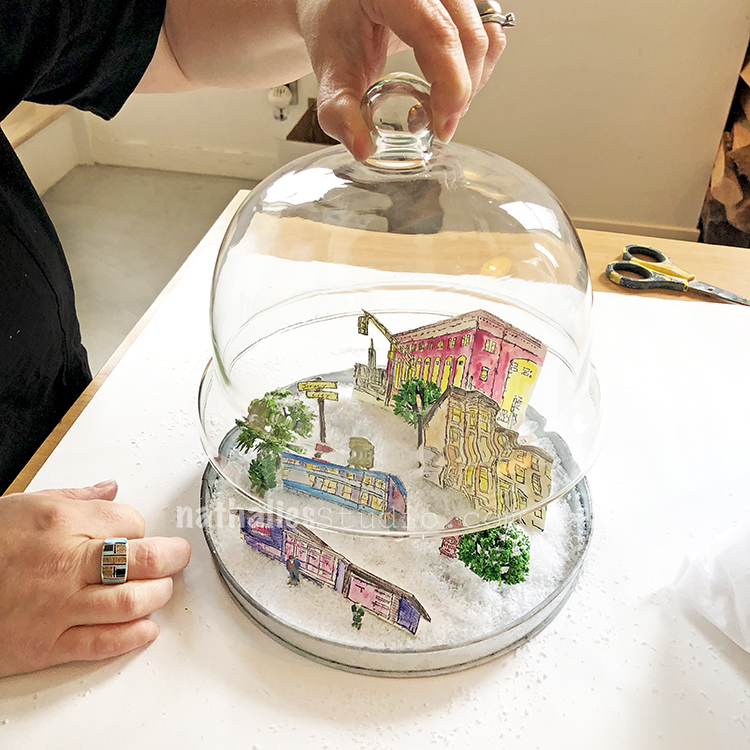
On goes the lid
Kim assembled her North Pole snow globe :)
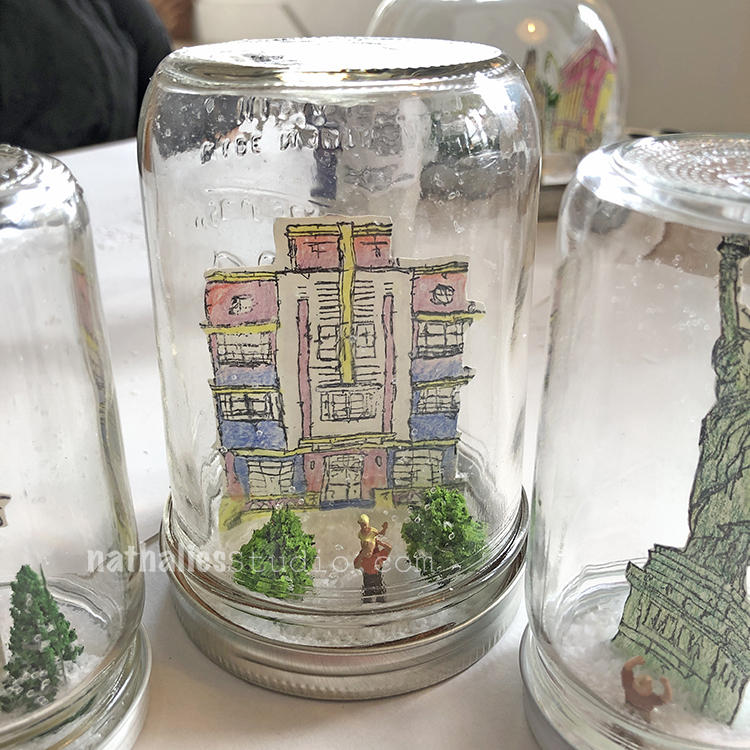
This is where we realized that for lidded jars, you may want to build your scene up a bit so it sits above the bumpy rim at the bottom of the jars. You could cut out a cardboard circle and paint it white and stick it in the lid first, then put buildings etc on top. We would definitely do that next time. Also if your jar has a colored lid, you may want to paint it with gesso before you begin.
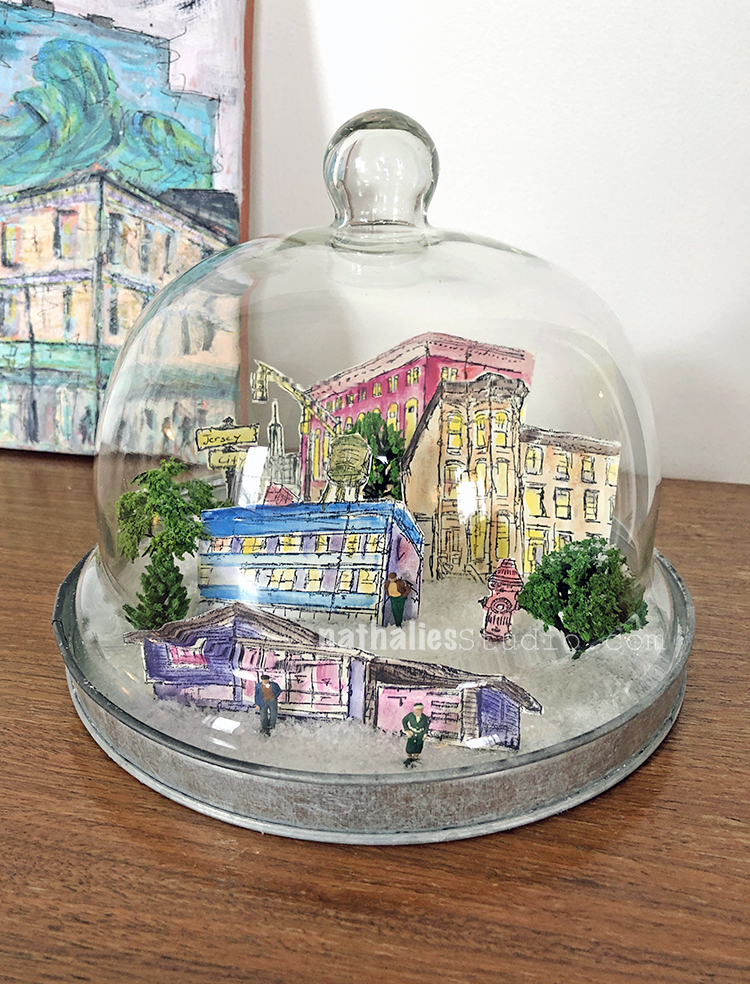
But oh WOW this was sooooo fun! And looksie at my little winter wonderland!!! What a success and done in under 2 hours.

Take a stroll through my snow dome :)
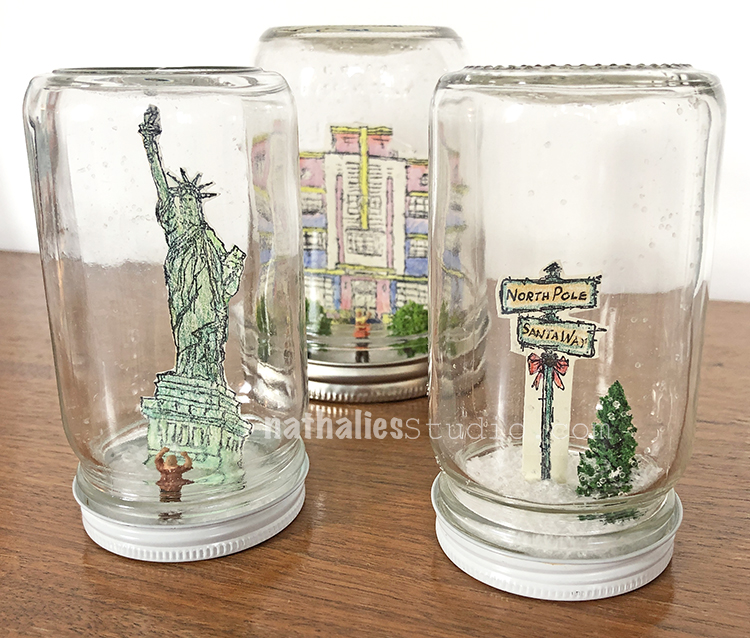
Kim’s waterless snow globes – waaaaay cute!
That guy in the bottom cracks me up!
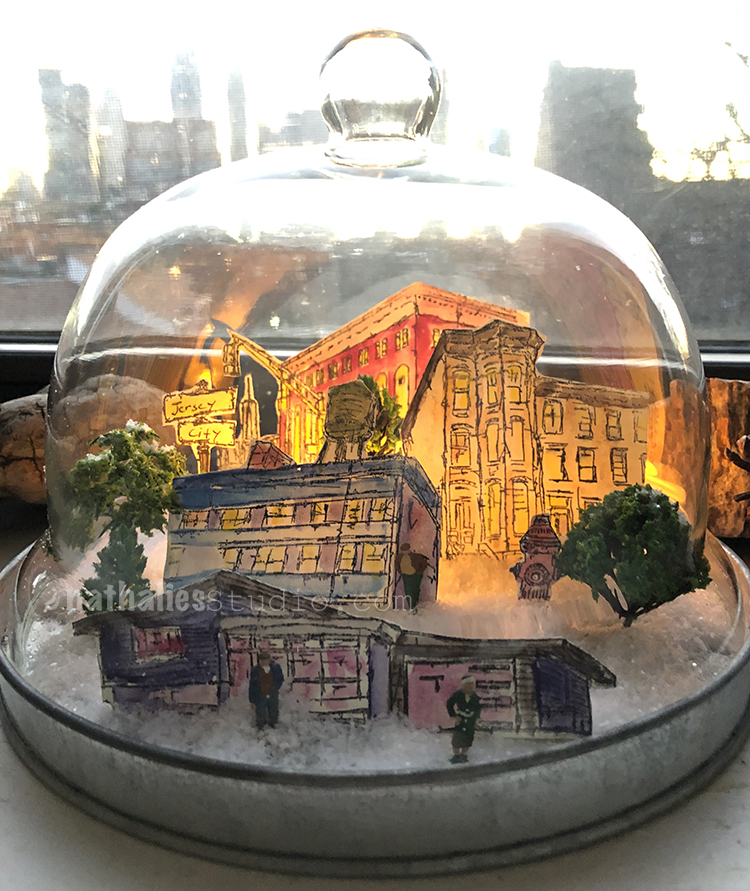
And for even more fun, I added a small battery operated tea light into the back of my snow globe so now it glows at night. Ooooooo!
I hope you try this project and I hope you have as much fun as we did. It’s a nifty way to get into the holiday spirit :)
In addition to my Rubber Stamps from my Online Shop, here are some of the supplies that we used:
Comments (4)
Sue Clarke
| #
Love love love these Nat!
Now maybe make some on shrinky material and you can use water too???
Super fun project that you and Kim made.
Reply
nathalie-kalbach
| #
Great Idea Sue! We really wanted to have no glycerin or water involved – it was so much easier and gives more possibilities to add candles and use a cheese dome too :) It was so quick and I bet it is fun to make with kids too!
Reply
stresso
| #
oh my gosh – how fun!!!
Reply
nathalie-kalbach
| #
Thank you Stephanie! We really loved making those!
Reply