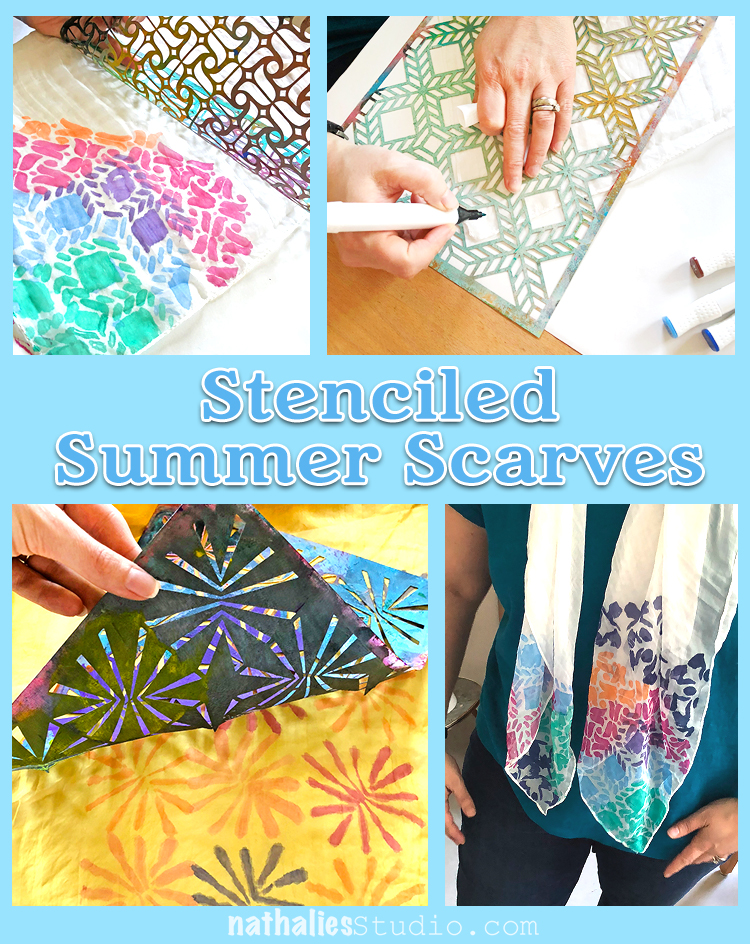
Last week Kim and I got together for a little stenciling playdate. We had already done some things with fabric paint but this time I was wanting to try fabric markers.
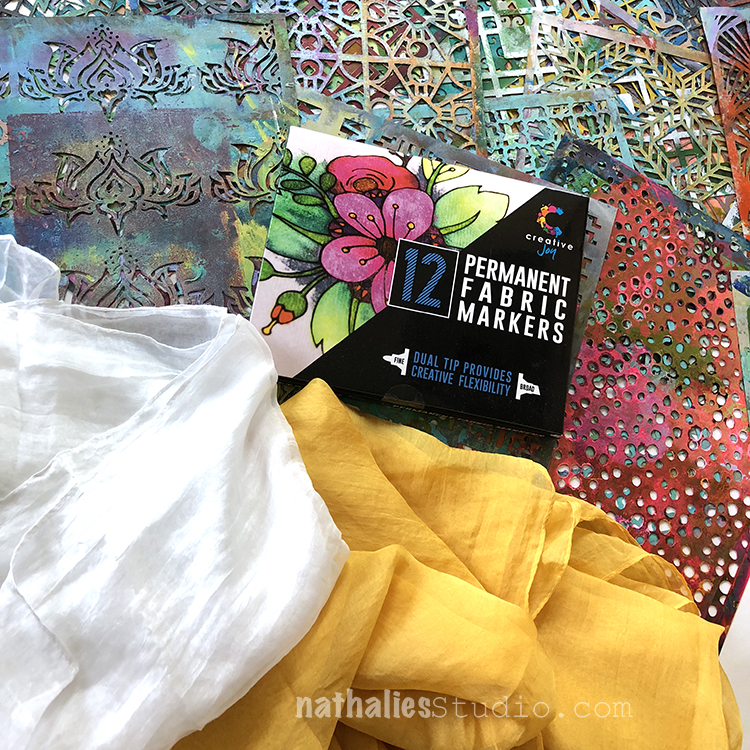
I found this nice set of non-toxic permanent fabric markers with both a fine and a broad tip ends and some silk scarves online. I chose a white scarf as my backdrop and Kim went for yellow. We gathered all my stencils to decide what patterns we might like.
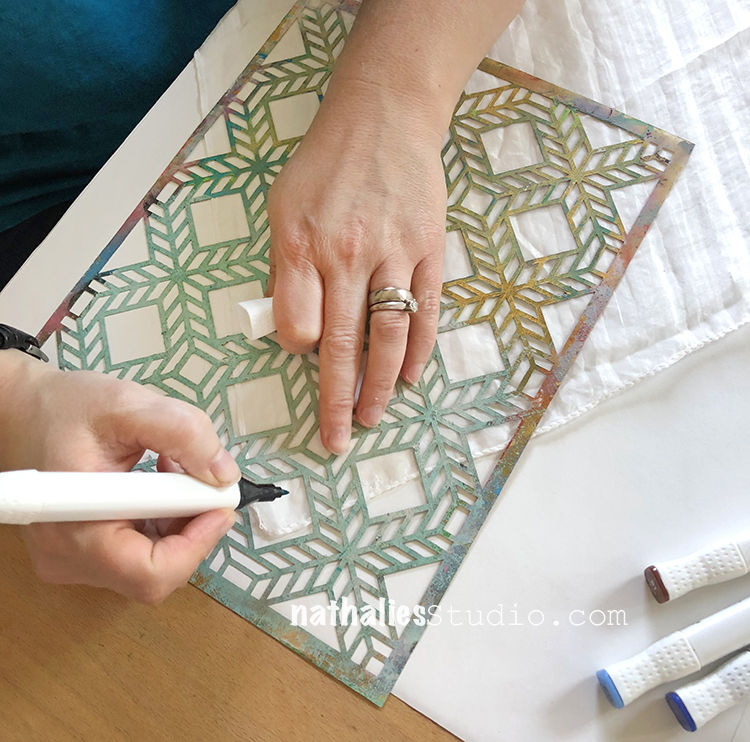
I jumped right in with my Santiago stencil – trying to decide how best to line it up. These are large square scarves so we decided to decorate the corners so you can see the design as it’s wrapped around your neck.
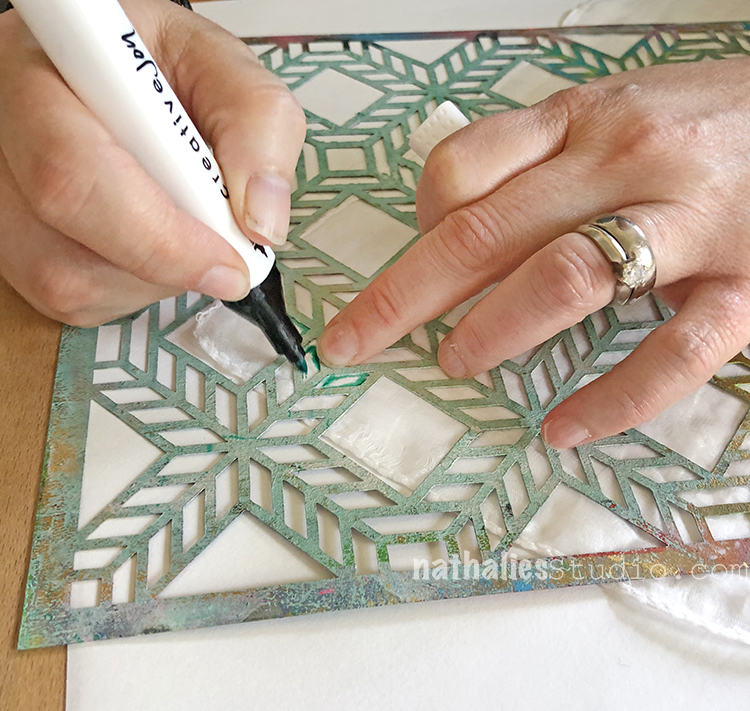
The fine tip end worked nicely with the stencil and the colors were pretty and bright – especially on the white scarf. The thin and smooth silk fabric was a bit tricky to hold down and we found you had to really hold the stencil and fabric in place to keep the pattern lined up. Another trick on thin silk – use very little pressure with the marker – it doesn’t take much ink to make a mark.
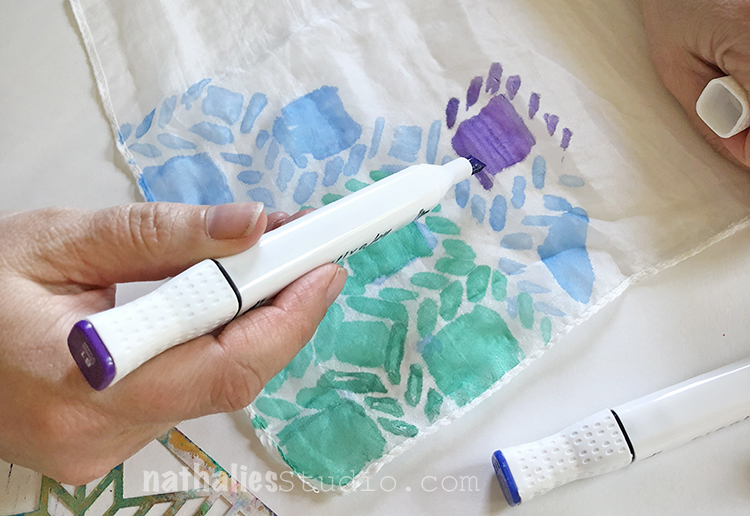
The ink spreads and gives a watercolor look to the design. This is maybe not a project for the very fussy – the silk and markers produce a more hand-painted look than precise line. I found the broad end of the marker worked well for filling in large areas of the design. As you can see, I switched colors several times with the same stencil.
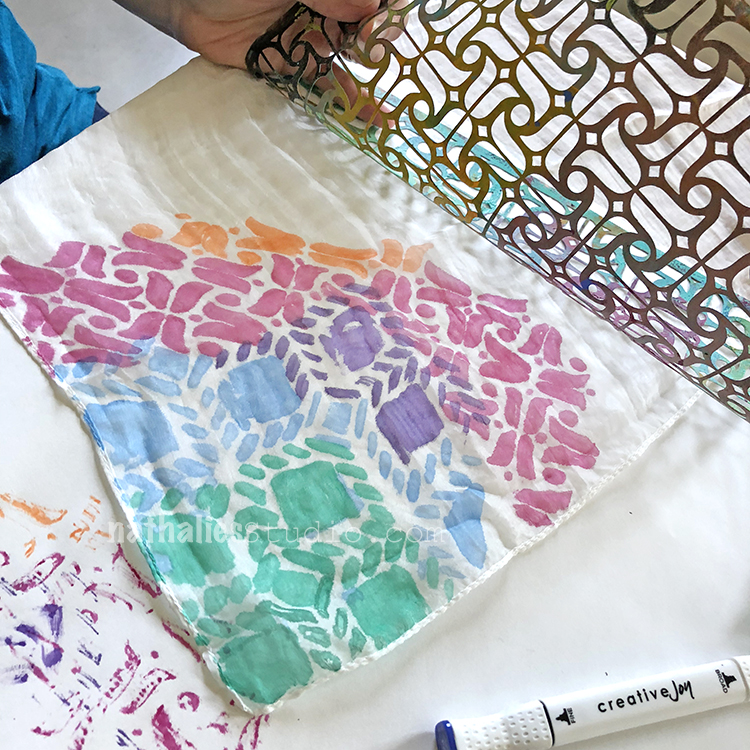
Another tip: make sure you have paper or some protective surface underneath the scarf to catch the pigment that bleeds through. I added another stencil here: Amsterdam, and a few more of the marker colors. My tactic was “more is more”.
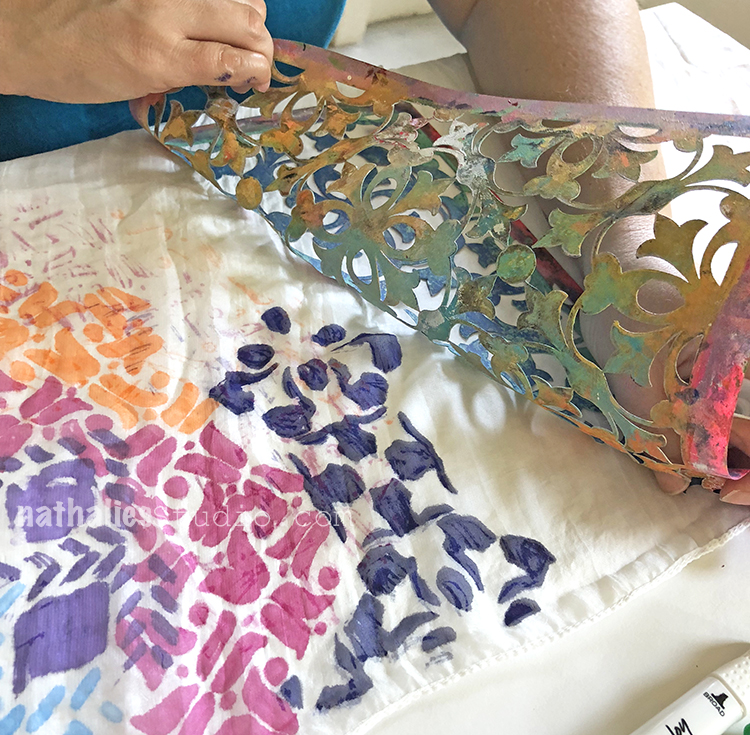
And finally I added a bit of the Versailles stencil and one final color. You can see that this scarf is thin and translucent (those marks near the orange pattern are actually on the paper underneath) and the markers are transparent too.
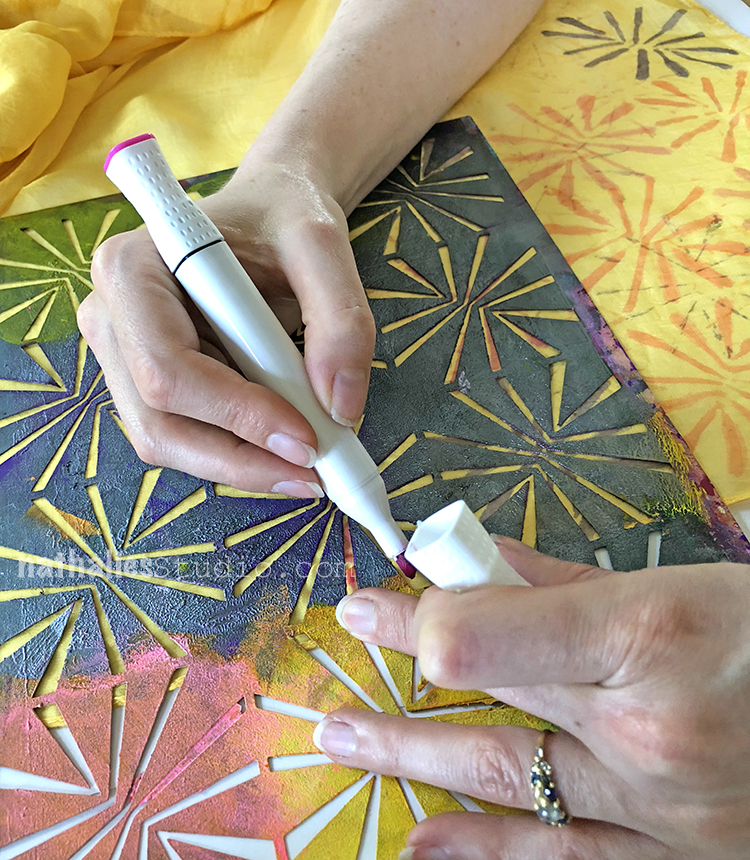
Kim chose to use only the Beacon stencil on her yellow scarf.
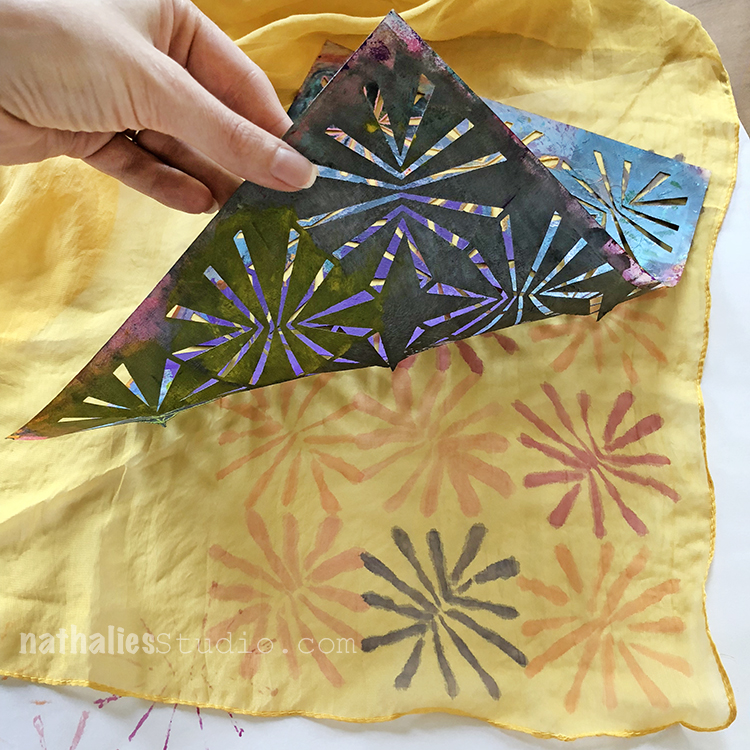
The designs look like flowers and she stayed with pinks, orange, and purple colors. Again, she worked on the corners of the scarf.

Here is her field of flowers when she was done. You can see the markers bleed on the thin silk, but it gives a pretty painted look.
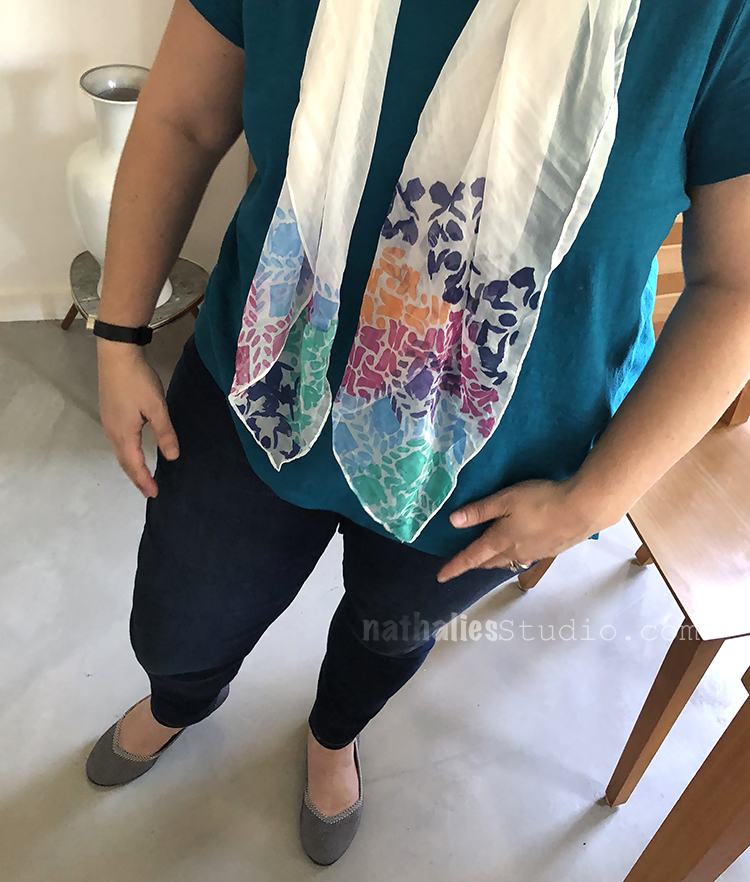
My scarf is a colorful collection of patterns and so unique!
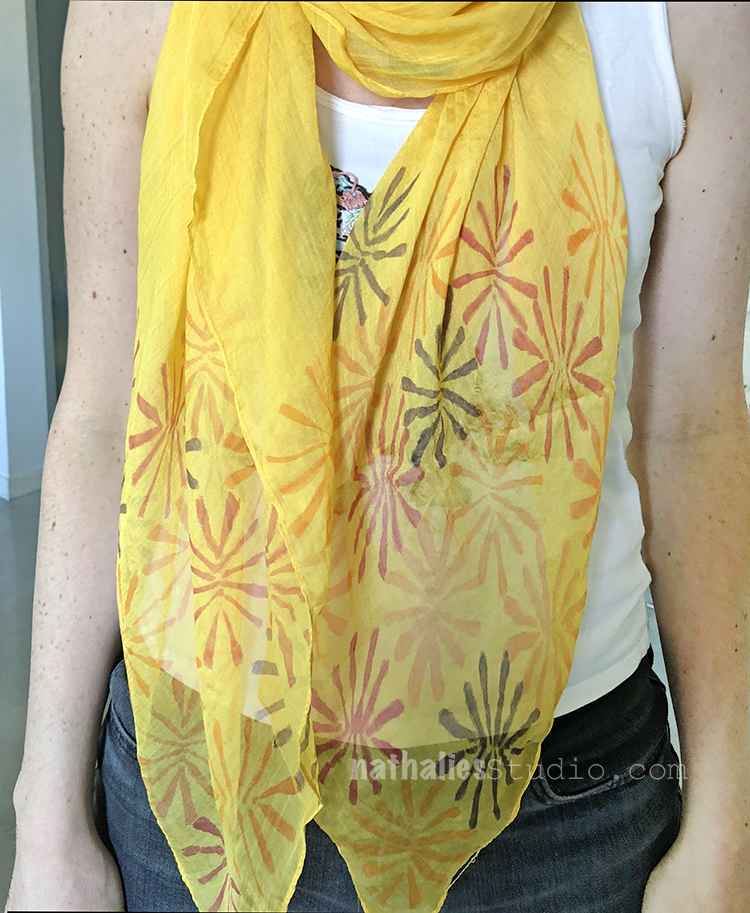
And here is the final result for Kim, a one-of-a-kind scarf for summer! This was a fun and easy project and just took an hour or so. I also really liked the color selection of the marker set so I’m definitely going to try them on some other things too. I hope you try it and share your results with me!
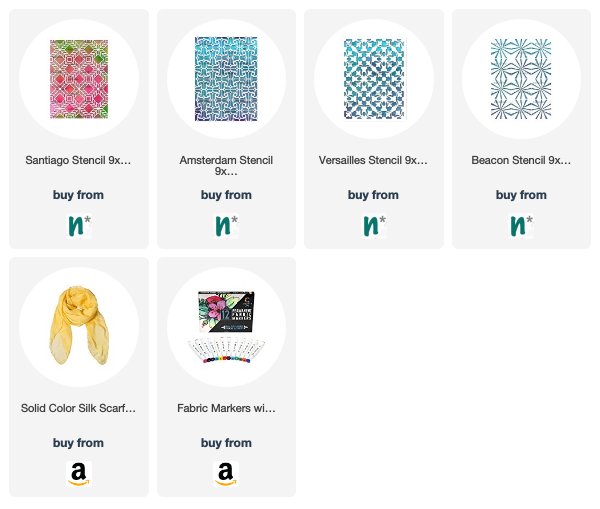
Here are some of the supplies we used for this project:

Comments (1)
stephanie
| #
What a fun project! Both scarves are lovely
Reply