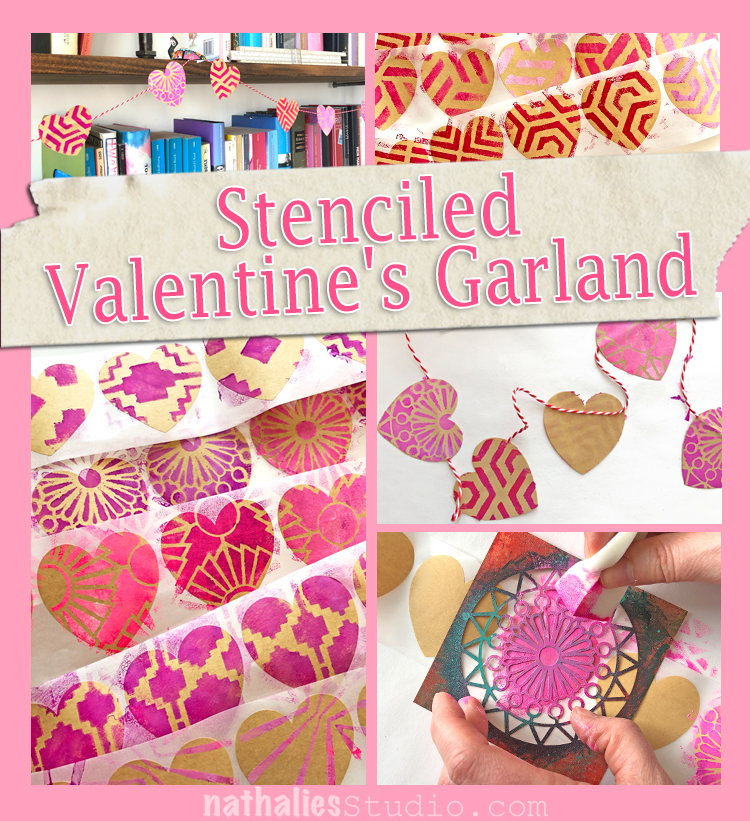
For the upcoming Valentine’s Day holiday Kim and I had a little play date to get in the spirit. This was super easy – done in an hour – and a fun way to use some stencils!
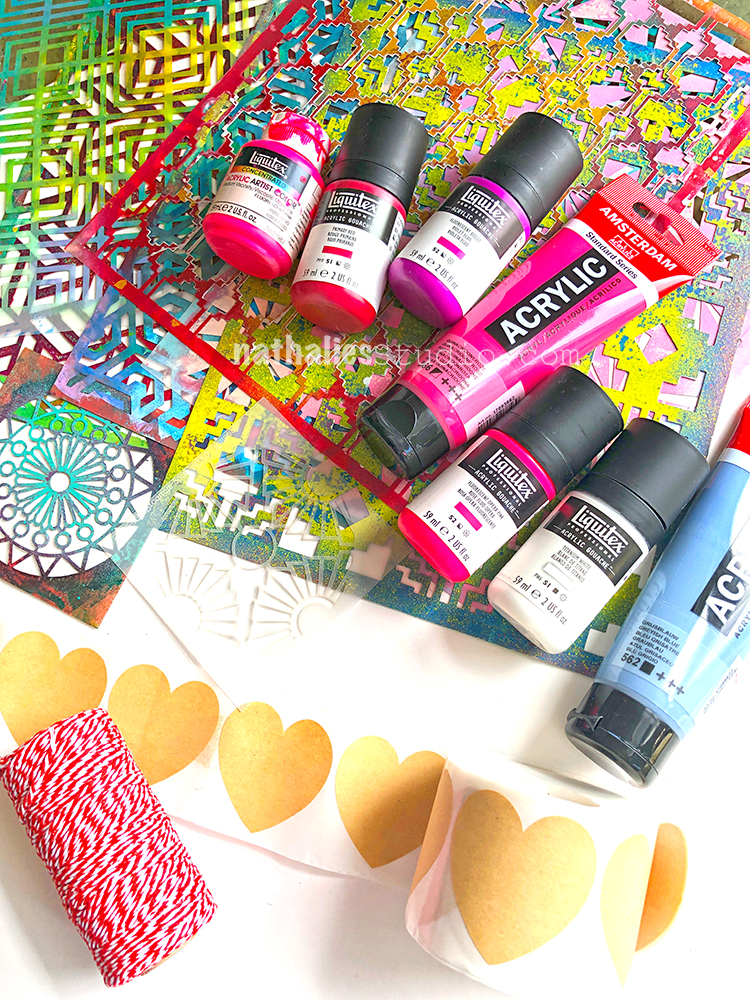
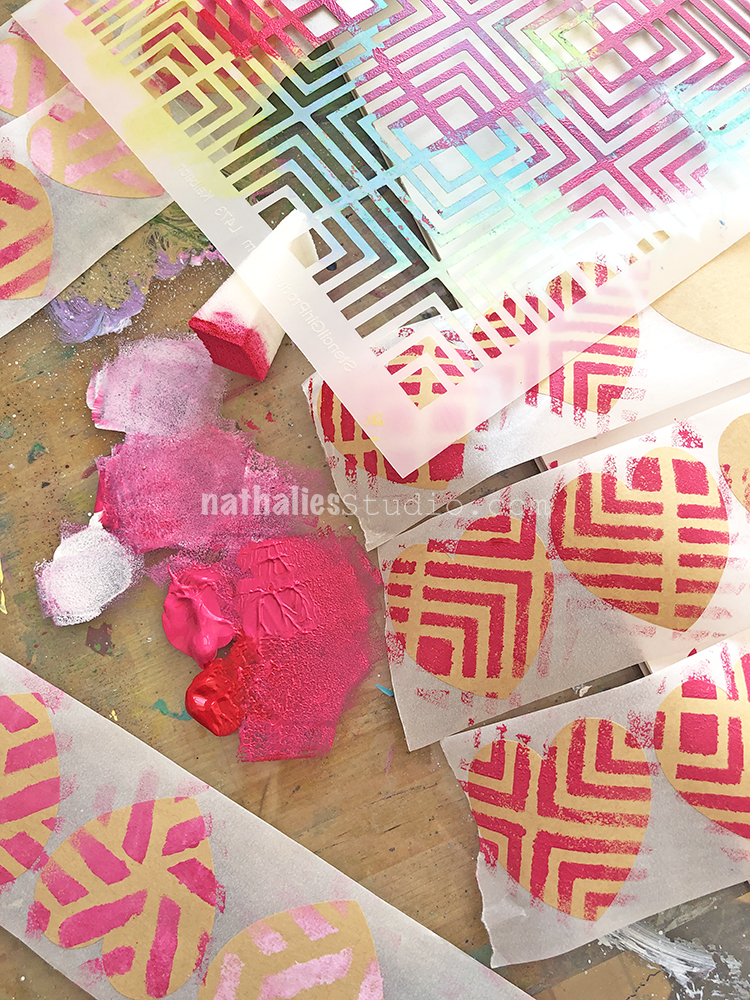
We got some heart stickers (2″ across), baker’s twine, my stencils, and acrylic paint in pinks, reds, and violet.
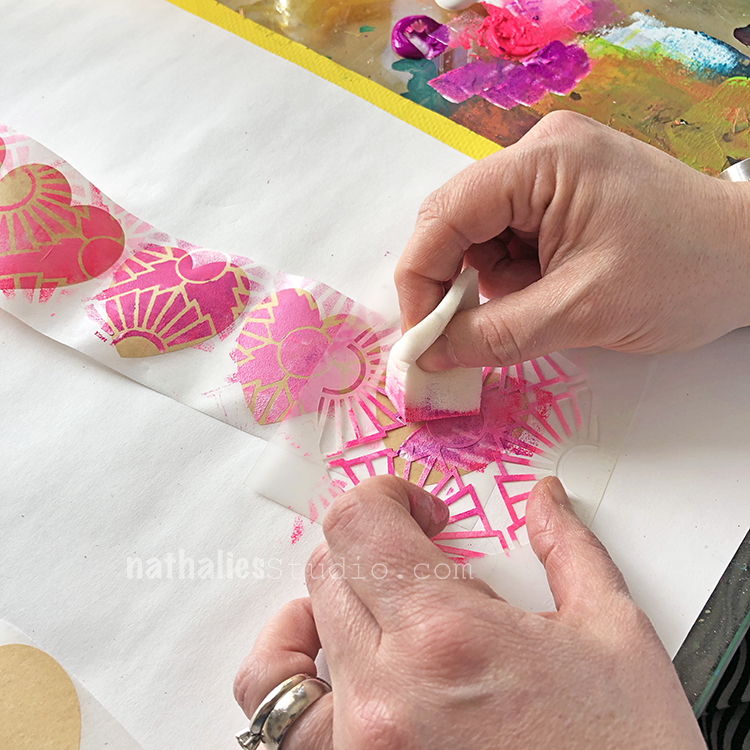
Then we started stenciling onto the hearts. Here I’m using my Broadway stencil and different pinks.
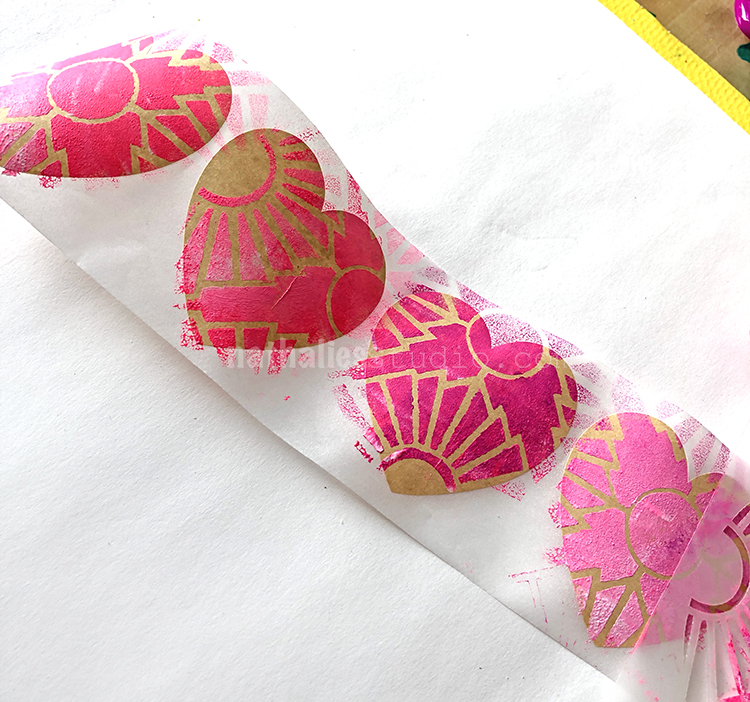
Choose a stencil with a pattern that isn’t too big, but the main point is to get some cool designs onto the hearts.
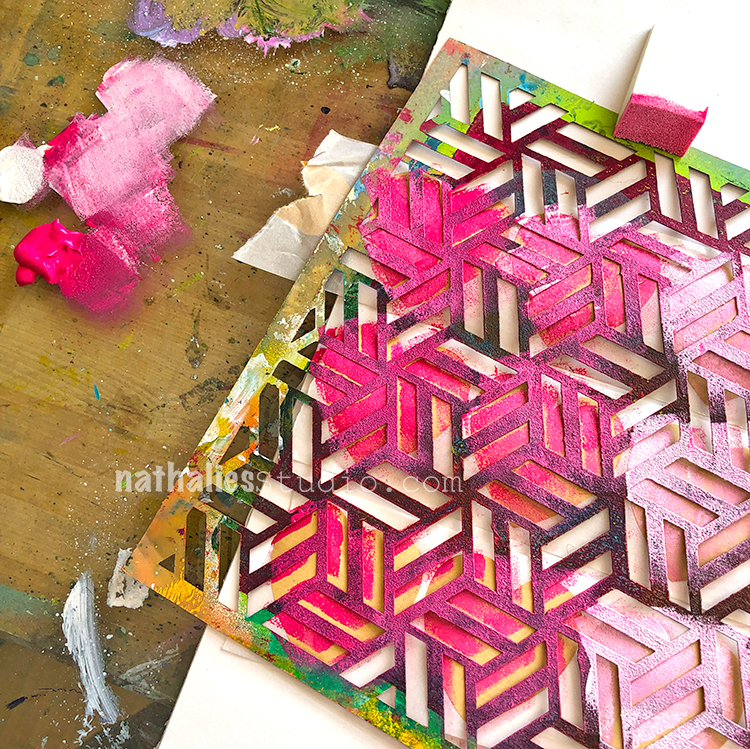
Kim used the Kassel stencil and lined up a bunch of heart stickers underneath.
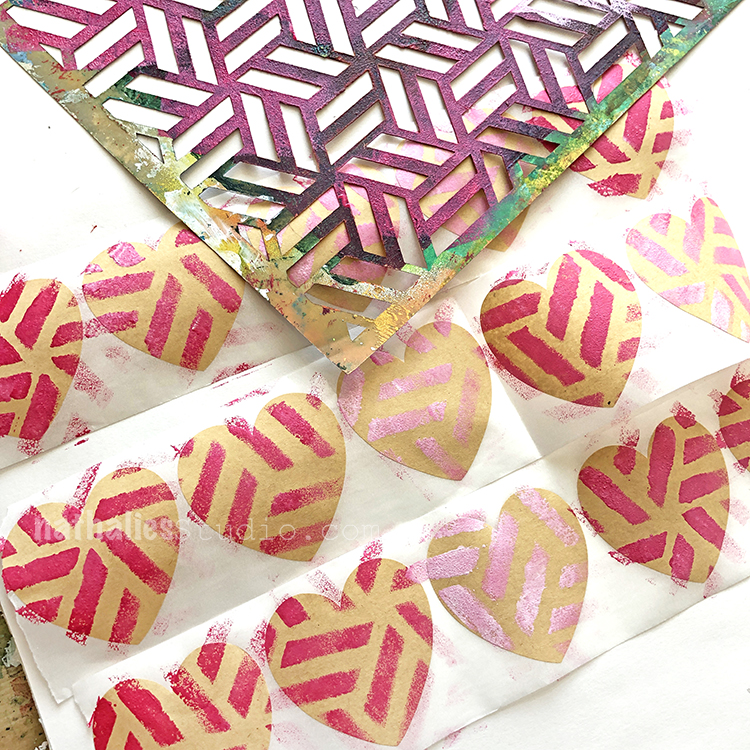
This was a good way to do a lot of hearts at the same time and works nicely with a 9×12 stencil.
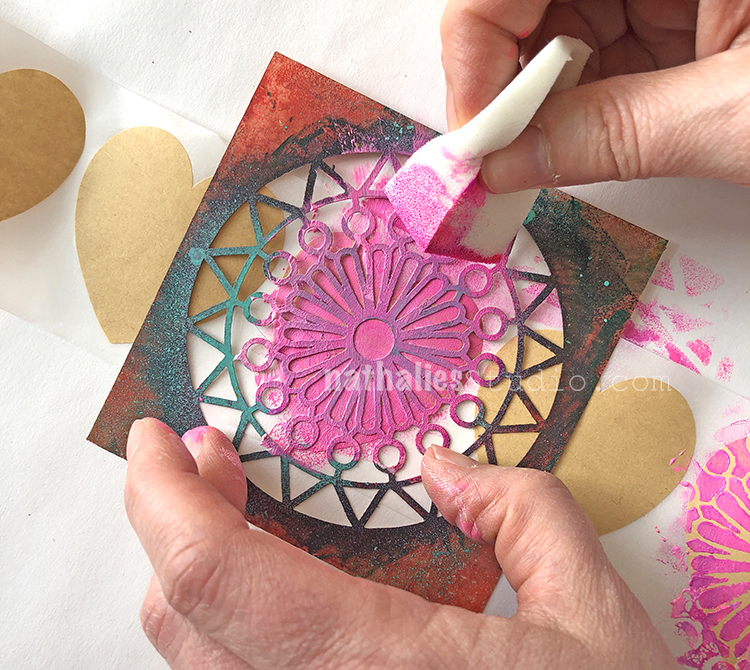
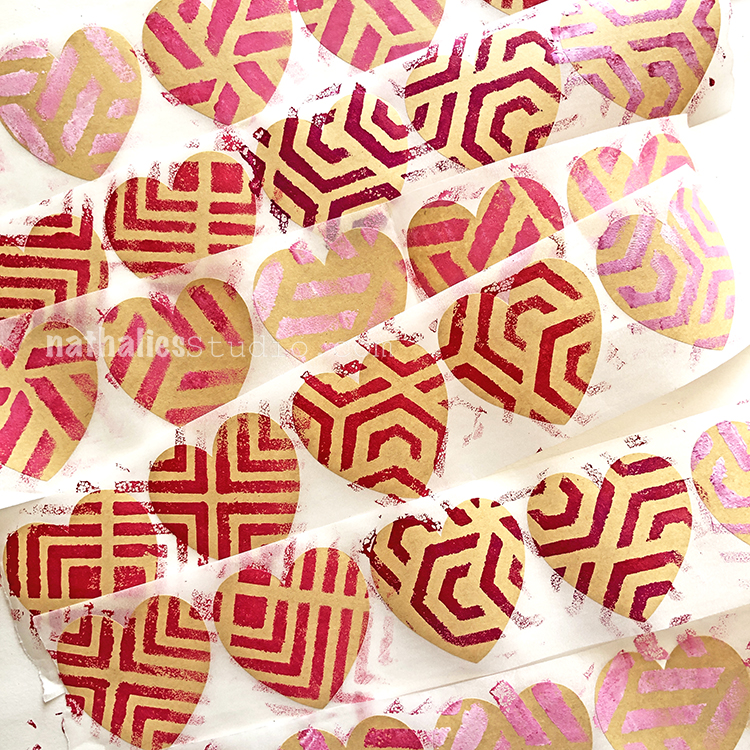
You can also work heart by heart and line up the stencil better. Here I am using my Valley Road stencil.
Here are some with my Manhattan stencil.
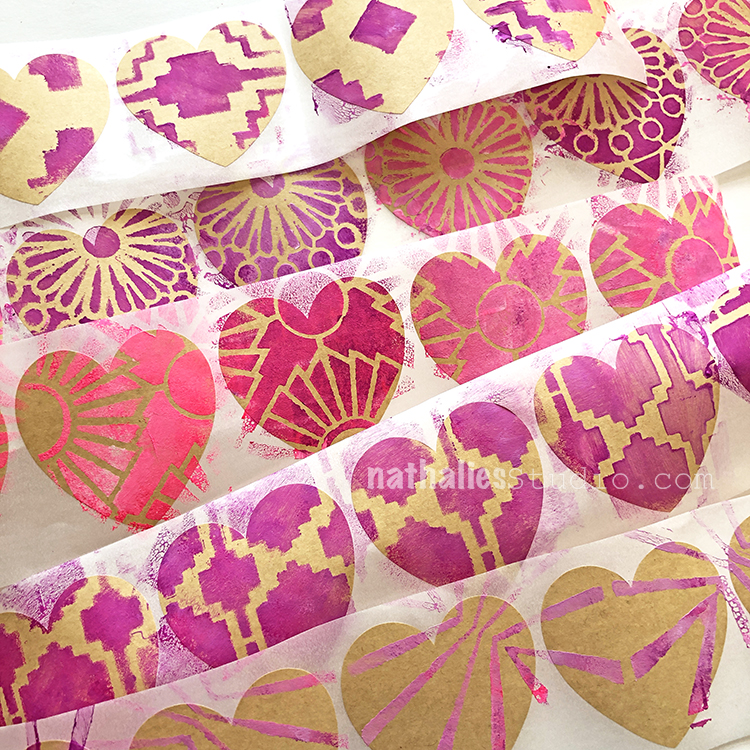
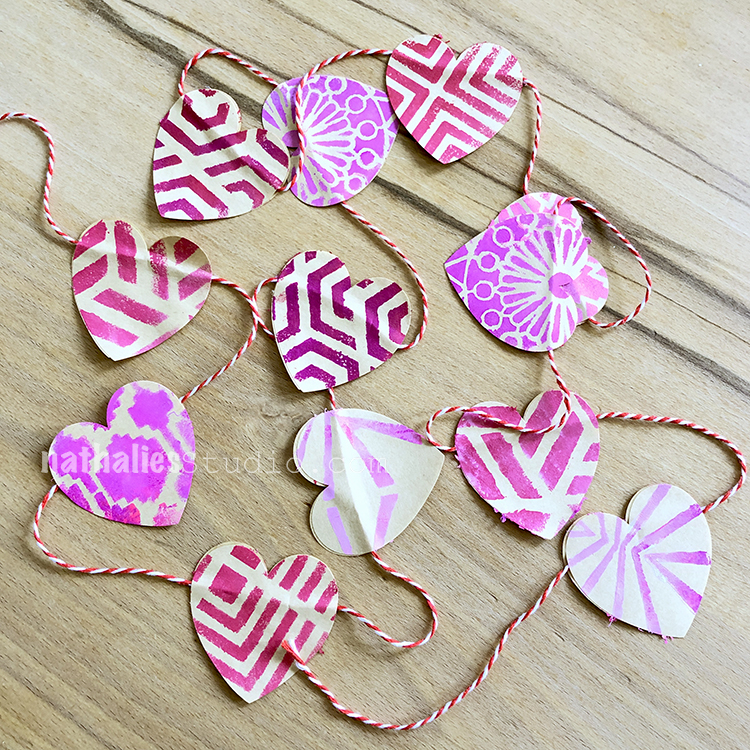
Look at all these fun designs! They are (top to bottom) Santa Fe, Valley Road, Broadway, Mesa Verde, and Beacon.
And more from Kim – Manhattan, Kassel, and Flower Maze.
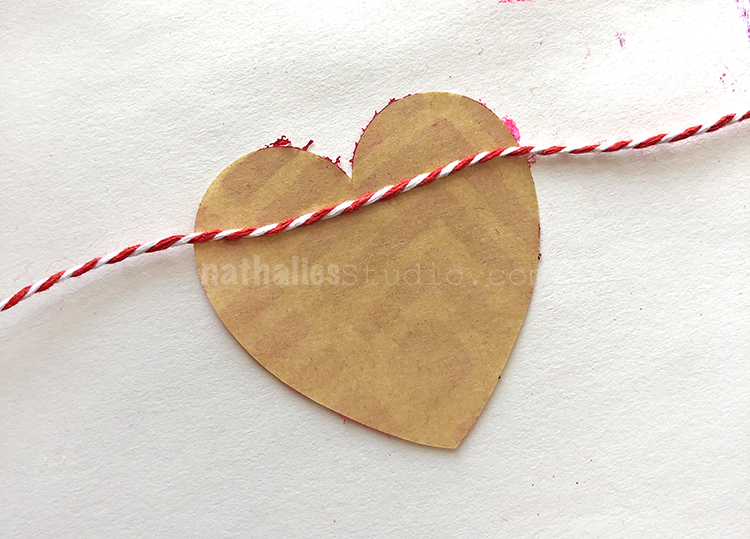
Cut a length of the baker’s twine – however long you want your garland. Then put a heart sticker down and stick the twine to it. Stick the twine close to the top so the heart hangs the right way.
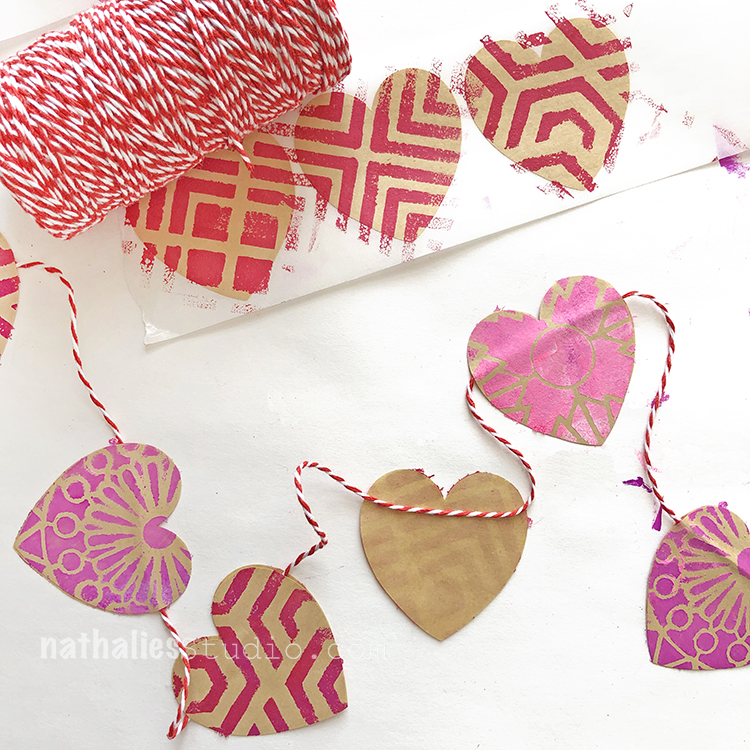
Then stick another heart on top to sandwich the twine. We spaced the hearts out with about 3-4″ in between each one.
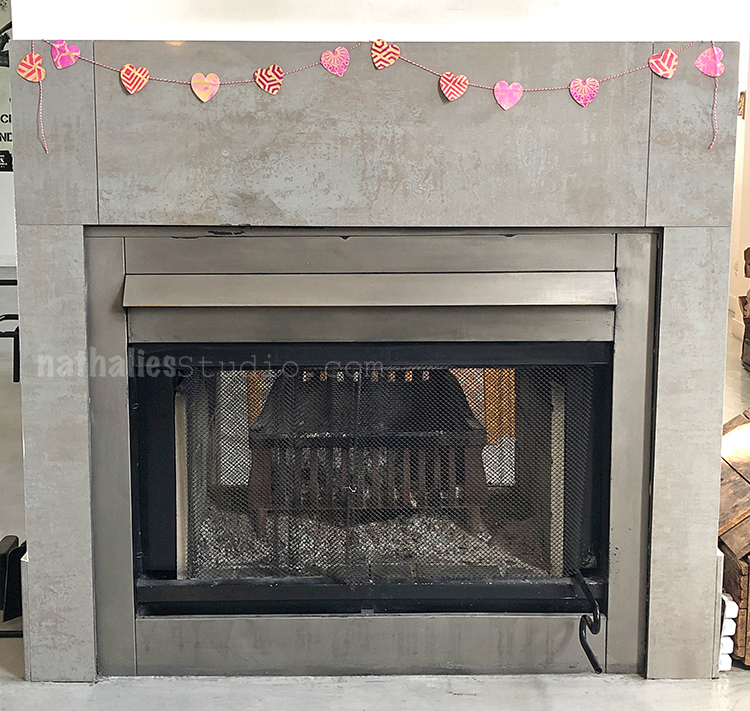
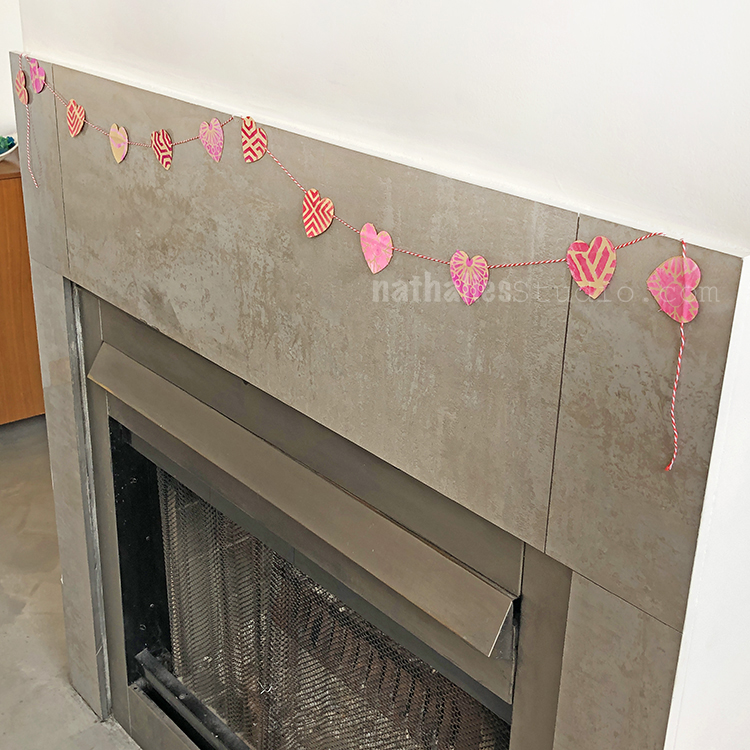
Looks nice above a fireplace…
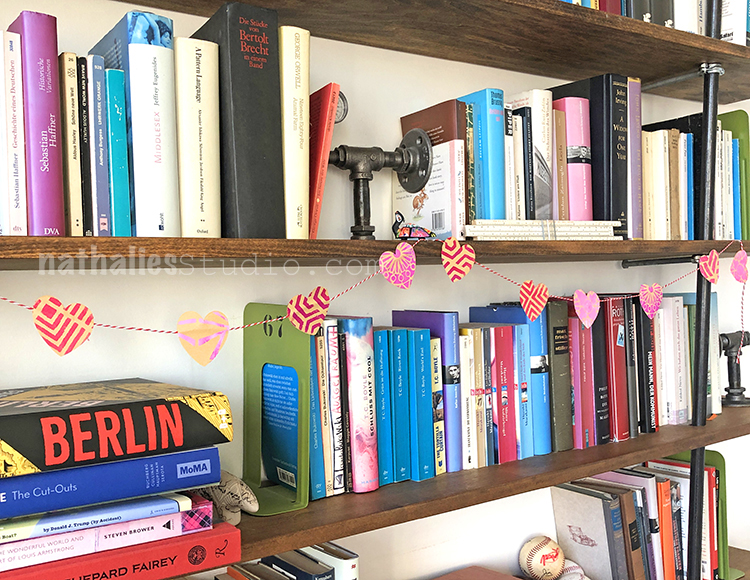
And on the bookshelf!
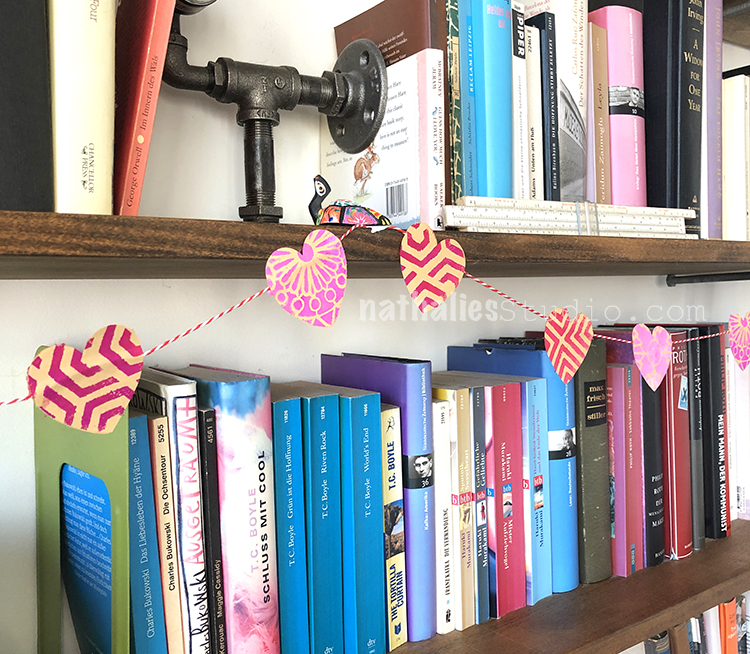
You could hang it on a chandelier or in a doorway or even on a little indoor tree.
We hope you try this one – it was great to play with color and pattern and the results are very cute :) Enjoy!
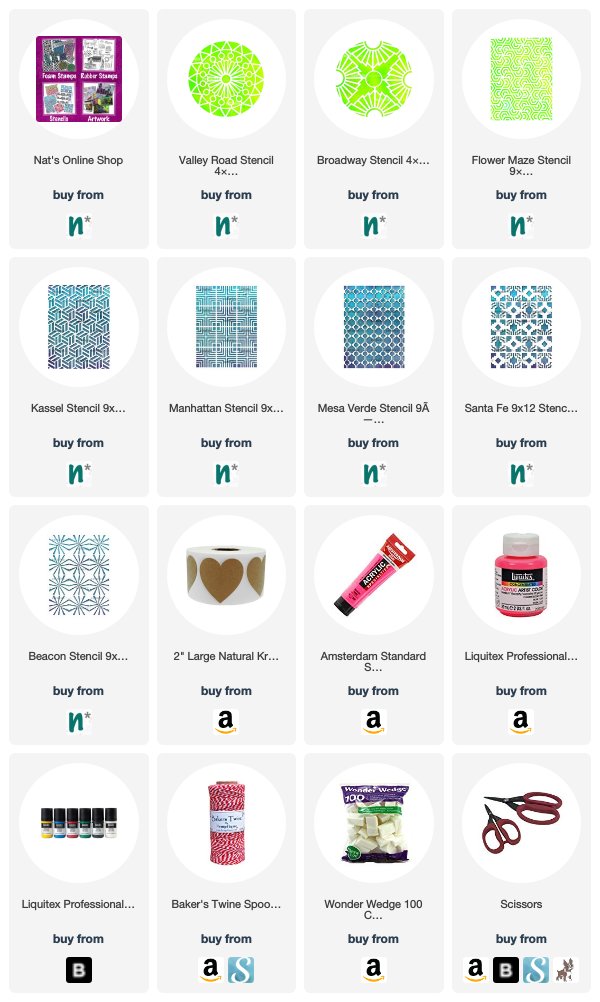
You can find my stencils in my Online Shop. Here are some of the supplies that we used: