
Hello from my Creative Squad! Today we have a post from Jordan Hill who is sharing a cool series of ATCs using my ATC Mixup stencil and our theme this month: Time for Texture – Visual texture or actual texture is an element that can give dimension, depth, and touchable interest to any piece of art. Let’s play with texture in a series of ATCs and see what emerges!
Hello everyone! I’m excited to be back with this month’s prompt of Time for Texture! I really enjoy playing with layers and textures in my work, so I had a lot of fun creating this little series of ATCs. I hope you enjoy following along with the process!
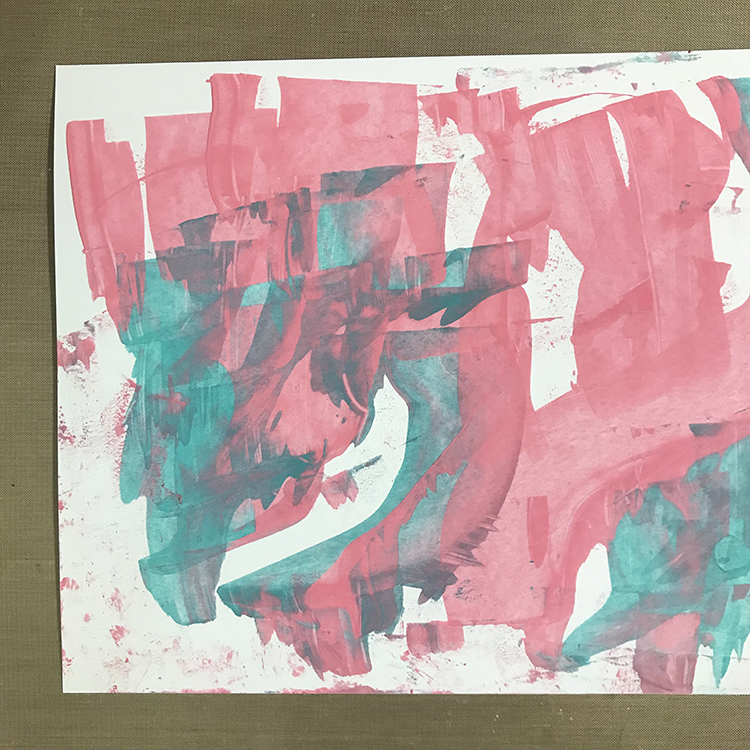
I’m starting off this week with a piece of thick white card stock as my base. I have chosen the type of card stock I use as the paper in many of my hand bound books, but you can use any thick paper that will hold up to mailing. I dropped a couple of different colored craft paints onto the card stock and used an old library card to scrape it across the surface.
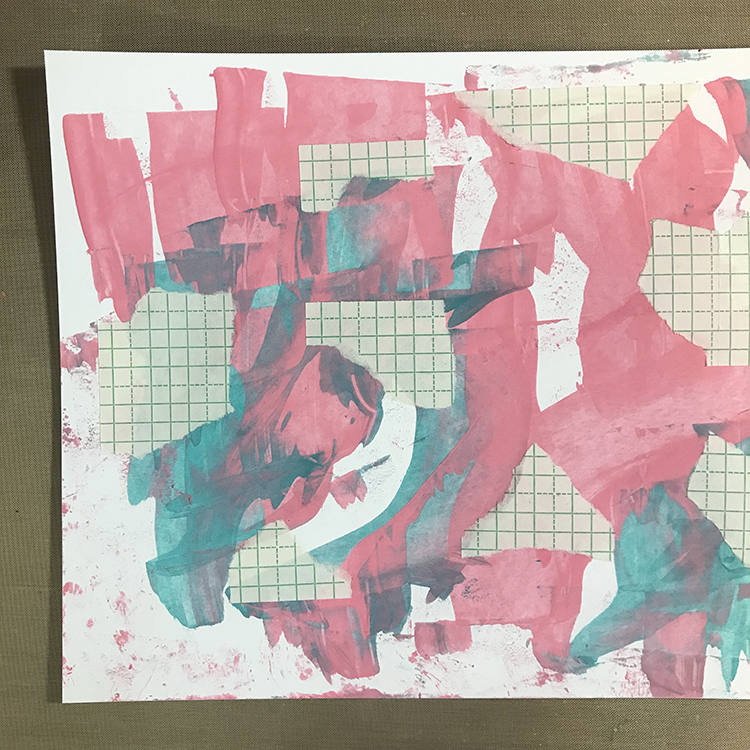
Next, I wanted to add some paper bits, so I selected a piece of vintage graph paper that I liked, tore a few pieces off, and glued them down randomly to my page using an Uhu glue stick.
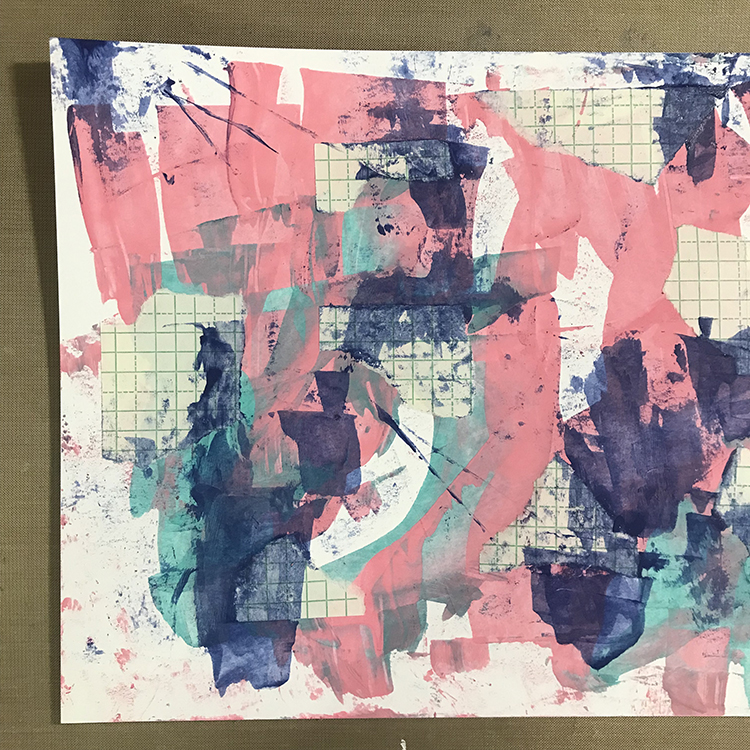
I then wanted to add another color of paint. This time I chose a dark blue for contrast, and added a few dots of it to my card stock. This time I scraped the paint around with a palette knife, since I wanted to play around with different types of texture. You can see the variation in the way the tools apply the paint to the page; this variation is what makes things interesting!

Using a Marabu Art Crayon in white, I then added a series of dots over the portions of the card stock where I had added the dark blue paint. This adds a bit more interest to these areas.
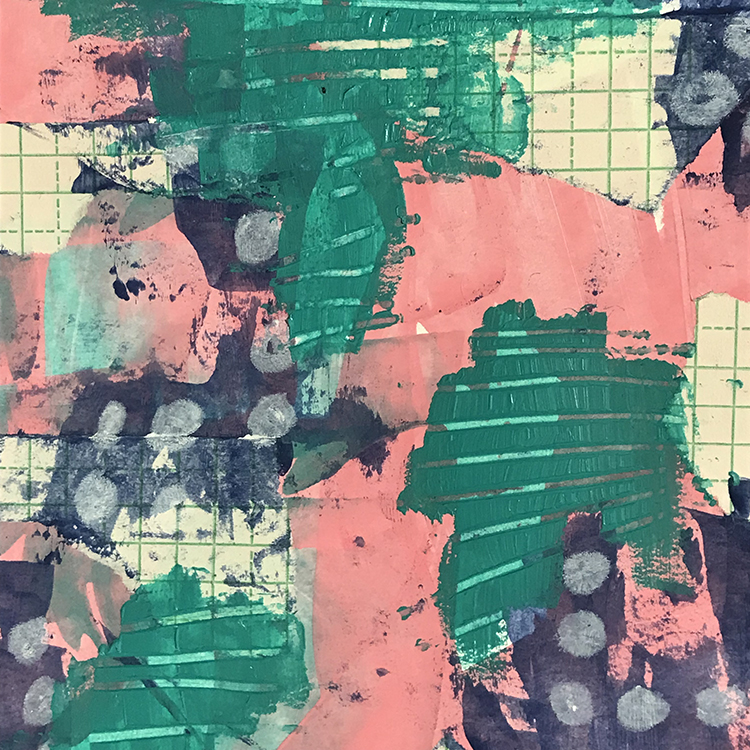
For my next layer, I really wanted to incorporate this month’s theme of Time for Texture a little more, by adding some actual texture as opposed to just visual texture. Though I primarily work with craft paints, for this layer I selected a heavier body paint (Blick Studio Acrylic in Bright Aqua Green) and applied it with a paint brush in thick layers.
I tried to focus on portions of the card stock that were either still white, or that I didn’t really like. I then used the back end of my paintbrush to scratch into the wet paint in order to create some fun textured lines!
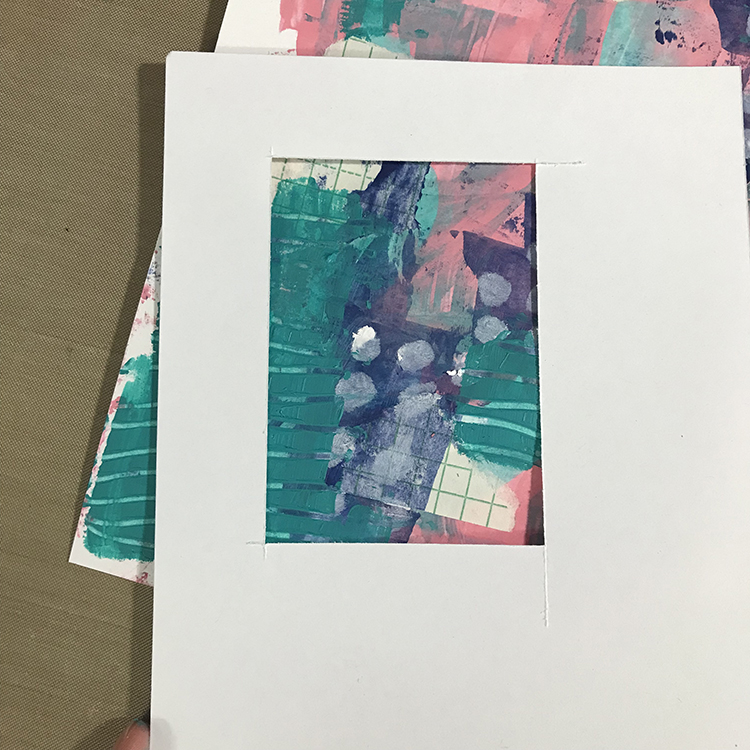
At this point, I was ready to cut down my card stock into ATC bases. You could simply use a paper trimmer to achieve this, but I chose to create a “viewfinder” by cutting an ATC sized hole (2.5″x3.5″) into a separate scrap of card stock. I then used this to find interesting bits of my painted paper, before tracing the outline with a pencil and cutting them out with scissors.
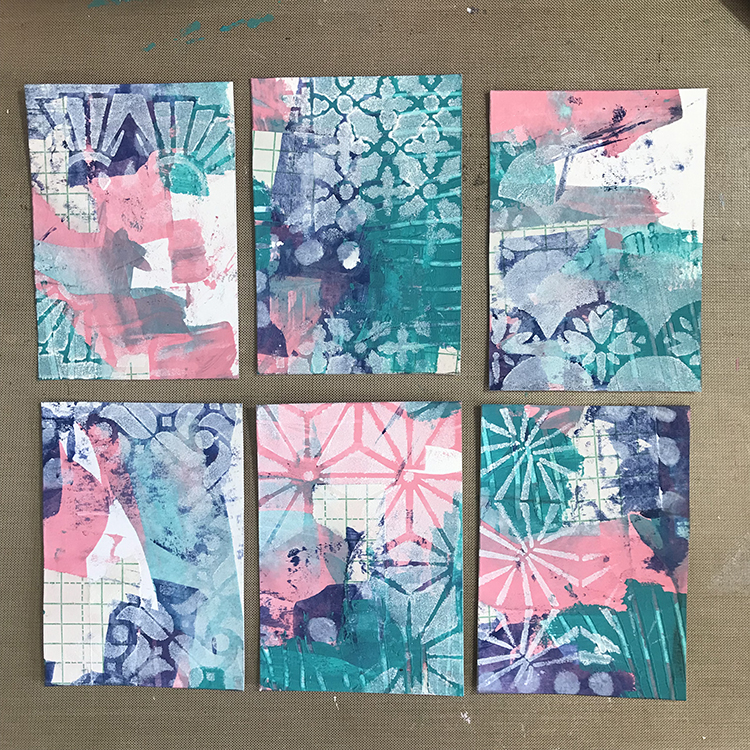
Now it was time to add Nathalie’s ATC Mixup Stencil! I chose a different part of the stencil to use on each card in order to get a good variety, and I applied it to my bases with white acrylic paint and a makeup sponge. I tried to focus the stenciling on portions of the cards that were a bit darker, so that the white paint would show up better.
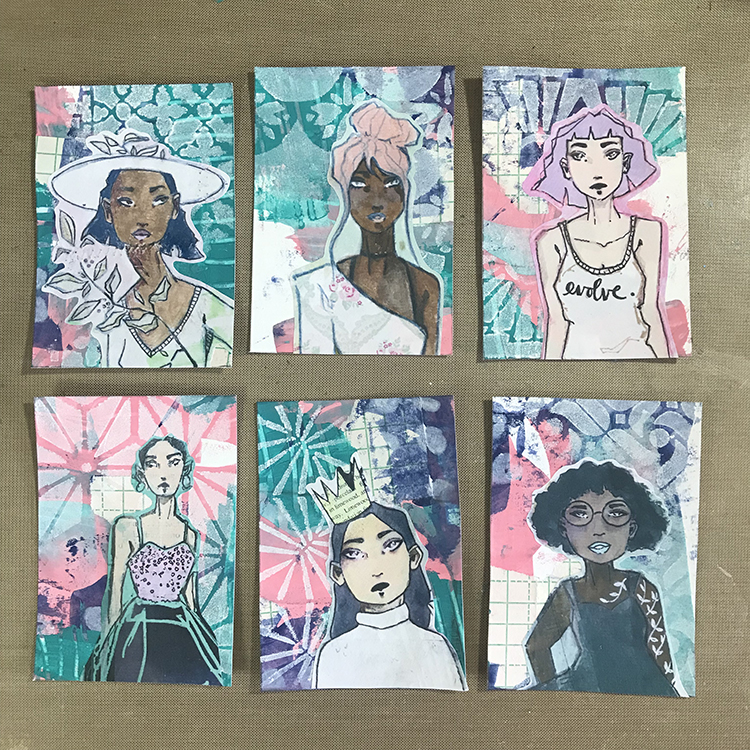
Next up were the focal points! For my ATCs, I used a variety of different illustrations from some of my collage sheets, selecting ones that were on the smaller side so that they would fit. You could also use stamped images or die cuts to create focal images as well! Once I had determined which images I wanted on which cards, I again used my Uhu glue stick to adhere them to my ATCs.
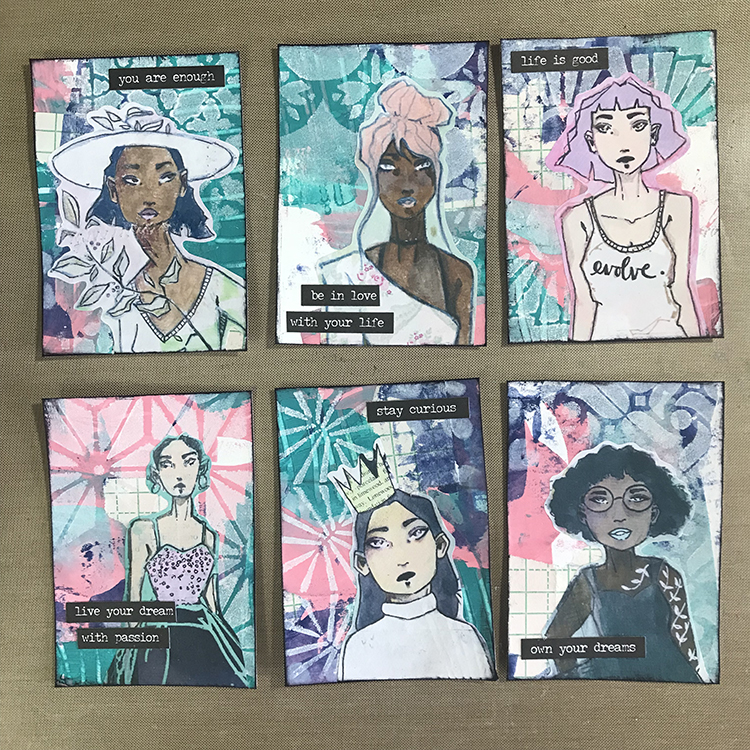
Finally, to finish off my cards, I used some Tim Holtz Small Talk stickers to add words. I added extra adhesive to these stickers using Aleene’s Tacky Glue, as they don’t always like to stay in place. I also used an Archival black ink pad and rubbed it around the edges of my ATCs to make them feel more finished.
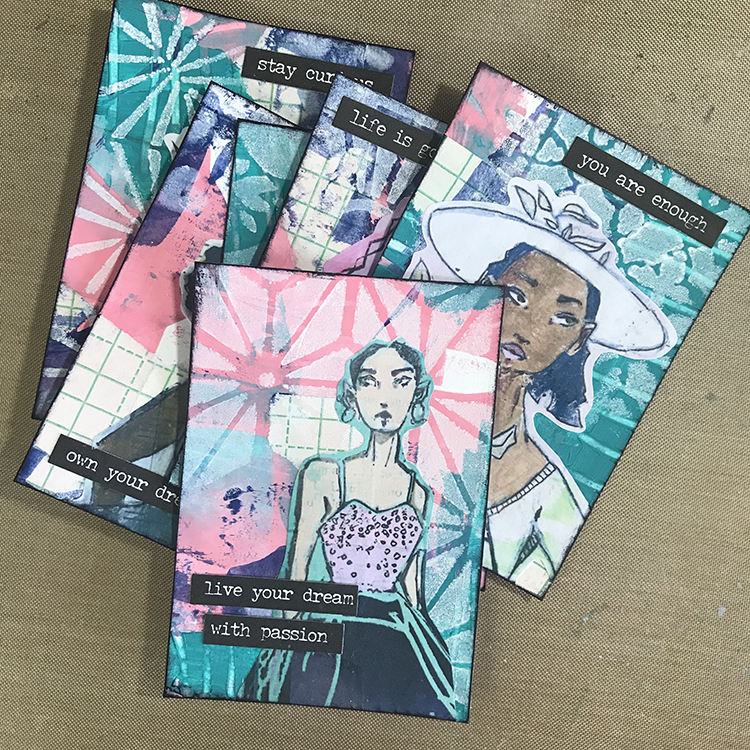
After signing and dating the backs of the cards, they are now ready to send off/trade! I hope you enjoyed seeing the process of creating these cards and that you give some of the ideas a try!
Thank you Jordan – love your color palette and the empowering sentiment of these!
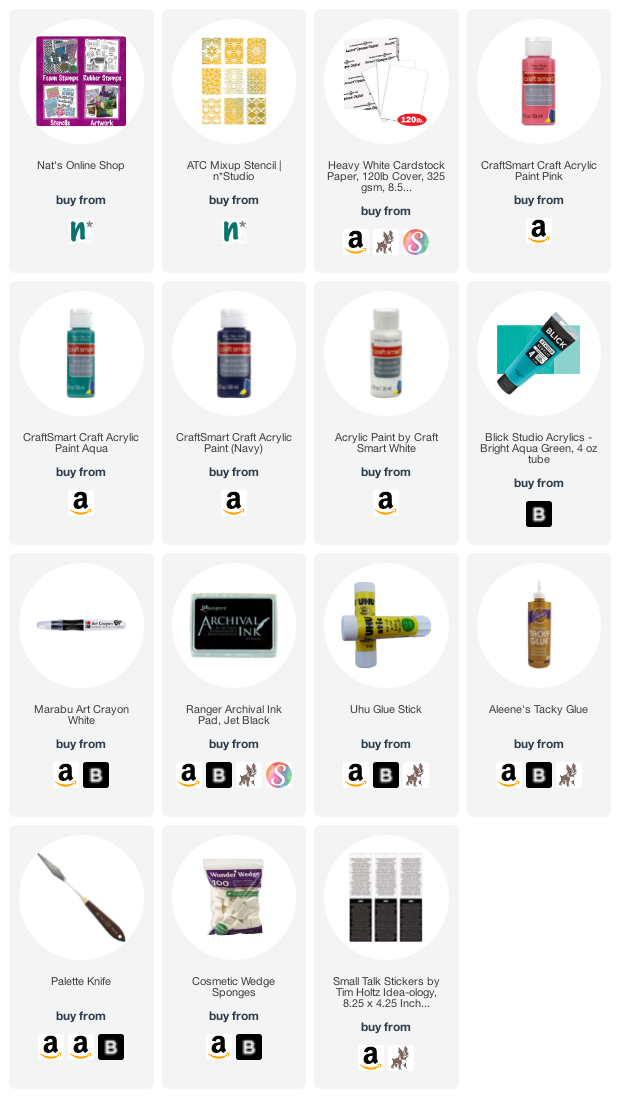
Give it a try: you can find all my Stencils in my Online Shop and in addition to an old credit/gift card and collage material from her stash, here are some of the supplies Jordan used:
Looking for more projects? Follow the Creative Squad on Instagram here.
Comments (1)
Robin Seiz
| #
Love your process for all the texture Jordan! They turned out great!
Reply