
Hello from my Creative Squad! Today we have a post from Jordan Hill who is sharing with us an art journal page using my Art Deco Empire stencil and our October theme: Masquerade Party – Let’s play with disguises, the technique of masking, or maybe creating a bit of mystery this month. Not everything is what it seems, and it can be an interesting artistic trick to obscure or reveal in your artwork.
Hello everyone! When I first heard about this month’s theme of “Masquerade Party”, I was extremely excited! It’s the sort of theme that’s right up my alley, and I knew I would have a lot of fun with it. I hope you enjoy following along with me as I create this month’s project!

I started things off by flipping through one of my art journals to find a spread that I wanted to work on. This particular background consisted of a few pieces of collage, some pink acrylic paint and a bit of glitter paint. Something about this spread was calling to me, so I decided to go with it!

Next, using Nathalie’s Art Deco Empire Stencil, a foam makeup sponge, and some dark blue acrylic paint, I added some texture over different parts of my spread. I selected this dark blue color specifically because I knew it would contrast well with the soft pink of the background.

I then selected a collage image to use as my focal point for the page. For my example, I used a scan of my own artwork, but you could get a similar effect by using magazine images or photographs. It might be fun to play around with photos of yourself, or of family and friends!

Now it was time to introduce the “Masquerade Party” theme to this spread! I first sketched out the general shape of a mask over my figure’s eyes. Then, using black acrylic paint, I painted over top of my collage image in order to create a masquerade mask! Once the black acrylic paint was dry, I used a white gel pen to add some details to the mask; swirls and spirals are a great way to give a filigree effect without having to be too precise.
I also took this time to add some small circles over my page with a fine point pen. This added a bit of extra texture to the background, particularly in areas where I felt it was looking a bit plain.
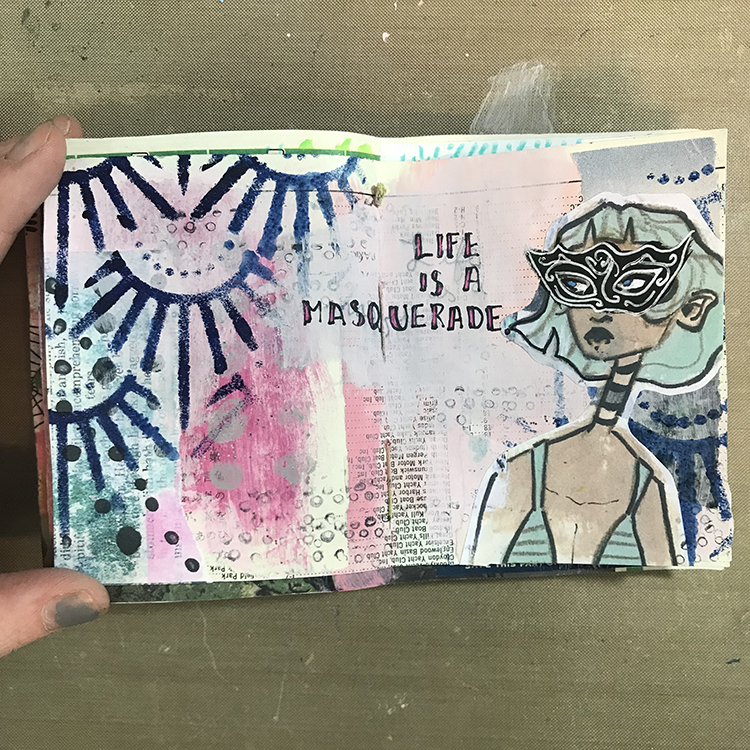
I was then ready to add words! At first, I tried to write directly over the preexisting background, but the numbers and letters from the collage paper were a bit overpowering. In order to fix this, I took some more pink acrylic paint and added a second layer to the area where I wanted to add my words. This second layer gave me a more opaque space to write. I also decided to supplement my typical black lettering with some magenta, in order to tie the words together with the spread a bit more.
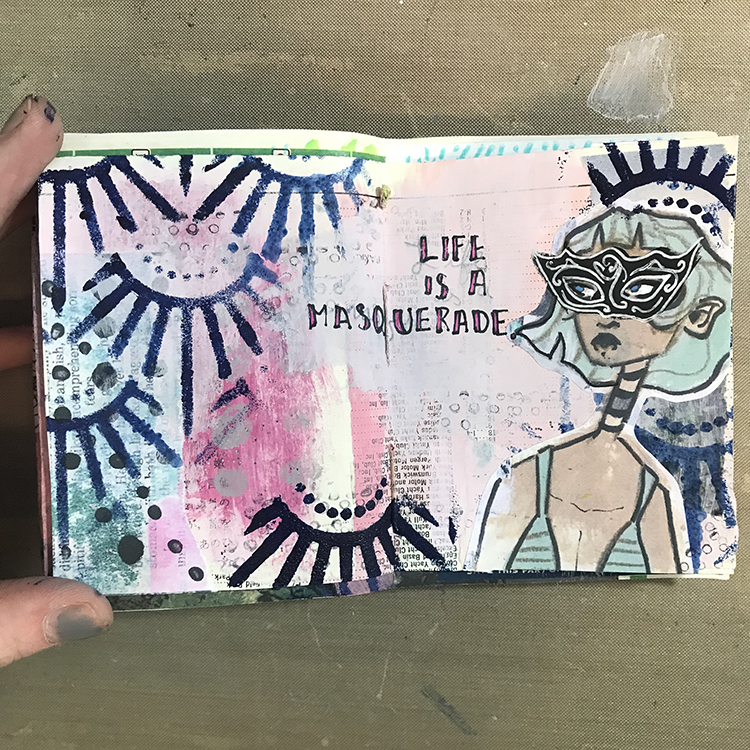
At this point, I was starting to feel as though I was losing a bit of the stencil design, so using the same dark blue paint, I re-added Nathalie’s Art Deco Empire Stencil to a few places around the spread. For the upper right element, I also flipped the stencil upside down and placed it so it would appear almost crown-like over the head of my figure!
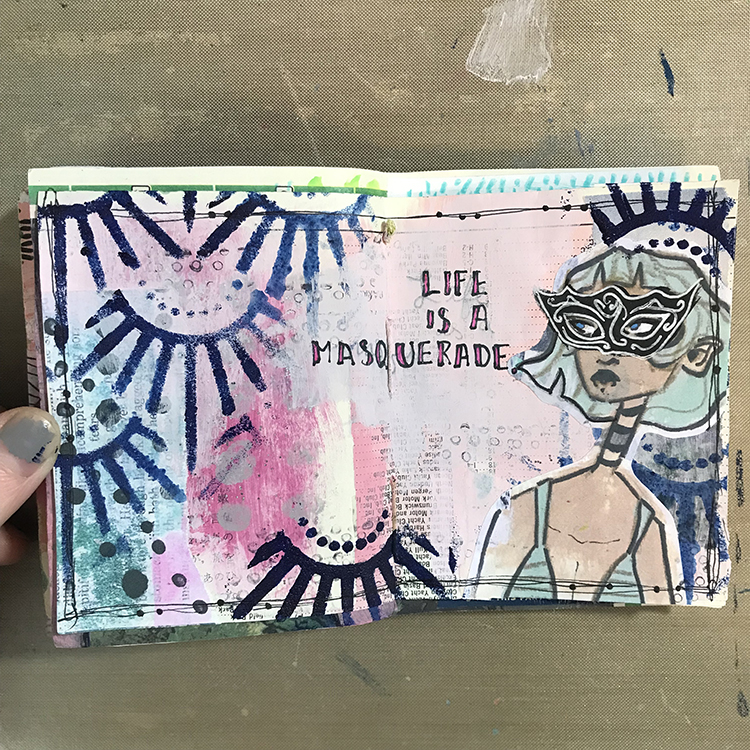
To wrap everything up and tie it all together, the final step was to draw a scratchy border around the edges of my page. I added a few dots along these scratchy lines in an attempt to replicate the pearls and jewelry you might see at a Masquerade Party, and I was ready to call this spread done!
I hope you all enjoyed following along with my process this month and I hope you consider experimenting with some of the ideas yourself!
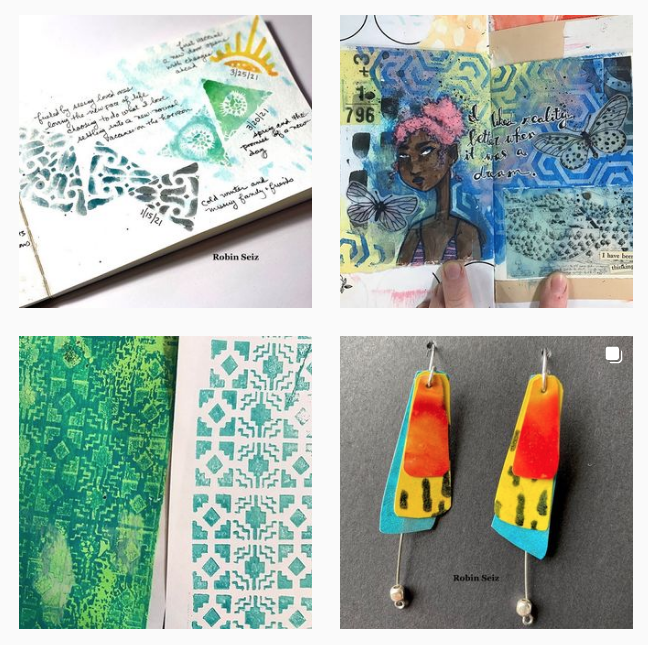
Thank you Jordan – so cool to see one of your characters donning a mask for the occasion! And look at that gorgeous background too :)
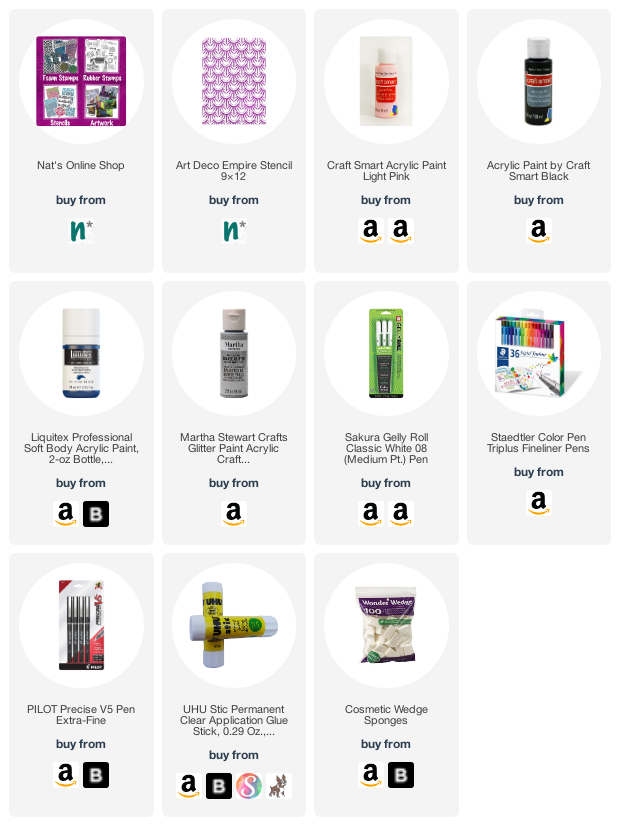
Give it a try: you can find all my Stencils in my Online Shop and in addition to collage papers here are some of the supplies Jordan used:
Follow the Creative Squad on Instagram for weekly posts, artwork, and inspiration.
Comments (1)
Robin
| #
Jordan, I love this months journal page you created. The mask gives it such an expressive look. Loved reading your process too!
Reply