Welcome to a Happy Holidays post from my Creative Squad. Today we have two tree ornament ideas from Nicole Watson to get you in the spirit. Nicole is using my Valley Road stencil and my Antique Tile foam stamp along with this month’s theme: Happy Holidays – It is a time of year where we are celebrating and coming together and enjoying some merriment. Create something holiday related (whatever holiday you may be celebrating) and enjoy the season!
Recently, I wandered around several craft stores to see what was new for the holidays and find some inspiration. There I found several blank wood and paper mache ornaments that I knew would make perfect canvasses to stamp or print on. I had the exact stamp and stencil in mind when I grabbed the round paper mache and wood snowflakes.
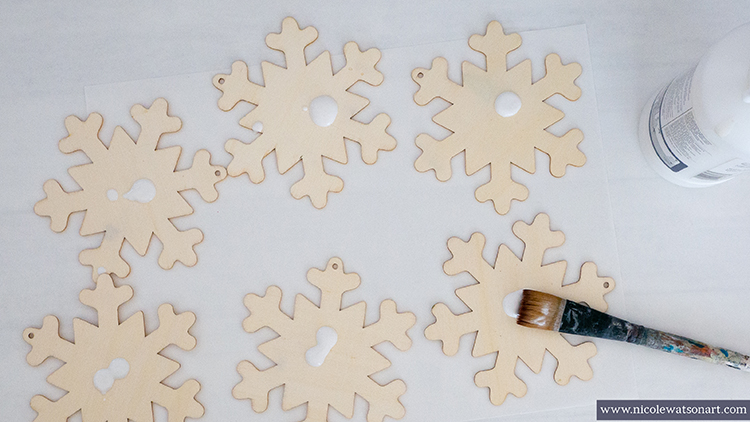
When I returned home, I grabbed my paint and gelli plate and began playing. First, I coated all of the ornaments with clear gesso and let it dry. Then I began to get my hands a bit messy.
To make the round ornament:
Brayer green and white paint on your gelli plate.
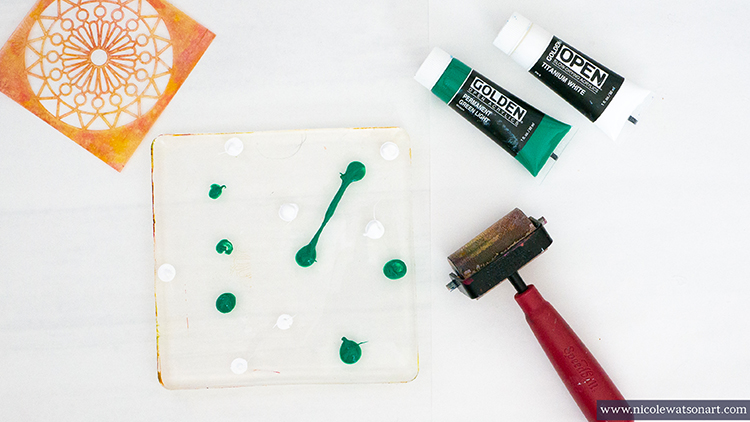
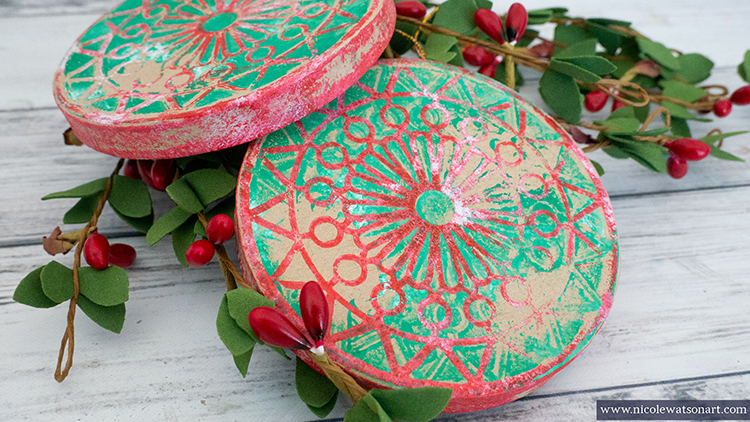
Place the stencil on your plate in a spot where you like how the paint brayered. I used Nat’s Valley Road stencil, however all of her other small circles would also work!
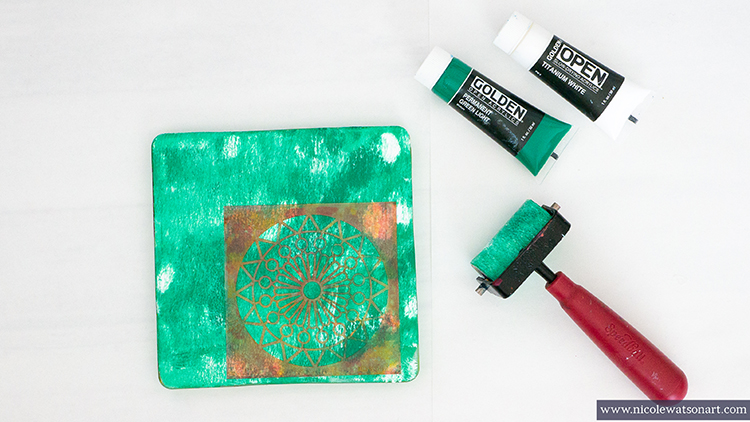
Then, place the ornament on top the stencil and press down. Make sure you use a good amount of pressure since the ornament is hollow.
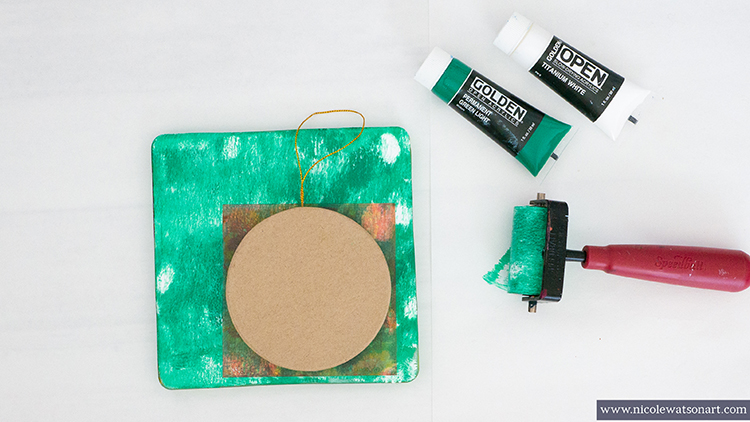
Lift the ornament and allow to dry. I didn’t mind that the print on the ornament wasn’t perfect as I think it adds to the rustic nature of the ornaments.
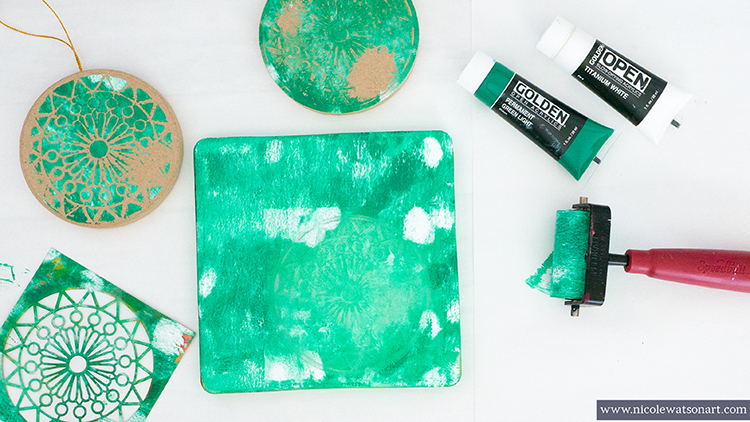
Carefully lift the stencil from the plate and grab another ornament. Place this ornament in the spot where you lifted the stencil, apply pressure, and allow to dry.
Repeat this process for the ornaments you have. Once they are dry, repeat again to print on the other sides, but use the opposite opposite. The ones that you put on the stencil first, put those on the plate. This way each side of the ornament is unique.
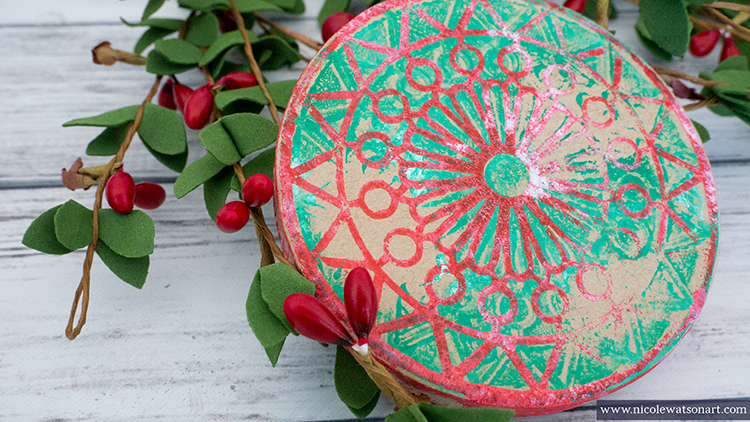
Use your gelli plate as a stamp pad for the stencil, which is your stamp. This part is a little messy so have some baby wipes ready for your hands! Spread the red and white paint on your gelli plate with a brayer.
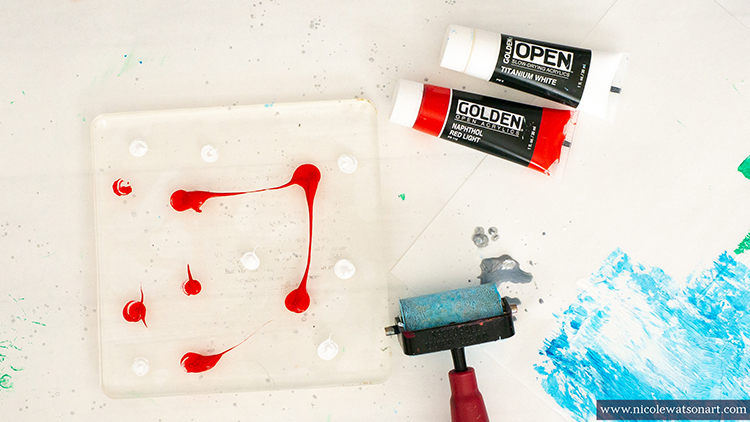
Place your stencil down to pick up ink (you can brayer over it for better coverage). Then, place the stencil on your ornament. Use a scrap piece of paper on top the stencil to add pressure for the print. Continue this process for each side of the ornament.
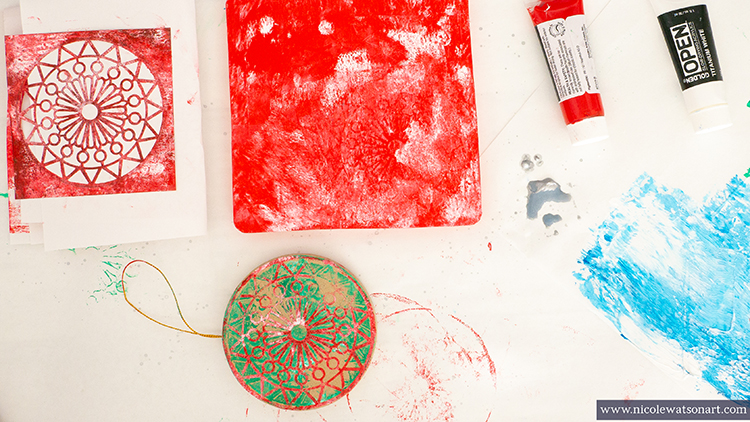
Before I cleaned the red paint off the gelli plate, I also rolled the edges of the ornaments in it a bit to add paint to the edges.
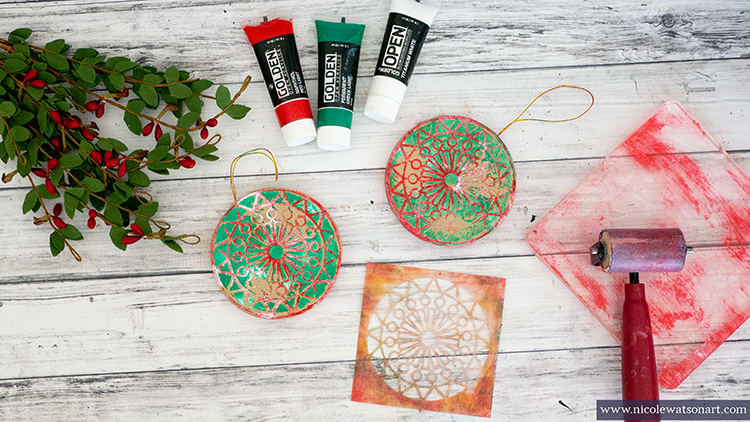
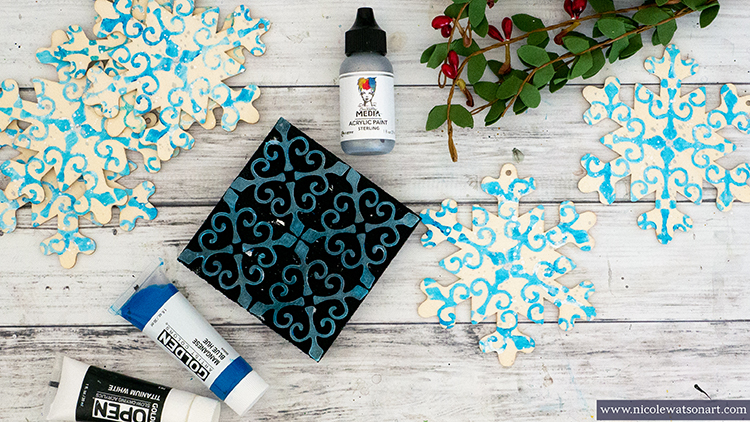
To make the snowflake ornament:
In between the round ornament drying time, I worked on the snowflake ornaments, and vice versa! It works really well to create both of these at the same time.
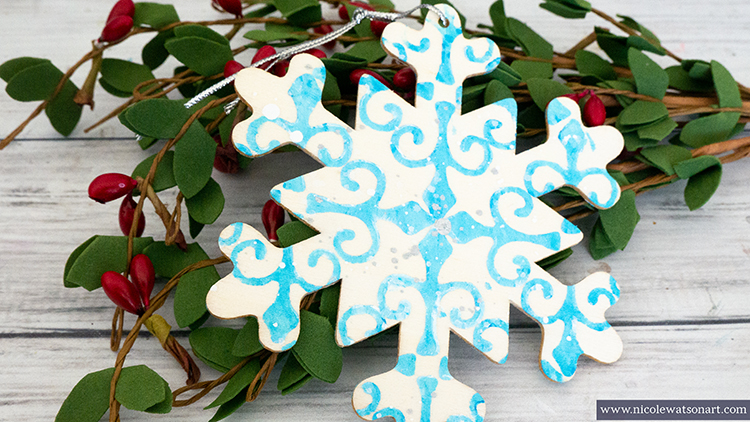
Add some blue paint and white gesso to your palette paper. You can use white paint instead; however, I like how gesso is less opaque. Brayer a mix of the paint and gesso on your Antique Tile foam stamp.
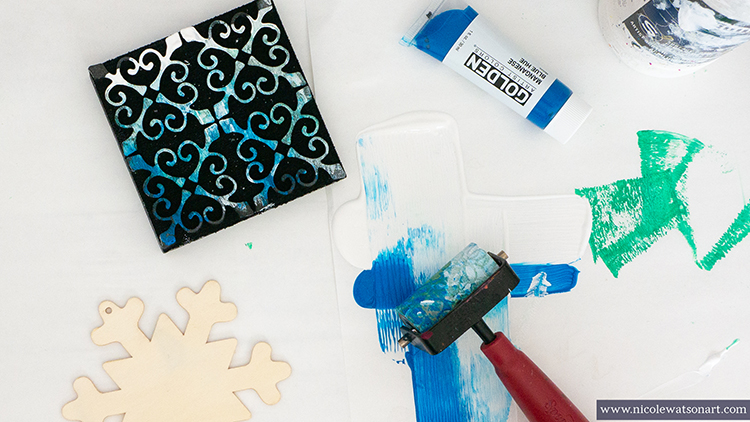
Then, place your snowflake on top of the stamp and press down. Repeat this process with all your snowflakes and allow side one to dry. Then, repeat for side two!
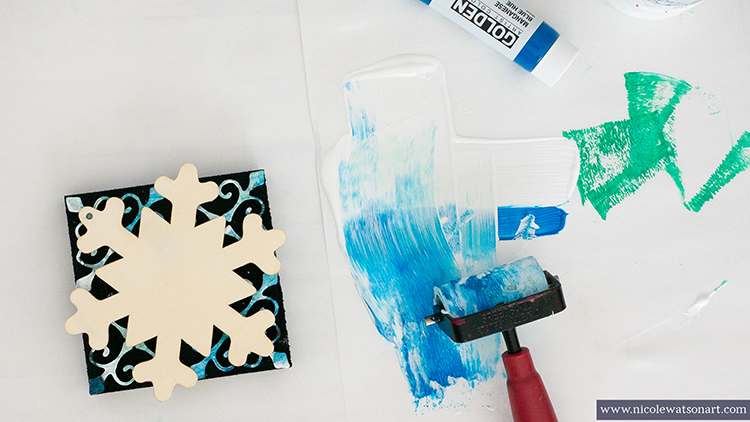
After both sides are stamped, spatter with silver paint and white gesso on each side. I also added a larger silver dot in the center of each flake by dipping the end of my paintbrush in the silver paint and using that to make a round circle on the ornament.
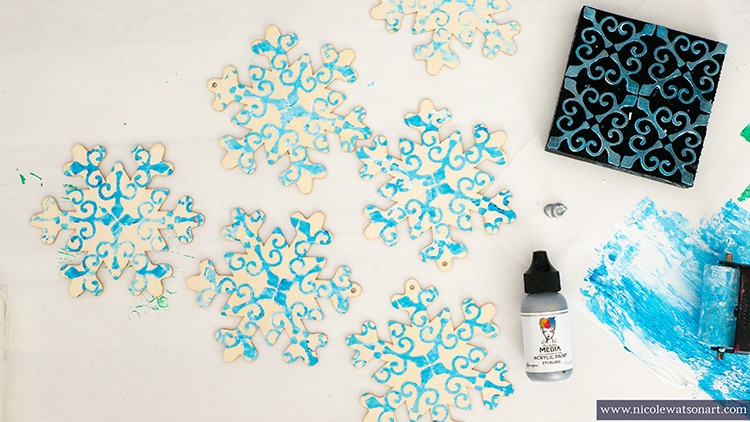
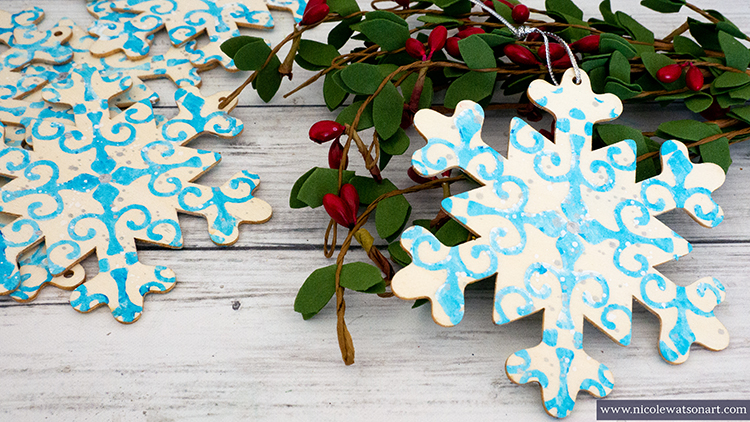
I absolutely love how both of these ornaments turned out, however instead of ornaments I’m going to use them for gift tags/package decorations. I added a snowflake to a package for our house sitter this week, and it was the perfect touch!
Nat’s Antique Tile stamp is a fun stamp to use in other ways as well. I’m also going to stamp it on my Christmas card envelopes, and last year I made wrapping paper with it!
I hope you are able to take some time to create this holiday season!

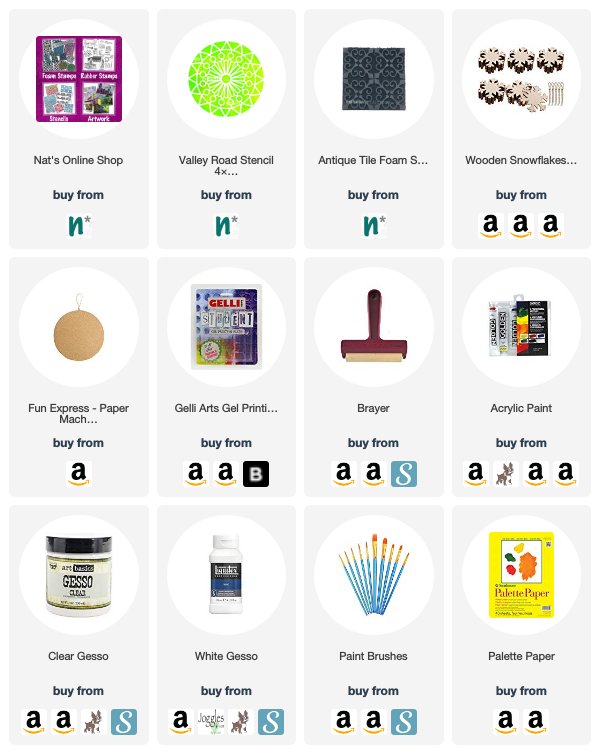
Thank you Nicole – what a great idea to use them as either ornaments or a gift tag. Want to give Nicole’s project a try? You can find all my Stencils and Foam Stamps in my Online Shop and here are some of the other supplies she used:
Feel inspired? Working on something yourself that you’d like to share? I love to see how you interpret our monthly themes. Email me or tag me #natkalbach how you used my stencils and stamps – I would love to share your projects in my next “n*Spiration From Around the Globe“.
