

Hello from my Creative Squad! Today we are having Emilie Murphy sing with a wonderful set of patterned cards. She is using my Granada stencil, and my Birds, Mini Motifs, and Fan-fare stamp sets along with our theme: Sing Your Song – Everybody has their own voice, their own groove, their own one-of-a-kind personality. What is something unique about YOU that you are proud of? Don’t be shy, Sing YOUR Song!
Hi there! Hope you are doing well.
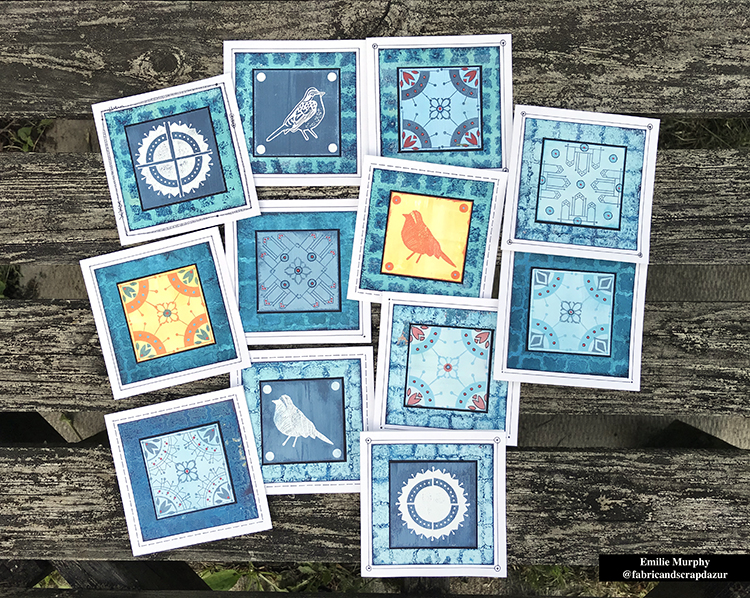
I really hesitated about what song I would sing to you this month. I decided to make some cards because that is something that I love to do. Sending personalized cards to friends and family is one of my favorite things to do.
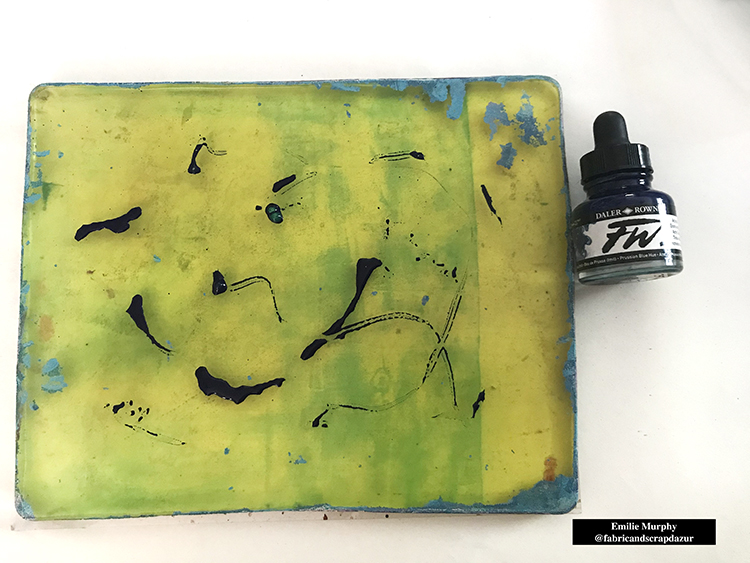
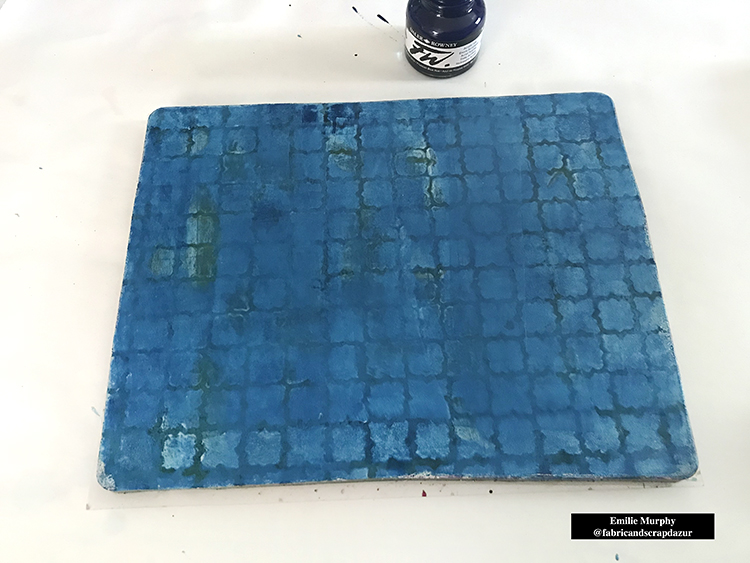
I first used my 8×10 Gelli plate to create some monochrome backgrounds using the Nat’s “Granada” stencil 9×12 and blue acrylic paints. The Gelli plate is a great tool to make a diversity of background quickly. I showed here just one example. If you are not familiar about what a Gelli plate is and what we can do with it, I encourage you to go on the Youtube channel of Gelli Arts.
I started to apply a dark color of blue first.
I right away placed down Nat’s Granada stencil then removed some paint with a piece of copy paper.
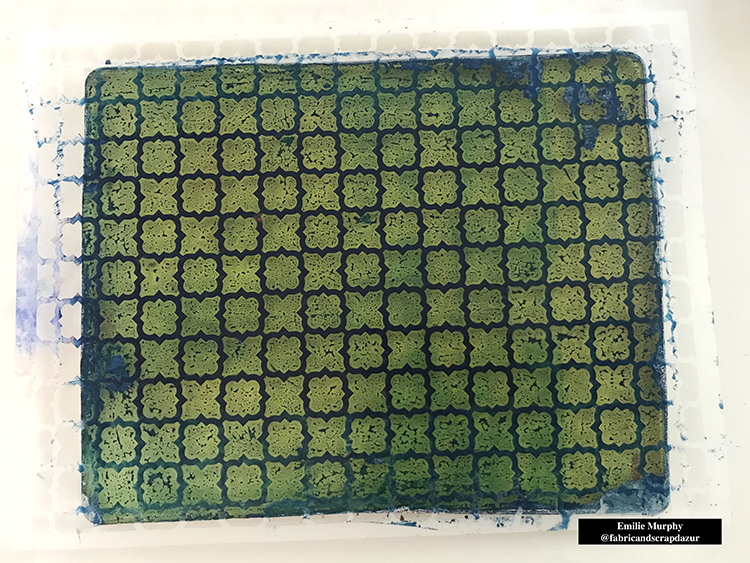
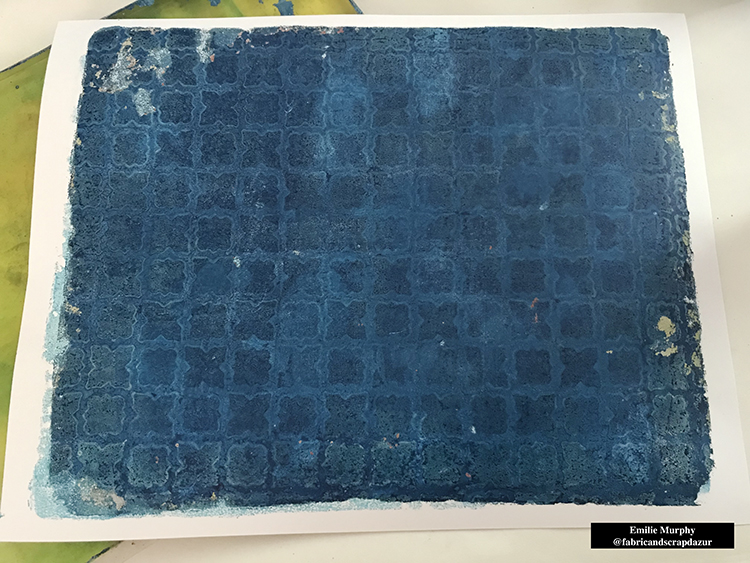
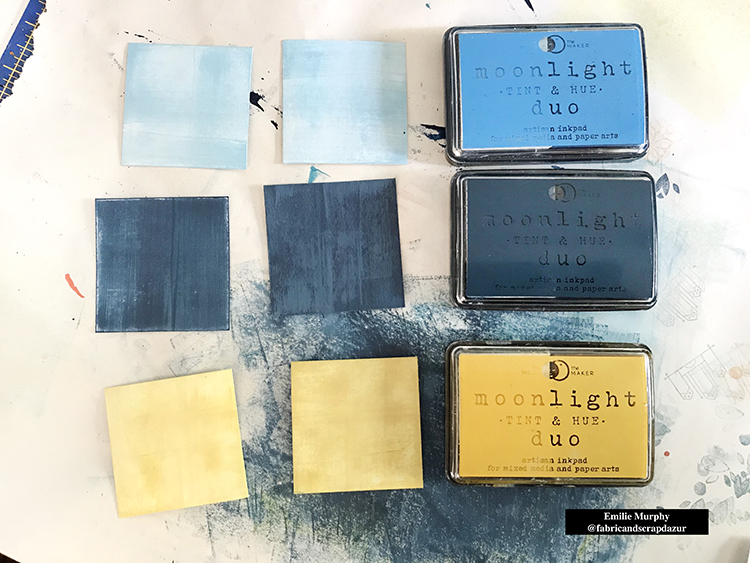
Then I applied a mid-tone color of blue and an off-white color to get a gradient of different blues.
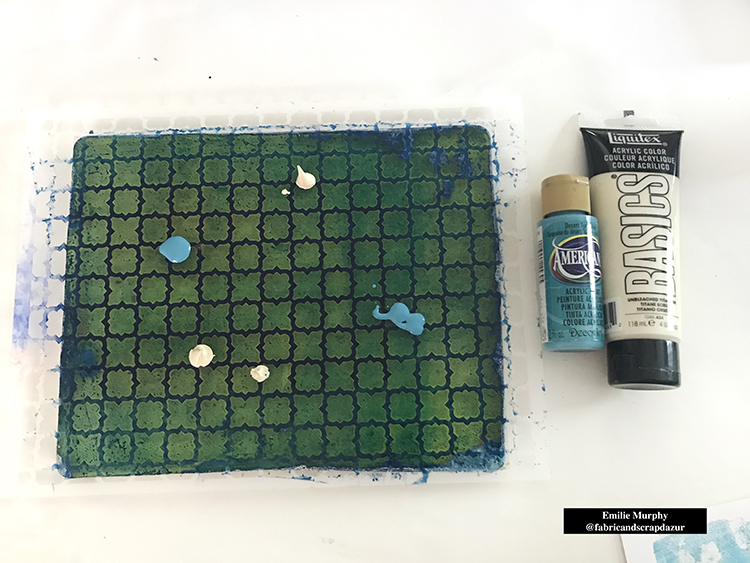
Here is what I got:
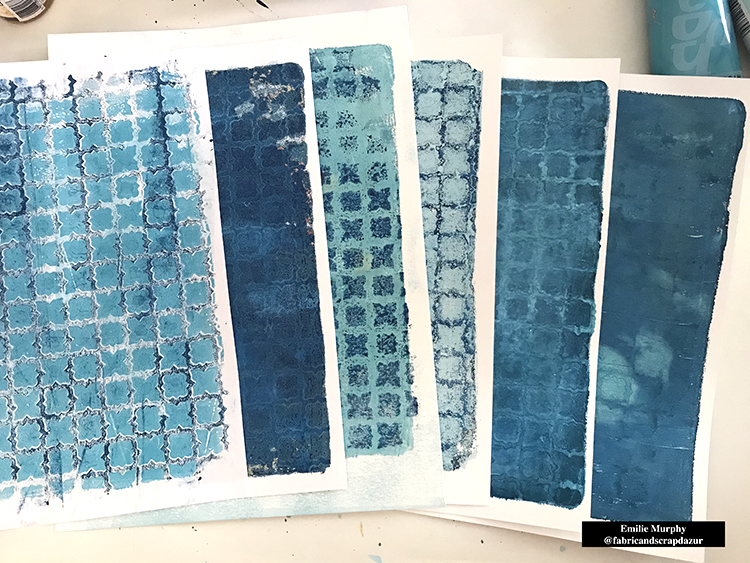
Then I kept going to get a variety of monochrome backgrounds.
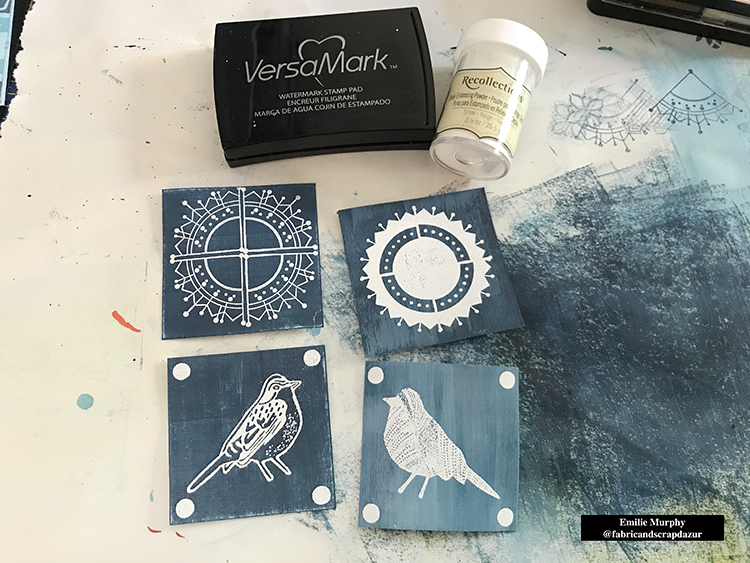
I always have fun playing with my Gelli plate but I have to say that the best part of this project was to play stamping with Nat’s new Mini Motifs stamp set. The possibilities are really endless to make patterns. I also used some Fan-fare stamps to complete my patterns because these two stamps sets go so well together.
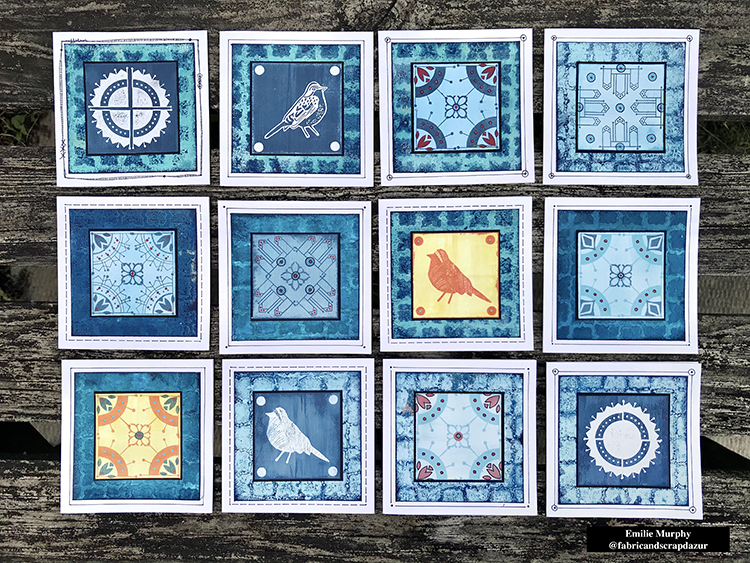
Let me guide you now how I made my cards. They measure 4 ½ x4 ½ inches. I used white cardstock as base.
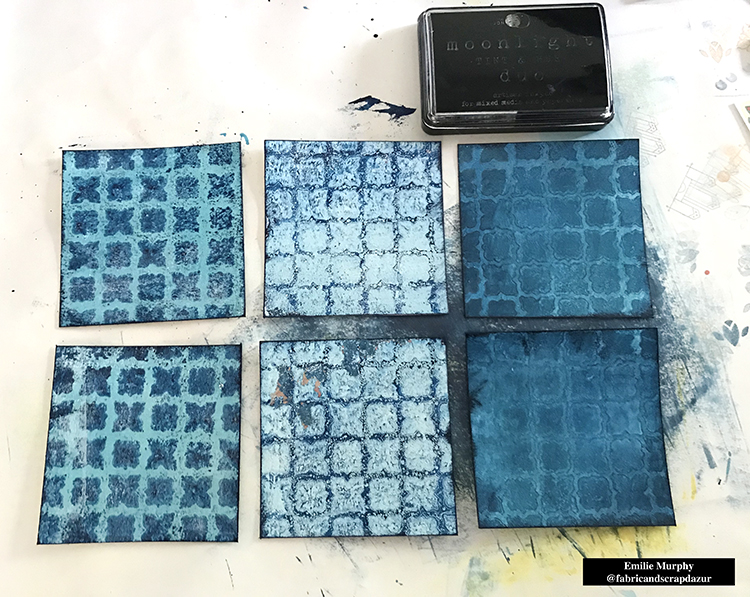
I cut the backgrounds made previously in 3 ¾ x 3 ¾ inches pieces and darkened the edges with my black Moonlight Duo ink pad.
I cut also some 2 ½ x 2 ½ cardstock pieces that are going to be the centered pieces of my cards. I colored them with my Moonlight duo Ink Pads. I just rubbed directly on the paper, both of the color and white parts of the pad, until I was satisfied with the tint of the color I got.
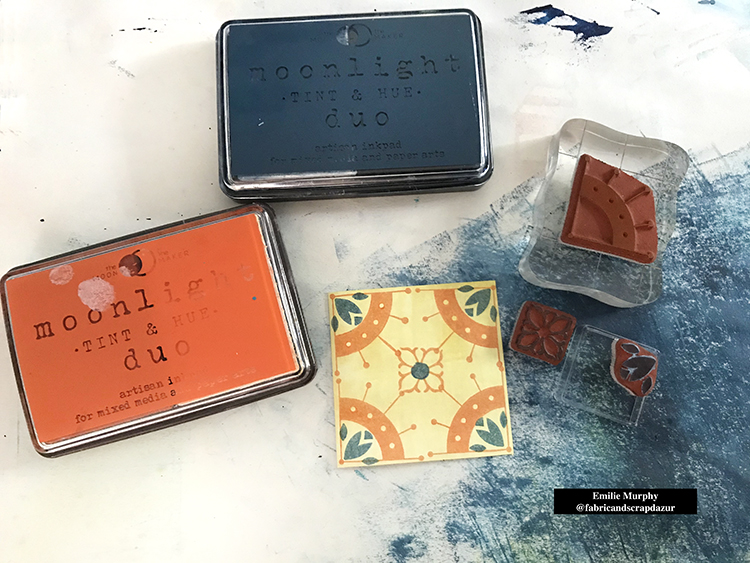
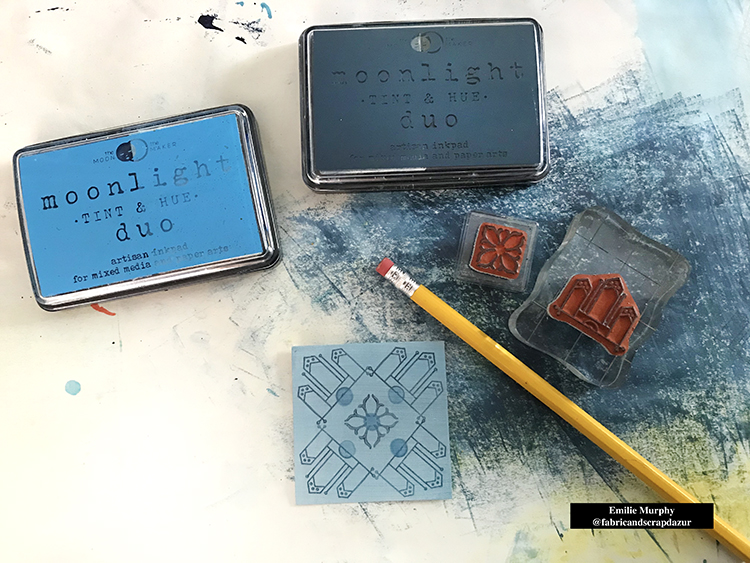
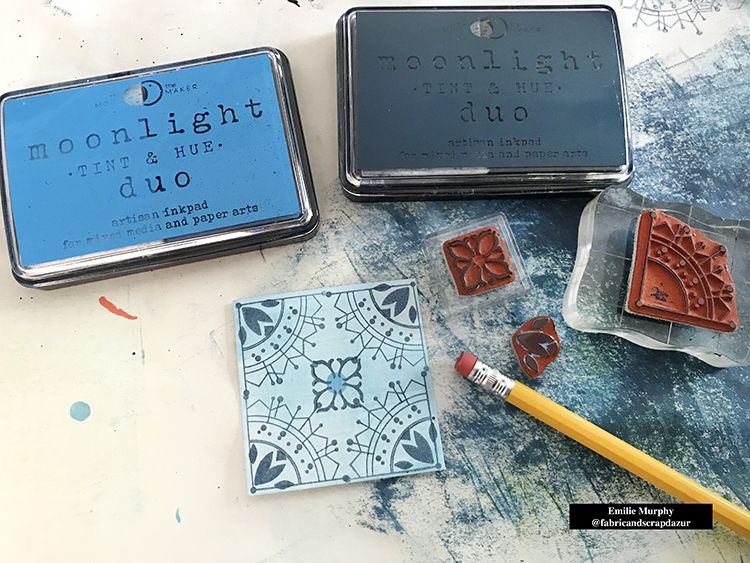
Then I stamped on them different patterns using the Mini Motifs, Birds and Fan-fare stamps set with my Moonlight duo Ink pads.
Following are a few examples:

I also used some embossing white powder for some patterns.
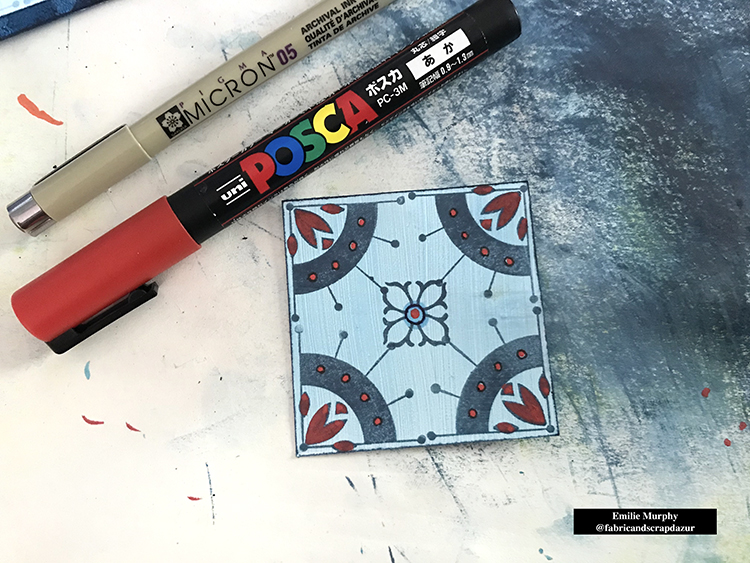
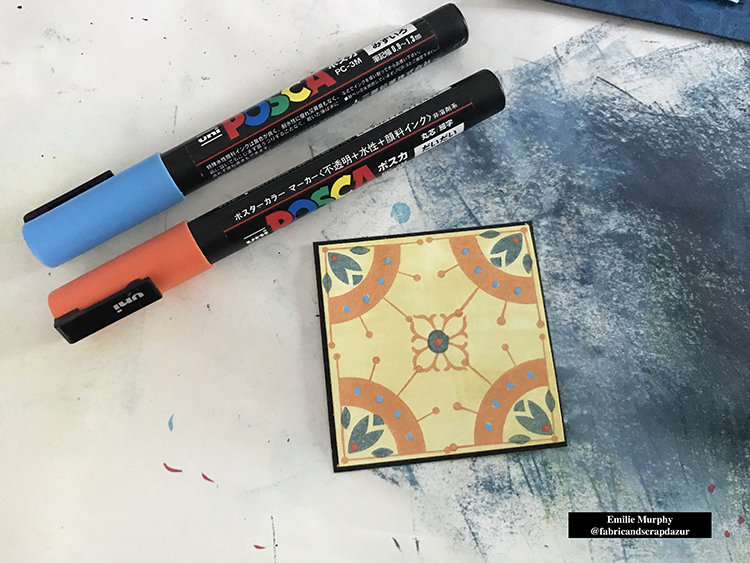
To add some interest I added details and final touches with some Posca pens and a 0.5 Micron pen.
Finally, I assembled my cards. I matted my centered 2 ½ x 2 ½ inches pieces on a 2 5/8 x 2 5/8 piece of black cardstock to have a thin black border.
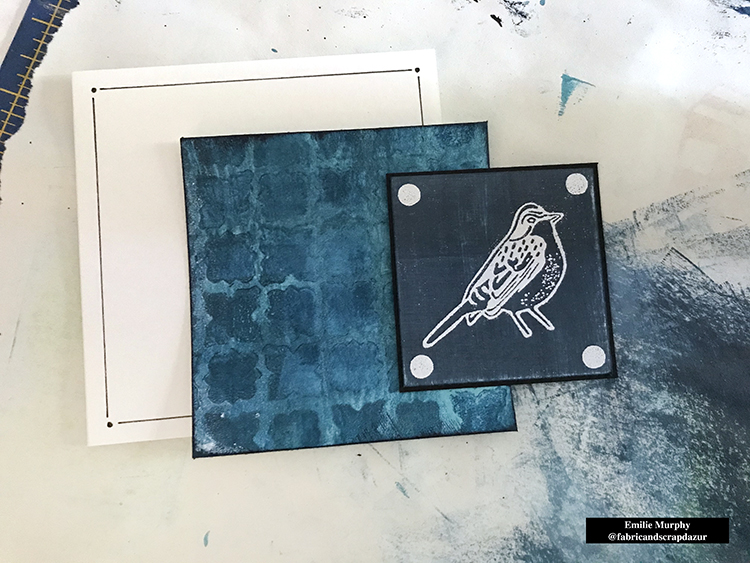
I finished my cards by adding a black border with a micron pen around the background piece.
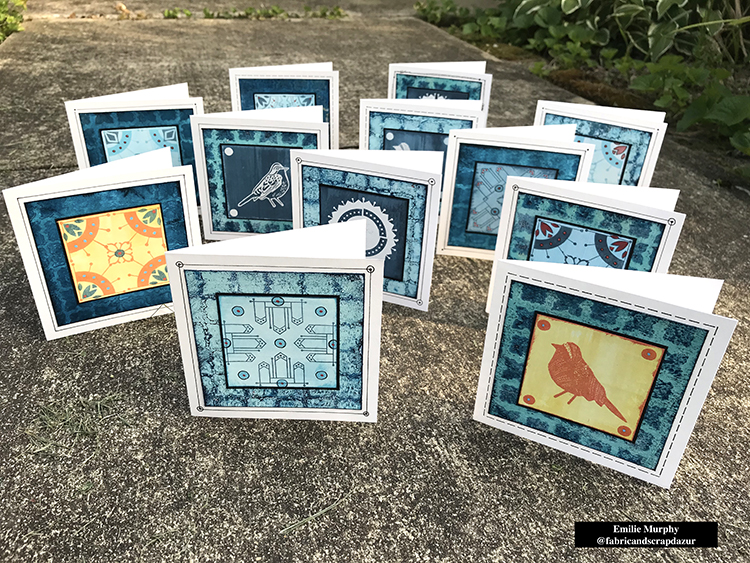
Hope you have enjoyed this tutorial and would like to give a try. These new stamp sets offer so many possibilities to make nice and unique cards in a short period of time.
Have a good rest of the week and see you next month!
Thank you Emilie – love all the different patterns you explored through these! What fun to see the possibilities!
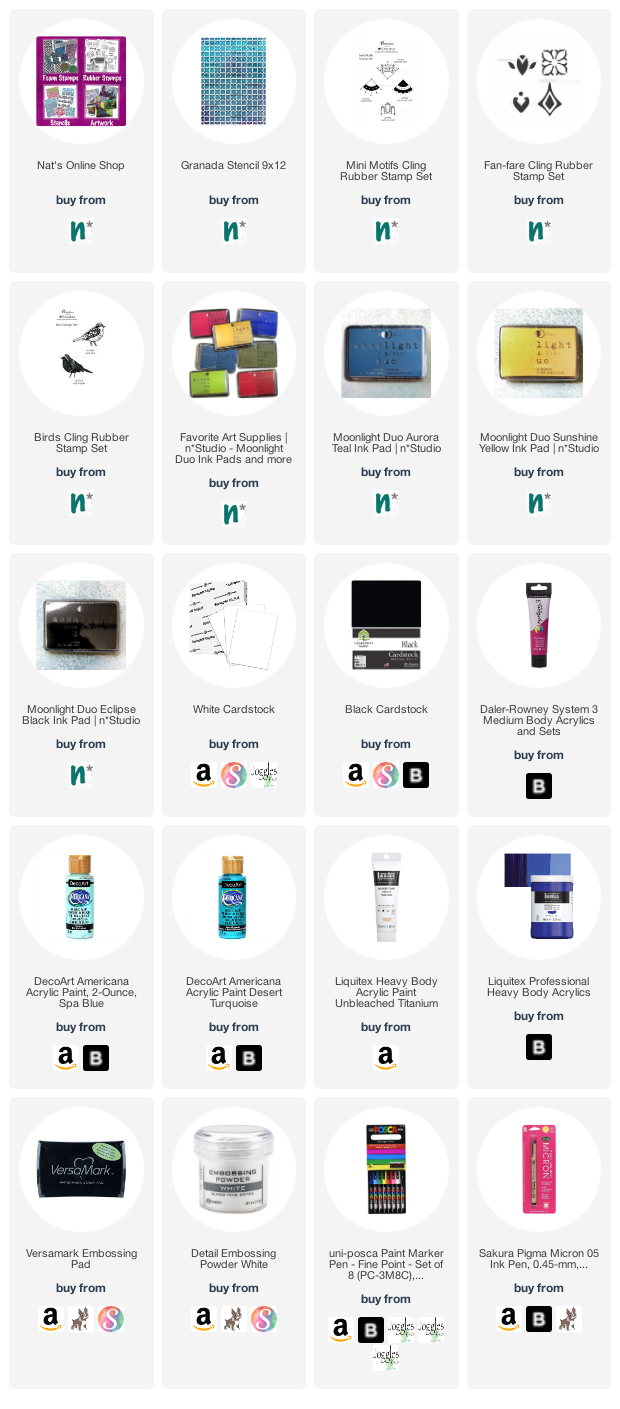
Give it a try: you can find all my Stencils and Rubber Stamps in my Online Shop and here are some of the other supplies Emilie used:
Feel inspired? Working on something yourself that you’d like to share? I love to see how you interpret our monthly themes. Email me how you used my stencils and stamps with the theme and email me an image – I would love to share your projects in my next “n*Spiration From Around the Globe“.