Hello from my Creative Squad! Today we have some super colorful and happy cards from Maura Hibbitts that are sure to lift anyone’s mood. She is using my Art Deco Empire stencil and my Fan-tastic Small rubber stamps for this project and our theme: Wild and Free – After so many months of careful living, it’s time to go Wild and Free… In our Art Journals! Go a little crazy in there and live it up with bright colors, exuberant mark making, bold colors – however you want to go a bit bananas. It’s time to let loose!
There is something liberating in keeping your choices simple, and just letting your creative muse go wild and free. I was drawn to the colors of the rainbow, a symbol of hope for many of us, and decided to make a set of cards that I can mail out.
I’ve definitely had my wild and free moments in the wilderness, and some youthful follies. I can remember a rafting adventure on the Salmon River in New York in February, and no, I was not wearing a wetsuit. Crazy right, when I think about how cold that water was, and the thick ice lining the shoreline. Oh, I could share a lot more! Heck, I still have a few of those moments even now that I am much older, and apparently not much wiser.
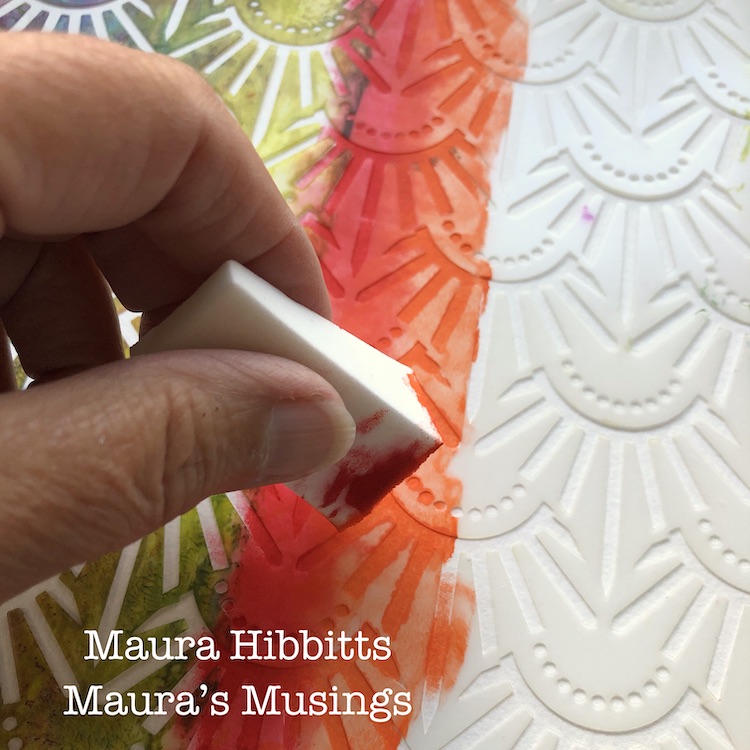
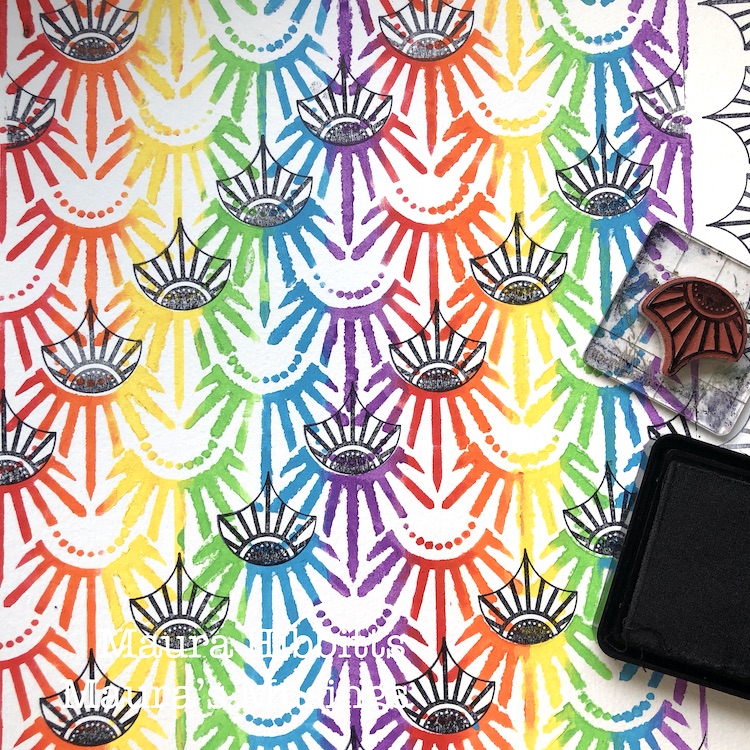
So, back to the project…I started by taping the Art Deco Empire stencil down over my watercolor paper. I don’t usually do this, but because I was adding multiple colors, I didn’t want it to move.
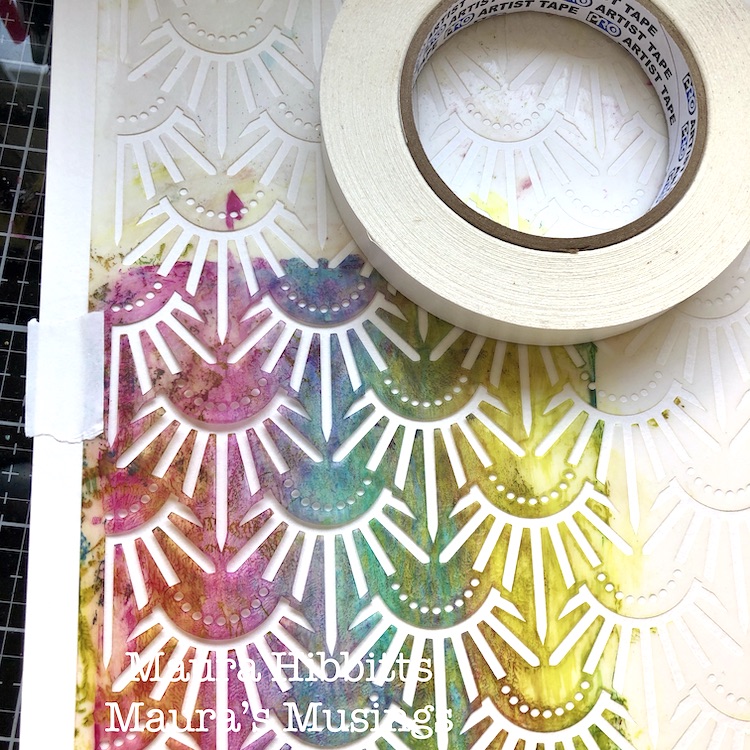
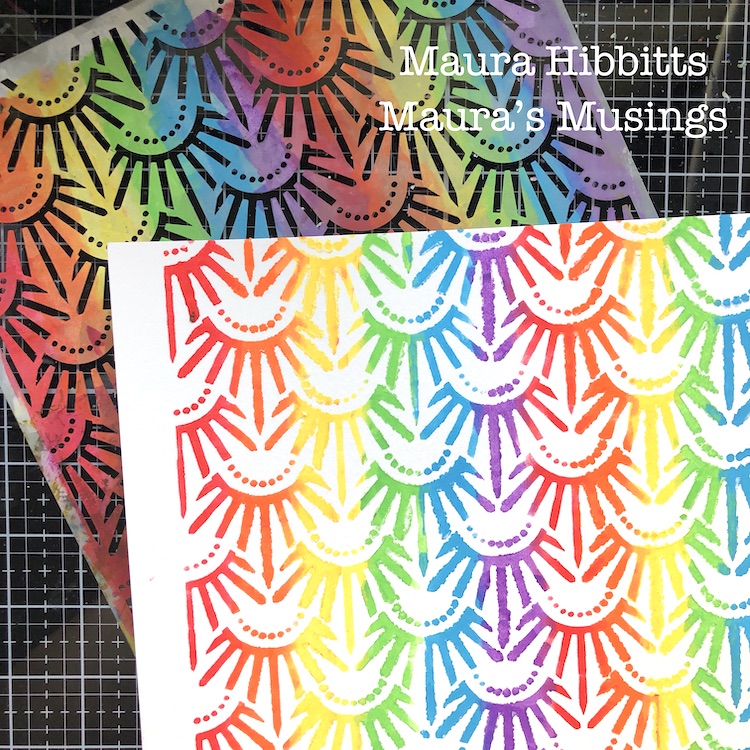
To create a rainbow effect with the stencil, I used a cosmetic sponge with a light amount of paint. I started with the red, and dabbed two columns down the paper leaving space in-between for all the other colors. Repeat this with orange, yellow, green, blue and violet. Here’s a thrifty tip for you: when changing colors, don’t use a new sponge, instead just cut off the top layer. I managed to use one sponge for all six colors this way.

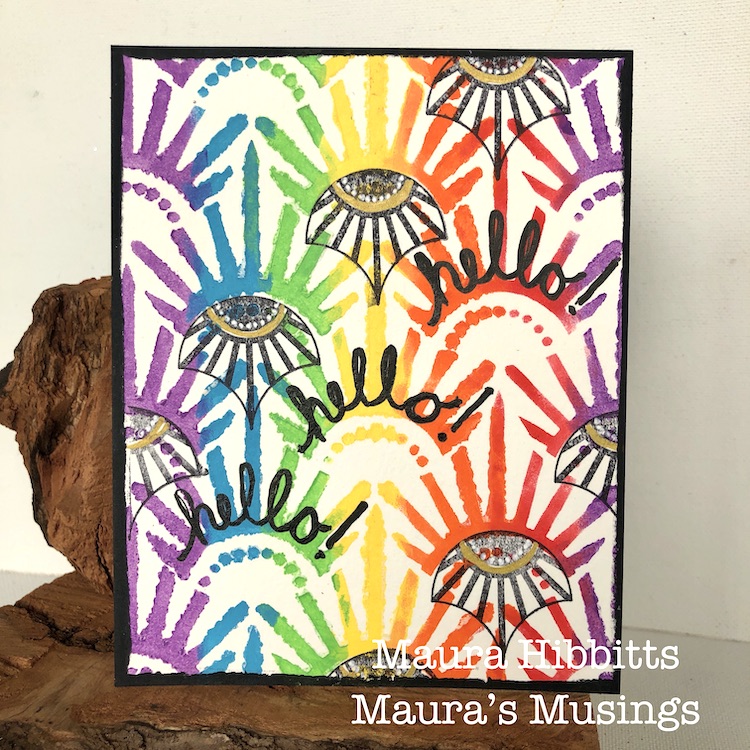
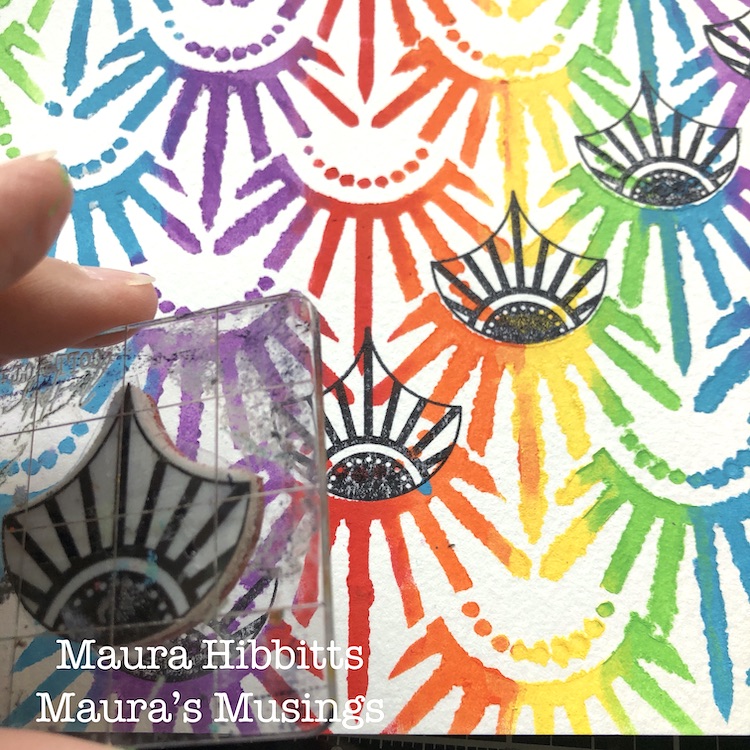
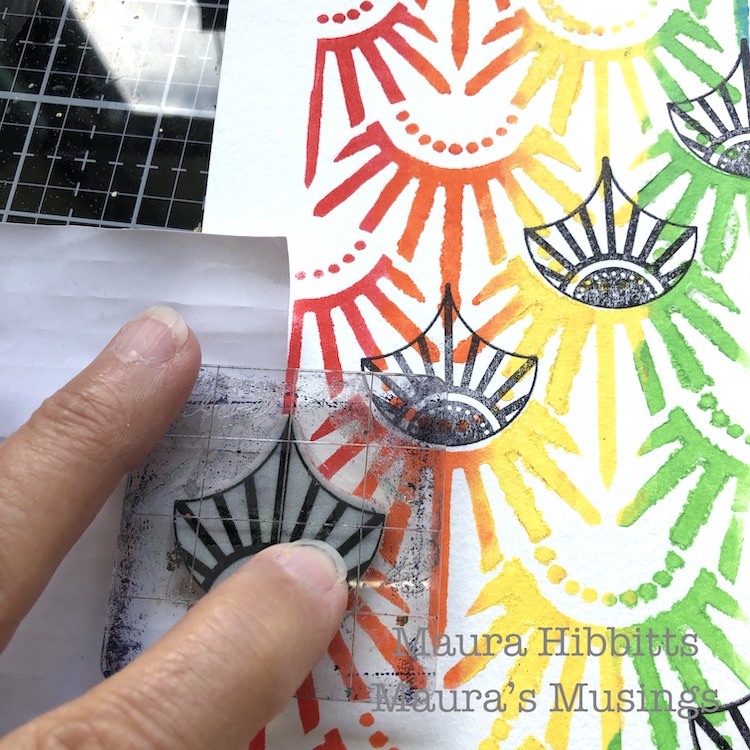
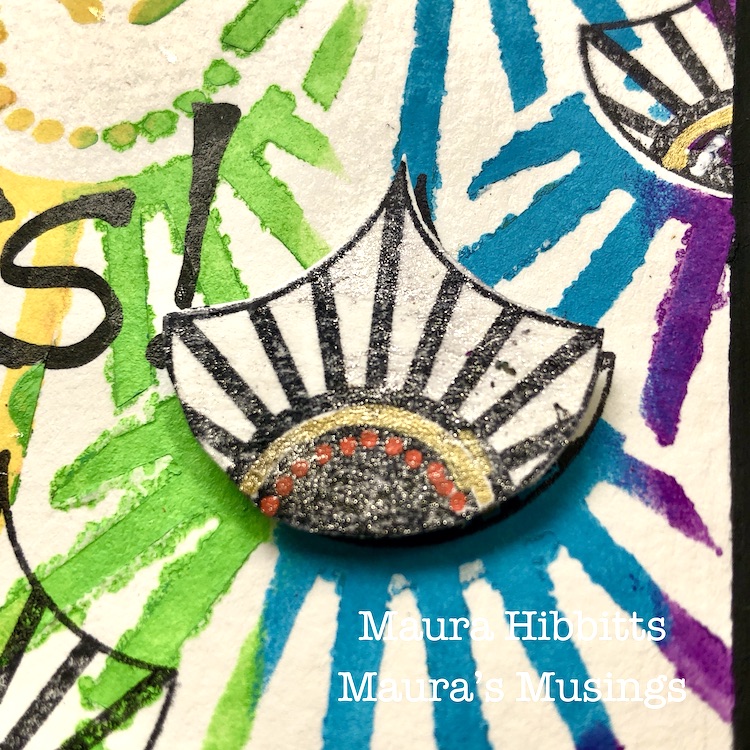
Next, stamp diagonal rows into the stenciled design using Nat’s small Broadway Fan stamp and black ink. Along the edges, place a piece of paper as a mask for the partial images before you stamp.
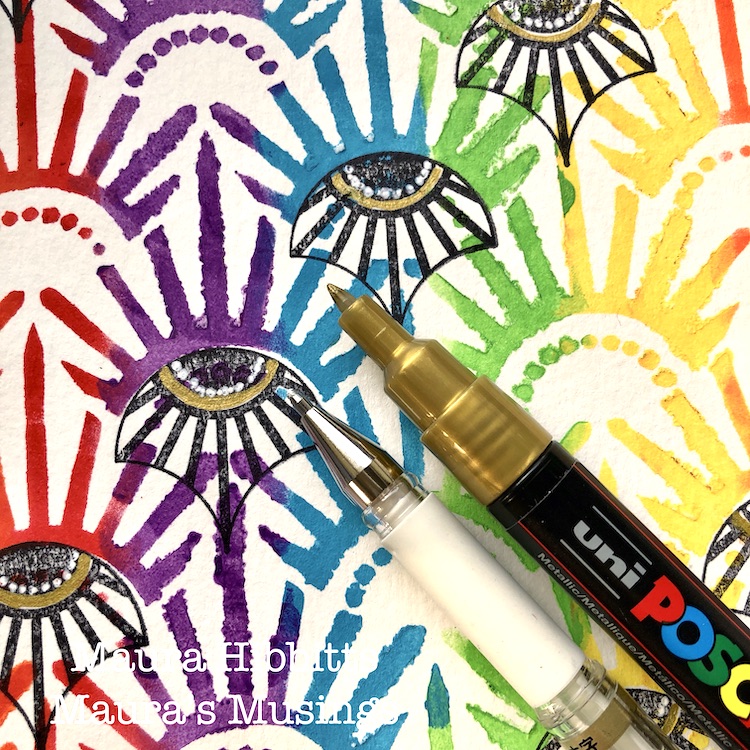
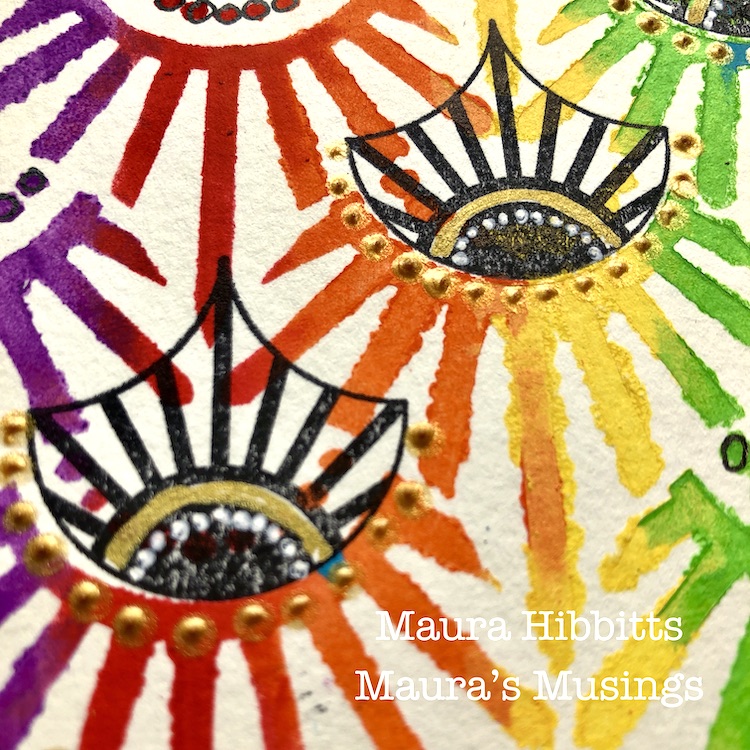
Add some detail to the stamped images with white and gold pens. I love adding a bit of gold in to colorful projects. Cut the large stenciled sheet into four smaller pieces (4.25×5.5”) and cut the white card stock for the card base.
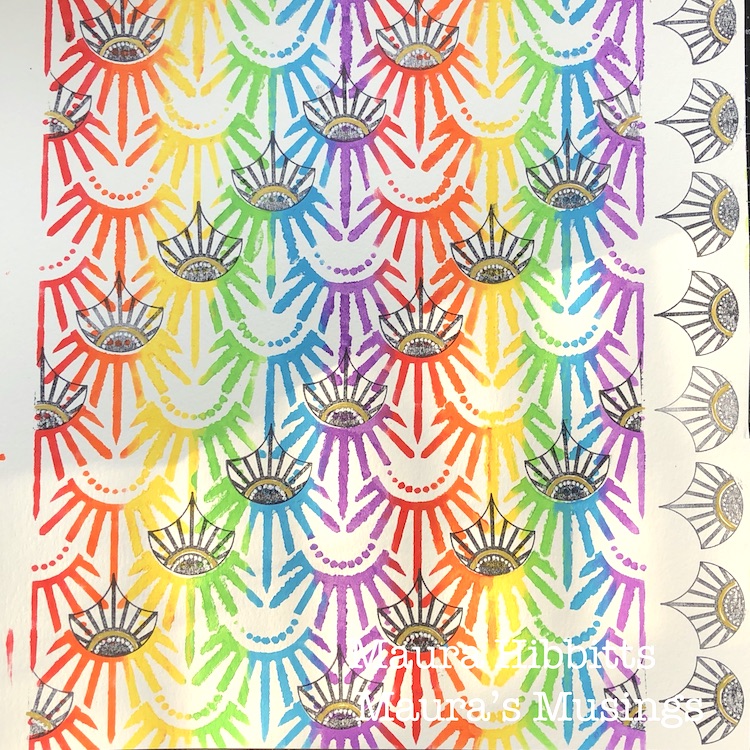
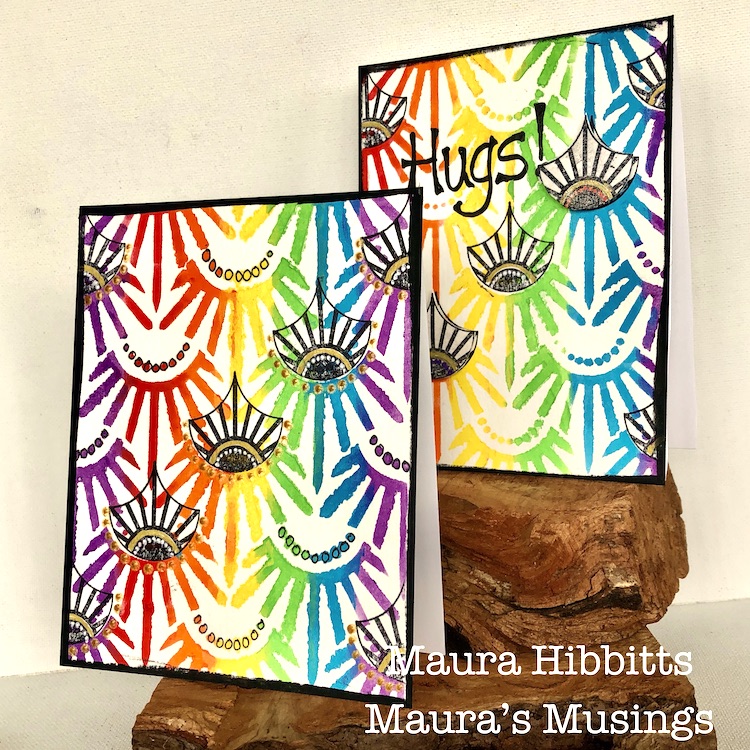
Add more detail with gold relief paste and some sparkle with Wink of Stella. Cut out a few fans and pop them up on some of the bases.
Finally, using black paint and a cosmetic sponge, edge the stenciled card bases. Let dry, then adhere these to the card front. Hand letter greetings like Hugs, Hello, and some doodling with a black pen. I wanted to make each card unique for some variety, so you may notice some have the designs going up and others going down. I’ve also left some without words so I can add them in as needed. You could also stamp a greeting.
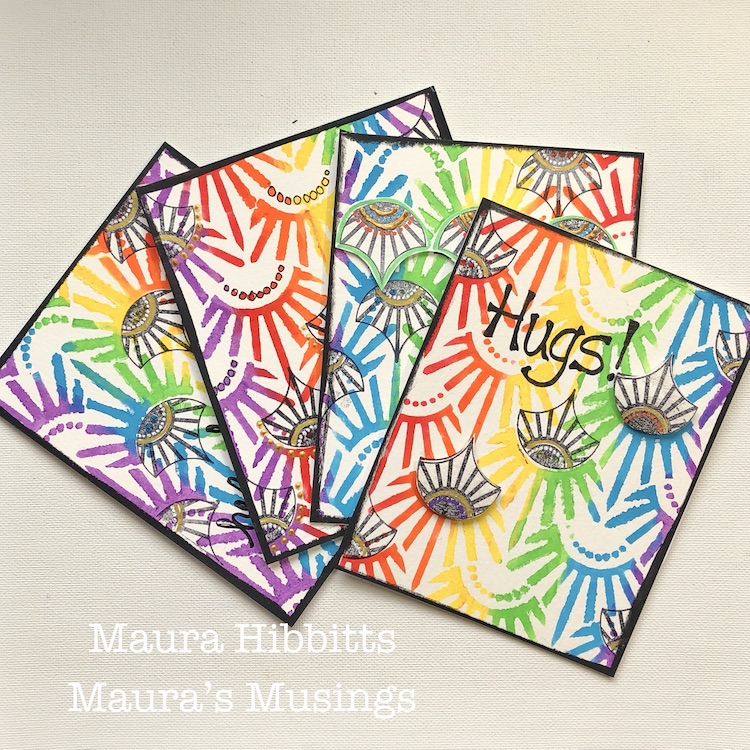
Four bright and colorful cards are ready to mail out and bring cheer to someone who needs it. I am definitely a fan of bright colors, so it was fun pulling in all the colors of the rainbow into my project. You could use any palette for your own cards…I think an ombre effect would look awesome too! Have a creative August, Maura
Thank you Maura! Wow that Art Deco Empire stencil in rainbow looks just amazing! Some lucky people are going to be so happy when they open their mailboxes :)
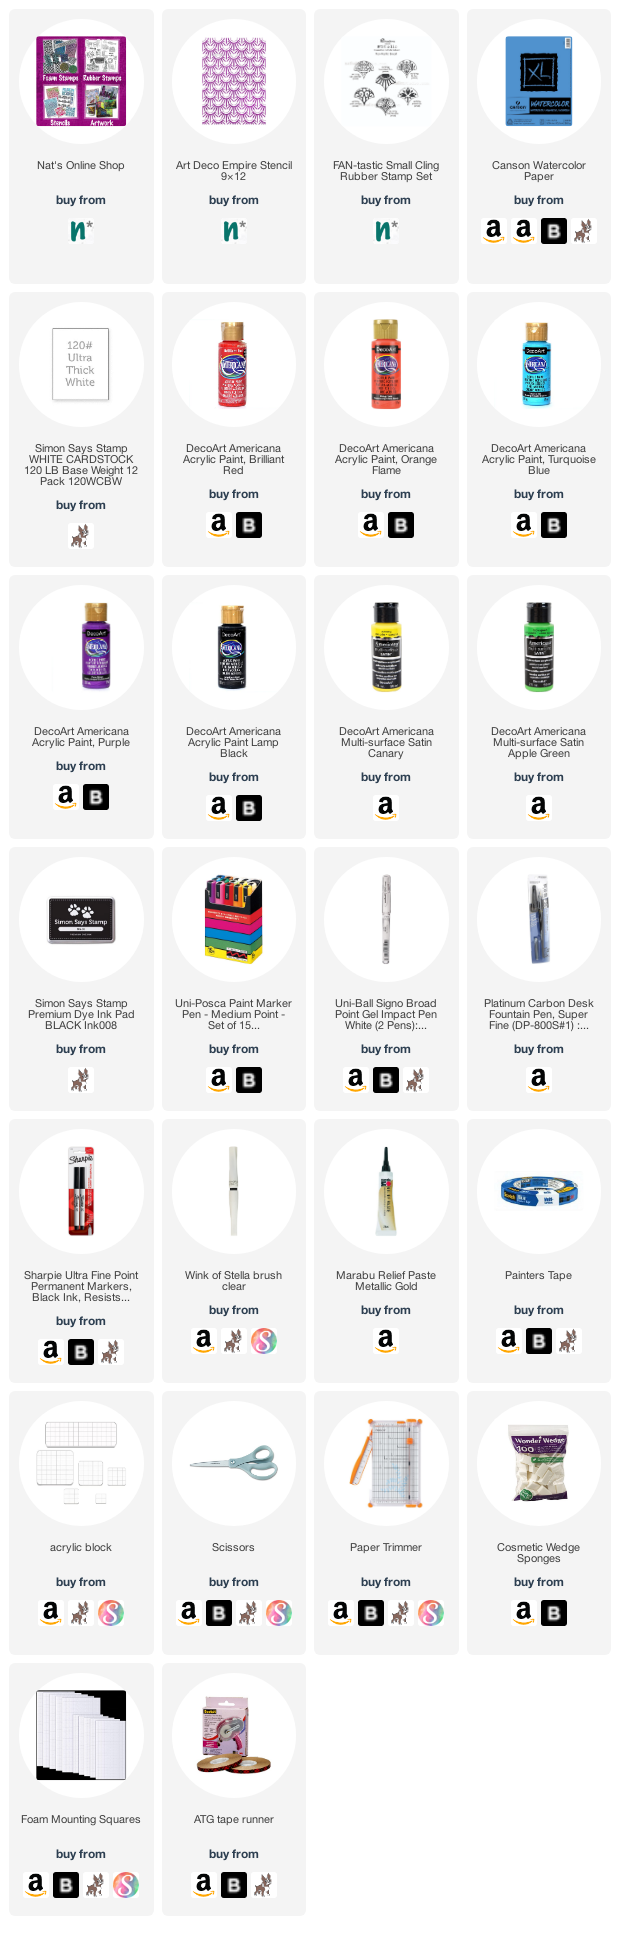
Give it a try: you can find all my Stencils and Rubber Stamps in my Online Shop and here are some of the other supplies Maura used:
Feel inspired? Working on something yourself that you’d like to share? I love to see how you interpret our monthly themes. Email me how you used my stencils and stamps with the theme and email me an image – I would love to share your projects in my next “n*Spiration From Around the Globe“.