Hello from my Creative Squad! Today we have a charming little project from Robin Seiz using the mini mailbox model, my #keepyouposted stamps, my Flower Maze stencil and our theme: In the City – Although we aren’t traveling much these days, let’s reminisce about a time we traveled to another town or city. Think about the flavor of the place and let that guide your color and design choices.
This month’s theme is In The City, and although we haven’t been traveling much, I have been sending a lot of “happy mail”. This little miniature model mailbox was perfect for me. Before I started this project, I did a little research about the history of the mailbox. Did you know that mailboxes first appeared in the United States in the 1850’s. They were originally attached to buildings and lampposts. In the 1890’s, larger, free-standing “package boxes” were introduced nationwide; known today as Collection Boxes.
At first this project was a little intimidating for me; I only had one model so I had to do more planning than is typically in my process. I’m a “get in there and see what emerges” kind of artist! Even with the planning, I still ran into a challenge with the images, but that’s the wonderful thing about mixed media, you just keep trying, editing, or adding layers until it all works out.
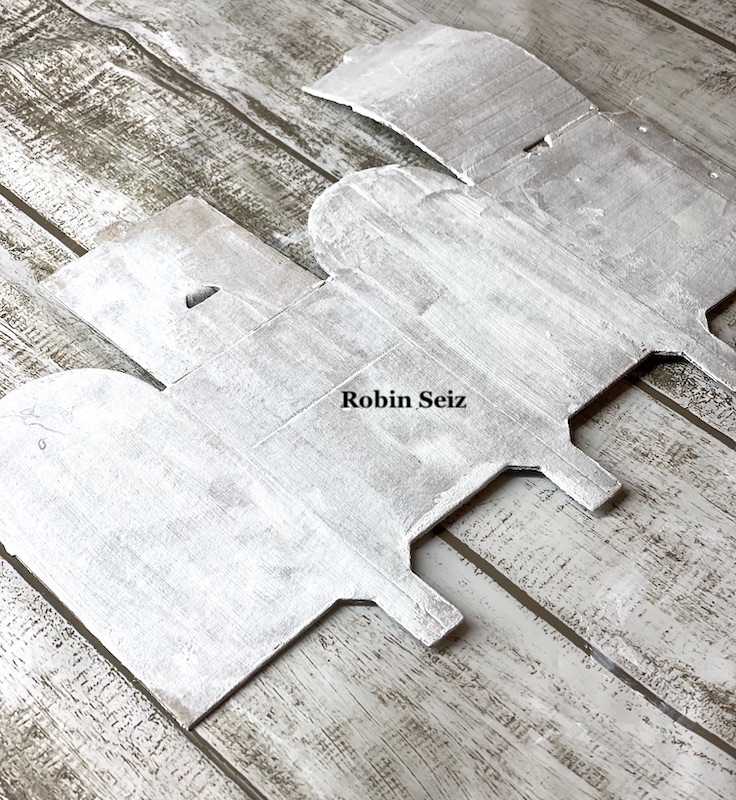
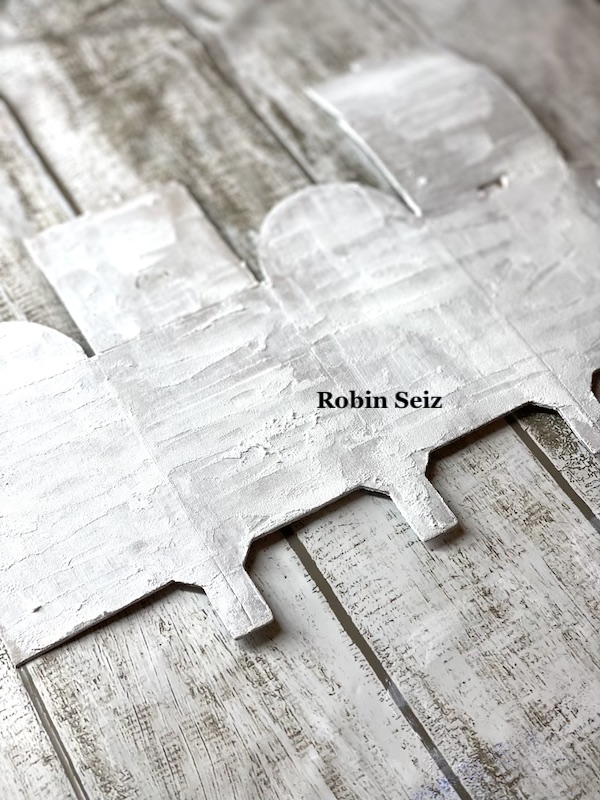
The mailbox model comes as a heavy weight cardboard miniature. Because I knew I wanted the mailbox to have an old metal look, I decided to cover it with white gesso so the paint would adhere well. (I’m honestly not sure this was necessary, but it’s what I chose to do).
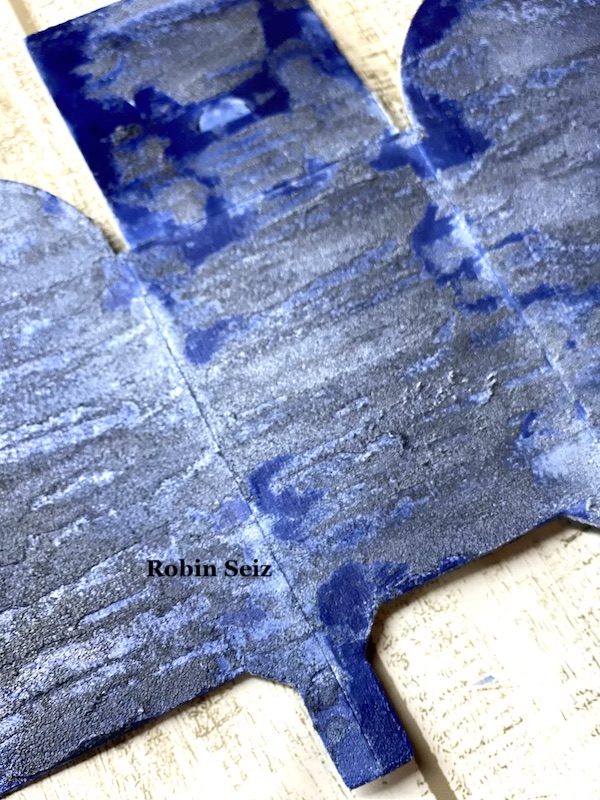
I pictured my mailbox like the one at my post office; a dull looking blue mailbox. I wanted it to have a textured look, but rather than apply texture directly to the model, I tested it on another piece of cardboard first. I also wanted to try out a few different colors and see the result before I applied it to the model. I used Golden Crackle Paste to apply the texture. It takes a while to dry so I used the heat gun from a distance. Waiting for things to dry naturally is not in my vocabulary! Next I sprayed Distress Spray Stain in chipped sapphire and blueprint sketch. I liked the darker color, chipped sapphire, the best.


Once those decisions were made, I applied the paste and the spray stain to the model.
I knew Nat’s stamp collection #keepyouposted would be perfect for this project!
This part of the project was the most difficult. It turns out that it’s not so easy to stamp over the stained Crackle Paste. I tried, everything, colored inks, acrylic paint, a clear label, packing tape, you name it and I tried it. Thank goodness all of this trial and error was on my sample stained cardboard. The only medium that I could get to adhere and be legible, was black ink. I used my stamp platform so I could stamp the image several times.
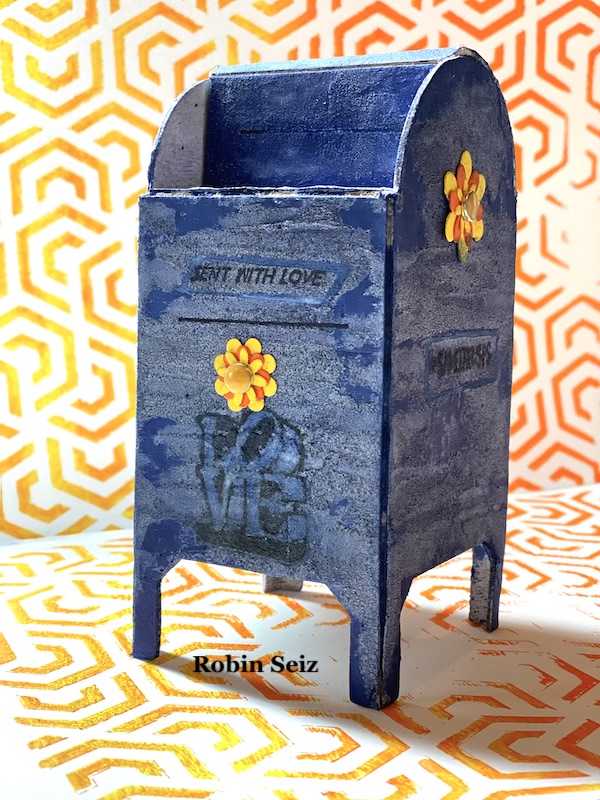
Once I had the images in place, I folded the model, as per the directions. It’s so easy to assemble!!!
The mailbox needed a little pizzaz, and since happy mail is where this project initiated, I attached some ephemera flowers that I had in my stash. (I made mine sometime ago, but I know you can buy them as well.)
I also used Nat’s Flower Maze stencil on the gel plate, in the same bright colors as the flowers, to display the mailbox.
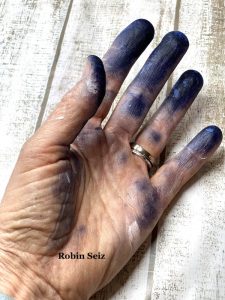
One last note about this project, the Distressed Stains, are true to their name — I highly recommend gloves, which I didn’t use, as shown here by my hand!
I hope you enjoyed this project. While I chose a similar color palette of the collection boxes we see today, the opportunities to embellish are endless. I hope you give it a try!


Thank you Robin! Loved hearing about your tests to get the texture and color right – and the end result is so darling!
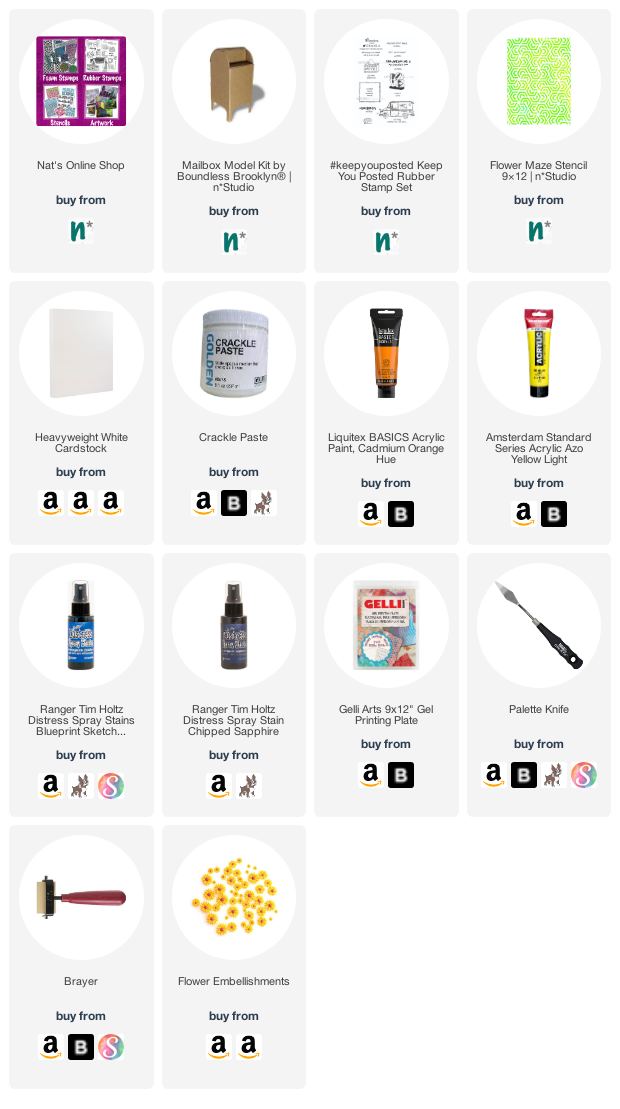
Give it a try: you can find all my Rubber Stamps and those cool Cardboard Models in my Online Shop and here are some of the supplies Robin used:
Don’t forget to check out Nat’s Creative Squad on Instagram too: Each week we post projects, ideas, and inspiration for mixed media art.