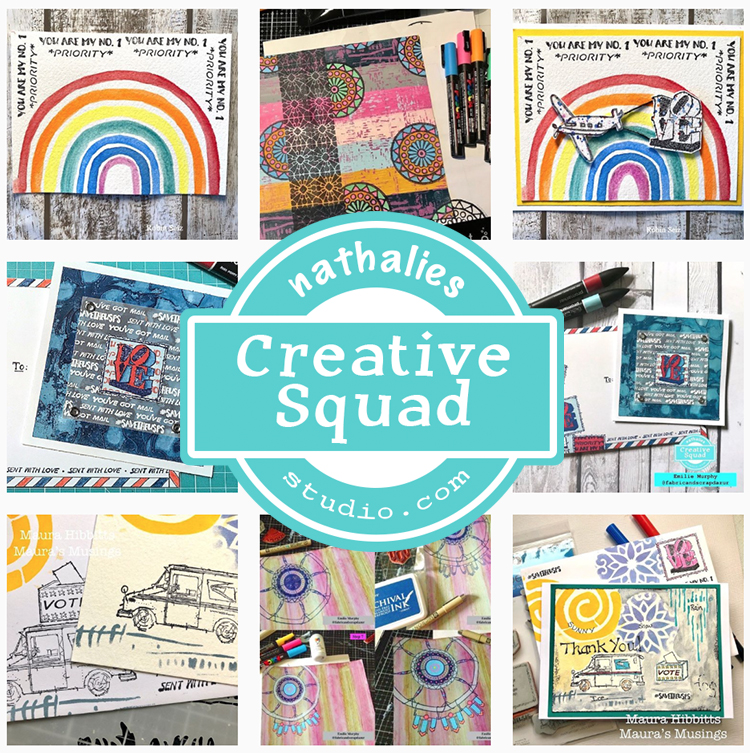
Creative Squad

Creative Squad: Gratitude is my Attitude – Jordan Hill

Hello from my Creative Squad! Today we have a post from Jordan Hill who is sharing with us a couple of lovely cards using my Triangle Love and #keepyouposted rubber stamps, with our very appropriate November theme in mind: Gratitude is my Attitude – This month we are playing along with the November ArtCollab: Showing Gratitude – and specifically giving thanks to those who have helped us along the way in our artistic journey. Who was crucial in helping you become the artist you are today? Let’s give these amazing souls a shout out!


Hey everyone! I’m excited to be back with a new project for the month of November. The first thing that came to mind when I heard this month’s theme of “Gratitude is my Attitude” was greeting cards! They are a great way to show you’re thinking of someone, and making that card handmade always adds a little extra touch. 
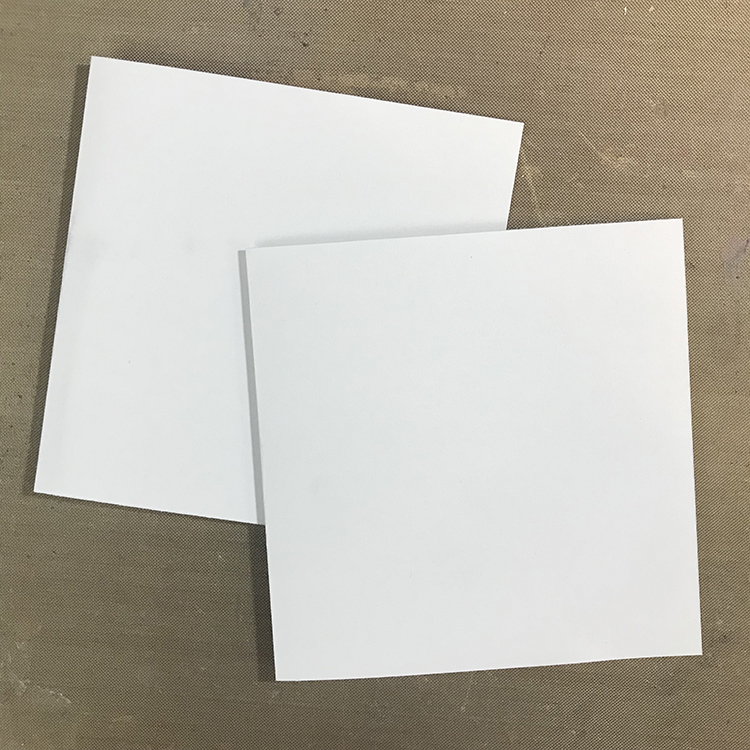
I started out my greeting cards by cutting down a piece of white card stock to 4.25″x8.5″. I chose this size because it allowed me to cut two cards from an 8.5″x11″ sheet of card stock with next to no leftover (only the 2.5″ strip at the end). Once my card stock had been cut to size, I folded the pieces in half to create two square cards.
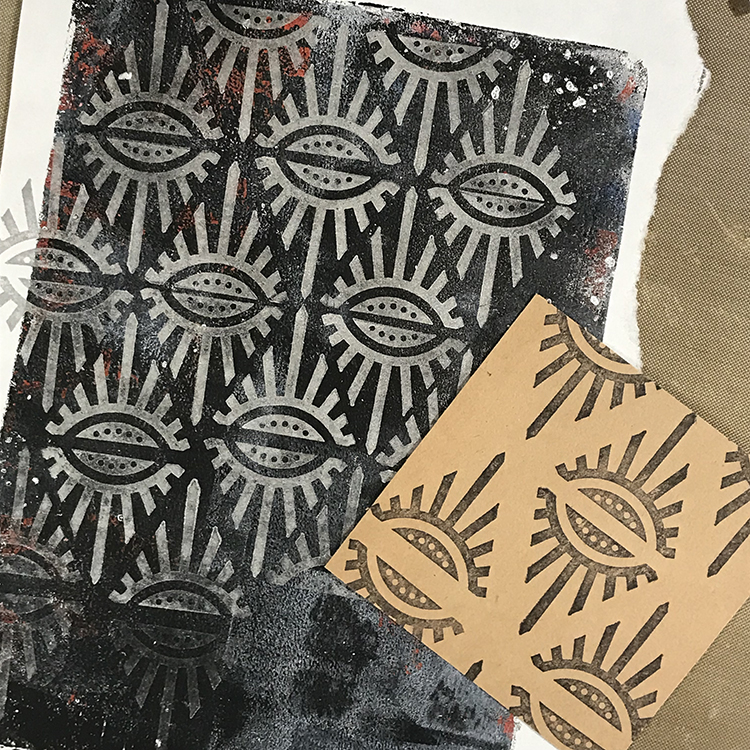
Next, I selected a few scraps of paper and using Nathalie’s Empire Triangle stamp, I created a repeating pattern across them. For the lighter piece I used black ink and for the darker piece I used a silver pigment ink. These triangle stamps fit together nicely to create patterns! 
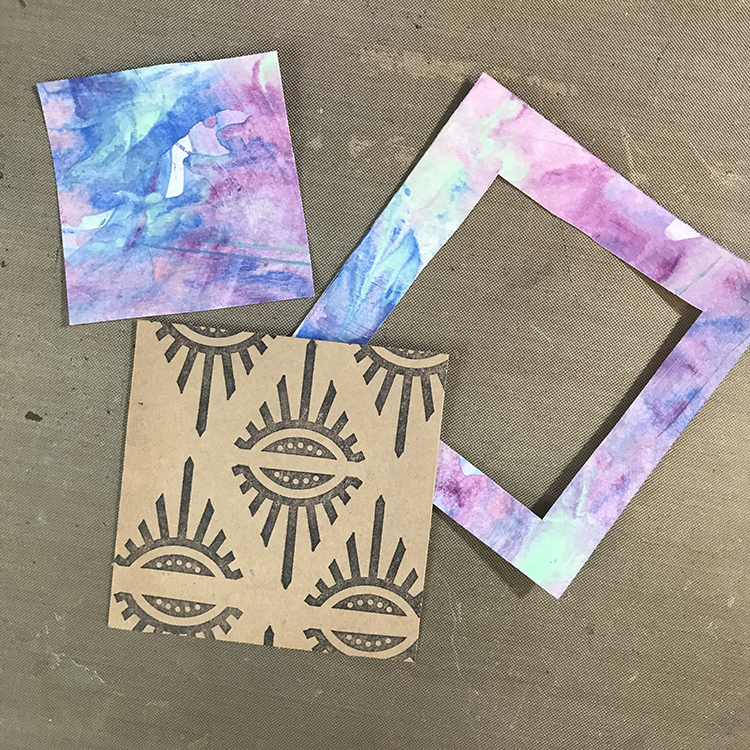
I then cut down my stamped papers into smaller square shapes. For this particular card, I chose a 3″x3″ square. Next, I selected a separate paper scrap to create a mat around that square. A trick I learned back in my scrapbooking days is that if you are having a hard time using up your pretty papers, you can cut out a square from the middle of your mat and save the scrap for another project!
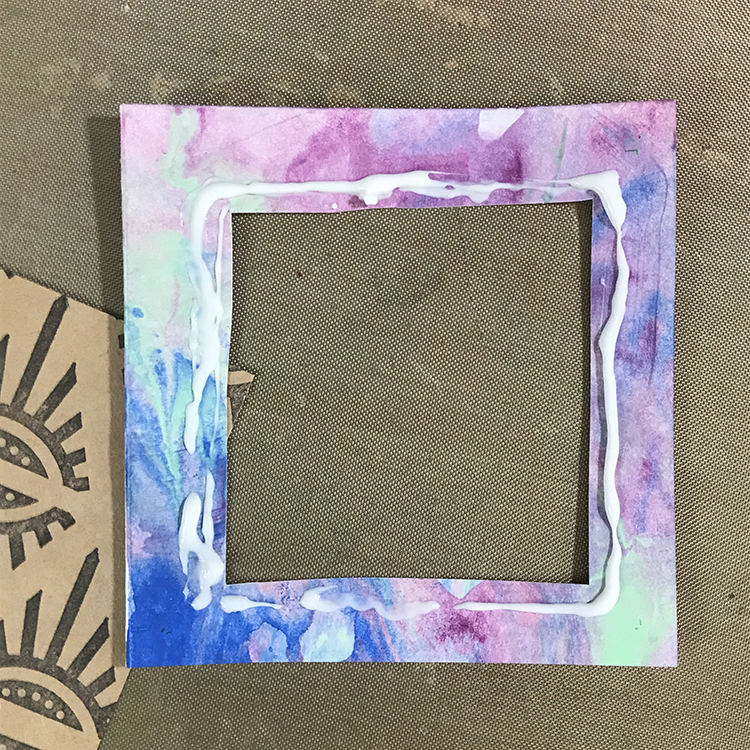
Place your glue around the inside edge of your mat. I used Aleene’s tacky glue for my cards, but any sort of liquid glue, double sided tape, or adhesive runner would work for this! Then, place your patterned paper square into the center of the mat.
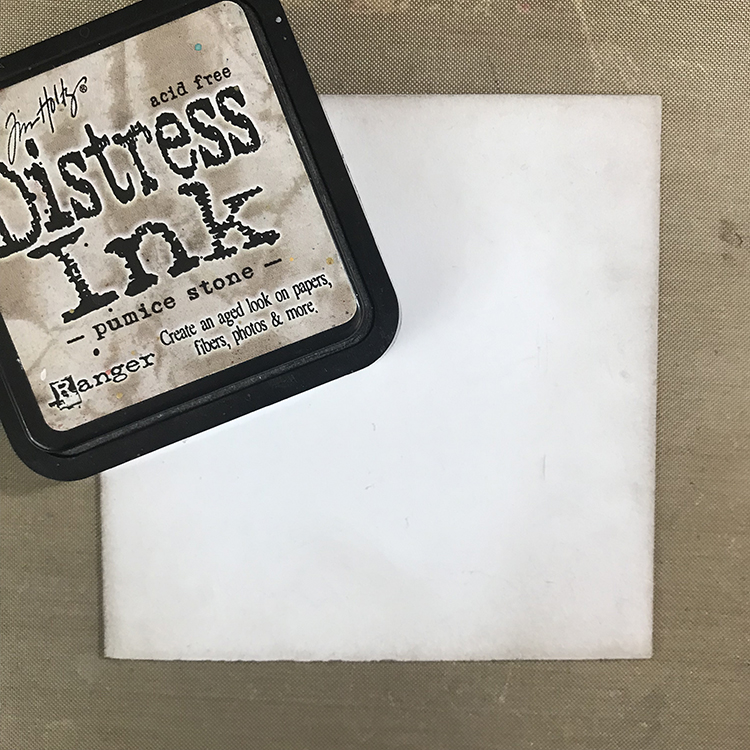
Next, I prepared my card bases for assembly by using some Distress Ink in the color Pumice Stone and a Tim Holtz Blending Tool to buff around the edges of my card. I selected this color because I felt the gray fit with my style and the other colors that I was using more than some of the browns I have in my collection.
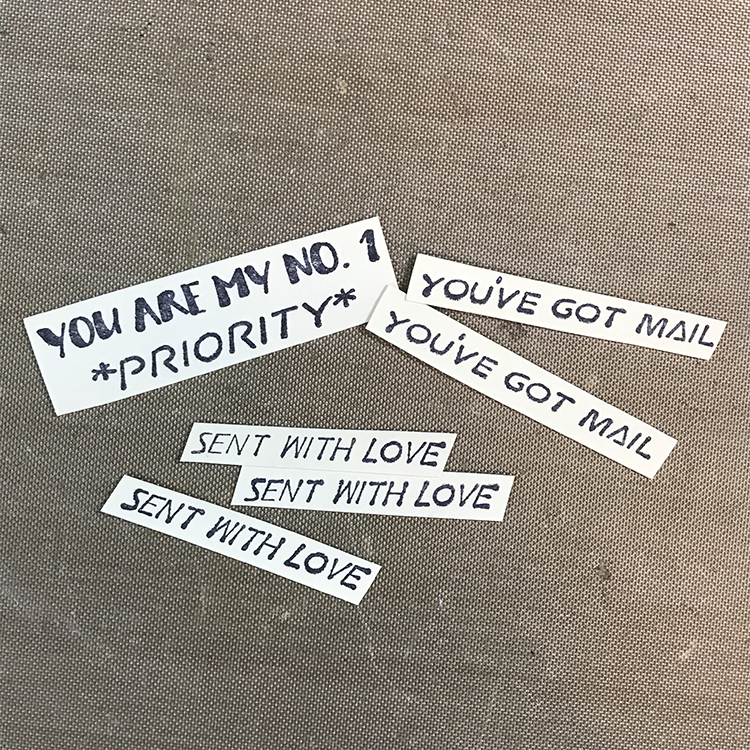
Then, using Nathalie’s #keepyouposted Cling Rubber Stamp Set and a black ink pad, I stamped some words onto a scrap of file folder and cut them out. I stamped a few extra so that I’ll have them prepared for making cards in the future!
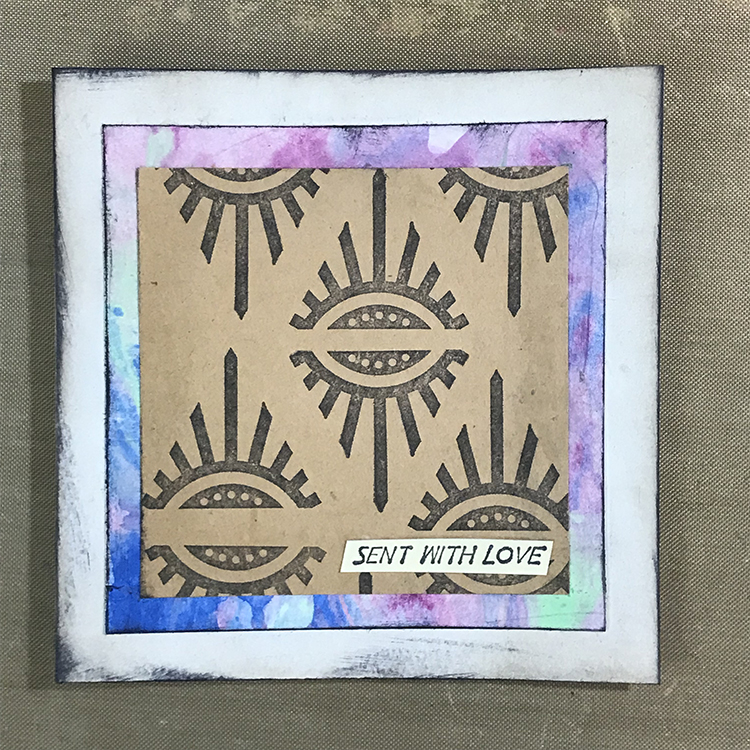
Now it’s time to assemble! Glue your matted patterned paper onto your card base, and add the words to it. Experiment with the location of the words until you get a placement you’re happy with, and you have a quick and easy card to send to your friends or family to express your gratitude for them!
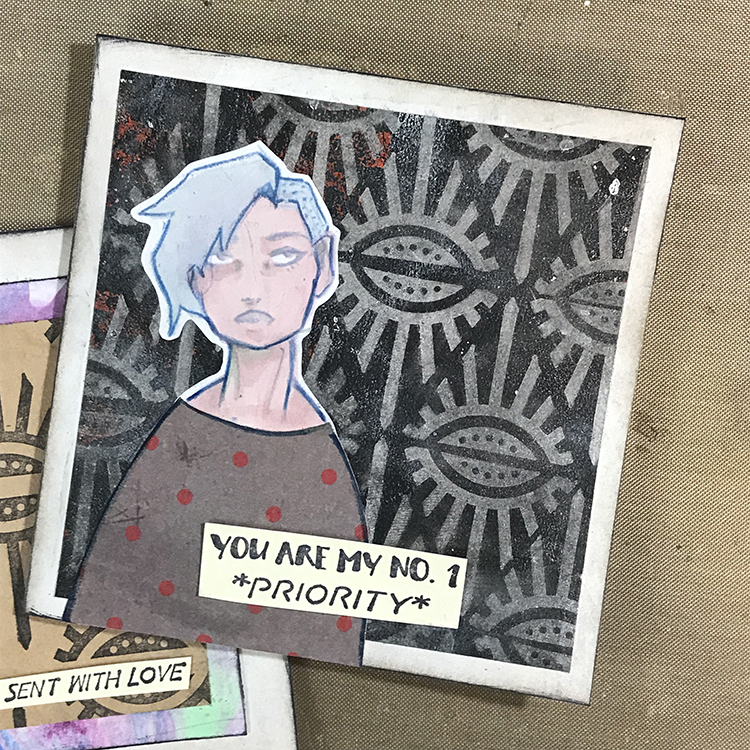
I did a simple variation of this card by cutting my patterned paper down to a larger size (I chose 3.75″x3.75″) and gluing it directly to my prepared card base. I then used a couple of different elements from some of my collage sheets to add a figure before gluing down my words. This adds a little more interest to your card while still keeping it very simple.

I hope you enjoy these tips and tricks to make some simple greeting cards and that you have fun making some of your own!


Thank you Jordan, with the Thanksgiving holiday this week in the US, it is the perfect time to create some one-of-a-kind cards to thank those who are important to us :)

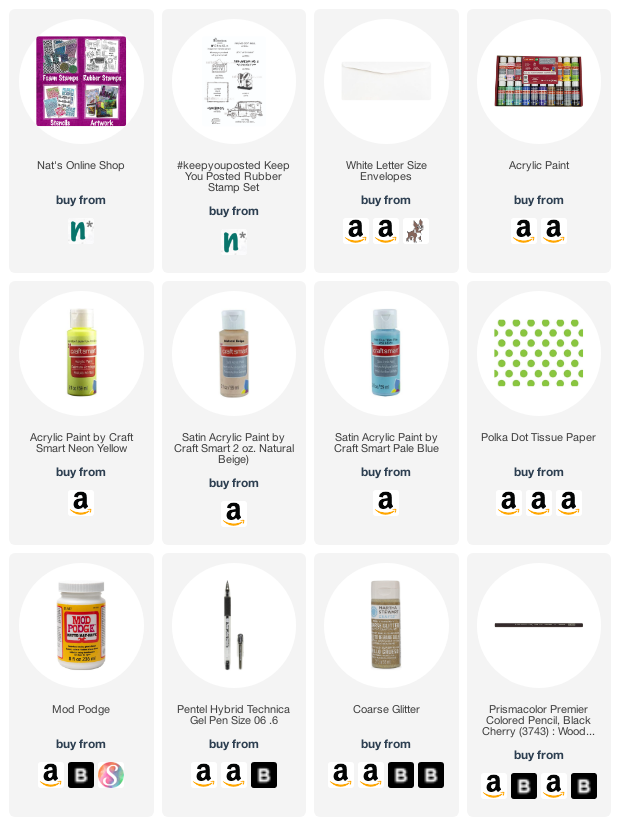
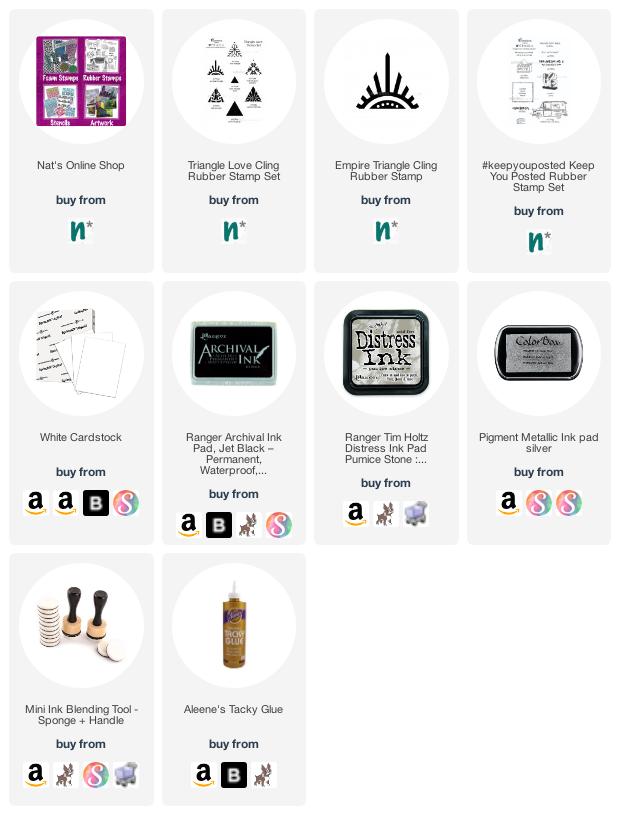
Give it a try: you can find all my Rubber Stamps in my Online Shop and in addition to paper scraps and collage elements here are some of the supplies Jordan used:
Follow the Creative Squad on Instagram for weekly posts, artwork, and inspiration.

Leave a comment

Creative Squad: In the City – Robin Seiz

Hello from my Creative Squad! Today we have a charming little project from Robin Seiz using the mini mailbox model, my #keepyouposted stamps, my Flower Maze stencil and our theme: In the City – Although we aren’t traveling much these days, let’s reminisce about a time we traveled to another town or city. Think about the flavor of the place and let that guide your color and design choices.


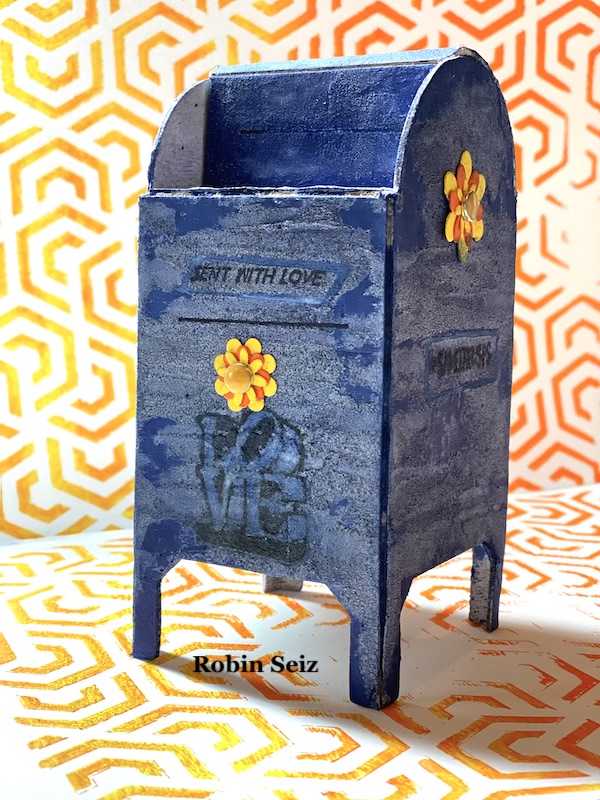
This month’s theme is In The City, and although we haven’t been traveling much, I have been sending a lot of “happy mail”. This little miniature model mailbox was perfect for me. Before I started this project, I did a little research about the history of the mailbox. Did you know that mailboxes first appeared in the United States in the 1850’s. They were originally attached to buildings and lampposts. In the 1890’s, larger, free-standing “package boxes” were introduced nationwide; known today as Collection Boxes.

At first this project was a little intimidating for me; I only had one model so I had to do more planning than is typically in my process. I’m a “get in there and see what emerges” kind of artist! Even with the planning, I still ran into a challenge with the images, but that’s the wonderful thing about mixed media, you just keep trying, editing, or adding layers until it all works out.

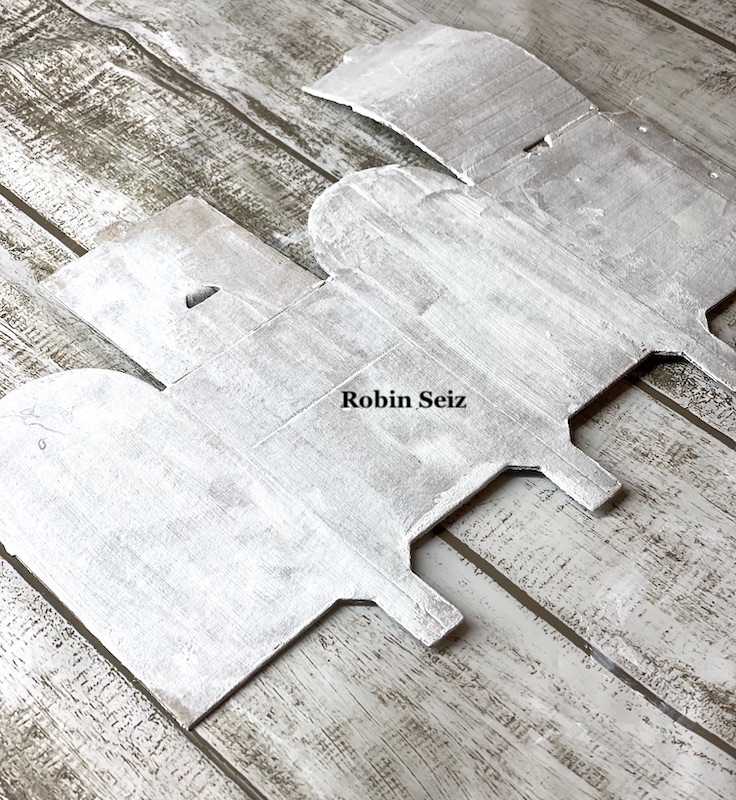
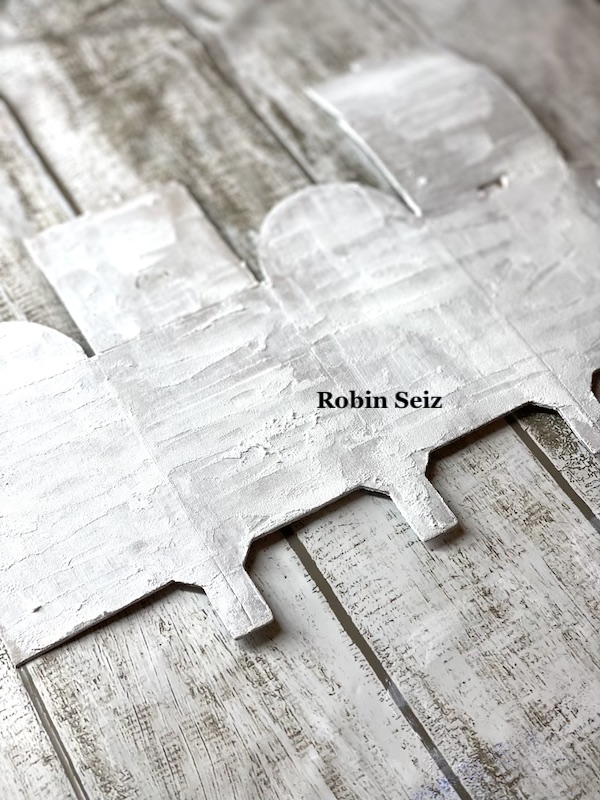
The mailbox model comes as a heavy weight cardboard miniature. Because I knew I wanted the mailbox to have an old metal look, I decided to cover it with white gesso so the paint would adhere well. (I’m honestly not sure this was necessary, but it’s what I chose to do).

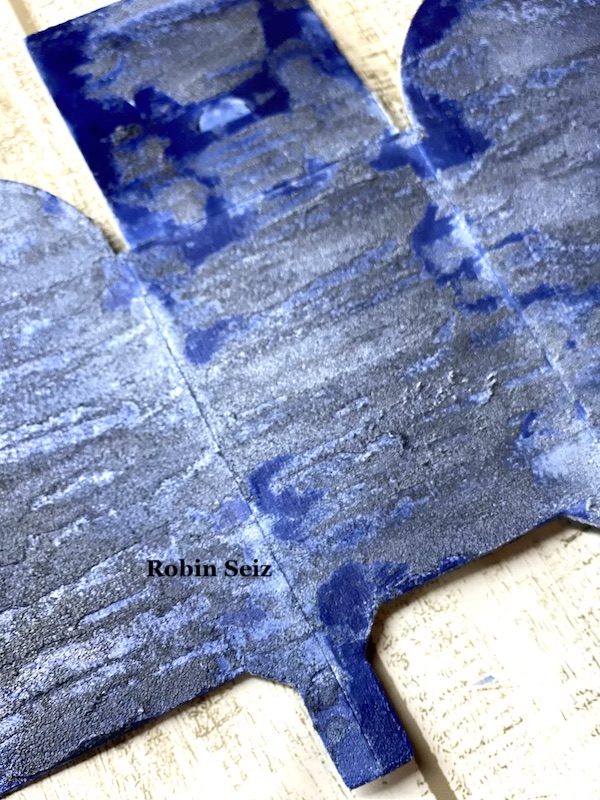
I pictured my mailbox like the one at my post office; a dull looking blue mailbox. I wanted it to have a textured look, but rather than apply texture directly to the model, I tested it on another piece of cardboard first. I also wanted to try out a few different colors and see the result before I applied it to the model. I used Golden Crackle Paste to apply the texture. It takes a while to dry so I used the heat gun from a distance. Waiting for things to dry naturally is not in my vocabulary! Next I sprayed Distress Spray Stain in chipped sapphire and blueprint sketch. I liked the darker color, chipped sapphire, the best.

Once those decisions were made, I applied the paste and the spray stain to the model.

I knew Nat’s stamp collection #keepyouposted would be perfect for this project!

This part of the project was the most difficult. It turns out that it’s not so easy to stamp over the stained Crackle Paste. I tried, everything, colored inks, acrylic paint, a clear label, packing tape, you name it and I tried it. Thank goodness all of this trial and error was on my sample stained cardboard. The only medium that I could get to adhere and be legible, was black ink. I used my stamp platform so I could stamp the image several times.

Once I had the images in place, I folded the model, as per the directions. It’s so easy to assemble!!!

The mailbox needed a little pizzaz, and since happy mail is where this project initiated, I attached some ephemera flowers that I had in my stash. (I made mine sometime ago, but I know you can buy them as well.)

I also used Nat’s Flower Maze stencil on the gel plate, in the same bright colors as the flowers, to display the mailbox.

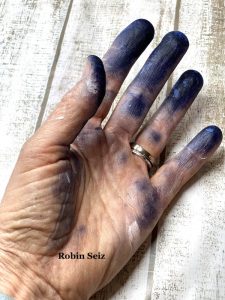
One last note about this project, the Distressed Stains, are true to their name — I highly recommend gloves, which I didn’t use, as shown here by my hand!

I hope you enjoyed this project. While I chose a similar color palette of the collection boxes we see today, the opportunities to embellish are endless. I hope you give it a try! 


Thank you Robin! Loved hearing about your tests to get the texture and color right – and the end result is so darling!

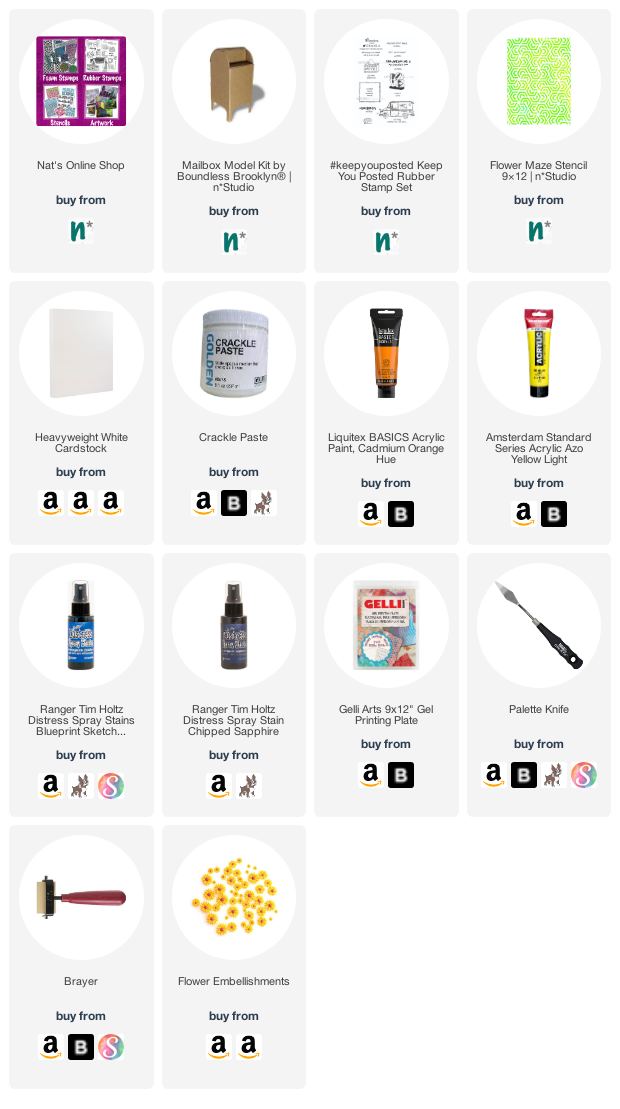
Give it a try: you can find all my Rubber Stamps and those cool Cardboard Models in my Online Shop and here are some of the supplies Robin used:

Don’t forget to check out Nat’s Creative Squad on Instagram too: Each week we post projects, ideas, and inspiration for mixed media art.

Leave a comment

Creative Squad: Mail Art – Jordan Hill

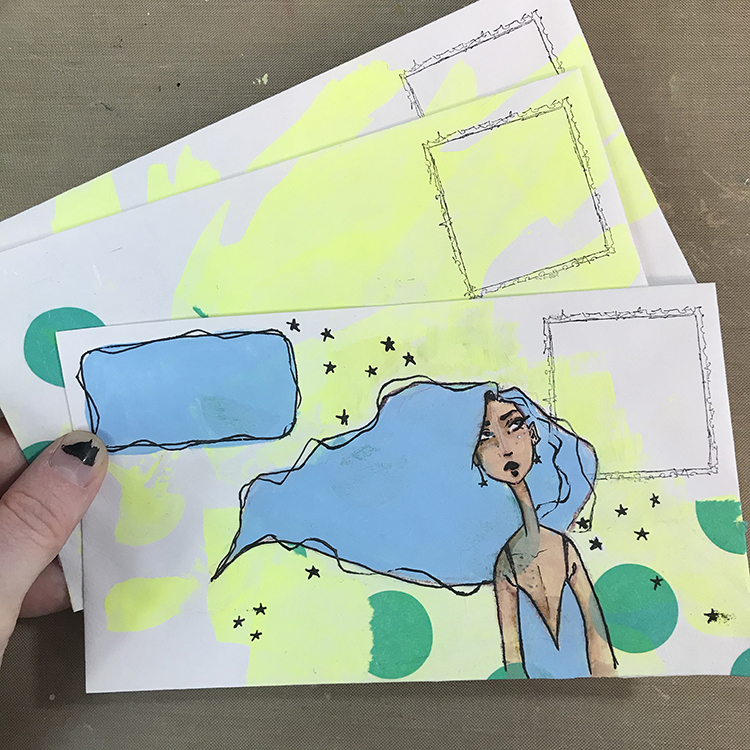
Hello from my Creative Squad! Today we are at the end of our month with Jordan Hill and a set of really cool envelopes using my #keepyouposted stamp set and our theme: Mail Art – During these times of social distancing, old fashioned mail is a fun way to keep in touch and lift someone’s spirits. Create some mail art, and then actually send it off! Address it, put a stamp on it, and put it in the mailbox. You will make someone’s day :)


Hello everyone, I’m excited to be back with my second project for the Creative Squad!

As someone who is quite fond of finding different ways of exploring mixed media, this month’s theme of “Mail Art” was particularly intriguing! For my project, I decided to work on some blank white envelopes, using them as a surface in much the same way as I might an art journal page.

Without dragging this out any further, let’s get into it!

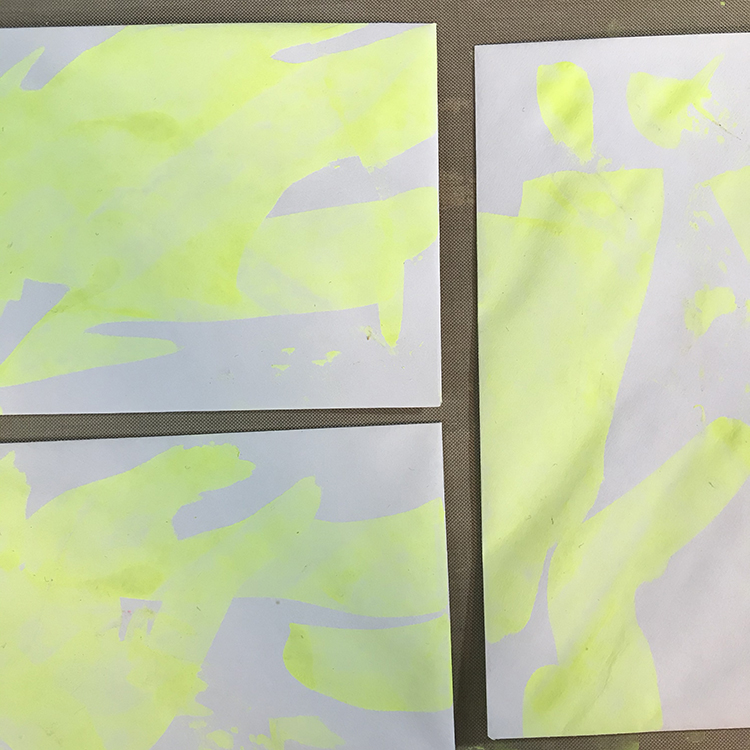
The first thing I did to get this project started was lay out some blank envelopes on my work surface. Then I scraped some neon yellow paint across the surface using an old debit card. This is one of my personal favorite methods of adding paint to pages, as it is quick and adds the color thinly and evenly.

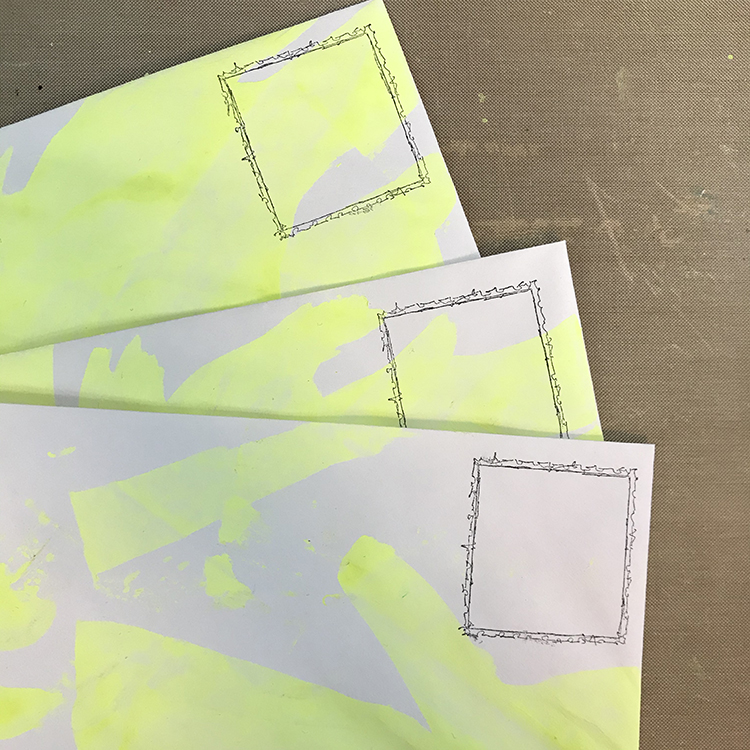
Once the paint had dried, I used the blank postage stamp design from Nathalie’s #keepyouposted stamp set in the upper right hand corner of all of the envelopes I had prepped. When I get around to mailing these, it will make the perfect border for the stamps! I then glued some polka dot tissue paper down to the envelopes using Mod Podge.

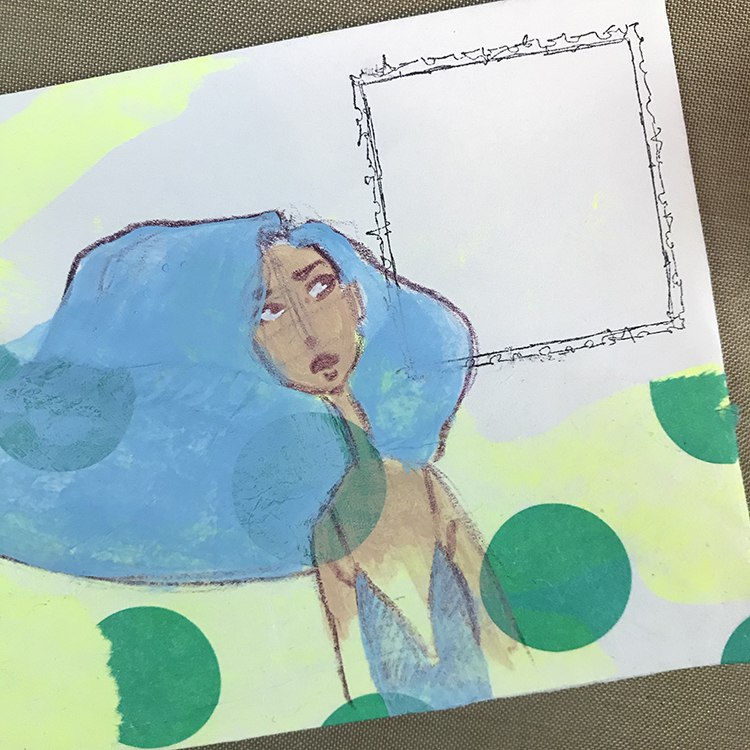
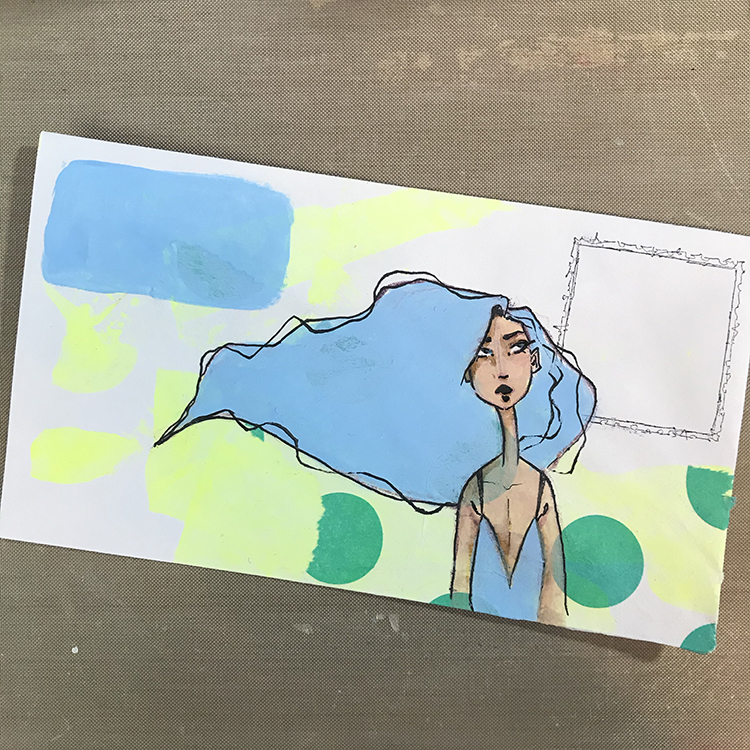
Next, as I do with most of my projects, I decided to add a face (I used CraftSmart Natural Beige here). For this particular figure, I gave her a long, flowing hairstyle that covered the entire middle part of the envelope. This gives me a place to write the address later. At the same time I was adding the color Light Blue to the hair, I also added the same color to this girl’s shirt, and created an additional rectangular shape in the upper left for the return address.

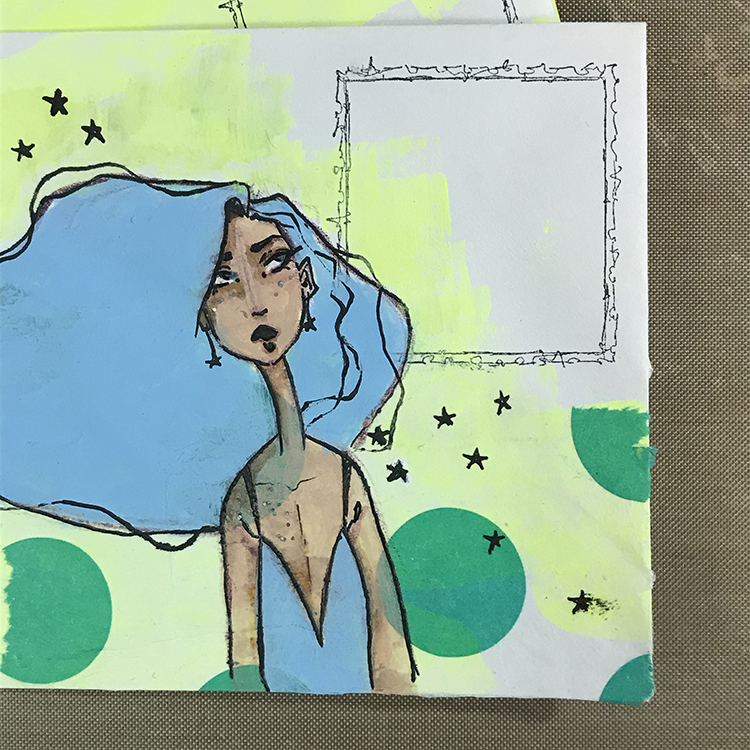
Using a Pentel Hybrid Technica pen in size 06, I then started to add line art to my figure. Her features weren’t standing out nearly as much as I wanted them to, so some thick black lines did the trick perfectly! I also made sure to leave plenty of space inside the hair for addressing the envelope.

For the finishing touches on the front side of the envelope, I added some additional lines (reminiscent of the hair strands) to the outside of the space for the return address, some more neon yellow paint around the edges of the figure, and some little doodled stars. I also added a bit of Martha Stewart Multi-Surface Coarse Glitter to the cheeks and shoulders of this girl for a little extra sparkle.

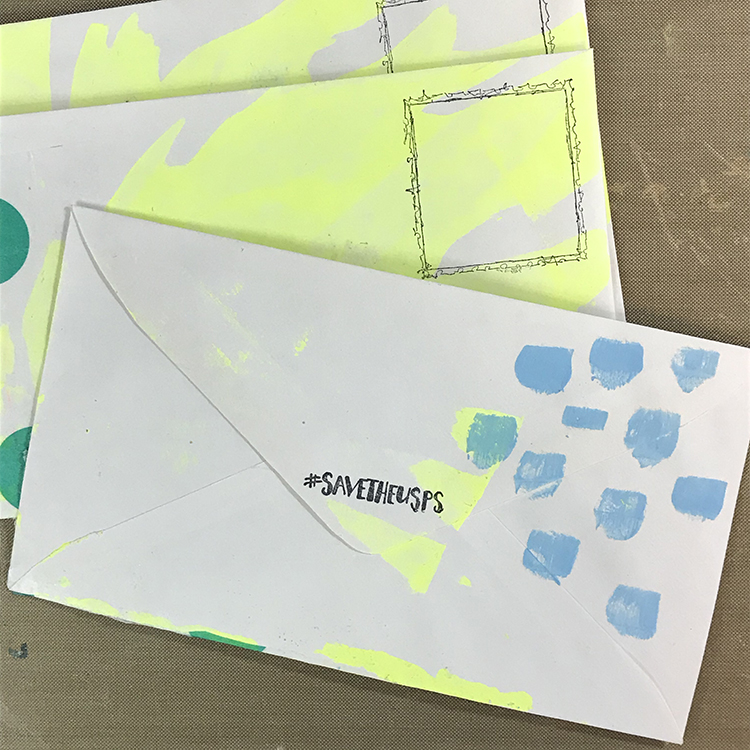
For the back side of the envelope, I decided to keep it a bit more on the simple side. When I scraped the front side of the envelopes with neon yellow, I had some leftover on my debit card, so I scraped the leftover onto the backs. Then, using the same Light Blue paint from the front and a paintbrush, I made some simple marks along the right side. Lastly, as the final finishing touch, I used the #savetheusps stamp from Nathalie’s #keepyouposted stamp set to add a fun little bonus detail to the flap of the envelope!

And there you have it; a simple way to create beautiful envelopes for any of your mail art needs! I had a lot of fun working with this particular stamp set, although it was a bit out of my comfort zone. I hope you liked this project and try decorating some envelopes of your own!


Thank you Jordan! These are so fresh and fun – would love to receive an envelope like this in the mail :)

Give it a try: you can find all my Rubber Stamps in my Online Shop and here are some of the other supplies Jordan used:

Don’t forget to check out Nat’s Creative Squad on Instagram too: Each week we post projects, ideas, and inspiration for mixed media art.

Leave a comment

Masked – Art Journal

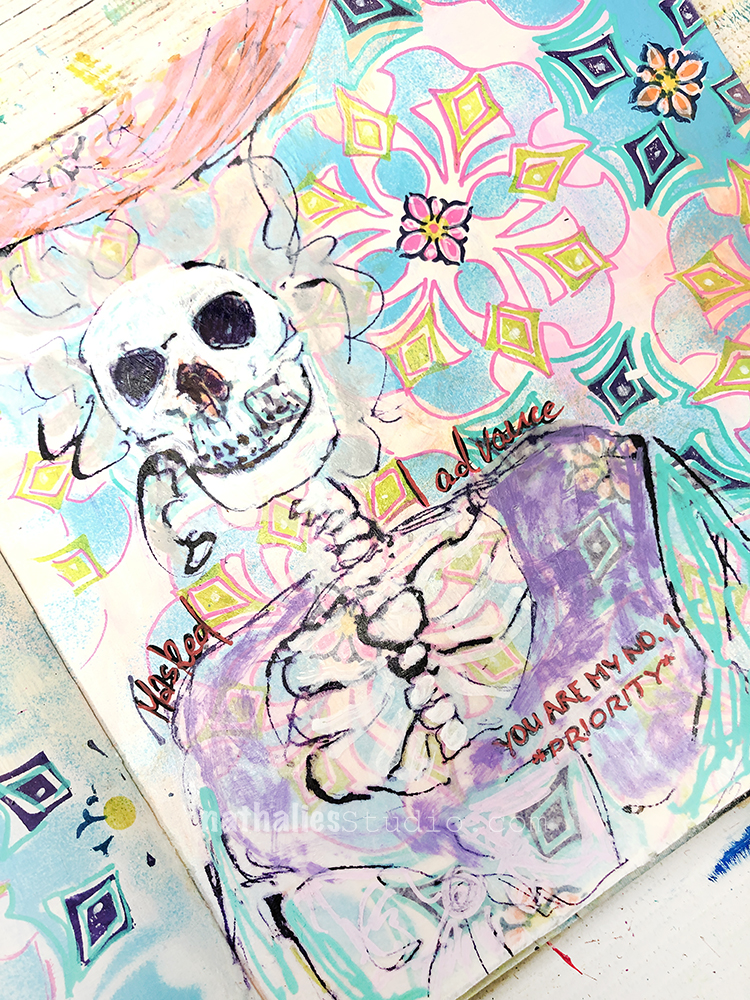
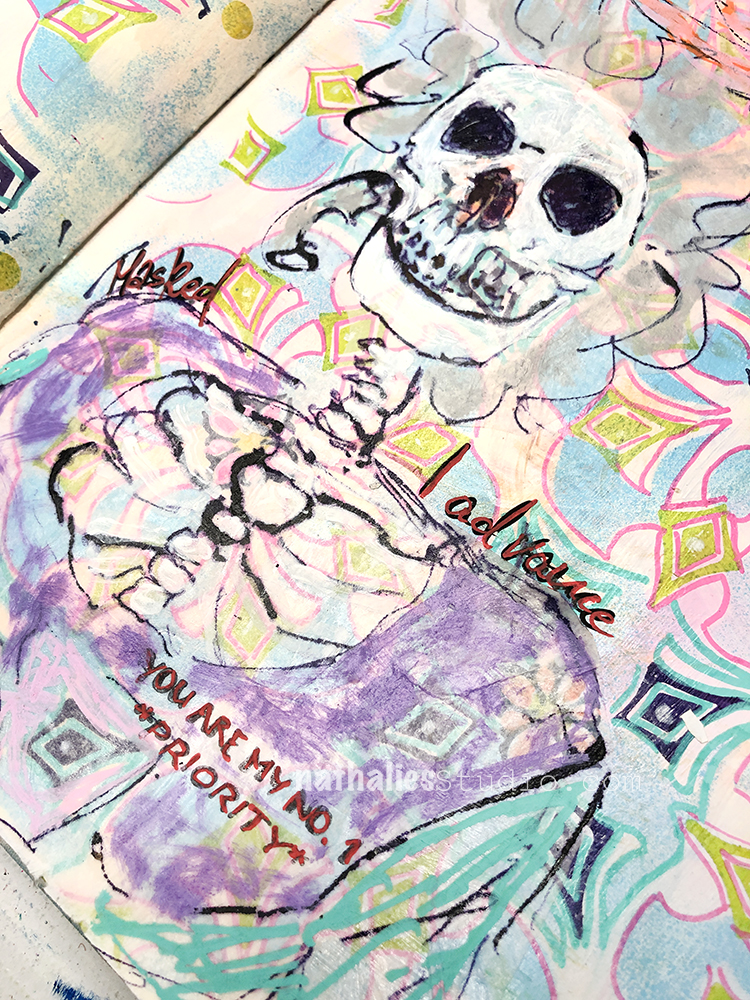
It’s Halloween… Are you wearing your mask? Not just your spooky costume mask, but also that PPE? I hope so – as we know it is one of the most important things we can all do to help stop the spread of the virus. It’s been on my mind a lot lately, so I took it to my art journal.

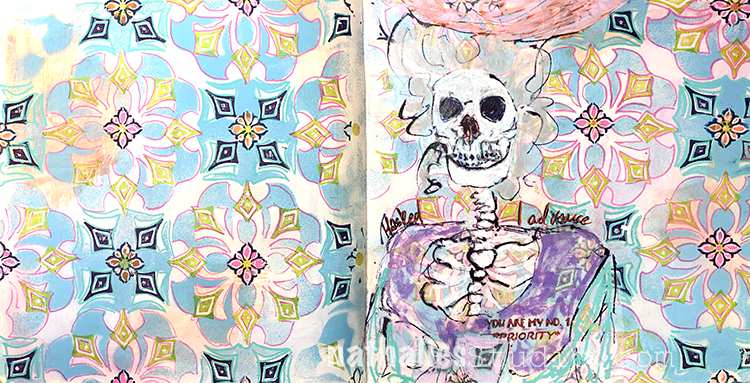
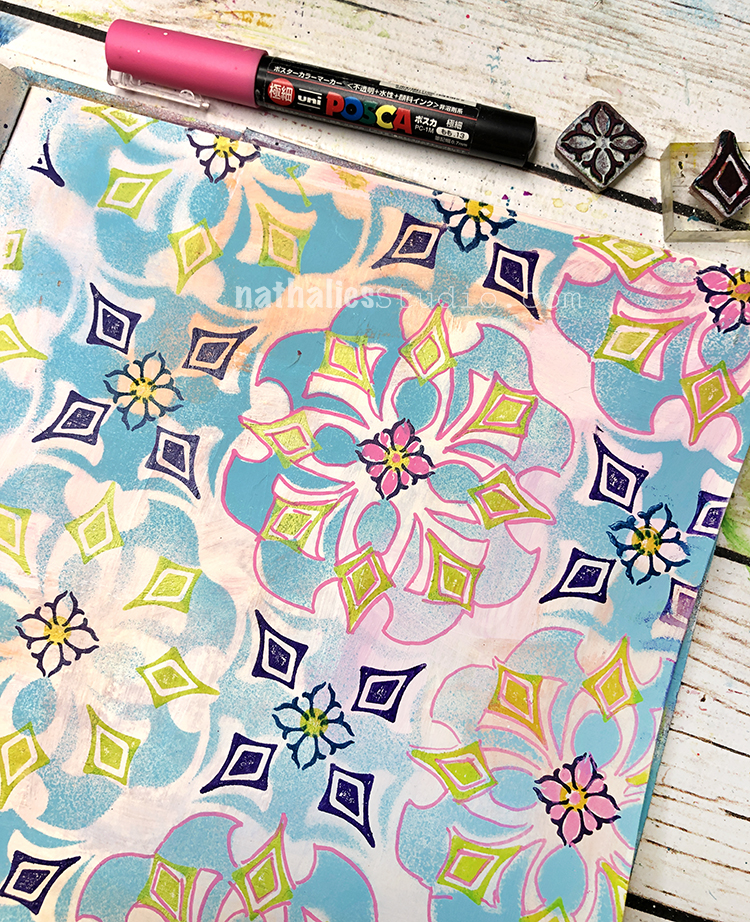
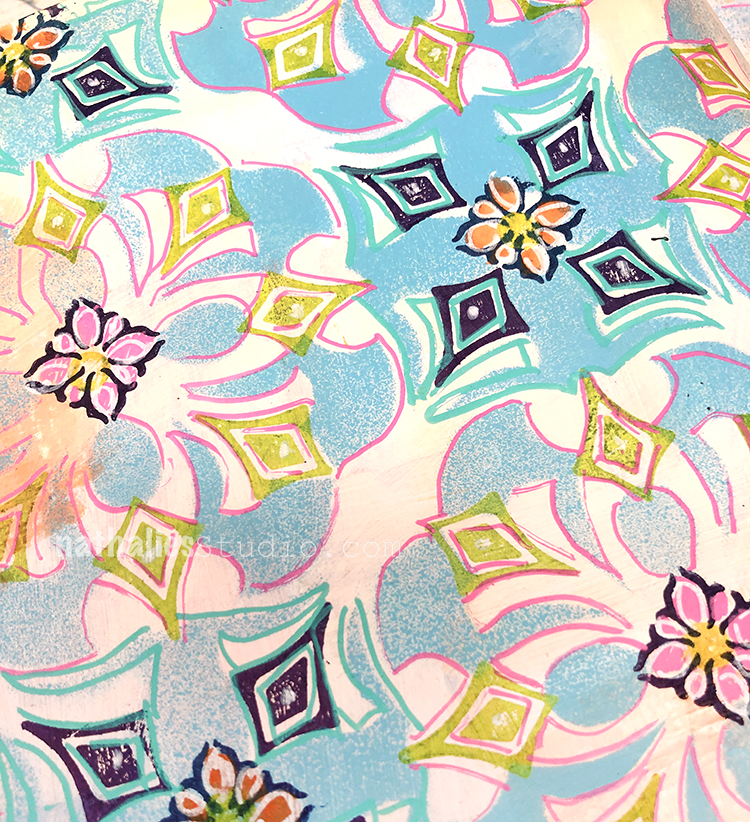
I started my background with some new soft pastels that I have been playing with lately (link below for those), mixed with fluid matte medium. Then I used my Versailles stencil with blue water based spray paint. To highlight the design more, I added a Posca marker outline and my Fan-fare rubber stamps. 

I sketched the skeleton lady with acrylic ink on deli paper and also added in my You are my No. 1 Priority stamp from the #keepyouposted set because that is the whole point right? I am wearing my mask to help protect everyone around me :)

I hope you have a happy, safe Halloween.

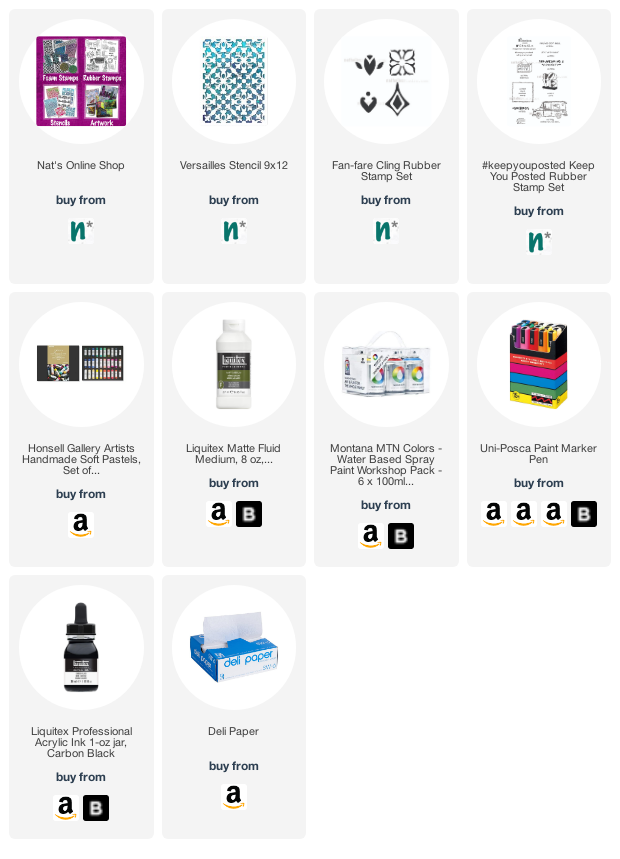
Here are some of the supplies I used:

Leave a comment

My 5am Challenge – Vote Flag Book

I am continuing with my 5am challenge – For a few weeks now I am challenging myself to get up at 5am each morning and working on a book binding or folding technique to learn something new. 

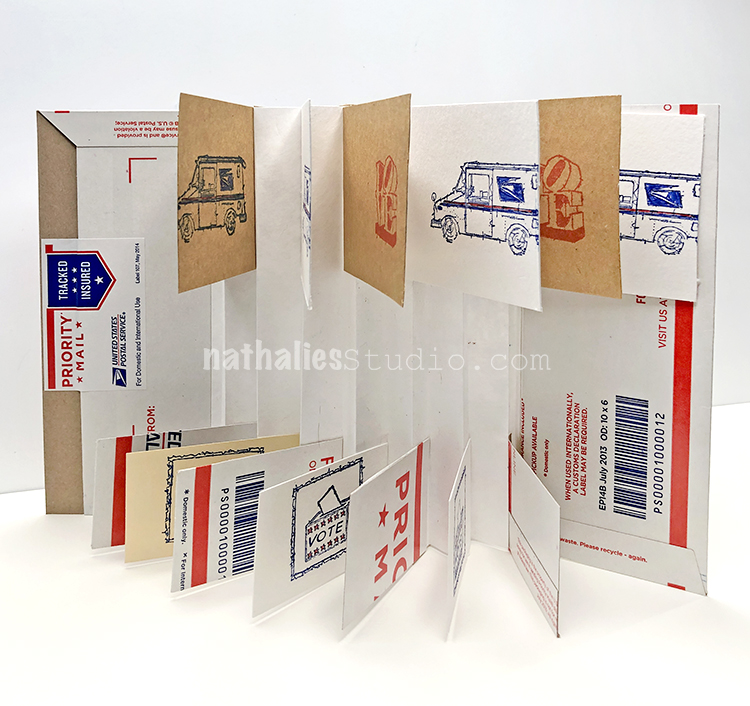
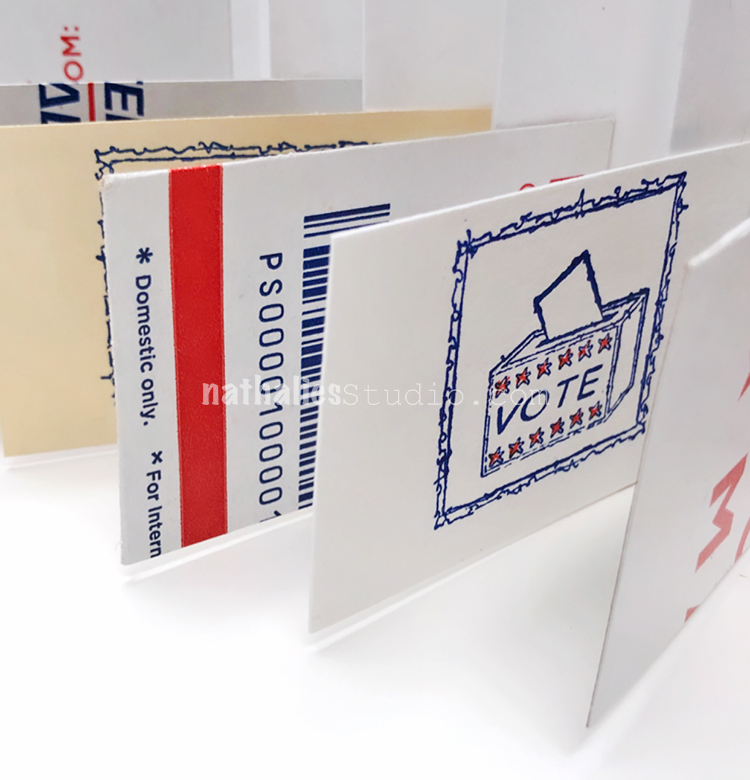
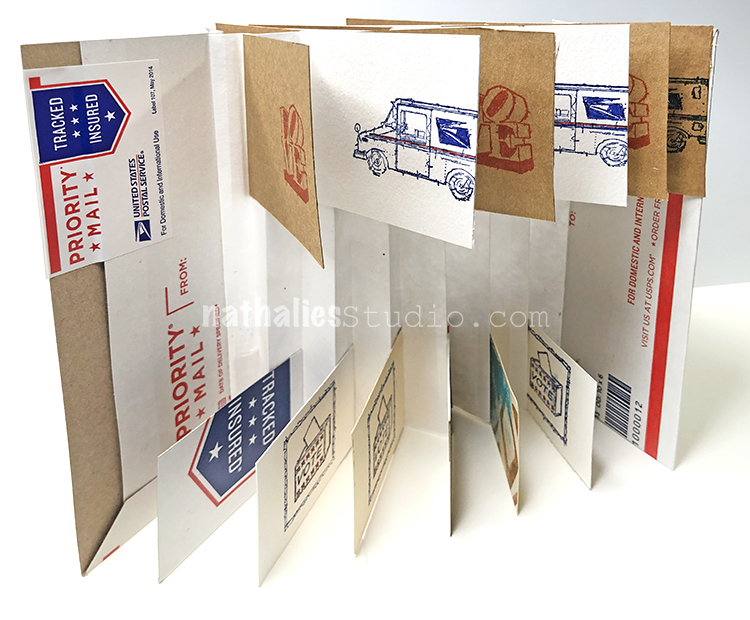
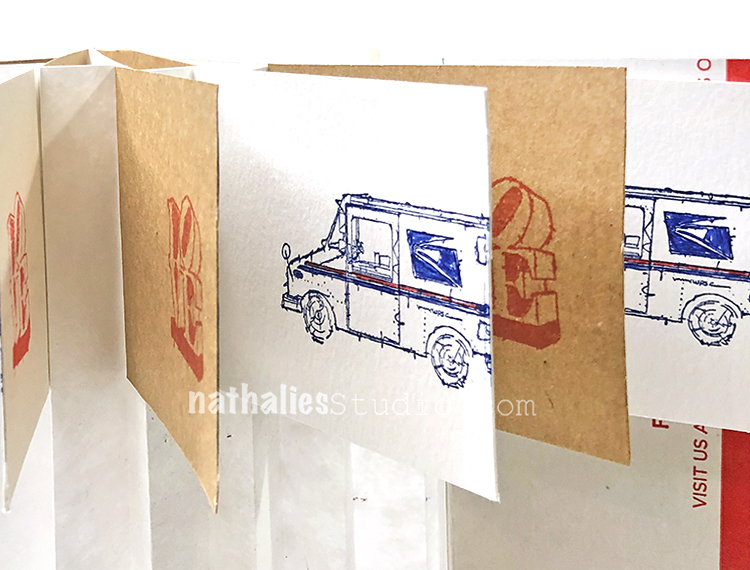
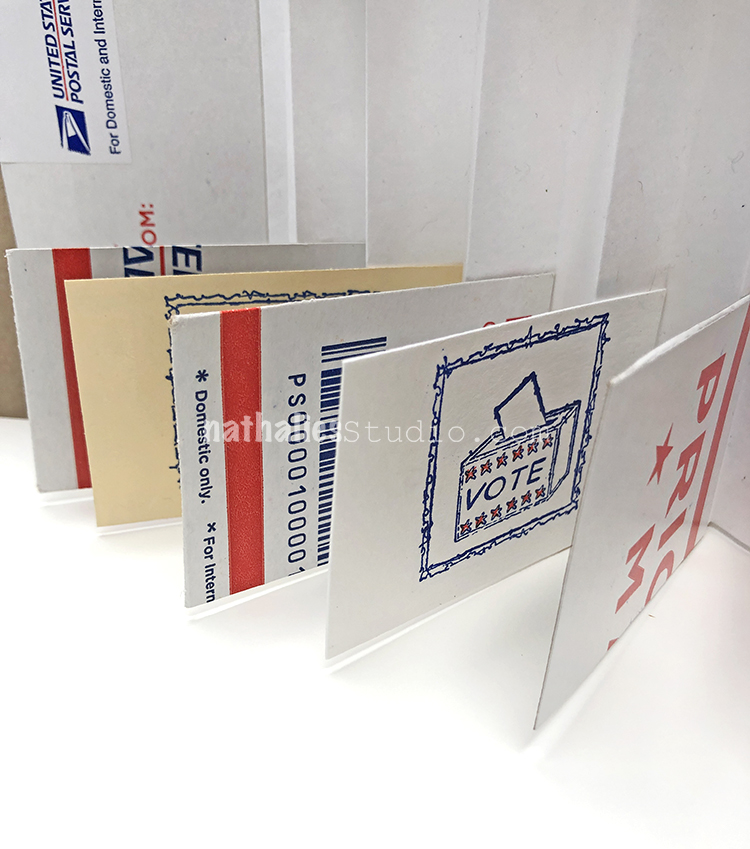
This time I created my Vote Flag Book using old flat rate envelopes, some leftover watercolor paper, and of course my Ballot Box stamp from my #keepyouposted rubber stamp set.

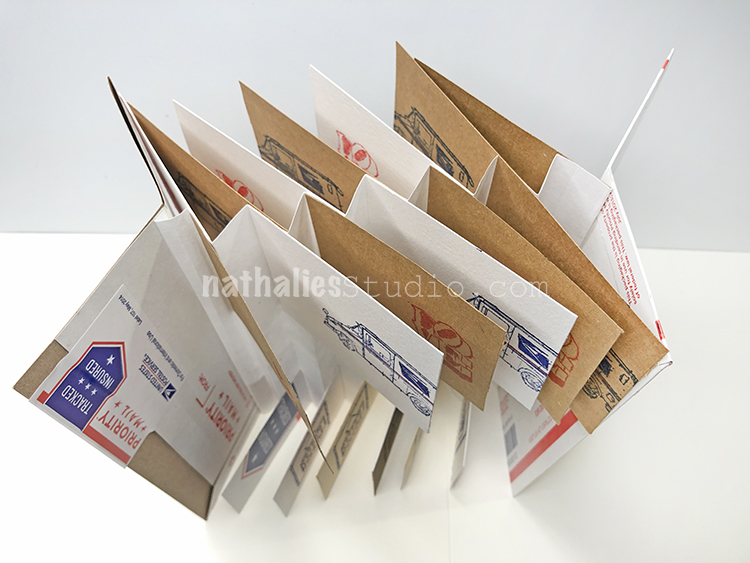
It’s an interesting book form – the pages like flags standing in the wind. You can see another example I made in this blog post.

Pretty cool looking and lots of surfaces for stamping :)

Here I alternated between my LOVE stamp and my Neither Rain Nor Sleet stamp (that nice usps truck) from my #keepyouposted set. For ink I used Moonlight Duos.

And of course the message here is simple: VOTE!

Here are some of the supplies I used:

Comments (1)

  • Jean Goza

    |

    Loving this!

    Reply

Leave a comment