Hello from my Creative Squad! Today we are continuing with our Mail Art month and today we have a wonderful project (love her envelope!!!) from Emilie Murphy using my #keepyouposted rubber stamps. This month’s theme is: Mail Art – During these times of social distancing, old fashioned mail is a fun way to keep in touch and lift someone’s spirits. Create some mail art, and then actually send it off! Address it, put a stamp on it, and put it in the mailbox. You will make someone’s day :)
Hi there! Hope you are doing well.
What can I say except that I’m totally fond of Nathalie’s new stamps set called #keepyouposted. Art mail is my favorite theme. I just love to make cards and send them to family and friends.
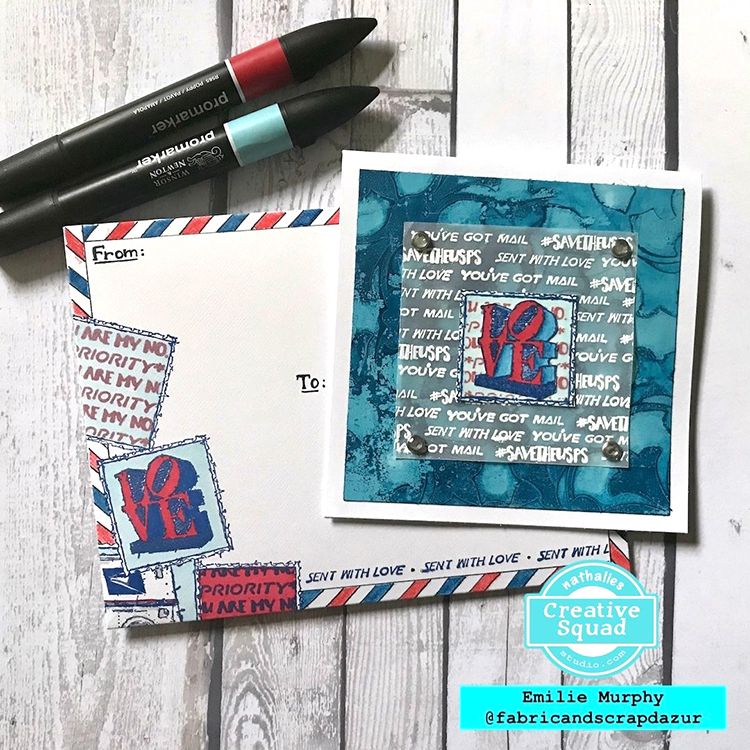
I decided to stay “classic” and chose a blue and red color palette for the whole project, card and envelope.
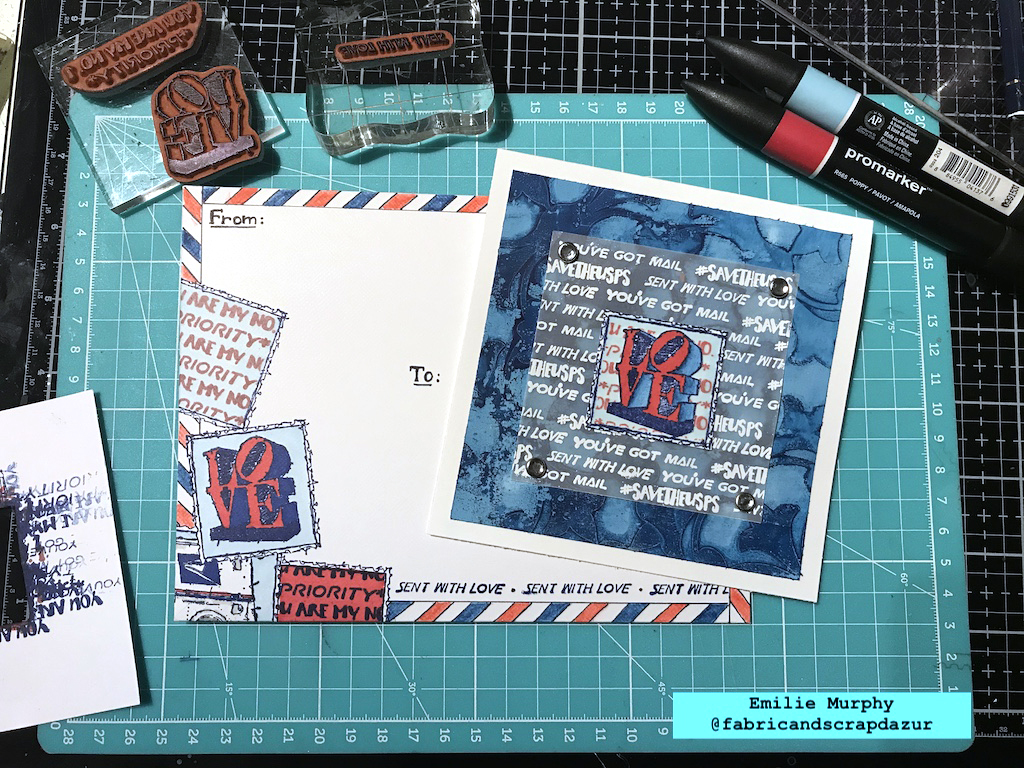
Starting with the card, I made a super easy 5×5 inches squared one.
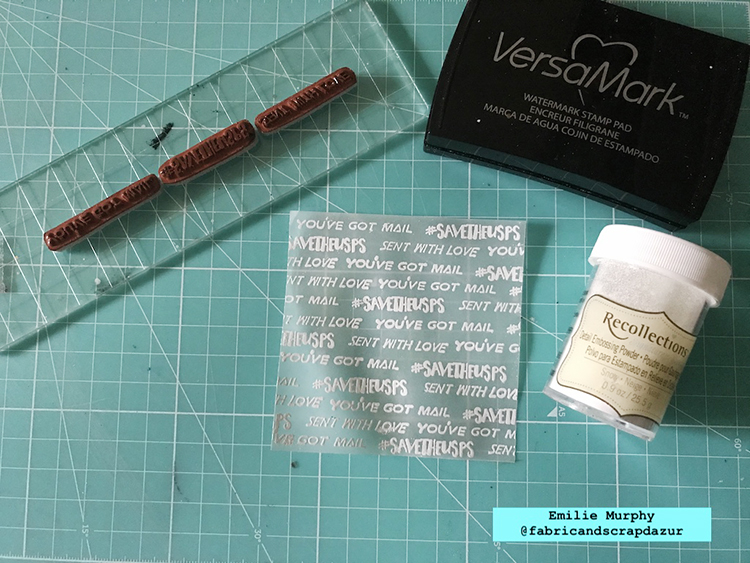
I embossed with white embossing powder a 3 ¼ x 3 ¼ inches piece of vellum using the “you’re got mail”, “sent with love” and “#savetheusps” stamps.
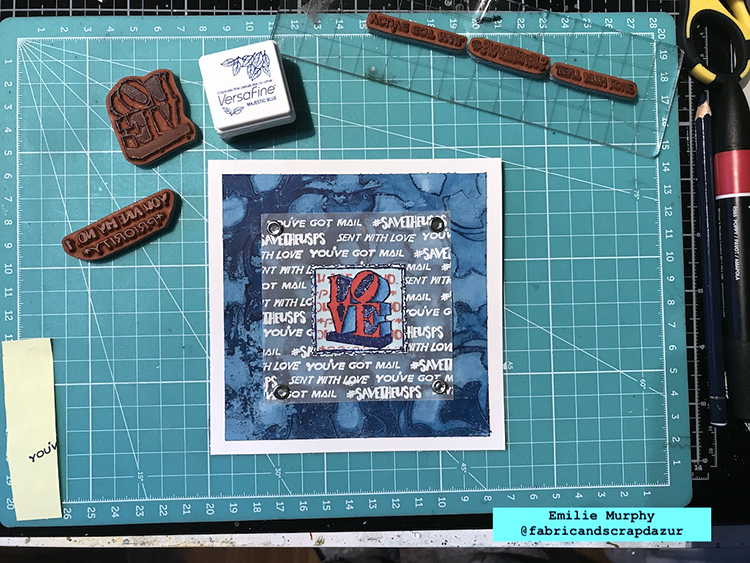
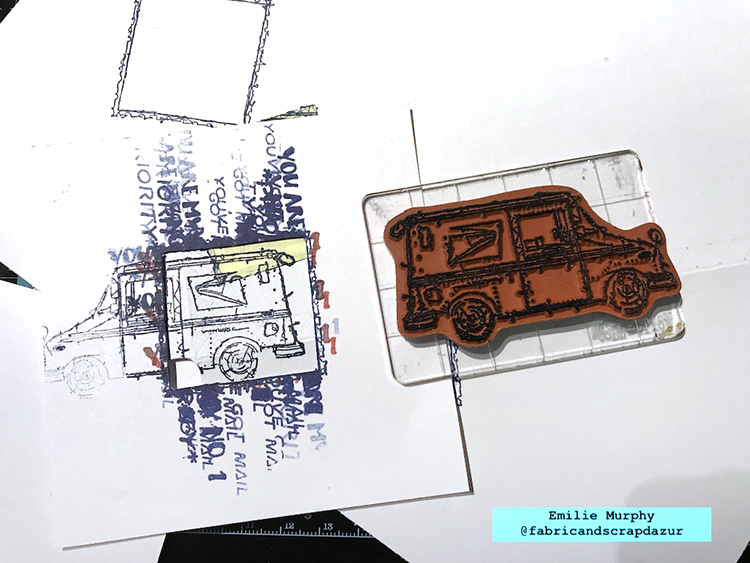
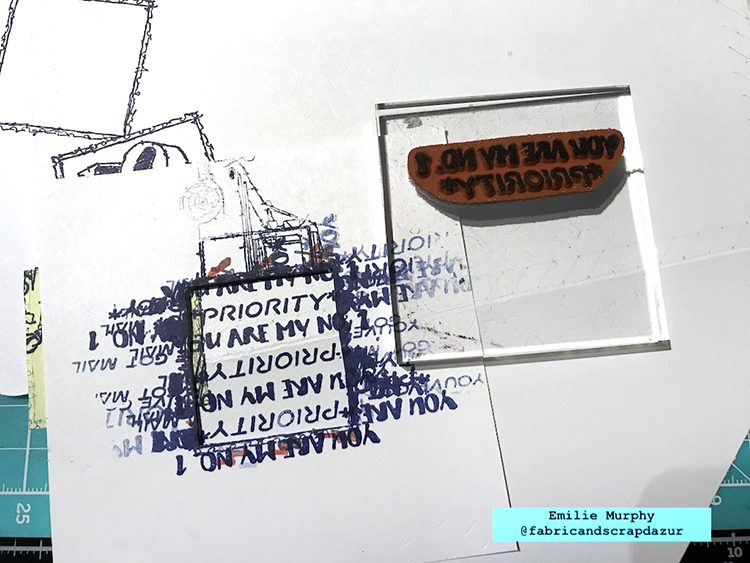
I stamped “You are my NO. 1 priority” with Crimson Red ink pad inside the “blank postage” stamp and colored it with an alcohol marker as well as the “LOVE” stamp.

I cut a 4 ½ x 4 ½ inches piece of gelli print that I had made for a previous project with Nathalie’s Versailles 9×12 stencil.
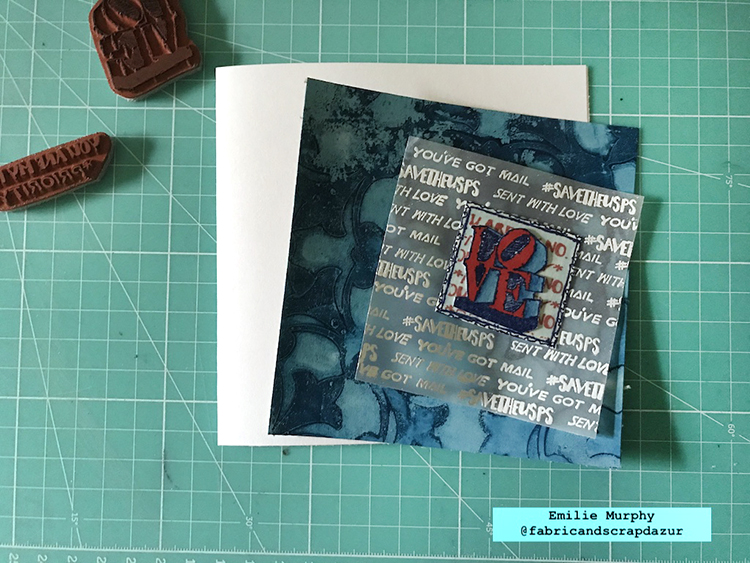
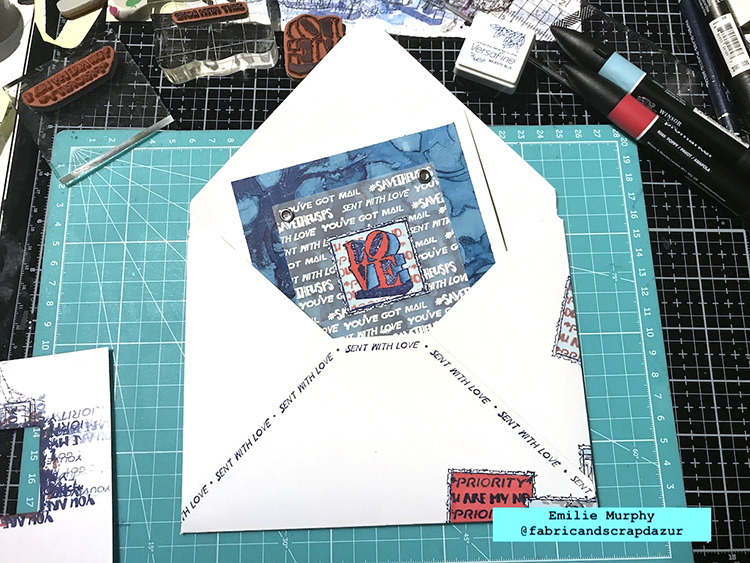
To assemble the card, I first glued down the embossed vellum piece on the gelli print piece. I applied some double-sided tape only in the center of the vellum. This way, the glue is hidden by the “postage” and “love” images glued on top. I attached a brad at the four corners of the vellum. That’s a cute and practical way for not having the glue or tape showed off through the vellum. To finish, I glued the whole piece on my 5×5 inches base.
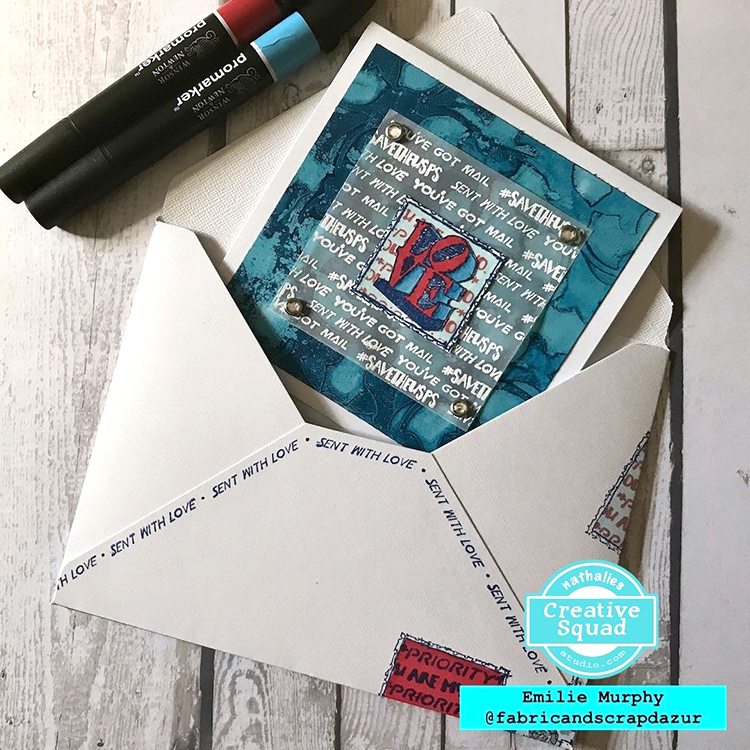
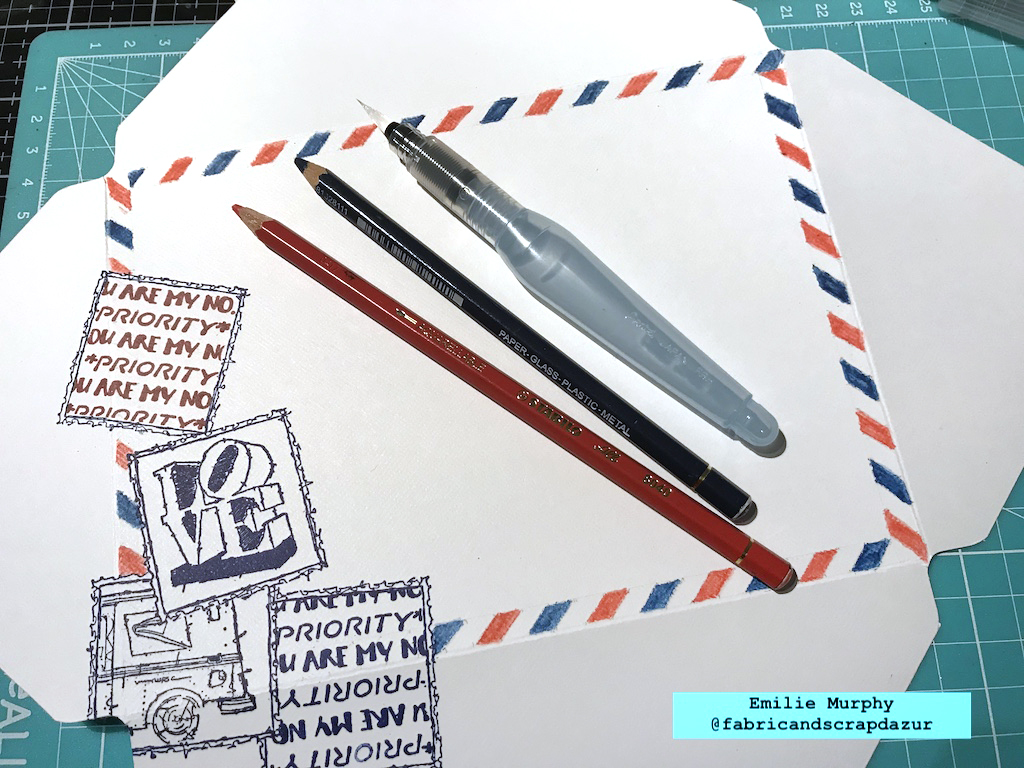
About the envelope, I made my own 5×7 one with a piece of 12×12 white cardstock. I used an envelope tool (because I have one) but it is easy to use a template from a purchased envelope. I started to trace with a graphite pencil some straight and diagonal lines spaced by ¼ of inch to get a classic “mail postal” border. Then, I stamped several time the “blank postage” stamp using the technique of masking.
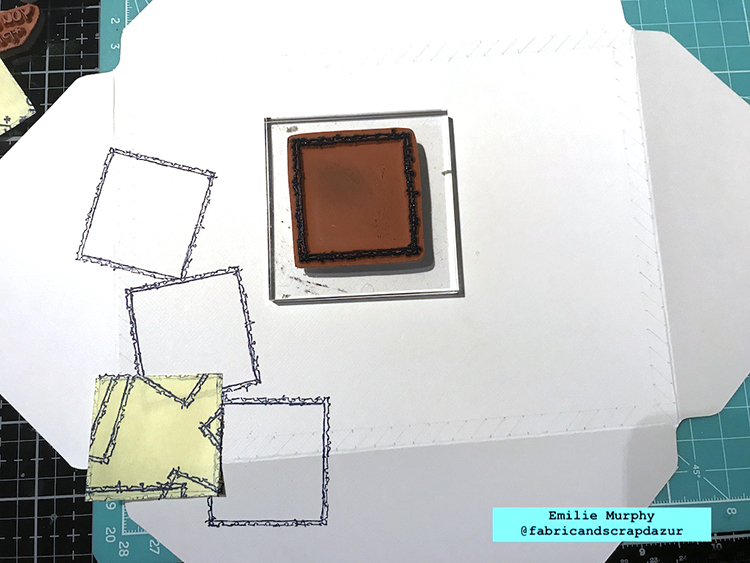
I made a frame template to be able to stamp inside the postage stamp space.
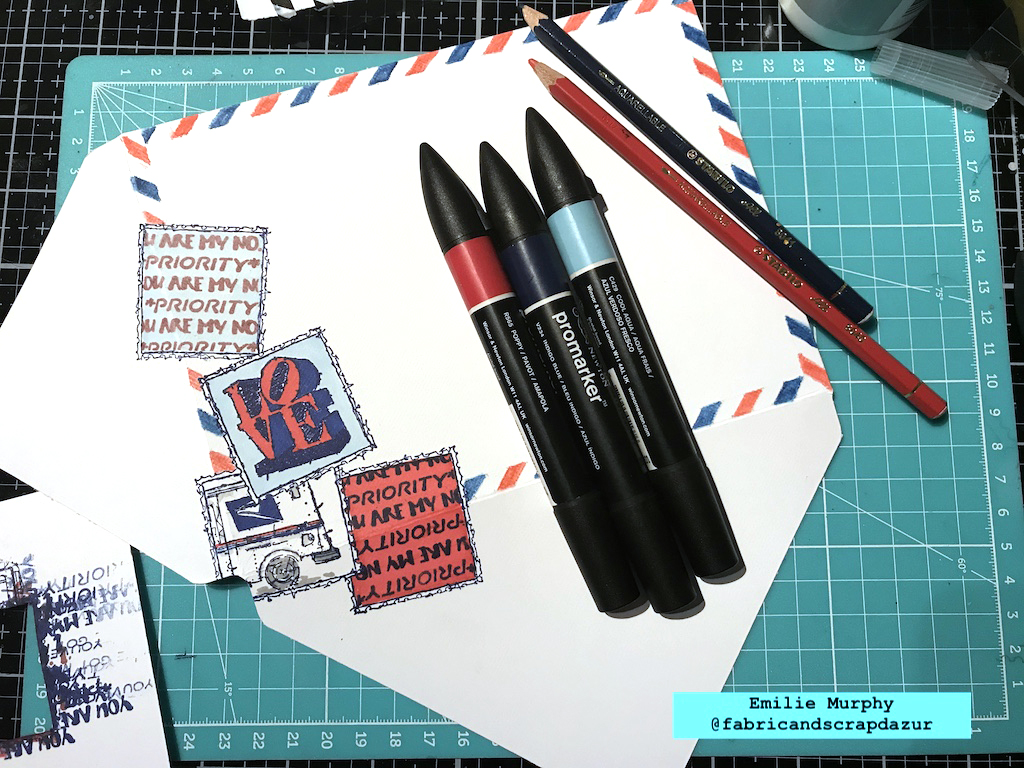
I colored the border with a blue and red stabilo pencils and the postage stamps made with some alcohol markers.
For the back of the envelope, I simply stamped the “sent with love” and “you’re got mail” along the edges.
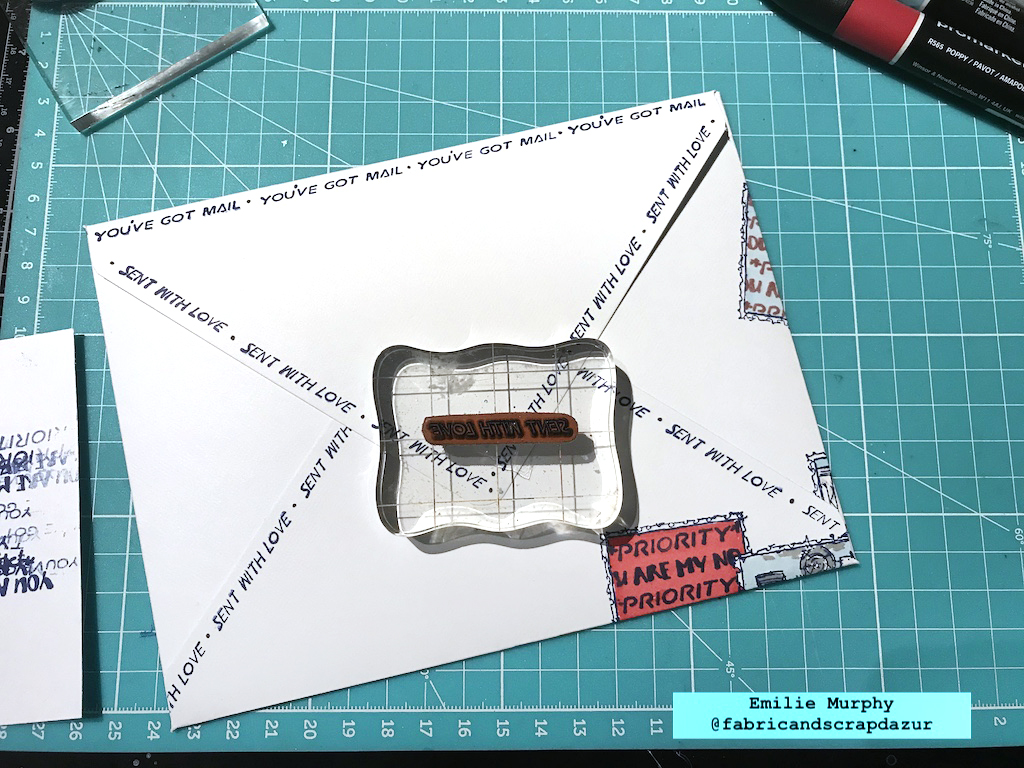
At the end, I outlined the border lines with a black micron pen. I like the look of it. And Voila!
This is a simple card/envelope project to make just for the pleasure of stamping and coloring. I really enjoyed playing with this new stamps set. Once again, the possibilities are endless, only imagination is the limit.
Have a good rest of the week and see you in December!
Thank you Emilie! What a fantastic way to layer up the stamps to create something really special!
Give it a try: you can find all my Rubber Stamps and Stencils in my Online Shop and here are some of the other supplies Emilie used:

Feel inspired? Working on something yourself that you’d like to share? I love to see how you interpret our monthly themes. Email me how you used my stencils and stamps with the theme and email me an image – I would love to share your projects in my next “n*Spiration From Around the Globe“.