
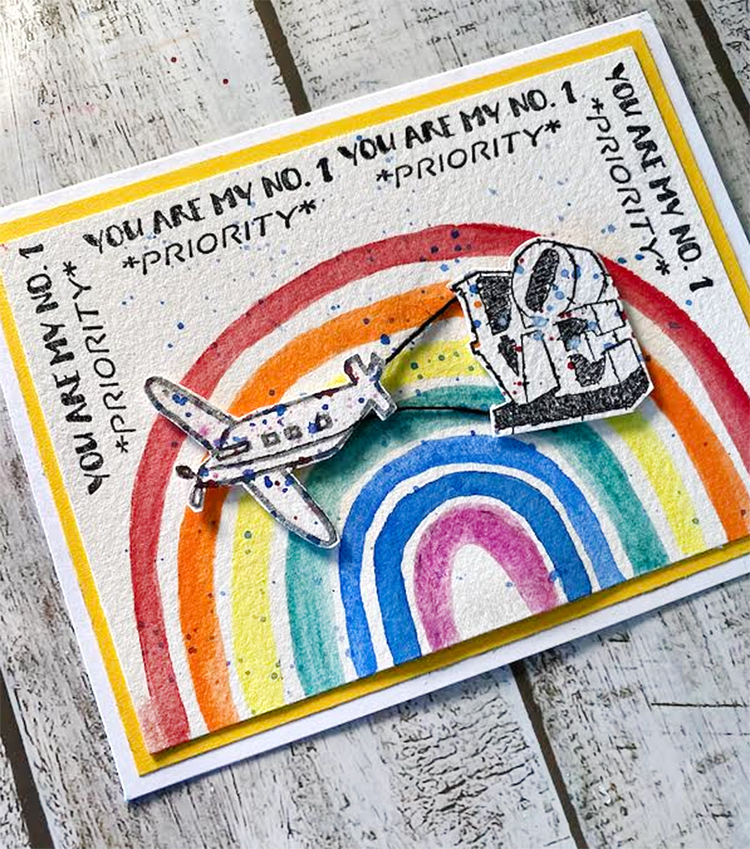
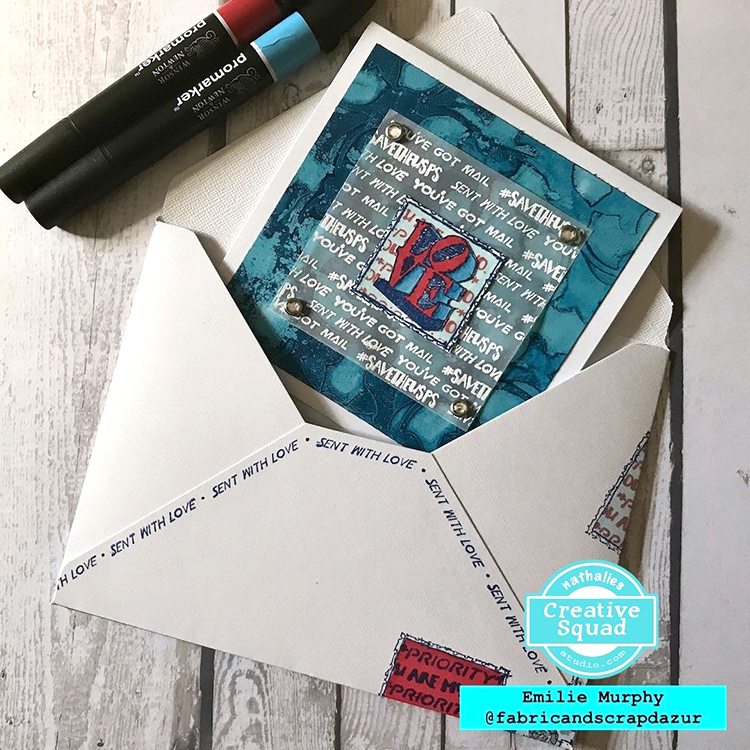
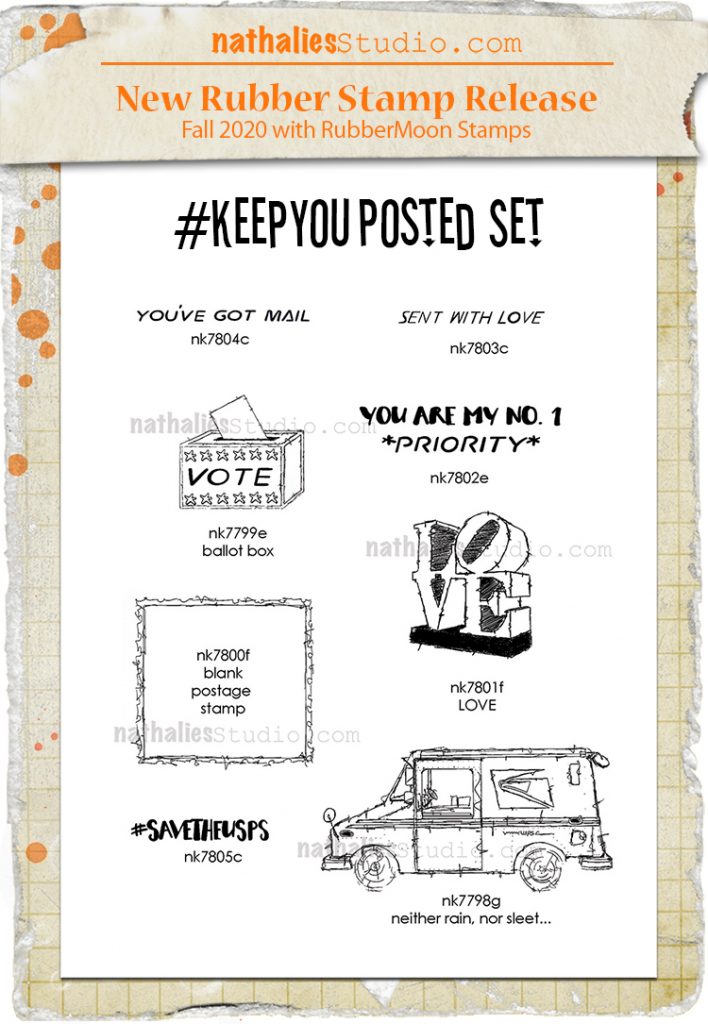
Hello from my Creative Squad! Today we are at the end of our month with Jordan Hill and a set of really cool envelopes using my #keepyouposted stamp set and our theme: Mail Art – During these times of social distancing, old fashioned mail is a fun way to keep in touch and lift someone’s spirits. Create some mail art, and then actually send it off! Address it, put a stamp on it, and put it in the mailbox. You will make someone’s day :)
Hello everyone, I’m excited to be back with my second project for the Creative Squad!
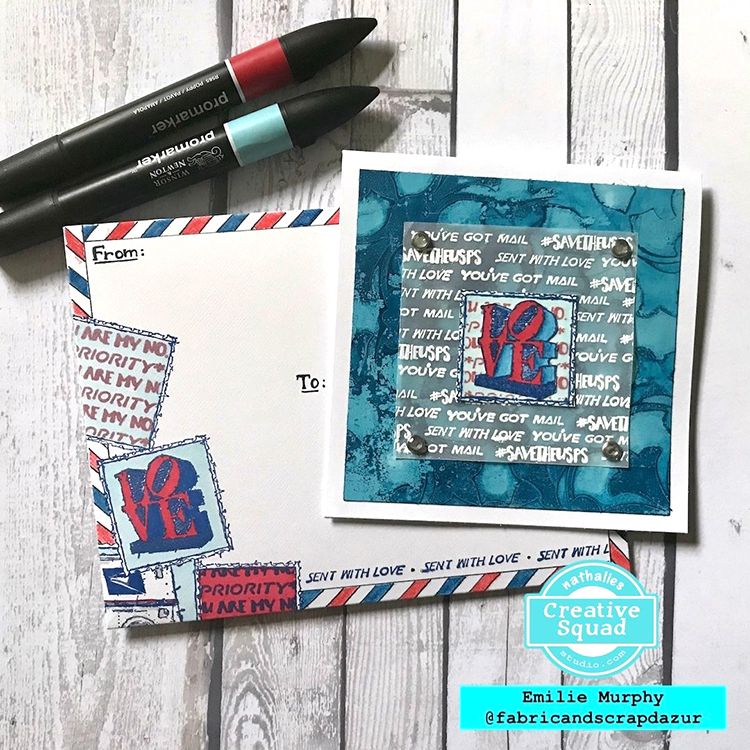
As someone who is quite fond of finding different ways of exploring mixed media, this month’s theme of “Mail Art” was particularly intriguing! For my project, I decided to work on some blank white envelopes, using them as a surface in much the same way as I might an art journal page.
Without dragging this out any further, let’s get into it!
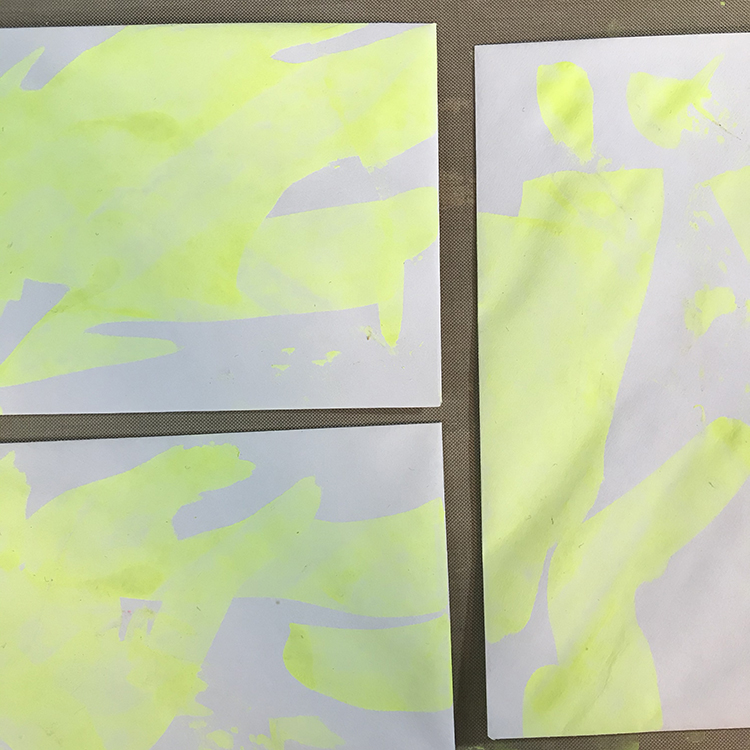
The first thing I did to get this project started was lay out some blank envelopes on my work surface. Then I scraped some neon yellow paint across the surface using an old debit card. This is one of my personal favorite methods of adding paint to pages, as it is quick and adds the color thinly and evenly.
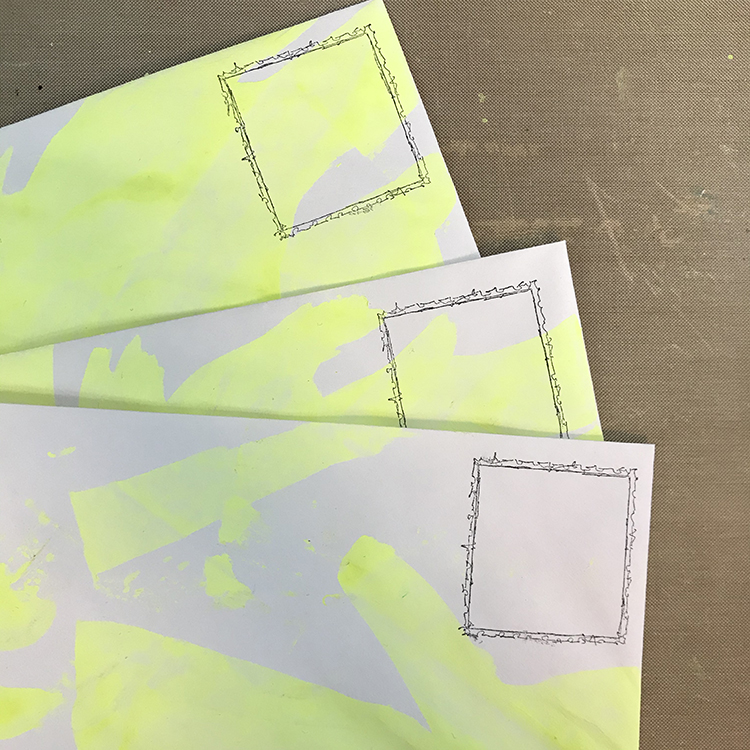
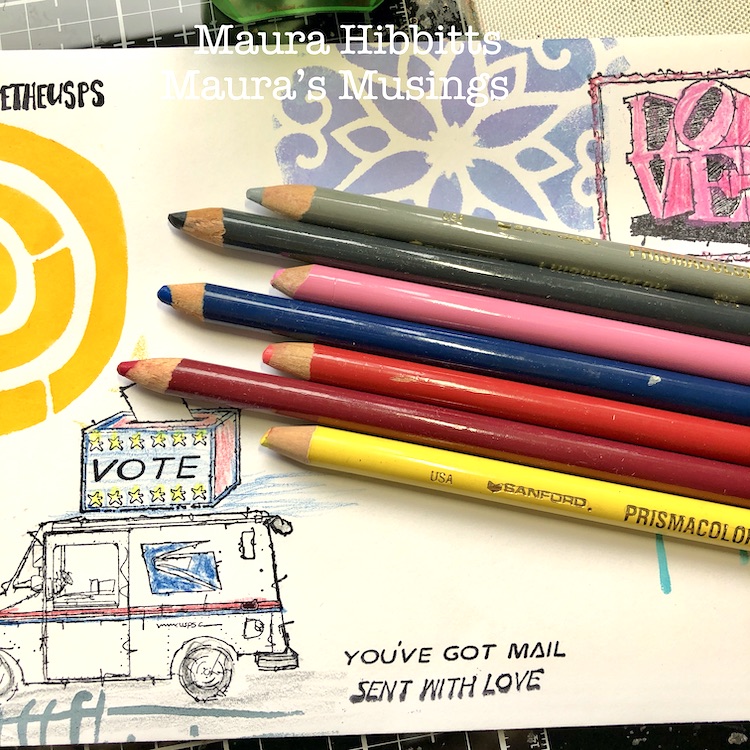
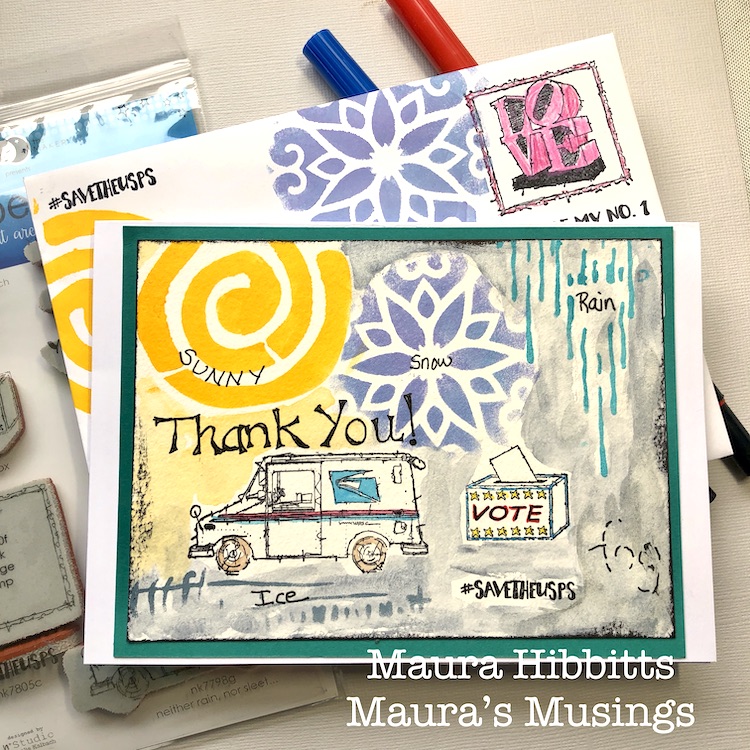
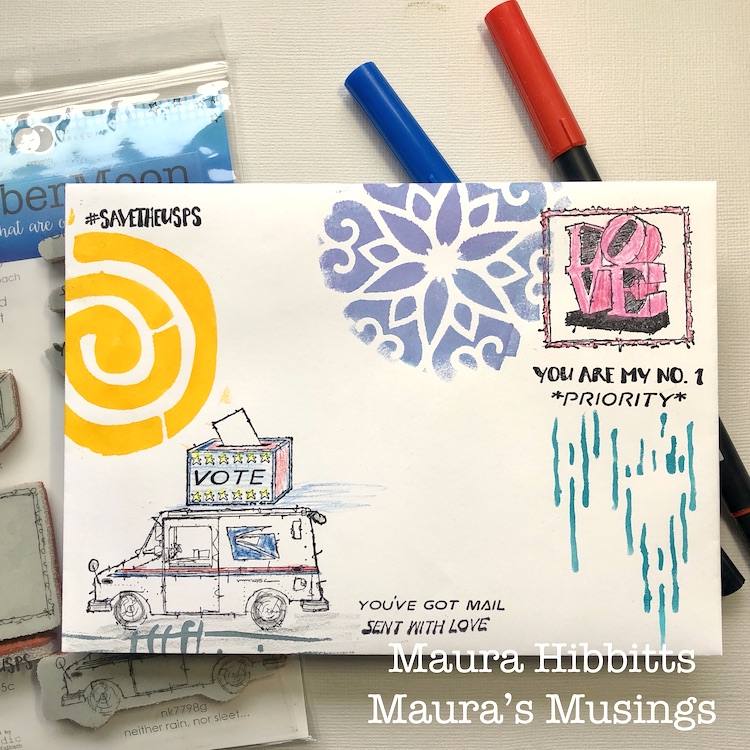
Once the paint had dried, I used the blank postage stamp design from Nathalie’s #keepyouposted stamp set in the upper right hand corner of all of the envelopes I had prepped. When I get around to mailing these, it will make the perfect border for the stamps! I then glued some polka dot tissue paper down to the envelopes using Mod Podge.
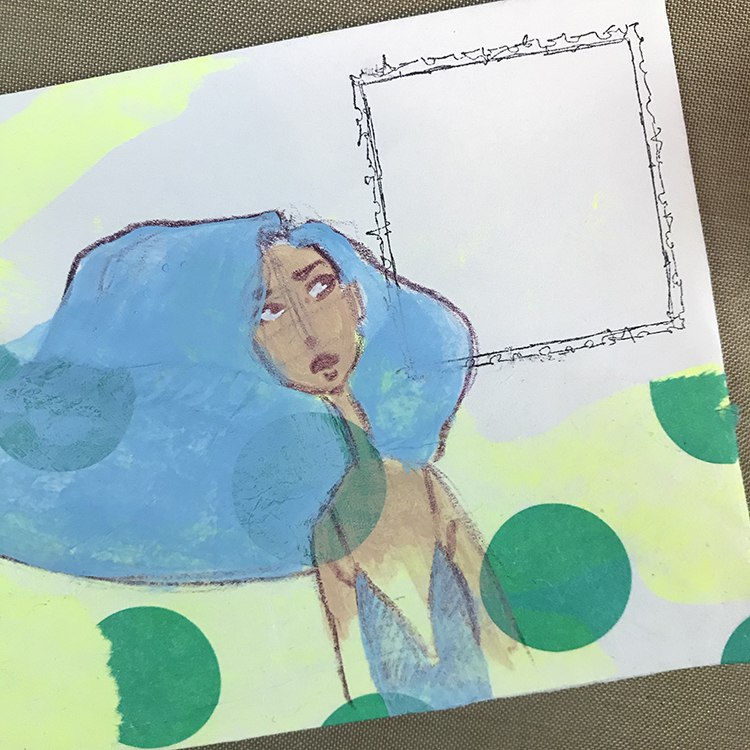
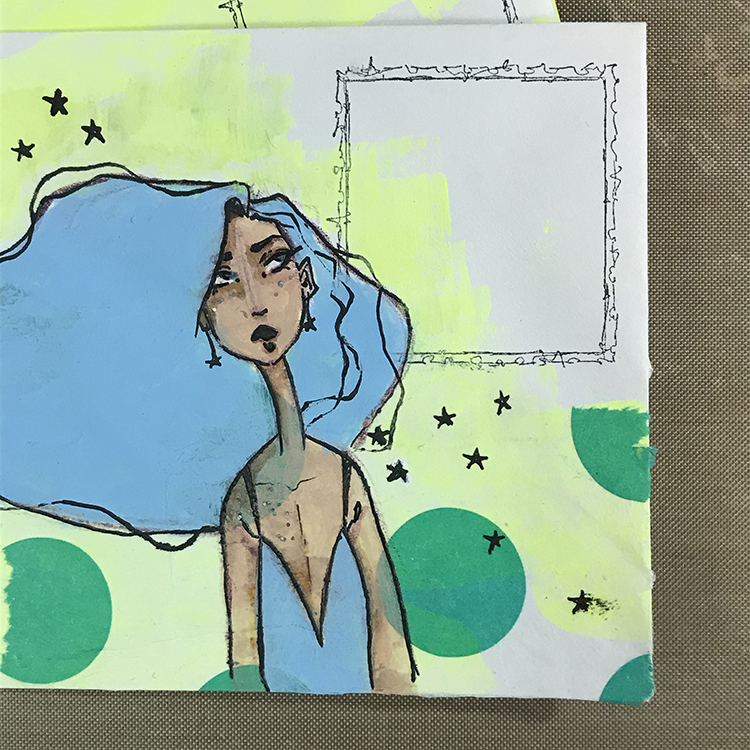
Next, as I do with most of my projects, I decided to add a face (I used CraftSmart Natural Beige here). For this particular figure, I gave her a long, flowing hairstyle that covered the entire middle part of the envelope. This gives me a place to write the address later. At the same time I was adding the color Light Blue to the hair, I also added the same color to this girl’s shirt, and created an additional rectangular shape in the upper left for the return address.
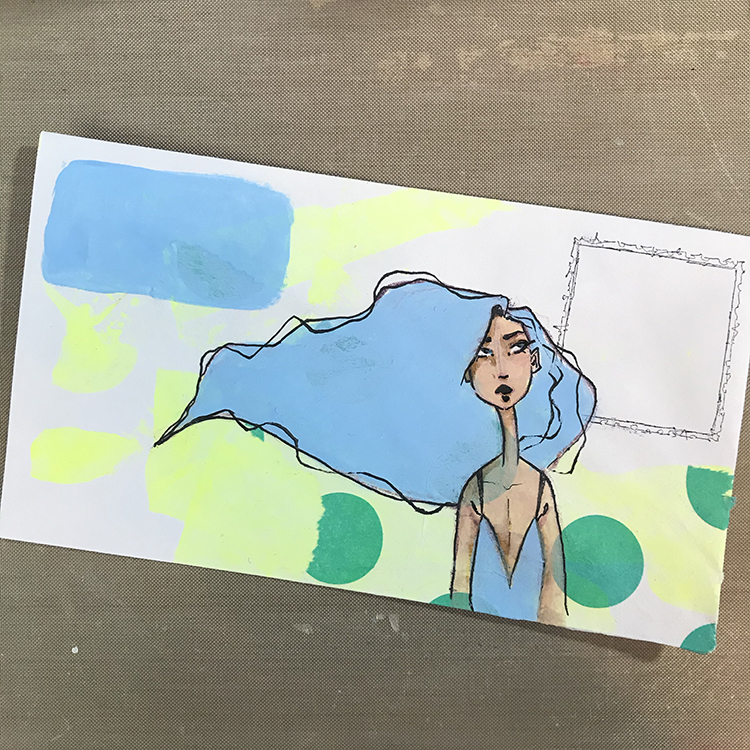
Using a Pentel Hybrid Technica pen in size 06, I then started to add line art to my figure. Her features weren’t standing out nearly as much as I wanted them to, so some thick black lines did the trick perfectly! I also made sure to leave plenty of space inside the hair for addressing the envelope.
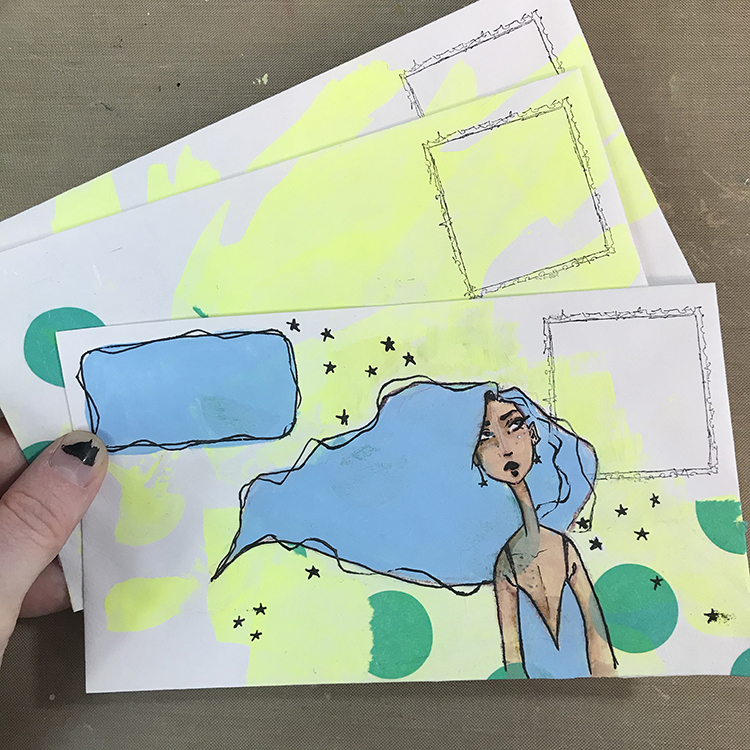
For the finishing touches on the front side of the envelope, I added some additional lines (reminiscent of the hair strands) to the outside of the space for the return address, some more neon yellow paint around the edges of the figure, and some little doodled stars. I also added a bit of Martha Stewart Multi-Surface Coarse Glitter to the cheeks and shoulders of this girl for a little extra sparkle.
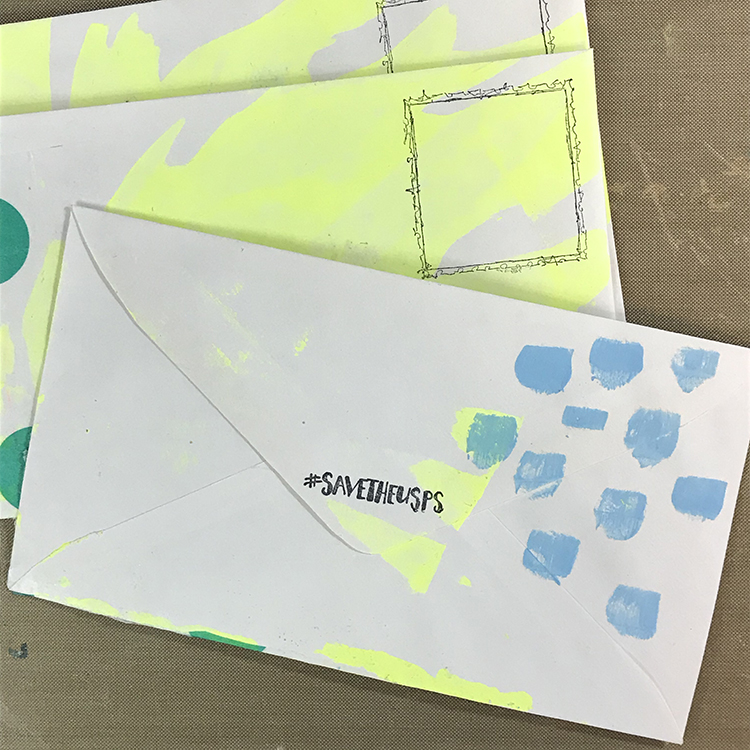
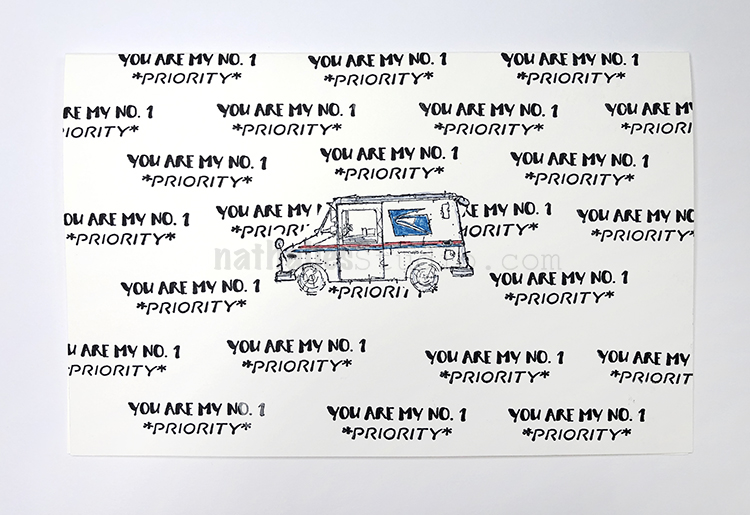
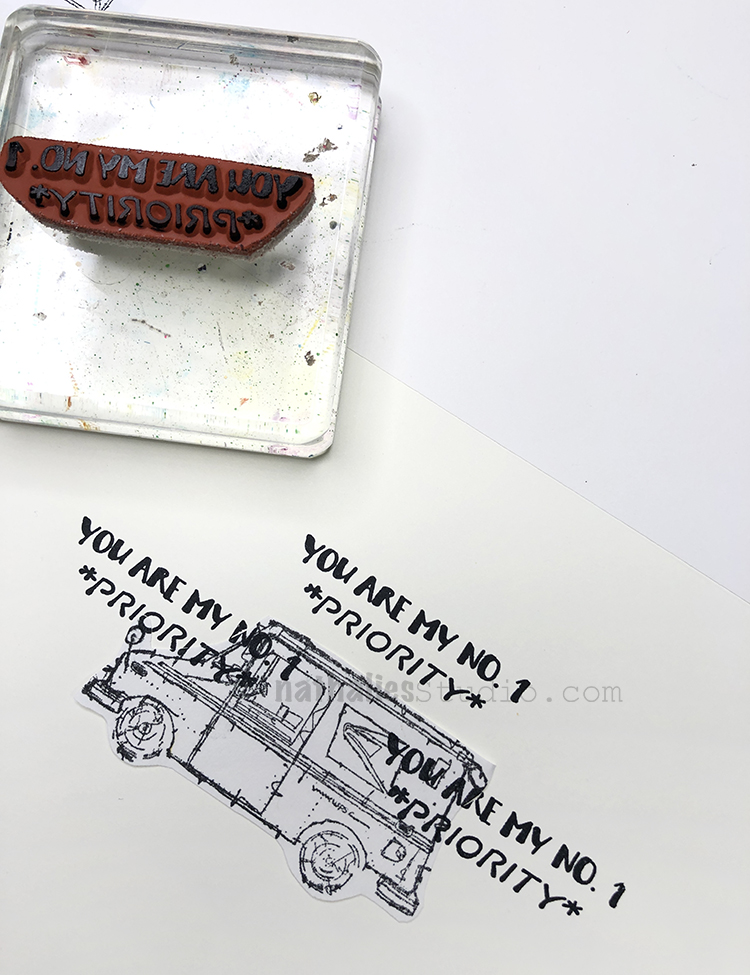
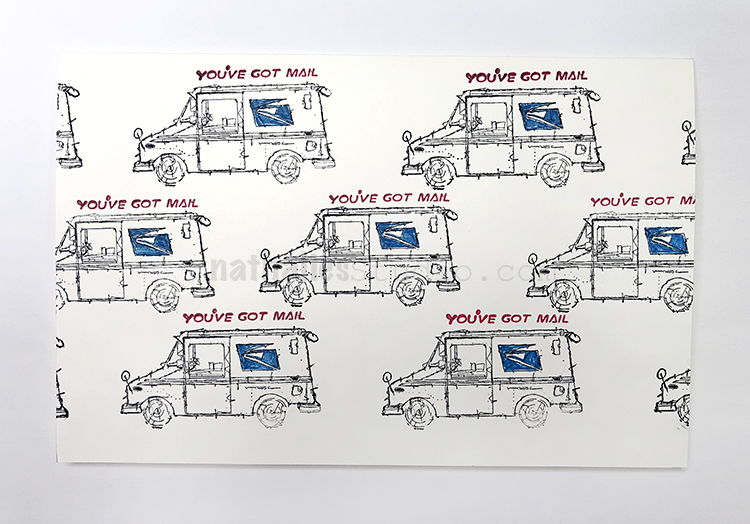
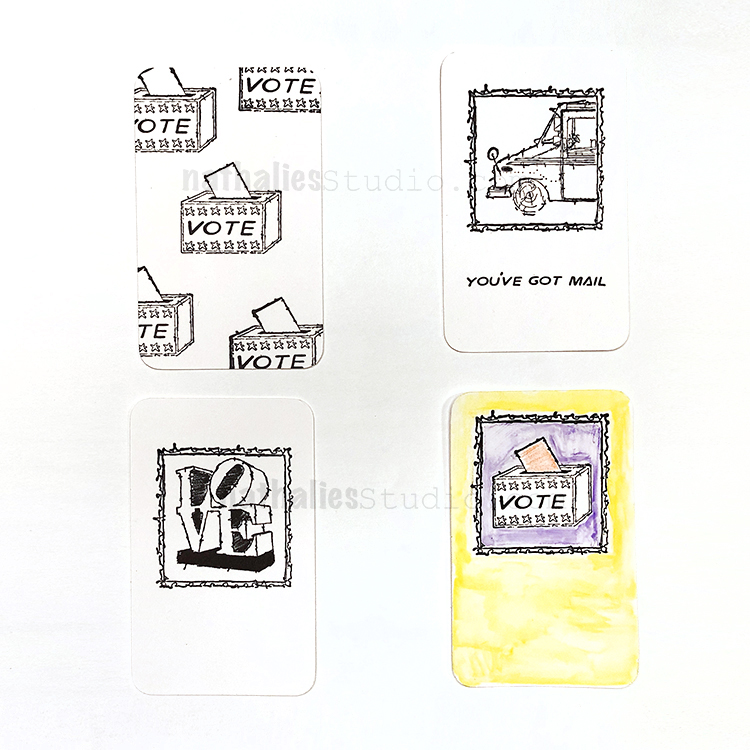
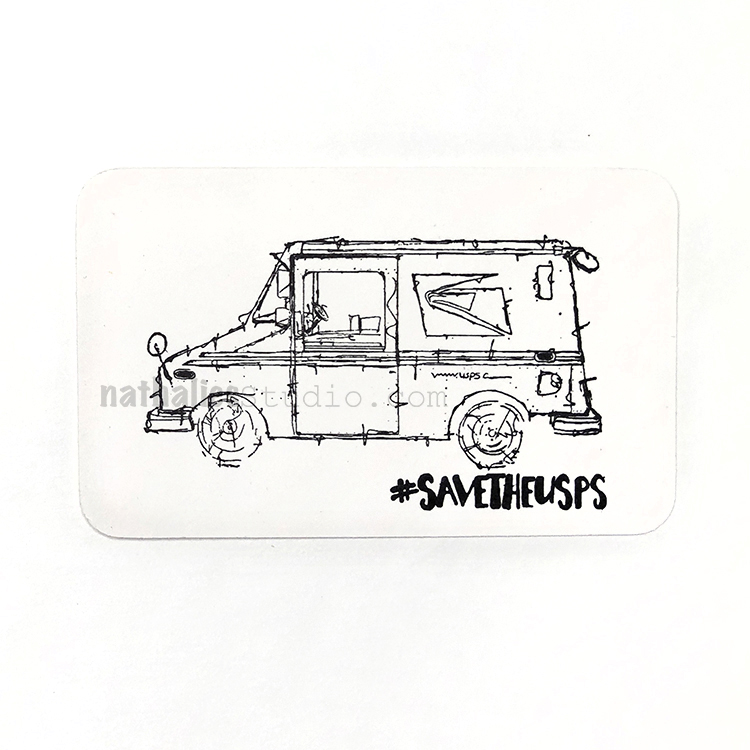
For the back side of the envelope, I decided to keep it a bit more on the simple side. When I scraped the front side of the envelopes with neon yellow, I had some leftover on my debit card, so I scraped the leftover onto the backs. Then, using the same Light Blue paint from the front and a paintbrush, I made some simple marks along the right side. Lastly, as the final finishing touch, I used the #savetheusps stamp from Nathalie’s #keepyouposted stamp set to add a fun little bonus detail to the flap of the envelope!
And there you have it; a simple way to create beautiful envelopes for any of your mail art needs! I had a lot of fun working with this particular stamp set, although it was a bit out of my comfort zone. I hope you liked this project and try decorating some envelopes of your own!
Thank you Jordan! These are so fresh and fun – would love to receive an envelope like this in the mail :)
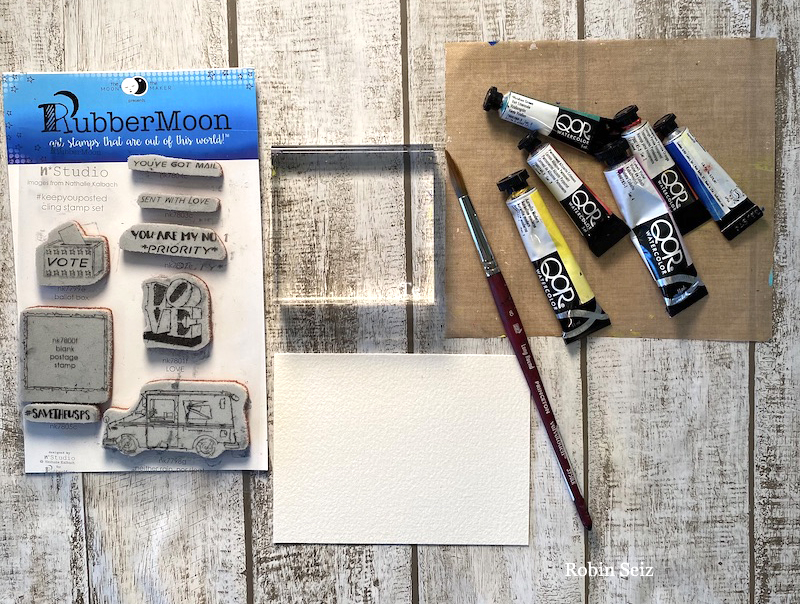
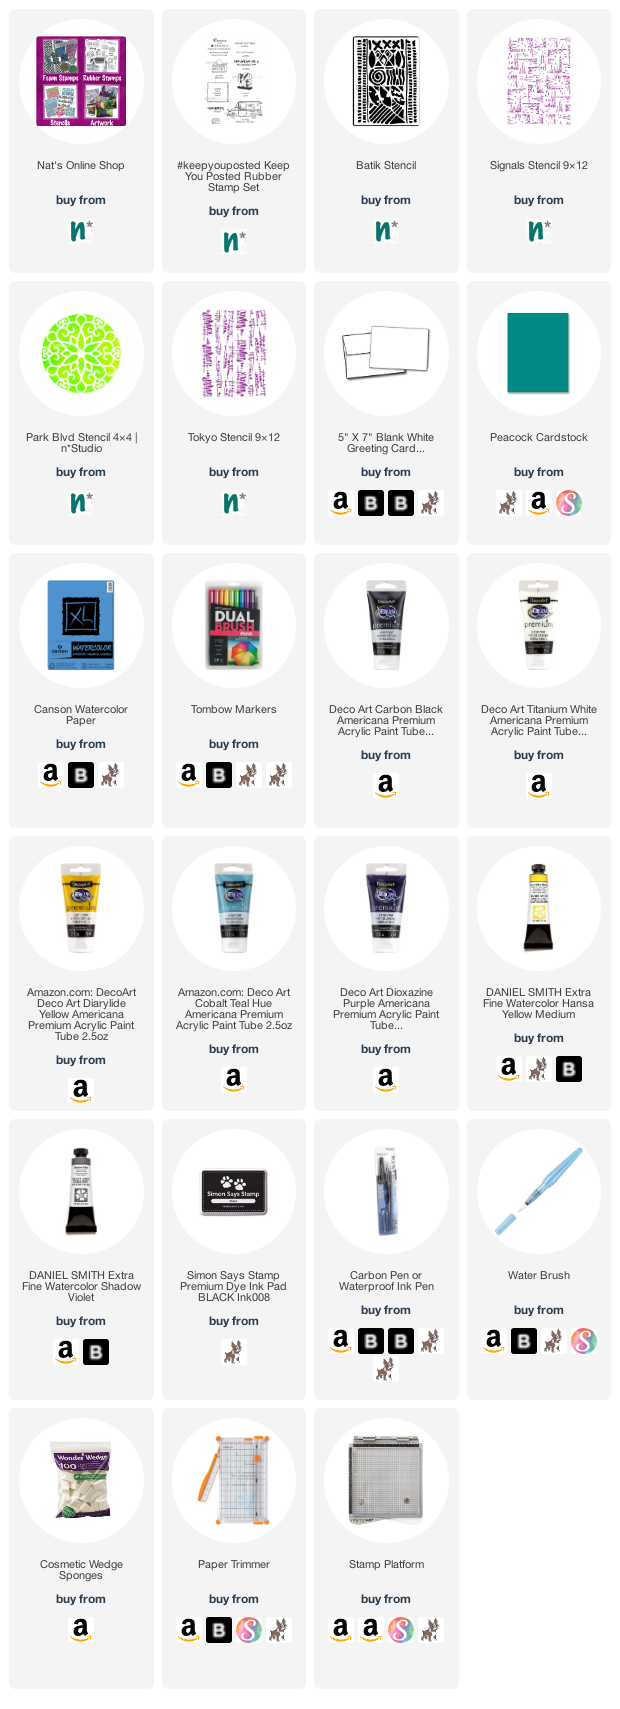
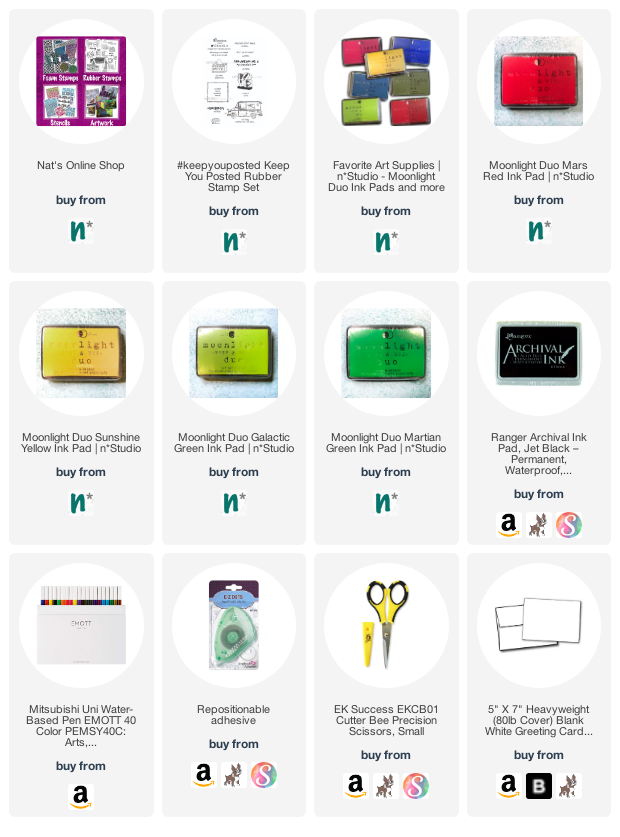
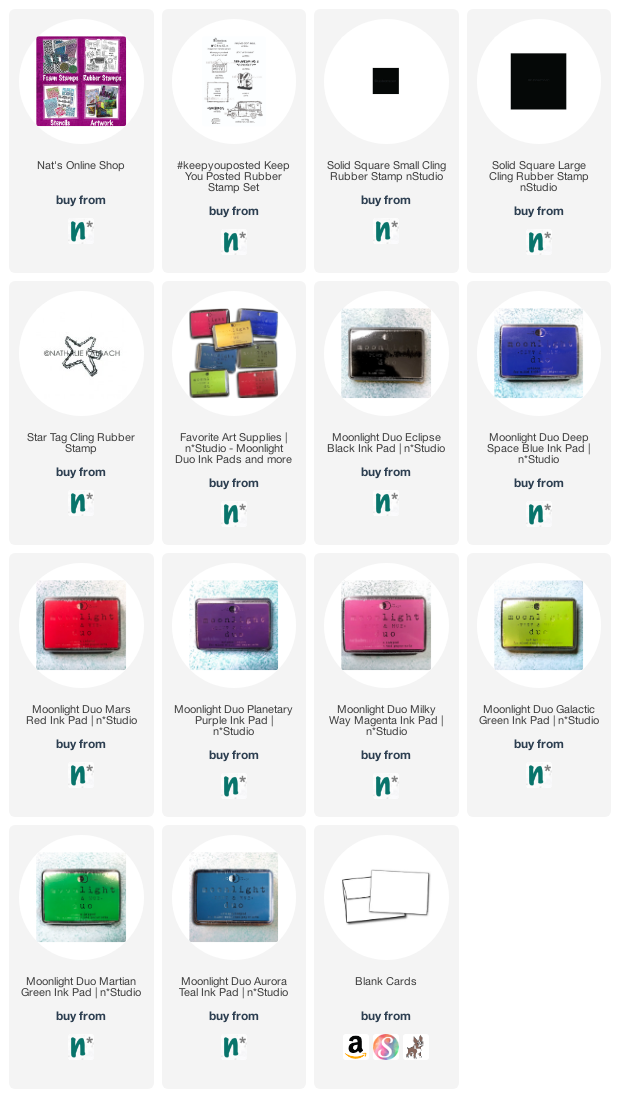
Give it a try: you can find all my Rubber Stamps in my Online Shop and here are some of the other supplies Jordan used:

Don’t forget to check out Nat’s Creative Squad on Instagram too: Each week we post projects, ideas, and inspiration for mixed media art.


Robin, this is so adorable and colorful!
Reply