
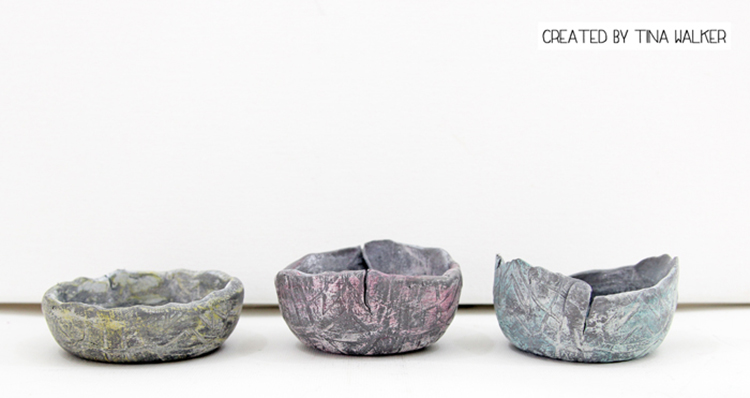
Today, Tina Walker from my Creative Squad is sharing a very creative clay project using my Toledo stencil and this month’s theme: “Return to the Light.” As we pass through the Winter Solstice here in the Northern Hemisphere, the ever lengthening nights turn to ever lengthening days. This ancient marker in the calendar has always been a celebration of light and the promise of a new day. Let’s Return to the Light with some bright and luminous mixed media projects!

Hi! Tina Walker here today to kick off the new month with a new Theme. This month, our theme is ‘Return to the Light’. I thought long and hard about how I wanted to interpret the theme and searched deep within myself for meaning. As part of my creative ritual, I cleanse my art space and remove negative energies from my creative aura by burning sage and pinion resin. The ‘lightening’ of these ancient plants allows me to connect with my inner soul and celebrate a new day.
If you have a creative ritual and use smudge pots in your cleansing, love to create with clay, or are just looking to try a new technique, today’s project is just what you’ve been looking for.
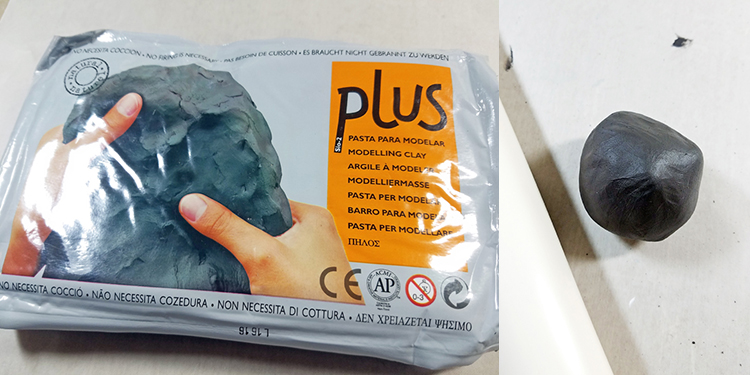
Using any brand of air-dry clay, condition a small portion of clay, per manufacturer’s instructions. (Clay portion depends on the size of bowl you will make.)
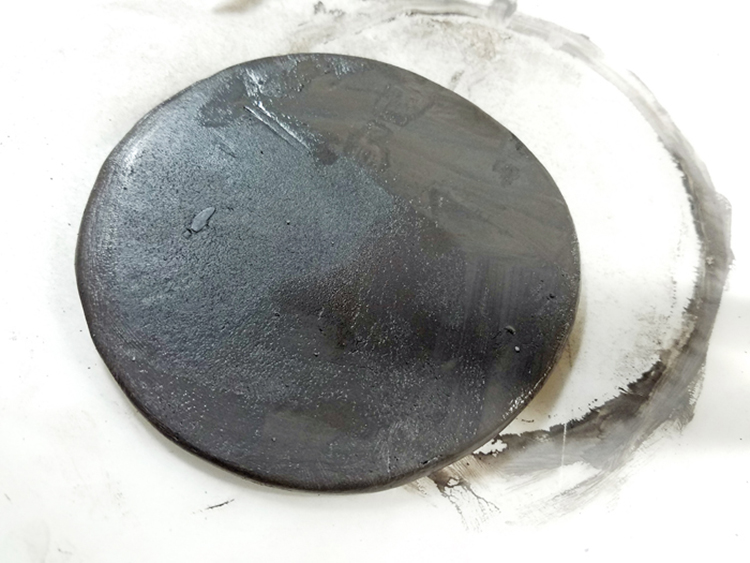
Flatten clay using a rolling pin or piece of PVC pipe. Flatten to approx. ¼ inch thick. As you flatten, continually flip clay over to ensure even thickness.
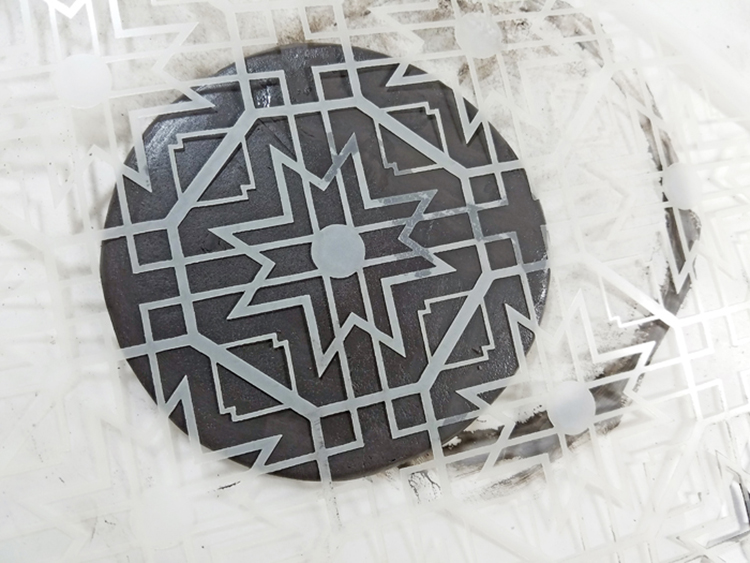
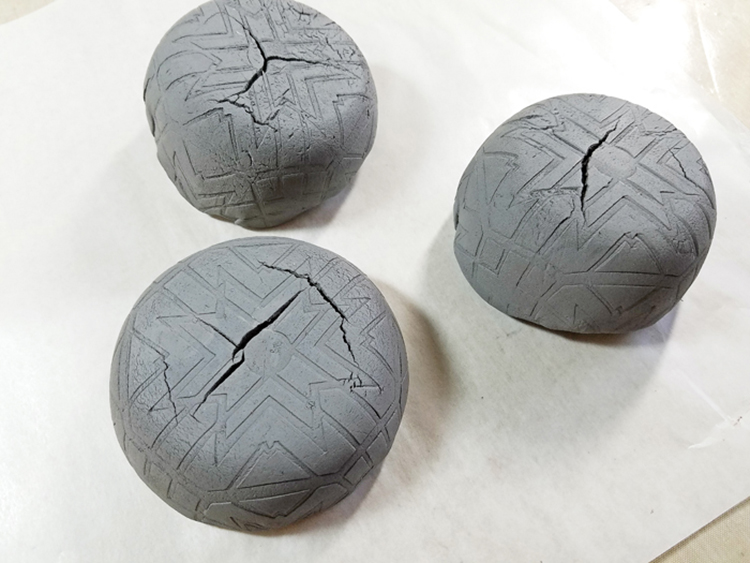
Using your favorite Nathalie Kalbach StencilGirl stencil such as Toledo as seen here, place stencil on clay and press into clay using a brayer.
Place the stenciled clay over the bottom of a used yogurt container or other small round shape. Gently form clay around container to desired shape.
Allow to dry per instructions. (It took approx. 3 days for my bowls to completely dry).
Note: My bowls cracked on the bottom, so I’m not sure if I didn’t condition my clay properly, stretched the clay over the container too much, or just user error. Since my bowls were not containing liquid, I was okay with the cracks.
Dry brush acrylic paint over bowl, allowing the stencil design to ‘appear’. I would brush and remove layers of paint to create a worn, aged look.
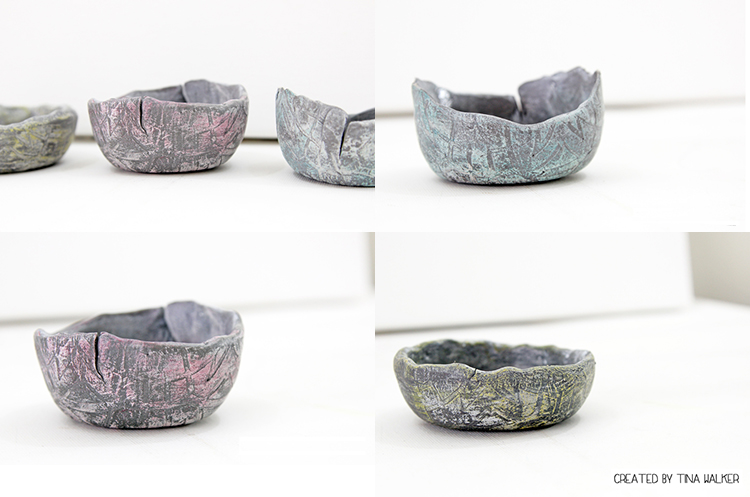
You can use the same technique with any stencil and create any size of clay bowl. I would love to create an entire collection of handmade bowls. How cool would that be?
I now have three handmade smudge bowls that are just perfect for smudging.
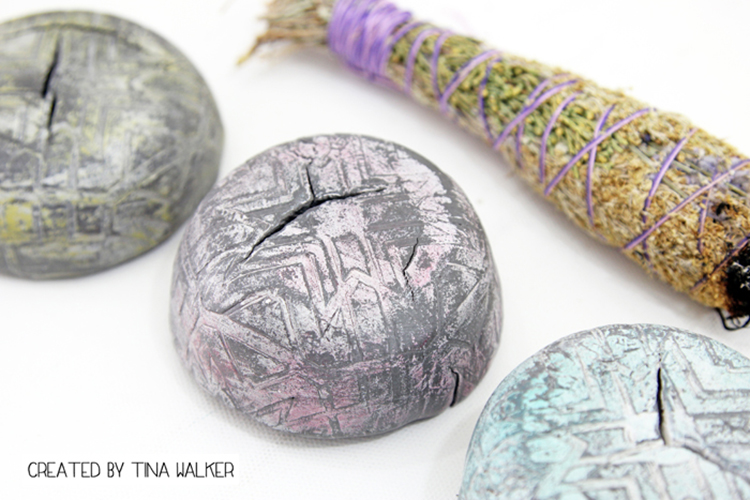
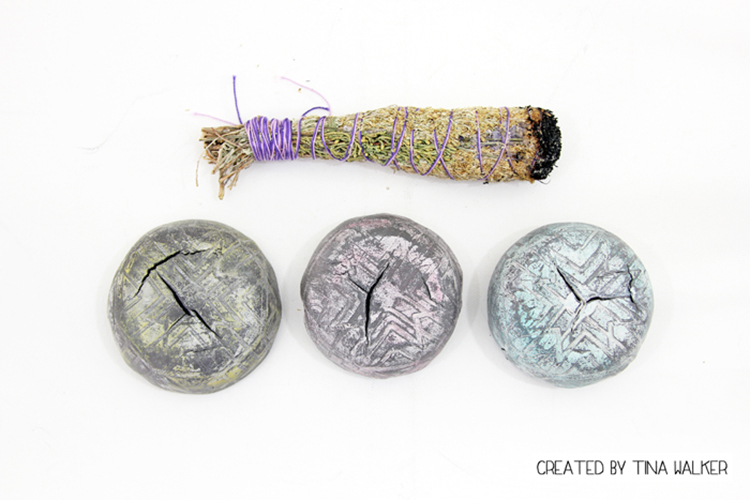
Thank you for taking time to visit us today. See you next month.
Thank you Tina for such a cool and unique project to do with my stencils! I love how the dry brushing and cracking gives these smudge pots an almost ancient feel. In addition to a PVC pipe or rolling pin and some empty yogurt containers, Tina also used these supplies – some links are affiliate links:

Play along with us! I love to see how you interpret our monthly themes. Email me how you used my stencils and stamps with the theme and email me an image – I would love to share your projects in my “n*Spiration From Around the Globe“.



Comments (1)
shelley-rydellie
| #
Wow! What an awesome project! Tina, you are so creative!
Reply