
We have one final Happy Holidays post from my Creative Squad. Our talented Judi Kauffman (learn more about her here) has a calendar project for us today to help usher in 2020 :) Our theme is: Happy Holidays – It is a time of year where we are celebrating and coming together and enjoying some merriment. Create something holiday related (whatever holiday you may be celebrating) and enjoy the season!
Happy New Year, everybody! My day for a Creative Squad project with a holiday theme falls late in the month so instead of cards and gifts I decided a calendar would be fun. And it’s a good way start the year off in a creative way. You can make all of the months at one time, or work on the calendar over the course of the year.

DESIGN STRATEGY
I chose to make the artwork for each month on a separate sheet of cardstock and then adhered them with low-tack tape. That way, as the months pass (or at the end of the year) the pieces can be easily removed and cut up for cards, bookmarks, tags, envelopes, die cuts and such. Or you can put them into an art journal or display in a frame.
In addition, by working this way instead of directly onto the pages the calendar doesn’t get messy and the pages won’t ripple if you use sprays, heavy applications of paint or many layers of collage. And you can much more easily use a gel plate. (I’m a Virgo; I really like the pristine white borders. No need to follow my strategy if you prefer another way of working.)
TIPS
Pick a theme that relates to the season, a holiday or other event, or simply work with stencils and stamps that make you happy.
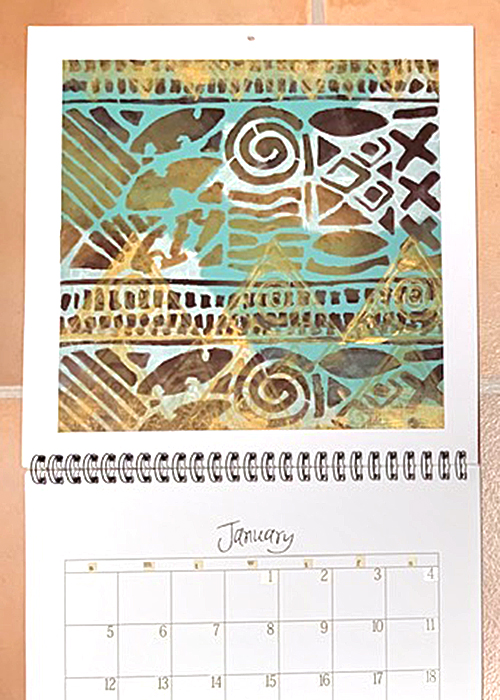
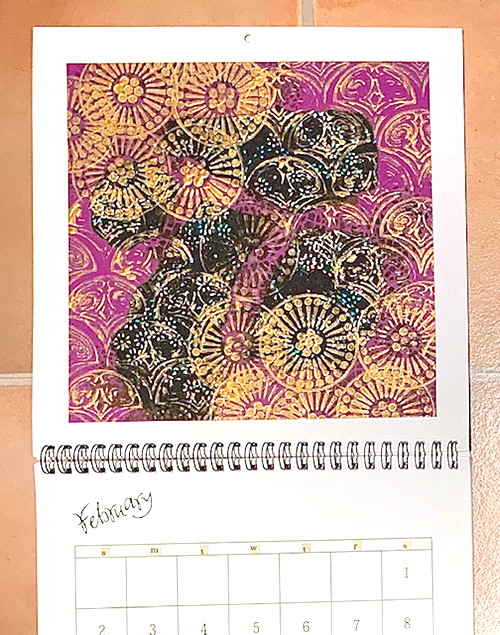
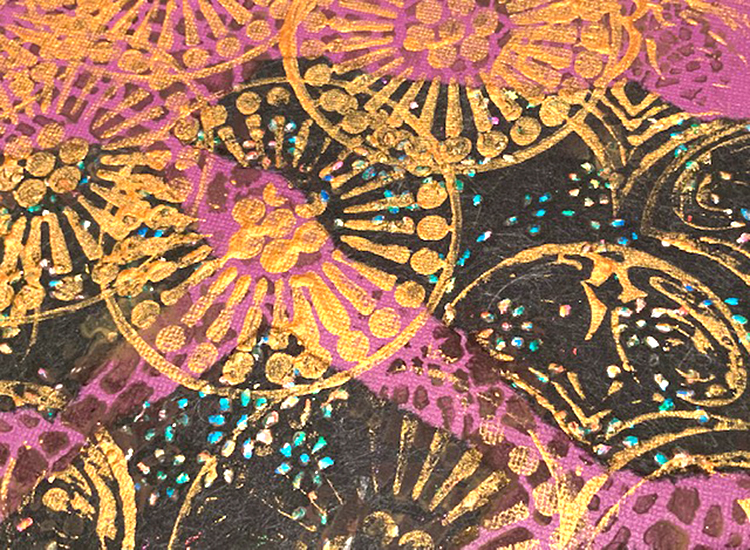
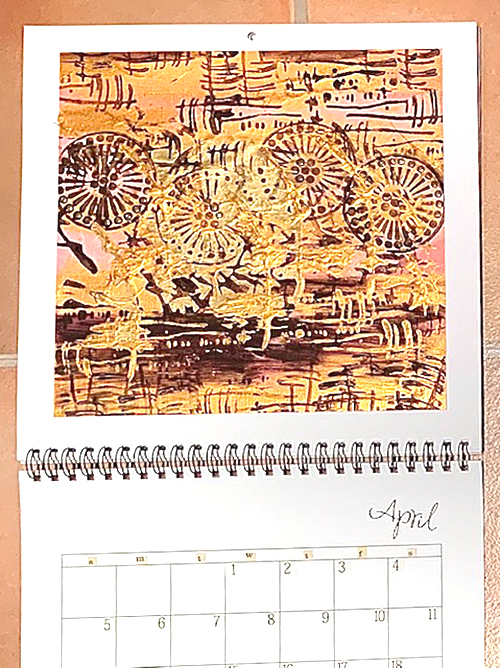
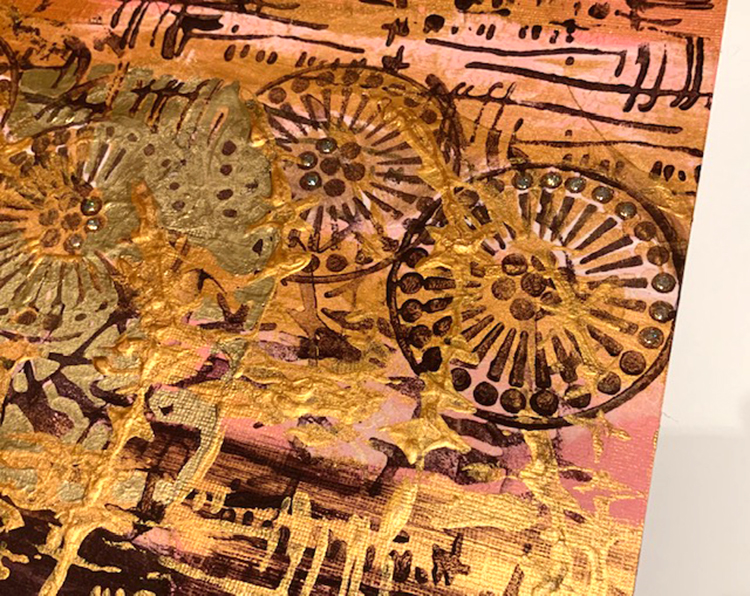
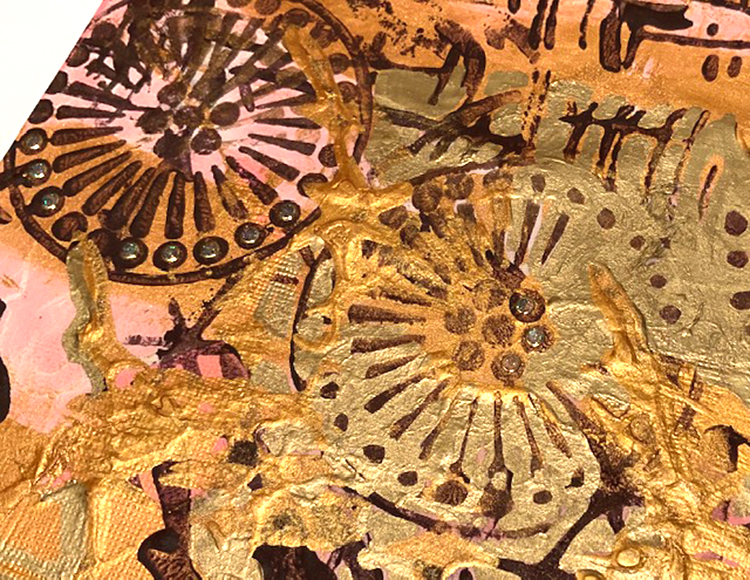
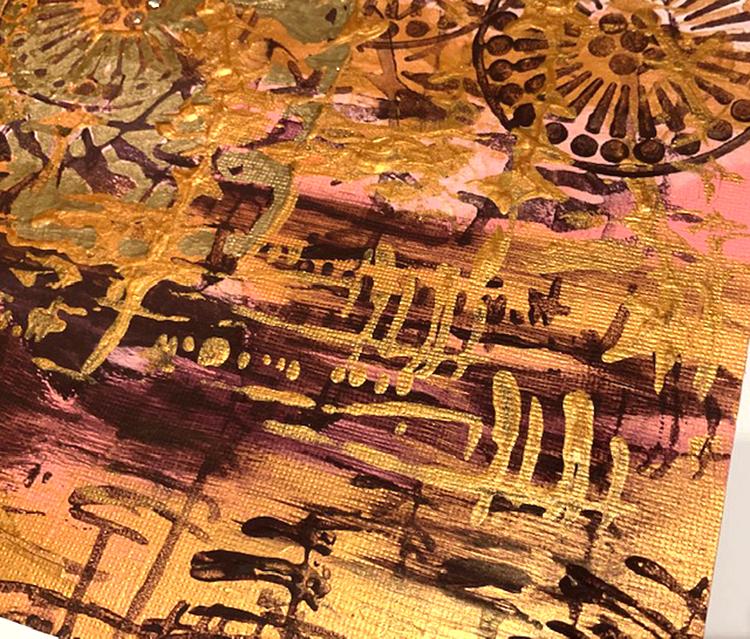
Use a limited palette if you like that approach. I worked with only three paint colors – Black Plum, Copper Metallic, Mustard Yellow.
Pick different stencils and stamps for each month or unify the calendar by repeating your favorites. I kept going with some of the stamps for several of the pages.
THE RECIPE
Ingredients:
Blank calendar, the bigger the better! (purchased or make your own)
Cardstock in assorted solid colors (one sheet per month)
Lightweight mulberry paper and/or other handmade collage papers
Your favorite stamps and/or stencils by Nathalie Kalbach
(StencilGirl, RubberMoon, ArtFoamies)
Acrylic paint in assorted colors
Brushes (stencil, flat paintbrush)
Gold paint pen (Pen-touch from Sakura of America)
Low-tack double-sided adhesive tape
Glue stick
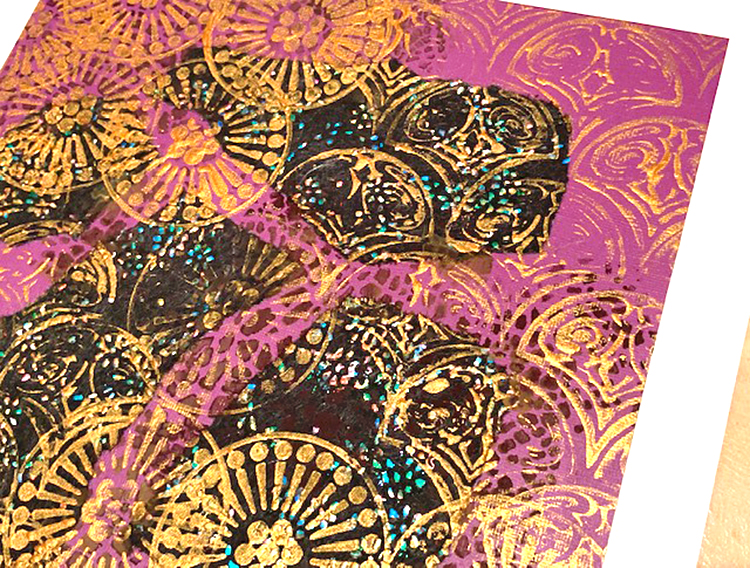
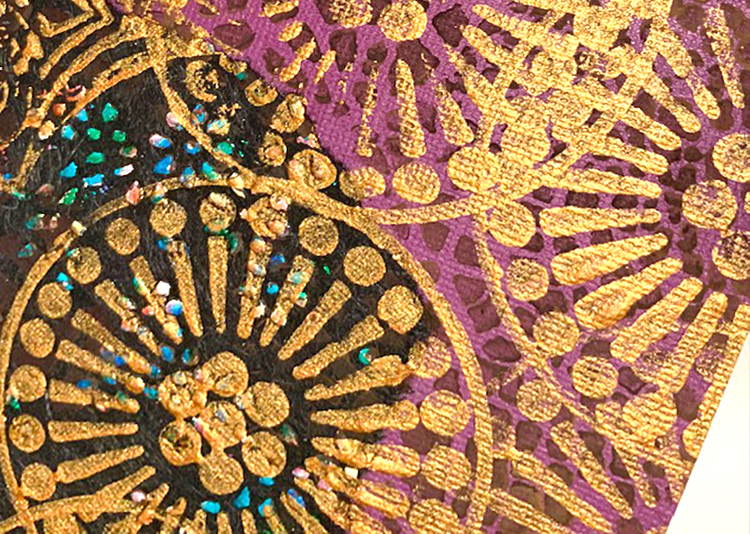
Optional – Gel plate; Glitter dots (peel-offs)
How-to:
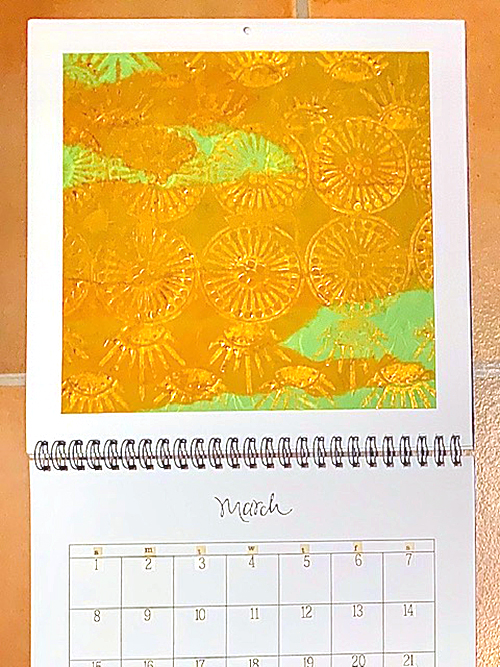
1. Cut a square or rectangle from solid color cardstock for each calendar page. (Size: 1” smaller than the page on all sides. Shown: 11” squares for 13” calendar.)
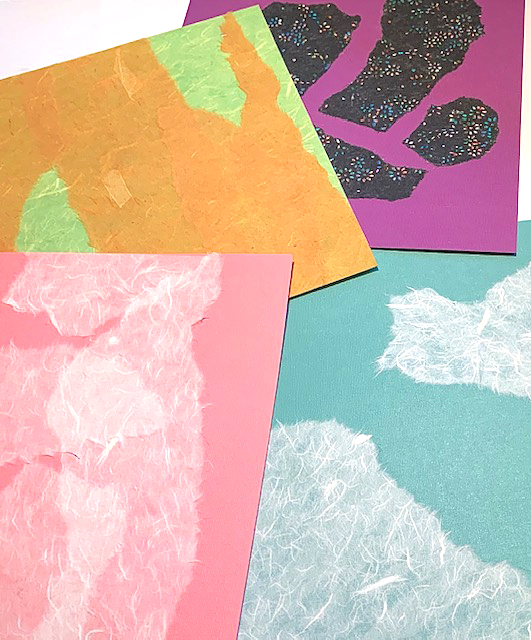
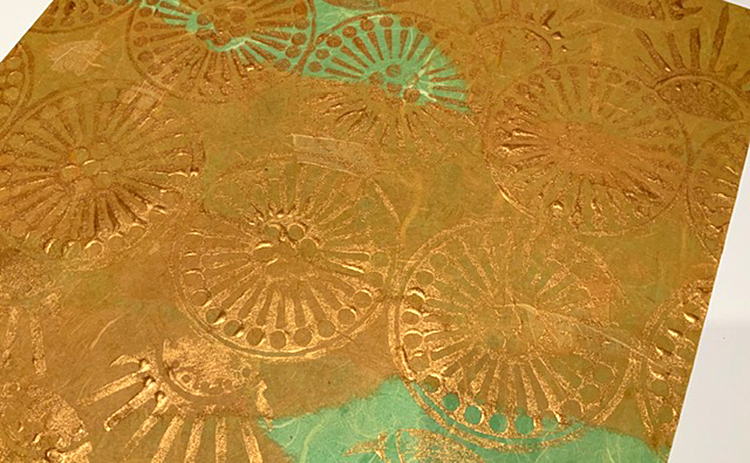
2. Alter each piece of cardstock with torn pieces of lightweight mulberry paper or other handmade papers. (Use a glue stick to adhere the pieces.)
3. Paint, stencil, stamp onto the cardstock. Make gel prints to add to the pages or print straight onto the cardstock. Allow paint and/or inks to dry. Use peel-offs, pens, markers, pencils or more paint to accent and embellish the pages.
4. Adhere the finished pieces to the calendar. Enjoy!
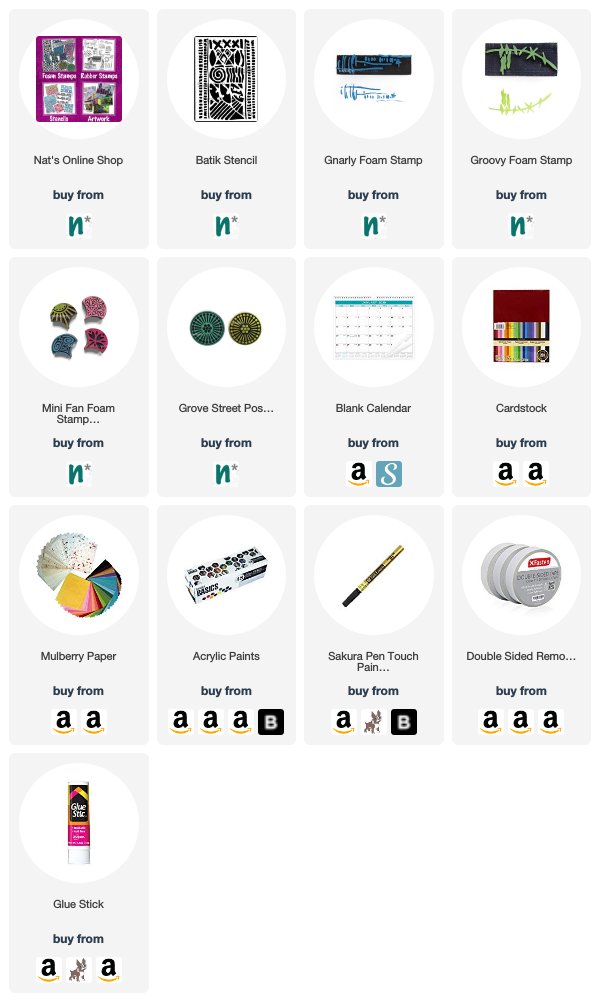
Thank you Judi – we hadn’t thought of making our own calendars but what a cool project idea! Want to give Judi’s project a try? You can find all my Stencils, Rubber Stamps, and Foam Stamps in my Online Shop and here are some of the other supplies she used:
Feel inspired? Working on something yourself that you’d like to share? I love to see how you interpret our monthly themes. Email me or tag me #natkalbach how you used my stencils and stamps – I would love to share your projects in my next “n*Spiration From Around the Globe“.