Hello from my Creative Squad! Today we have a wonderful wood panel piece by Emilie Murphy demonstrating some cool techniques and using my Fairview Fan, Mini Batik 1 and Mini Batik 2 foam stamps. The theme this month is: Under the Sea – There is something so fascinating about water. We love being in it, floating on it, relaxing next to it, and it remains one of the last frontiers here on the planet. Create something that is an ode to the sea.
Hi there! Hope you are doing well.
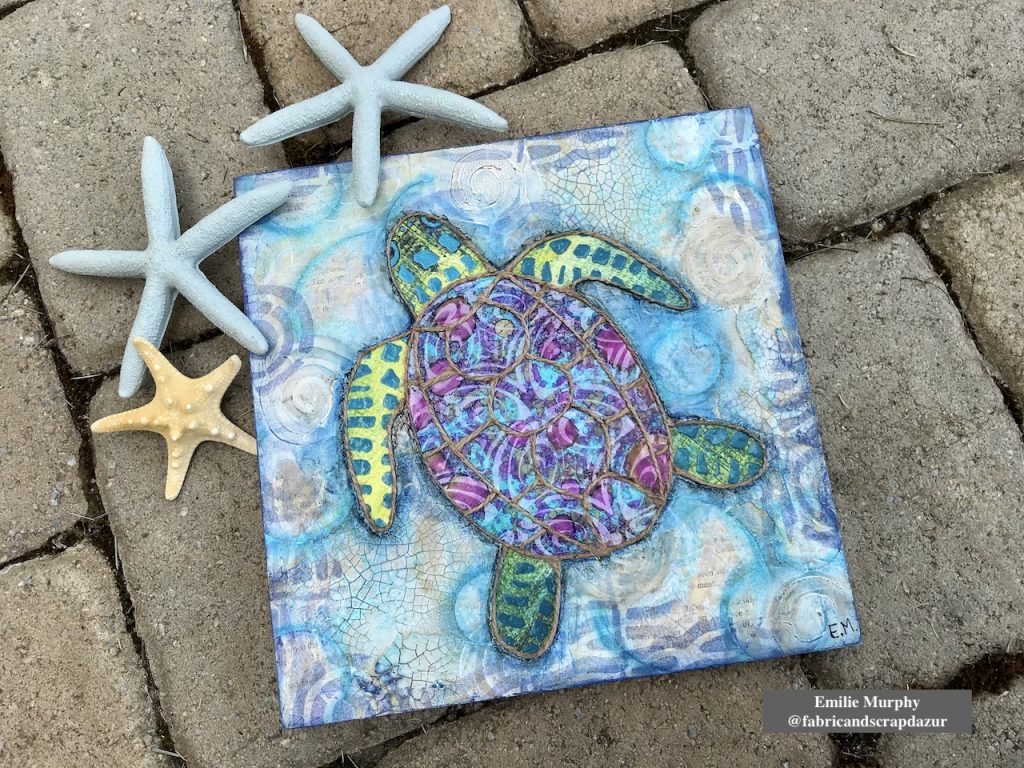
The Sea theme always inspires me. The first thing that came to my mind was “fish”, of course! Meanwhile I was thinking of what project to make, I went to visit my in-laws and saw this pillow with a beautiful sea turtle on it that my mother-in-law had just got. So that’s how I got the idea to make a sea turtle on a cradled wood panel.
Let me guide you how I made it.
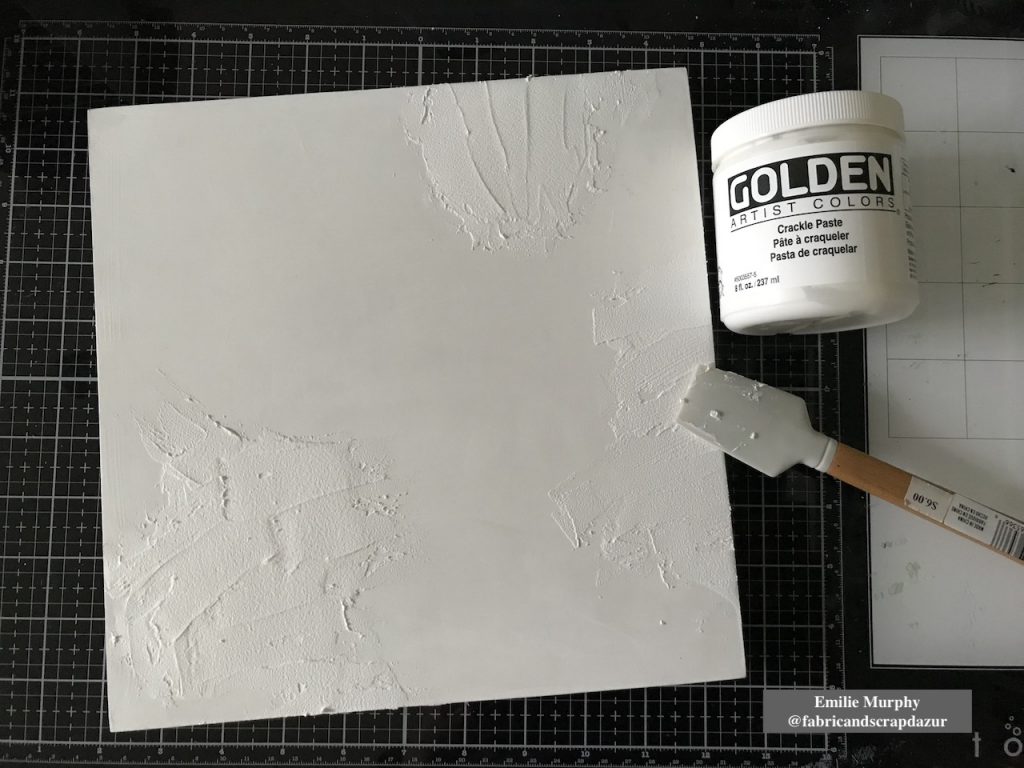
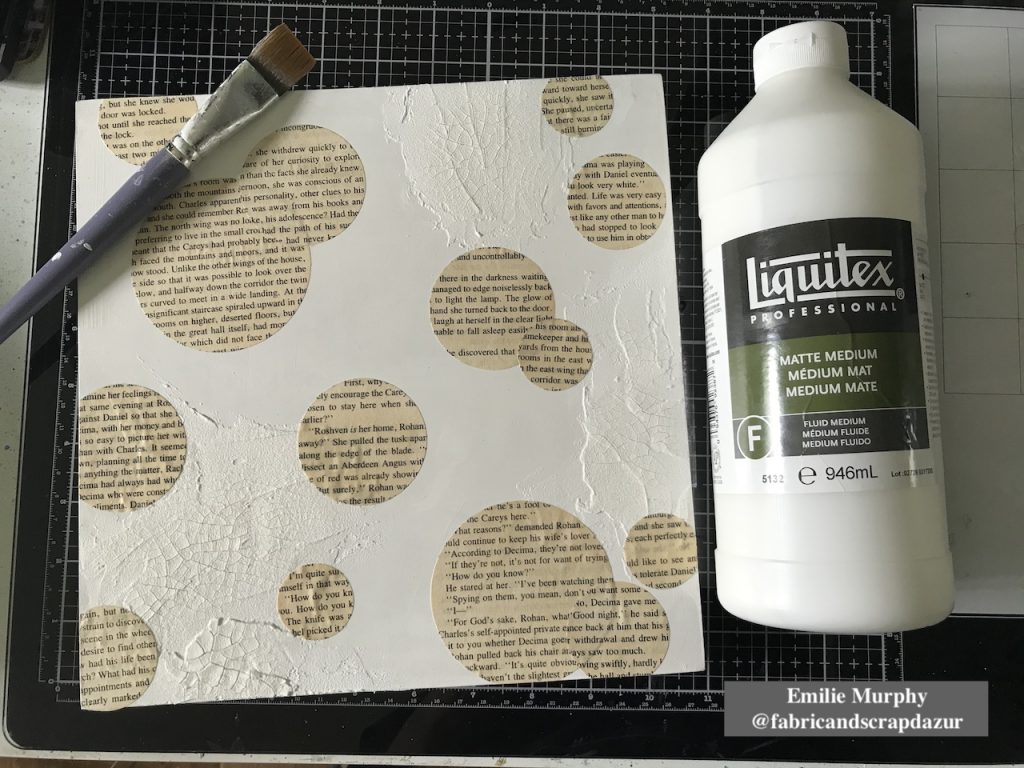
I started to apply some crackle paste on a 10×10 wood panel coated with white gesso. I let it dry overnight.
Tip: The coat of crackle paste has to be thick enough to be able to get some significant crackles.
Then I glued down with matte medium some circles cut from old book paper to bring some interest to the background.
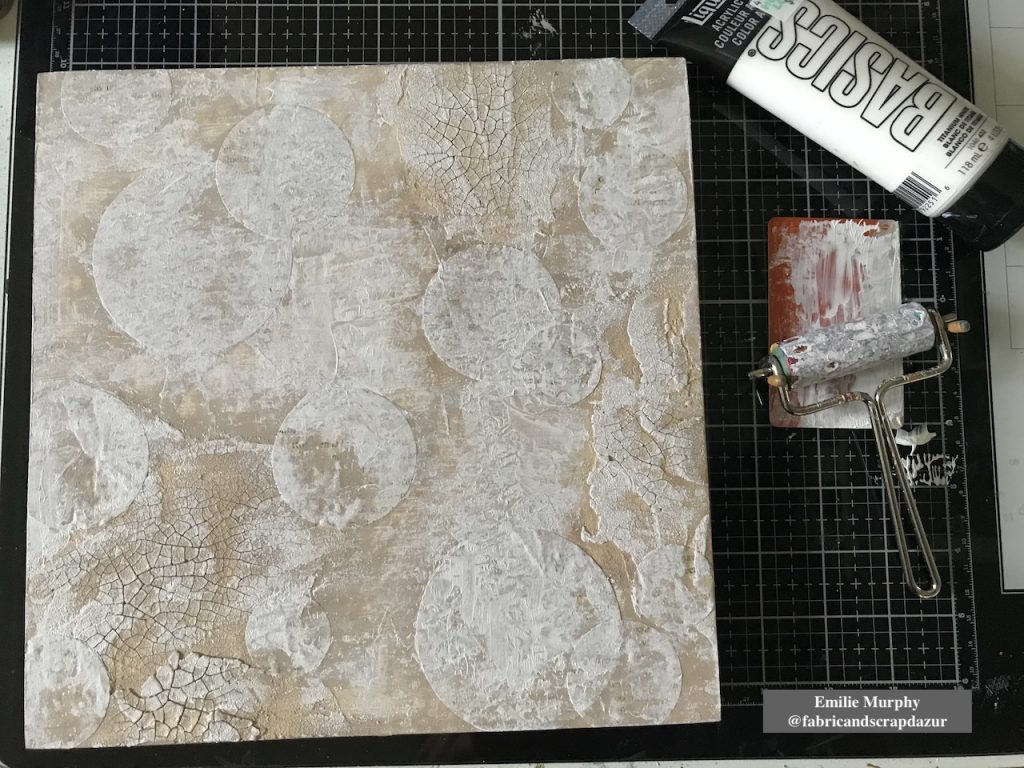
As I didn’t have any “sand” color acrylic paint ready to use, I mixed some “Burnt Umber” acrylic paint with some white that I applied on my panel with a brush and plastic card.

I toned down the color I mixed with some white acrylic paint because it was a little too dark than expected. I applied it with a brayer. The purpose of the brayer is just a preference to add texture.
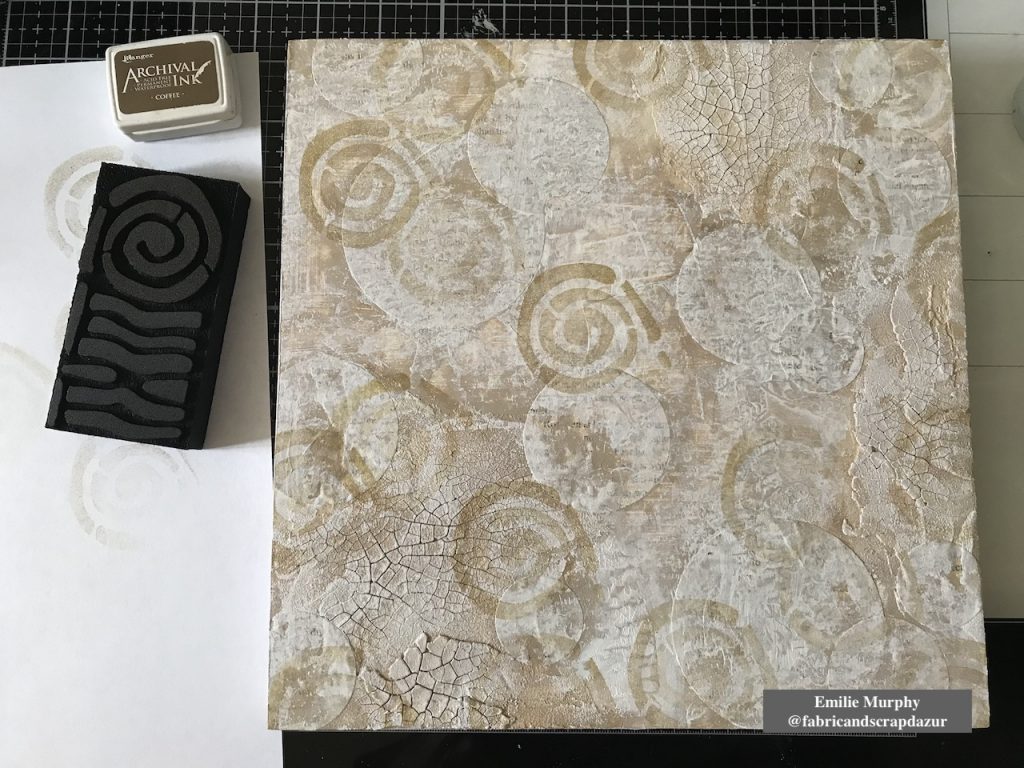
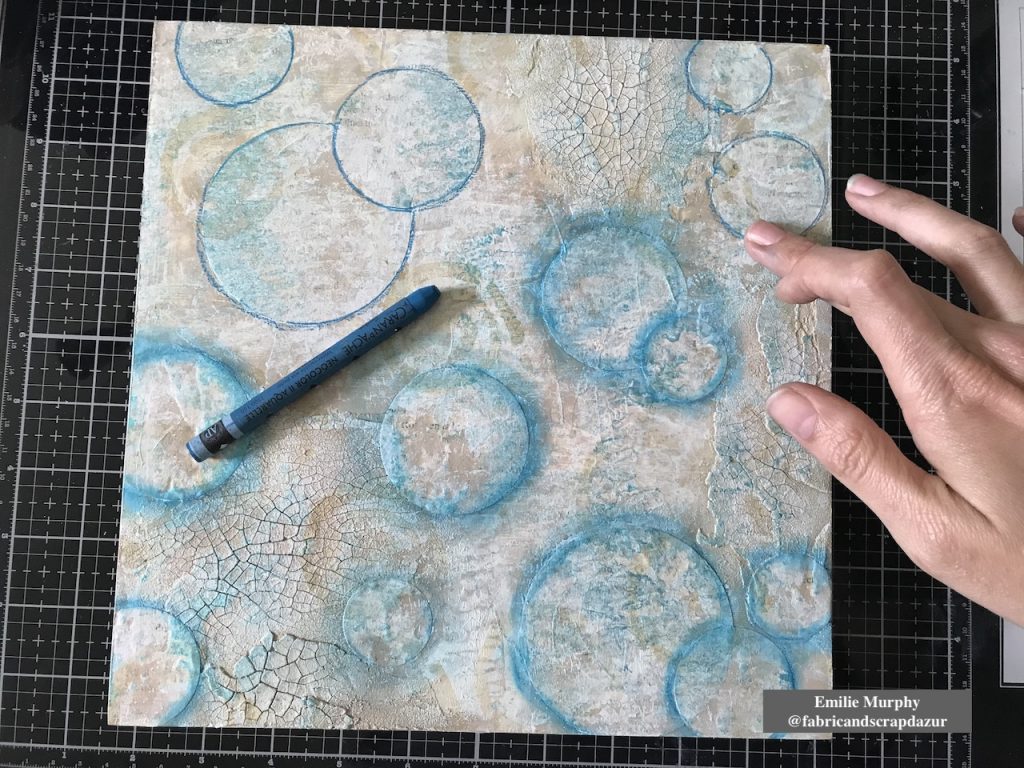
Then I stamped the circular part of “Mini Batik Pattern 2” foam stamp with “coffee” archival ink to evoke shells. I wanted here a tone-on-tone effect.
To add some brightness and not have something too uniform, I applied some iridescent blue acrylic paint again with my brayer.
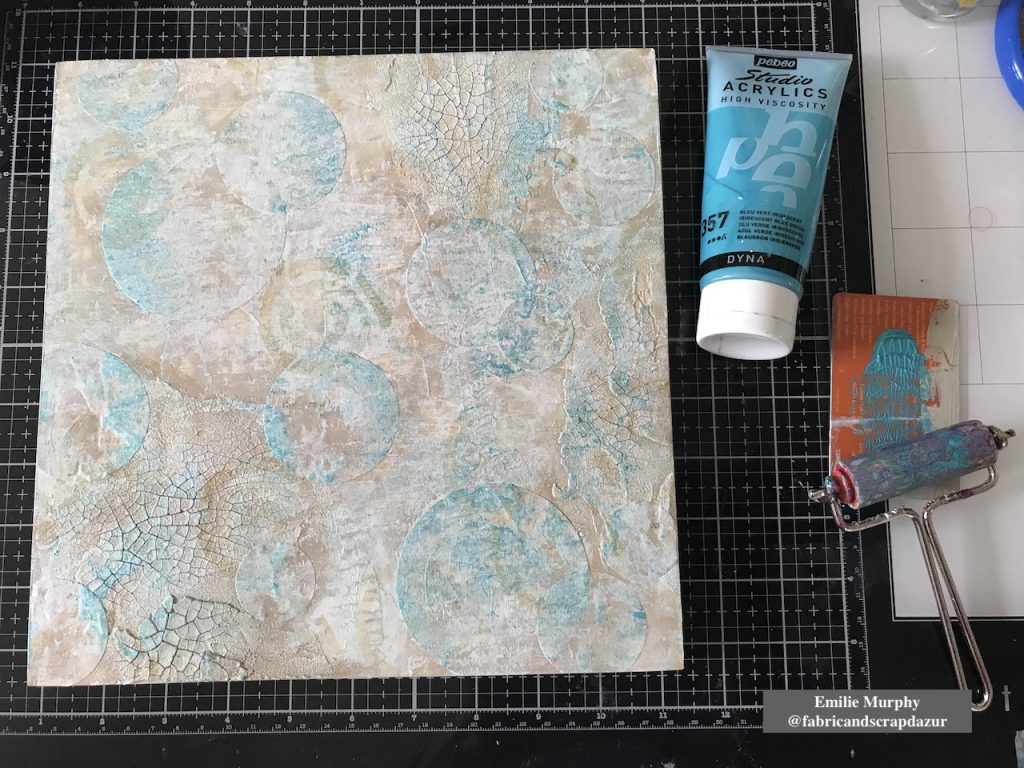
In order to build layers, I darkened the edges of my circles with a Neocolor II crayon “Blue Cobalt”. I think it gives the illusion of bubbles.
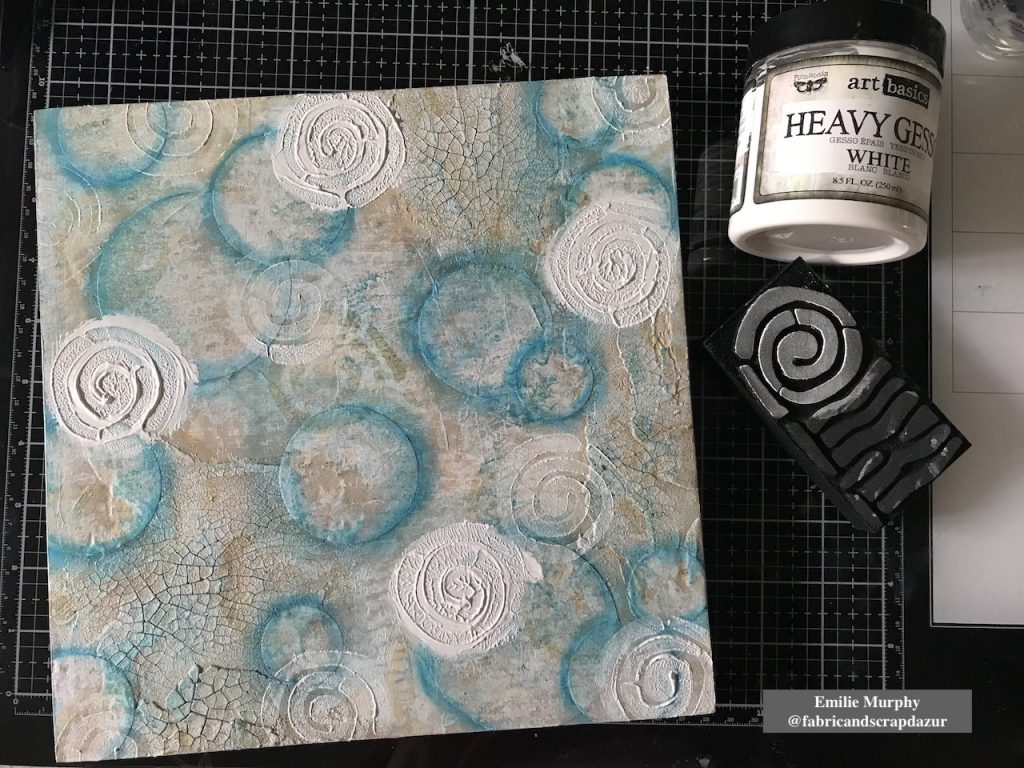
For the next layer, my intention was to add some dimension. Therefore I applied with my finger some pretty thick “puddles” of heavy gesso and stamped on it using again the “Mini Batik Pattern 2” foam stamp. Isn’t it cool! This is such an easy way to add dimension. I kept stamping around here and there to clean up the gesso left on my stamp.
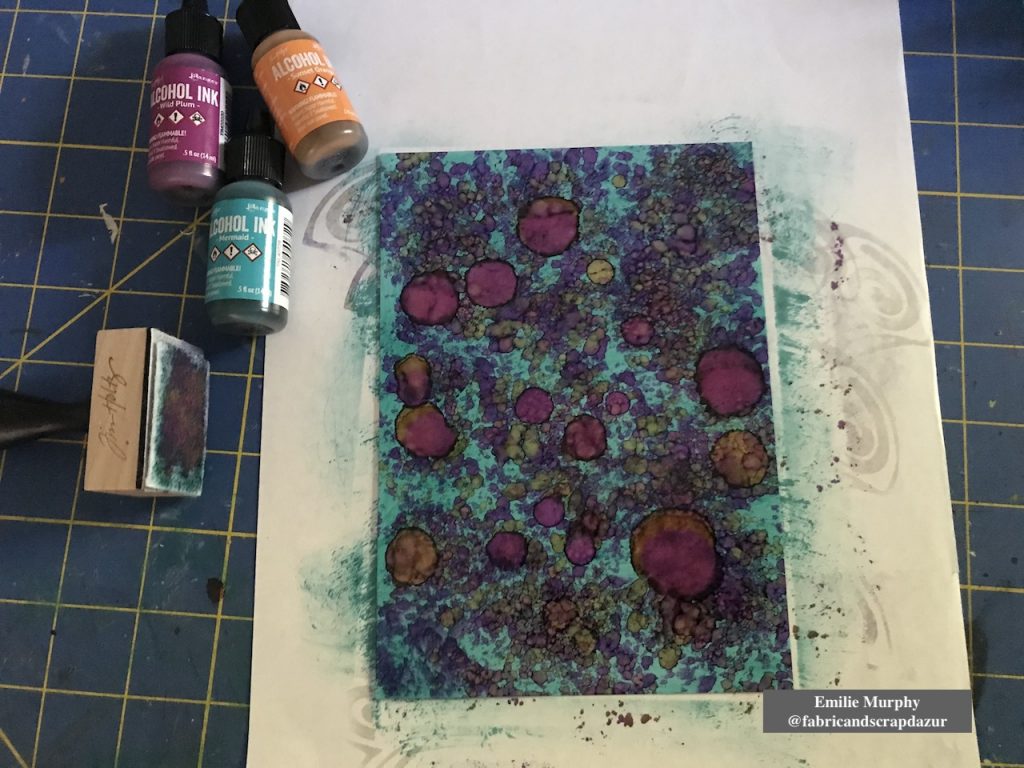
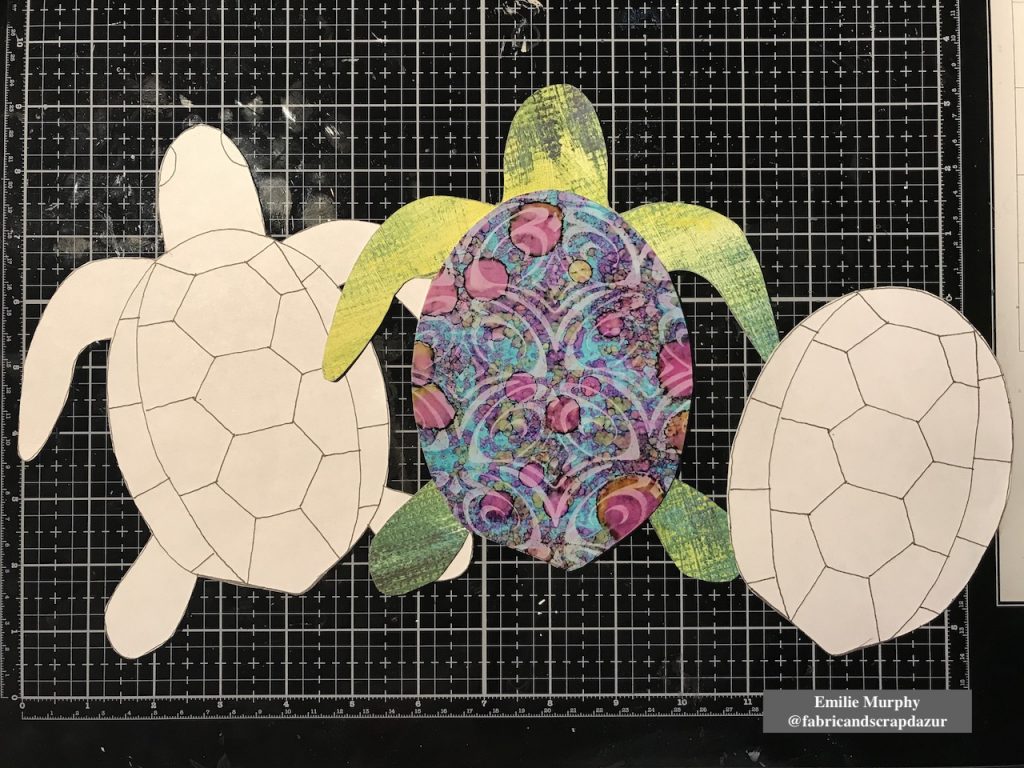
Next, I played with some alcohol inks on yupo paper to use for the turtle shell. I wanted something bright and vivid.
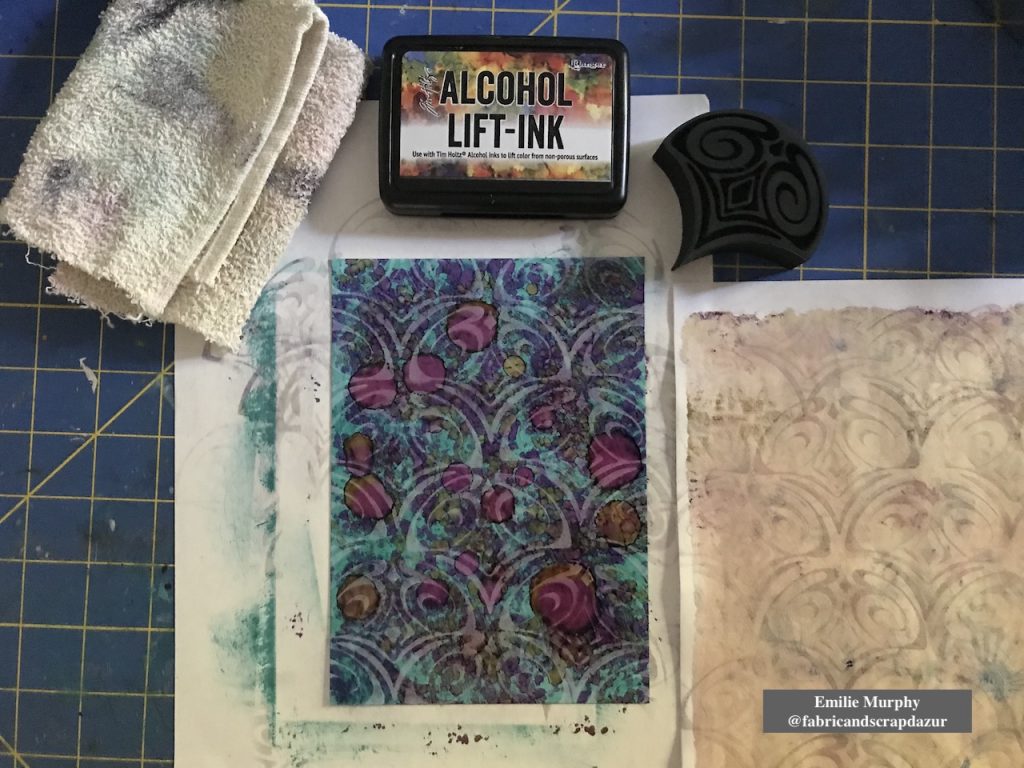
Using the “Fairview Fan” (positive) foam stamp, I lifted off some alcohol inks and got this beautiful pattern.
Then I drew a turtle on printer paper to use as template. I made two copies; one copy for making the turtle body and the second one for the turtle shell. I used the Yupo paper, previously made, for cutting out the turtle shell and I choose a scrapbook paper for the turtle body.
Let me tell you why I choose this particular scrapbook paper.
Few weeks ago, I received my stencils order from Nathalie. She had wrapped the stencils with this scrapbook paper sheet. When I look at it, I saw that she designed this paper few years ago. Yes!!! Isn’t it awesome! So it was a perfect opportunity to use it for my turtle body.
Then, to embellish my turtle, I used the “Mini Batik Pattern 1” foam stamp for the head and legs and covered the stamped pattern with enamel accents to create the skin.
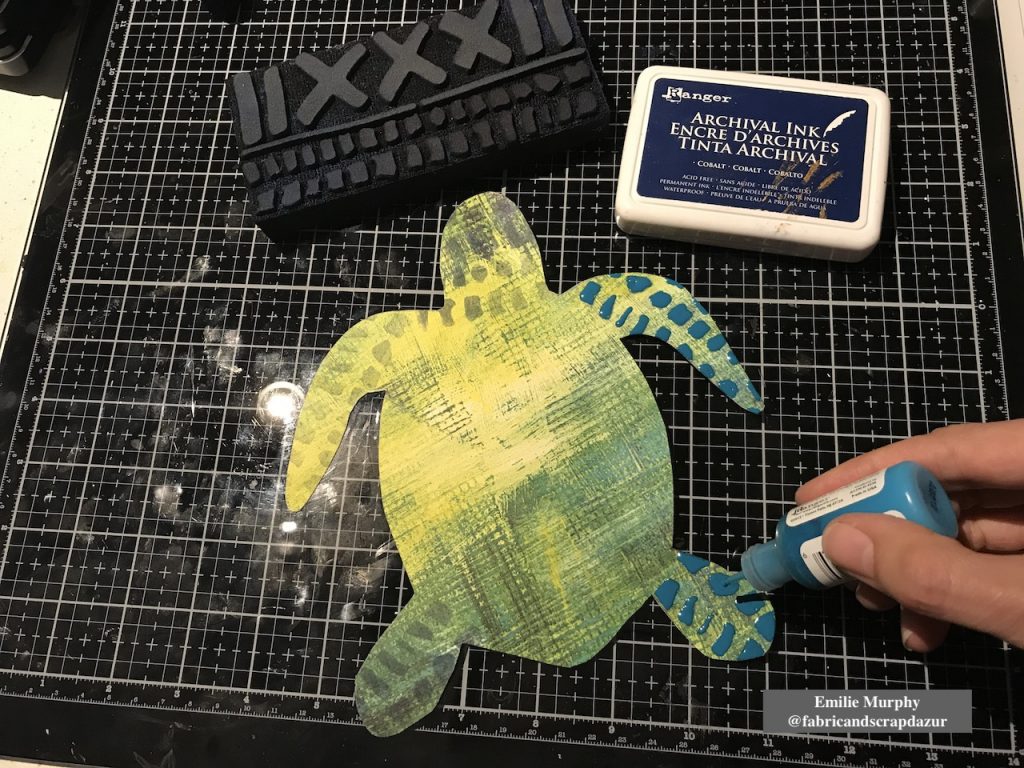
With the same foam stamp, I stamped the edges of my cradled wood panel.

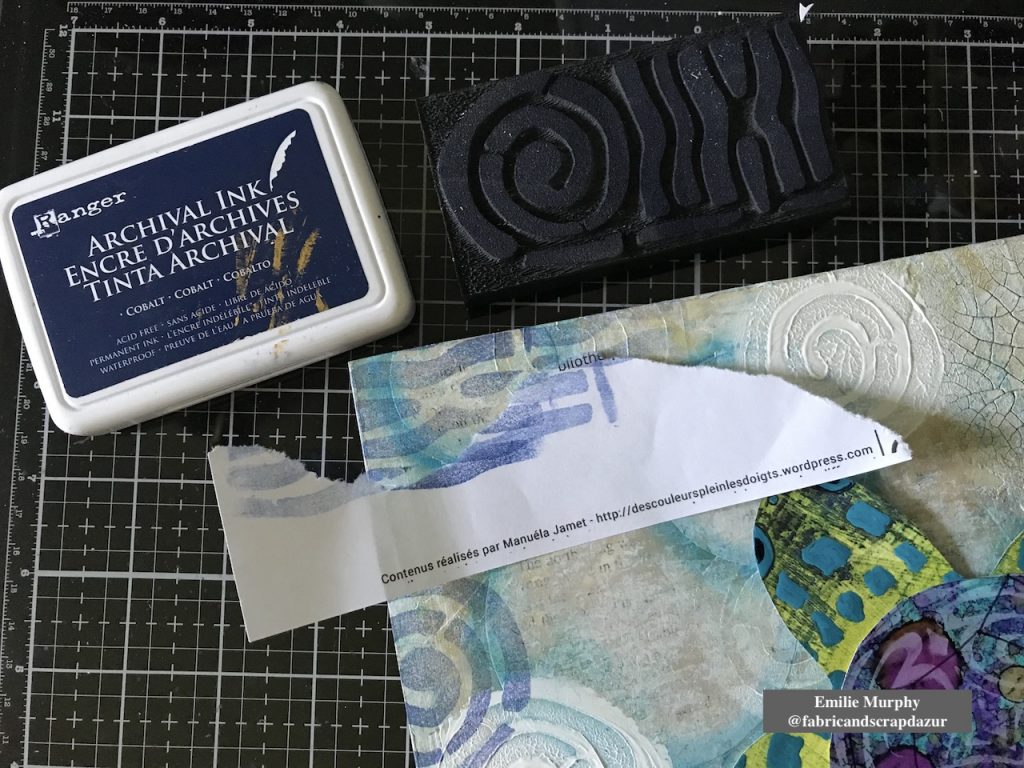
Before gluing down my turtle, I used again the “Batik Pattern 2” foam stamp to stamp only the “strips” part of the stamp, just to add more interest and introduce a different pattern than having just circles on my background.
I finally glued down my sea turtle with tacky glue and traced the pattern of the turtle shell. At that point, something was missing and I was not satisfied with my turtle shell like it was.
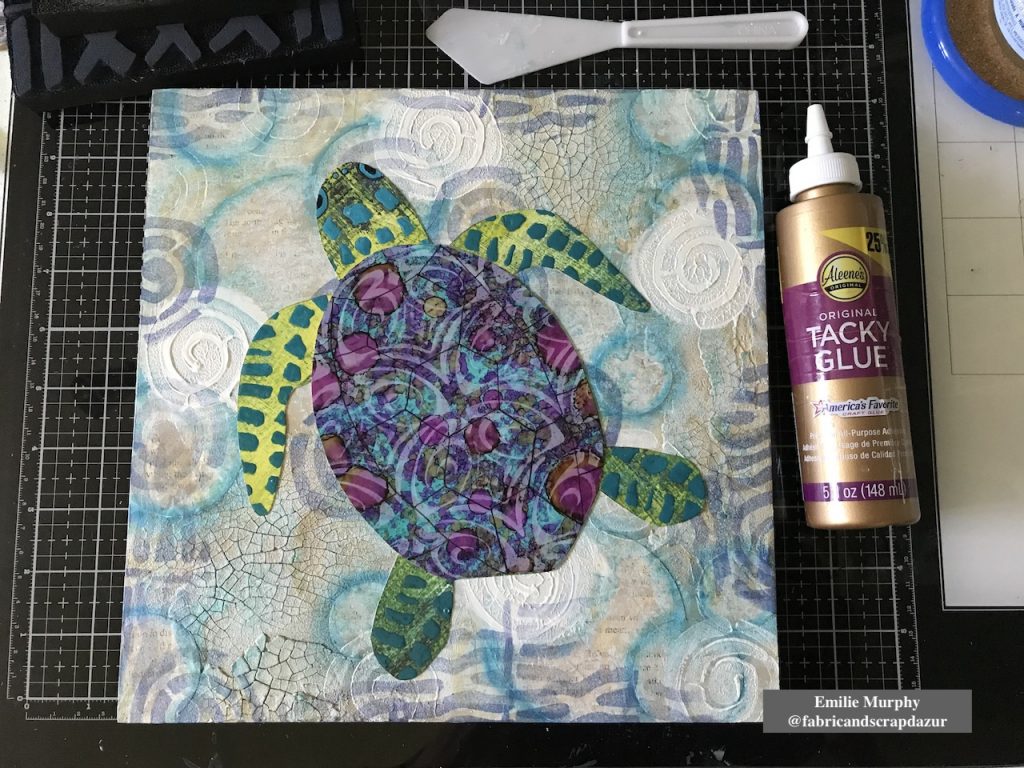
After reflection, I had the idea to glue some jute twine on the turtle shell and all around the turtle. I used some Glossy Accent as preference because it dries clear and shiny. I really love the look of it and think it was the perfect thing to do to make my turtle as the centered piece.
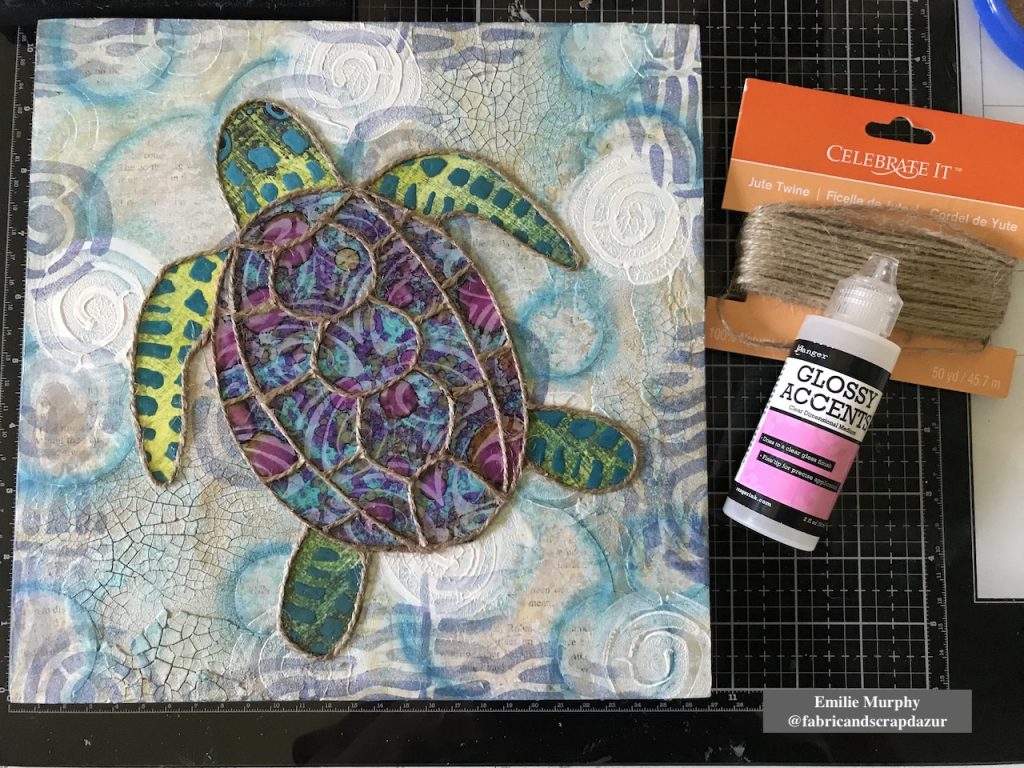
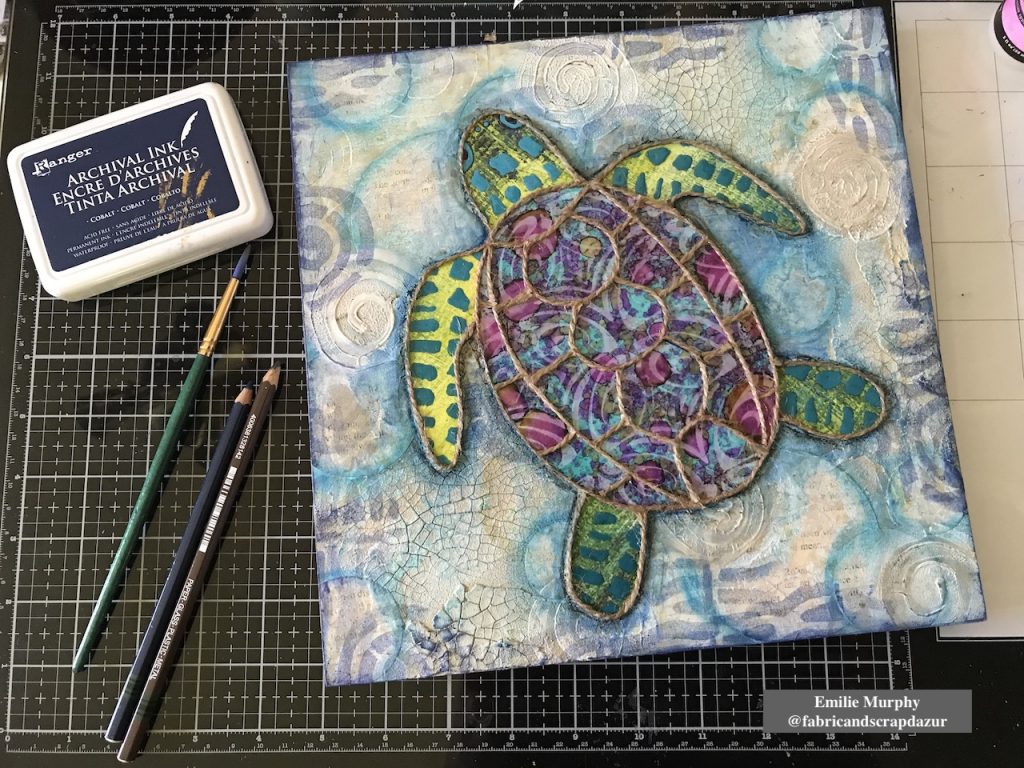
At last, I used some blue and brown Stabilo pencils to darken the edges of my turtle. And I finished off the edges of my cradled wood panel rubbing my “cobalt” archival ink pad all around.
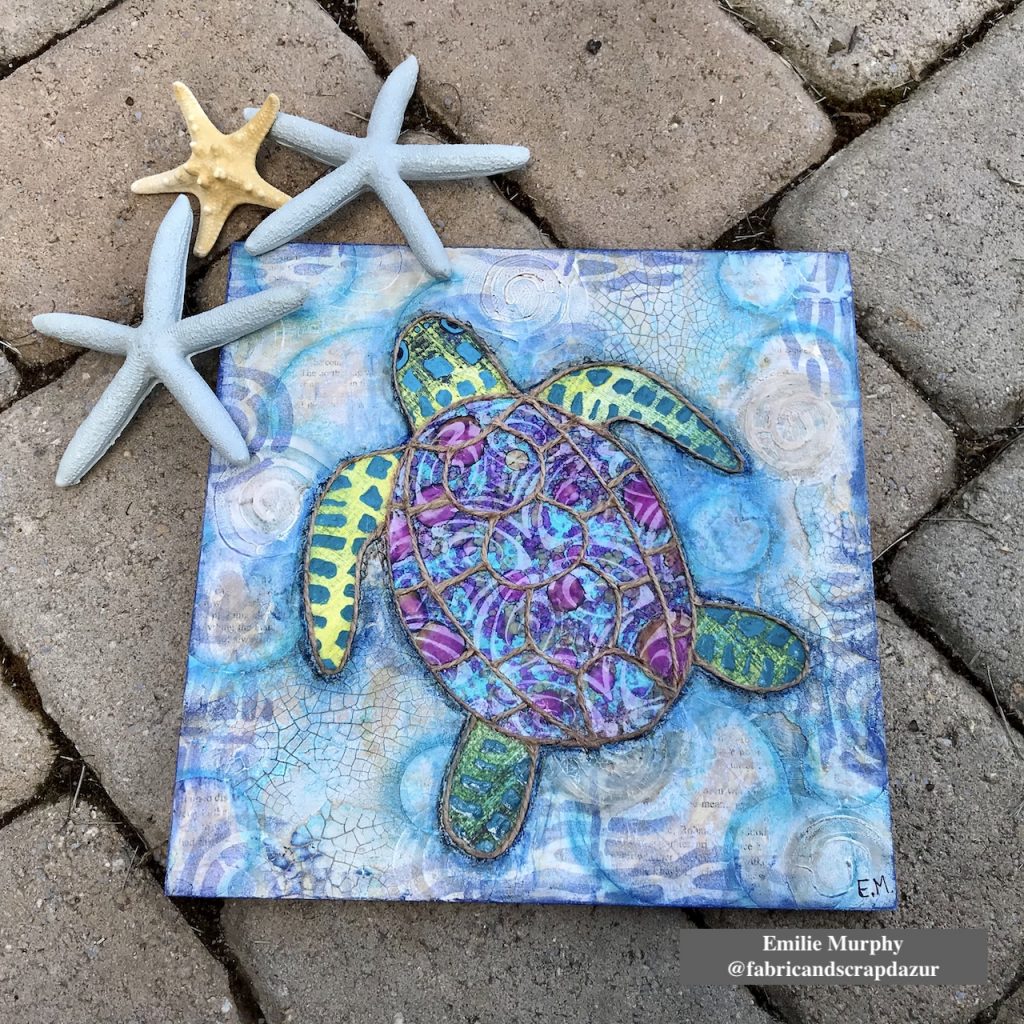
Hope I got you inspired. Personally, I have so much fun doing this project that I’m thinking of making a series of smaller panels with other shapes like fishes and shells. This project can easily be made also on canvas or even in your art journal…
Have a good rest of the week and see you next month!
Thank you Emilie! I love how this turned out and that yummy texture is great!
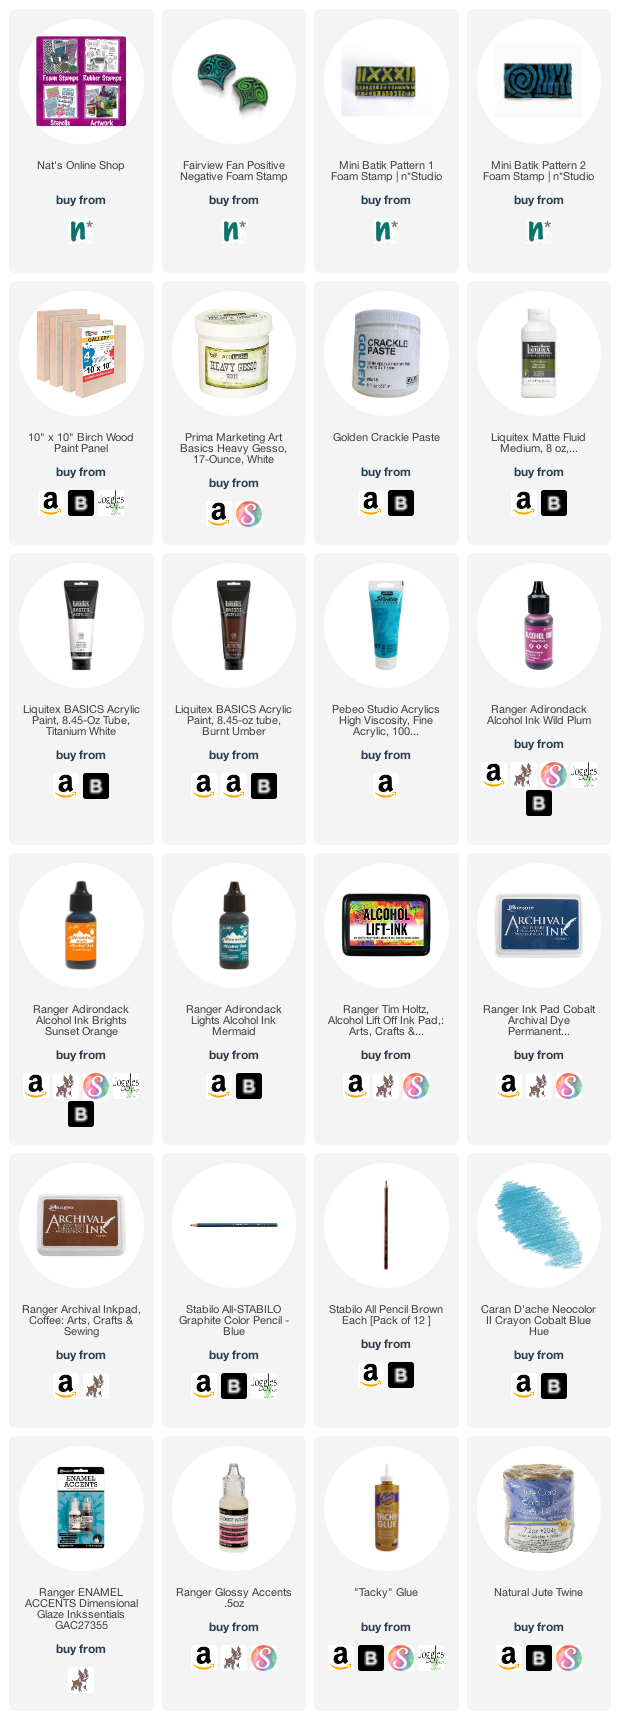
Give it a try: you can find all my Foam Stamps in my Online Shop and in addition to some yupo and old book paper, here are some of the other supplies Emilie used:
Feel inspired? Working on something yourself that you’d like to share? I love to see how you interpret our monthly themes. Email me how you used my stencils and stamps with the theme and email me an image – I would love to share your projects in my next “n*Spiration From Around the Globe“.
Comments (1)
Sue Clarke
| #
Emilie, delightful colors and TEXTURE!
Reply