
Hello from my Creative Squad! Today we have a post from Jordan Hill who is sharing with us a couple of lovely cards using my Triangle Love and #keepyouposted rubber stamps, with our very appropriate November theme in mind: Gratitude is my Attitude – This month we are playing along with the November ArtCollab: Showing Gratitude – and specifically giving thanks to those who have helped us along the way in our artistic journey. Who was crucial in helping you become the artist you are today? Let’s give these amazing souls a shout out!
Hey everyone! I’m excited to be back with a new project for the month of November. The first thing that came to mind when I heard this month’s theme of “Gratitude is my Attitude” was greeting cards! They are a great way to show you’re thinking of someone, and making that card handmade always adds a little extra touch.
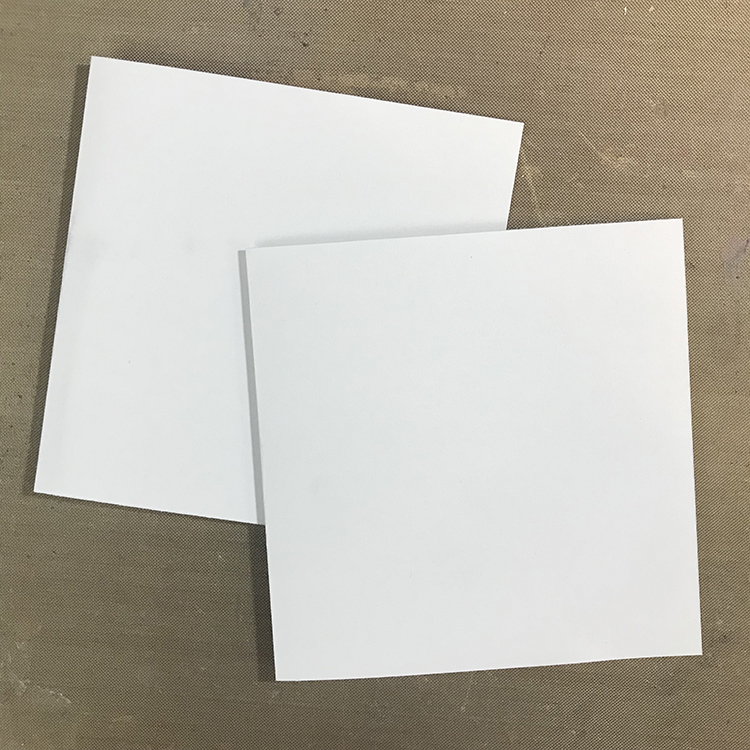
I started out my greeting cards by cutting down a piece of white card stock to 4.25″x8.5″. I chose this size because it allowed me to cut two cards from an 8.5″x11″ sheet of card stock with next to no leftover (only the 2.5″ strip at the end). Once my card stock had been cut to size, I folded the pieces in half to create two square cards.
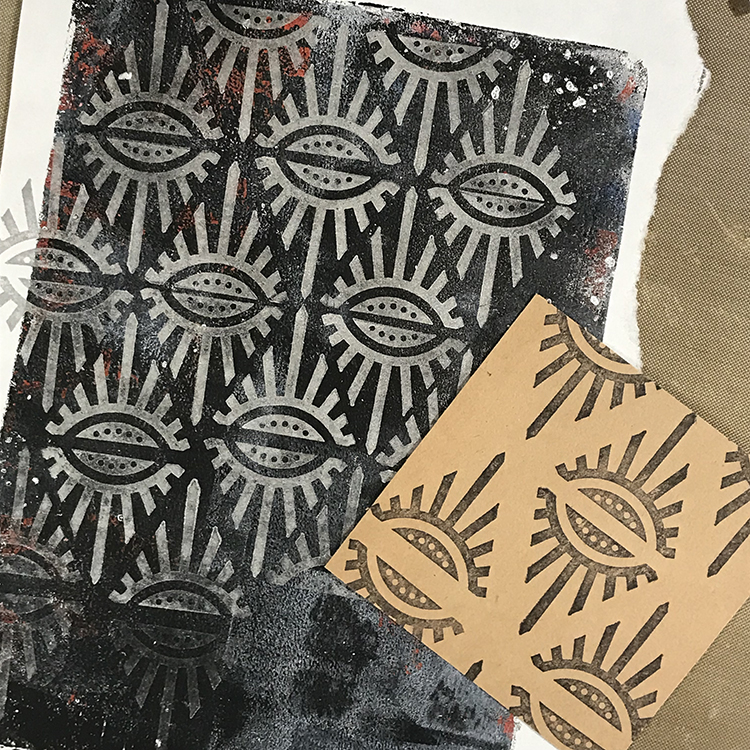
Next, I selected a few scraps of paper and using Nathalie’s Empire Triangle stamp, I created a repeating pattern across them. For the lighter piece I used black ink and for the darker piece I used a silver pigment ink. These triangle stamps fit together nicely to create patterns!
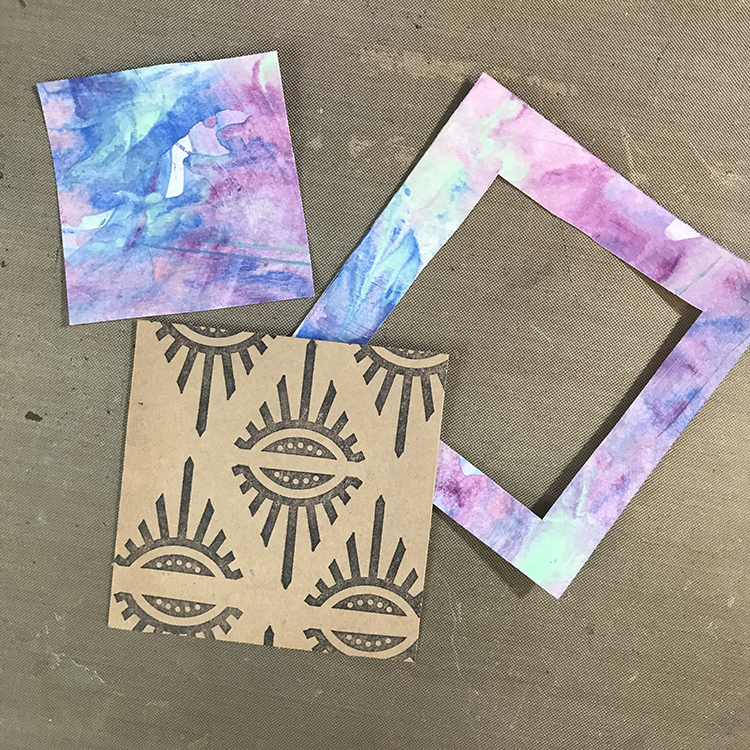
I then cut down my stamped papers into smaller square shapes. For this particular card, I chose a 3″x3″ square. Next, I selected a separate paper scrap to create a mat around that square. A trick I learned back in my scrapbooking days is that if you are having a hard time using up your pretty papers, you can cut out a square from the middle of your mat and save the scrap for another project!
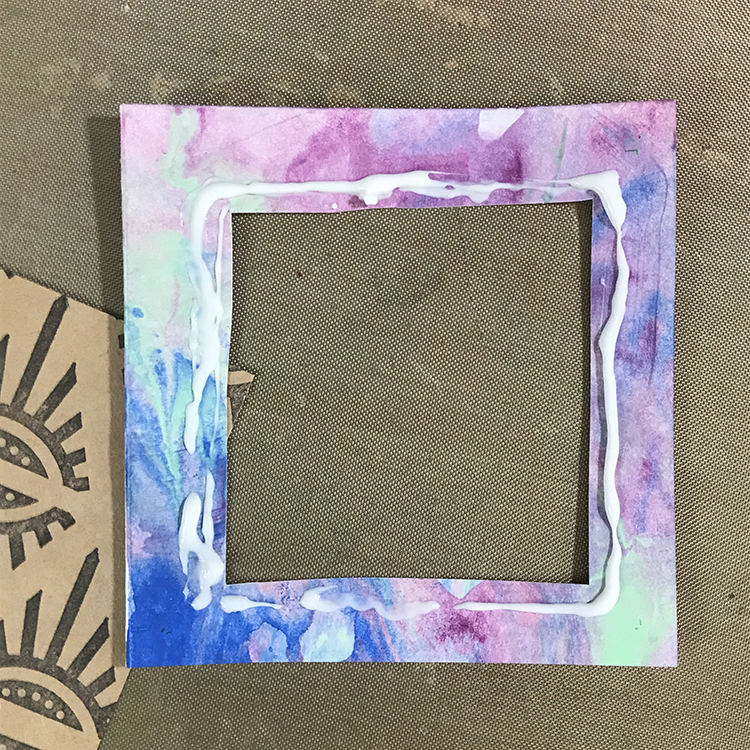
Place your glue around the inside edge of your mat. I used Aleene’s tacky glue for my cards, but any sort of liquid glue, double sided tape, or adhesive runner would work for this! Then, place your patterned paper square into the center of the mat.
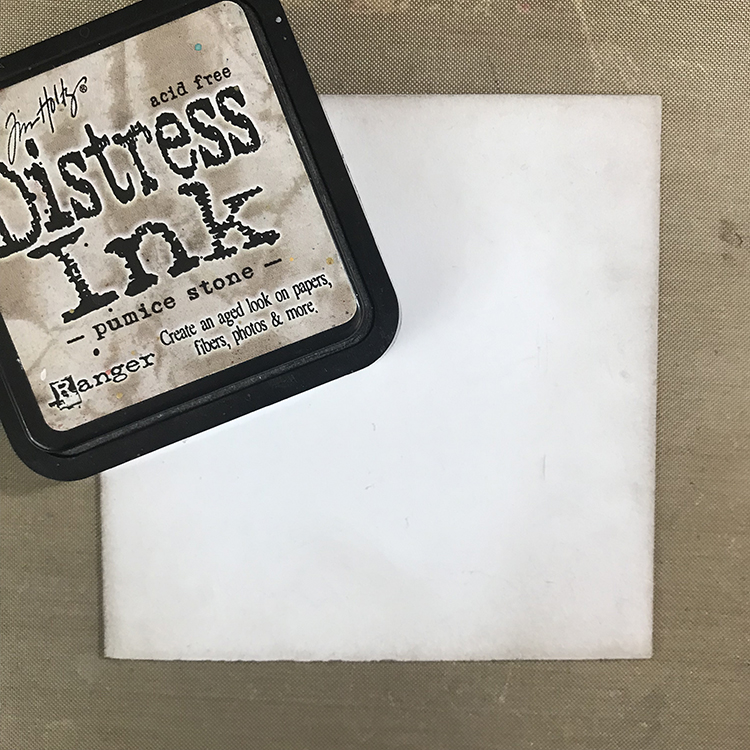
Next, I prepared my card bases for assembly by using some Distress Ink in the color Pumice Stone and a Tim Holtz Blending Tool to buff around the edges of my card. I selected this color because I felt the gray fit with my style and the other colors that I was using more than some of the browns I have in my collection.
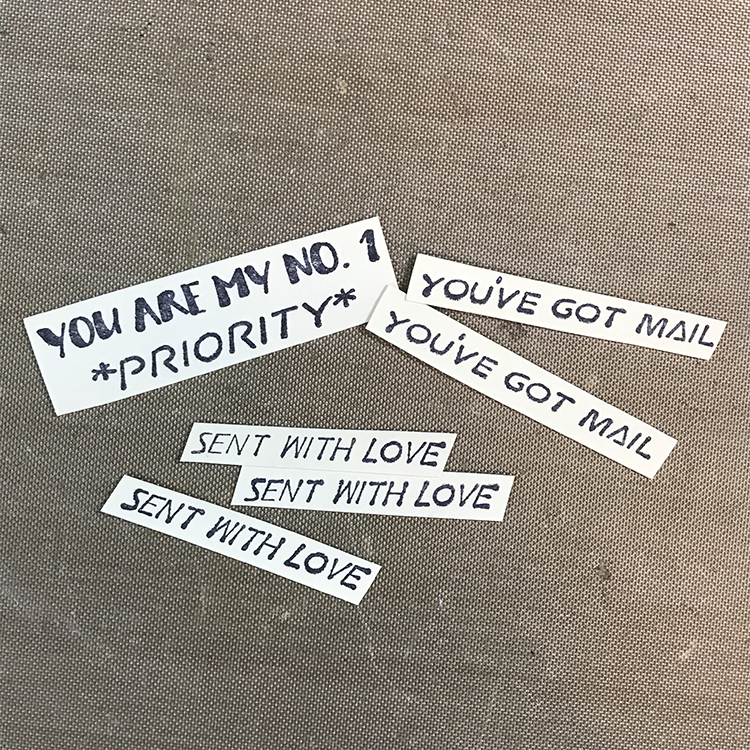
Then, using Nathalie’s #keepyouposted Cling Rubber Stamp Set and a black ink pad, I stamped some words onto a scrap of file folder and cut them out. I stamped a few extra so that I’ll have them prepared for making cards in the future!
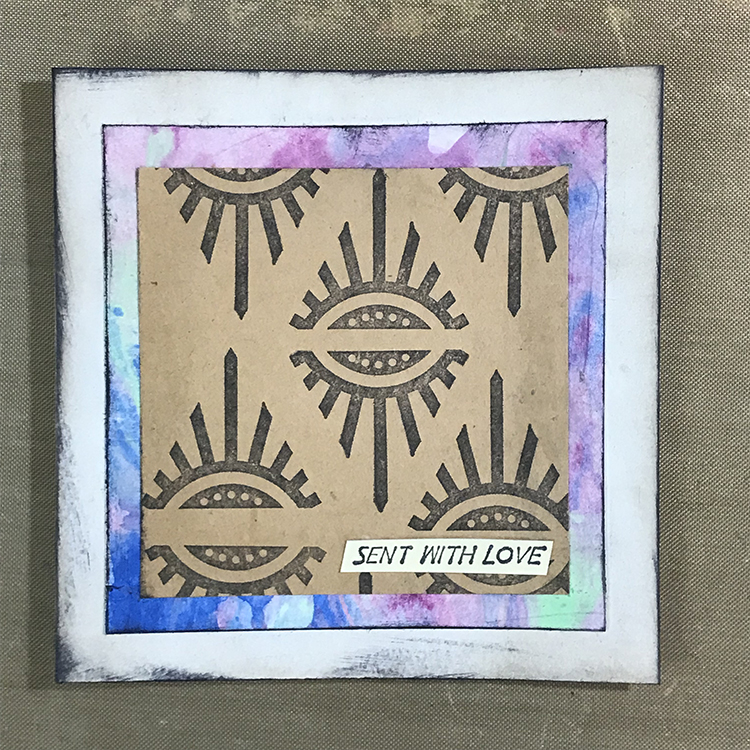
Now it’s time to assemble! Glue your matted patterned paper onto your card base, and add the words to it. Experiment with the location of the words until you get a placement you’re happy with, and you have a quick and easy card to send to your friends or family to express your gratitude for them!

I did a simple variation of this card by cutting my patterned paper down to a larger size (I chose 3.75″x3.75″) and gluing it directly to my prepared card base. I then used a couple of different elements from some of my collage sheets to add a figure before gluing down my words. This adds a little more interest to your card while still keeping it very simple.
I hope you enjoy these tips and tricks to make some simple greeting cards and that you have fun making some of your own!
Thank you Jordan, with the Thanksgiving holiday this week in the US, it is the perfect time to create some one-of-a-kind cards to thank those who are important to us :)
Give it a try: you can find all my Rubber Stamps in my Online Shop and in addition to paper scraps and collage elements here are some of the supplies Jordan used:
Follow the Creative Squad on Instagram for weekly posts, artwork, and inspiration.