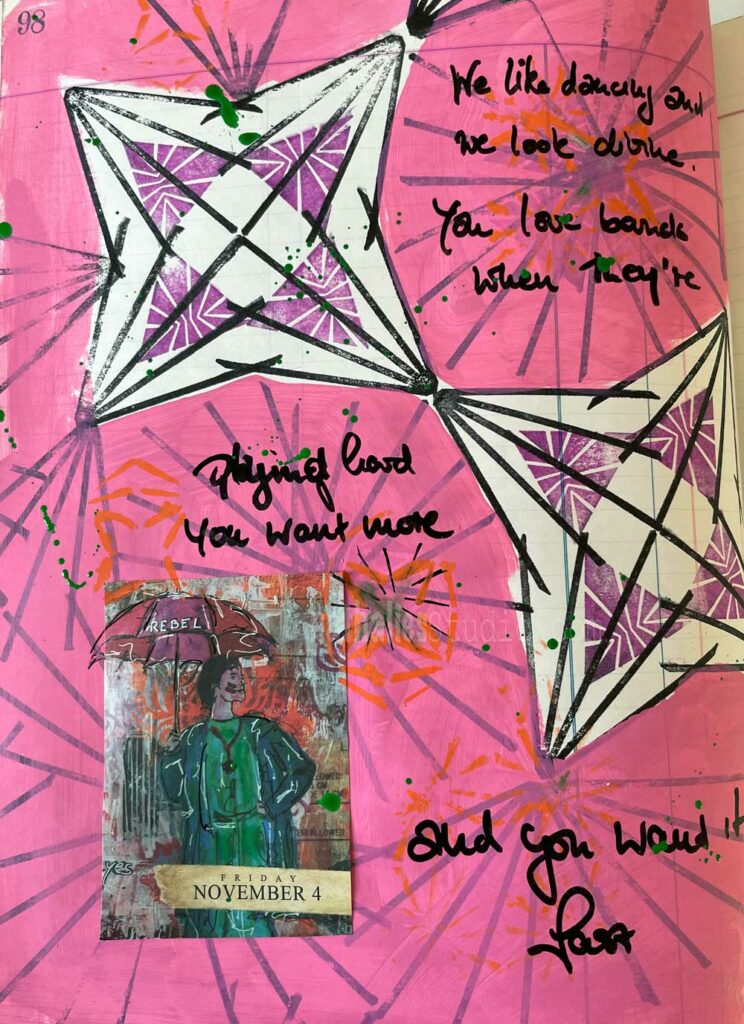
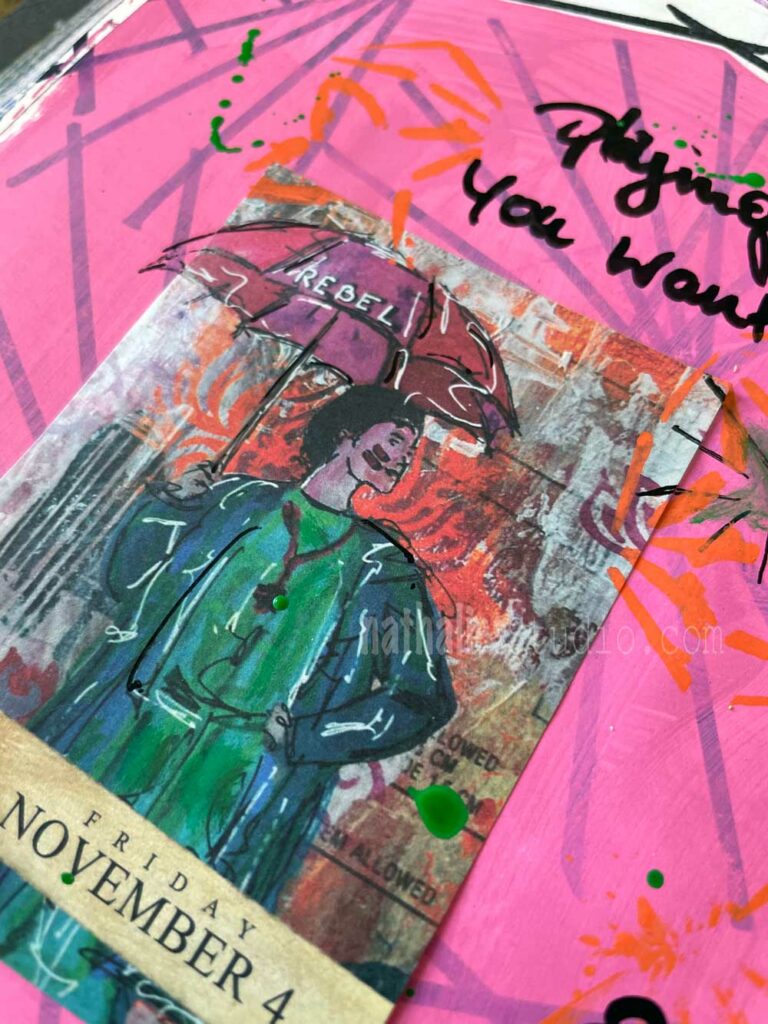
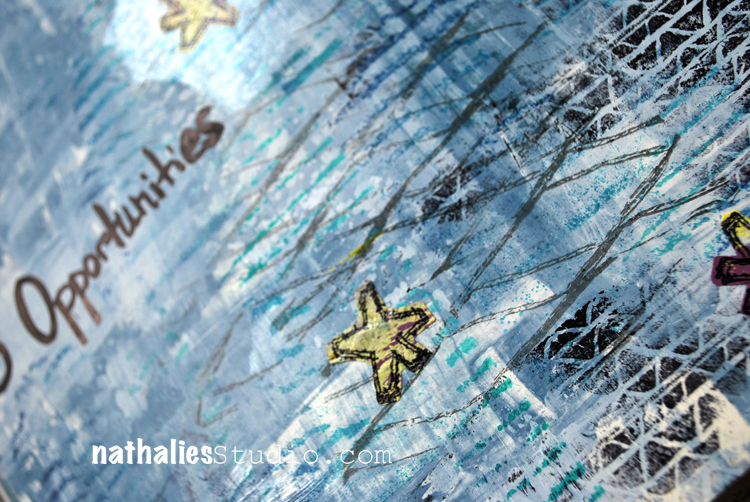
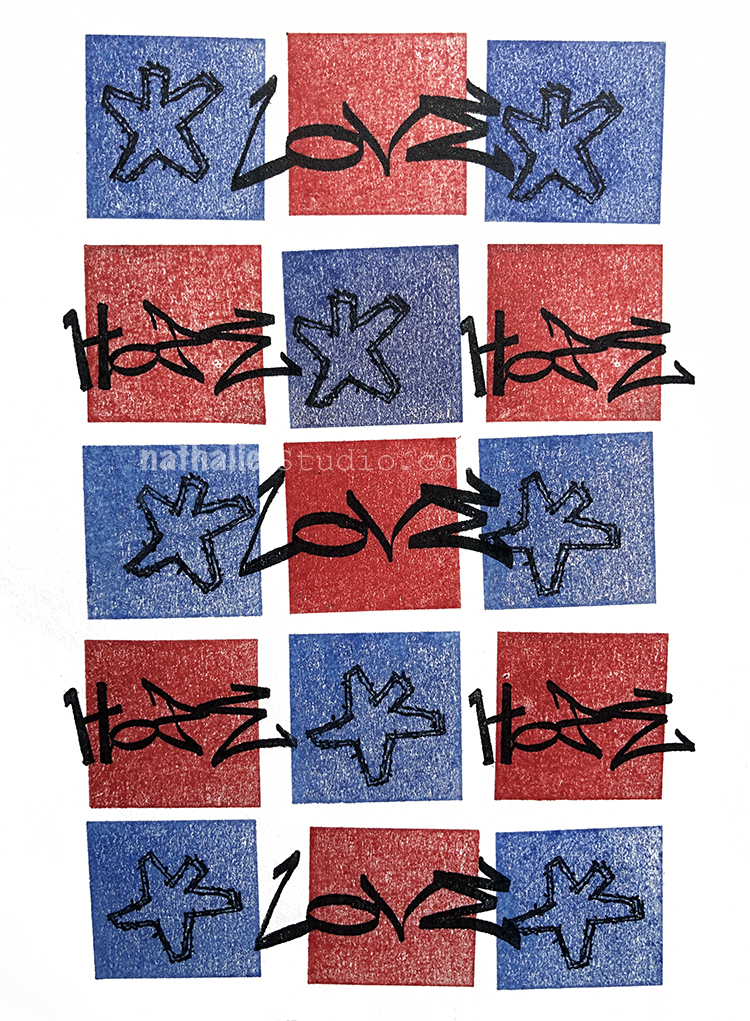
It is hard to believe that David Bowie died 7 years ago. His song came to mind when I plugged off the calendar page from the 2022 Artist Almanac which shows a part of an art journal page I created back in the days.
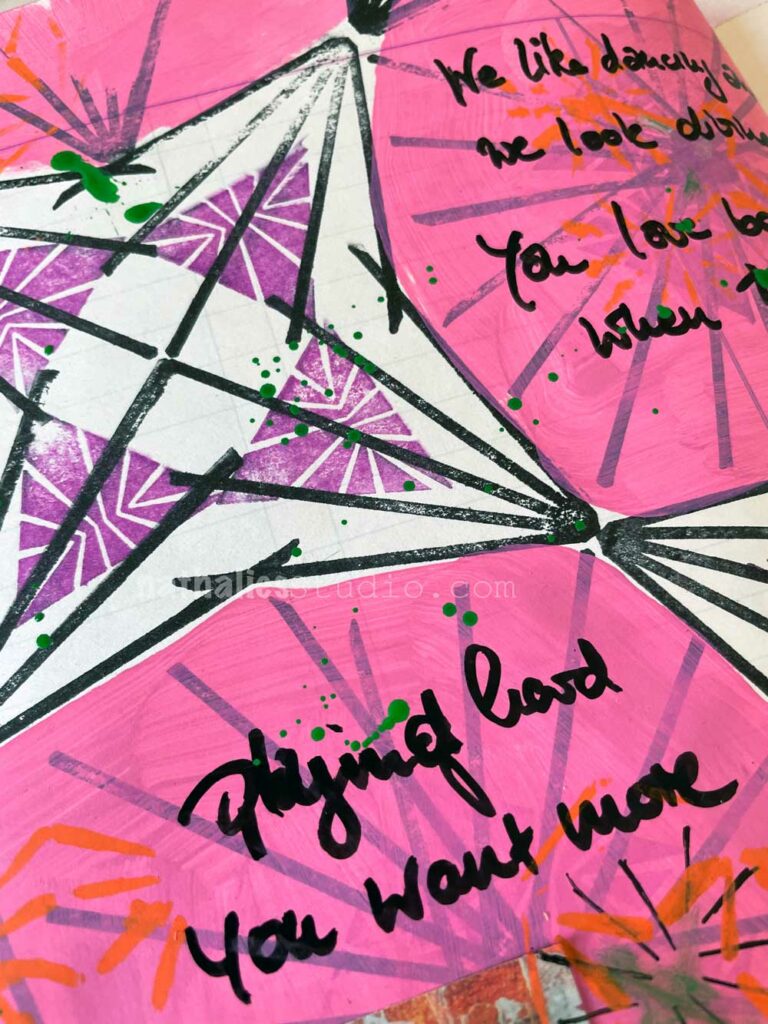
I loved playing with the stamps and I like the stars that evolved. I love using those little calendar pages as a Creative JumpStart wether it be the colors, the words or the image – in this case it was a combination of all of it.
I hope your January goes well – you might have noticed I am blogging less this year – intentionally but I will blog – because I am playing hard this year and I am having fun – I will tell more later:) Have a wonderful day and happy arting!
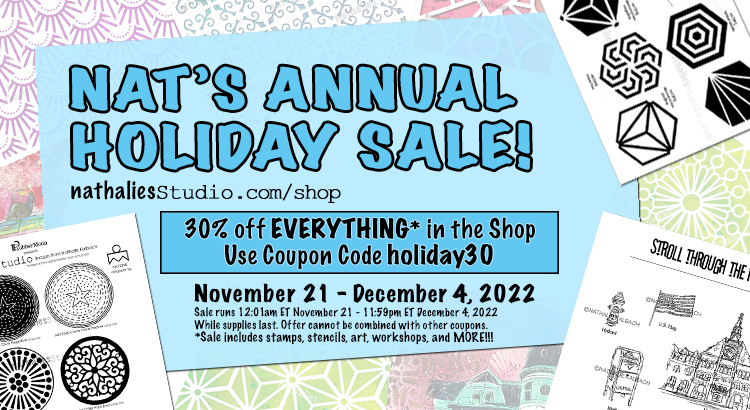
It’s Small Business Saturday: All Rubber Stamps and Stamp Sets are 30% off in my Online Shop! As part of my Holiday Sale, everything in the shop is 30% off through December 4. Yes EVERYTHING (except gift certificates of course) so now is the time to come in and support a little independent business :)
Here are some favorite rubber stamps in action. I can’t promise you that by the time you read this, they will still be available, you will just have to look and see.
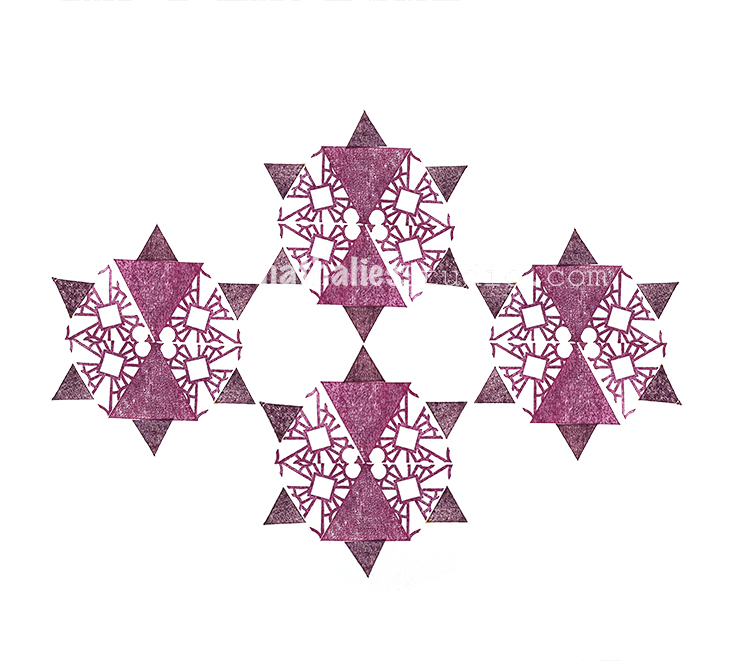
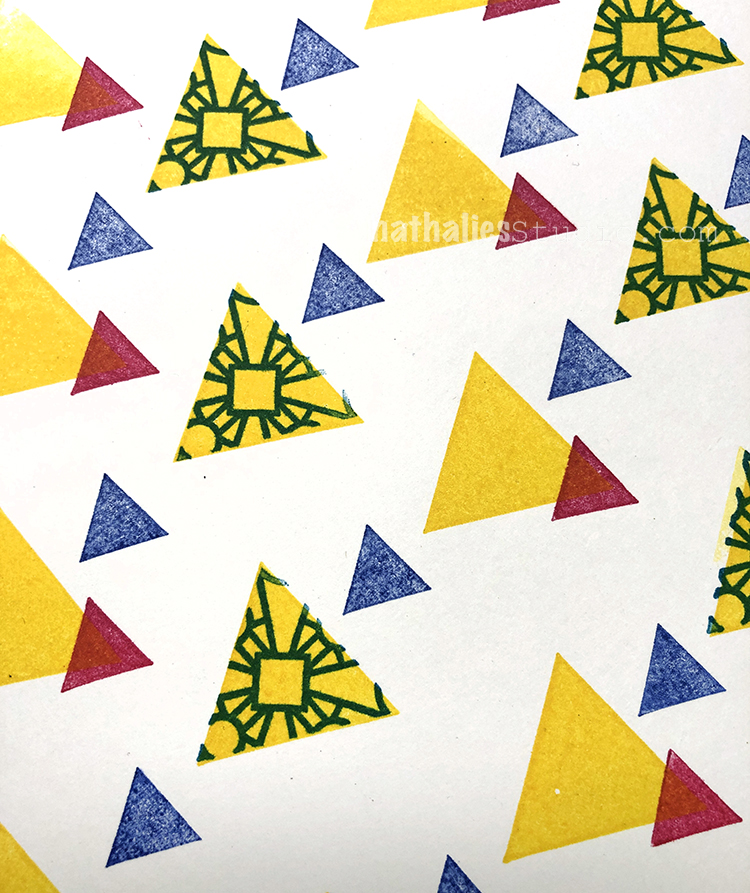
Pattern lovers will go gaga over my Triangle Love Set. I think the possibilities just might be endless!
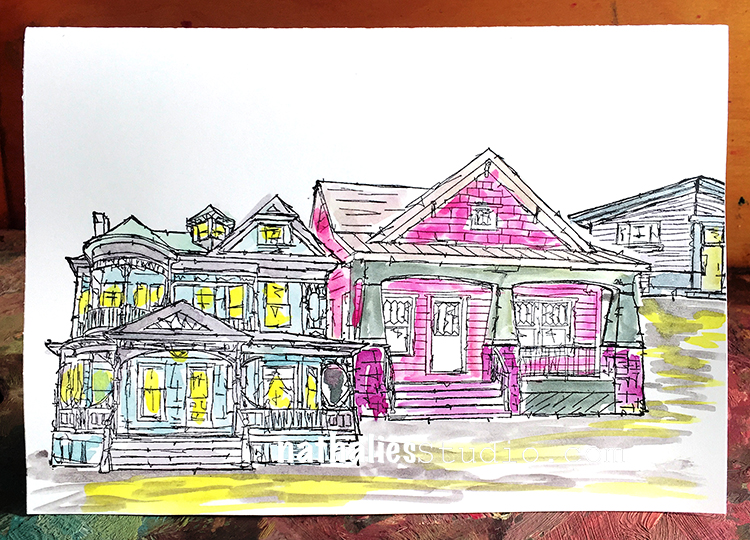
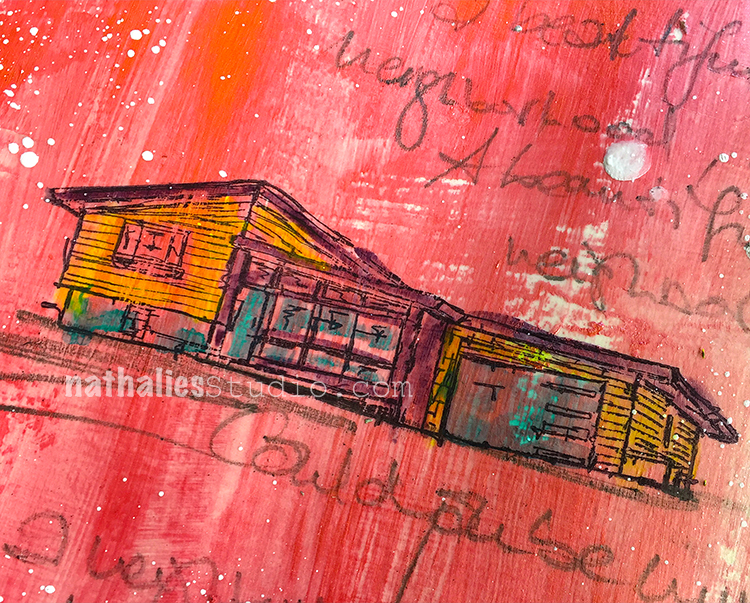
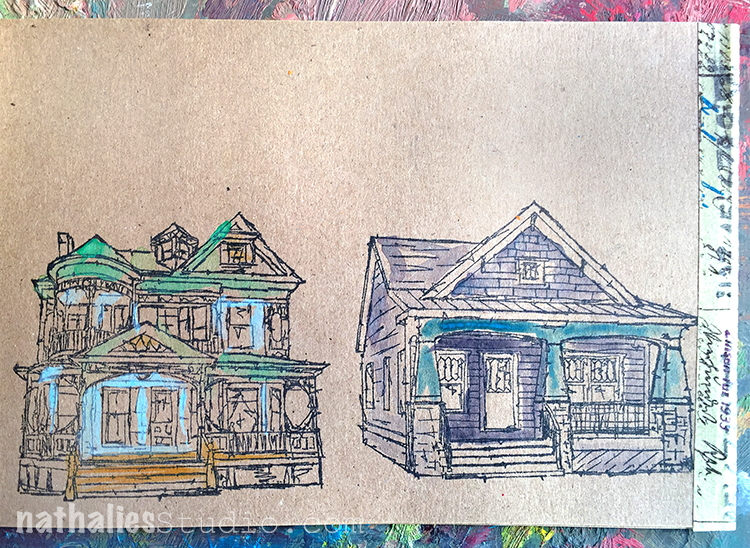
Like architecture or stamps that just remind you of home? Stroll Around the Block is your set.
Big fans of texture will want the Cardboard set. It’s got all kinds of grungy patterns to add to your mixed media adventures.
And there are many more sets and stamps to choose from!
Ready to start shopping the sale? Here is a link to the Online Shop. I hope you enjoy and can check some things off your list a little early this year. The sale ends at 11:59pm ET on December 4, 2022.
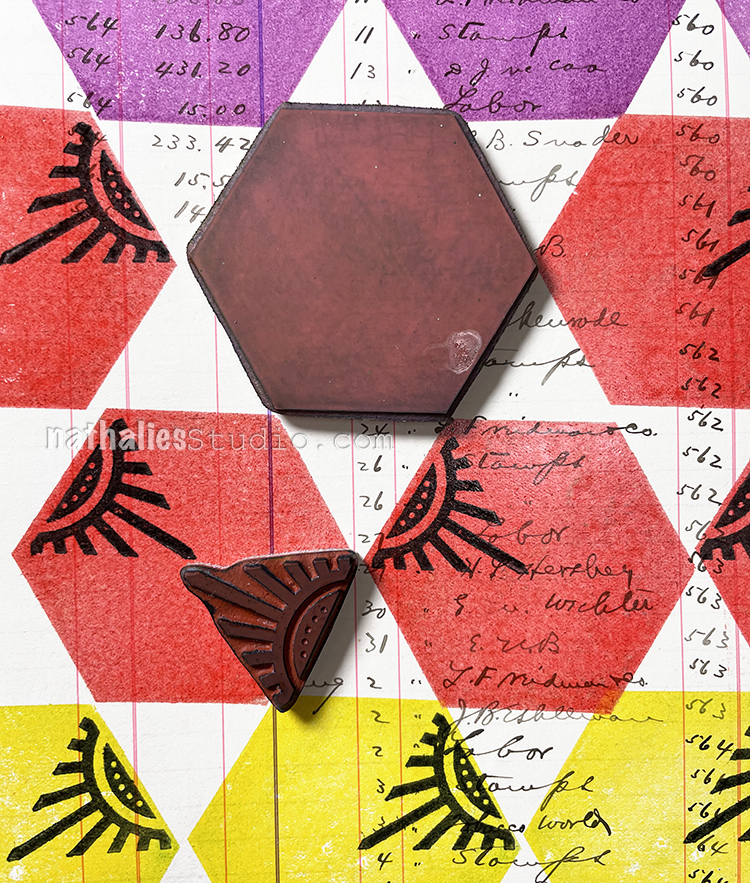
Looking for something solid? Like a nice solid shape that you can depend on? How about some solid stamps like my Solid Square, Solid Triangle, or Solid Hex! Haha I’m just joking around but they are pretty nifty stamps to play with.
Mix them up and layer them. They are building blocks for something bigger.
They can be a base for additional stamping with shape and pattern and in fact they can even be used to “kiss” other stamps before they go on the page. Check out that simple process here and enjoy the results:
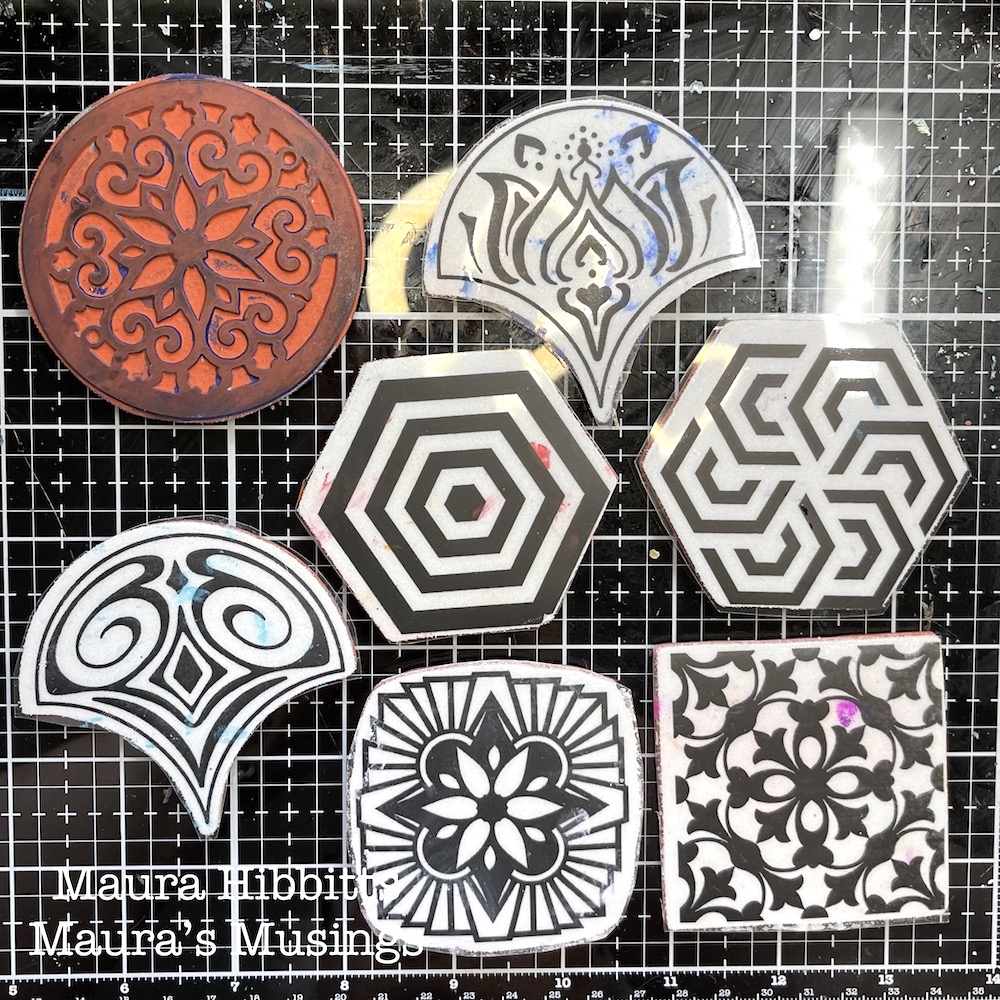
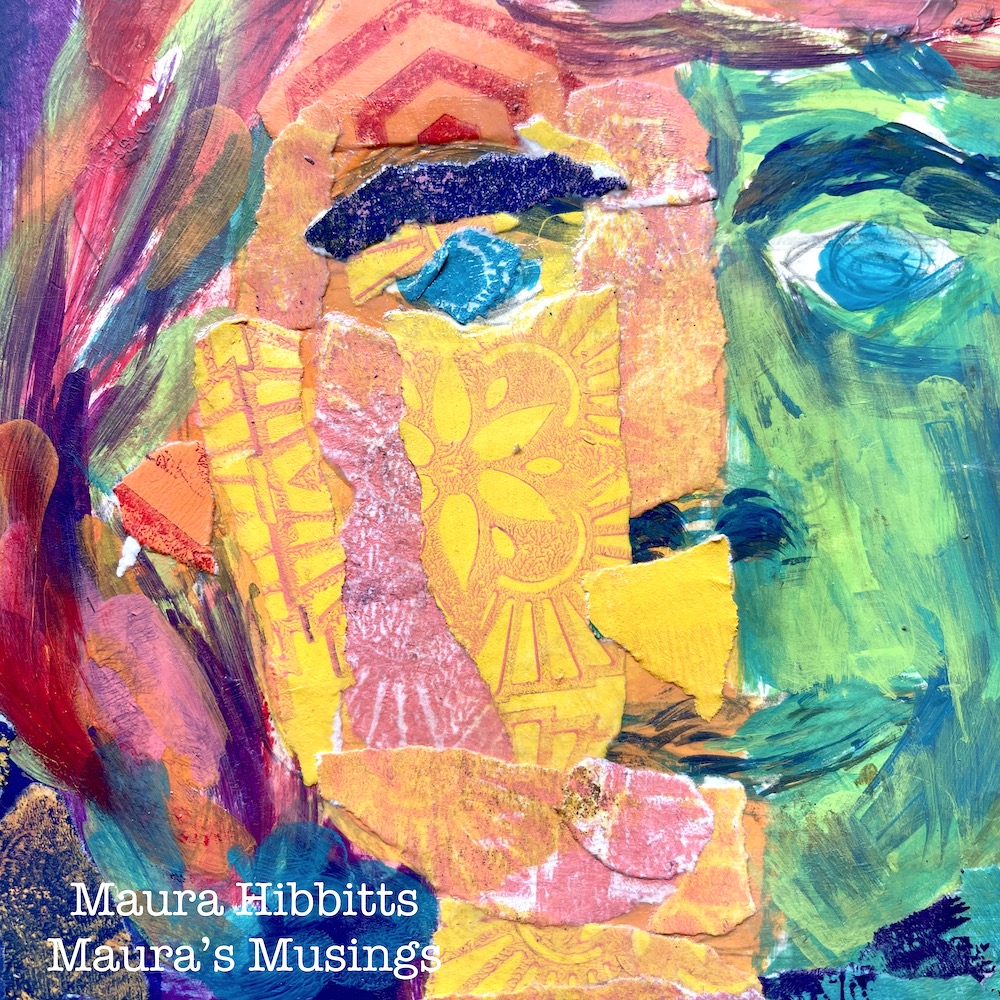
Hello from my Creative Squad! Today we have a post from Maura Hibbitts using my Circle Jumble Large, Hex Set Large, Floral Tile Large, and Fan-Tastic Large rubber stamp sets and our newest theme: I am a Collage – We are all complex beings with many different facets. Create a “self portrait” piece using collage to represent parts of yourself, either literally or in an abstract way.
I am a collage of thoughts, ideas, feelings and colors. The patchwork of my life has shaped who I am today. The experiences I’ve had, the highs and lows, the people I’ve met and shared my life with, adventures, work, laughing, crying, stopping in my tracks to take in a gorgeous sunset…all of these make up the layers of me that are expressed in my collage. Some are hidden, some in plain sight…these are the things that color my world.
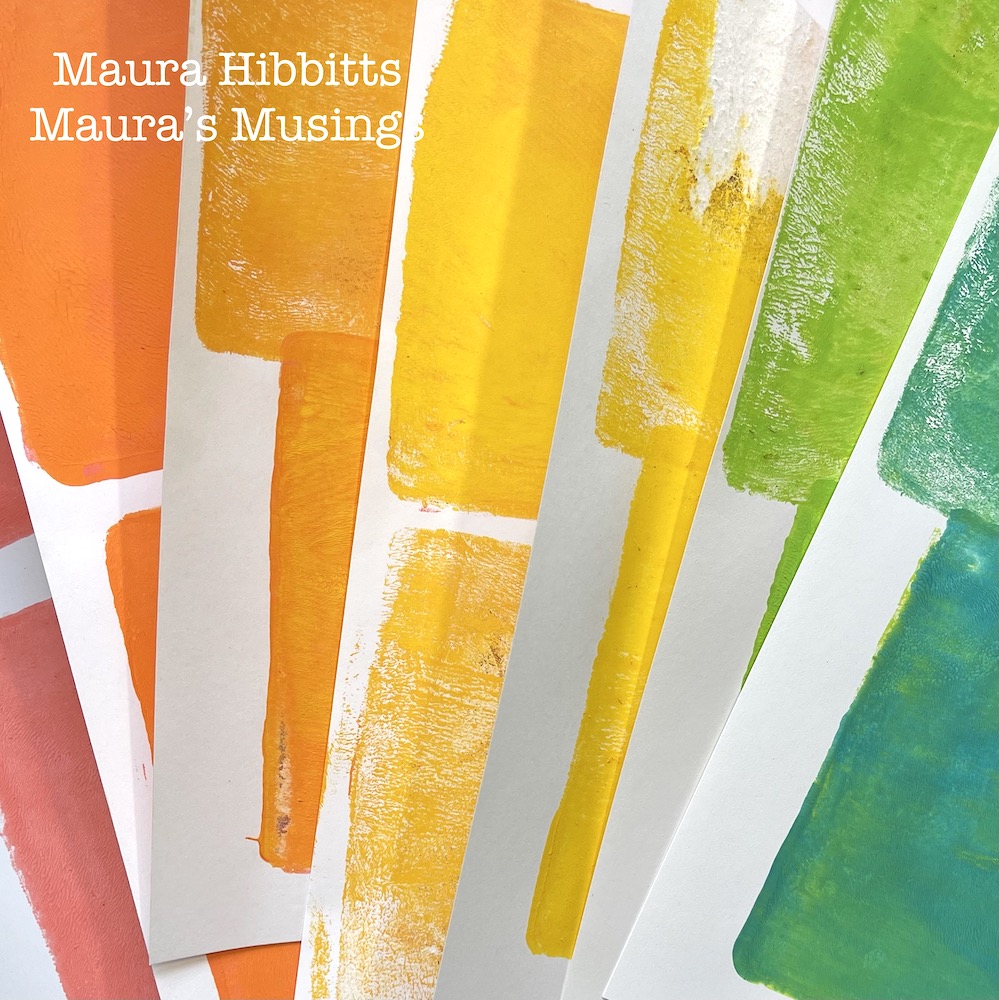
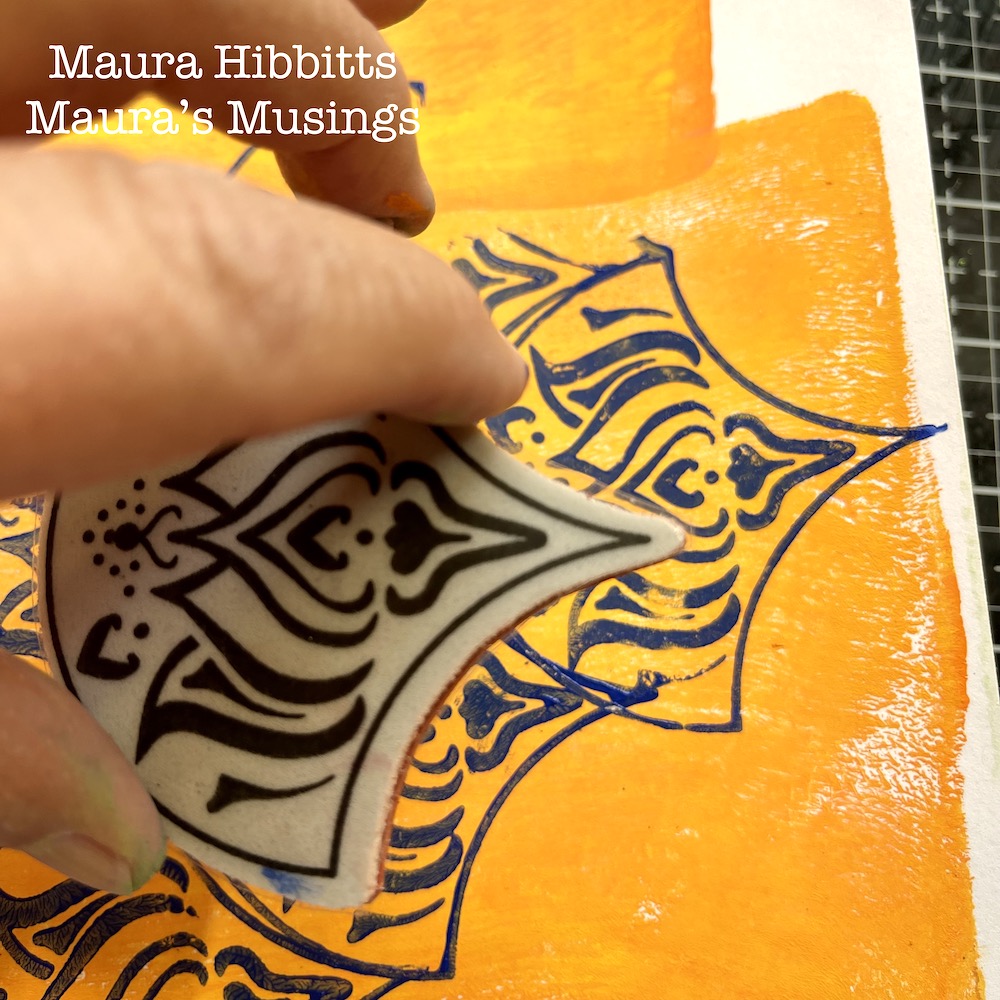
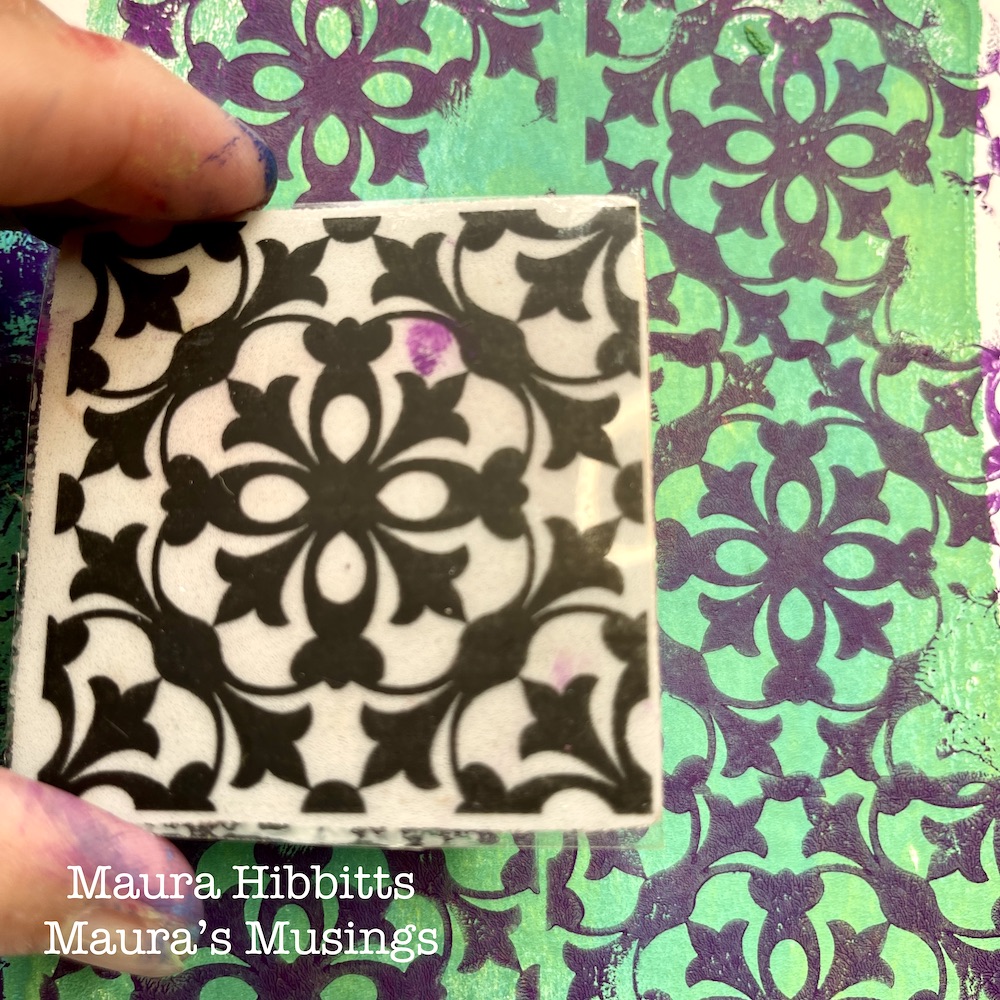
The collage technique I used, I learned from artist Elizabeth St. Hilaire. I began with the gel plate, lighter hued paints and a brayer to create the background papers. Add a small amount of paint to the gel plate, brayer it smooth, then press the white cardstock onto it and lightly rub then lift off. Using a 5×7” gel plate, you can get two impressions onto one sheet. Make a batch of background papers in different colors. Set aside to dry or use a heat tool.
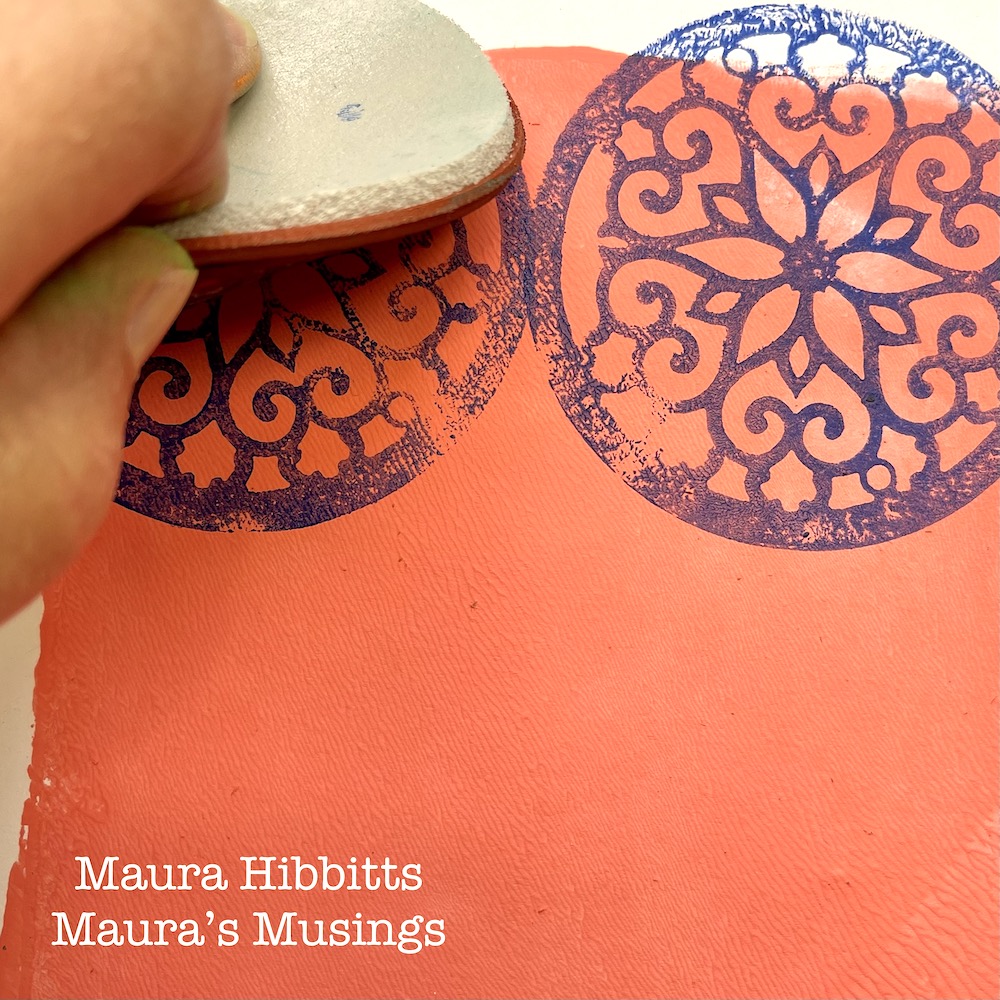
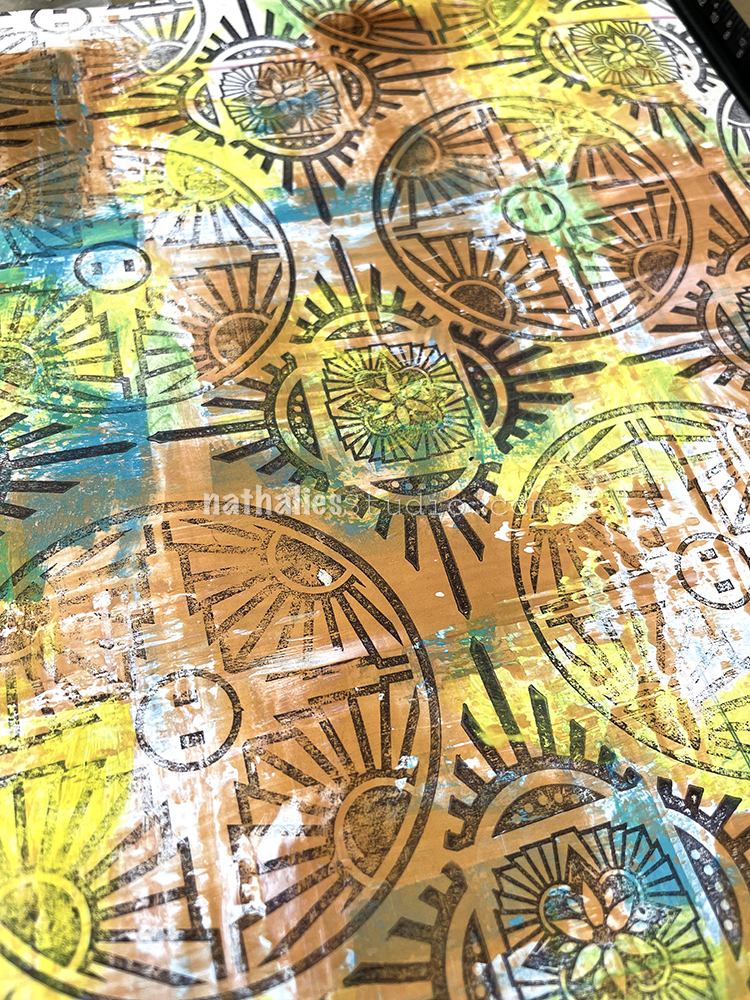
Next, brayer a dark or contrasting color onto the gel plate, and stamp into it with Nathalie’s Park Blvd stamp. Now, stamp the image repeatedly onto your background sheet in one section. Brayer the paint on the gel plate again and stamp repeating images on the plate, then place the other background section over it and lightly rub and lift. Basically, you are creating a positive and a negative print. Let dry or use heat tool.
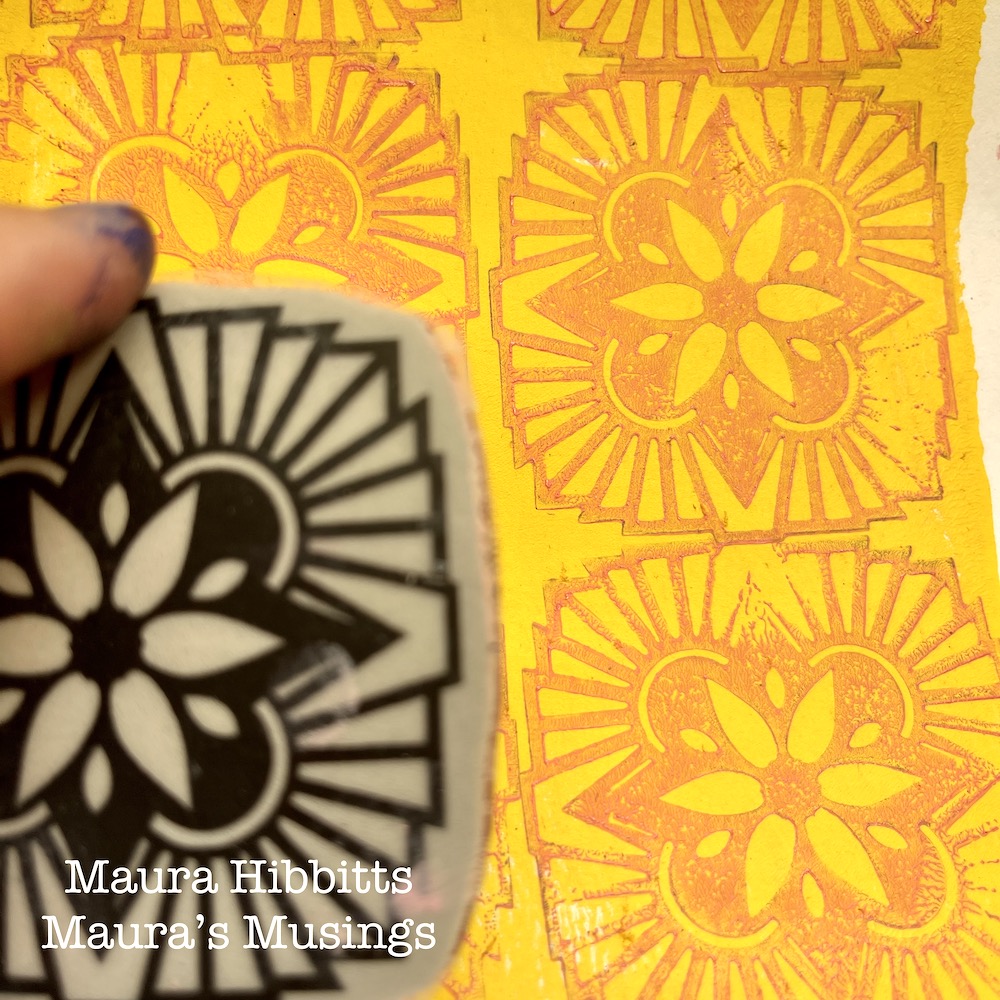
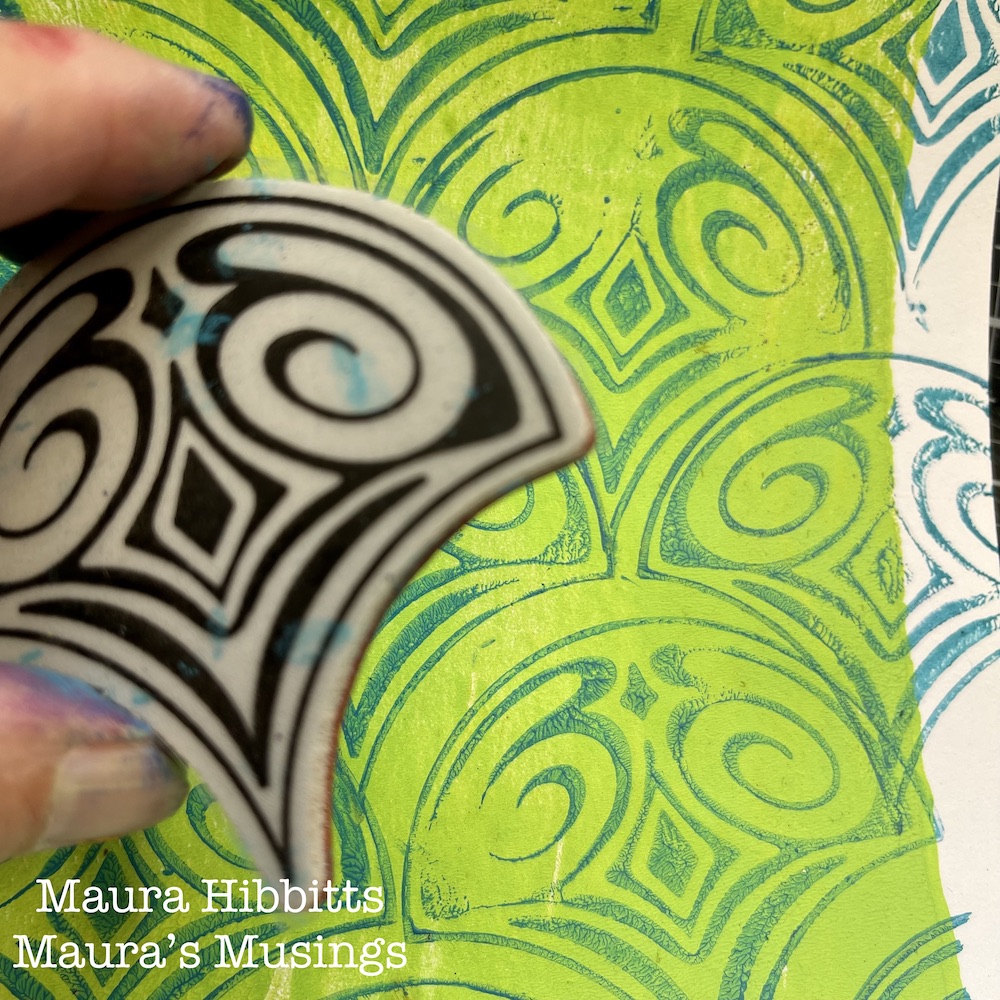
Repeat using the Lily Fan stamp and a different paint color.
Now for the final repeat of this step – use the Fairview Fan stamp and a different paint color. Let all papers dry thoroughly.
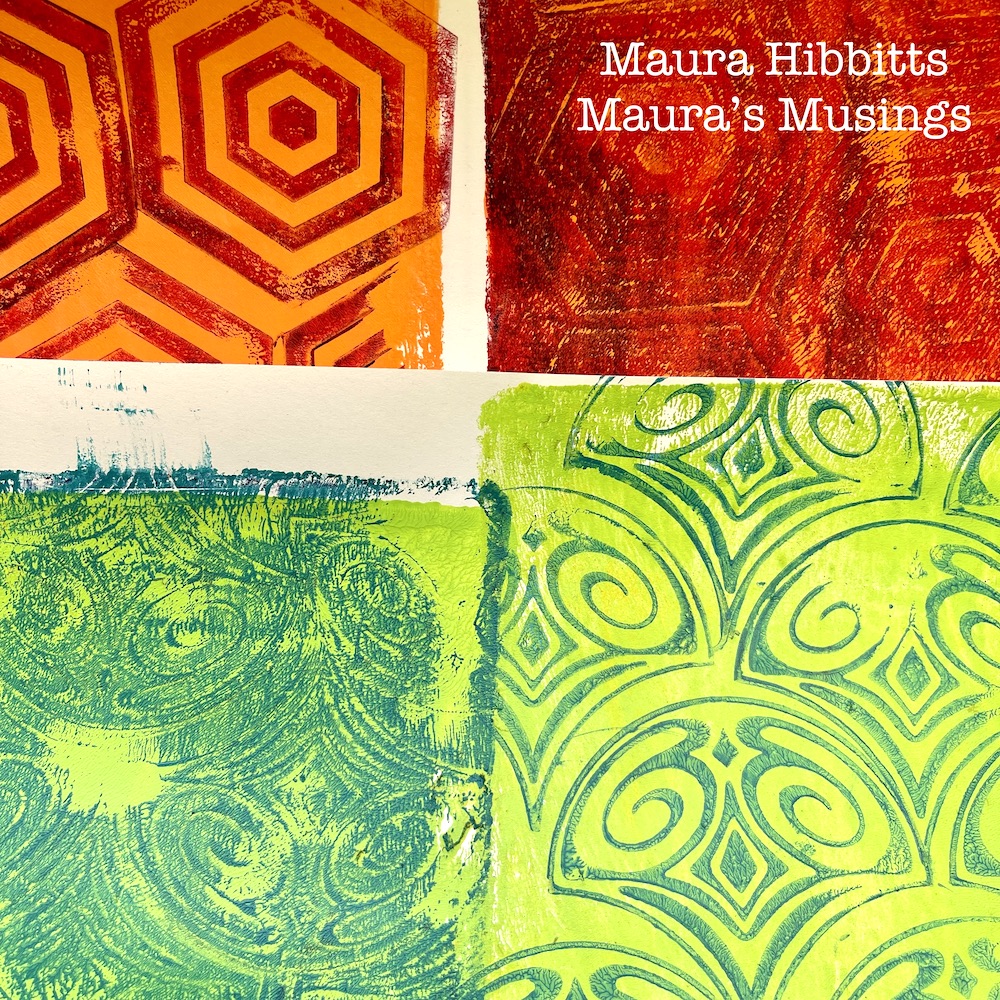
At this point, you will have a selection of papers in several colors and designs to use for the project.
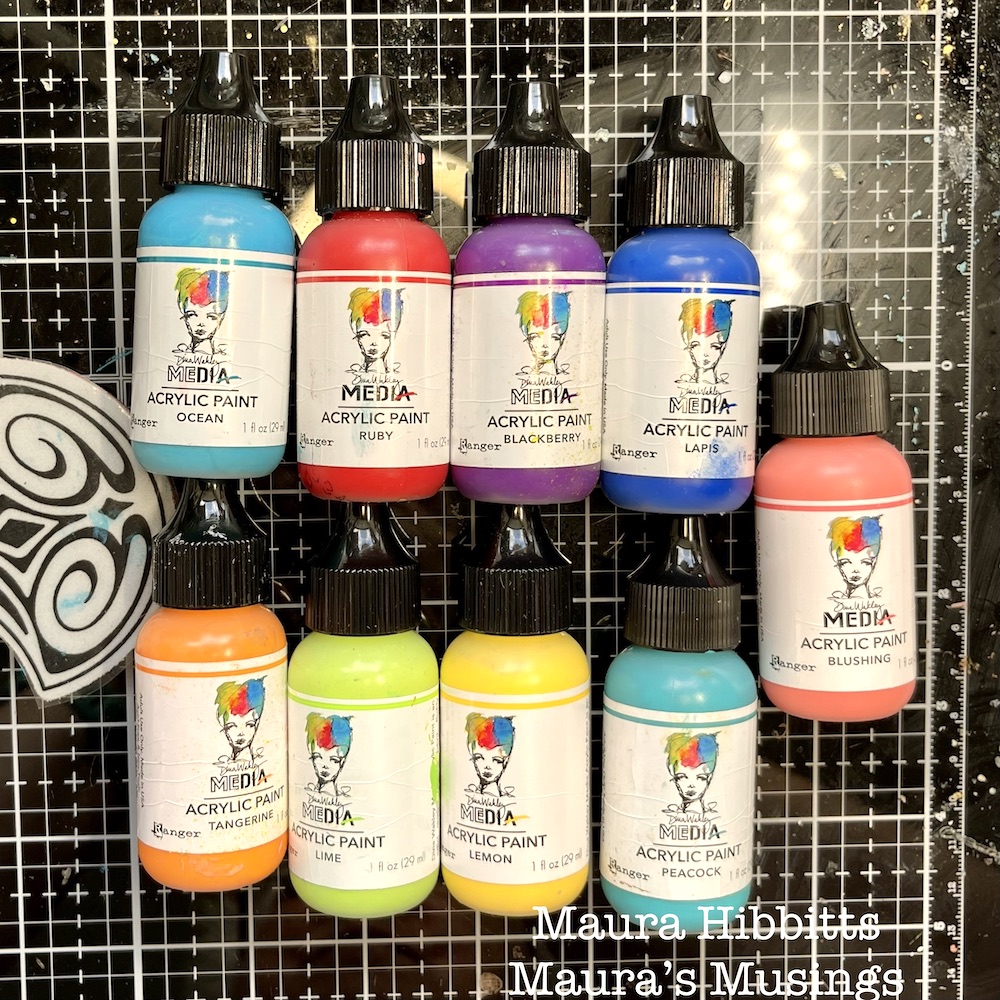
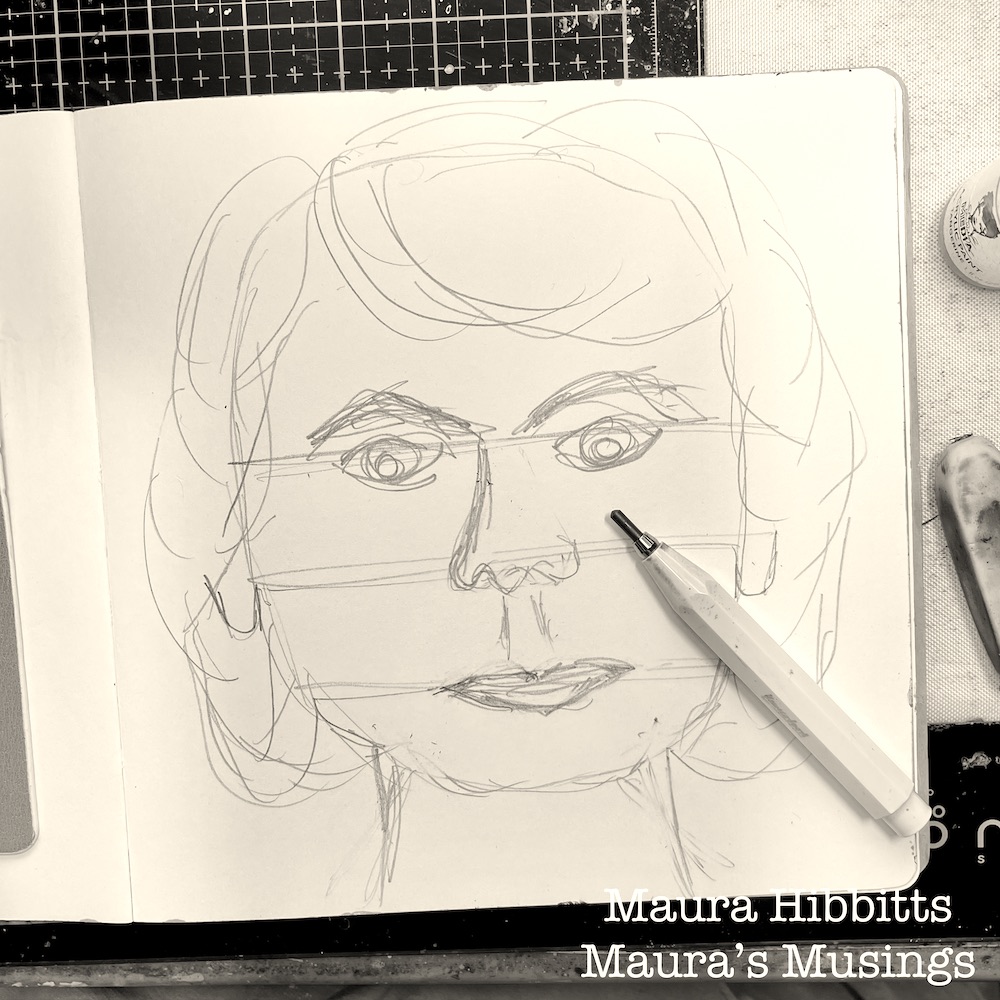
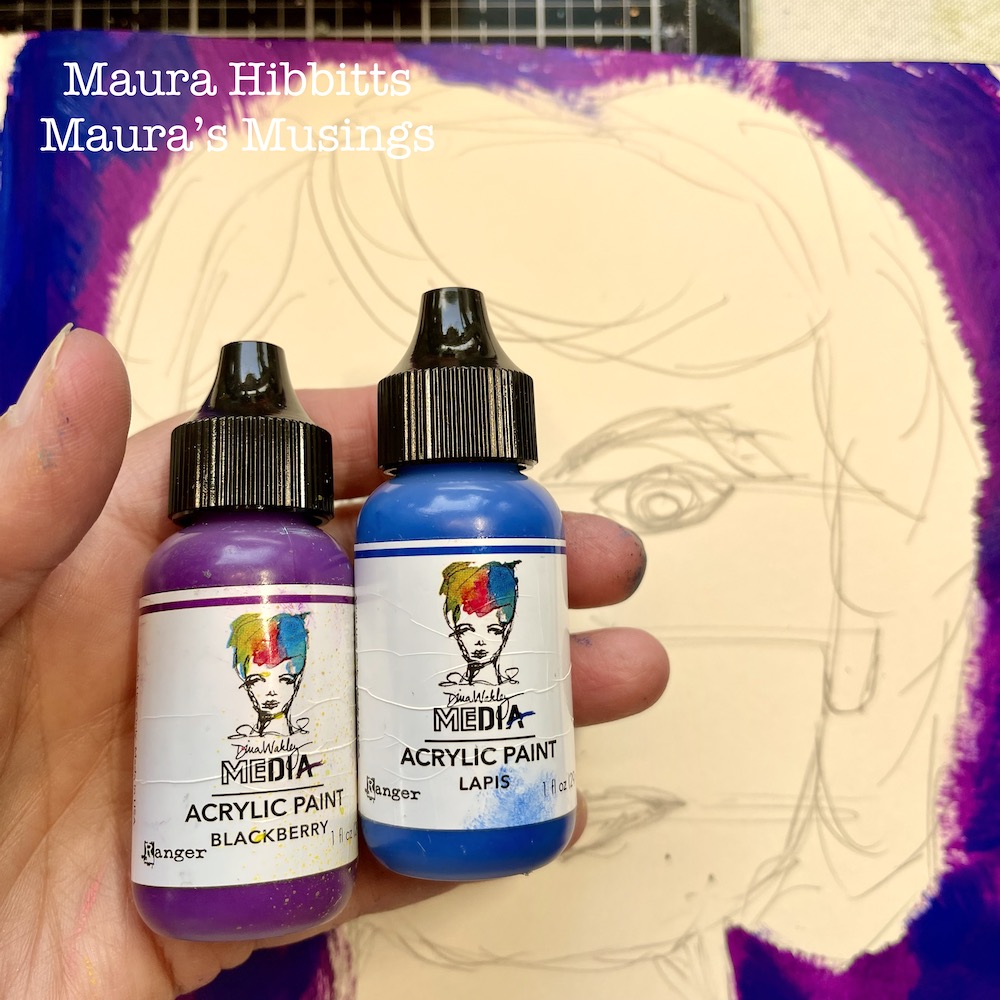
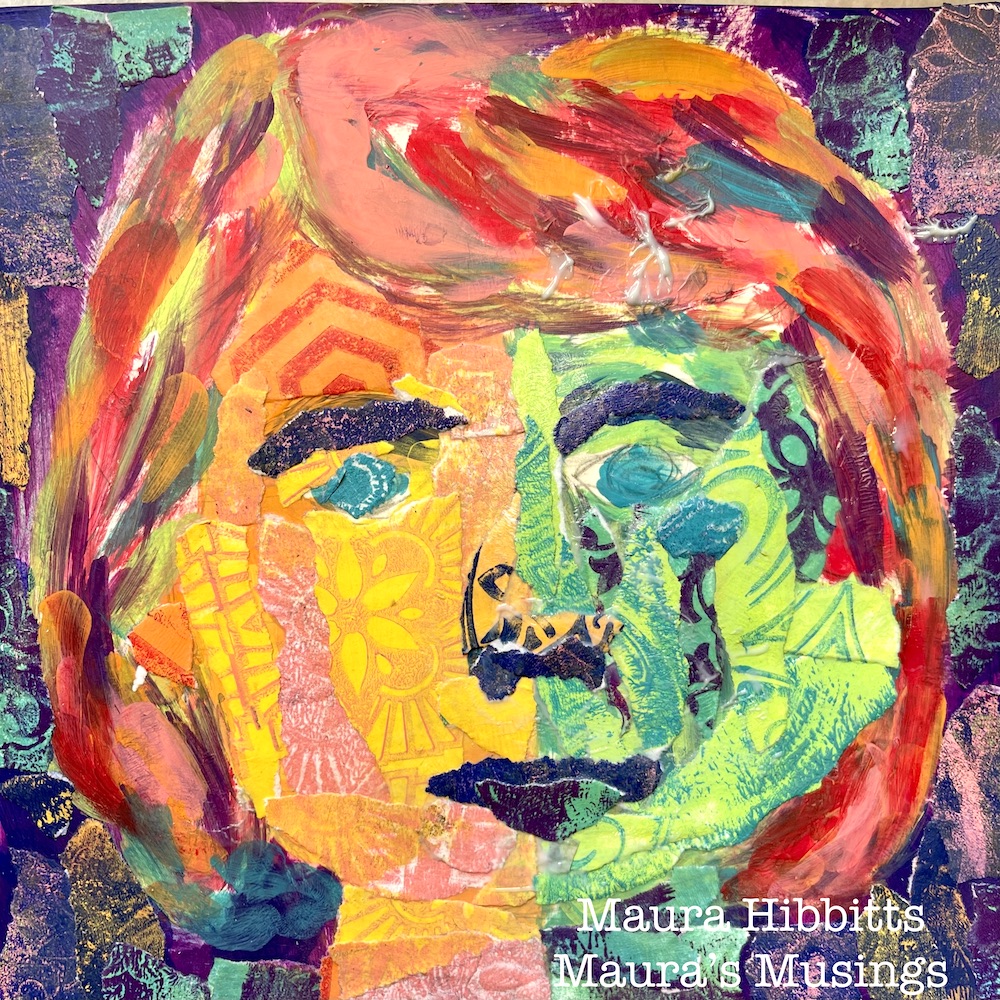
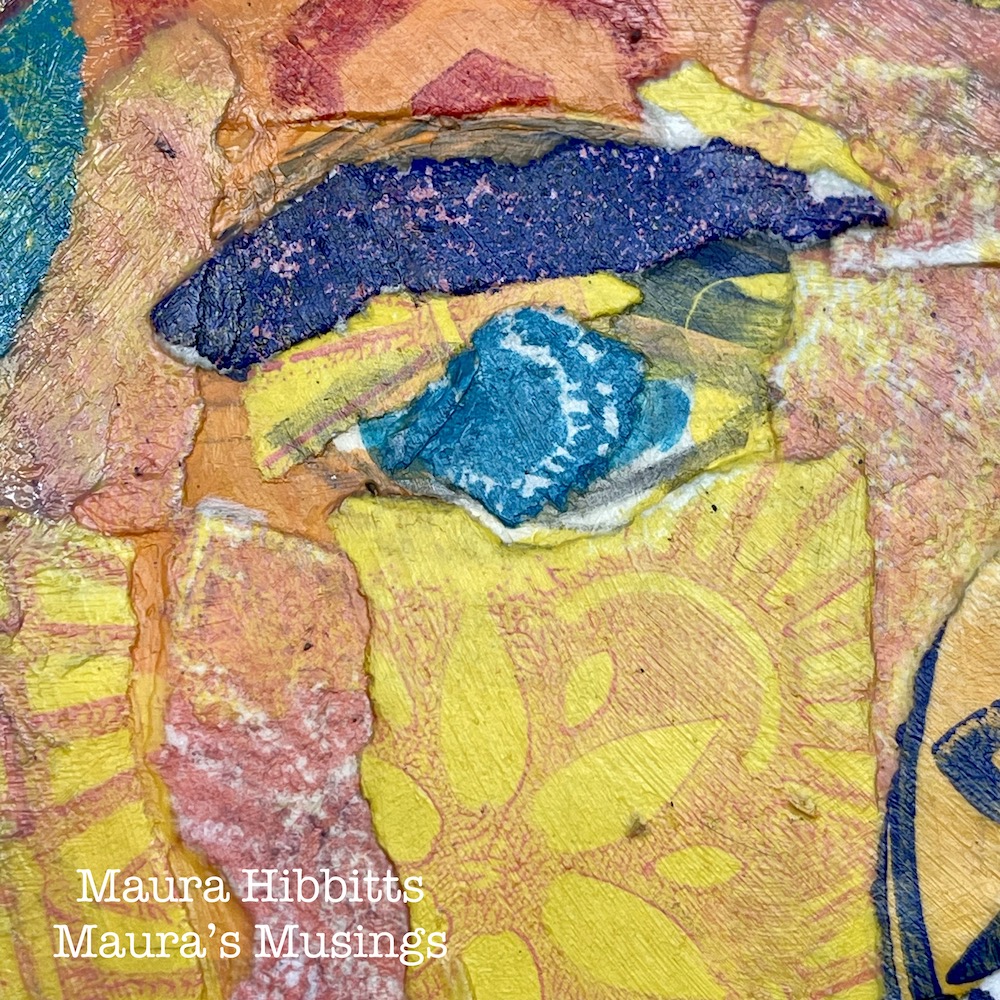
Now, the fun begins! Sketch a face on your page. Use the same paint colors here as you used to make the papers. Paint a mix of dark colors around the face to make a background. (I used Lapis and Blackberry) I wanted to use non traditional colors for my face and lots of variety… it might look a bit psychedelic to you, but I love the freedom of play here.
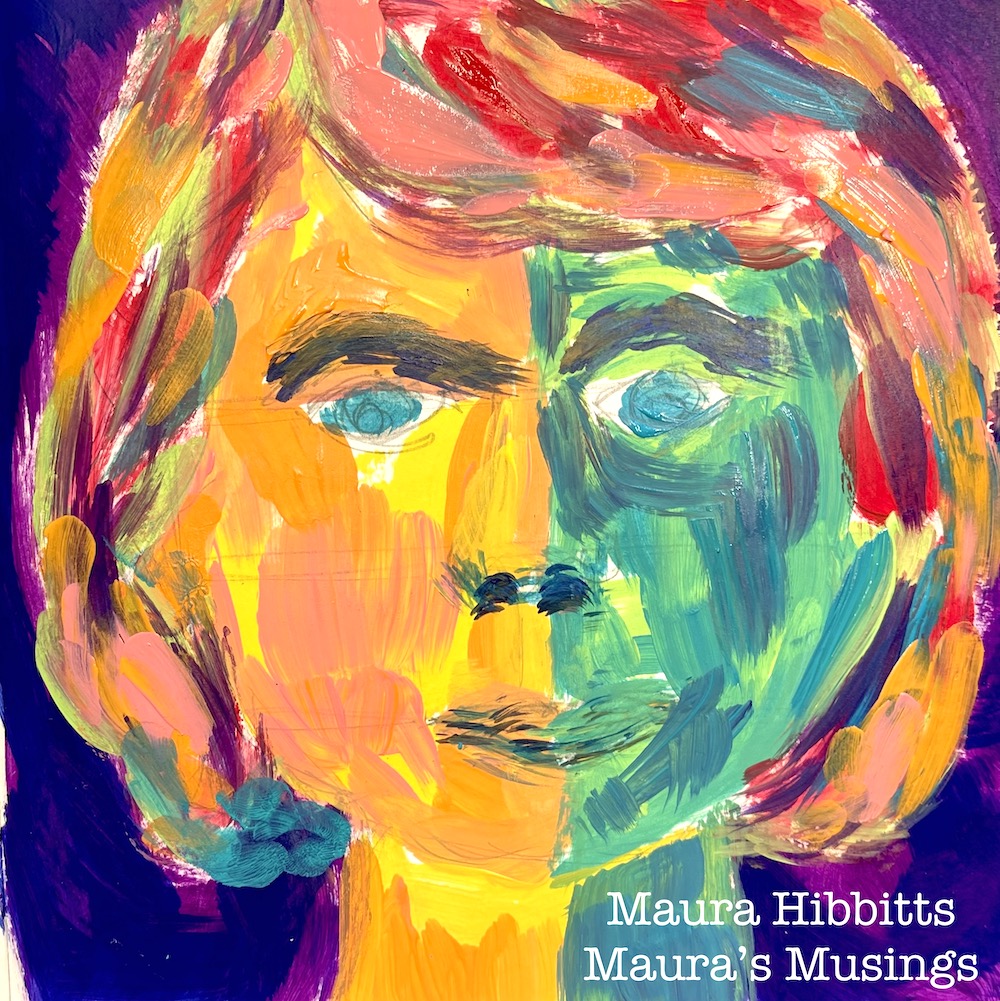
I used warm colors on one side of the face, and cool colors on the other. (When I look at the one side, I’m getting “She Hulk” vibes, lol!) And just go into a color frenzy with the hair! I tried to paint with big, loose strokes.
Rip out small pieces of paper from your background papers, matching the paint colors. Note – if you rip the paper towards you, it will eliminate a white edge. Adhere to the background with collage medium. I like to add the medium to the back of the piece, press it down with the brush, then go over it with more medium, pressing down.
Next, move to the face, and continue collaging paper pieces over your painted image. Match the paper bits to the paint color.
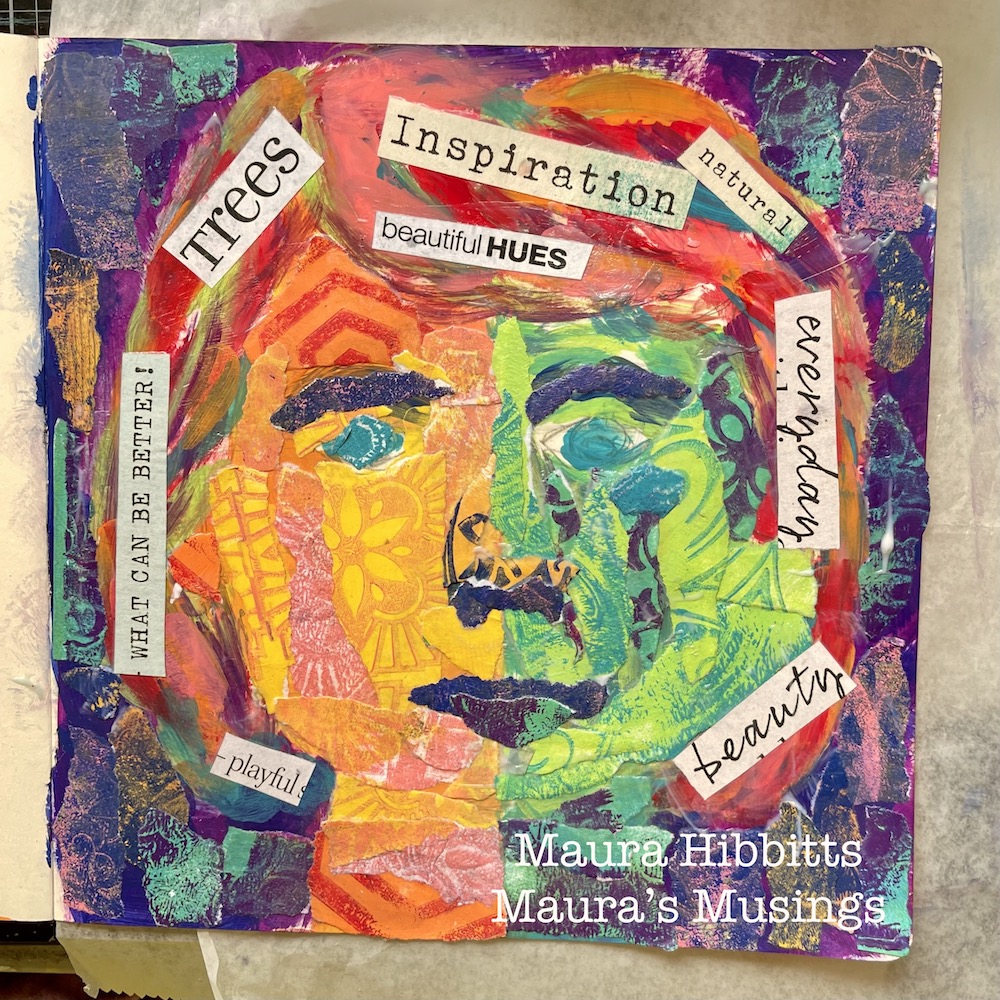
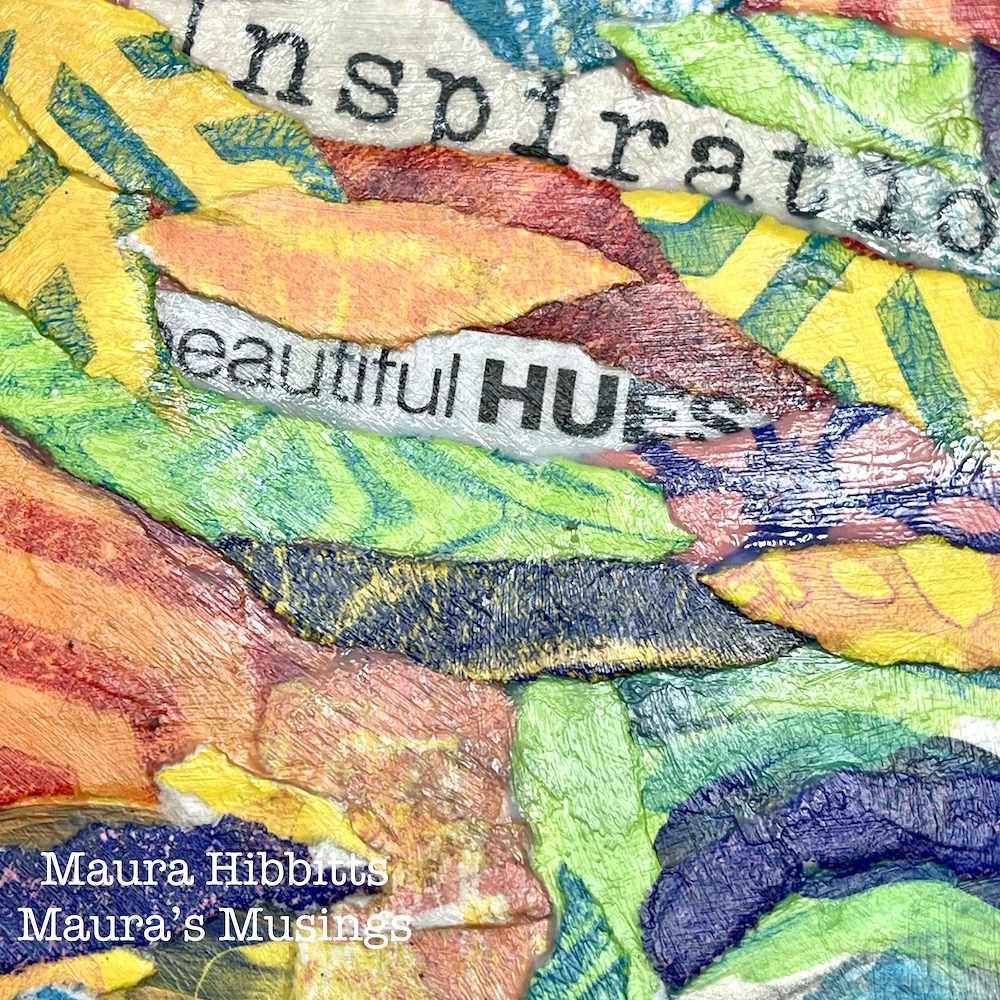
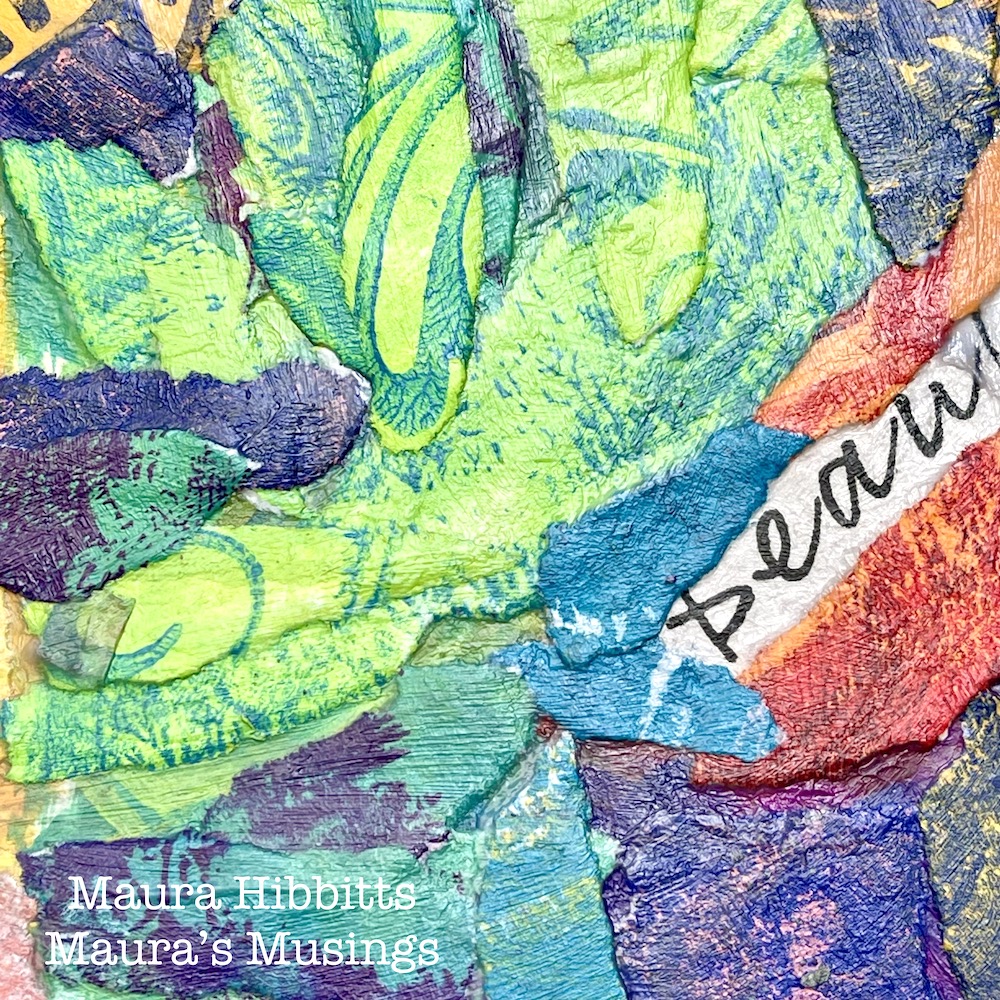
Cut words out of a magazine, or write them and collage onto the hair. Then, collage paper bits onto the hair and around the words, leaving them mostly visible.
When you look at the details in your project, you will see the layers of paper, color and stamped images. When you step back and look at it, you see the face, albeit a very colorful one.
How fun is it to think of yourself as a collage, and create a wild and colorful image? I found the collaging to be a very meditative process, giving me lots of time to think about what makes me unique. I hope you have as much fun with creating your own collage as I did. Happy creating! – Maura
Thank you Maura! Watching this process come together was very cool and I absolutely love the result – it’s complex, emotional, and such a wonderful way to approach self portraiture!
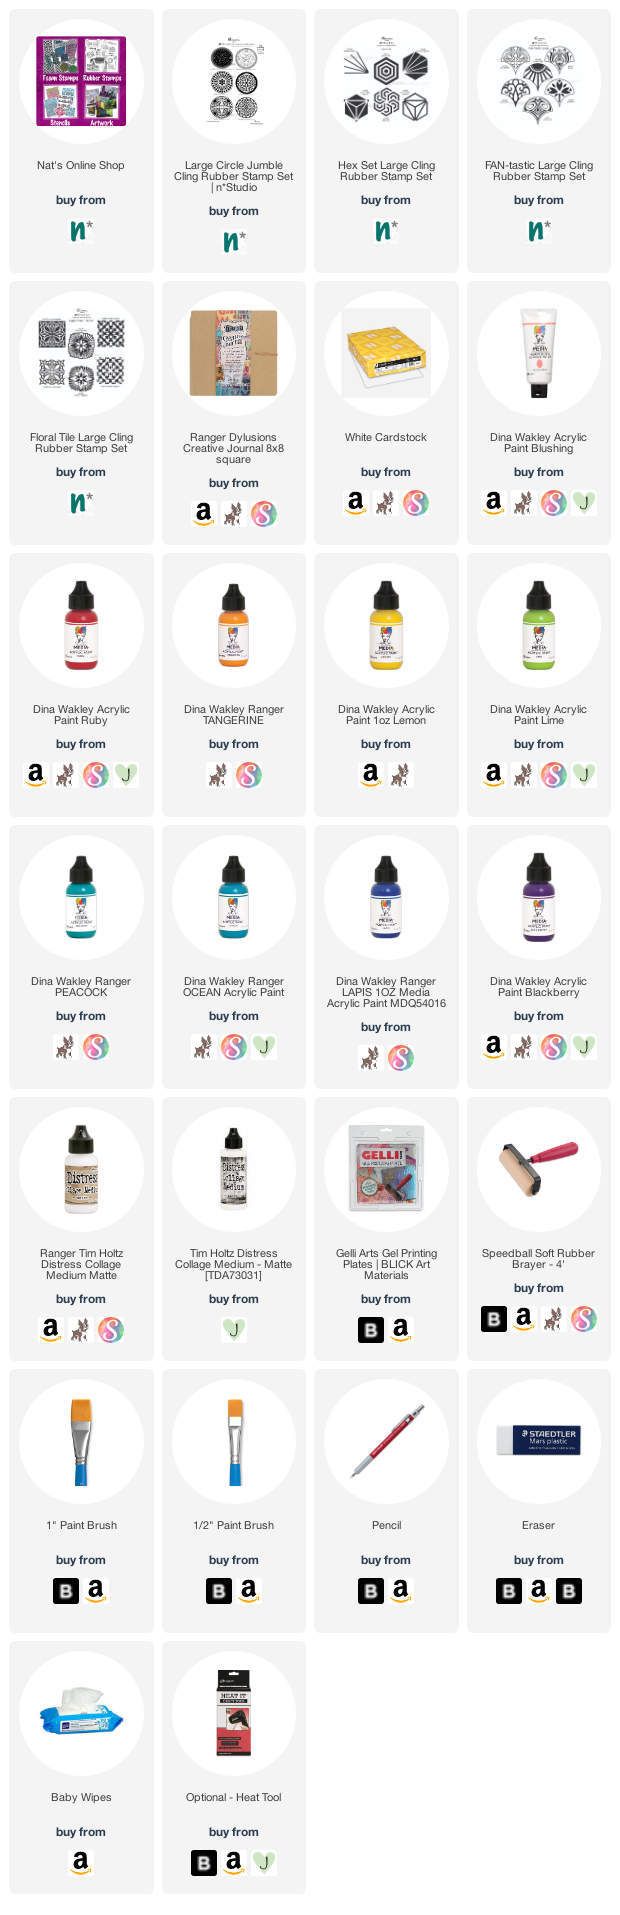
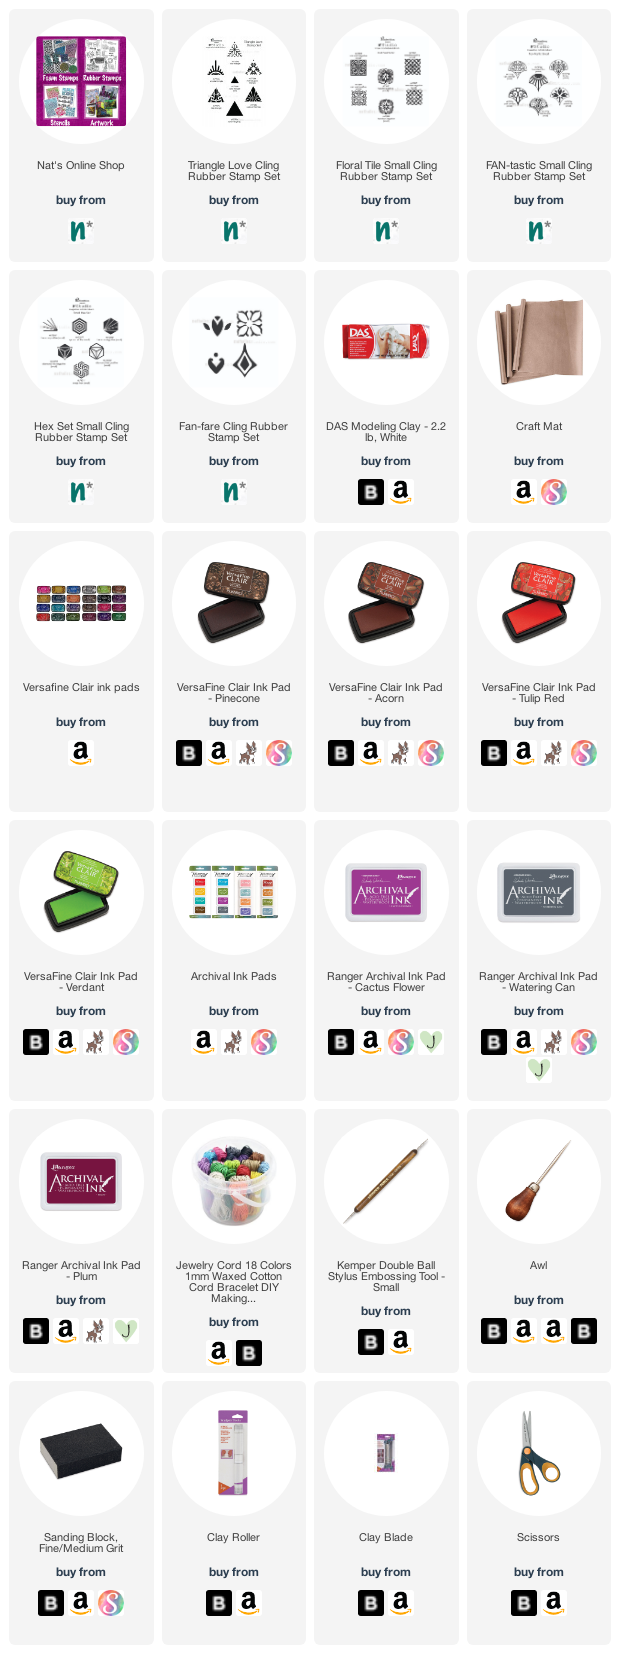
Give it a try: you can find all my Rubber Stamps in my Online Shop and in addition to her word clippings, here are some of the supplies Maura used:
Looking for more projects? Follow the Creative Squad on Instagram here.
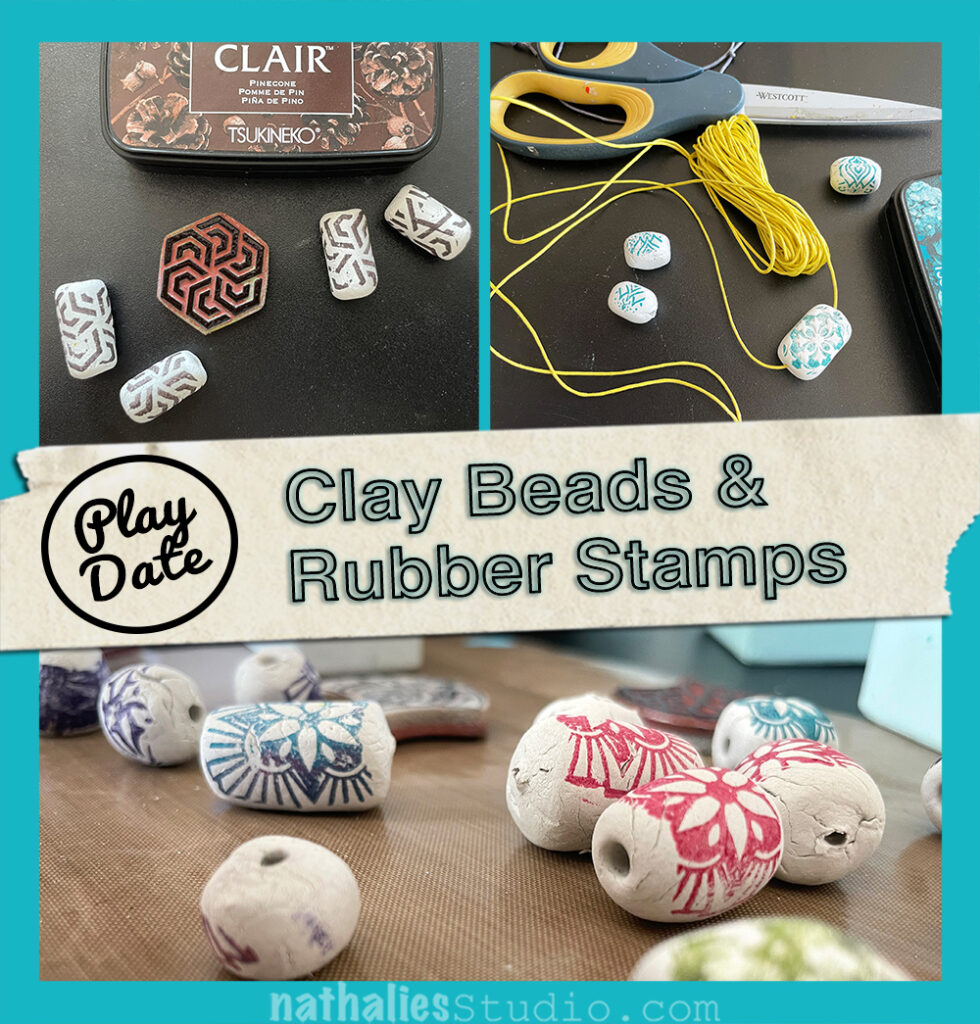
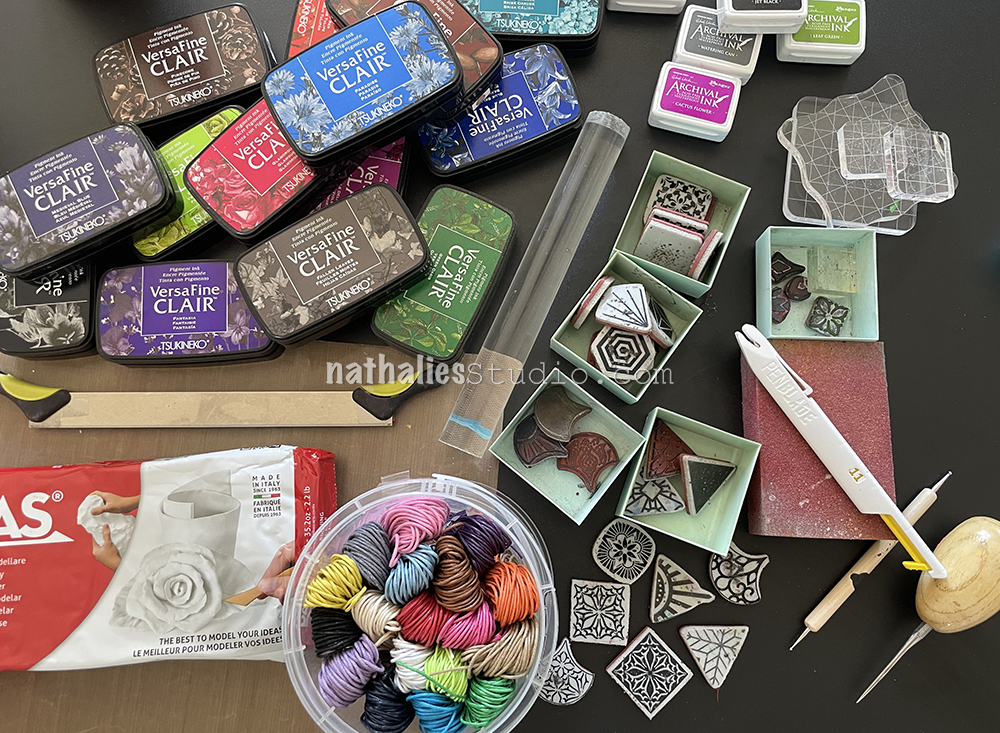
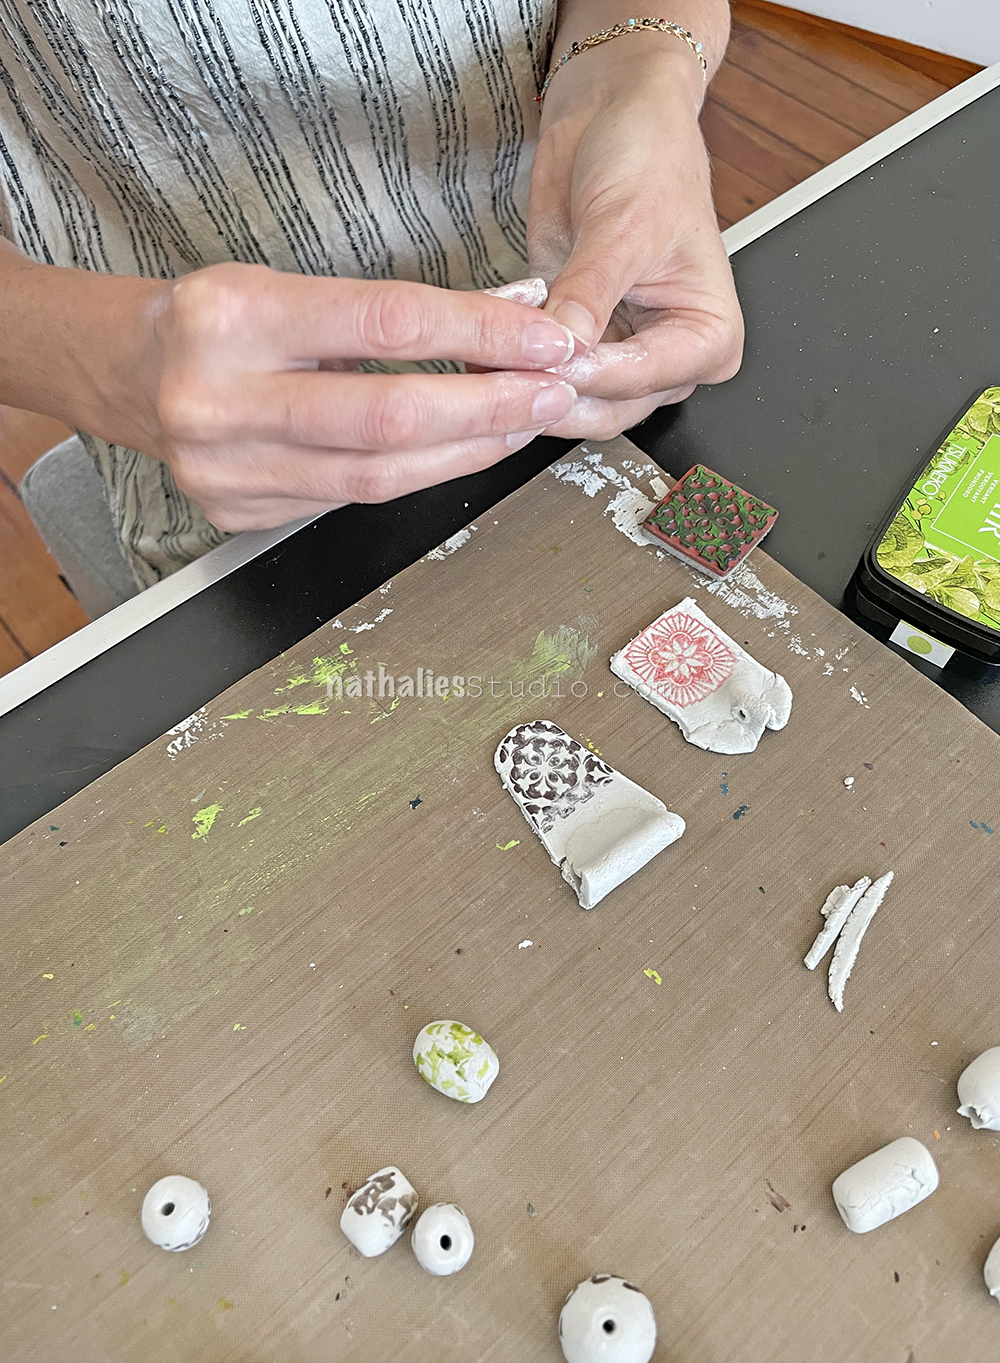
Last month I had a few old friends visit from Germany so Kim and I scheduled our play date with one of my guests: Sandra! We knew she would have fun with it as she teaches art classes and is always looking for inspo herself. So we set up a big table where we could all sit, poured ourselves some coffee and even had a little plate of treats too. It was great to get together and create, gab, and LAUGH :)
Our project was to make air dry clay beads, decorate them with my rubber stamps, and then string them to create funky necklaces. Wanna play along? You will need: air dry clay, jewelry cord, rubber stamps (small patterns work great for these), a selection of ink pads, an awl (or toothpick/ball tool/tapestry needle) to make holes, a small rolling pin, a clay cutting knife, a sanding block, scissors, and a craft sheet.
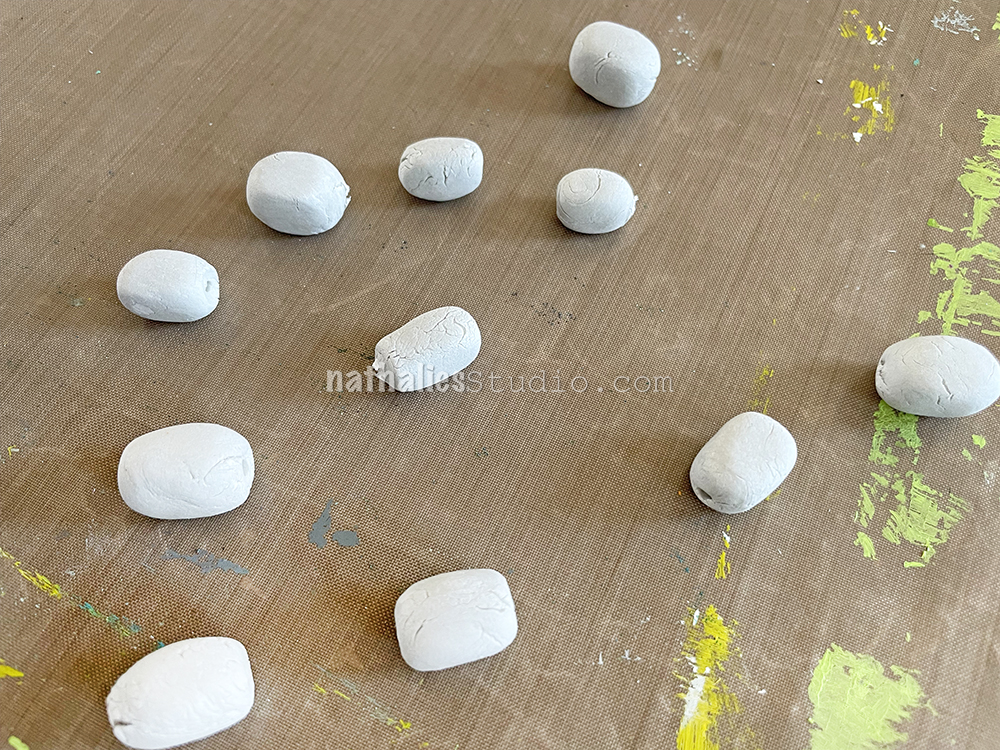
Working on the craft sheet we created some plain beads. Round, oval, barrel, square sided etc are all easy to do. Make a bunch!
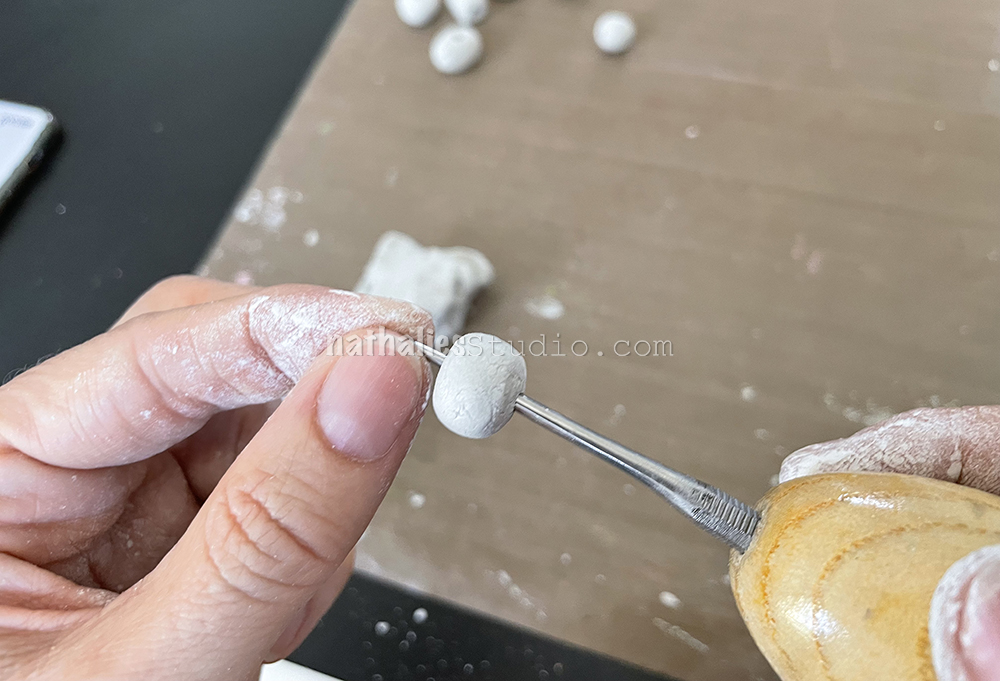
Before they get too dry, poke a hole in them that is big enough for whatever cord you have. We used an awl to poke the holes and then a ball tipped tool to make the ends a bit nicer. You could use a skewer or toothpick or even a heavy tapestry needle to make your holes. Then it is time to let them dry.
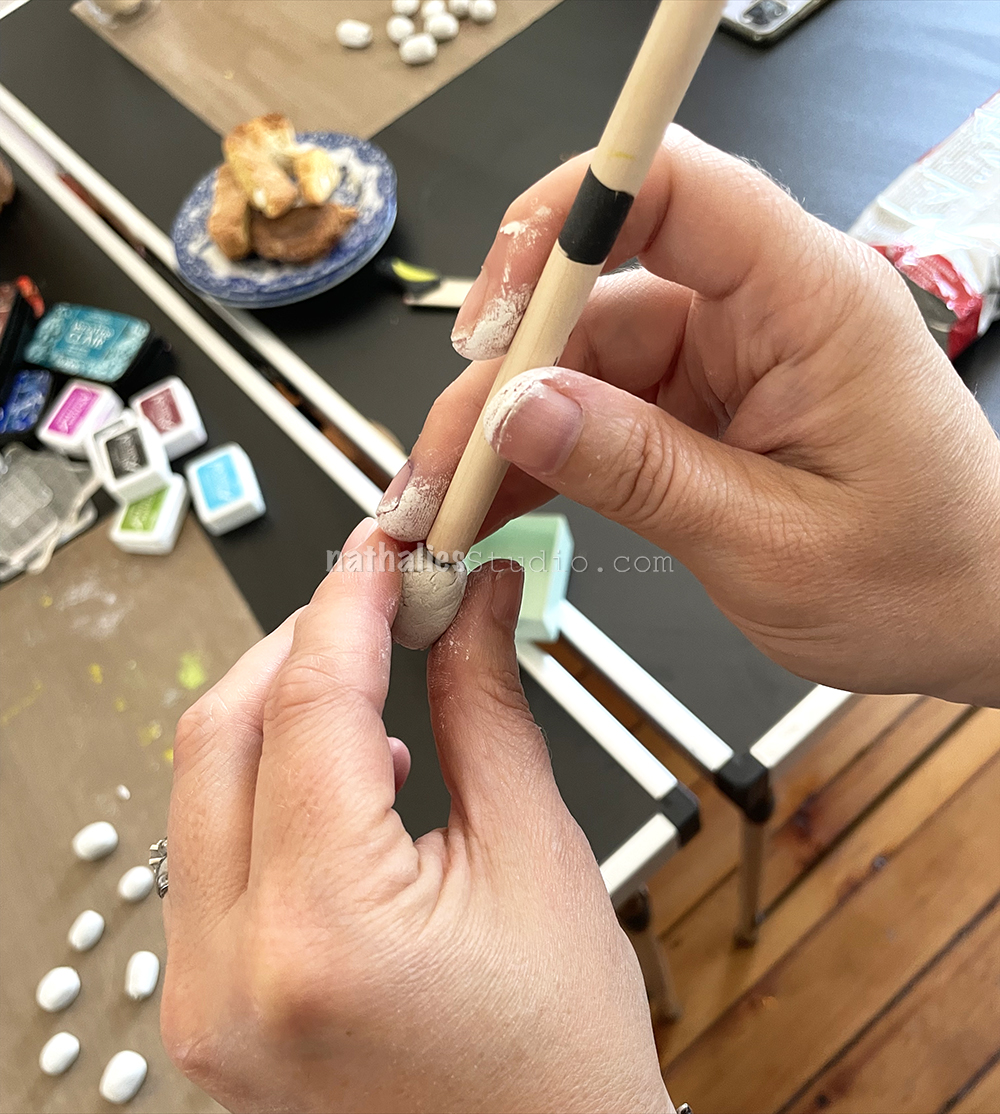
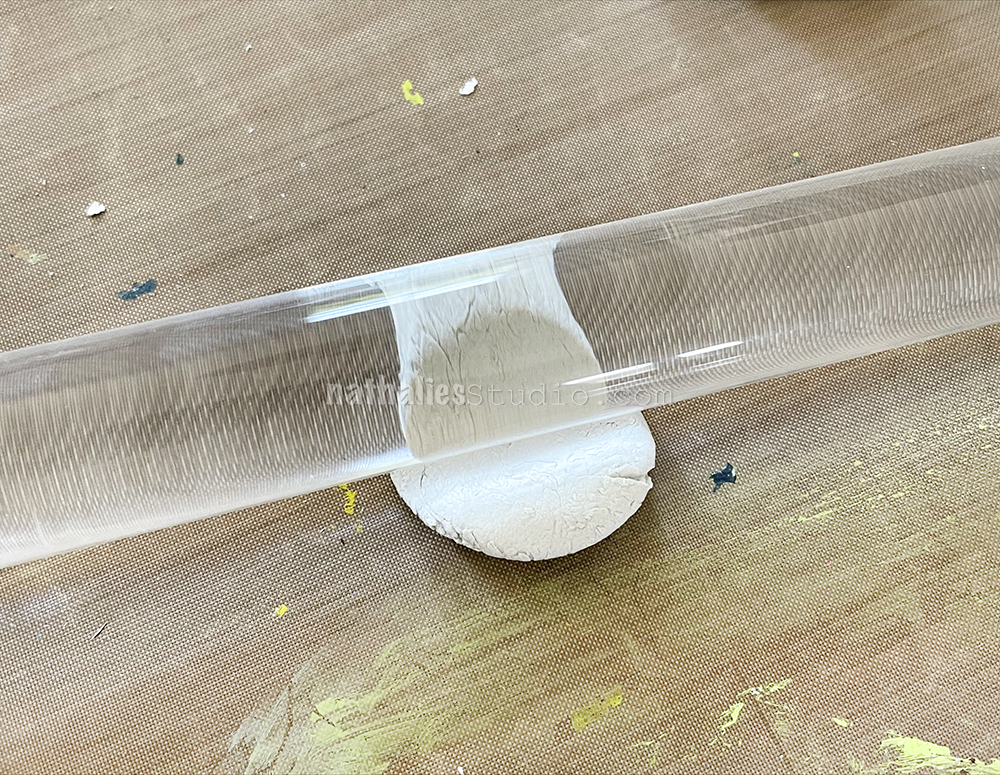
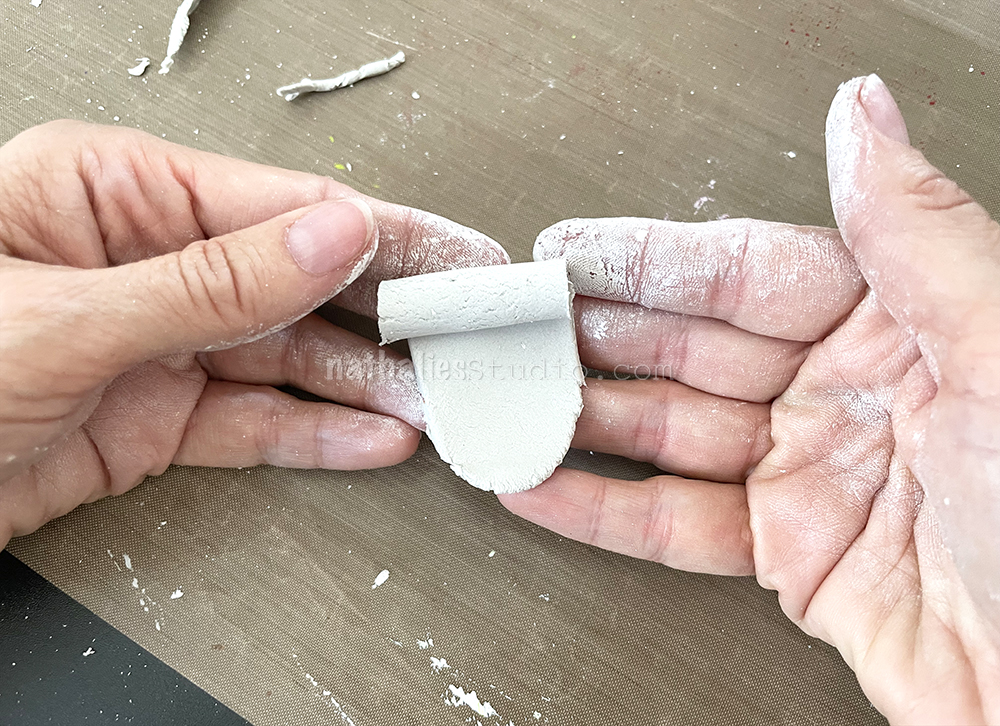
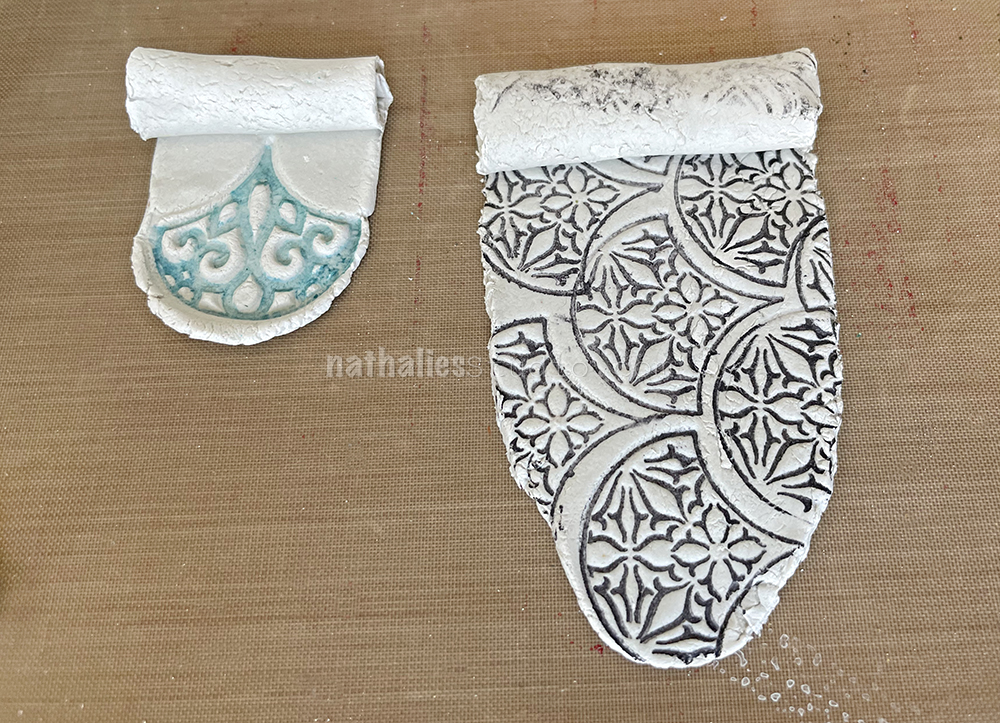
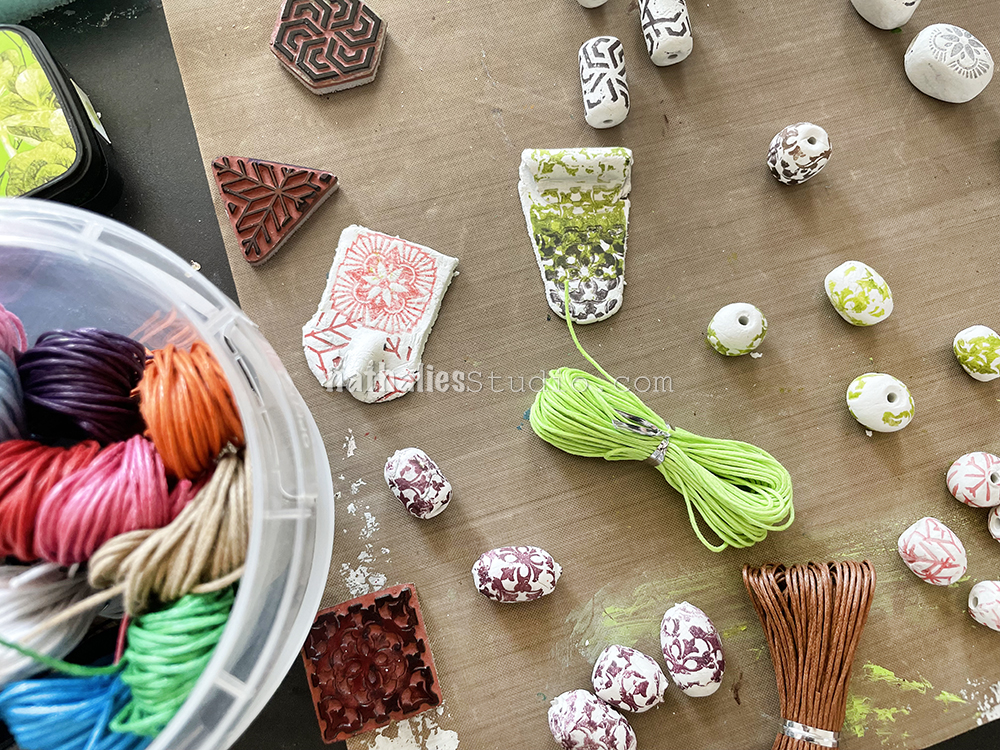
We also experimented with rolling out the clay to create larger pendent pieces with a rolled top edge.
This was trickier to do and if your clay dries out, the edges get a bit rough. You could use a clay blade to clean up the edges or a wet finger to smooth things out.
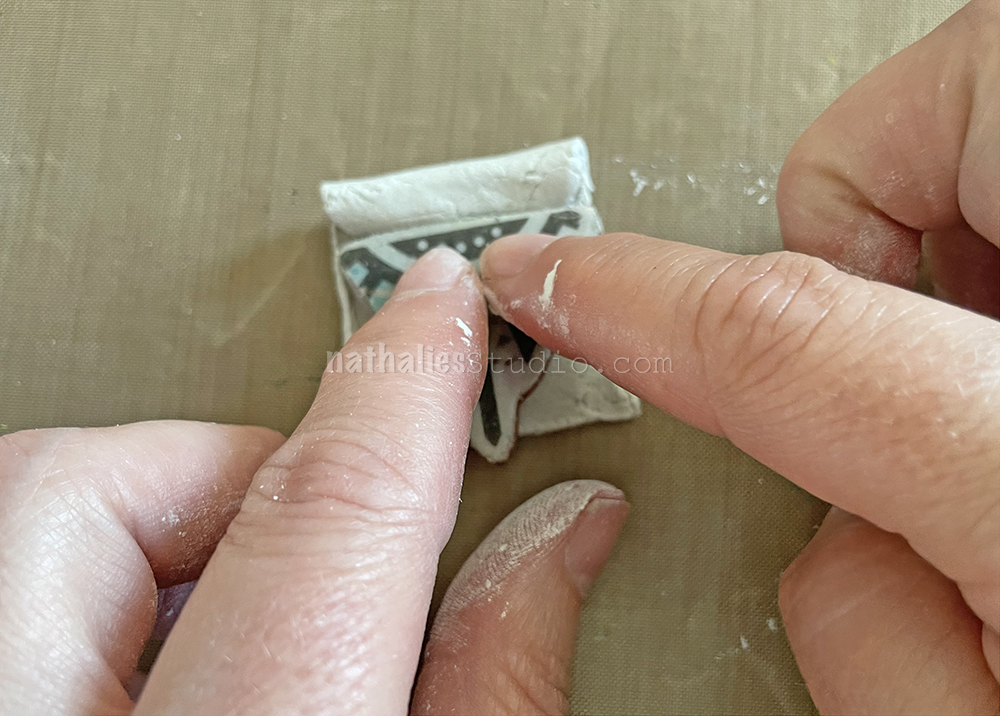
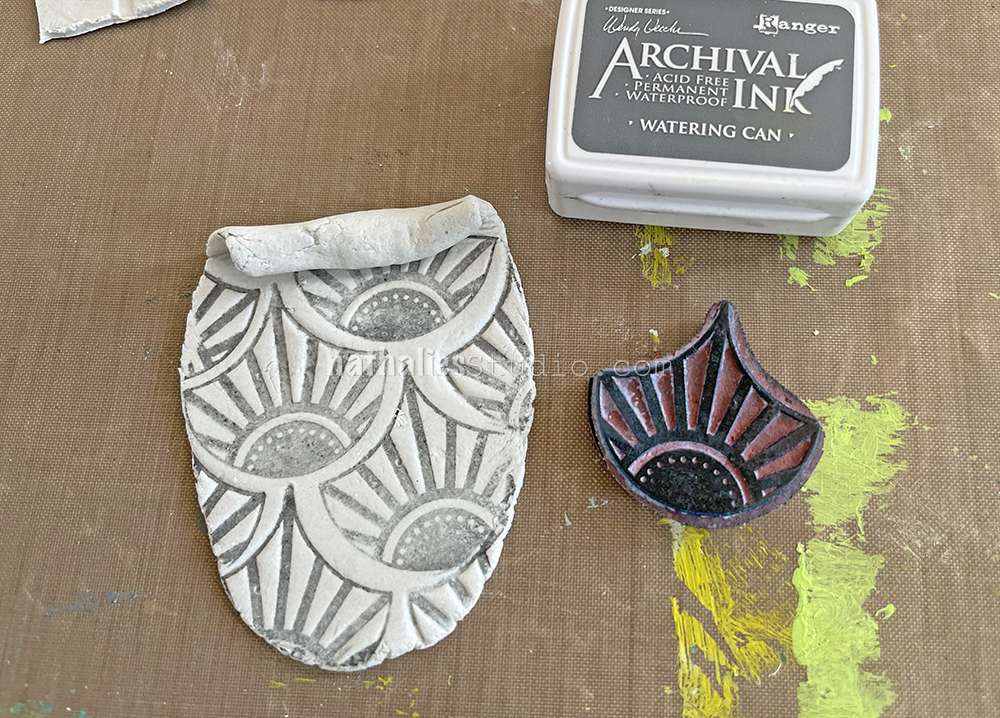
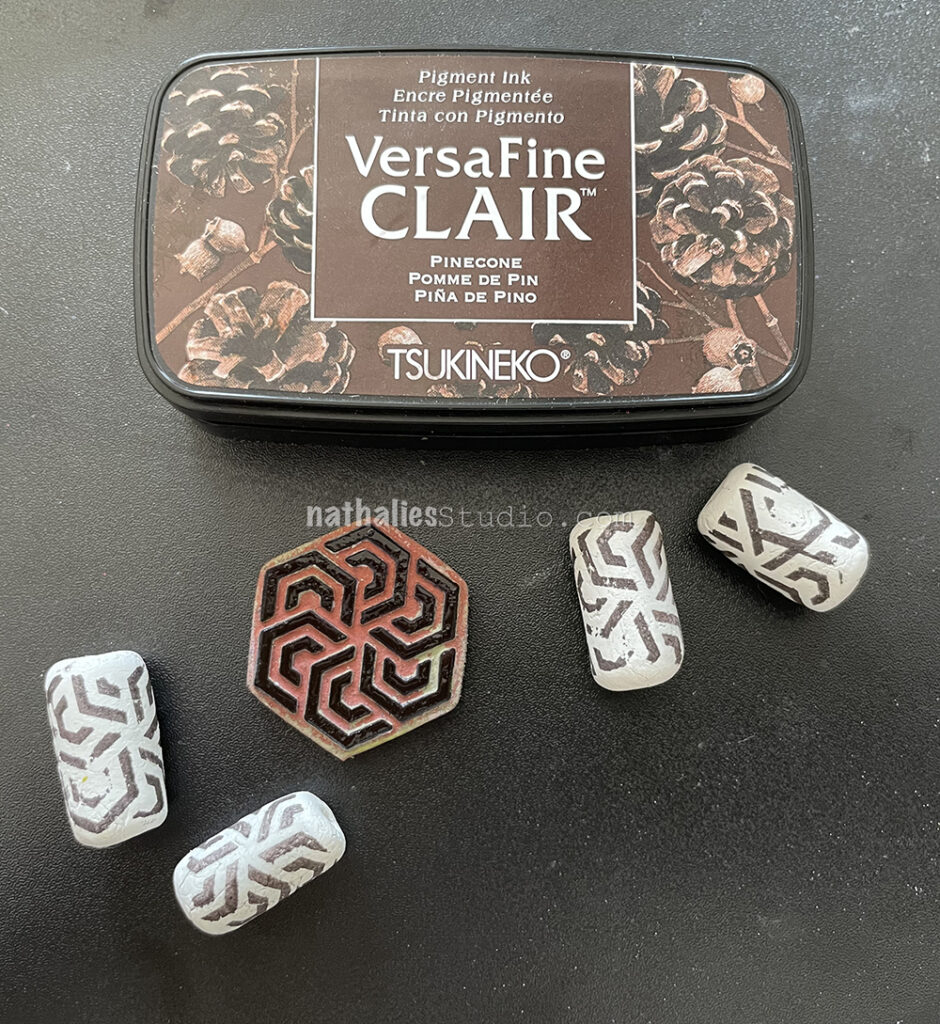
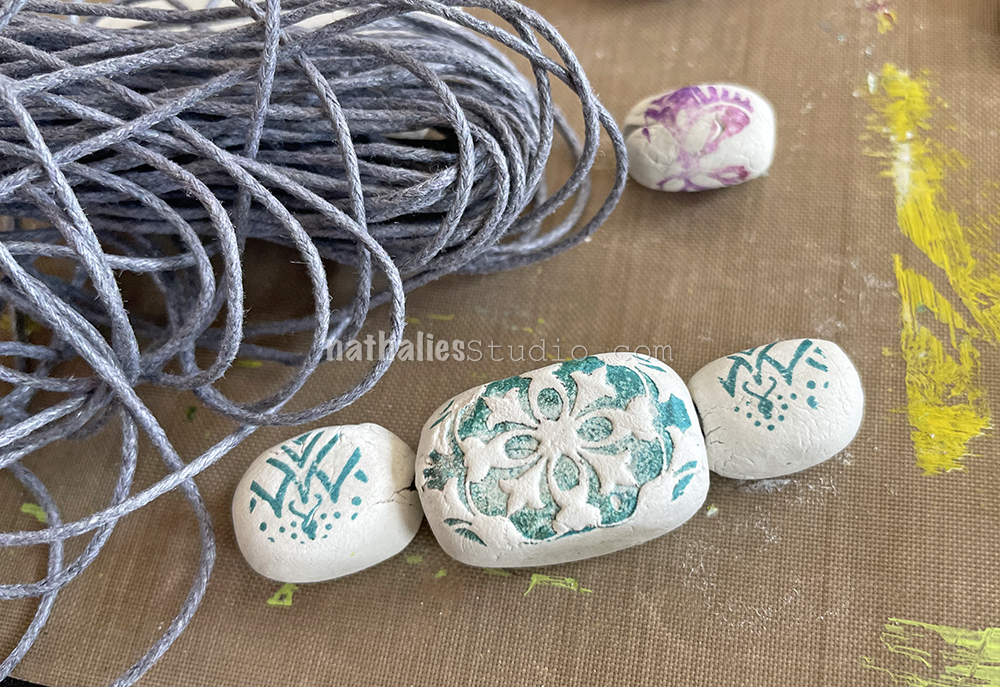
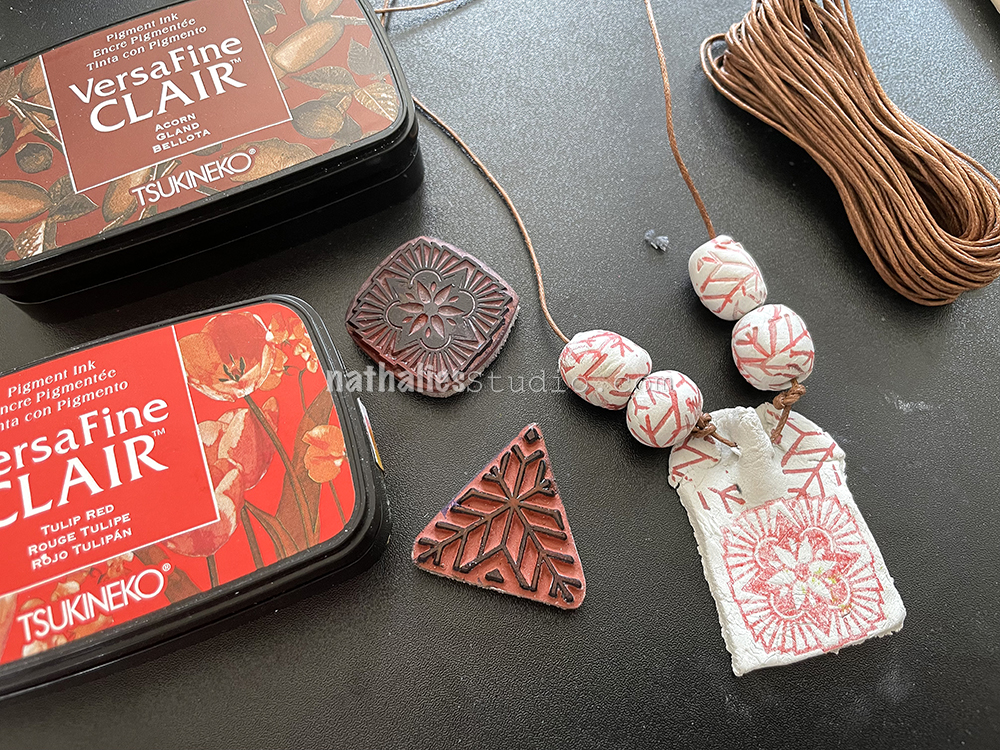
The idea is to create a flat surface to stamp on. We played with both my Triangle Love and Floral Tile Small stamp sets and used both Archival and Versafine Clair ink pads. You want an ink that dries permanent. We stamped into the still pliable clay, creating a small amount of relief too.
You can go pretty big with these and then use a stamp like my Fantastic Small set to tile up an allover design.
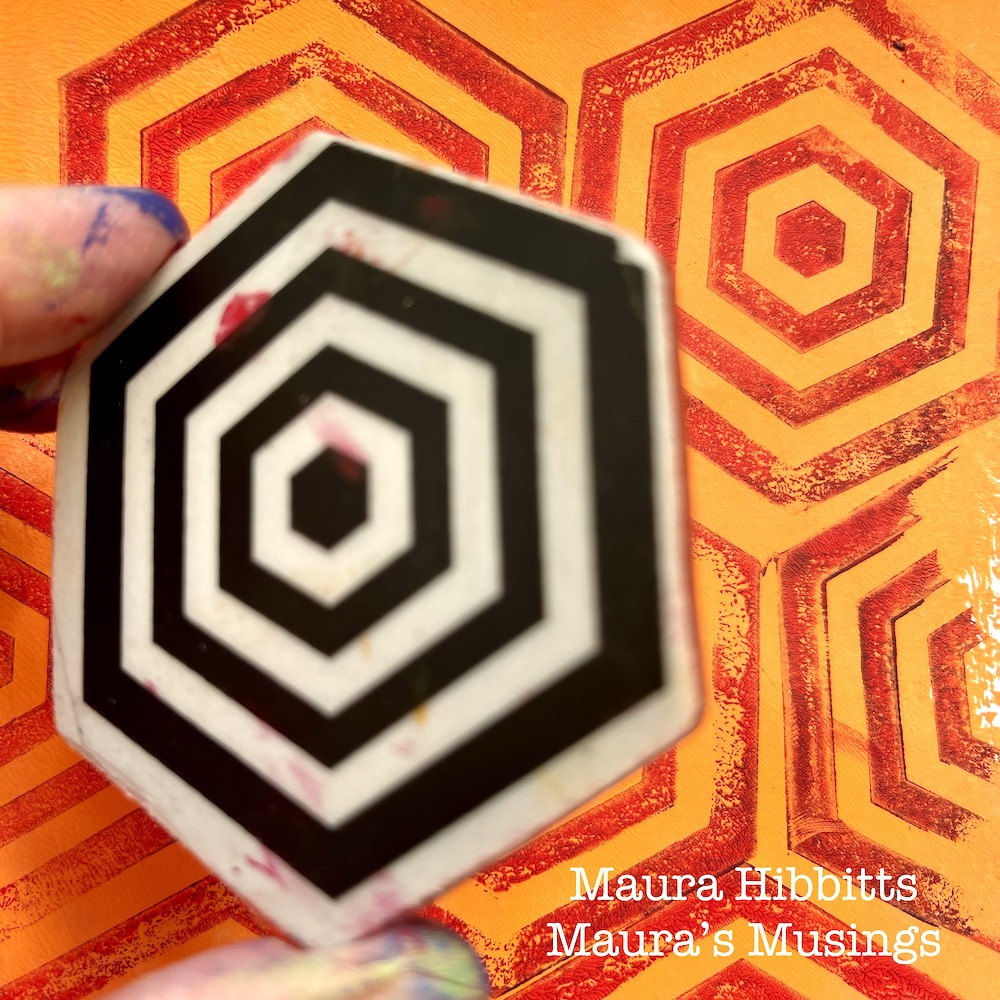
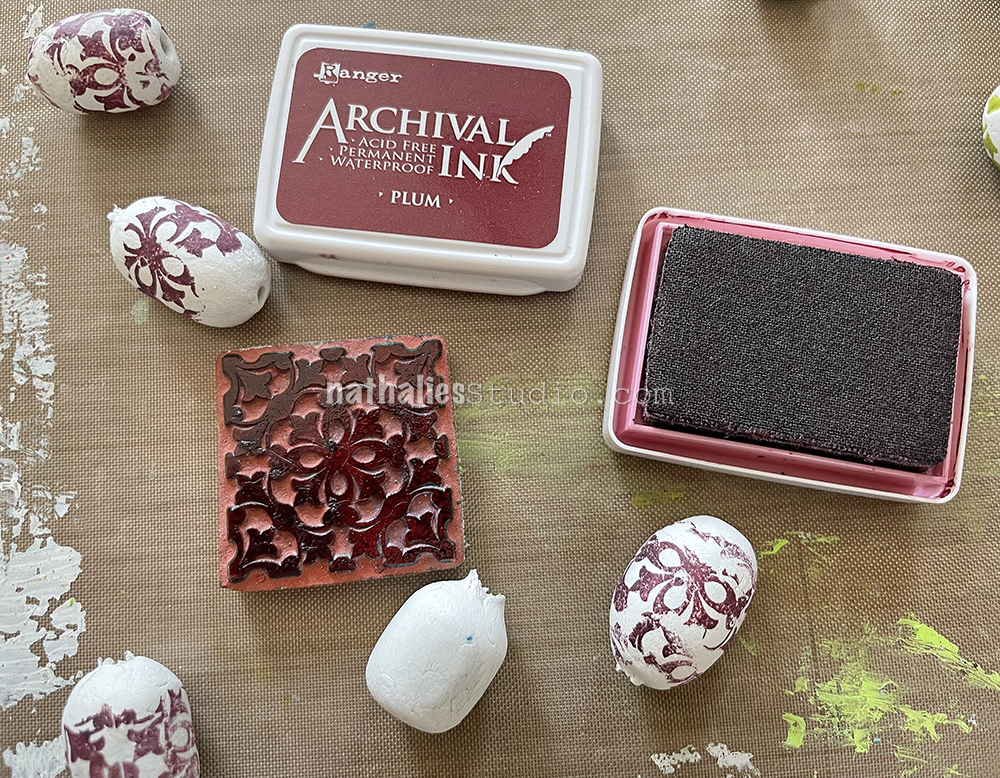
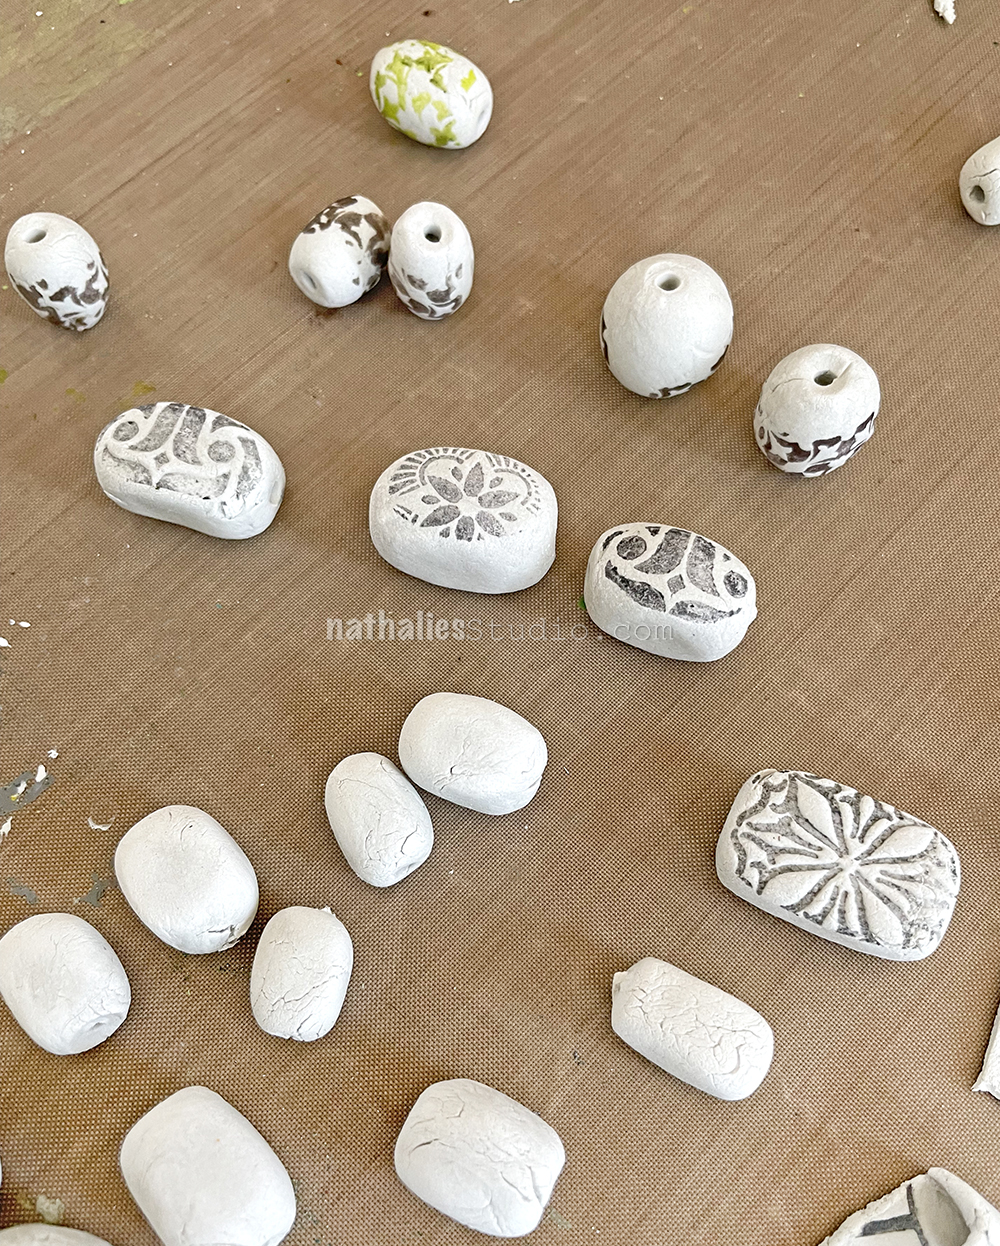
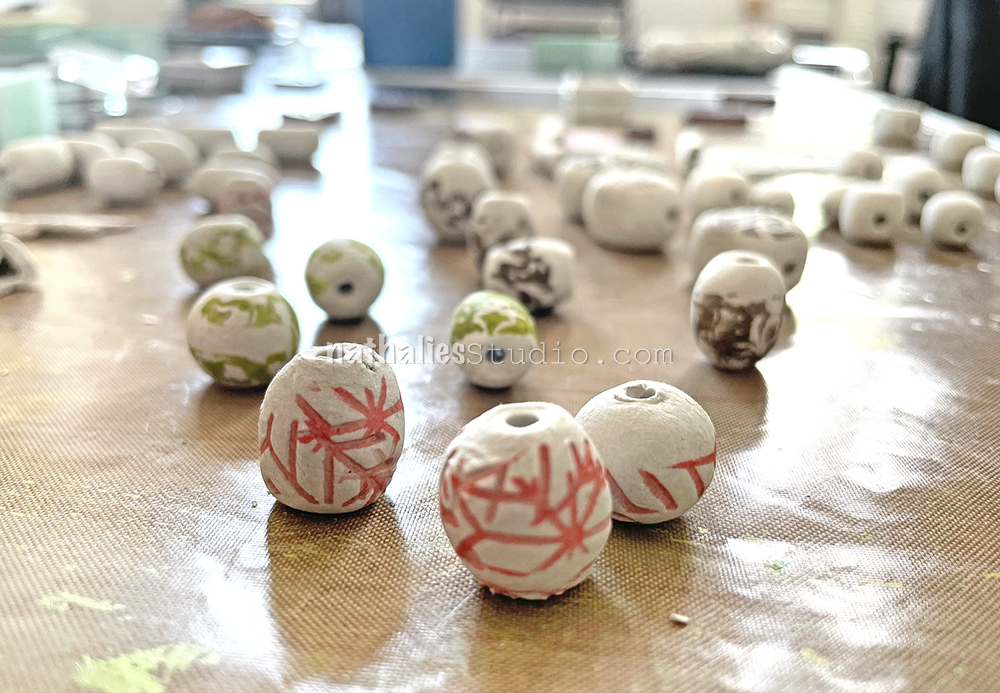
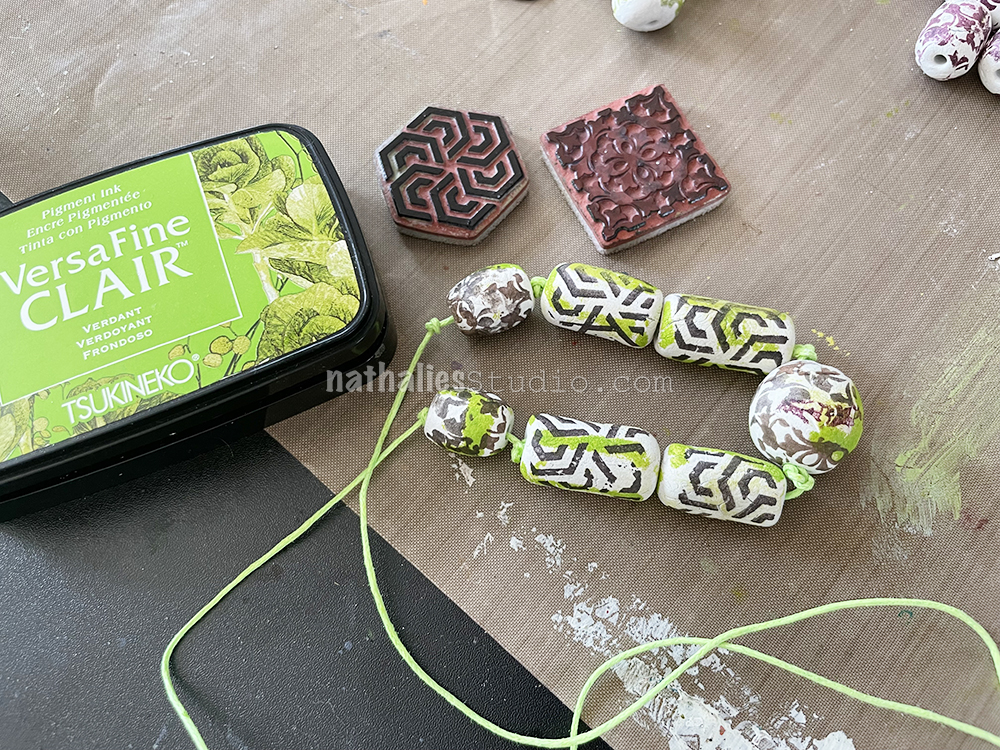
When our plain beads dried, it was time to stamp on them. Barrel shaped beads can just be rolled across an inked stamp. Here a stamp from my Hex Set Small creates a cool geometric feel.
A stamp from my Floral Tile Small set adds a bit of abstract floral design to oval beads. They don’t need to be perfect impressions to create a cool look.
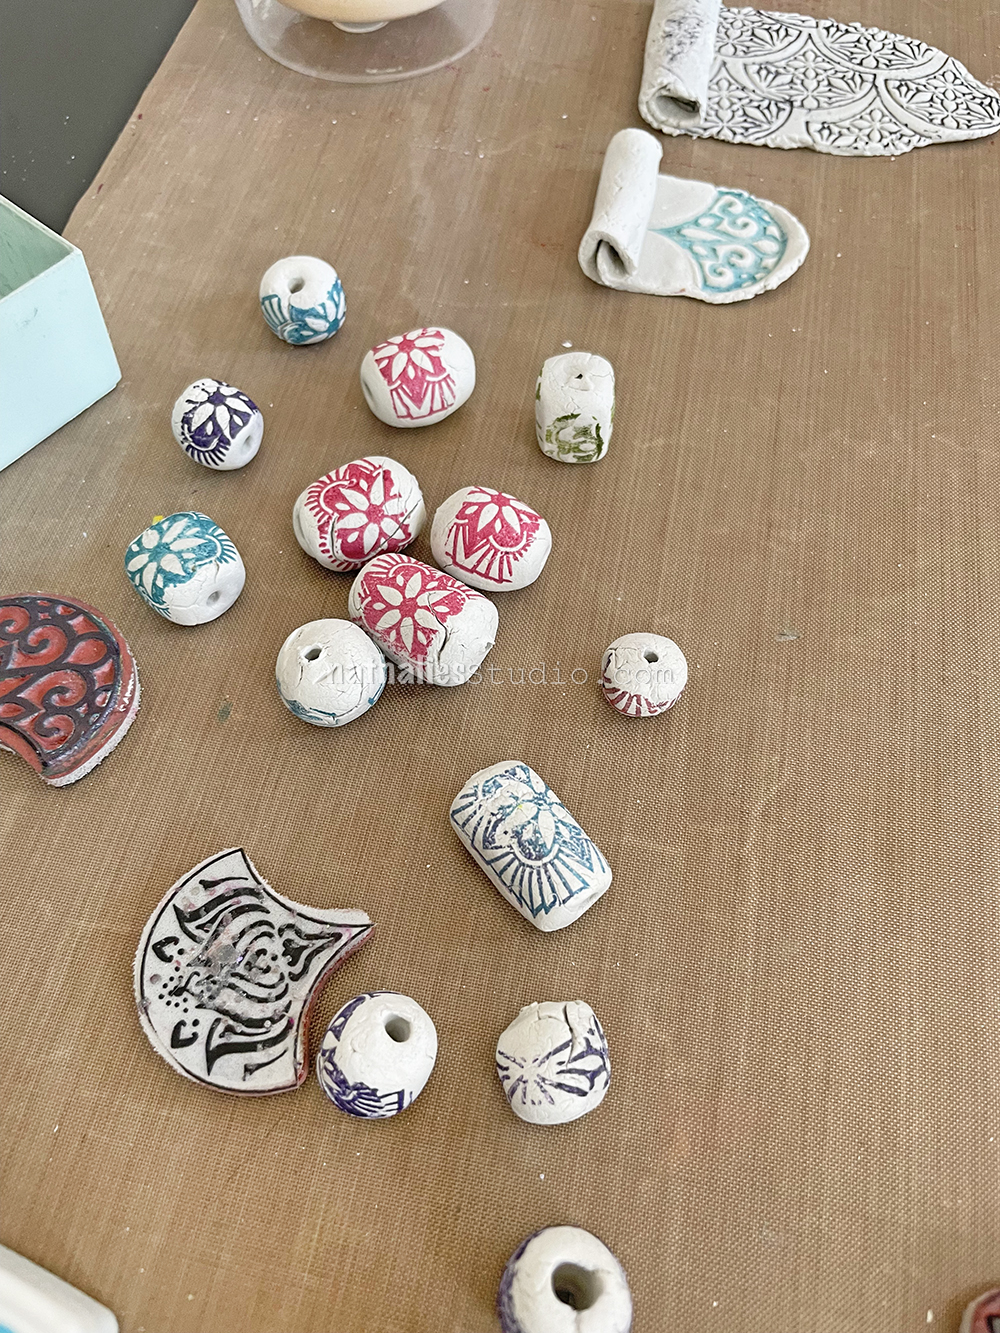
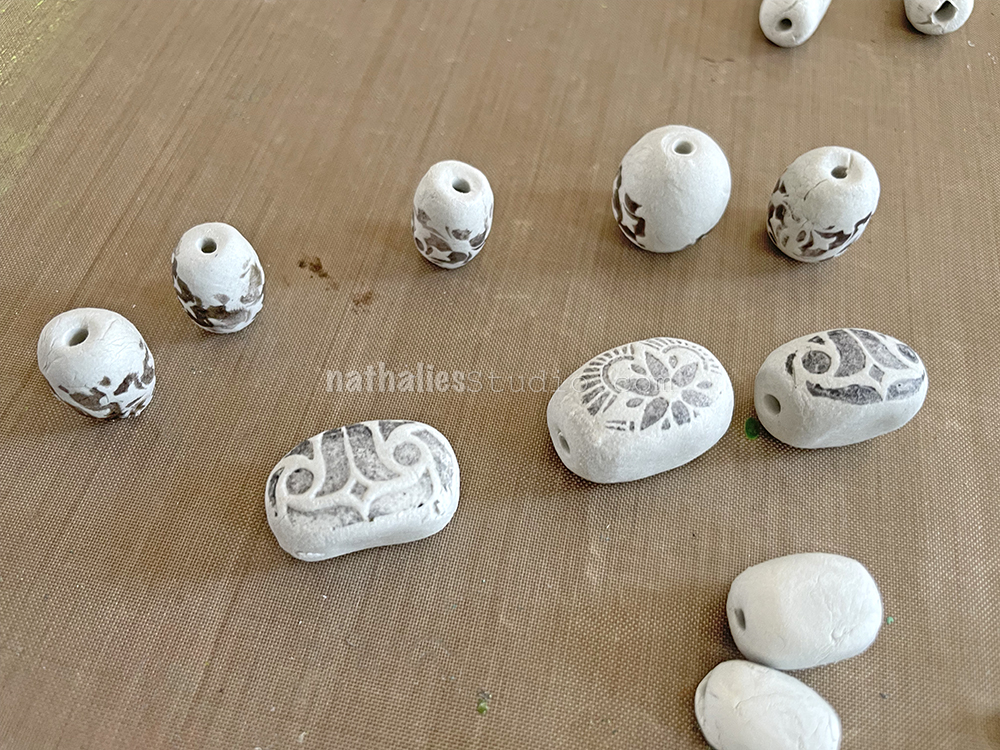
With three people making we created a big variety of beads.
Love all the different color and pattern combinations that each of us chose, whether it was cool gray, shades of brown…
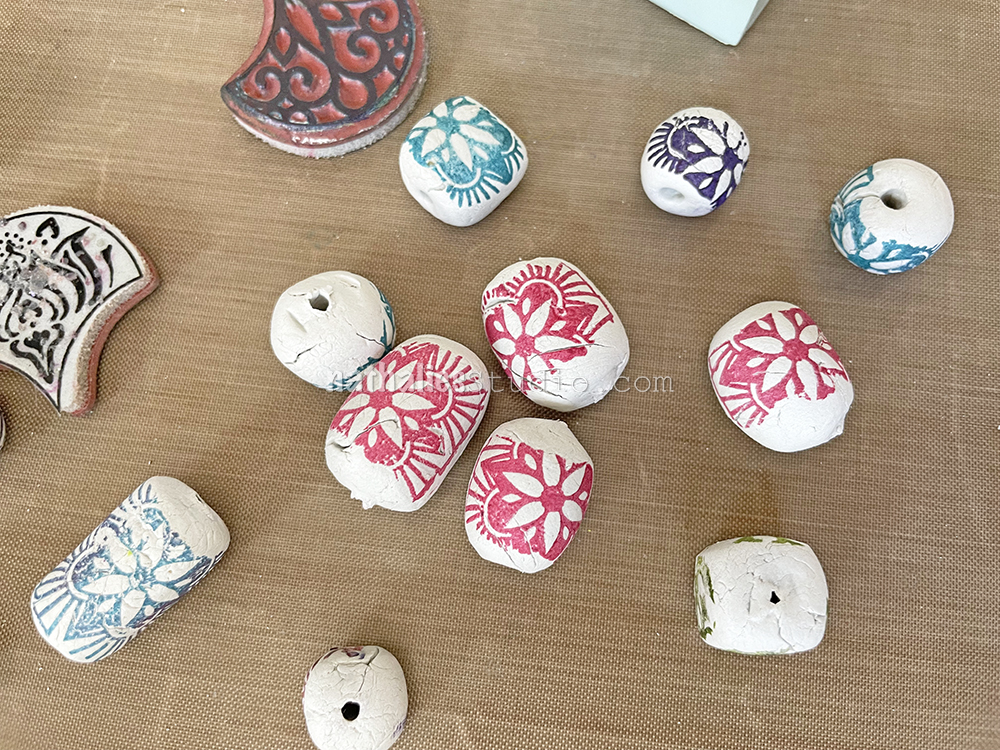
… vermillion and chartreuse…
… and vibrant pinks and blues and violet!
If you have rough spots on your beads, you can sand them with a sanding block for a smooth finish.
Once you’ve decorated your beads, it’s time to think about the next step – stringing them to make a wearable necklace. We got a little tub of colorful waxed cotton jewelry cord so that we had lots of colors to choose from.
When you choose your cord, unwind a longer piece than you think you will possibly need. You may want to tie knots around the individual beads and that will take extra cord. We also planned to slip these over our heads in the end, so allow enough to do that once you’ve tied it.
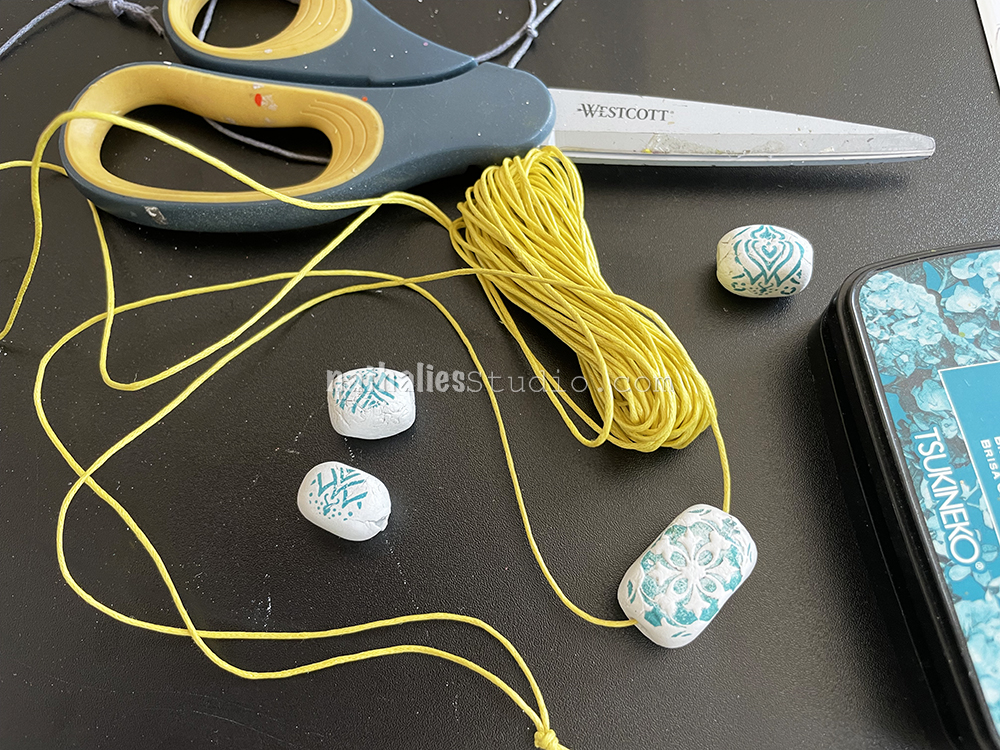
If you’ve made a lot of beads like we did, there are so many ways to combine colors and patterns.
Play around and see what you like. You can always switch things up later if you have extra cord and beads.
And if you still need a bit more color in there, don’t be afraid to use the ink pads to add a little more color here and there.
This was a really great play date to do with a group of friends. It was fairly easy to create some striking designs and everyone went home with a wearable creation.
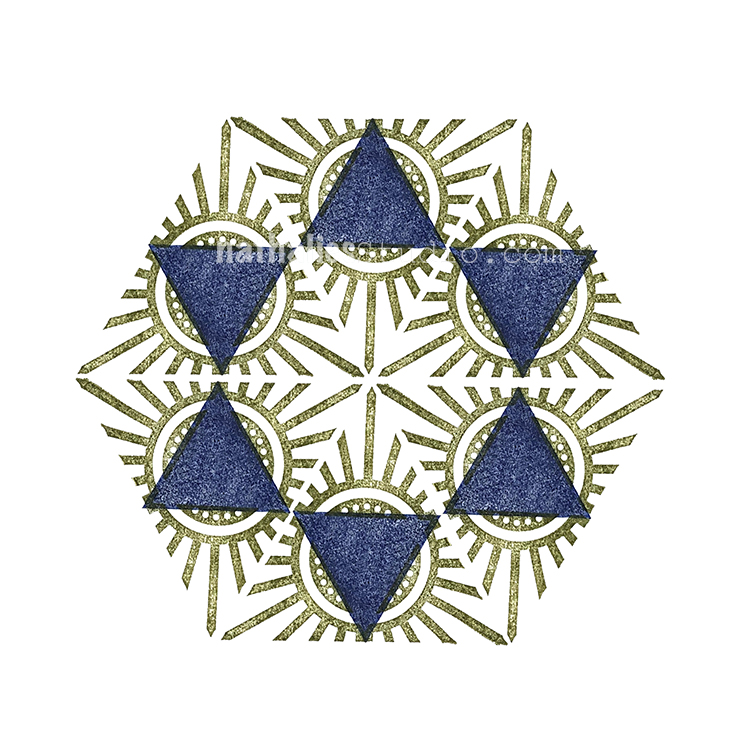
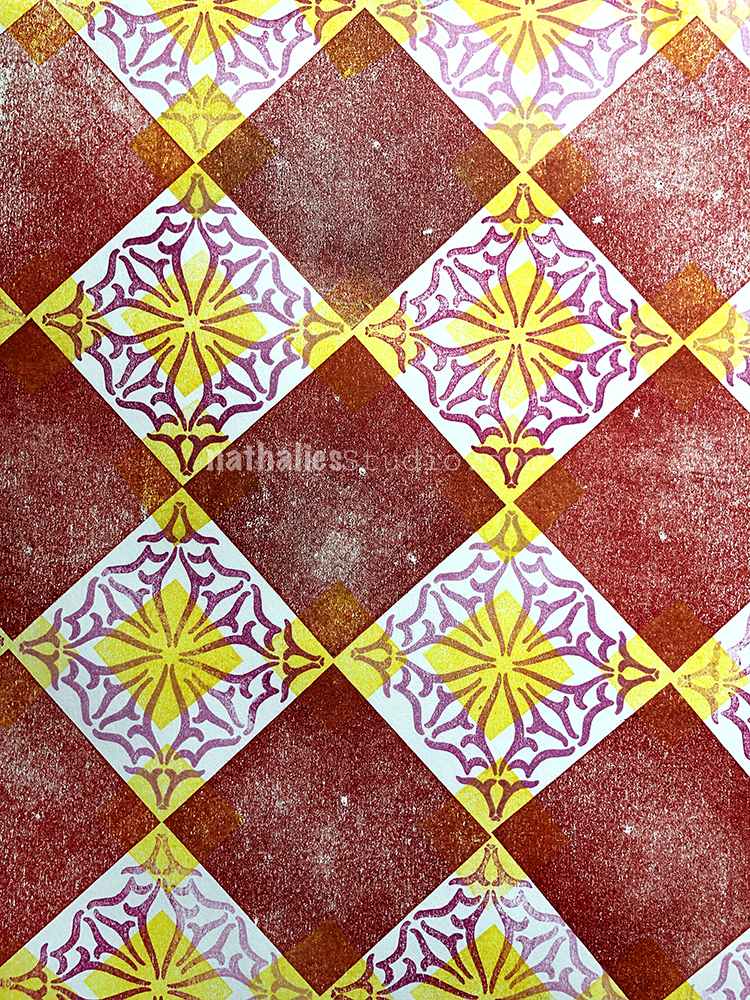
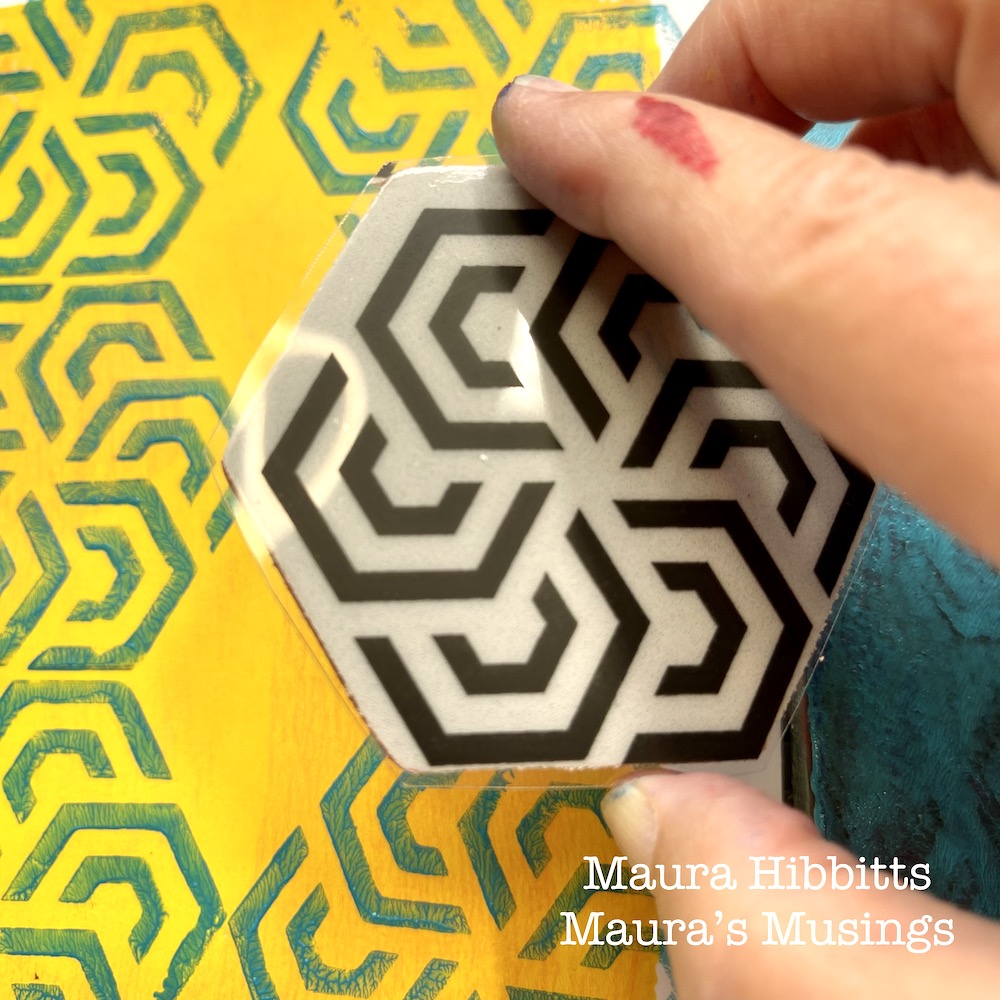
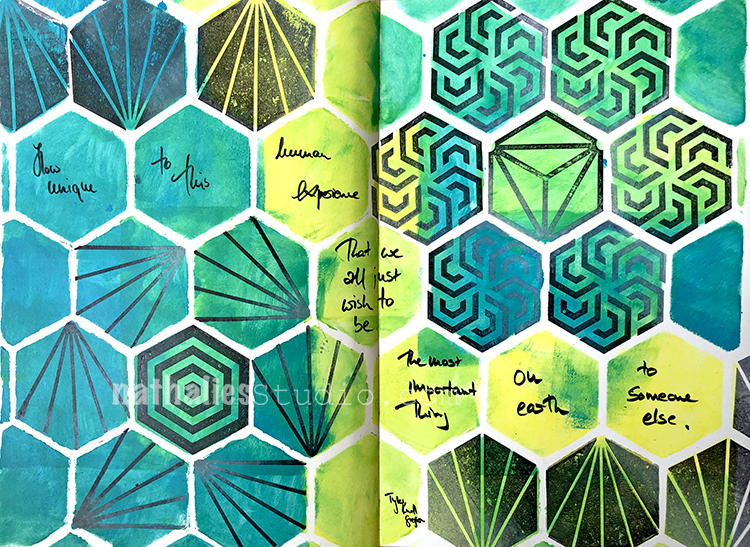
Calling all Pattern Lovers! One of my favorite ways to experiment with creating patterns is to reach for my Hex Set Large rubber stamp set. Just like a tile floor, all the stamps work together to create a field of yummy pattern goodness. There are too many possibilities to count and let’s face it, math isn’t why we’re here. Trust me: Hex Set is gonna rock your world in terms of pattern making :)
Backgrounds are a breeze and also just really meditative to create. Grab a stamp (or 2 or 3) and a couple different colors of ink and begin building your page. When you have everything covered, go back in and fill with acrylic markers or your current fav media to oomph things up. Collage on top and journal in the nooks and crannies. This art journal page is pretty bold but you could also do something similar in muted or pastel colors for something that blends away a bit more and doesn’t take center stage.
I love playing with the rotation of some of these hex designs. That creates even more possibilities and can give your spread some movement too. In this art journal spread I flipped and rotated the orientation of the Positive and Negative Beacon stamps in the set.
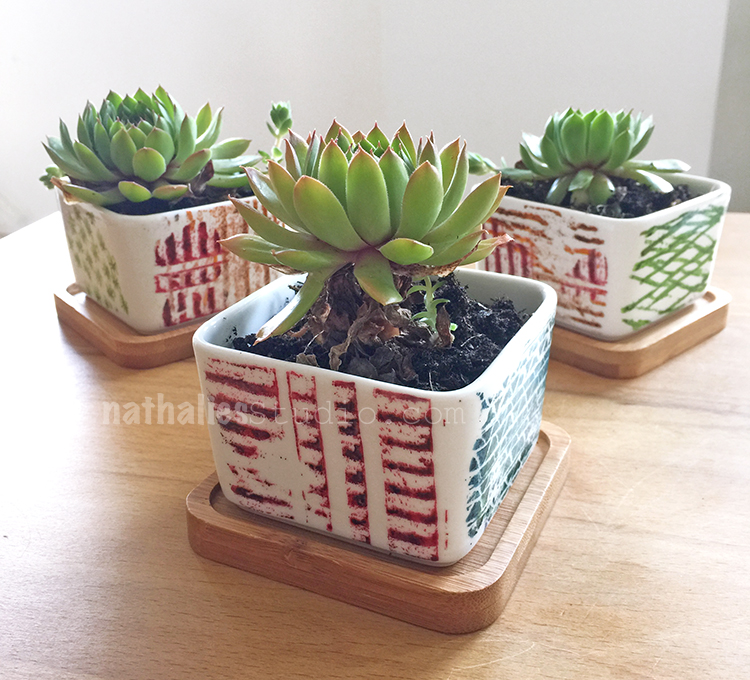
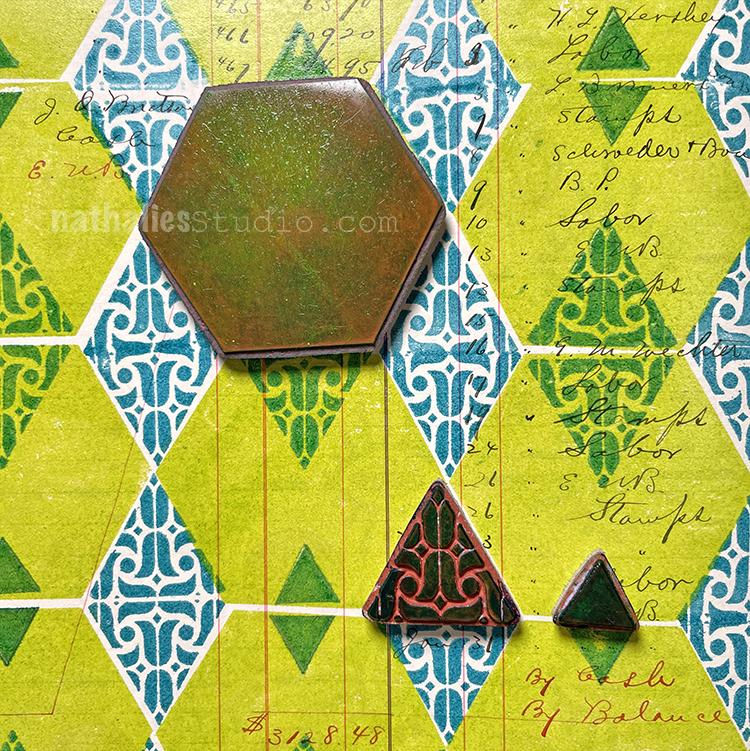
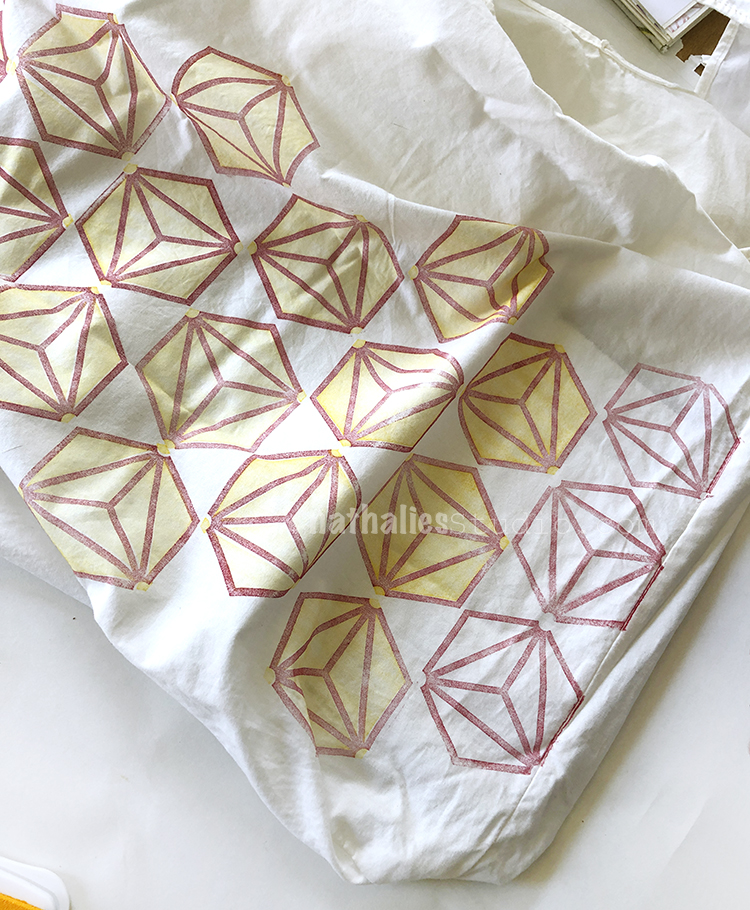
Looking for an easy way to layer color under the stamps while maintaining the hex vibe? Try the Solid Hex Large stamp – it is designed to work with the set and layer. In the project above we used fabric ink and stamped on reusable shopping bags, first the solid in yellow and then one from the set in red.
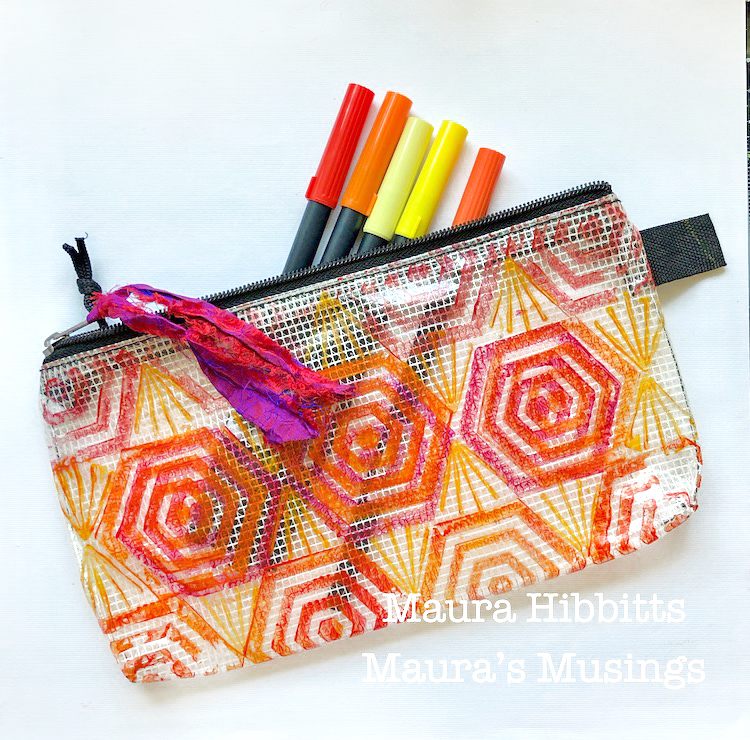
Repeating patterns work really well anywhere where you might find fabric, like here in this Creative Squad project from Maura. She uses the Hex Set Large and Hex Set Small rubber stamps to personalize a pencil pouch. I love the hot colors in this and the simple variation in them. I also love that the triangle created between the hex shapes is the perfect size for that Hex Set Small Beacon stamp.
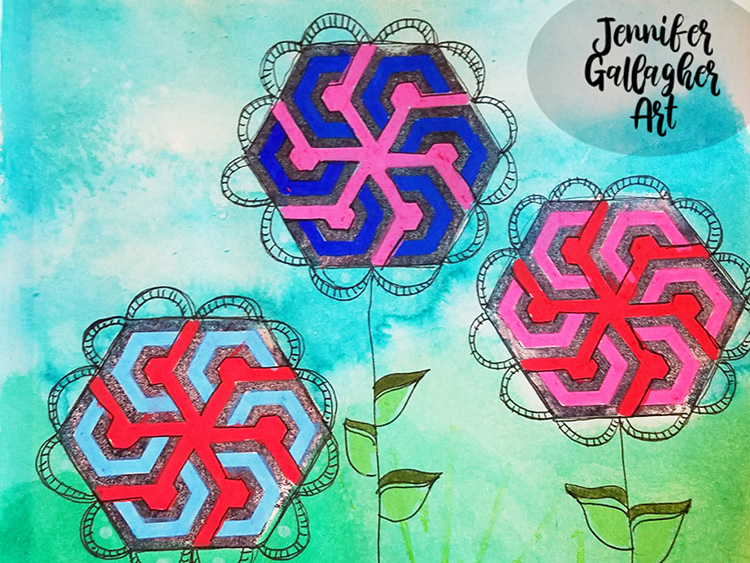
What else do you see in these stamp designs? How about flowers like Creative Squad alum Jennifer does in this post? I always get excited when someone takes one of my stamps and uses it in a new way and this is a great example. Sure it’s a hex, but it could be a flower or a wheel or the sun or whatever your imagination sees :)
Have fun with it!
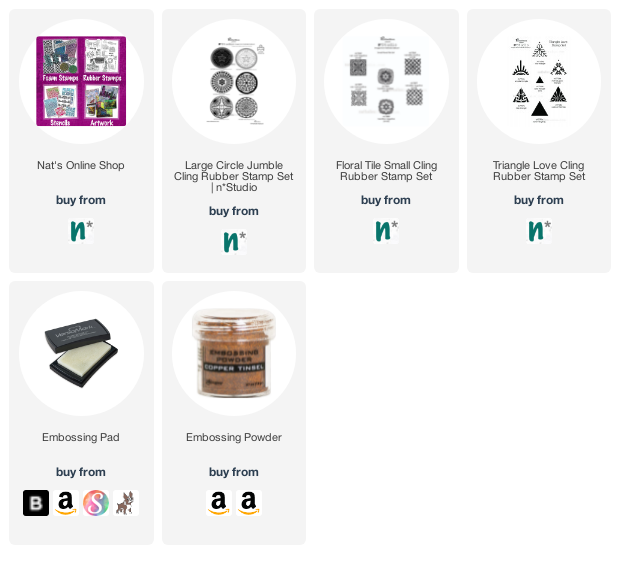
Here are some of the supplies used in these projects:
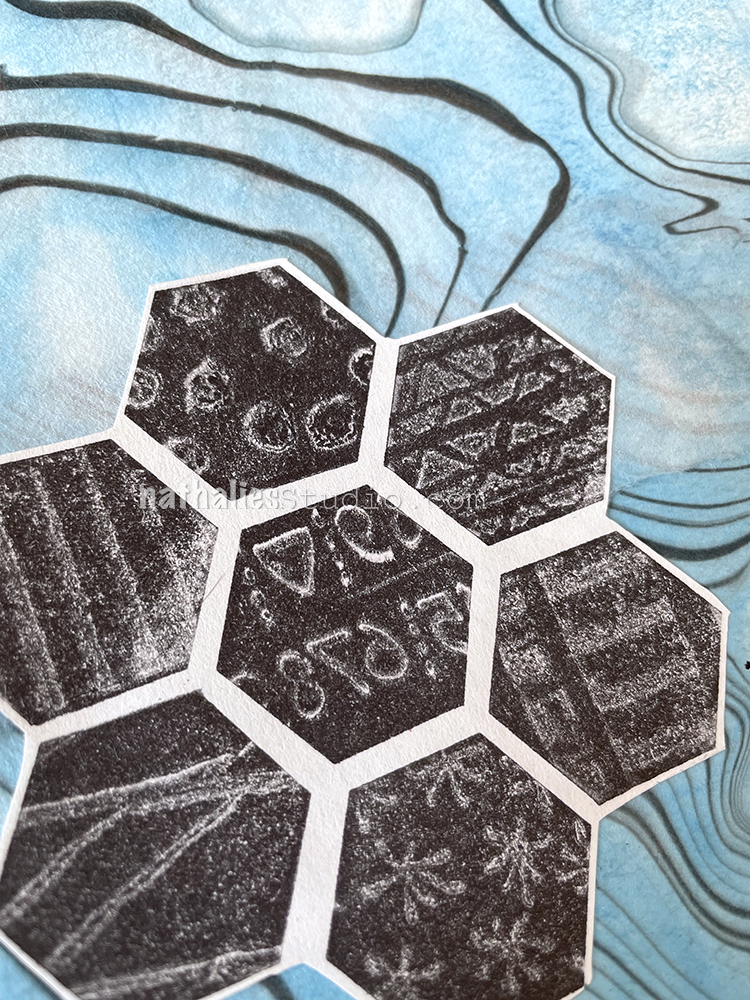
Put a Circle on It! I don’t know why circles are such a pleasing design element but I definitely gravitate towards them. Maybe it’s just something in our makeup as humans that we like these focused, round shapes that remind us of the Sun and our moon, many things in nature, and are without harsh pointy corners. Who knows. But what I do know is they make excellent focal points in an art journal or on a canvas and they have a ton of innate appeal. That’s one reason I designed my Circle Jumble rubber stamp set – I wanted some nice circle options to go to again and again :)
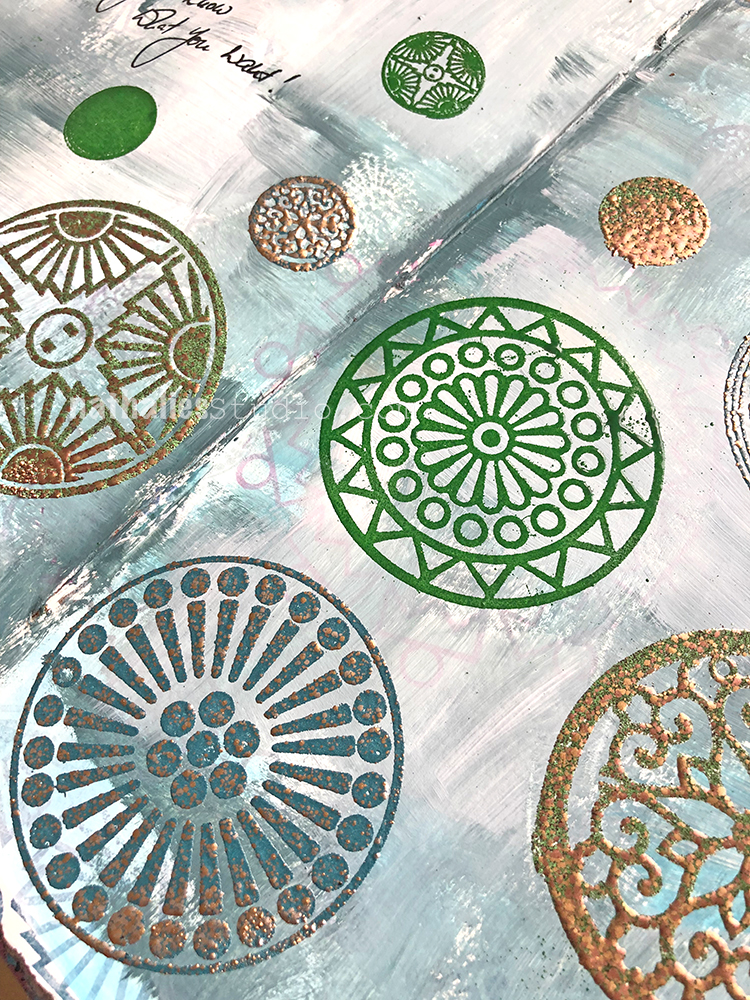
I used the stamps with chunky embossing powder in this spread. Don’t you just want to touch them? It’s like the embossing emphasizes the roundness and that is even better!
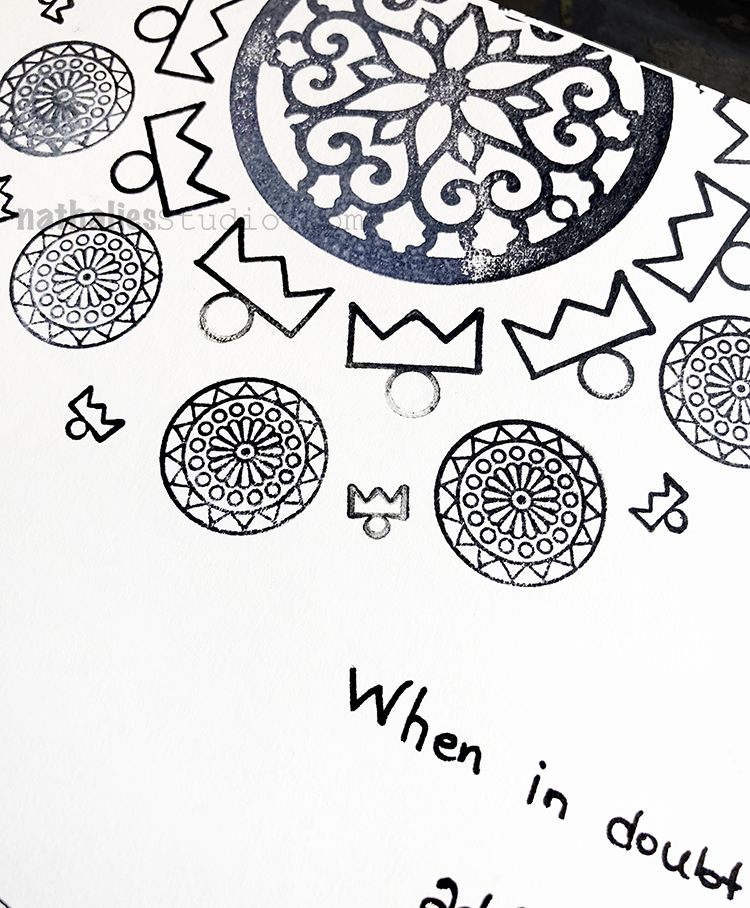
Circles are so harmonious… and they play so well with other shapes and are an excellent building block to patterns. In this art journal page I used those Large Circle Jumble stamps with triangles and squares and it all just fits and makes me happy.
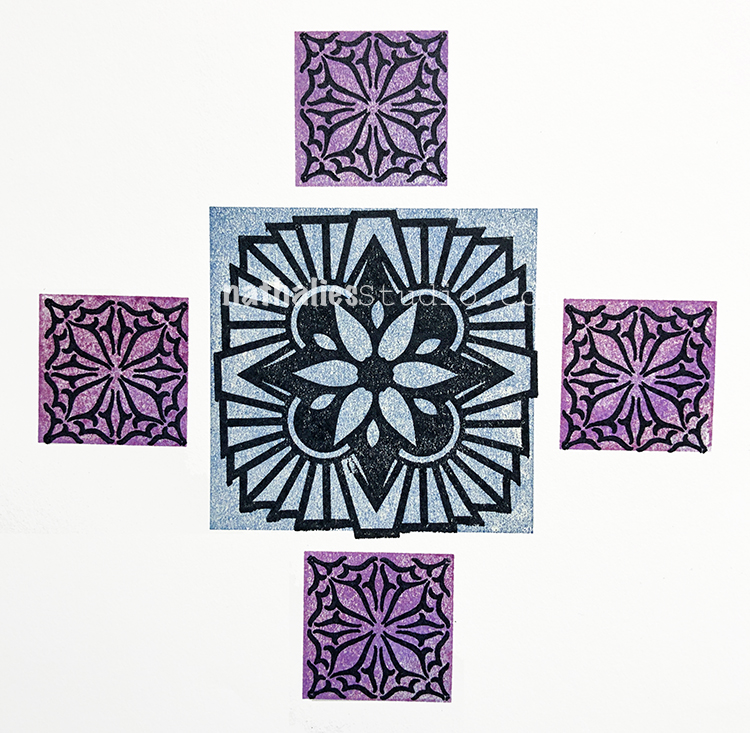
When in doubt… start with a circle! Here I used them as the center of a mandala. All the Circle Jumble stamps have a central focal point that everything can radiate out from.
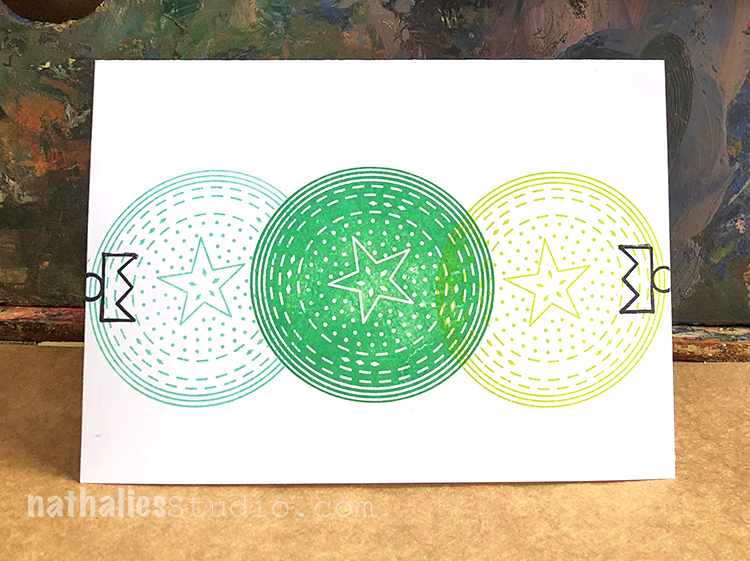
You can also keep it simple with circles. Just a few on a card and you have a pleasing design scheme. This stamp set has a positive/negative pair in it too – looks great playing off one another.
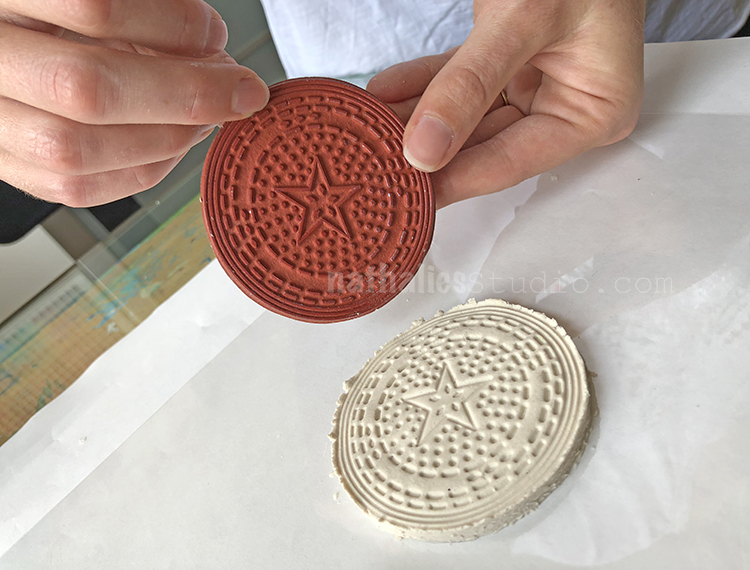
Put a Circle on It! Get your hands dirty (maybe with some paper clay even!) and bask in the harmony of the circle – the Circle Jumble ;)
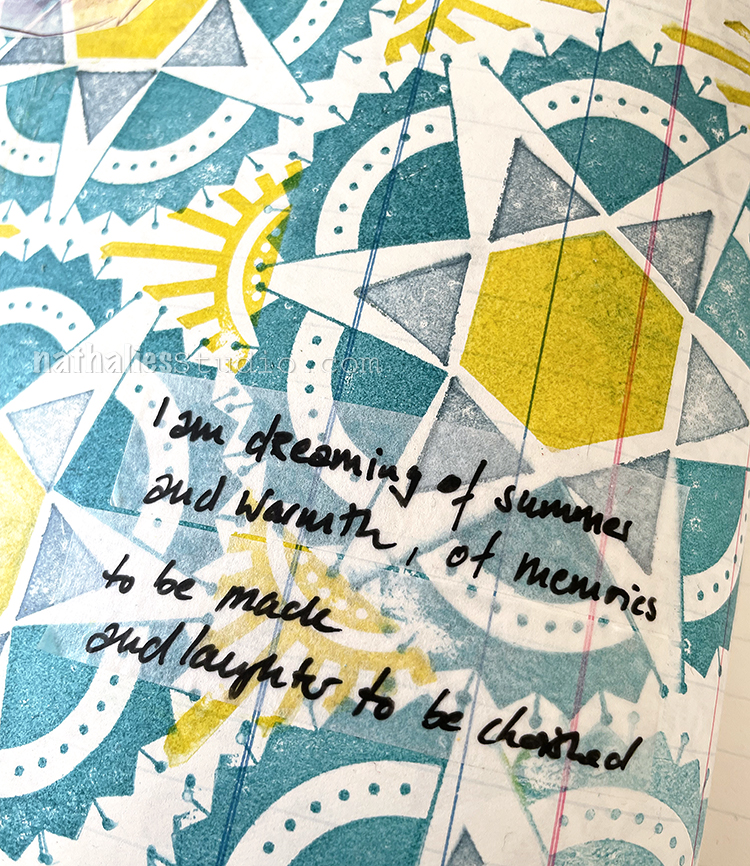
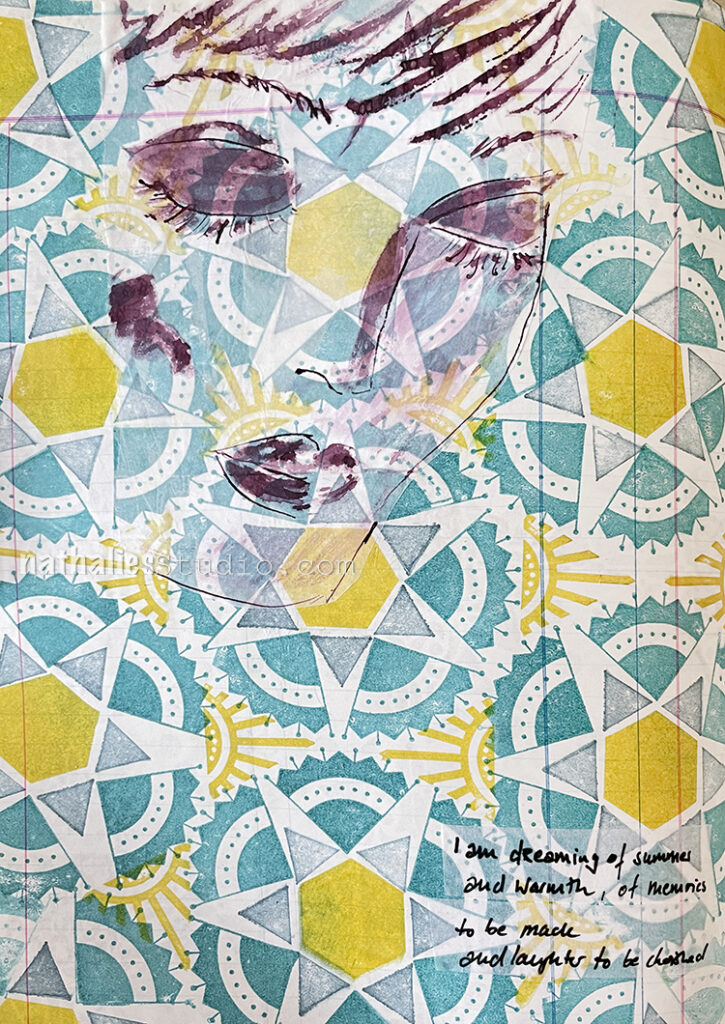
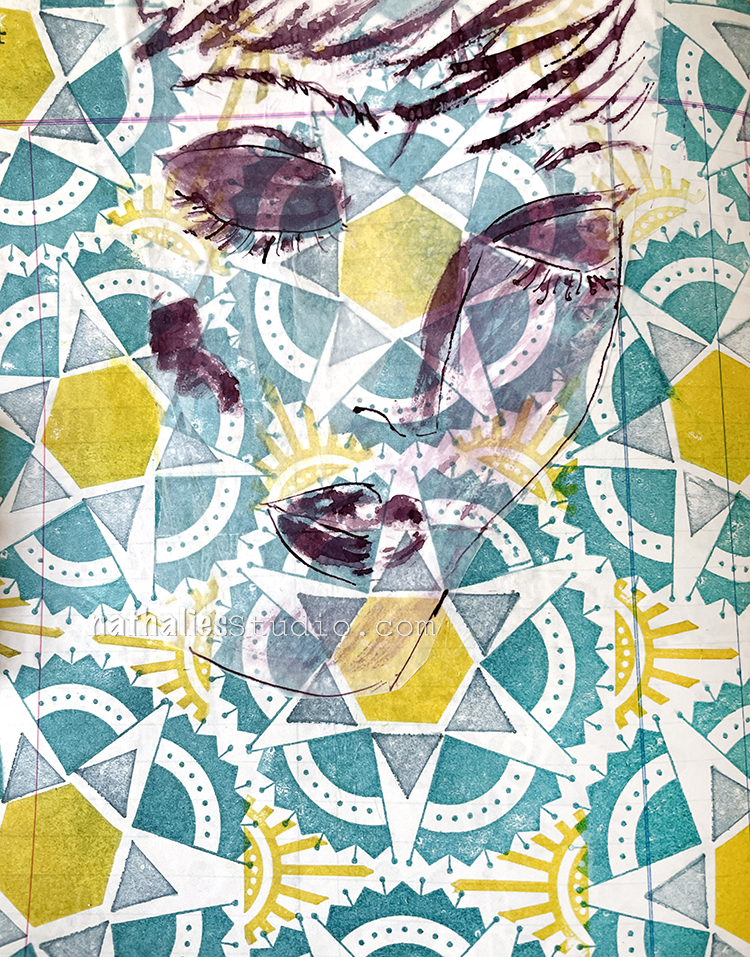
I was really dreaming of summer while I played with this page in my art journal, right as we had another cold spell here.
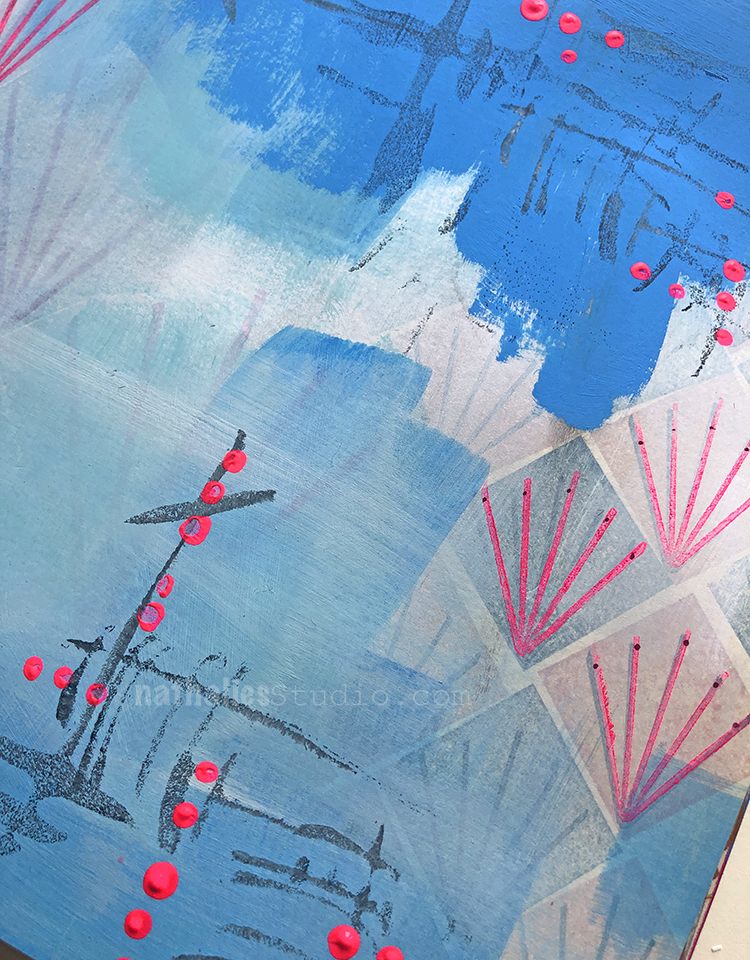
I enjoyed having a little pattern play with some stamps from my Triangle Love set, my Mini Motifs set, and the Solid Hex Small rubber stamp too. Isn’t it fun to see how they all fit together? I used Versafine ink pads for the stamping.
My journaling was done on some blank, transparent washi tape that I just love – but still don’t remember where I got it.
I drew the face with a bamboo sketching pen (a favorite drawing tool of mine) and acrylic ink on deli paper. I adhered the sketch with fluid matte medium and really let the pattern shine through.
Hello from my Creative Squad! Today we have a post from Jordan Hill who is sharing with us a couple of lovely cards using my Triangle Love and #keepyouposted rubber stamps, with our very appropriate November theme in mind: Gratitude is my Attitude – This month we are playing along with the November ArtCollab: Showing Gratitude – and specifically giving thanks to those who have helped us along the way in our artistic journey. Who was crucial in helping you become the artist you are today? Let’s give these amazing souls a shout out!
Hey everyone! I’m excited to be back with a new project for the month of November. The first thing that came to mind when I heard this month’s theme of “Gratitude is my Attitude” was greeting cards! They are a great way to show you’re thinking of someone, and making that card handmade always adds a little extra touch.
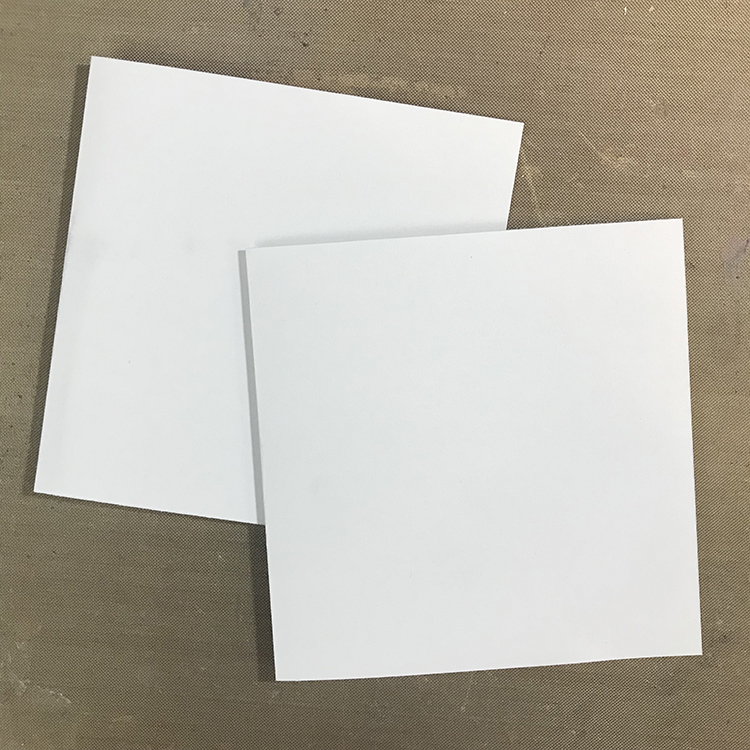
I started out my greeting cards by cutting down a piece of white card stock to 4.25″x8.5″. I chose this size because it allowed me to cut two cards from an 8.5″x11″ sheet of card stock with next to no leftover (only the 2.5″ strip at the end). Once my card stock had been cut to size, I folded the pieces in half to create two square cards.
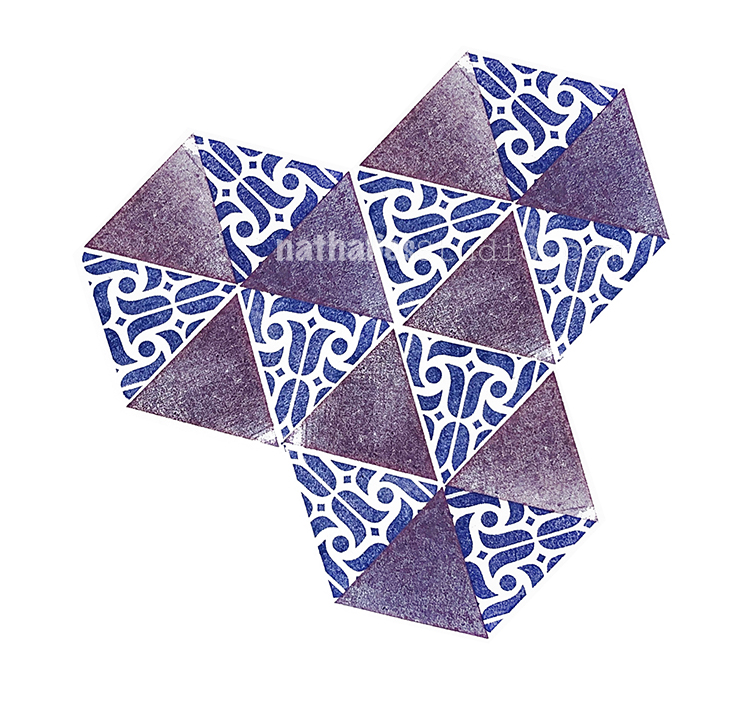
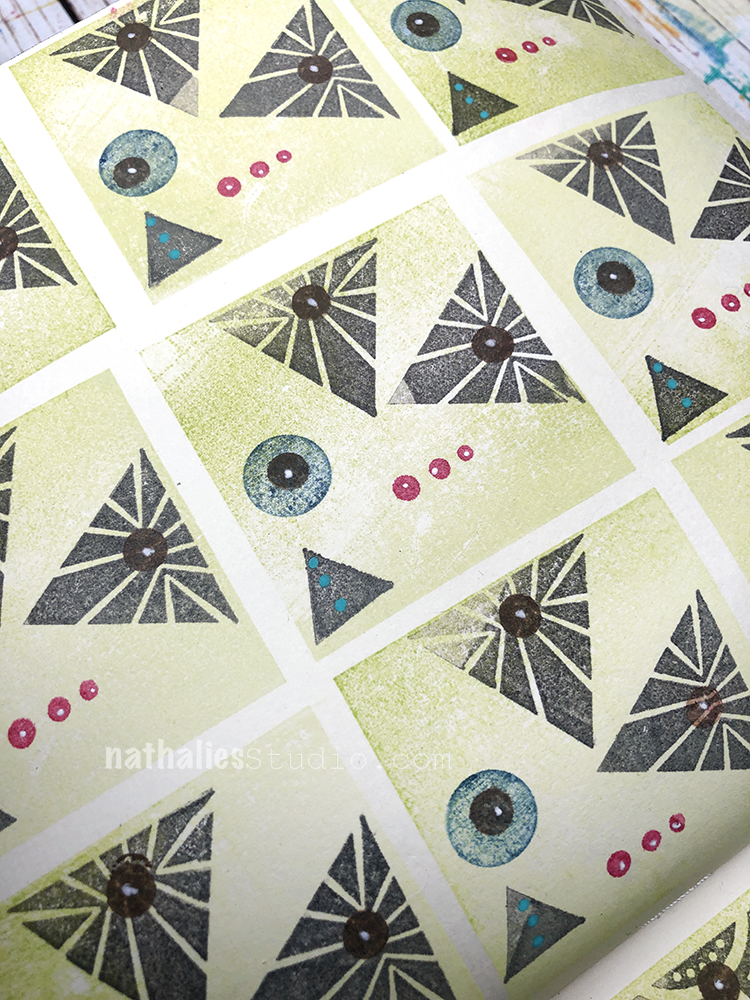
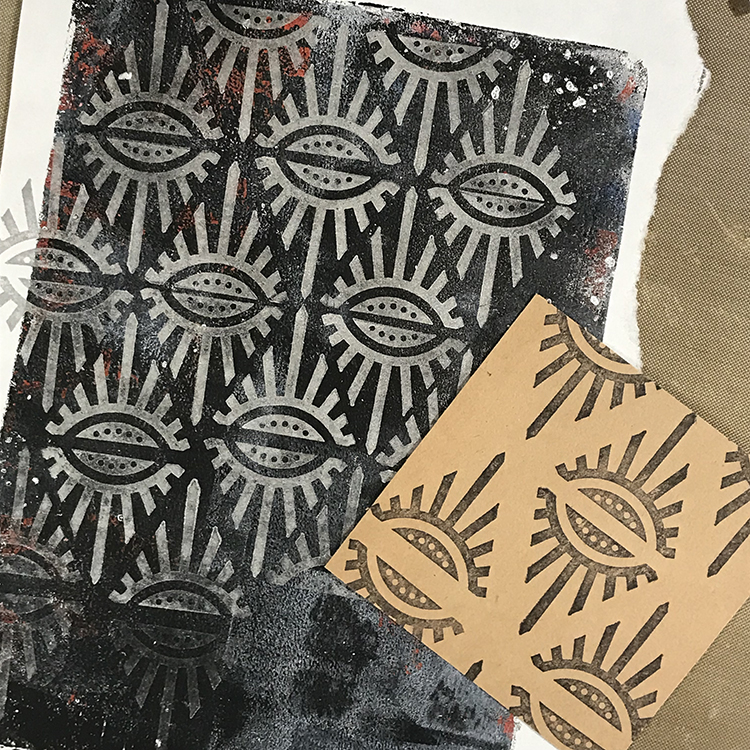
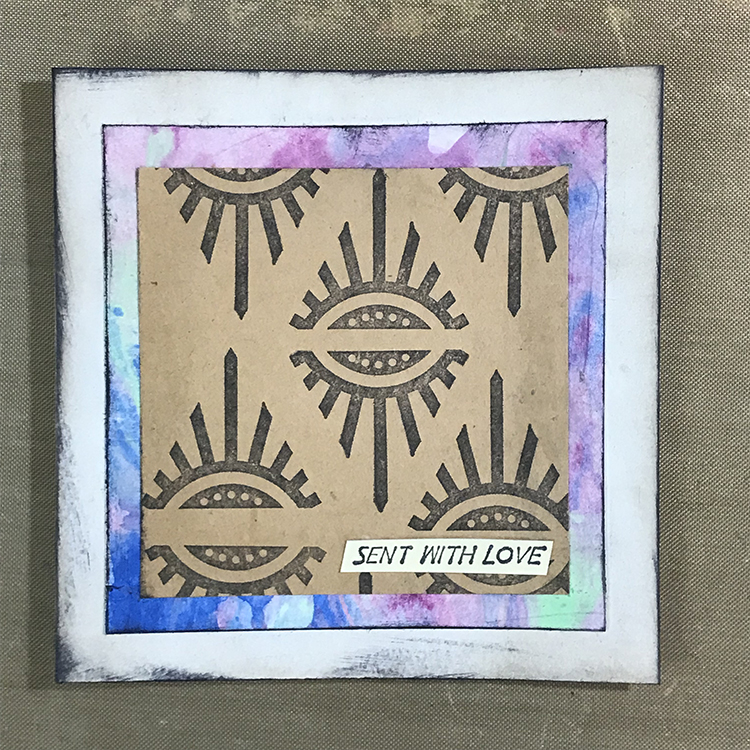
Next, I selected a few scraps of paper and using Nathalie’s Empire Triangle stamp, I created a repeating pattern across them. For the lighter piece I used black ink and for the darker piece I used a silver pigment ink. These triangle stamps fit together nicely to create patterns!
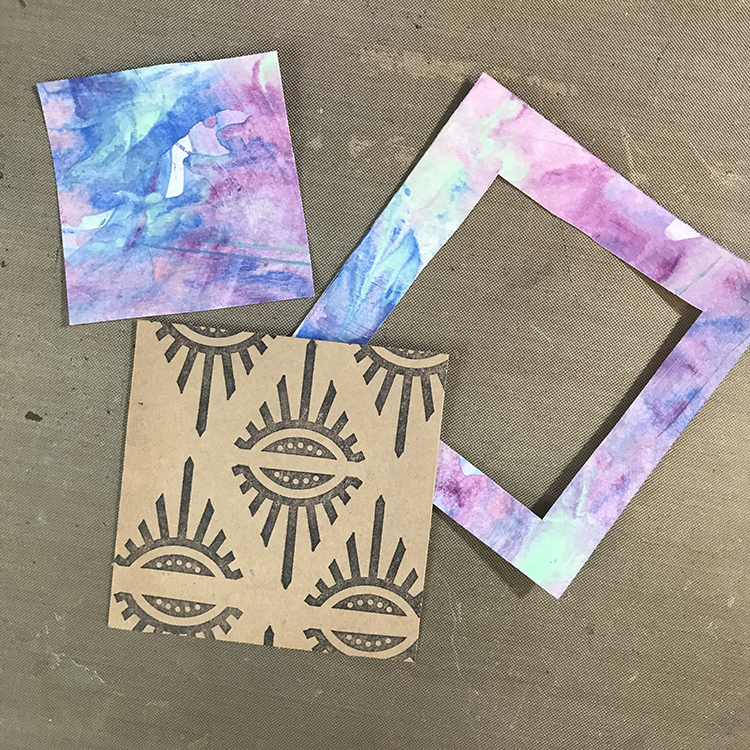
I then cut down my stamped papers into smaller square shapes. For this particular card, I chose a 3″x3″ square. Next, I selected a separate paper scrap to create a mat around that square. A trick I learned back in my scrapbooking days is that if you are having a hard time using up your pretty papers, you can cut out a square from the middle of your mat and save the scrap for another project!
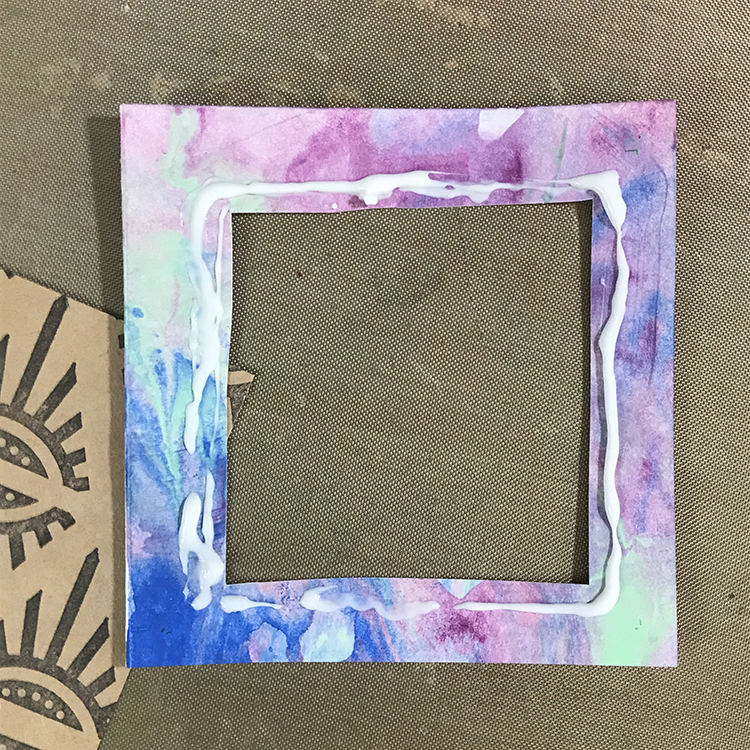
Place your glue around the inside edge of your mat. I used Aleene’s tacky glue for my cards, but any sort of liquid glue, double sided tape, or adhesive runner would work for this! Then, place your patterned paper square into the center of the mat.
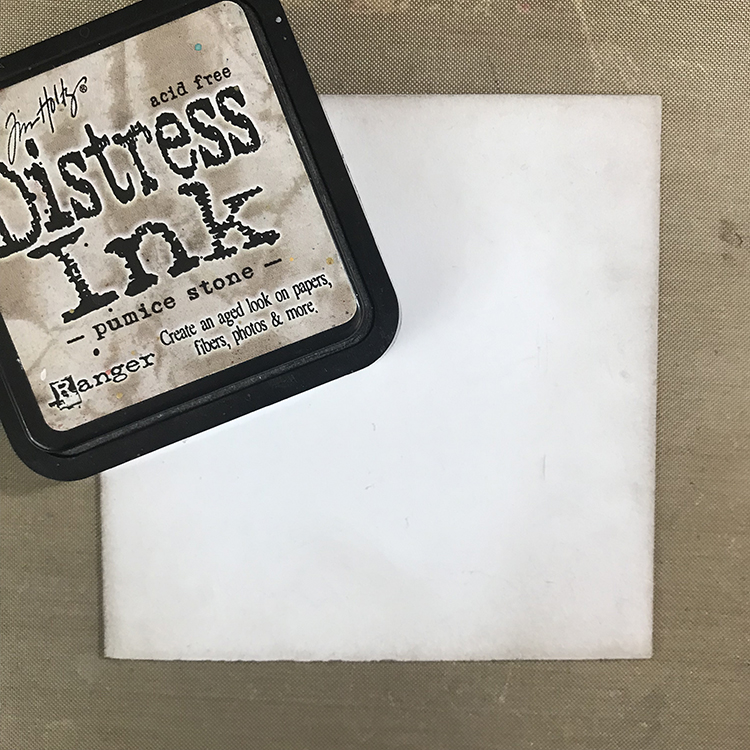
Next, I prepared my card bases for assembly by using some Distress Ink in the color Pumice Stone and a Tim Holtz Blending Tool to buff around the edges of my card. I selected this color because I felt the gray fit with my style and the other colors that I was using more than some of the browns I have in my collection.
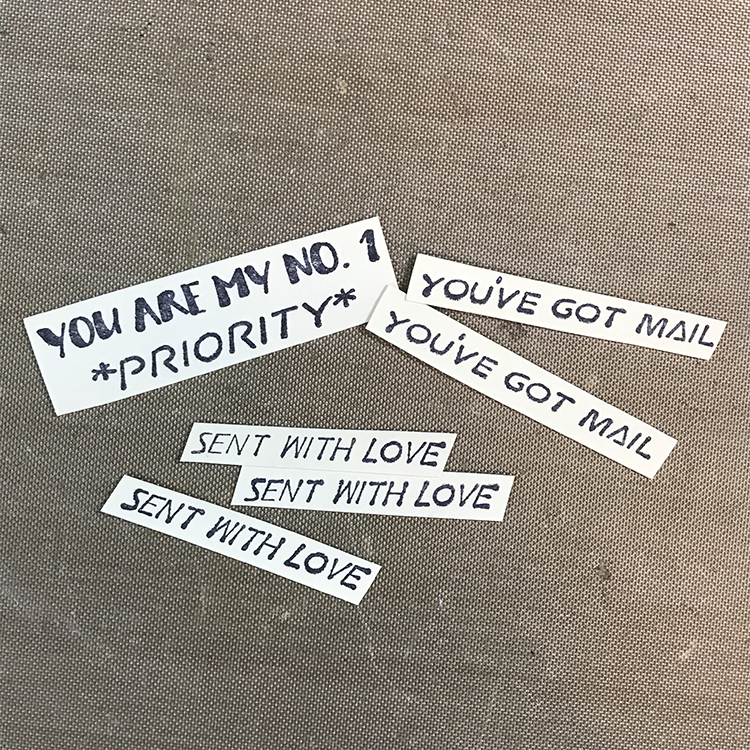
Then, using Nathalie’s #keepyouposted Cling Rubber Stamp Set and a black ink pad, I stamped some words onto a scrap of file folder and cut them out. I stamped a few extra so that I’ll have them prepared for making cards in the future!
Now it’s time to assemble! Glue your matted patterned paper onto your card base, and add the words to it. Experiment with the location of the words until you get a placement you’re happy with, and you have a quick and easy card to send to your friends or family to express your gratitude for them!
I did a simple variation of this card by cutting my patterned paper down to a larger size (I chose 3.75″x3.75″) and gluing it directly to my prepared card base. I then used a couple of different elements from some of my collage sheets to add a figure before gluing down my words. This adds a little more interest to your card while still keeping it very simple.
I hope you enjoy these tips and tricks to make some simple greeting cards and that you have fun making some of your own!
Thank you Jordan, with the Thanksgiving holiday this week in the US, it is the perfect time to create some one-of-a-kind cards to thank those who are important to us :)
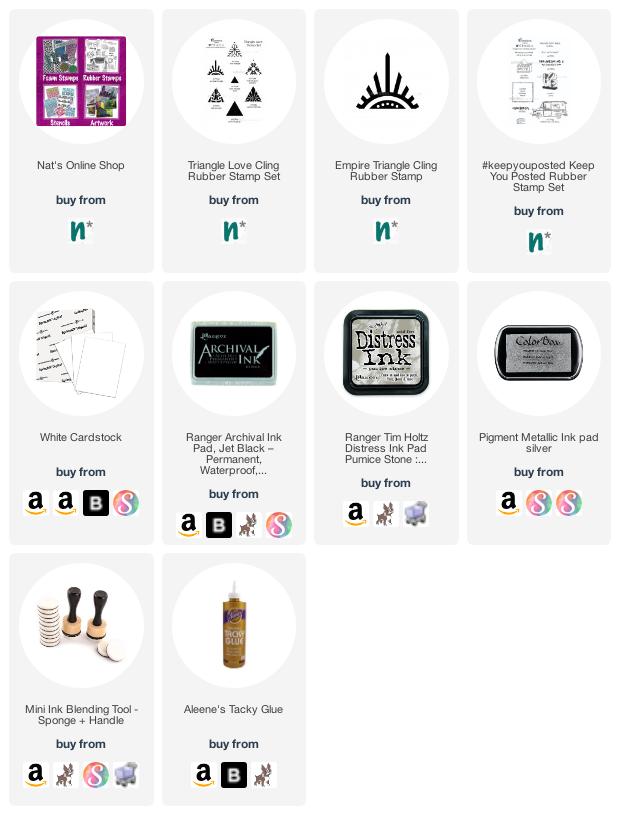
Give it a try: you can find all my Rubber Stamps in my Online Shop and in addition to paper scraps and collage elements here are some of the supplies Jordan used:


Nice! I am also drawn to circles.
Reply