
Hello from my Creative Squad! Today we have a funky art journal spread from Jordan Hill using my Mini Hex foam stamps and my Mini Motifs rubber stamps along with our theme: This month’s theme is: Primary Colors: Red, Blue, and Yellow it’s your time to shine. Let’s get back to the basics of color and light and play with primary colors. It’s elementary my friend! This month we are also pleased to be partnering with Grafix who supplied the squad with some cool products to try out. Read on:
Hello everyone! I’m super excited to be back with a new project for June; this month was interesting considering I was working with new mediums (Computer Grafix and Grafix Double Tack!) and a color palette that is a bit outside my comfort zone, but I had a lot of fun with it regardless! I hope you enjoy following along with me as I create this month’s art journal spread!
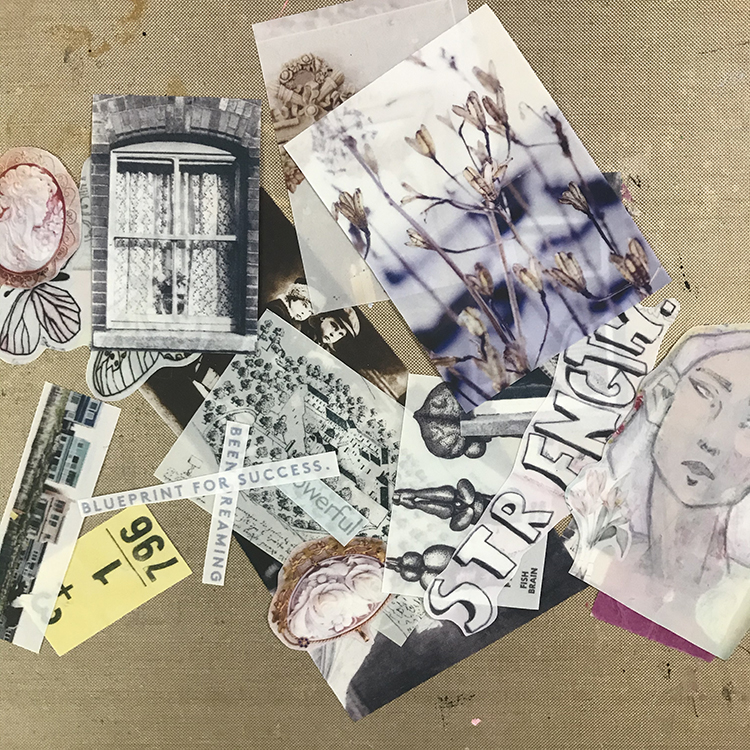
The first thing I did to start off this month’s project was prep my Computer Grafix. Using my inkjet printer and this matte film, I printed off a collage sheet. Then I cut out the pieces. I didn’t end up using all of the elements from this collage sheet in my project, which just means I have interesting pieces ready to add to future pages!
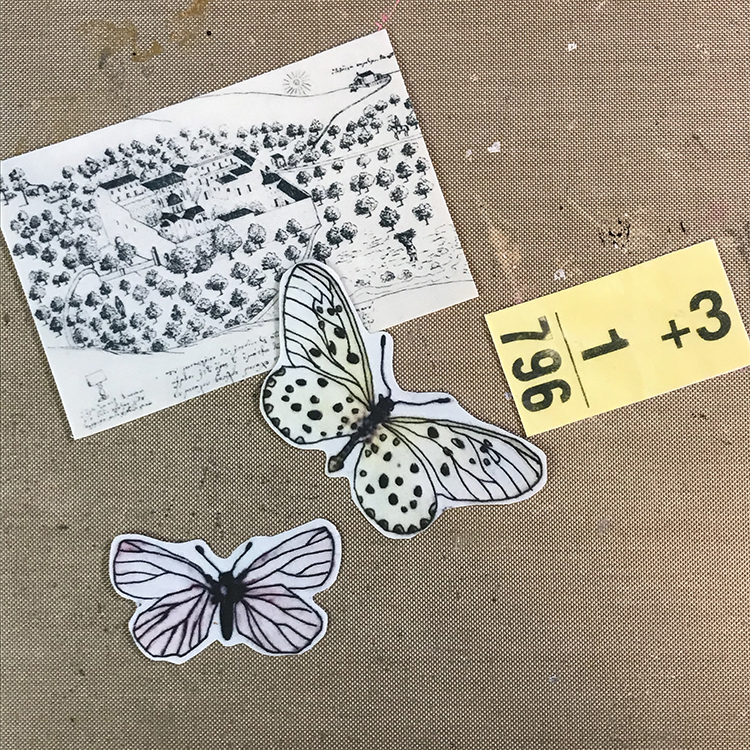
Next, I selected the elements I wanted to use on this particular project. I cut a few pieces of Grafix Double Tack that were approximately the size of my Computer Grafix pieces, then removed one side of the double sided adhesive. I then adhered my Computer Grafix to the Double Tack, and trimmed around the edges, so that I had a selection of collage pieces ready to go.
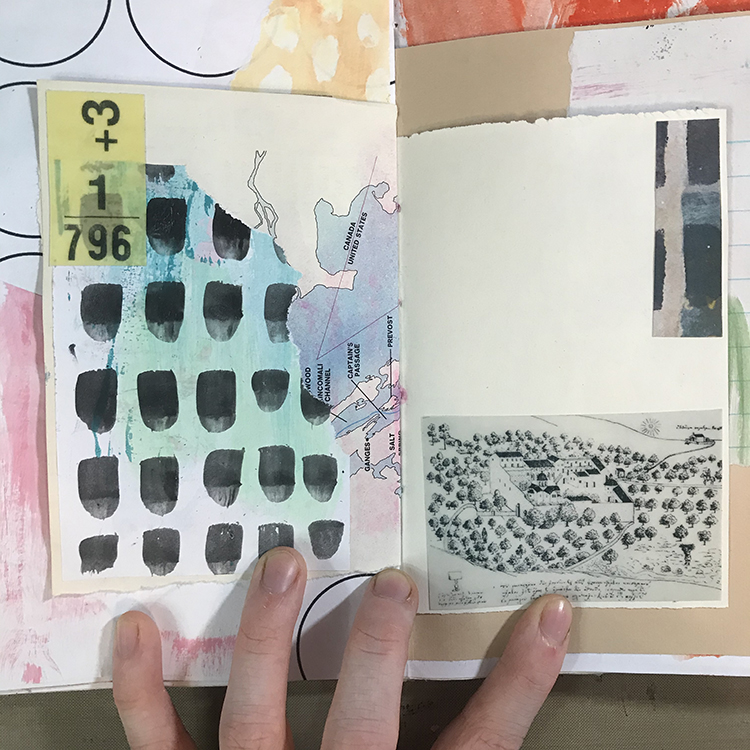
I then chose a spread in one of my journals to work on; this particular spread already had a few pieces of collage adhered to it, and I added a couple pieces of the Computer Grafix by removing the second side of the Grafix Double Tack and pressing them down firmly.
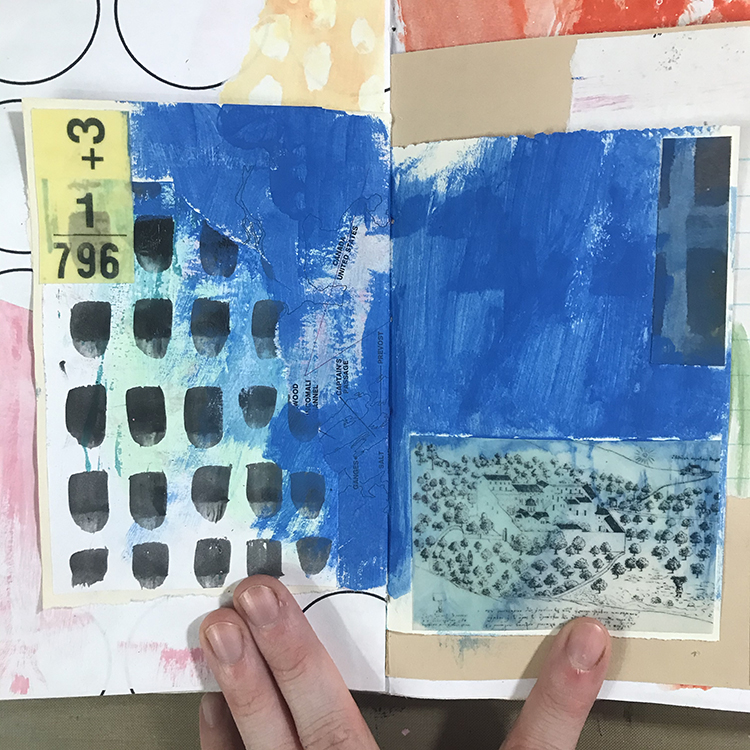
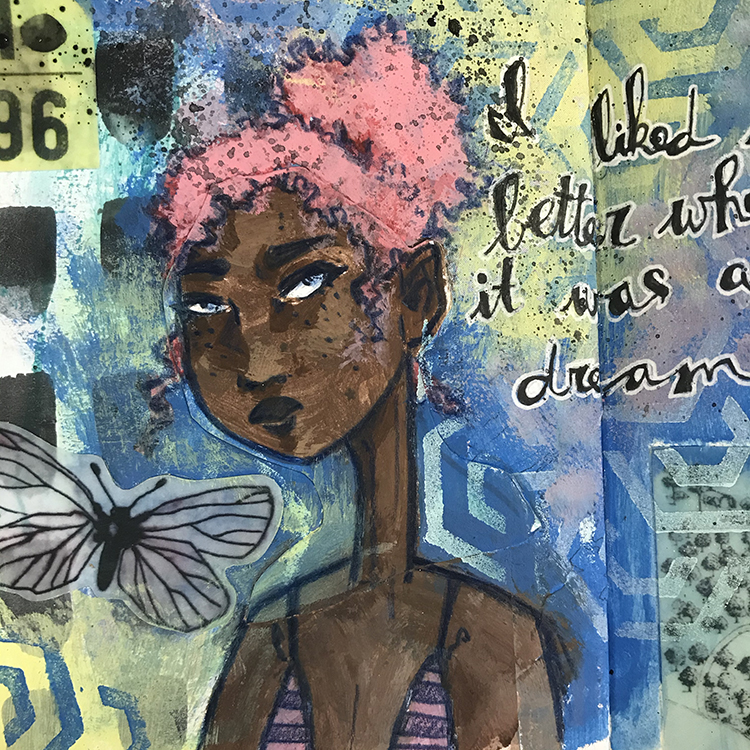
Next, it was time to start blending! I chose this primary blue color (to fit with this month’s theme of Red, Blue and Yellow) and using a brush, added it over almost the entire background. I also decided to play around with painting on top of the Computer Grafix. In order to tint the collage piece in the lower right, I watered down my acrylic paint, painted over top of the Grafix, then removed some of the excess paint with a paper towel.
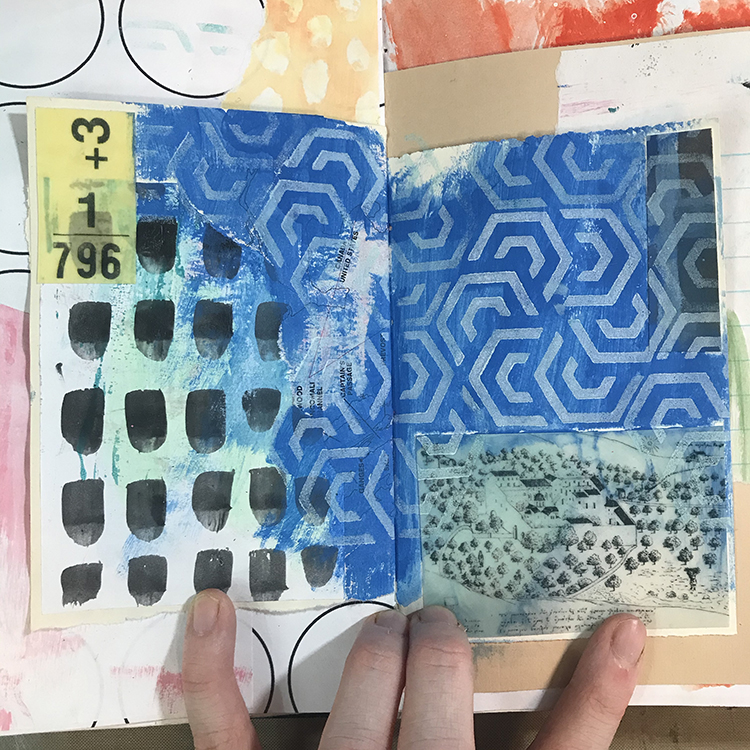
After the previous layer was dry, I used one of the stamps from Nathalie’s Mini Hex Foam Stamp Set in combination with some white acrylic paint to completely cover the blue areas of the page in pattern. I made sure to stamp all the way to the edges of the page, as well as slightly over top of some of the collage pieces in order to continue blending everything together.
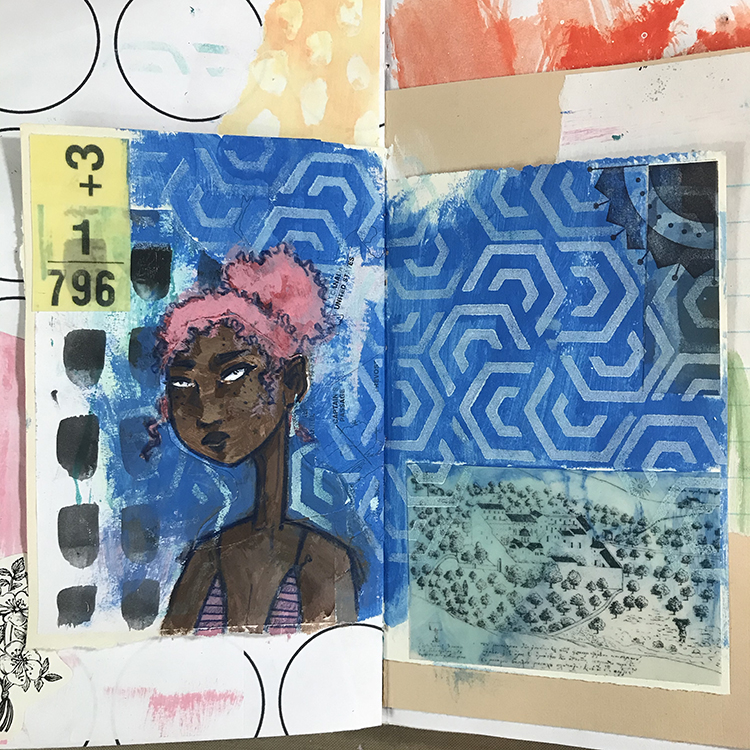
The next step was to add a figure; this particular face was created by painting over top of the black and white line art of a face I had drawn previously. I chose a dark pink as the hair color to act as the red in my primary color scheme. I also used Nathalie’s Arts & Crafts Motif from the Mini Motifs Cling Rubber Stamp Set and a black ink pad to add an extra element to the upper right hand corner of the spread.
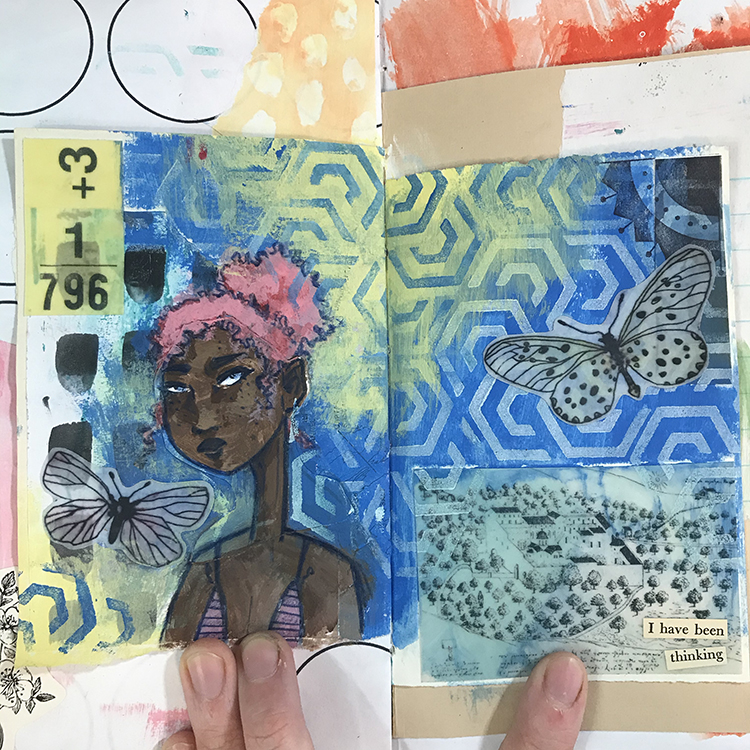
At this point, I felt as though the blue was overpowering the page in a way that I wasn’t necessarily a fan of. In order to solve this problem, I used a light yellow acrylic paint and applied it to several areas around the spread. I then used the Mini Hex Foam Stamp Set once more, but this time with blue acrylic paint. This allowed the pattern to continue through the yellow parts of the page while still looking natural. At this point I also added a few more pieces of Computer Grafix to the spread in the form of some small butterflies.
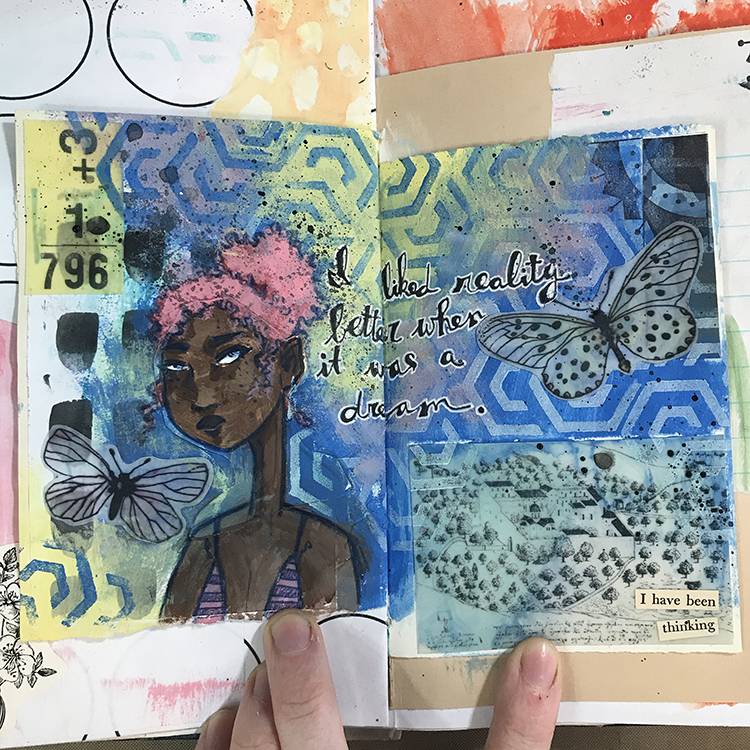
Then it was time for the finishing touches! I sponged on a bit of pink between the yellow and blue sections of the page to blend them together a little better, added some words to the center, and splattered some black ink with a paintbrush before I was ready to call this spread complete!
These colors were a surprising challenge for me, but in the end, I am happy with the way the spread turned out. I hope you all enjoyed following along with the process and that you give some of these ideas a try yourself!
Thank you Jordan – loved seeing how you toned down one color and then carried the Mini Hex foam stamp pattern through to the other side!
Give it a try: you can find all my Rubber Stamps and my Foam Stamps in my Online Shop and in addition to some collage elements, here are some of the supplies Jordan used:
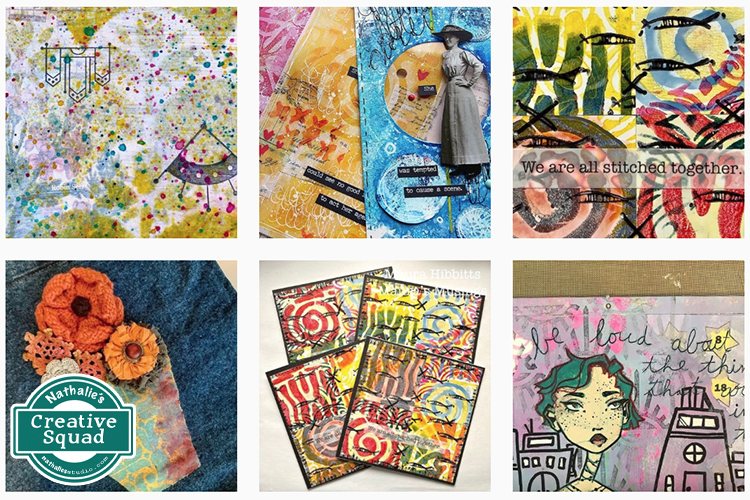
For more from the Creative Squad check out Nat’s Creative Squad on Instagram too: Each week we post projects, ideas, and inspiration for mixed media art.