Creative Squad

Creative Squad: On Repeat – Jordan Hill

Hello from my Creative Squad! Today we have a post from Jordan Hill who is using my Mini Hex foam stamp set in her take on our monthly theme: On Repeat – Let’s play with patterns! Repeat a design motif or shape to create a pattern-inspired project of your choosing.


Hello everyone! I’m excited to be back with a brand new project for July! I’ve been at a bit of a turning point with my artwork recently, so for this month’s theme of “On Repeat”, I tried to combine some of the illustration work I’ve been doing with my more typical art journal style. I had a lot of fun using this project as a bit of a self challenge and I hope you enjoy following along with the process.
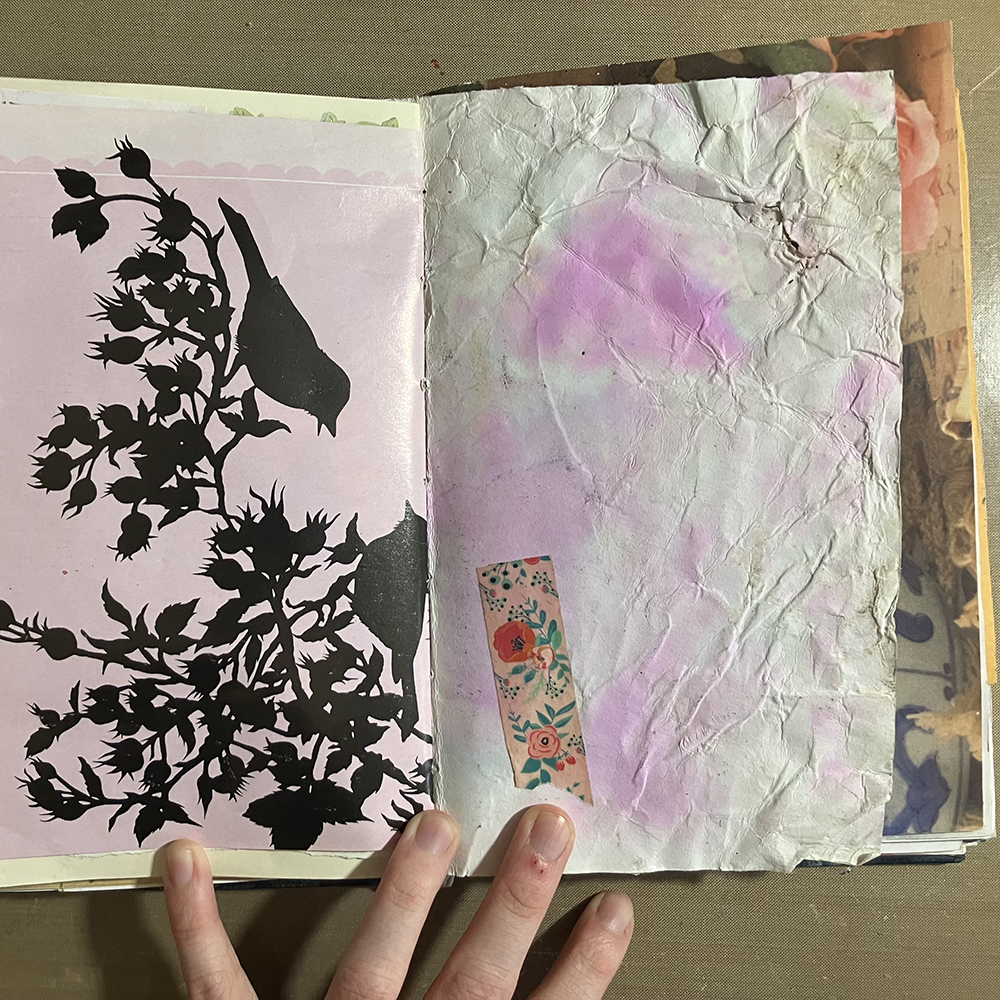
First things first, I selected a page to work on. I decided to use a base that was a bit larger than I typically work, since I had an idea that I knew would benefit from a little more space. This particular background was a piece of eco dyed paper, which means that it has a lot of wrinkles and texture. I had also previously applied a scrap of washi tape to this page, so I simply decided to work over the top.
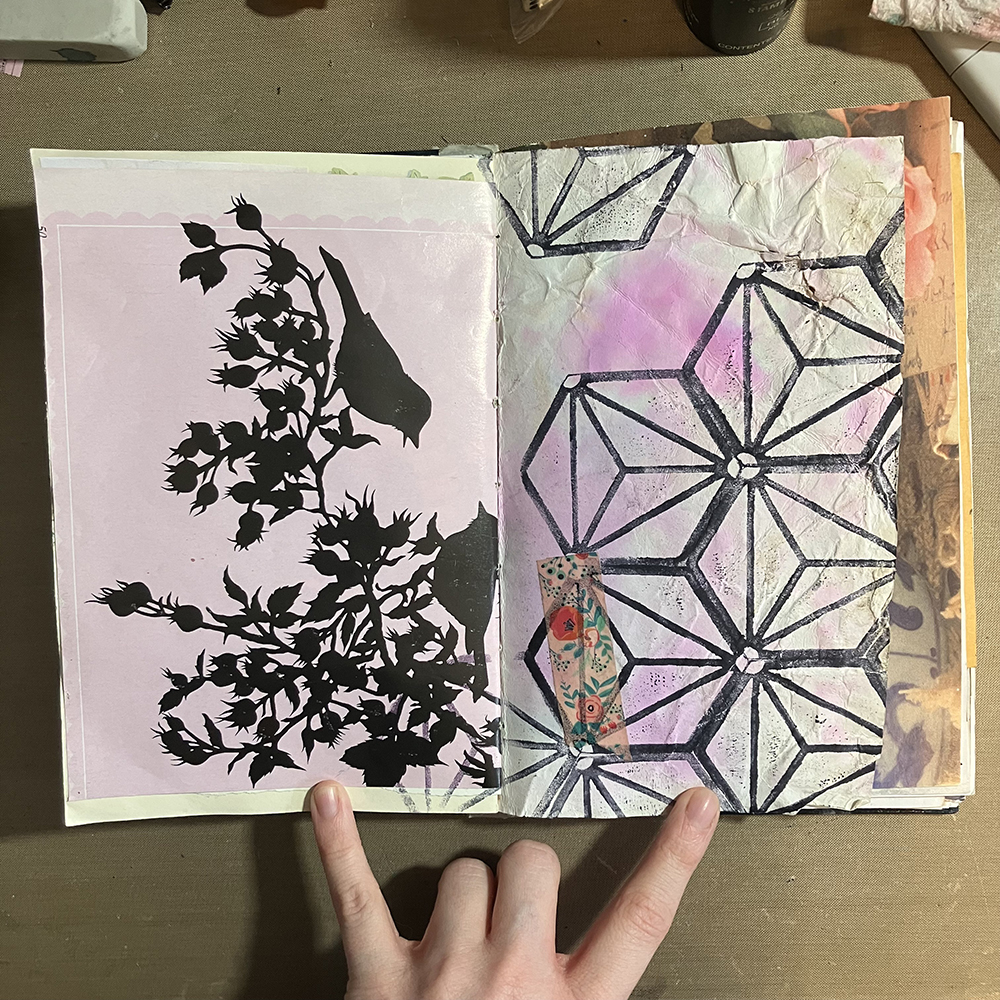
To get things started, I used one of the stamps from Nathalie’s Mini Hex Foam Stamp Set to create an all over pattern across a good portion of the page. I applied ink to the foam stamp using a roll on ink pad re-inker, which is one of the ways I’ve found to be most effective at applying ink to the stamps. You don’t have to fuss around with a brush, and getting an even layer is fairly simple, as you only have to roll it over the surface.
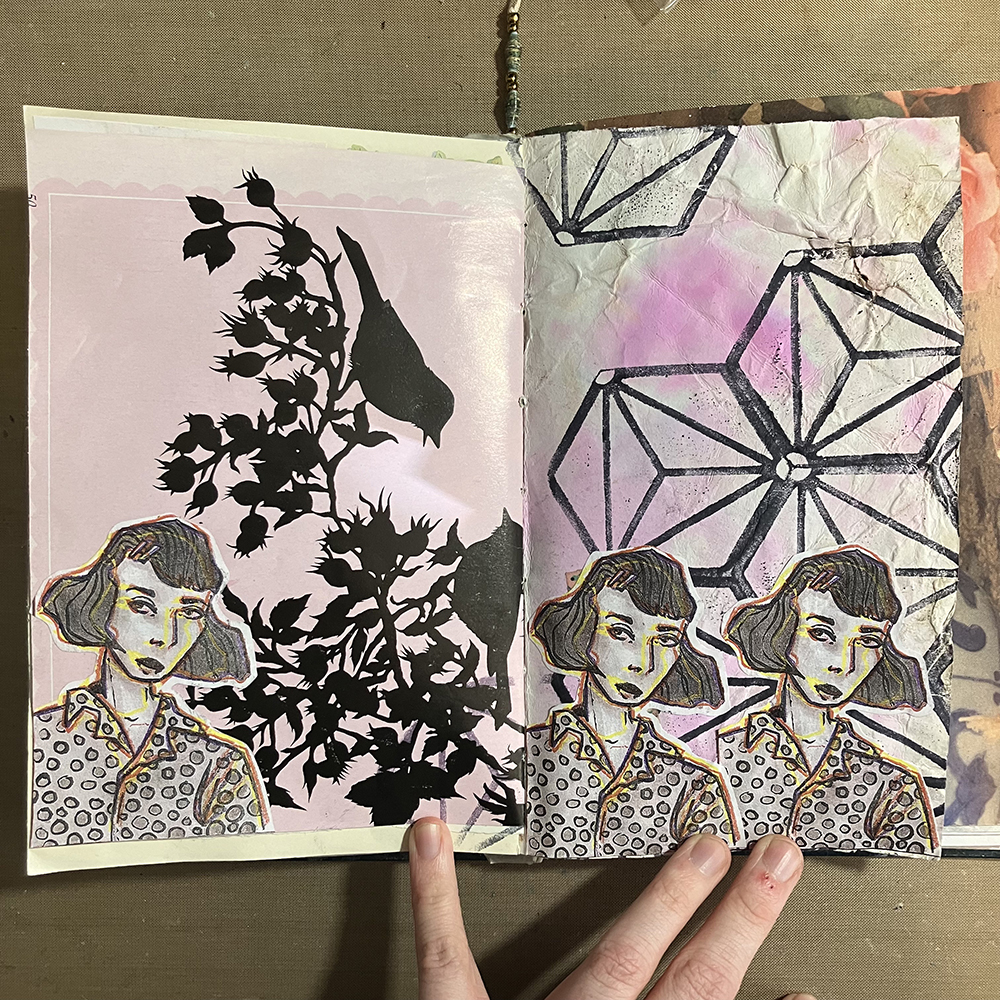
Once I had the background in place, I made a few copies of an illustration I did on an index card and painted with ink washes. I cut three of these copies out, and then placed them along the bottom of the spread. Even though I was mainly working on the right side of this spread, I also added one to the left hand page to try to tie the two together. I thought the use of the same image in multiple iterations fit the theme of “On Repeat” quite well.
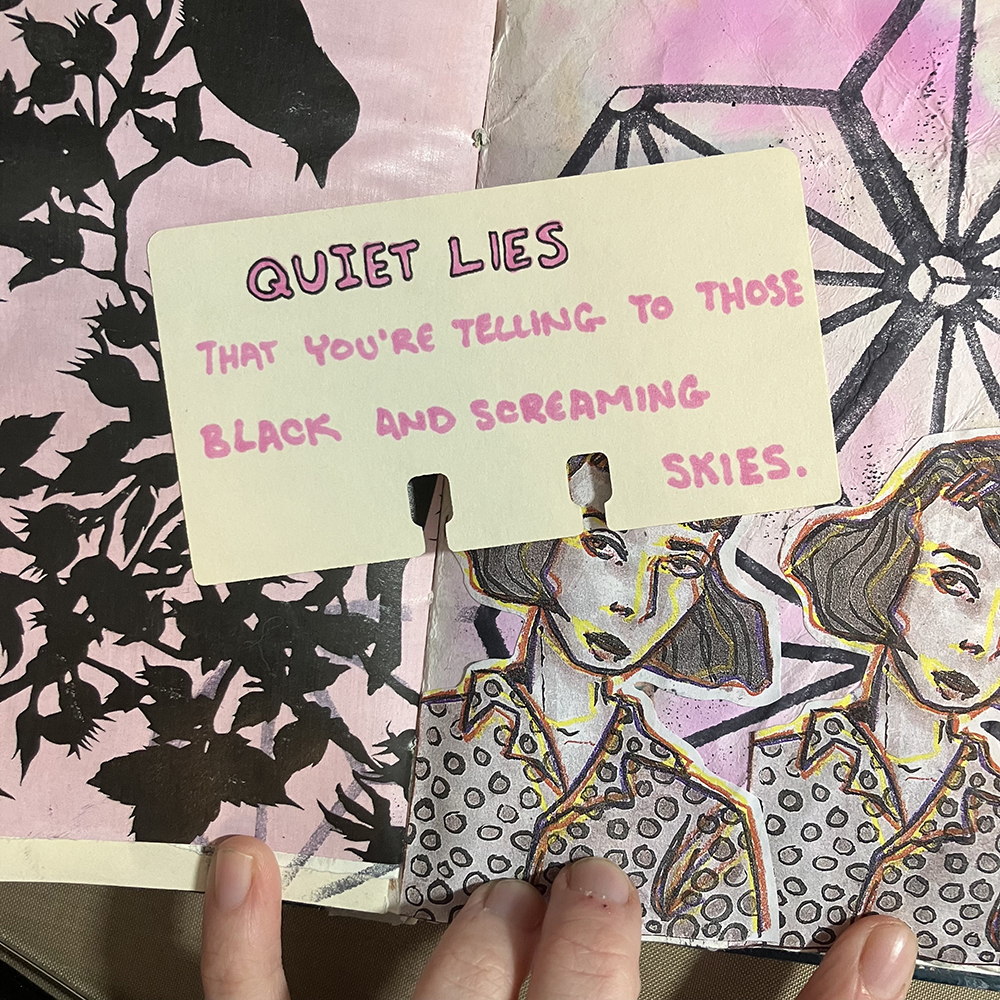
Next, I prepared the words I would be adding to this page. The quote I chose was a few lyrics from the song Smokey Eyes by Lincoln, which is a song I’ve been playing on repeat lately, so it felt on theme. I used a spare index card as a base and wrote my quote using a Bic marker in Flamingo Pink. I then outlined the marker with a thinner black pen in order to give them a bit more definition and make them feel more stylized.
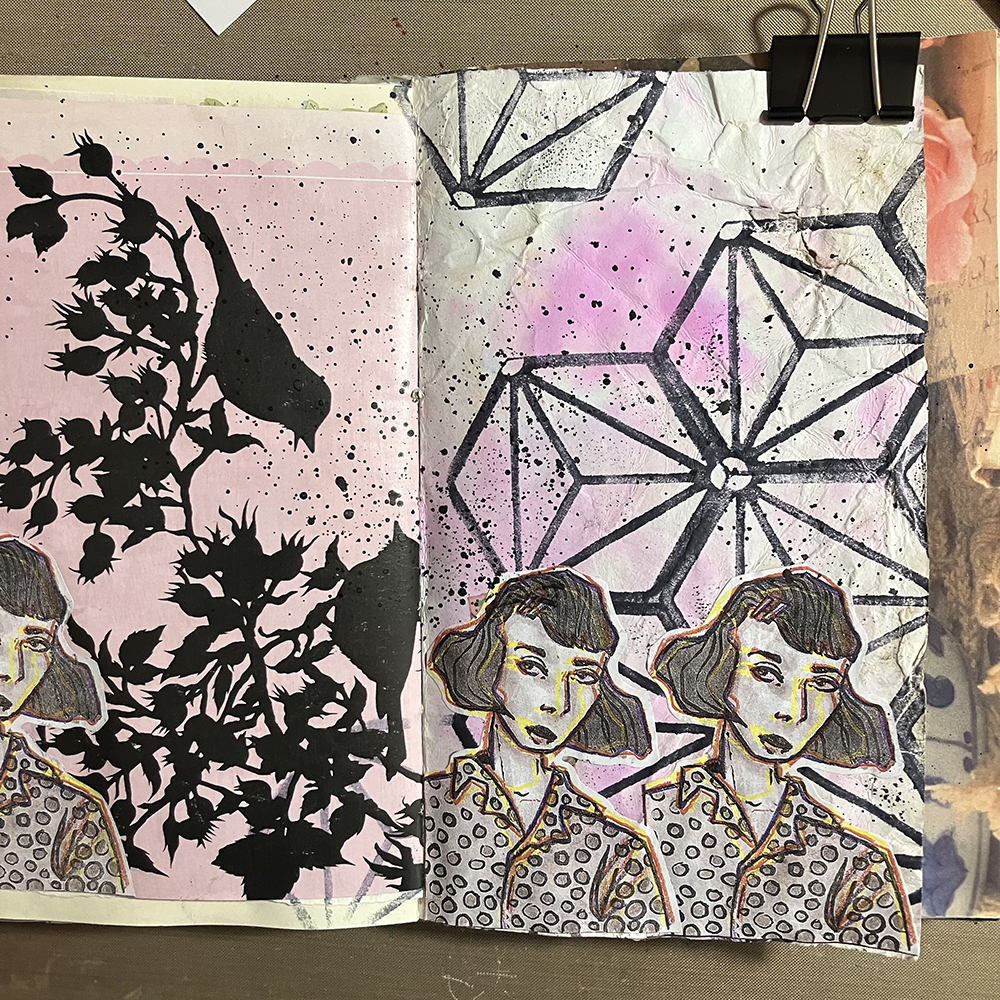
At this point, I was feeling as though the background was a bit plain. Using some Black India Ink and a paintbrush, I splattered some ink over the blank areas of the page. I covered up my illustrations with scrap paper to protect them while I was doing this in order to keep them from being destroyed by stray ink.
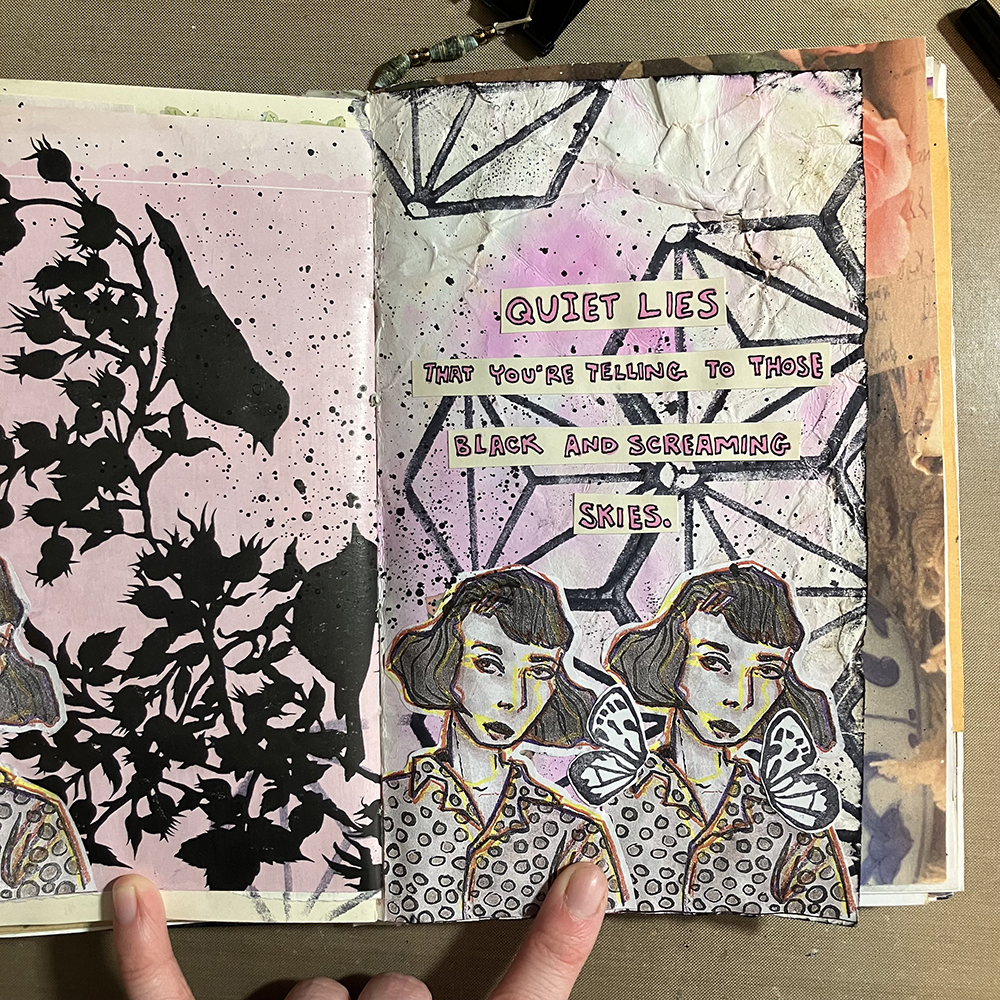
It was then time to add the finishing touches. I cut out the words that I had prepared previously into strips, and glued them to my page. I also drew some butterfly wings onto a piece of scrap paper, cut them out, and added them onto one of the illustrations to give the page a bit of a focal point. I then used a Black Archival Ink Pad, rubbed it around the edges of my page to give it a quick border, and was ready to call it done!


Thank you Jordan! Love your tips on creating stylized lettering and also on using splatters to add a finishing touch to a page.

Give it a try: you can find all my Foam Stamps in my Online Shop and in addition to drawn and copied collage elements, here are some of the supplies Jordan used:
Looking for more projects? Follow the Creative Squad on Instagram here.
Leave a comment

Creative Squad: Primary Colors – Jordan Hill

Hello from my Creative Squad! Today we have a funky art journal spread from Jordan Hill using my Mini Hex foam stamps and my Mini Motifs rubber stamps along with our theme: This month’s theme is: Primary Colors: Red, Blue, and Yellow it’s your time to shine. Let’s get back to the basics of color and light and play with primary colors. It’s elementary my friend! This month we are also pleased to be partnering with Grafix who supplied the squad with some cool products to try out. Read on:


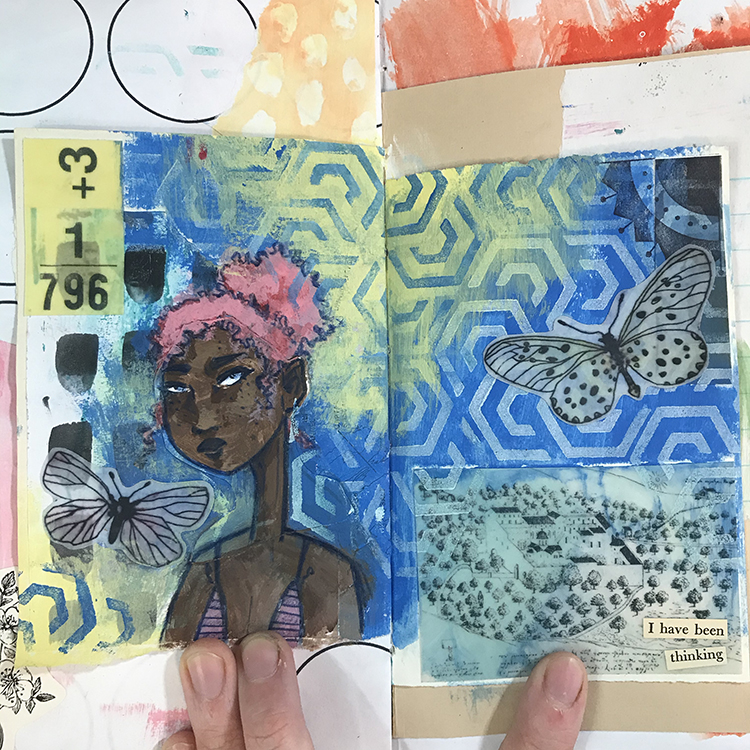
Hello everyone! I’m super excited to be back with a new project for June; this month was interesting considering I was working with new mediums (Computer Grafix and Grafix Double Tack!) and a color palette that is a bit outside my comfort zone, but I had a lot of fun with it regardless! I hope you enjoy following along with me as I create this month’s art journal spread!

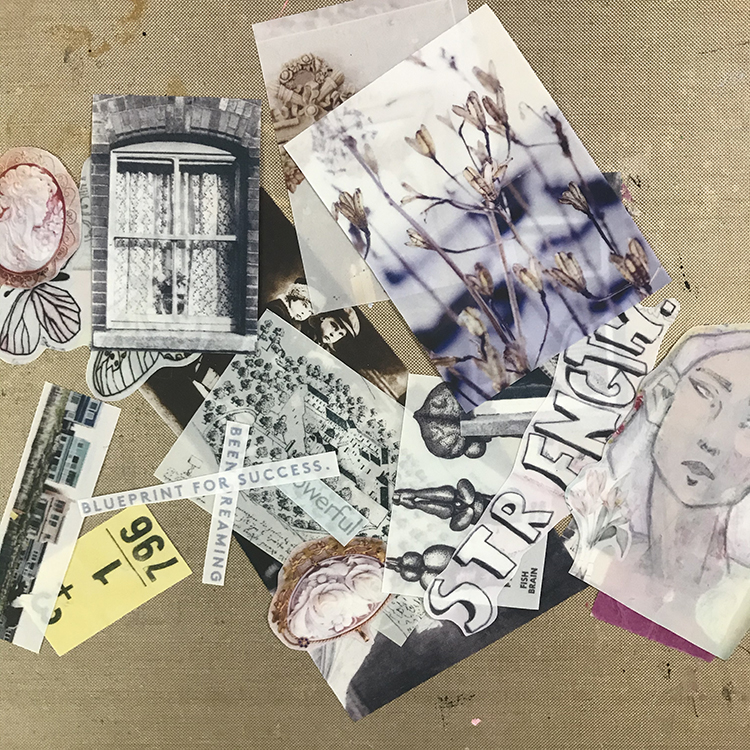
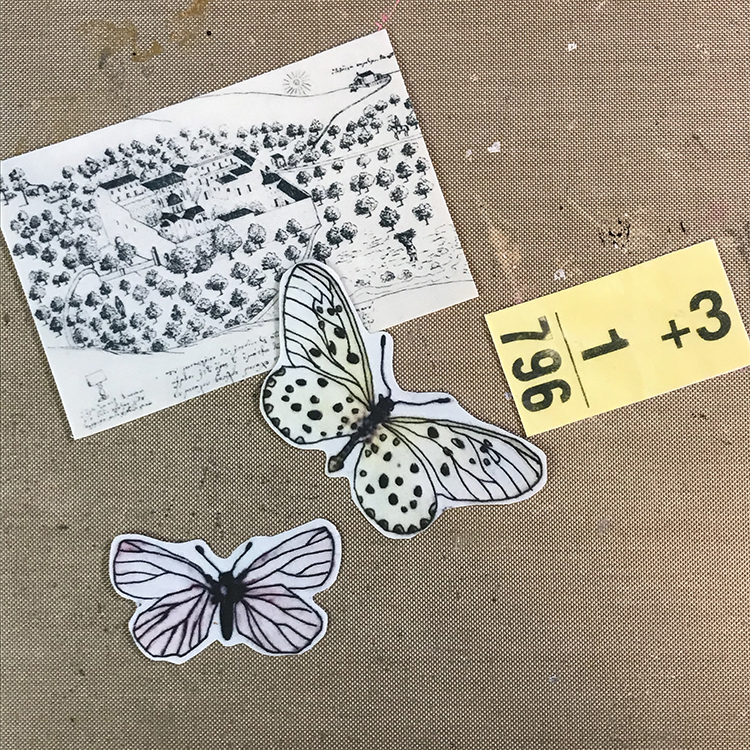
The first thing I did to start off this month’s project was prep my Computer Grafix. Using my inkjet printer and this matte film, I printed off a collage sheet. Then I cut out the pieces. I didn’t end up using all of the elements from this collage sheet in my project, which just means I have interesting pieces ready to add to future pages!

Next, I selected the elements I wanted to use on this particular project. I cut a few pieces of Grafix Double Tack that were approximately the size of my Computer Grafix pieces, then removed one side of the double sided adhesive. I then adhered my Computer Grafix to the Double Tack, and trimmed around the edges, so that I had a selection of collage pieces ready to go.

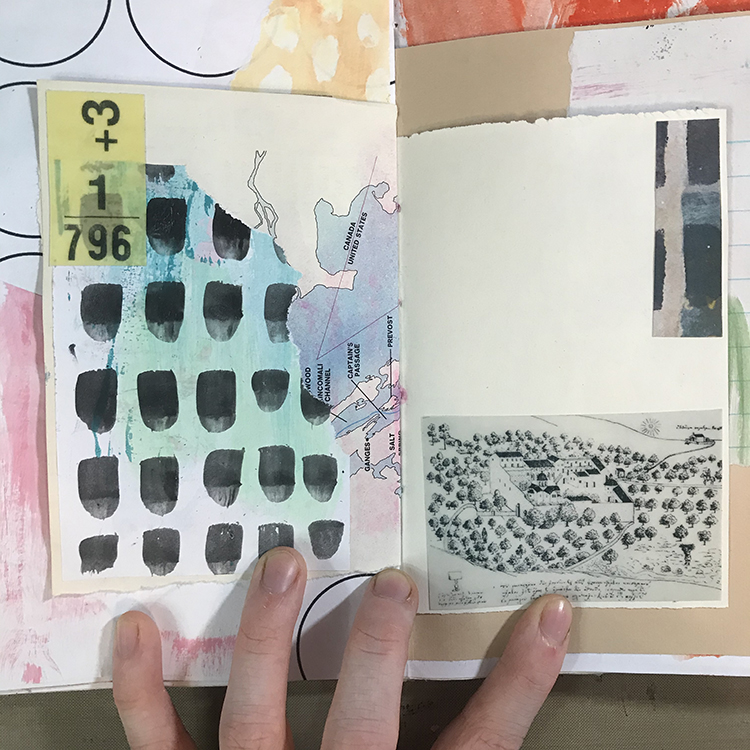
I then chose a spread in one of my journals to work on; this particular spread already had a few pieces of collage adhered to it, and I added a couple pieces of the Computer Grafix by removing the second side of the Grafix Double Tack and pressing them down firmly.

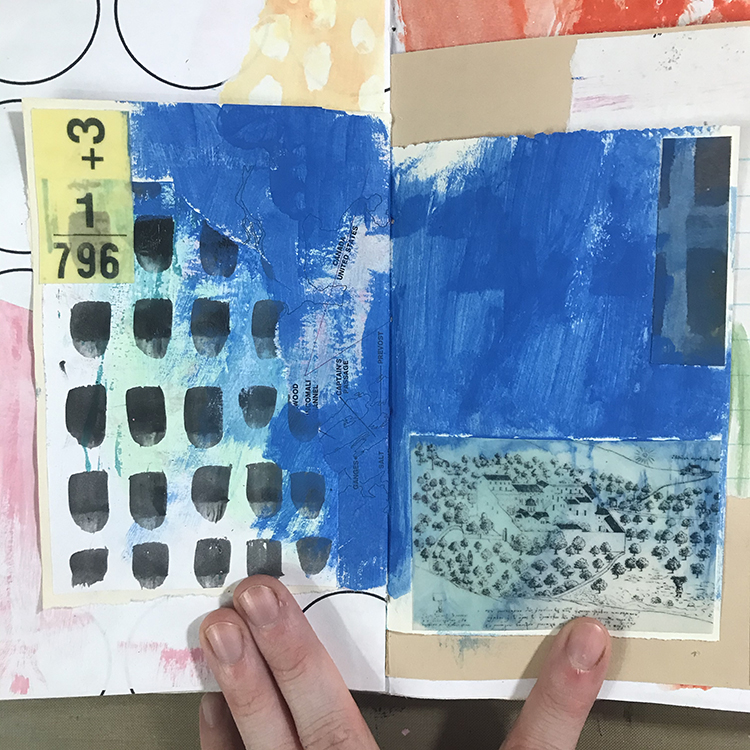
Next, it was time to start blending! I chose this primary blue color (to fit with this month’s theme of Red, Blue and Yellow) and using a brush, added it over almost the entire background. I also decided to play around with painting on top of the Computer Grafix. In order to tint the collage piece in the lower right, I watered down my acrylic paint, painted over top of the Grafix, then removed some of the excess paint with a paper towel.

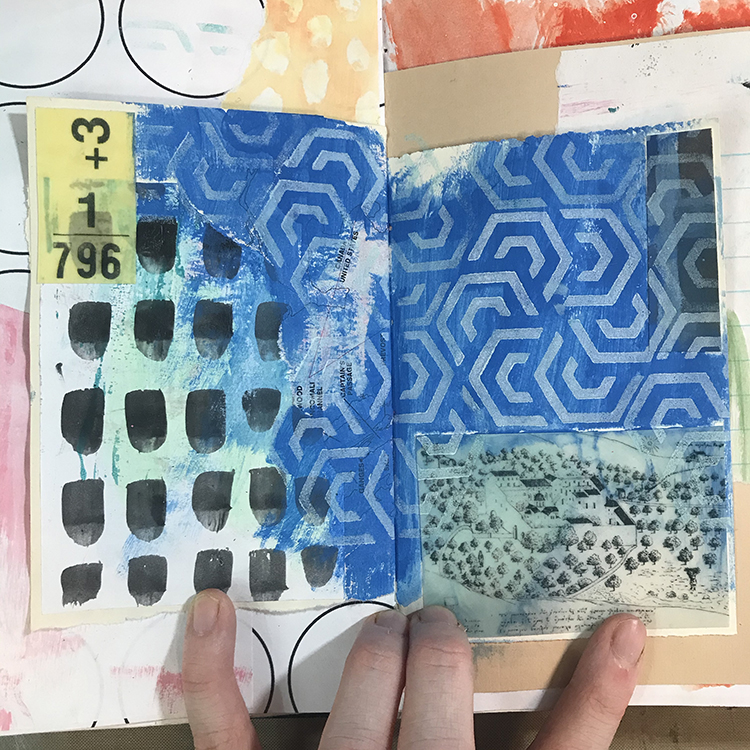
After the previous layer was dry, I used one of the stamps from Nathalie’s Mini Hex Foam Stamp Set in combination with some white acrylic paint to completely cover the blue areas of the page in pattern. I made sure to stamp all the way to the edges of the page, as well as slightly over top of some of the collage pieces in order to continue blending everything together.

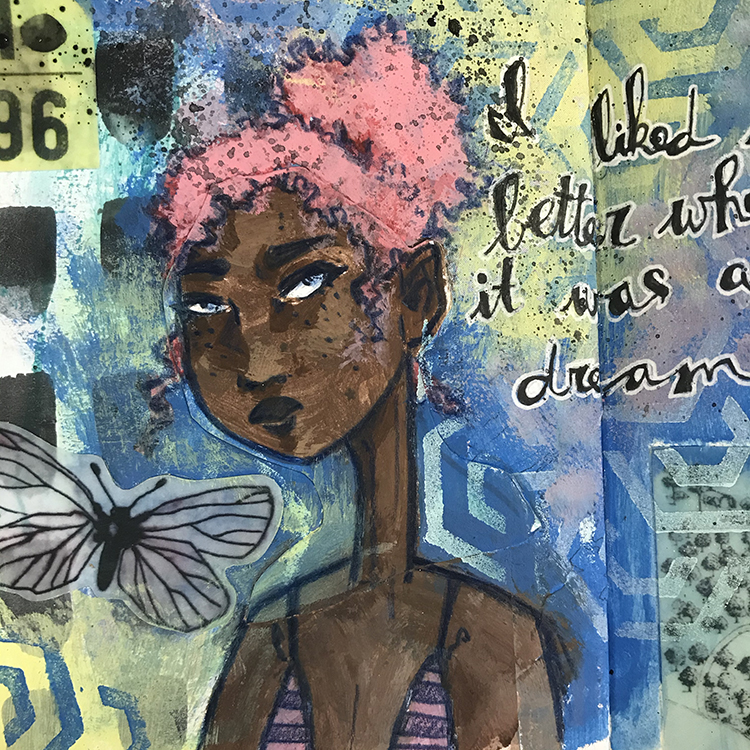
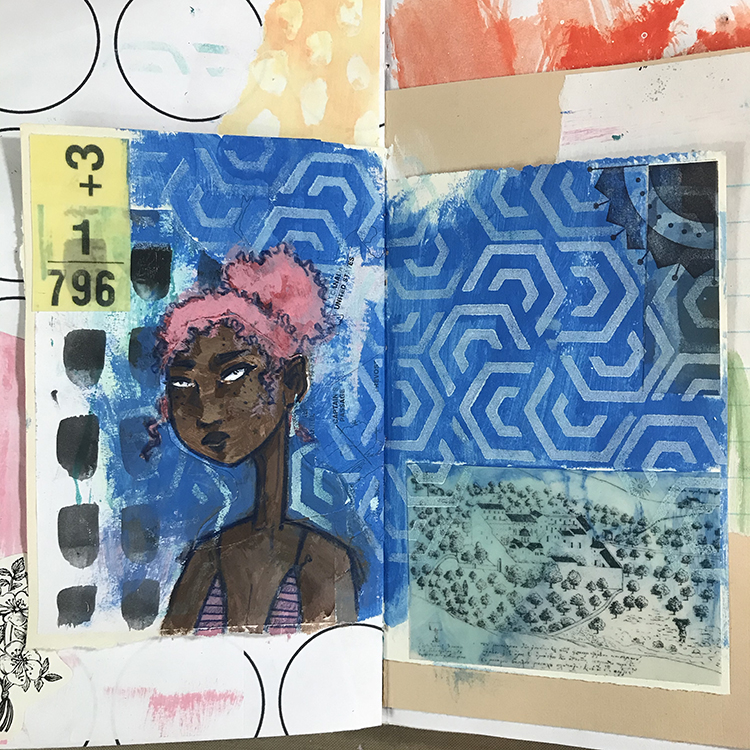
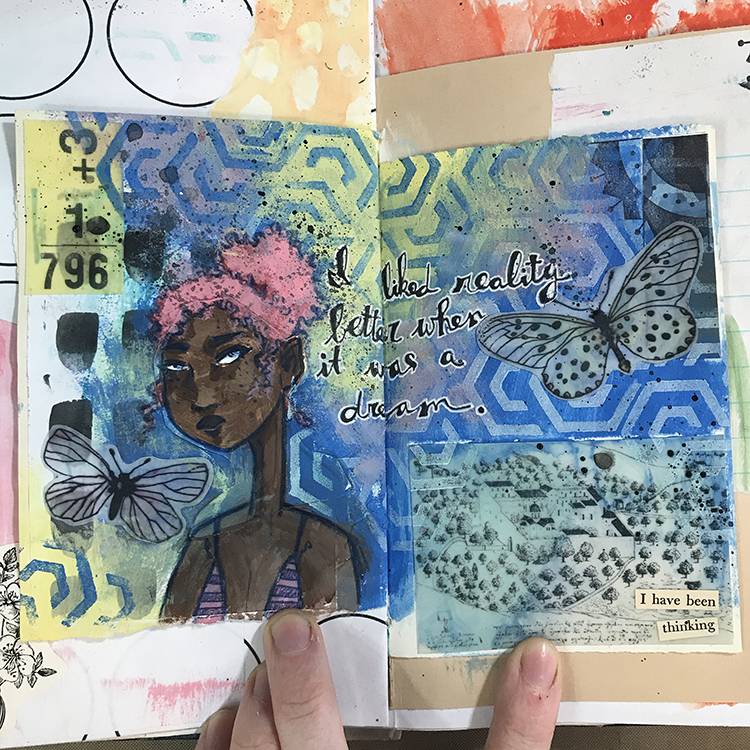
The next step was to add a figure; this particular face was created by painting over top of the black and white line art of a face I had drawn previously. I chose a dark pink as the hair color to act as the red in my primary color scheme. I also used Nathalie’s Arts & Crafts Motif from the Mini Motifs Cling Rubber Stamp Set and a black ink pad to add an extra element to the upper right hand corner of the spread.

At this point, I felt as though the blue was overpowering the page in a way that I wasn’t necessarily a fan of. In order to solve this problem, I used a light yellow acrylic paint and applied it to several areas around the spread. I then used the Mini Hex Foam Stamp Set once more, but this time with blue acrylic paint. This allowed the pattern to continue through the yellow parts of the page while still looking natural. At this point I also added a few more pieces of Computer Grafix to the spread in the form of some small butterflies.

Then it was time for the finishing touches! I sponged on a bit of pink between the yellow and blue sections of the page to blend them together a little better, added some words to the center, and splattered some black ink with a paintbrush before I was ready to call this spread complete!

These colors were a surprising challenge for me, but in the end, I am happy with the way the spread turned out. I hope you all enjoyed following along with the process and that you give some of these ideas a try yourself!


Thank you Jordan – loved seeing how you toned down one color and then carried the Mini Hex foam stamp pattern through to the other side!

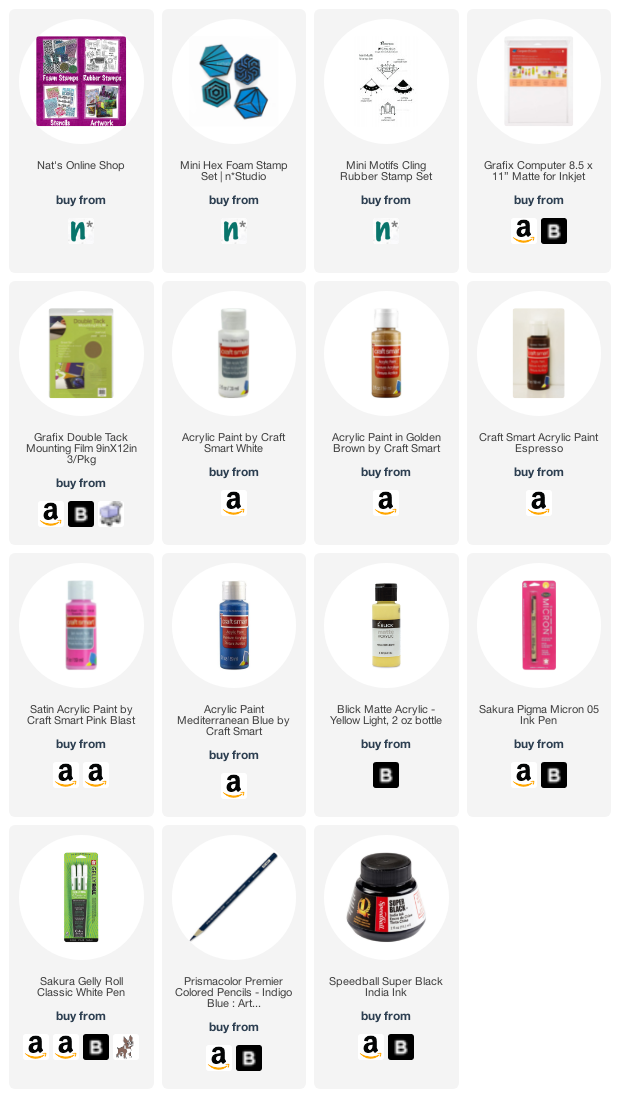
Give it a try: you can find all my Rubber Stamps and my Foam Stamps in my Online Shop and in addition to some collage elements, here are some of the supplies Jordan used:

For more from the Creative Squad check out Nat’s Creative Squad on Instagram too: Each week we post projects, ideas, and inspiration for mixed media art.

Leave a comment

Under the Sea – Jennifer Gallagher

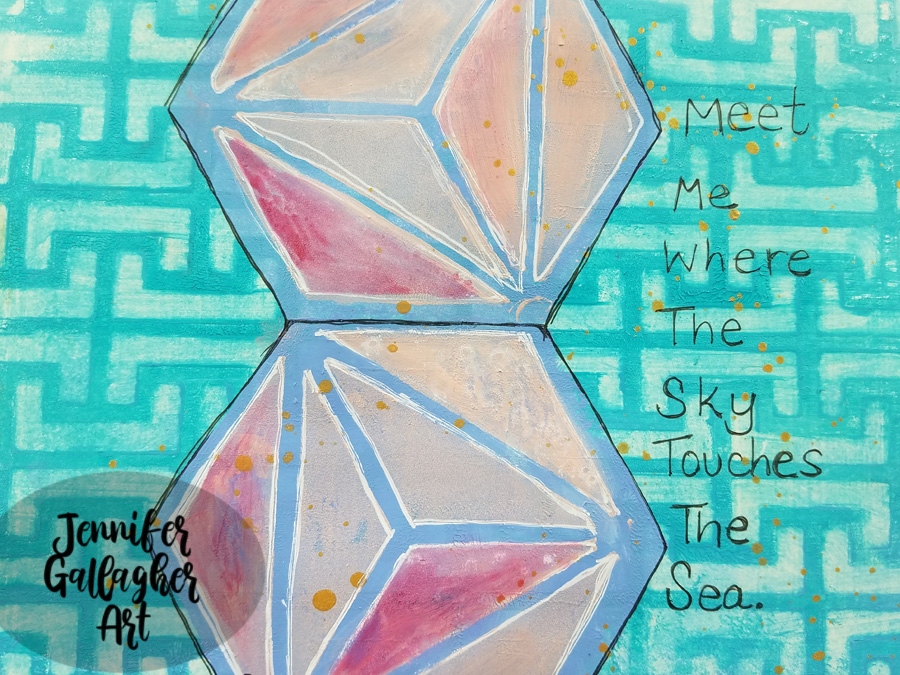
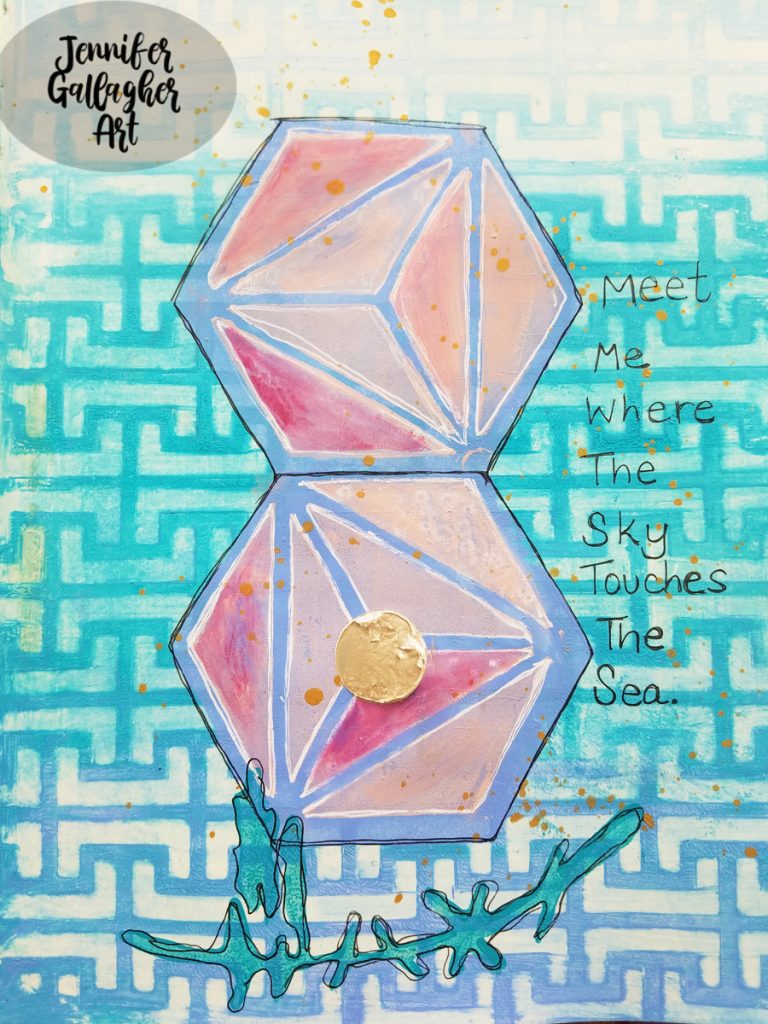
Hello from my Creative Squad! Today we are kicking off a new theme with a geometric homage to the sea from Jennifer Gallagher. Jennifer is using my Hamburg stencil, one of my Hex foam stamps, and my Groovy foam stamp, along with our theme: Under the Sea – There is something so fascinating about water. We love being in it, floating on it, relaxing next to it, and it remains one of the last frontiers here on the planet. Create something that is an ode to the sea.


This month the creative squad is inspired by everything under the sea. The ocean is a beautiful and peaceful place. I love the heat of the sun, the cool breeze flowing off the water, and the serenity of the waves lapping against the shore. I was inspired to bring you the feel of the ocean in my favorite geometric style. I’ve created a really pretty art journal page for you so let’s get started.
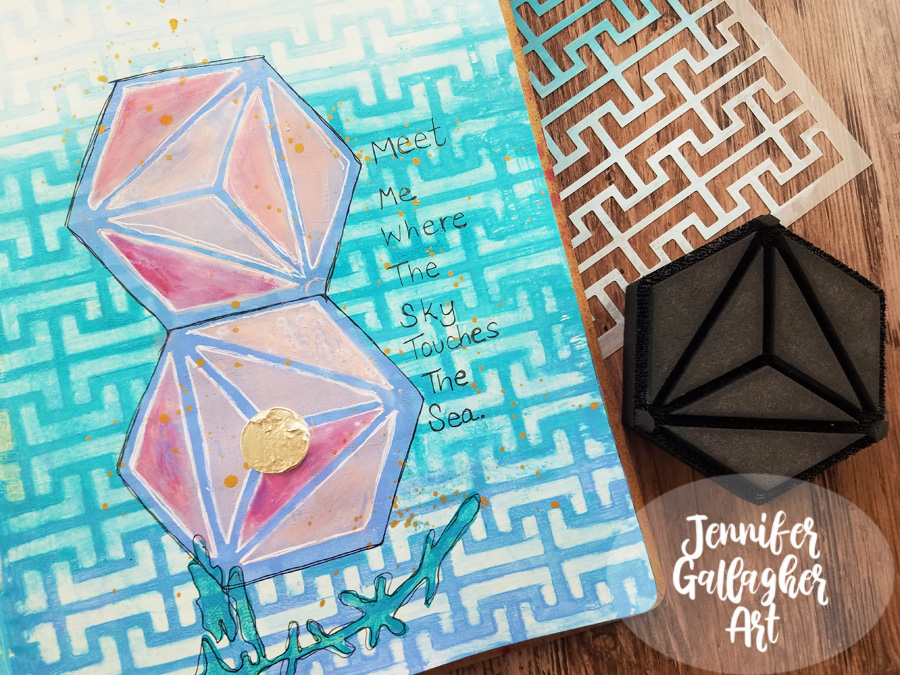
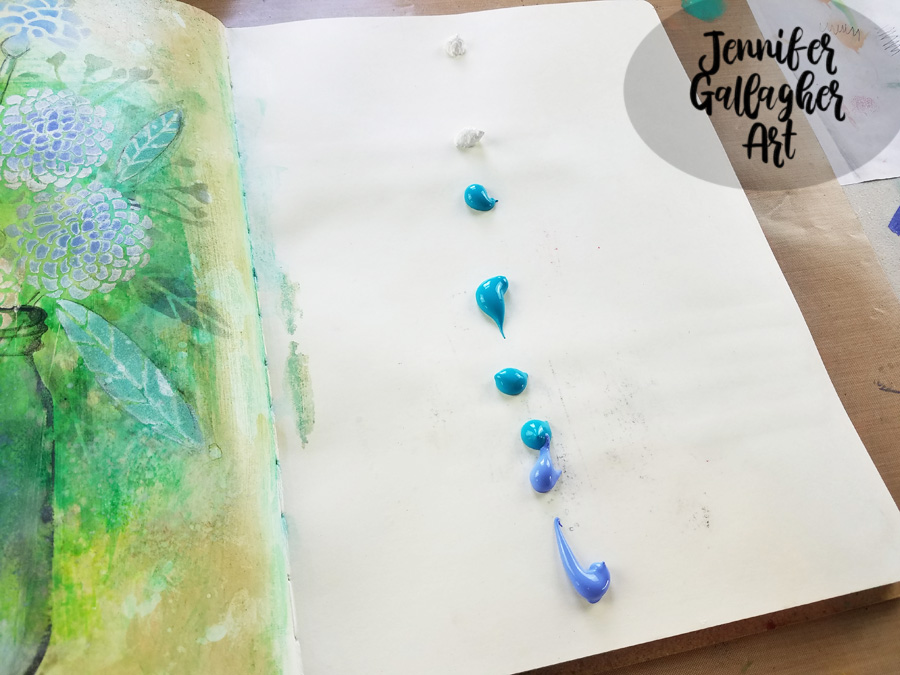
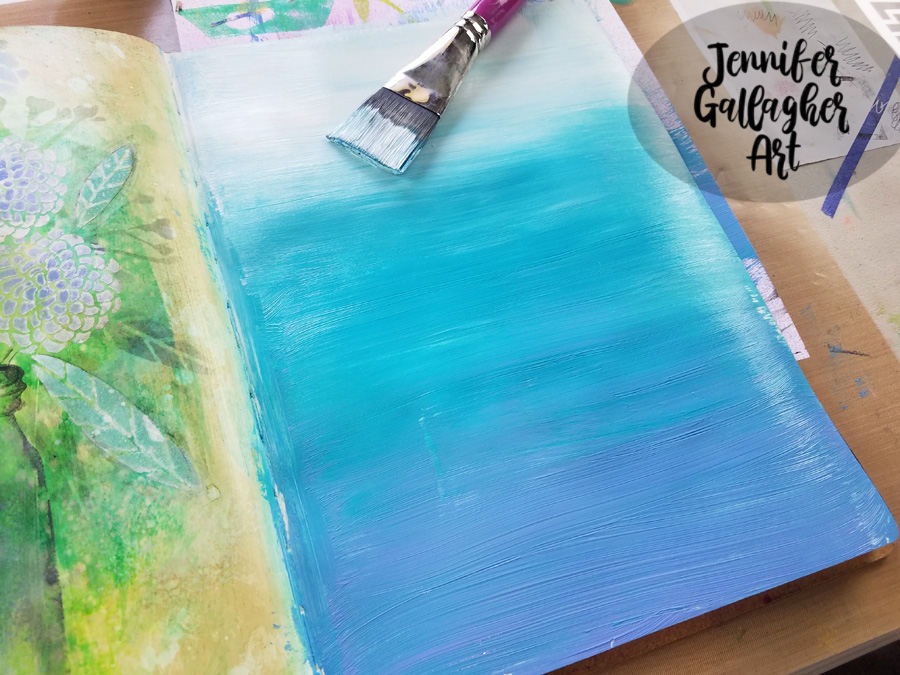
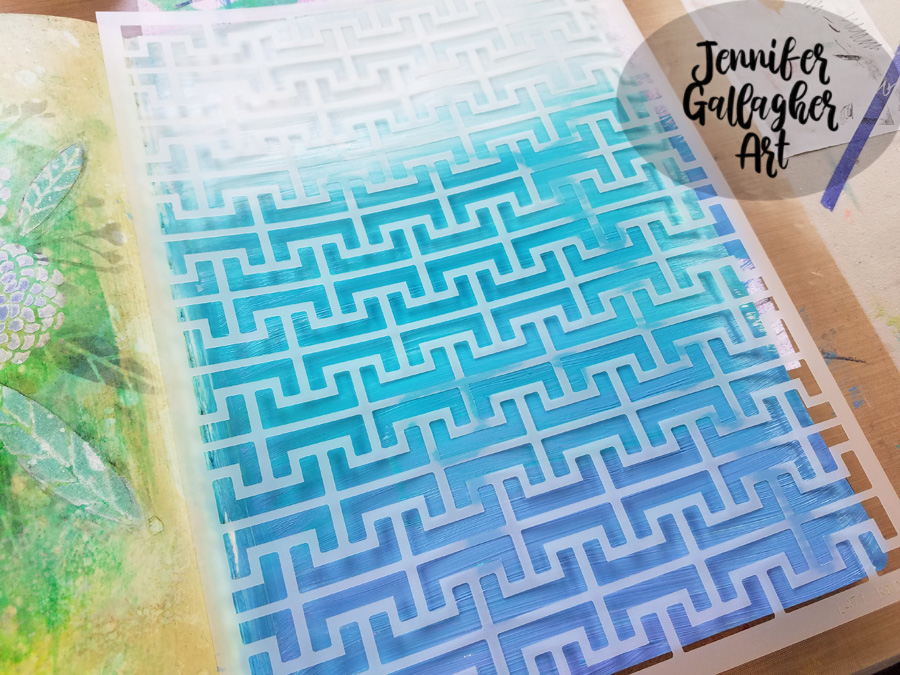
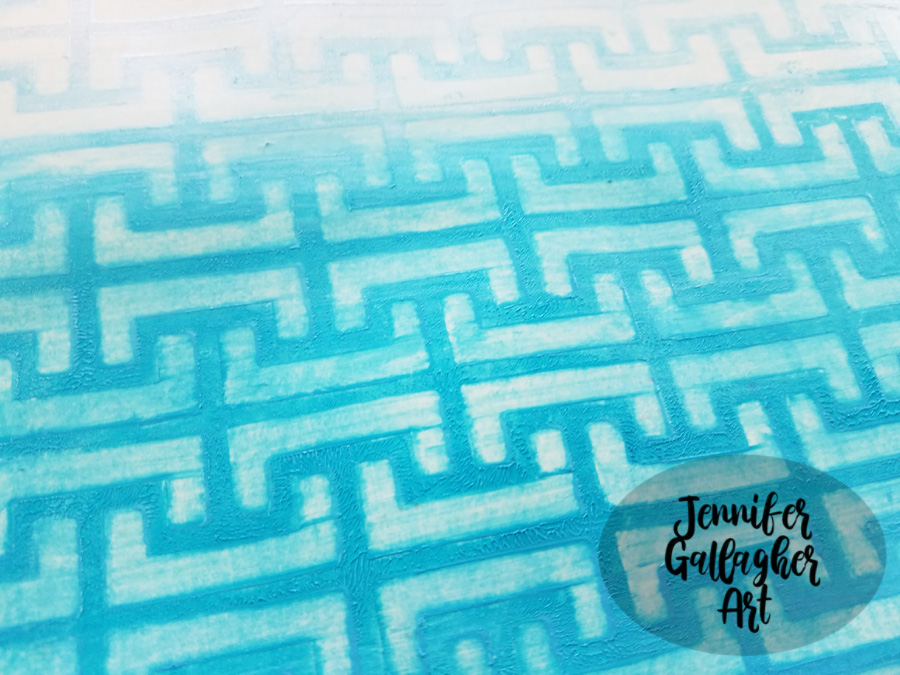
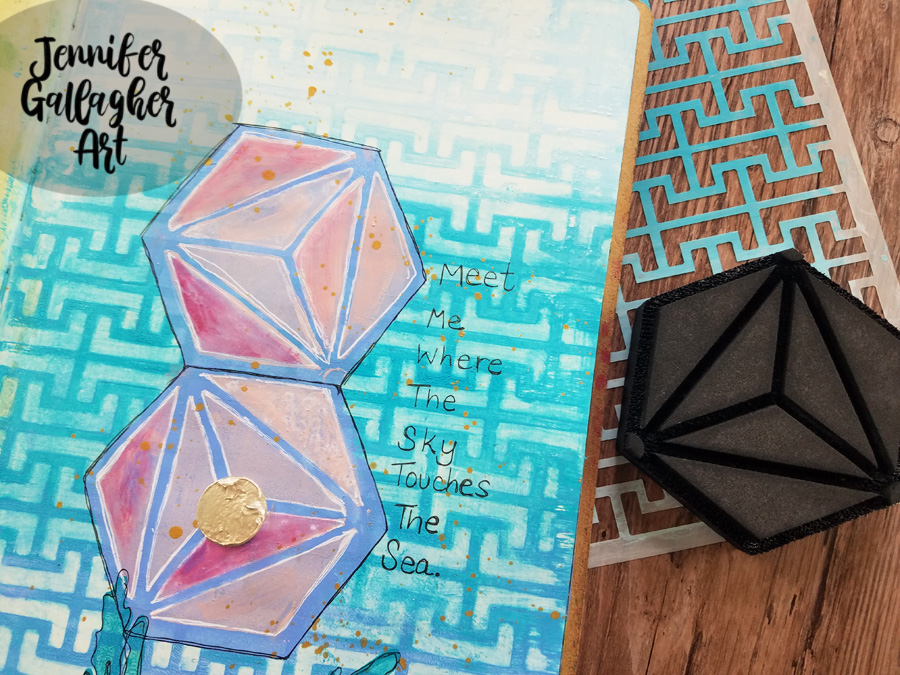
First, I prepped a page in my Dylusions journal with a coat of clear gesso. Then, I started the page by laying down a background in a gradient using Nat’s Hamburg stencil to give the impression of geometric waves. I laid down dots of acrylic paint down the center of the page to create a gradient of color. I used titanium white, cobalt teal hue, and light blue violet. Using a large brush I swiped back and forth across the page starting with the white and working my way down.

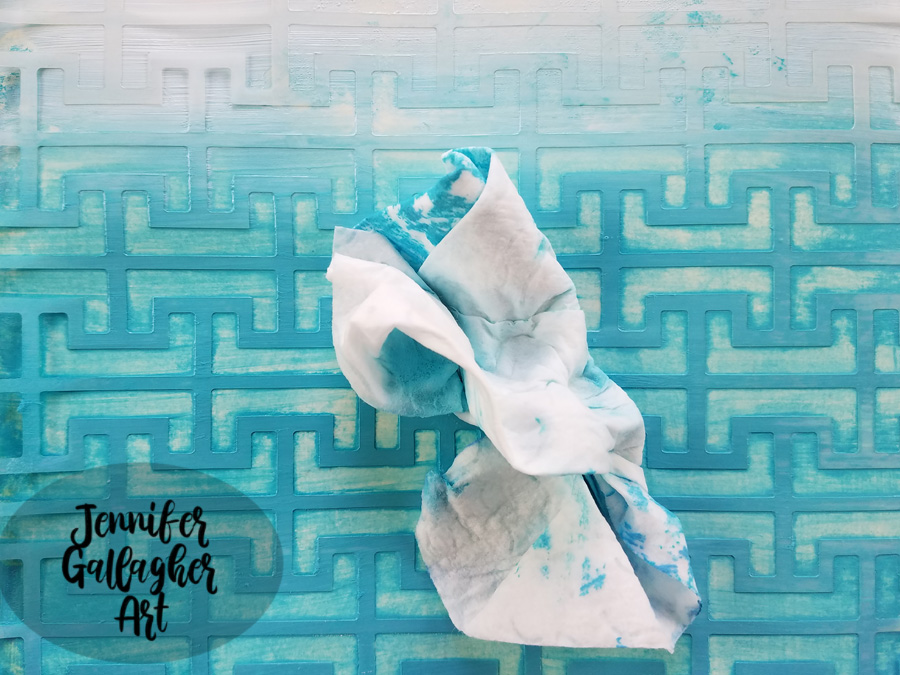
Next, I laid down Nat’s Hamburg stencil over the paint. You want to move quickly with this process as acrylic paint can dry rather quickly. While the paint was wet I removed paint through the stencil with a baby wipe.

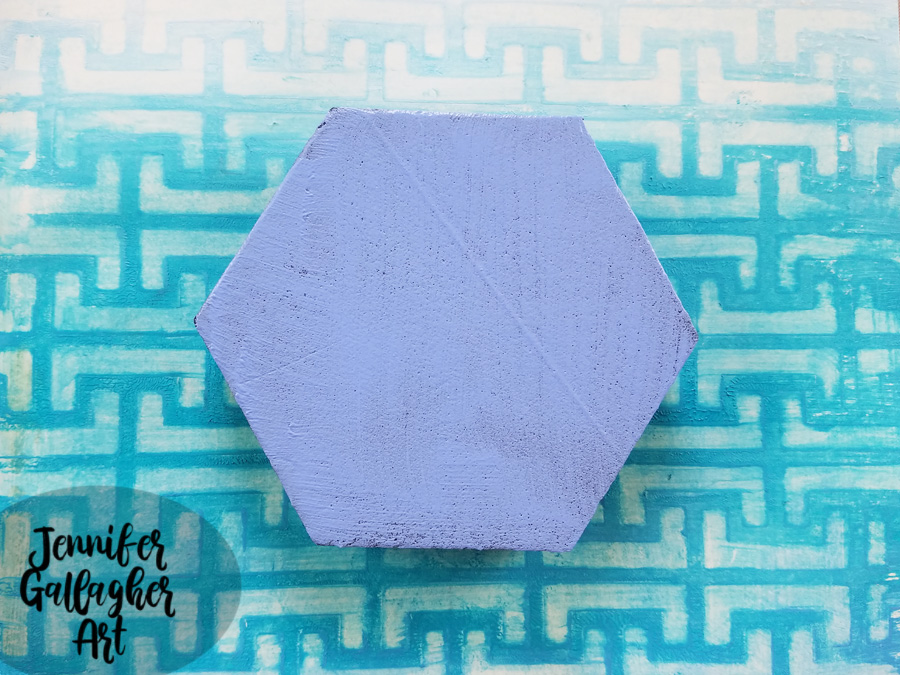
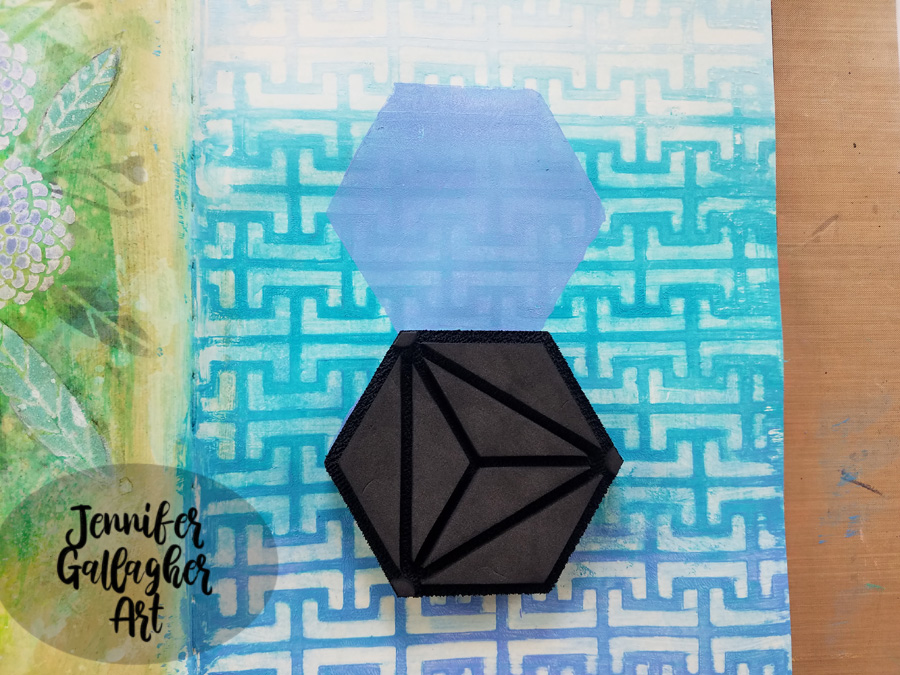
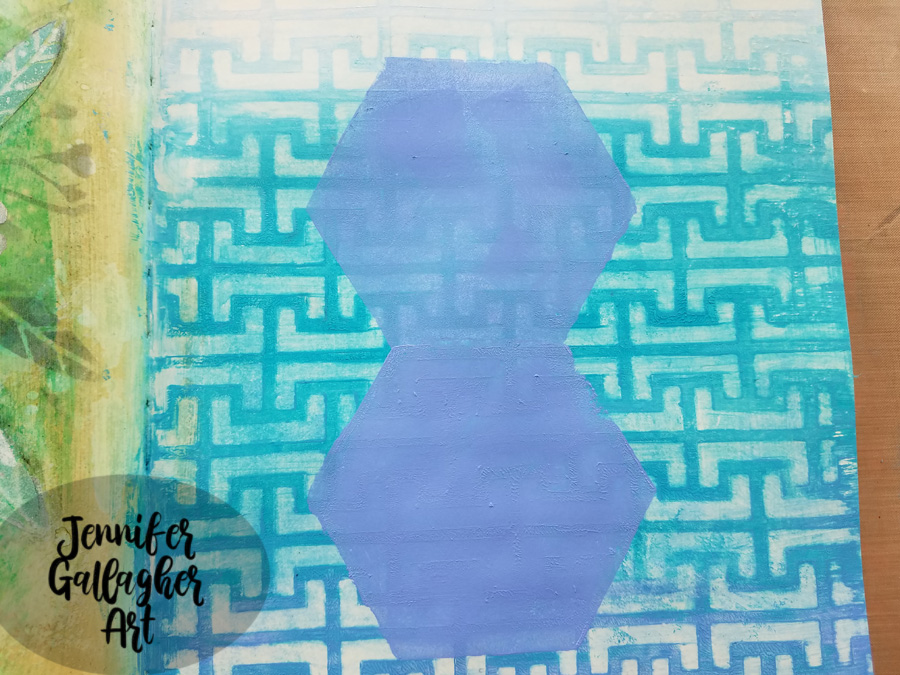
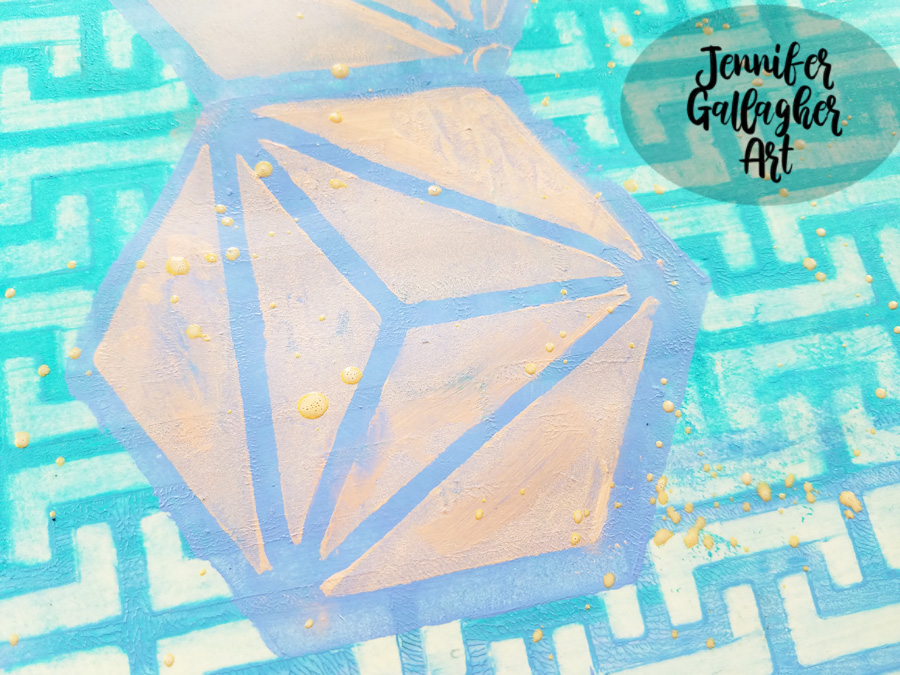
My focal image is a clam with a pearl inside. So, first I applied light blue violet paint to the back side of Nat’s Diamond Hex artfoamie. I then pressed it onto the page as the top piece of my open clam shell. I then repeated the process, connecting the bottom of the shell to the top.

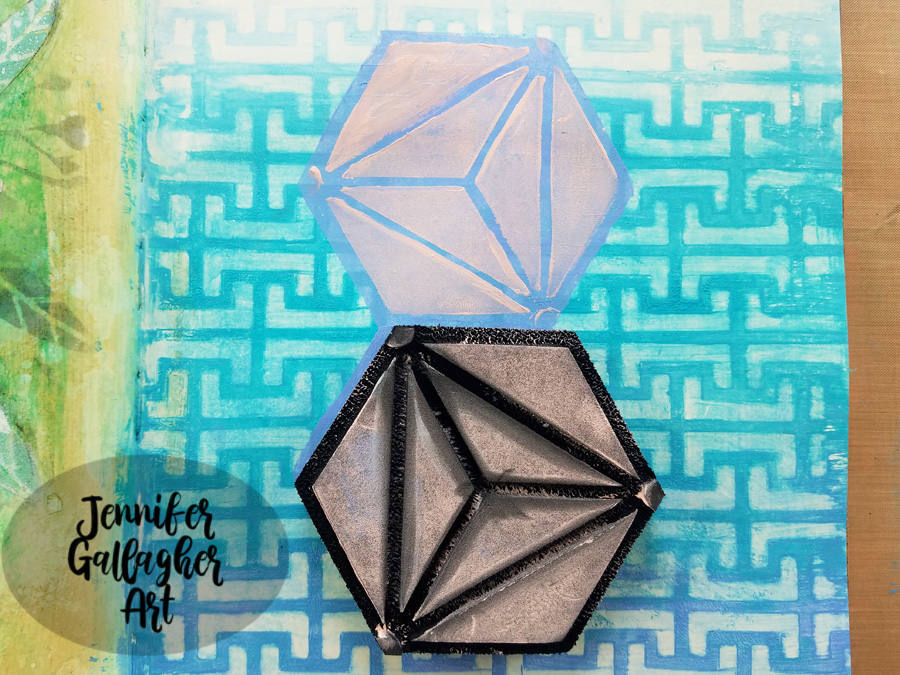
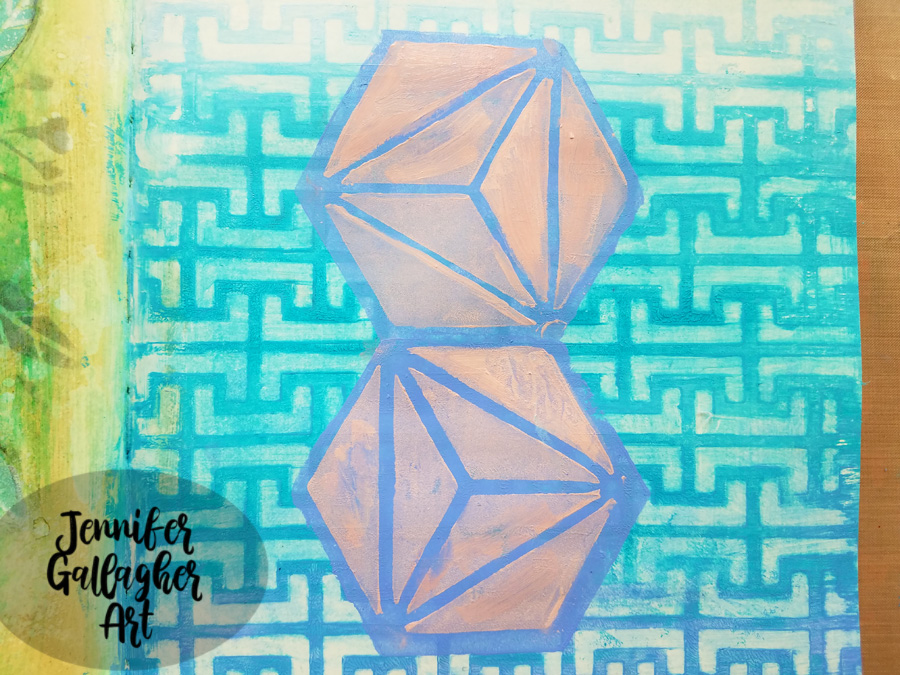
After the shell pieces have thoroughly dried, I applied Portrait Pink acrylic paint for the right side of the artfoamie and pressed the design onto the top and bottom of my clam shell.

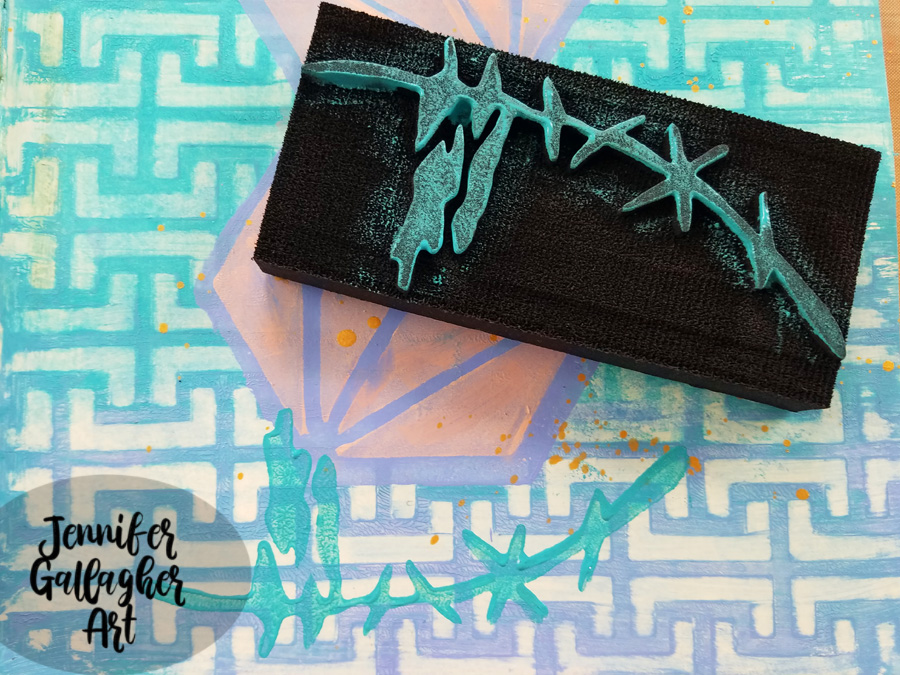
I added a spritz of Marabu Art Spray in gold for a little sparkle. I also used Nat’s Groovy artfoamie with cobalt teal hue acrylic paint for a little touch of seaweed.

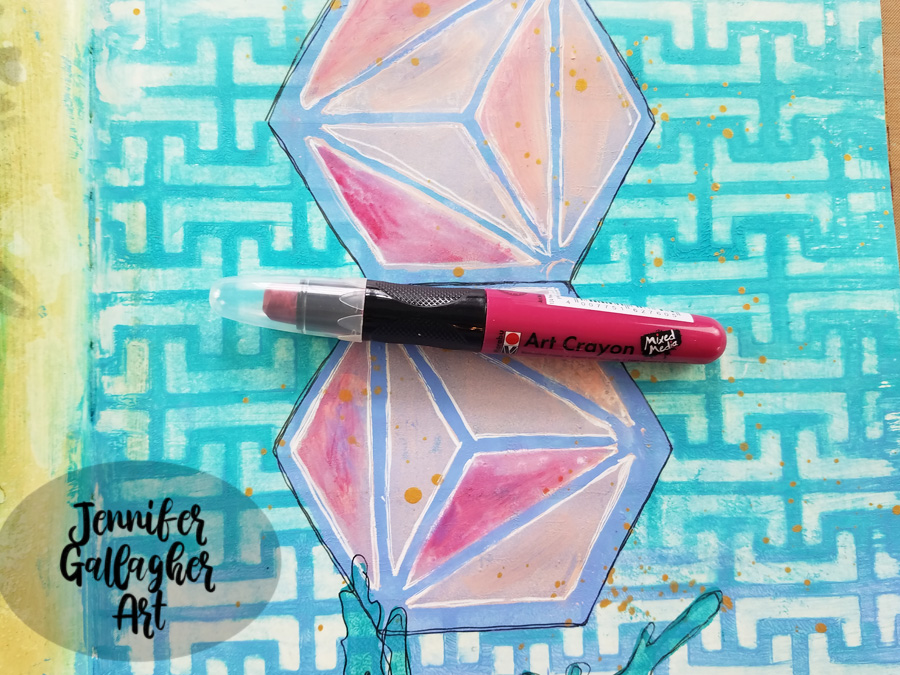
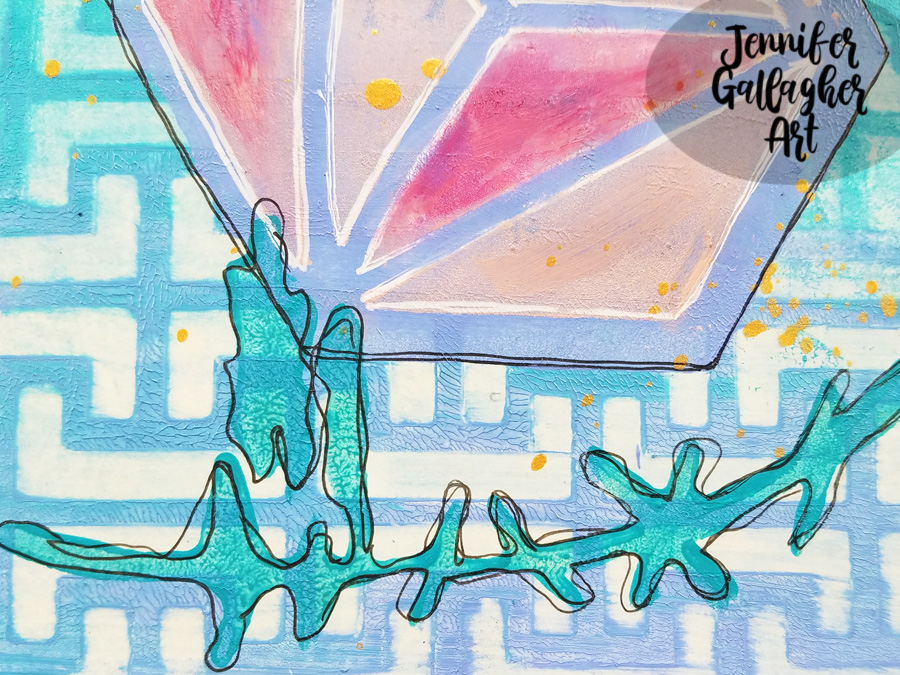
Next, I added some simple touches to pump up the visual volume. I added a little Marabu Art Crayon in pomegranate with a wet brush so the pink wouldn’t look so flat. I also doodled around with a black and white gelly roll pen.

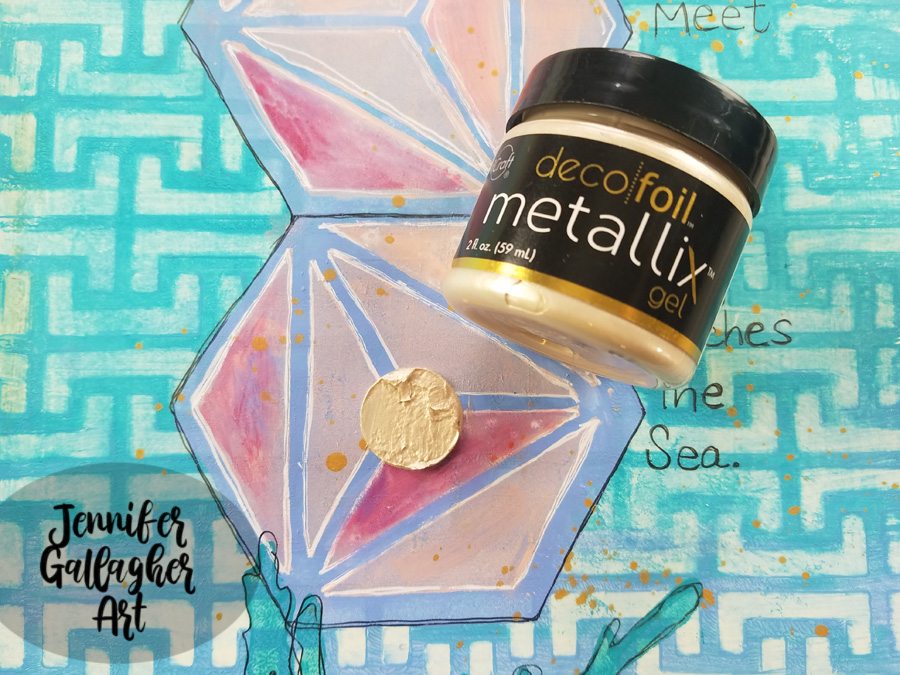
The final touches include a quote about the sea and a pretty pearl to sit inside our clam shell. Using a gelly roll pen, I wrote a nice sentiment in my own handwriting. Don’t be afraid to write in your own handwriting! Next, I applied some Champagne Mist Decofoil Metallix Gel in a circle inside the bottom shell.

I really love how you can use the backs of your artfoamies as a base for color to build your design off of. I hope you have enjoyed this tutorial. Be sure to play along with our theme each month.


Thank you Jennifer – love the idea of a geometric seascape – it’s so in keeping with your style!

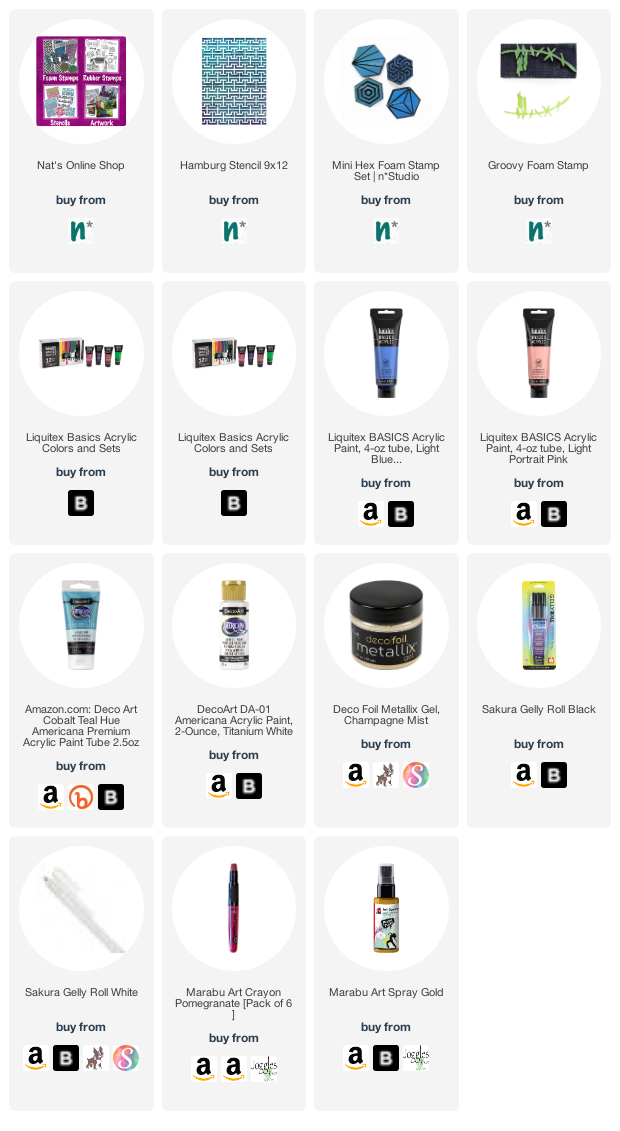
Give it a try: you can find all my Stencils and Foam Stamps in my Online Shop and here are some of the other supplies Jennifer used:

Feel inspired? Working on something yourself that you’d like to share?  I love to see how you interpret our monthly themes. Email me how you used my stencils and stamps with the theme and email me an image – I would love to share your projects in my next  “n*Spiration From Around the Globe“.

Leave a comment

Adventure – Art Journal

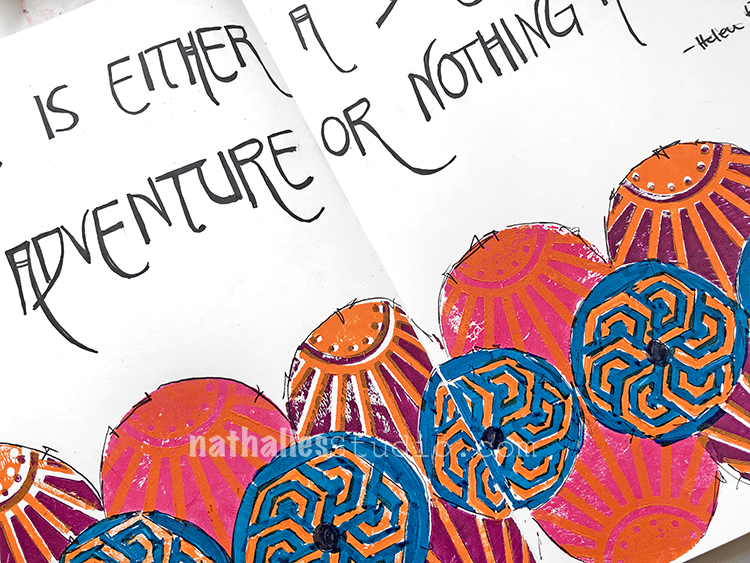
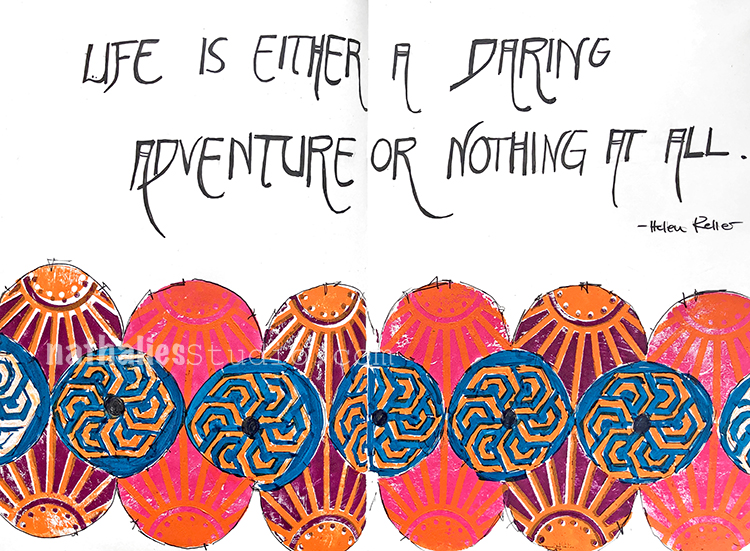
“Life is either a daring adventure or nothing at all.” – Helen Keller

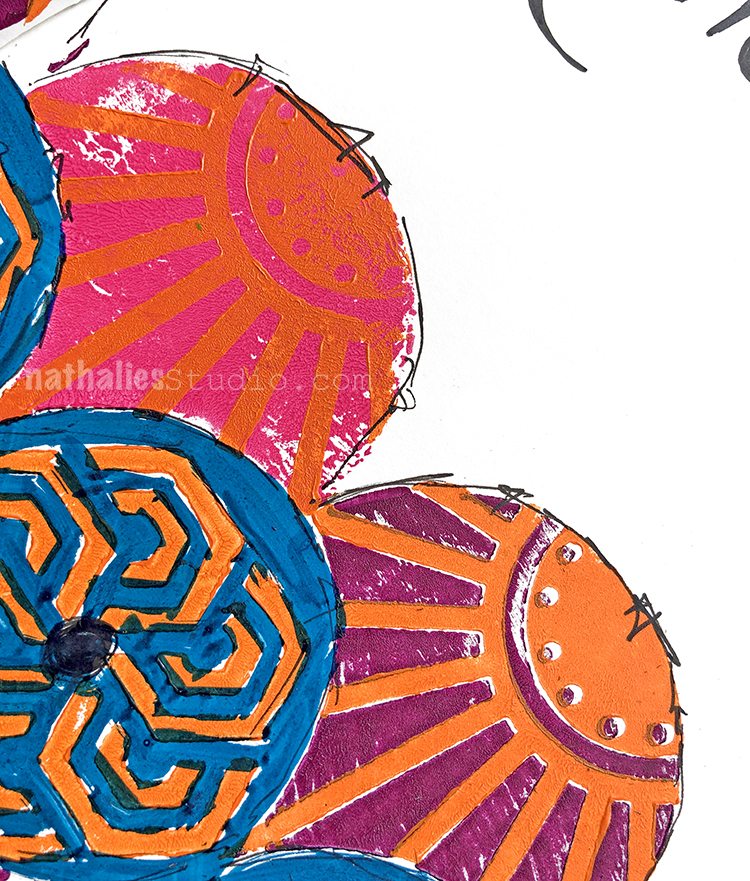
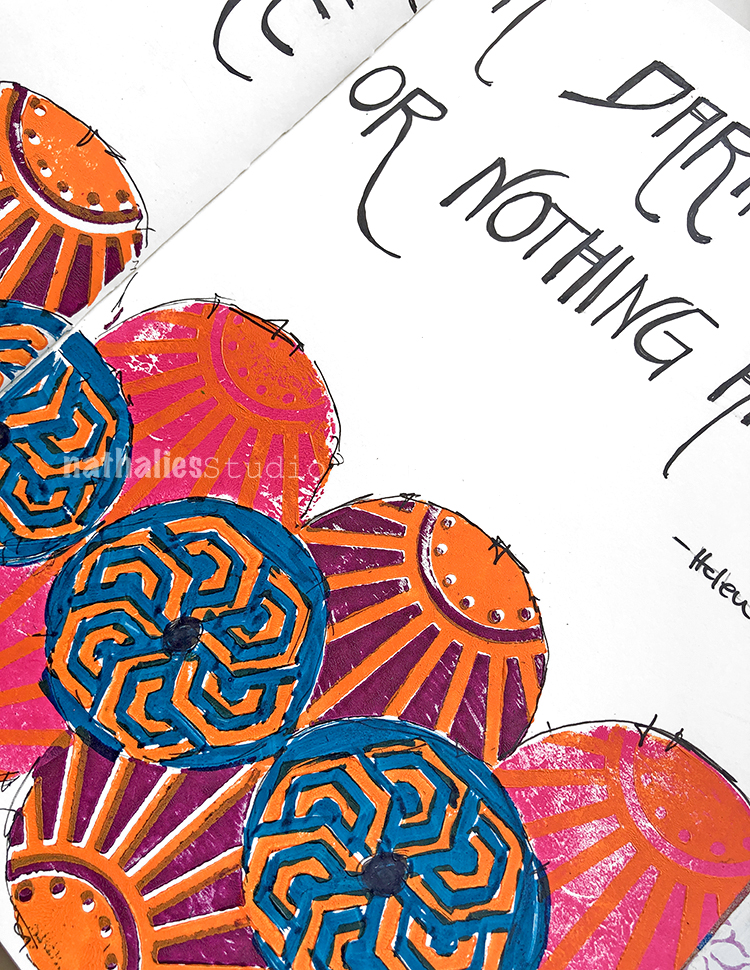
When I was working on my April Patterns series, I found that the fans could be stamped in a row to leave perfect circles in between. So here I used my Broadway Fan foam stamp set and stamped them out with acrylic paint. I also used the back of the fan for a solid fan shape sometimes. Next I stamped my Mini Hex Set in the circle space, and filled in with Holbein markers.

I added some sketchy lines with Winsor Newton Fineliners to define everything a bit more…

… and to tie it visually to my quote.

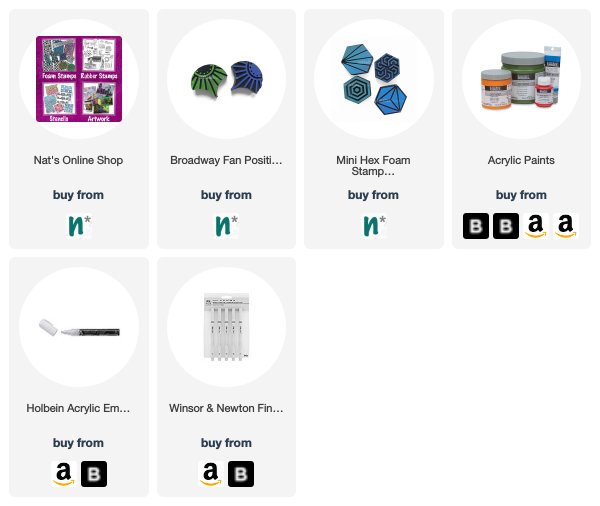
Here are some of the supplies I used:

Leave a comment

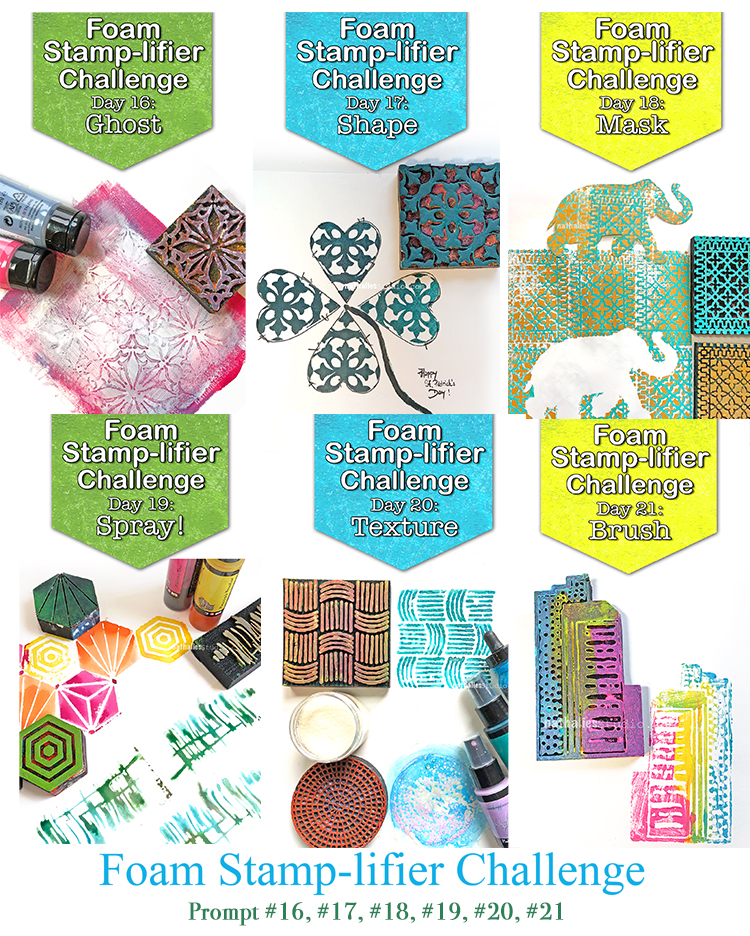
Foam Stamplifier Challenge Prompts 16-21

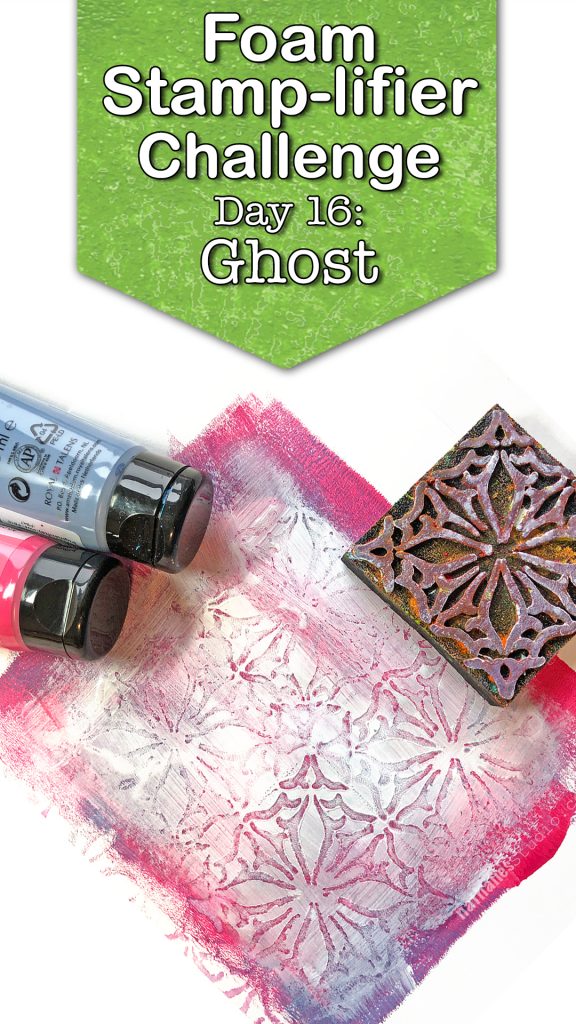
Day 16 – Ghost

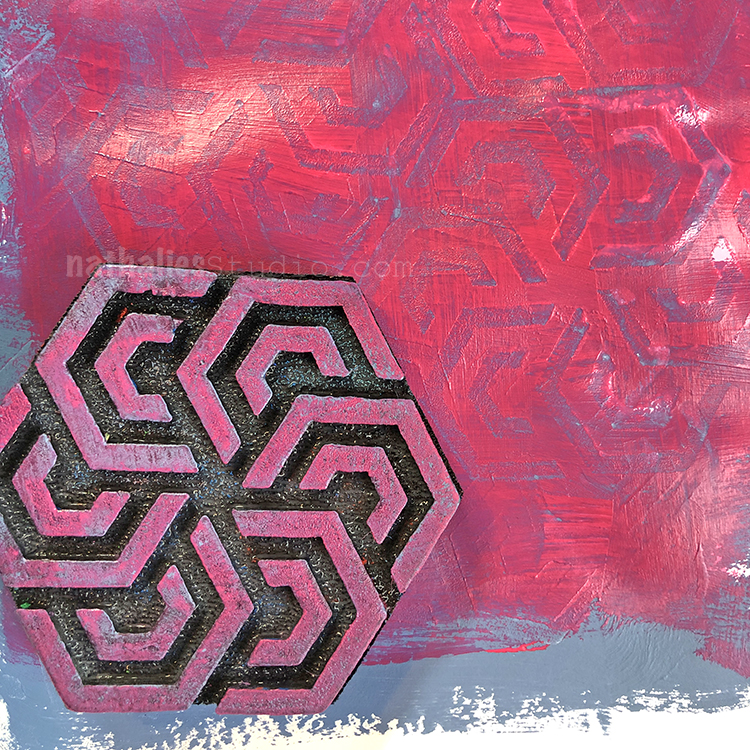
No, no, don’t be scared- this is a friendly Ghost prompt. I love to apply paint on top of a dried paint layer and while the second layer is still wet, I take my slightly wet foam stamp and press it into the paint and lift it.

This will remove the second layer paint partly and create texture making for a subtle and nice imprint and revealing the color underneath. My favorite second color for this is white- it just gives a nice antique plaster effect.

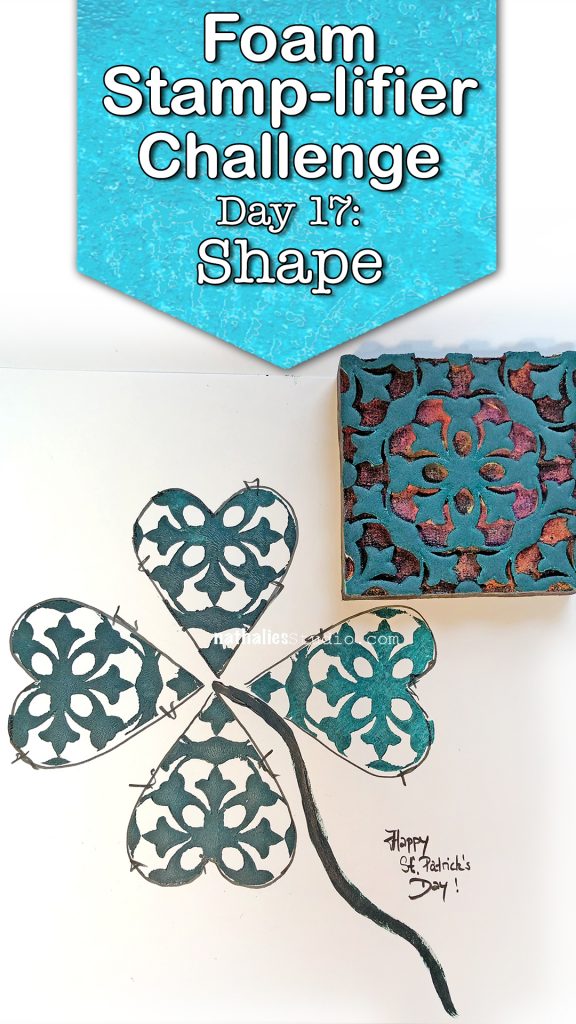
Day 17 – Shape

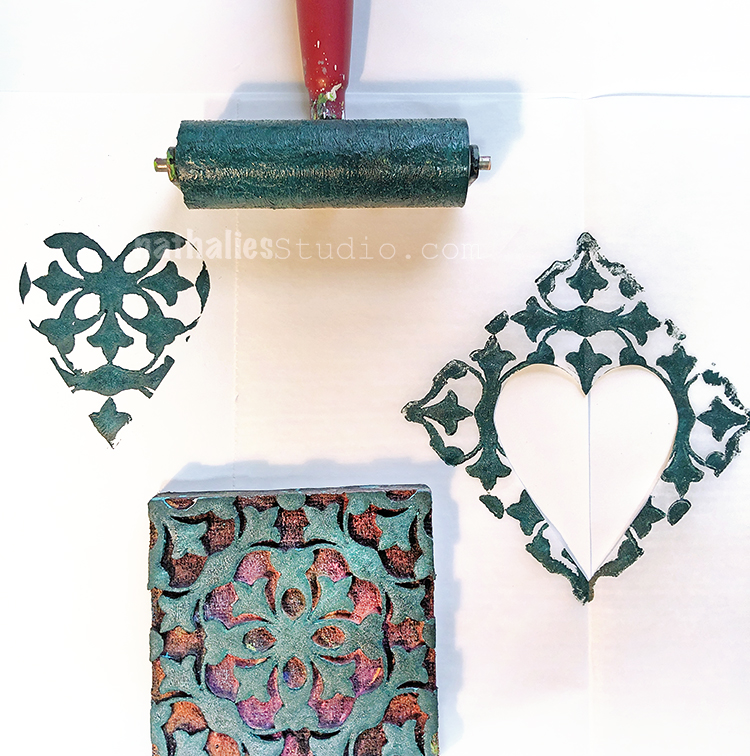
Happy St. Patrick’s Day. I thought this would be a great day to amplifier your stamps using them to stamp out a shape…like a shamrock. Although …I guess I messed it up since a shamrock is a three-leaf clover ….oh well…you can tell I am not Irish- LOL – but hey, I tried.

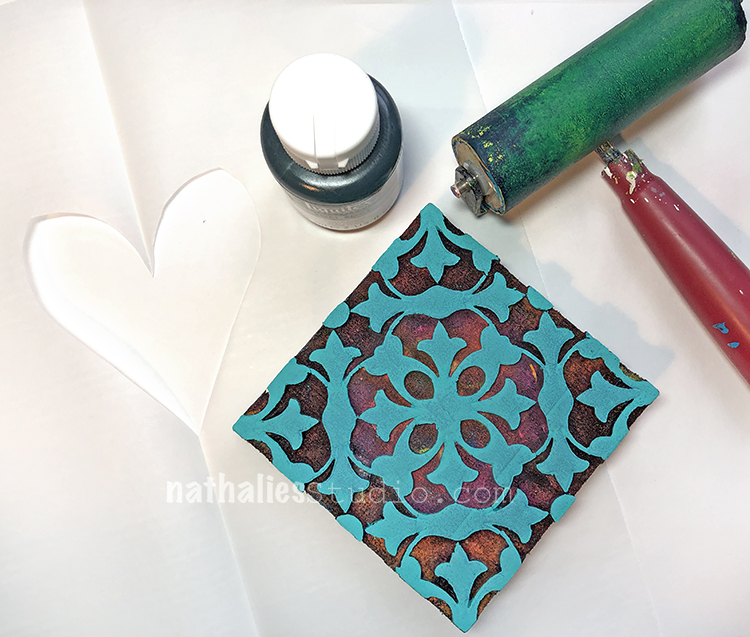
Anyway you can use any shape of course and  you can cut it out of a piece of paper or like I do out of a piece of deli paper. Basically you are creating a stencil.

Then just fill in the opening with either one or more foam stamp patterns, and lift the stencil- the filled in area defining the actual shape.

Day 18 – Mask

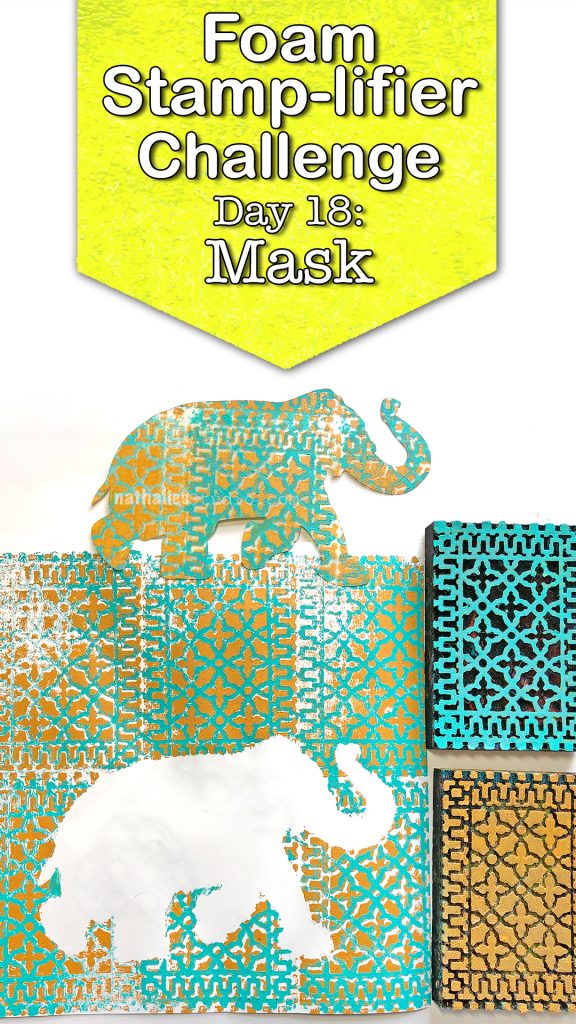
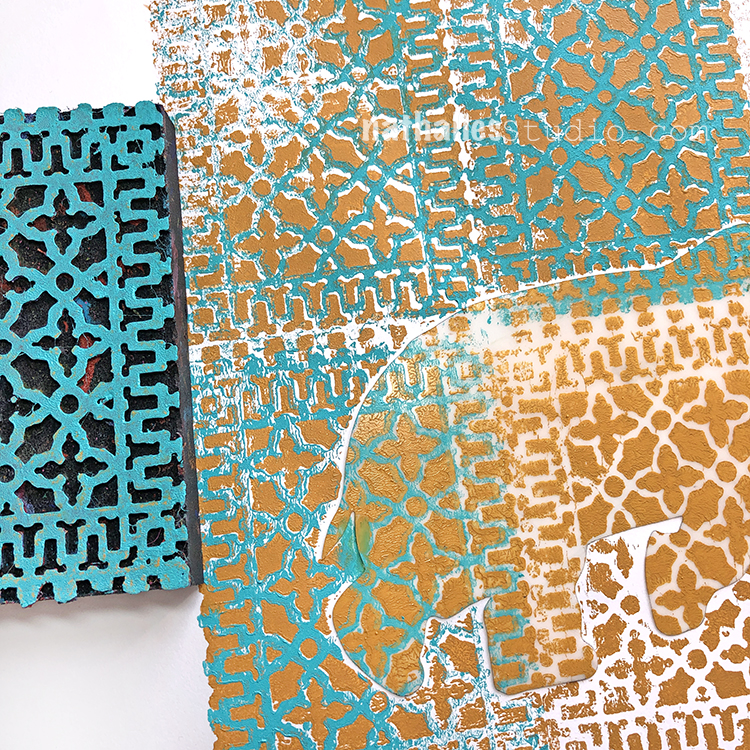
Now of course you can also mask an area off and then define that area by stamping over the mask. Here I used one of my beloved Elephant Masks and my Downtown positive and negative Foam stamps.

You can easily cut out your own mask of course. And voila …there you have a it – love the background. So many options with this.

Day 19 – Spray

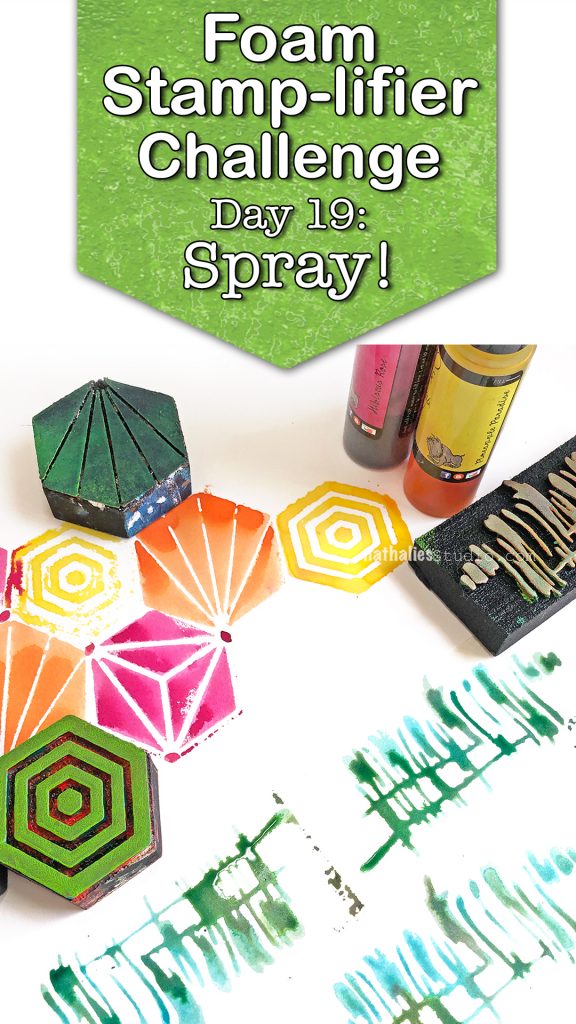
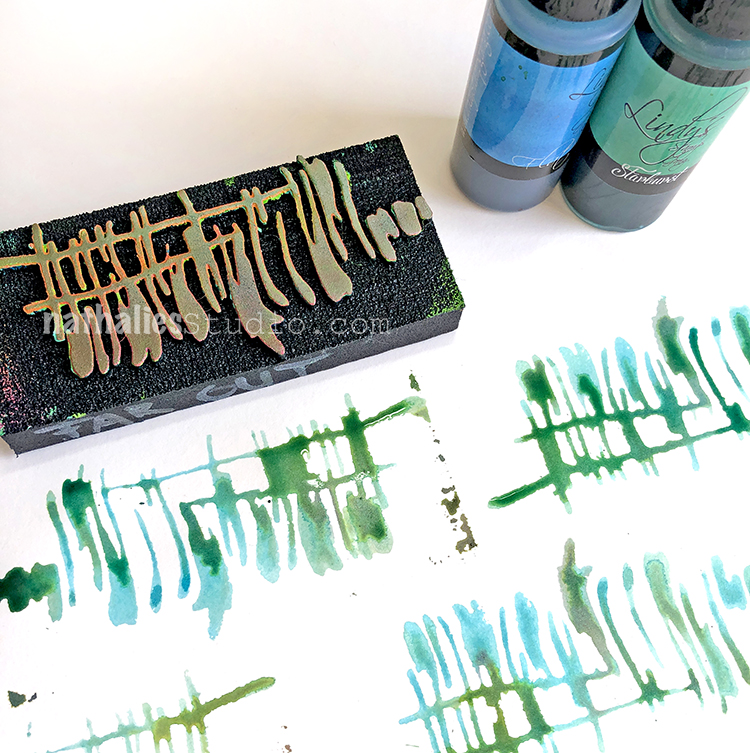
Another one of my super favorite foam stamplifier techniques is to use dye or ink sprays with my foam stamps.

Spray onto the stamps and print – I love the super vibrant watercolor effect this gives. So easy and yet so effective!

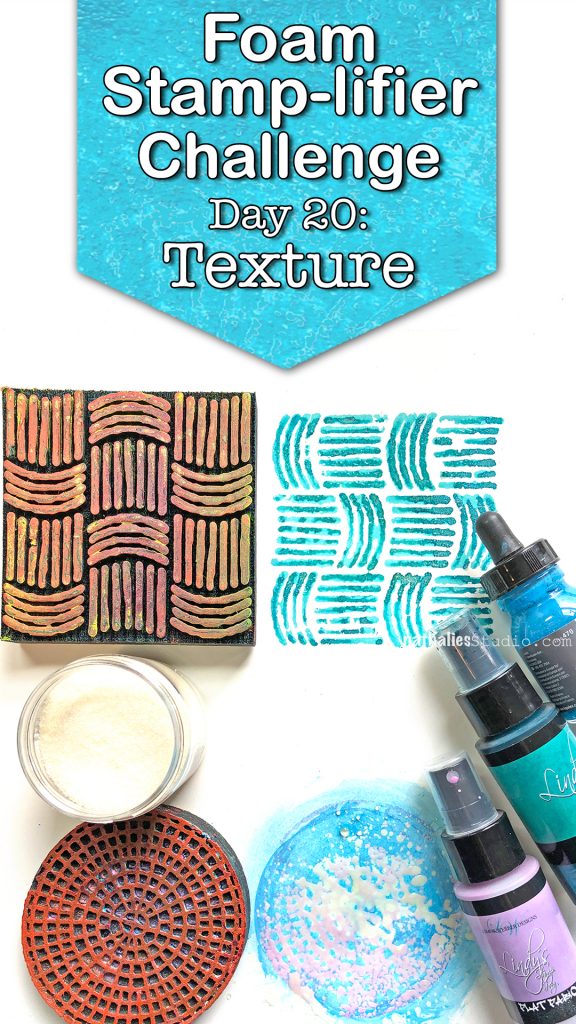
Day 20 – Texture

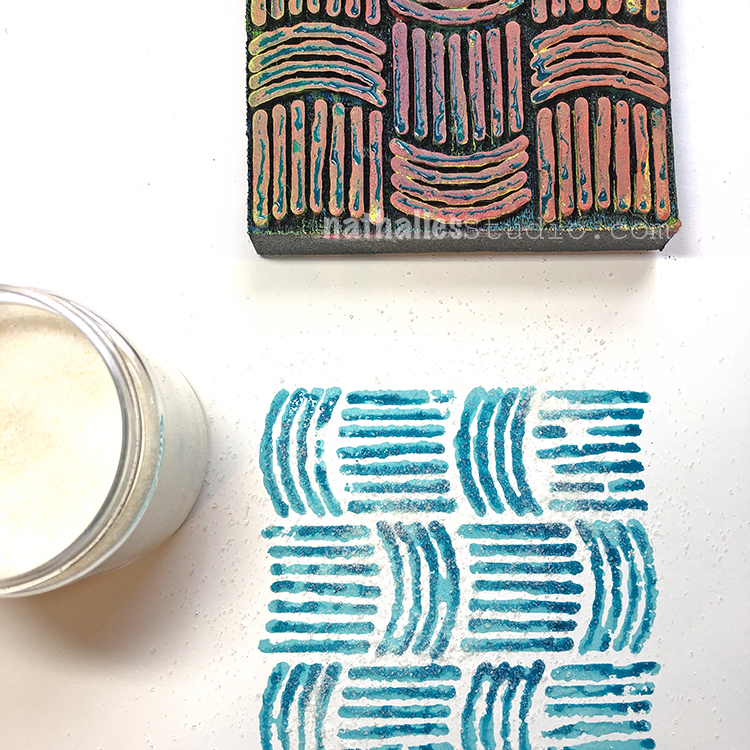
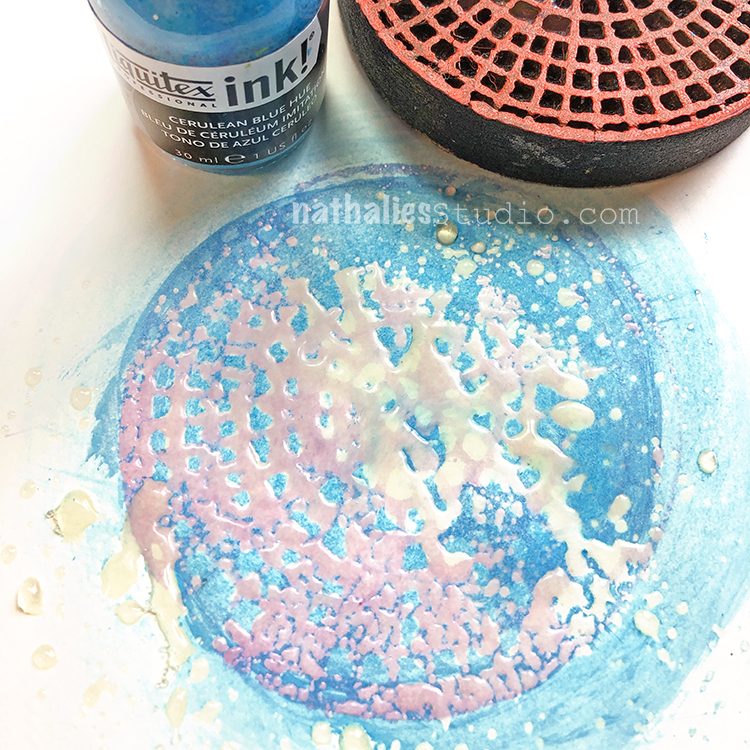
Another one of my old foam stamplify favorites. Use the spray paint we used yesterday as an embossing agent and create some nice grungy texture.

Spray your foam stamp with dye ink and stamp and while the ink is still wet sprinkle some UTEE or ultra thick embossing powder on top and then heat emboss it.

I love the raised water drop like texture this creates.

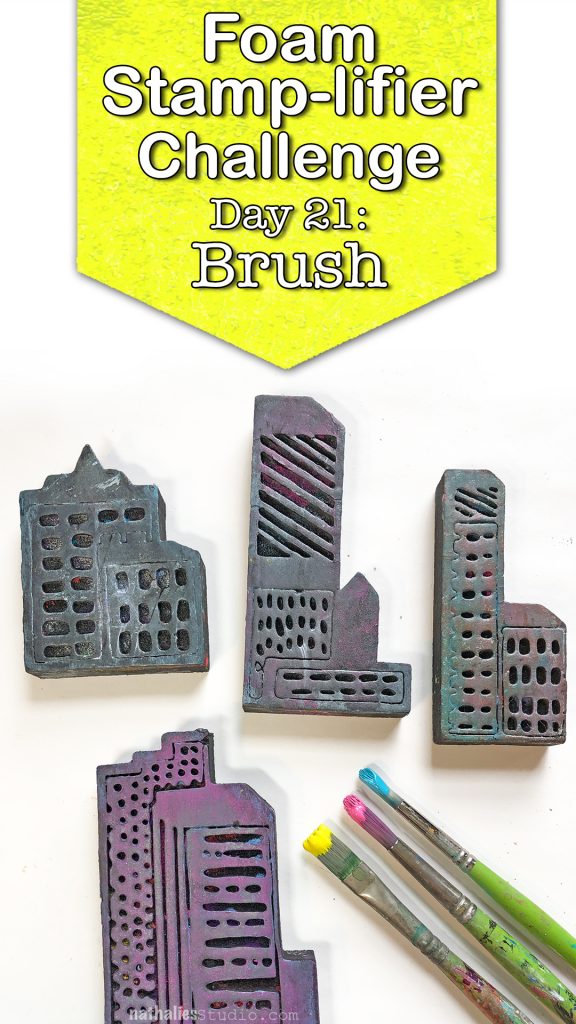
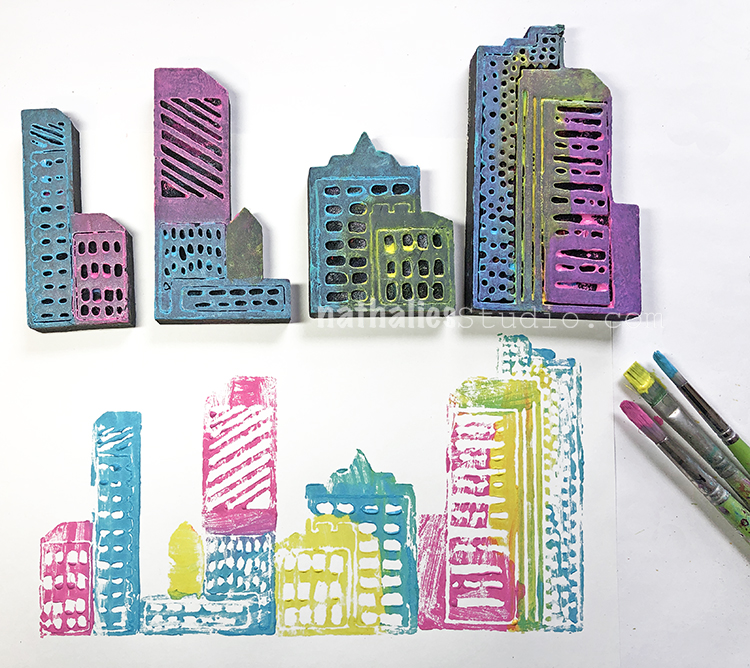
Day 21 – Brush

Using a brush to color in certain areas of a foam stamp is also a cool way to amplify the stamps.

When working with acrylic paint  you either have to work fairly quick in order to prevent the paints from drying to fast or you can use a little bit of retarder with your paints to extend the drying time a bit.

I hope you enjoyed this round of prompts. Here are the stamps I used for those:

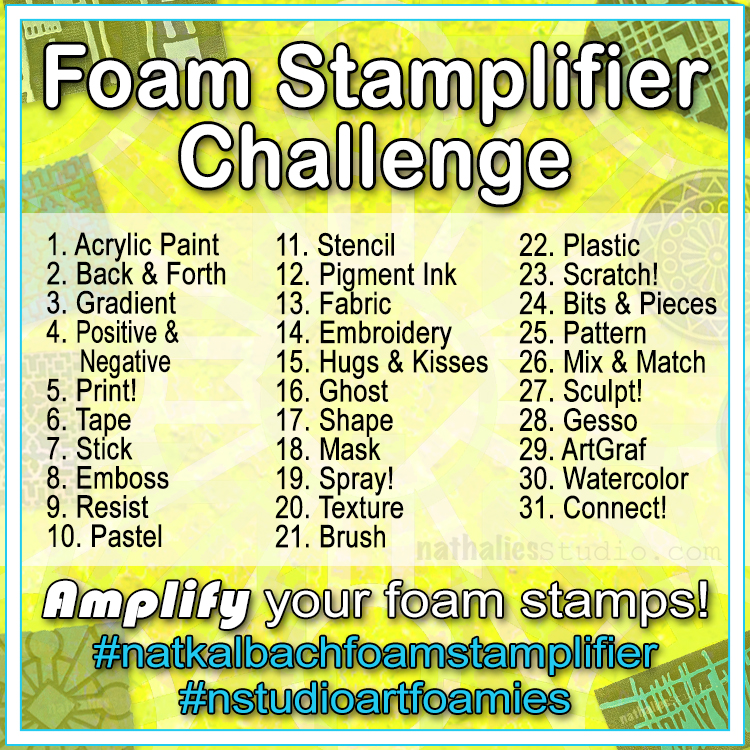
Have you missed the prompt list? Here you go

See you tomorrow for a little Kaffeeklatsch! I’m showing off my new Rubber Stamps and chatting with you on Facebook. See you at 12noon EST :)

Leave a comment

Doin’ My Thing -Jennifer Gallagher


Hello from my Creative Squad! Today we have a post from Jennifer Gallagher to inspire you this holiday season with some creative gift wrapping ideas. Jennifer is using my Mini Clam Hex foam stamp and my Small Circle Jumble stamp set, along with this month’s theme: Doin’ My Thing – We all have a unique artistic style and way of working with supplies. This is the time to rock it! Be yourself. Do your thing.


This month we are doin’ our thing over on the n*Studio blog. So, what is my thing? That is hard to nail down because I love so many products and techniques. Then I realized that using my supplies to create useful items that others will enjoy is definitely ‘my thing’.

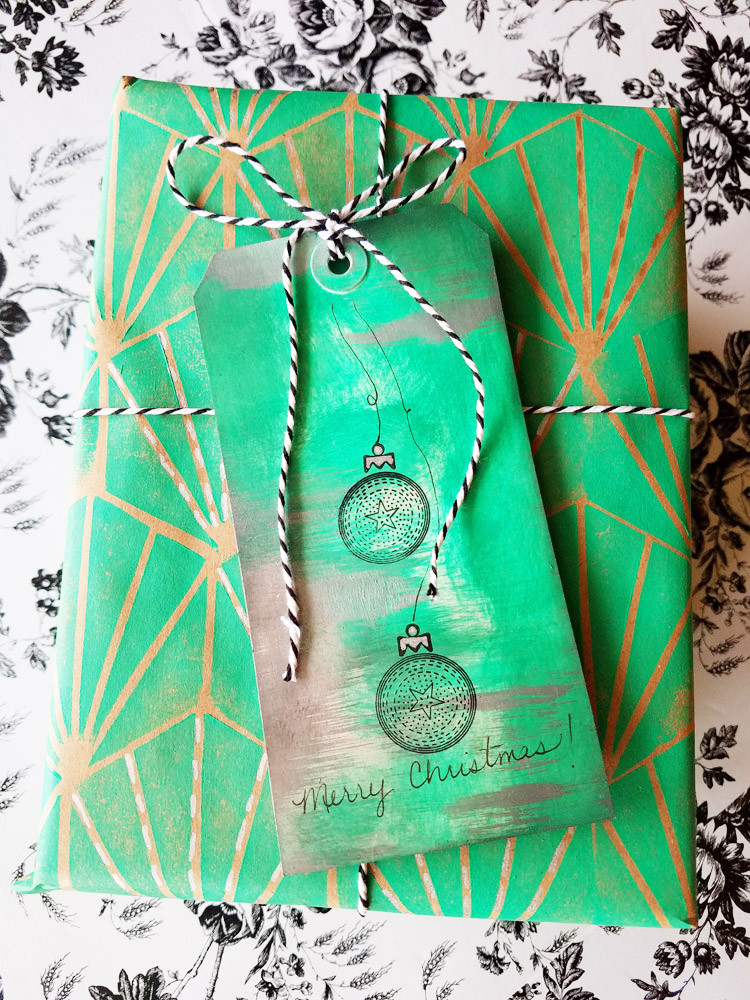
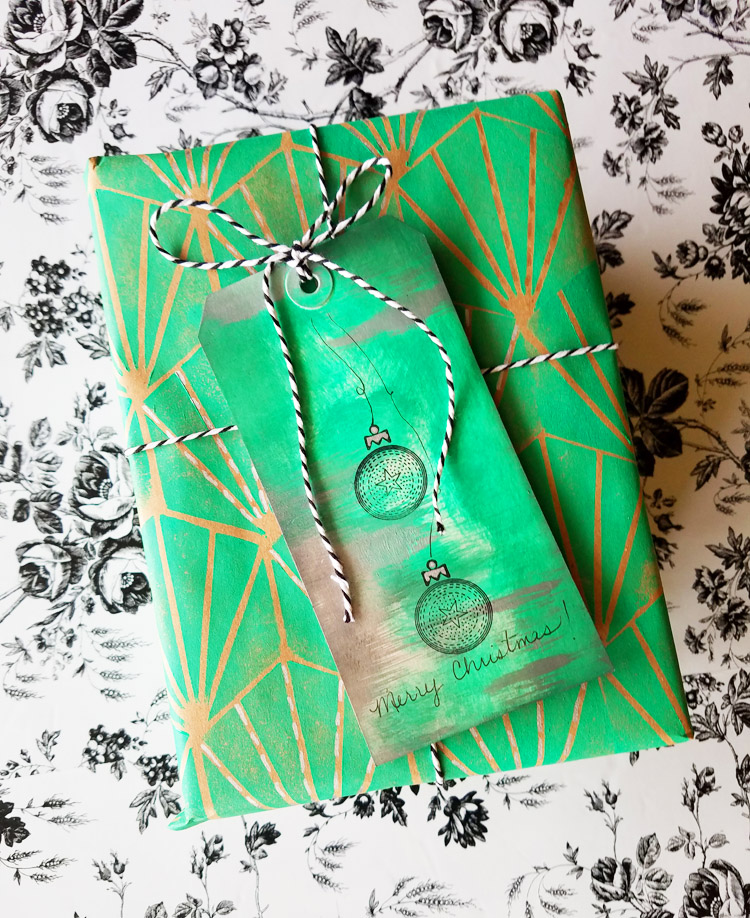
Often when we think of seasonal gift wrapping our minds go straight to decorated trees and snowmen. But who says that you can’t create beautiful, nontraditional holiday wrapping using some of your favorite n*Studio art supplies? Let’s break out our artfoamies and stamps and create some one of a kind paper!

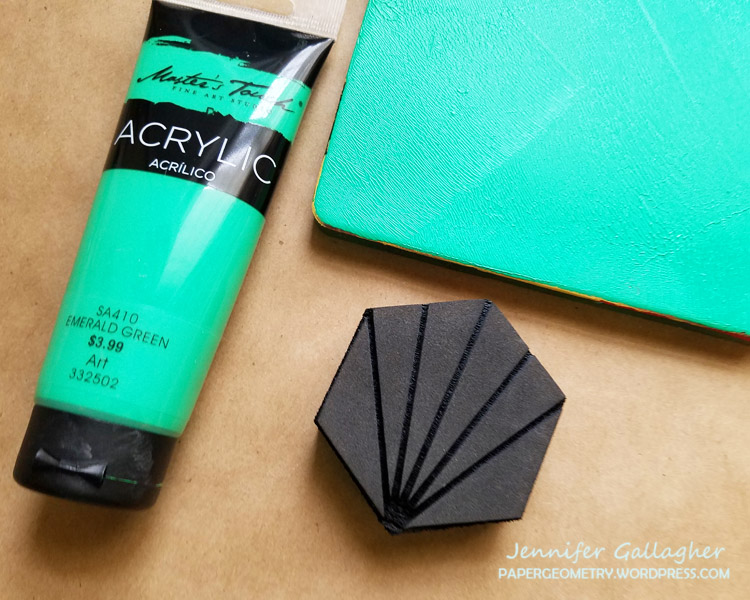
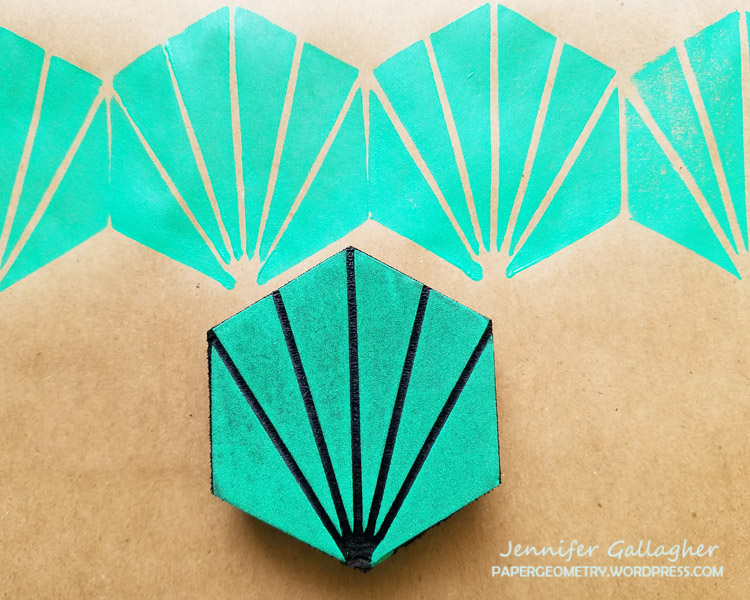
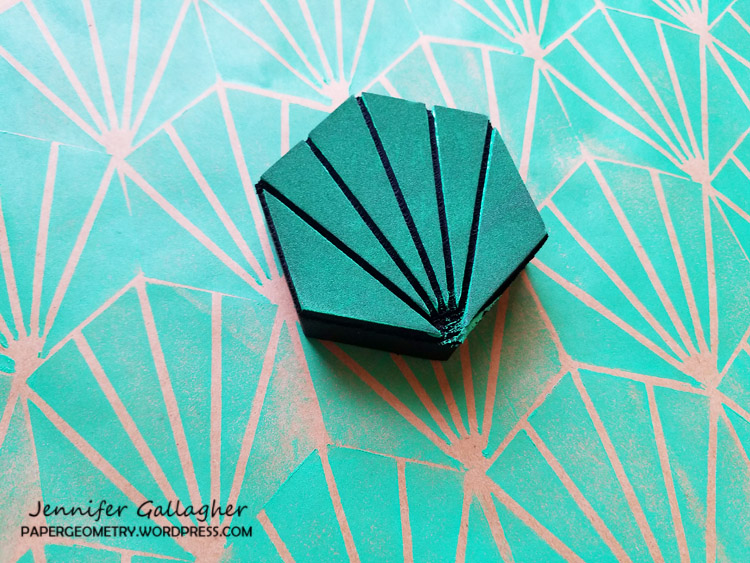
Start with an inexpensive roll of kraft paper. I found mine at a local dollar store. Lay the paper down on a flat surface and tape down the corners and edges with painters tape. This will help keep the paper from rolling up as you work. Brayer out some paint onto your gel plate and press your artfoamie into the paint. I am using Nat’s mini clam hex foam stamp. Now firmly press the stamp onto your kraft paper.

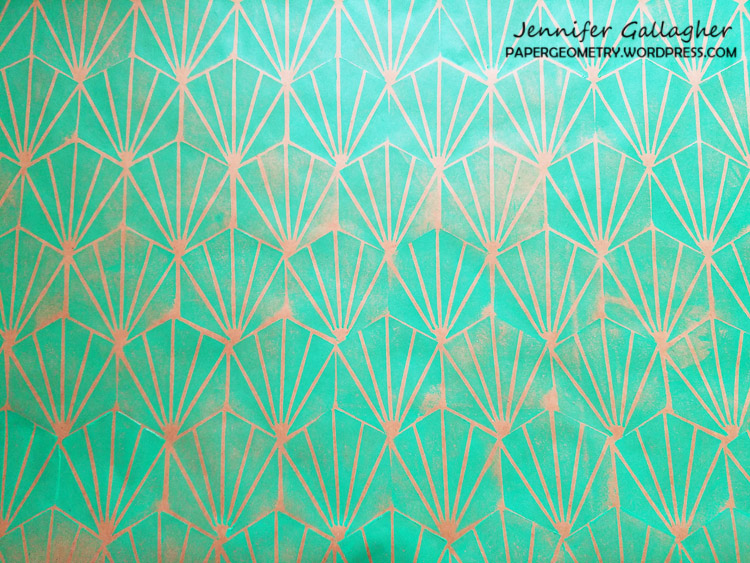
Repeat this process creating whatever design you wish.

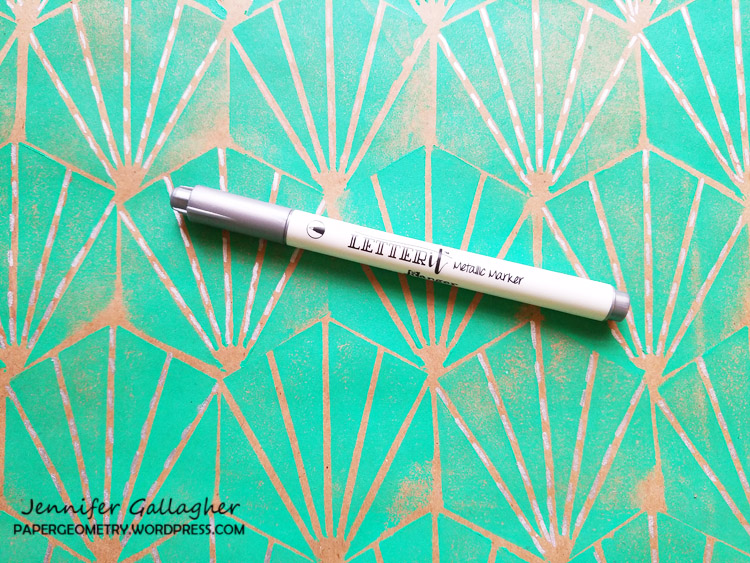
Add some pizzazz and additional interest with metallic markers. I have added dashed lines with my silver Letter It Metallic Marker by Ranger.

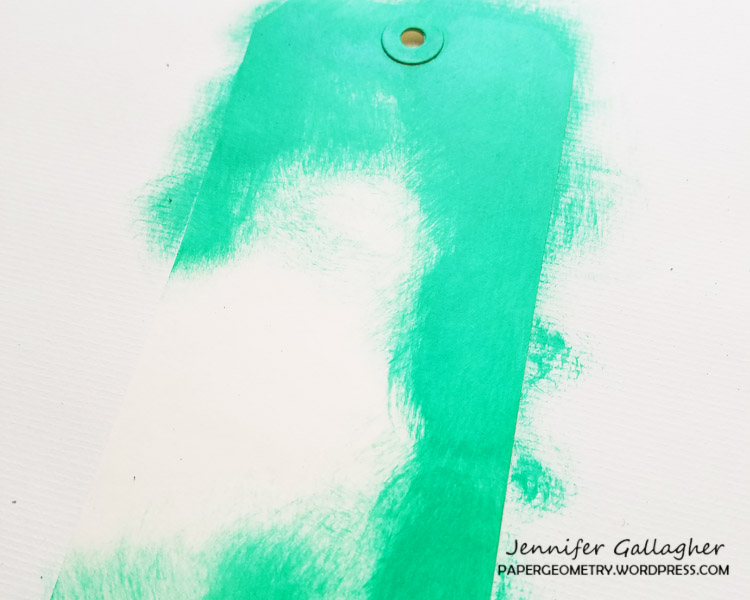
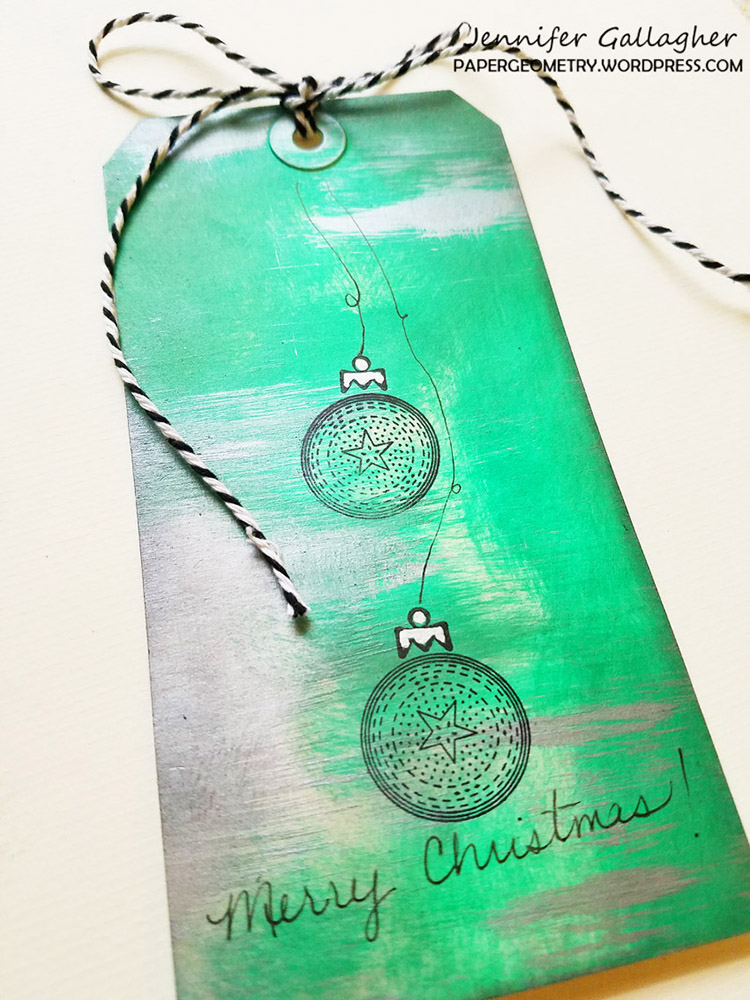
What would a beautifully wrapped package be without a gift tag? Start with a #8 mixed media tag. Apply the same emerald green paint onto the tag in a haphazard fashion using a mini blending tool.

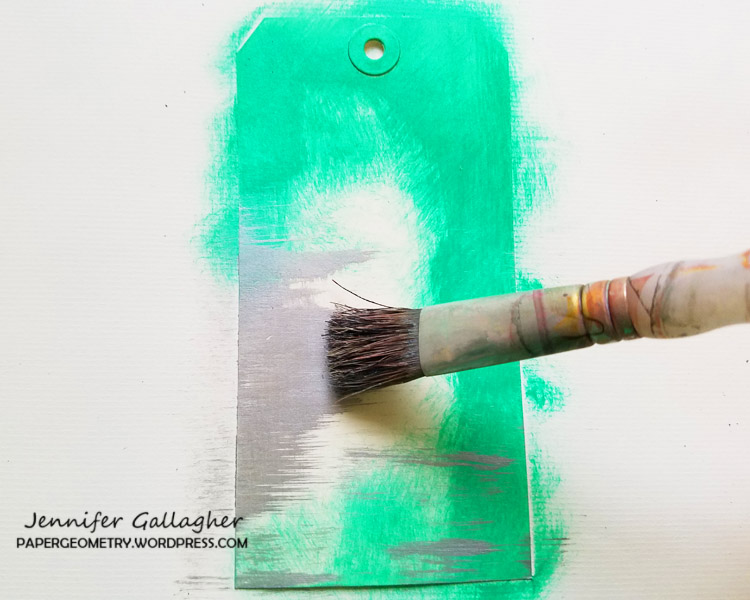
Thinly apply platinum modeling paste with a dry coarse bristled brush in some areas of your tag. You can continue to layer the green acrylic and platinum modeling paste until you achieve an affect you like.

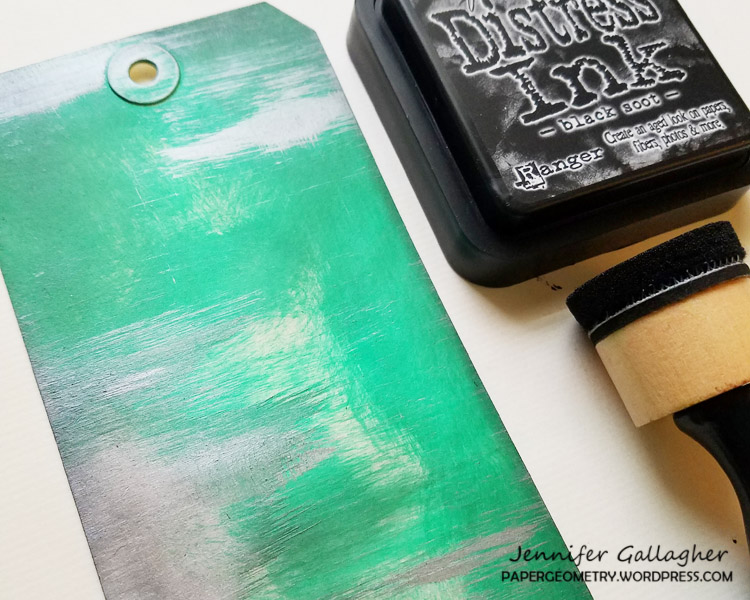
Add black soot distress ink around the edges and throughout the tag to add additional interest.

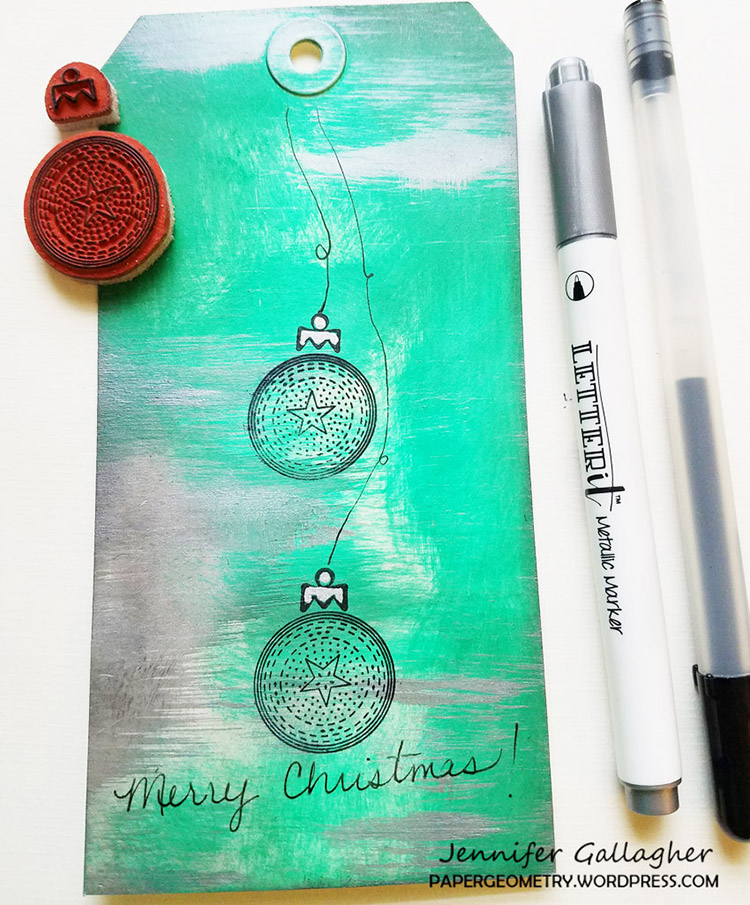
Next, stamp a few of the negative circle drive small stamps from the Small Circle Jumble Stamp Set – don’t forget to add the ornament topper. Draw a few strings from the ornaments and add a little silver highlights.

Thanks for joining us. We would love to see what unique and creative gift wrapping you can come up with using your favorite n*Studio products. And be sure to stop by each Tuesday to see what the Creative Squad is up to.


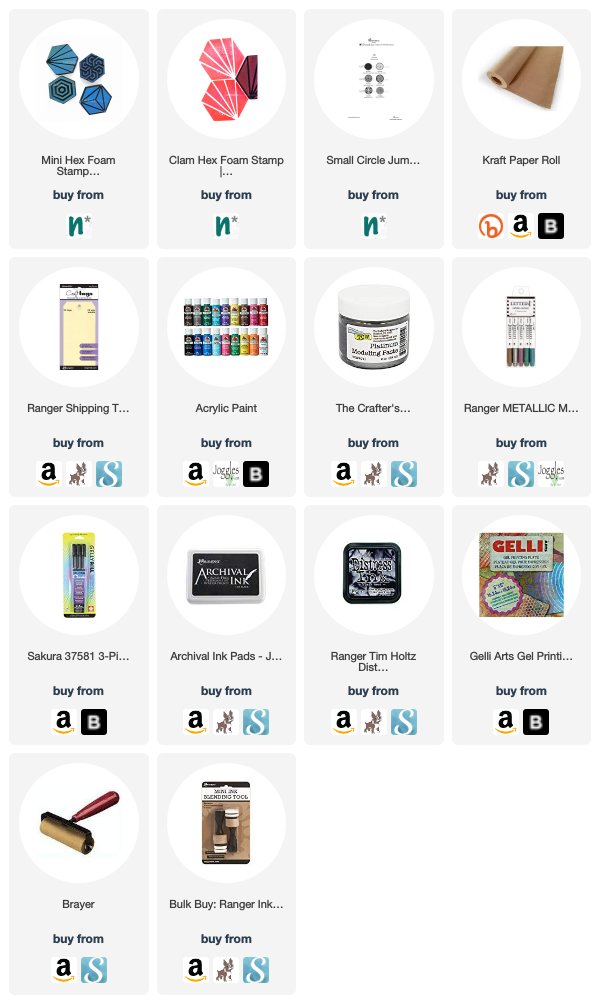
Thank you Jennifer! We can’t wait to try some papers of our own this year. You can find all of my foam stamps and rubber stamps in my online store and here are some of the other supplies that Jennifer used:


Feel inspired? Working on something yourself that you’d like to share?  I love to see how you interpret our monthly themes. Email me how you used my stencils and stamps with the theme and email me an image – I would love to share your projects in my next  “n*Spiration From Around the Globe“.

Leave a comment