
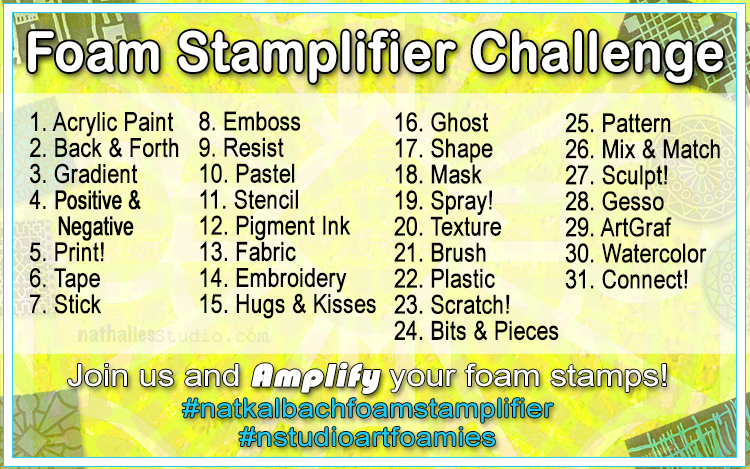
This month my Creative Squad is playing along with my new Foam Stamplifier Challenge: All month long you can follow my daily prompts on Instagram and on the blog to amplify your foam stamps!!! Today Jennifer Gallagher is following the prompt Spray! She’s using my Circle Drive, Signals, Amsterdam, Gnarly, and Mid Century Squared foam stamps to demonstrate the art of making and using a masterboard!
All month long the Creative Squad is playing along with Nat’s Foam Stamplifier Challenge. Today’s prompt is “Spray!” So I pulled out my favorite spray inks, Dylusions ink spray by Ranger Ink, and all of my n*Studio foam stamps and got to work. This tutorial will walk you through using water-reactive spray inks and artfoamies to create a beautiful masterboard. Knowing how to create a masterboard will make quick work of backgrounds for Artist Trading Cards and Coins, greeting cards, and more.
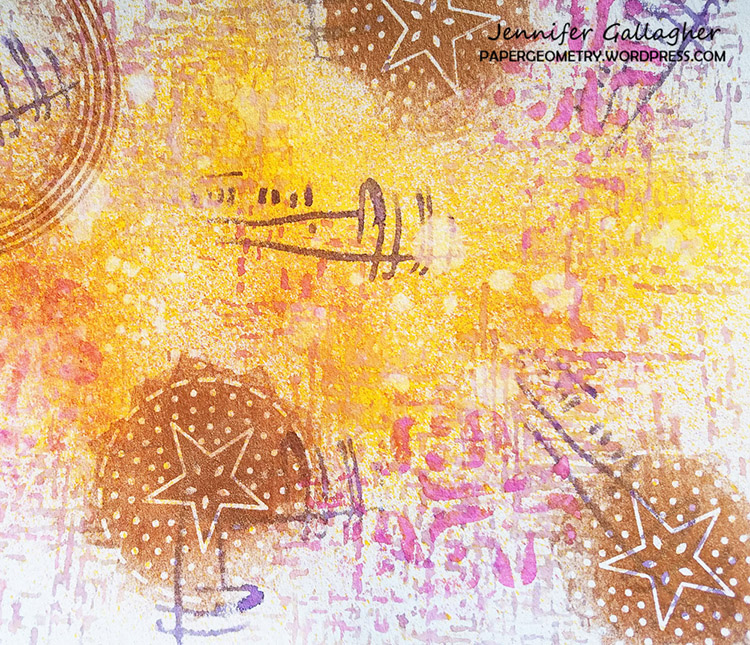
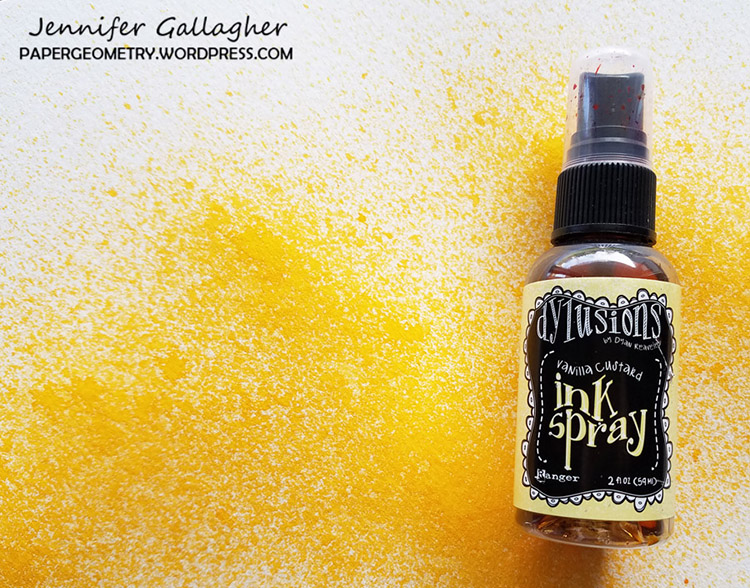
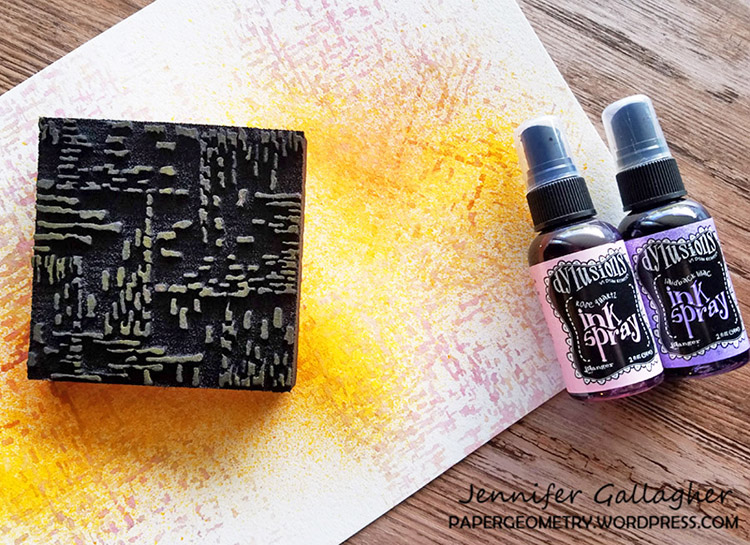
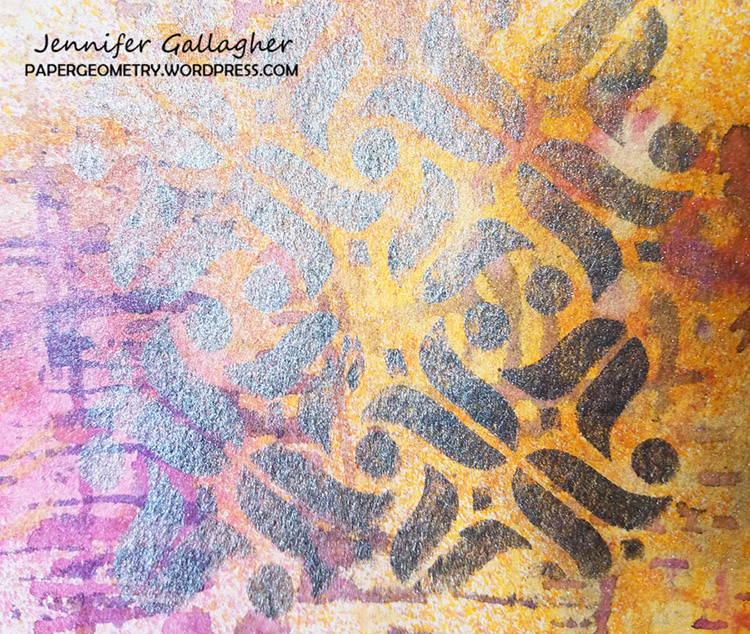
Begin with a sheet of heavy watercolor paper. Spray a little of Ranger’s vanilla custard ink spray leaving white space here and there. Next, using Nat’s new Signals foam stamp, spray the stamp with rose quartz ink spray and press the stamp in a few places. Mist the foam stamp with a spritz of water and press it into a paper towel to remove the pink ink. Repeat the process again with laidback lilac ink spray.
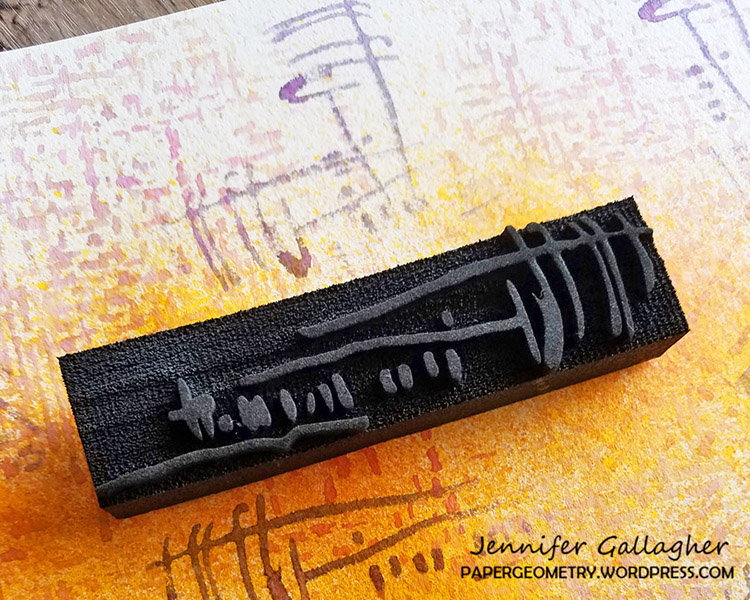
Add some additional detail with Nat’s Gnarly or Mid Century Squared foam stamps by spraying it with laidback lilac and pressing it in various spots around the paper. Once dry, we can remove some of the ink to recover some white space and add additional interest by spraying the Signals foam stamp with water, gently pressing onto an area, and dabbing (don’t wipe) the water left behind with a paper towel.
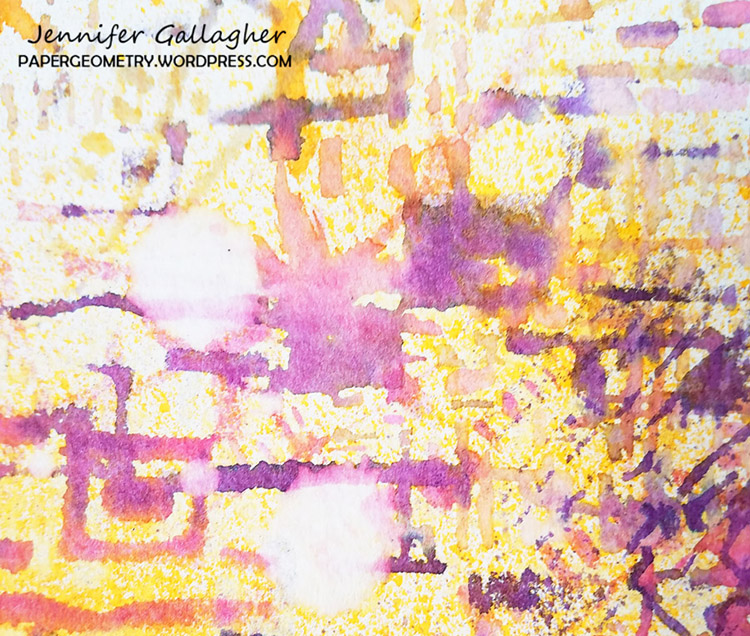
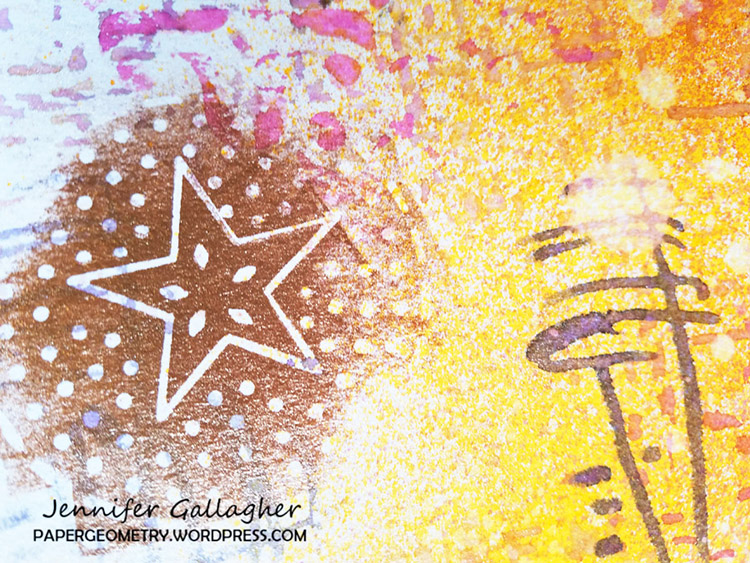
Spray rose quartz ink onto Nat’s Amsterdam foam stamp and press onto the paper.
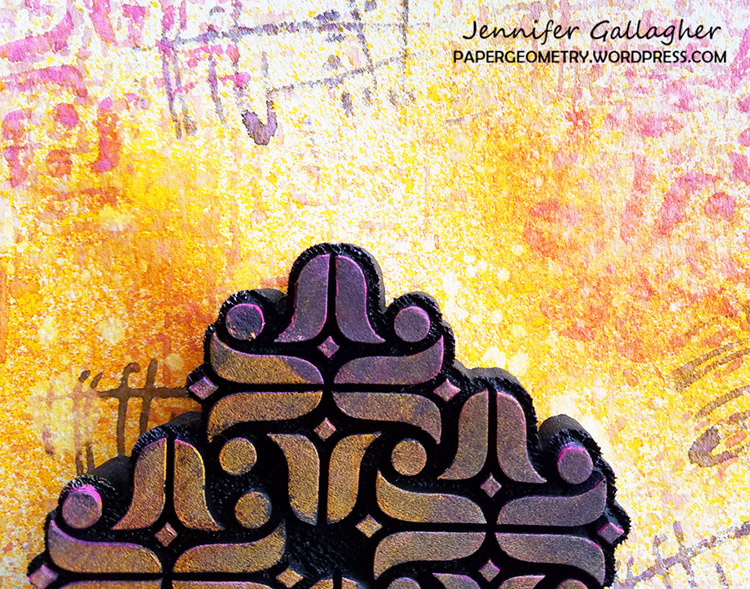
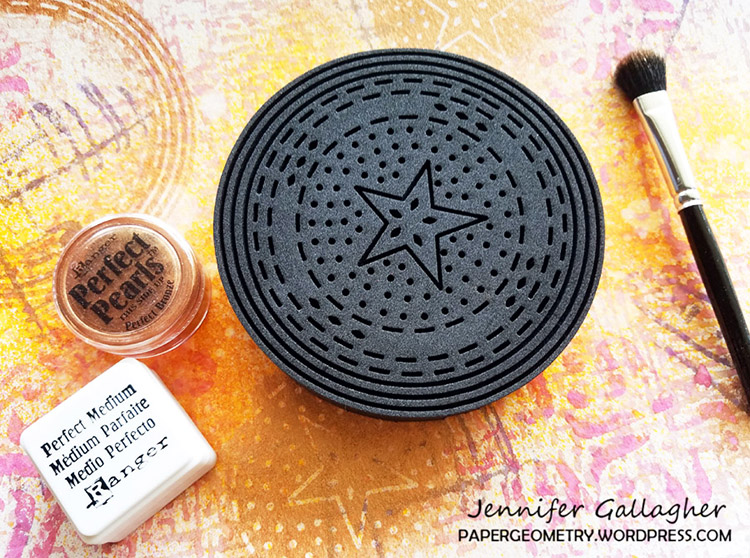
For a fun metallic flair, apply Ranger Ink Perfect Medium onto Nat’s Circle Drive stamp and Amsterdam stamp and emboss with perfect pearls in pewter and perfect bronze.
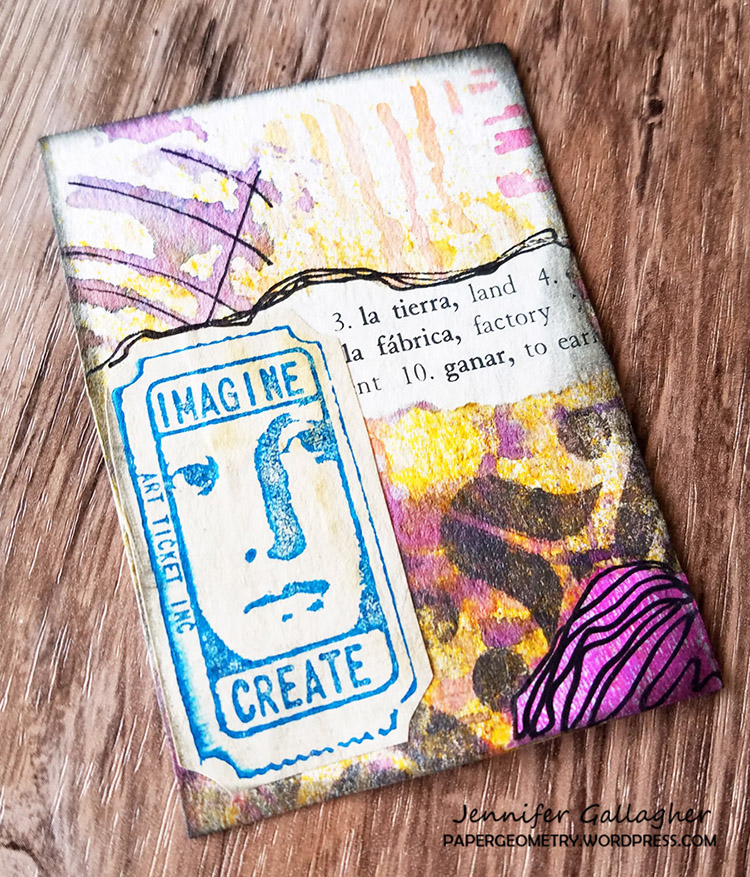
I’ve turned my masterboard into artist trading cards and coins. The possibilities are endless. I hope you’ve enjoyed this tutorial. Be sure to play along with Nat’s Foam Stamplifier Challenge and show us what you’ve created.
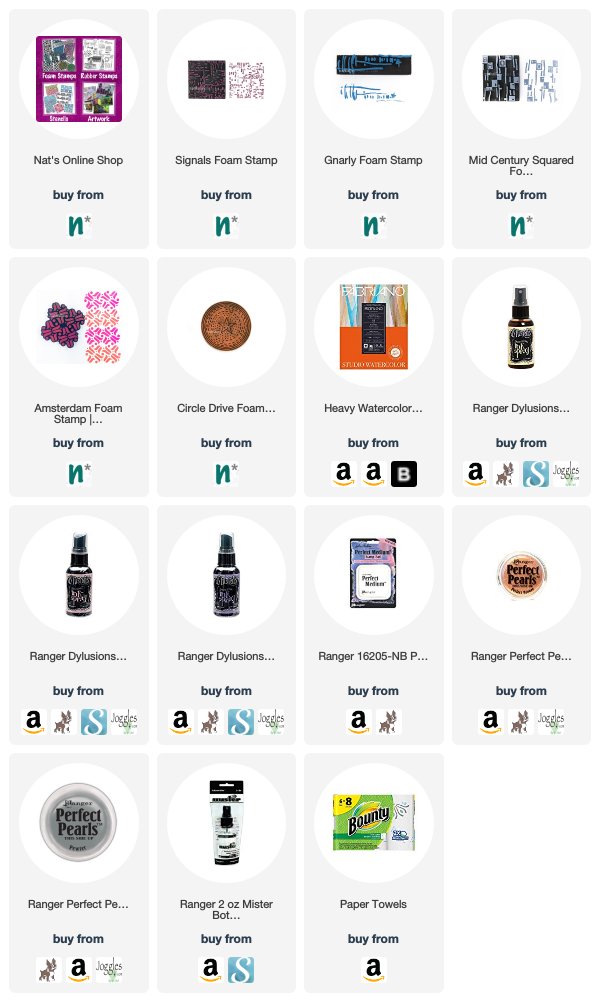
Thank you Jennifer – I love imagining all the possibilities for your gorgeous masterboard! You can find my Foam Stamps in my Online Shop. Here are some of the supplies that Jennifer used:

Feel inspired? I hope you join us for the Foam Stamplifier Challenge this month. As you play along, don’t forget to tag me when you share your creations – I would love to share your projects in my next “n*Spiration From Around the Globe“.