Blog: Foam Stamplifier Challenge

A Look Back – Cool Stuff You May Have Missed 24 – Challenges

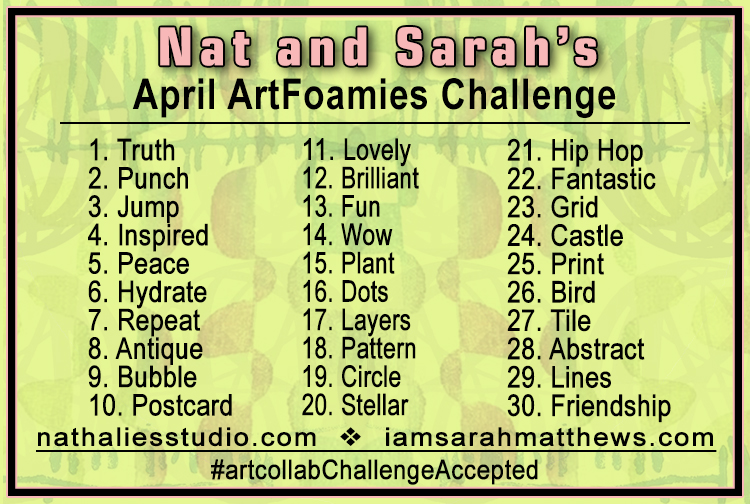
A Look Back – This time I’m looking at different Challenges I’ve created. On April 1st I started Nat and Sarah’s April ArtFoamies Challenge so I hope you check that out on Instagram and here on the blog too throughout April, but that’s not the only challenge I’ve ever dreamed up. Read on for more!

A Look Back is a blog series to show you some projects and posts that you may have missed – sometimes going WAY back in the archive. I think it will be fun to revisit a few ideas that we haven’t seen for a while. I’m excited to see how a little look back might inspire something new in the future :)


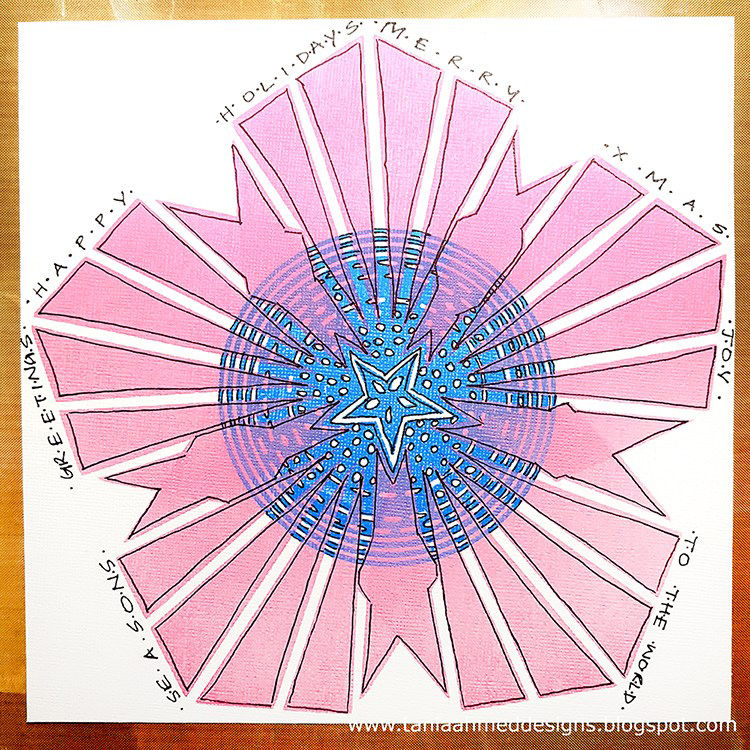
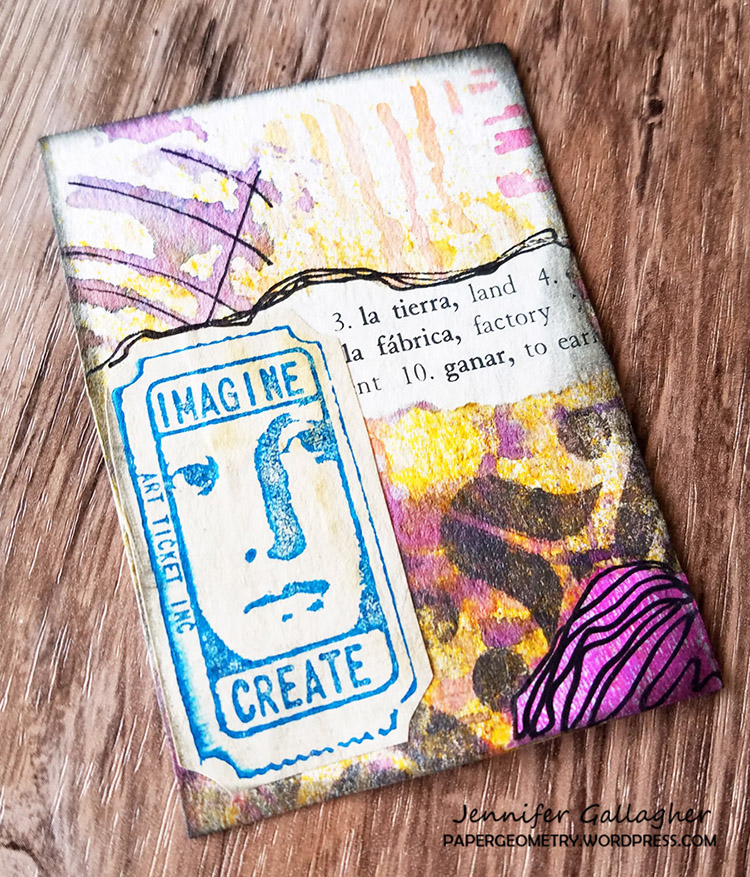
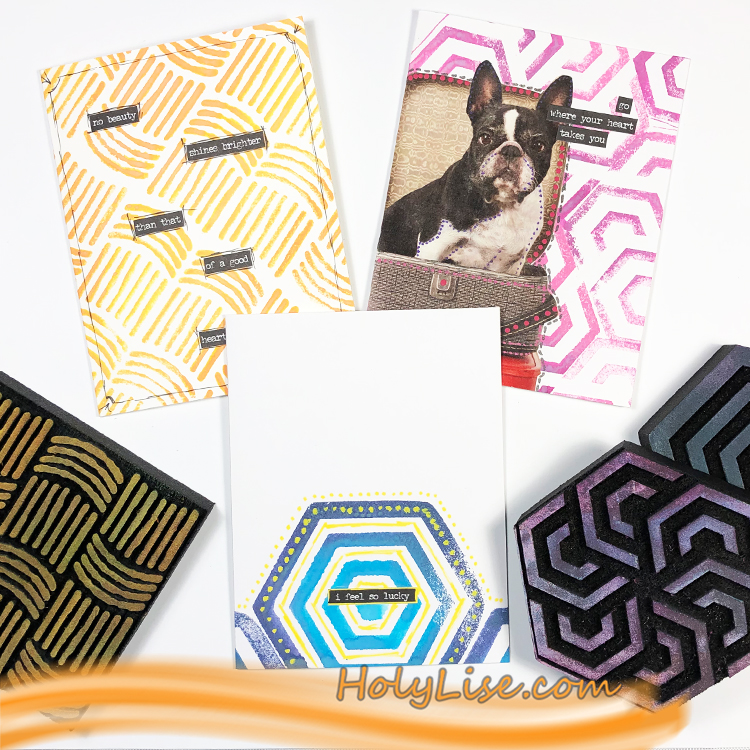
Deck of Cards Challenge – In November 2019 I created a challenge to explore 30 different card making ideas. I focused on different themes: Holiday, Thank You, Just Because etc. and also different design motifs like patterns, lines, shapes and others. I made enough to have a Deck of Cards, ready to go to whenever I needed to reach out to someone with a little note. You can see the posts here on the blog.


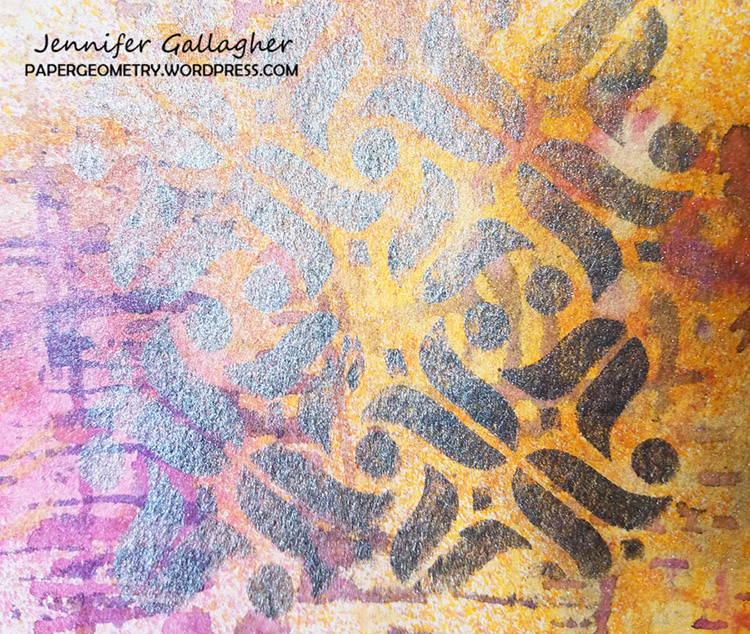
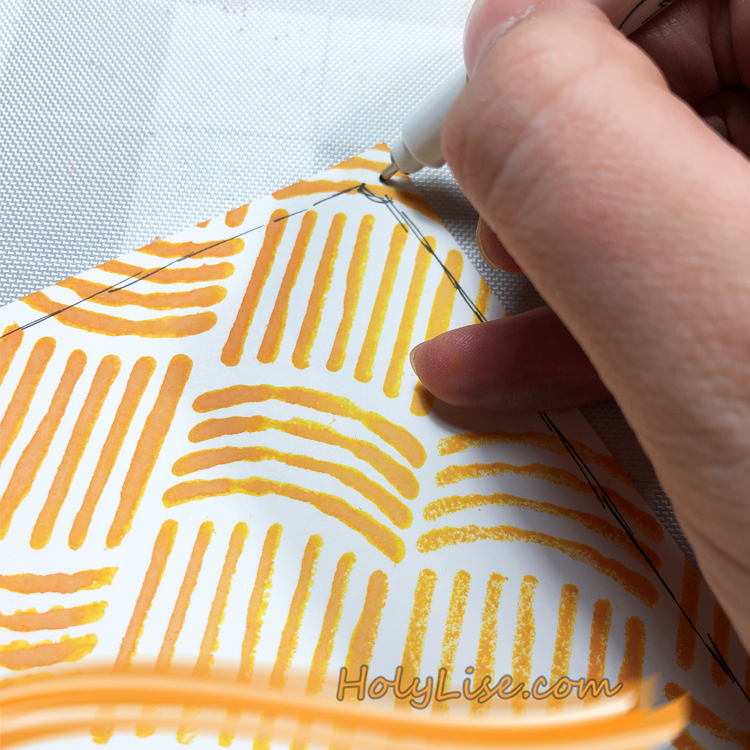
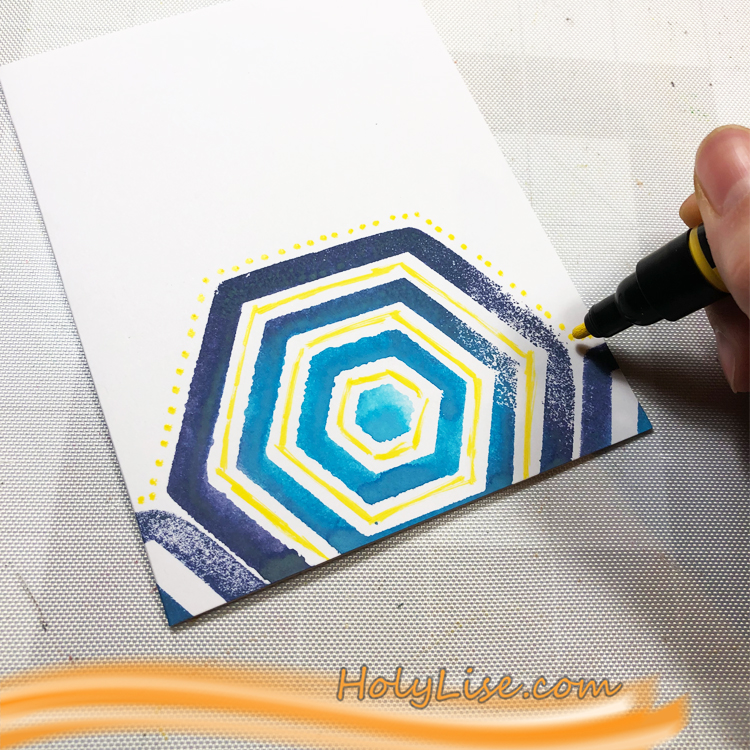
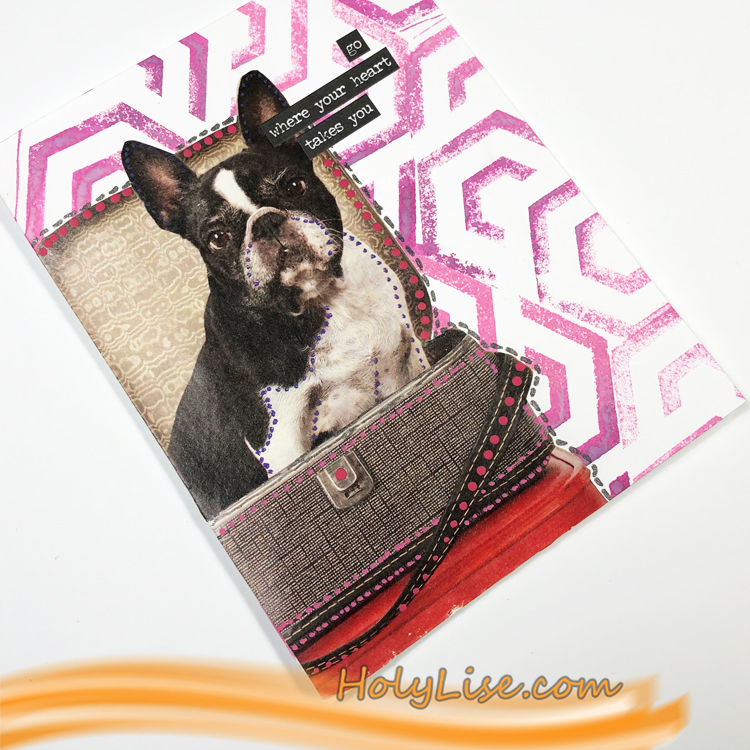
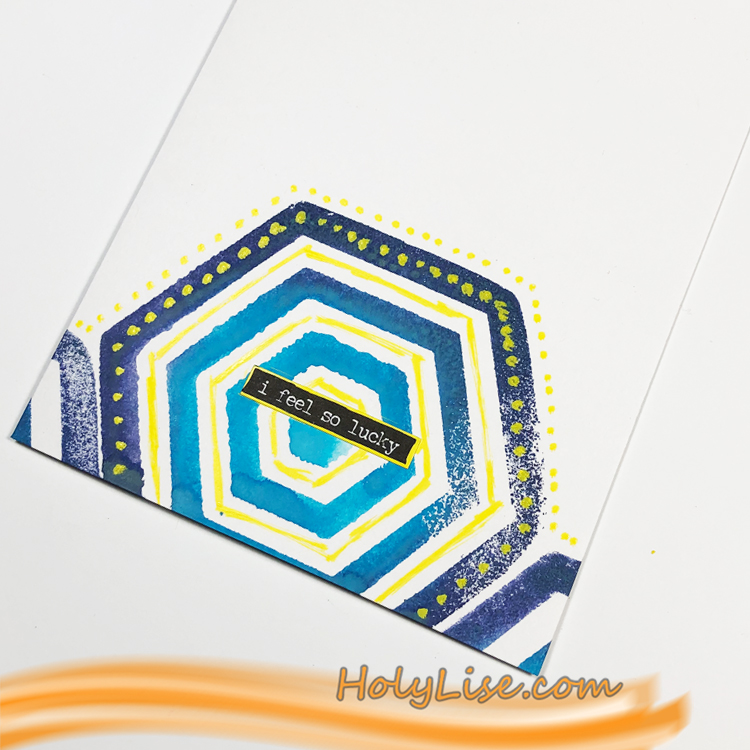
Stencilbop Challenge – In August 2019 I came up with a challenge to really push the way I thought about using my stencils. Different paint and markers and pens of course but I also went in some new directions like woodburning and even an ice cream cake! You can check that out here on the website.


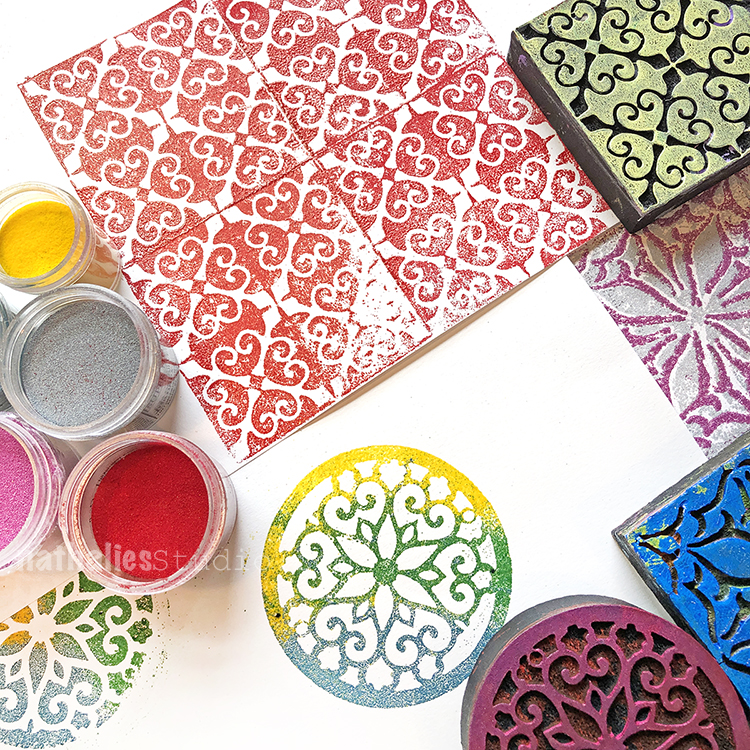
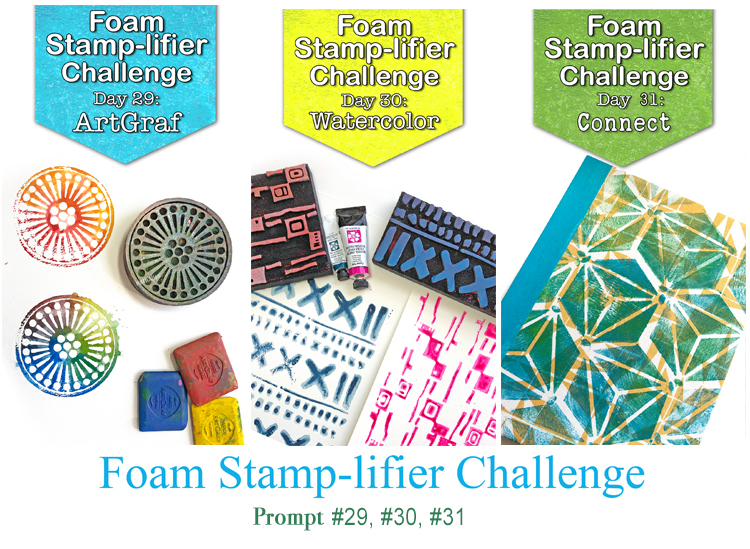
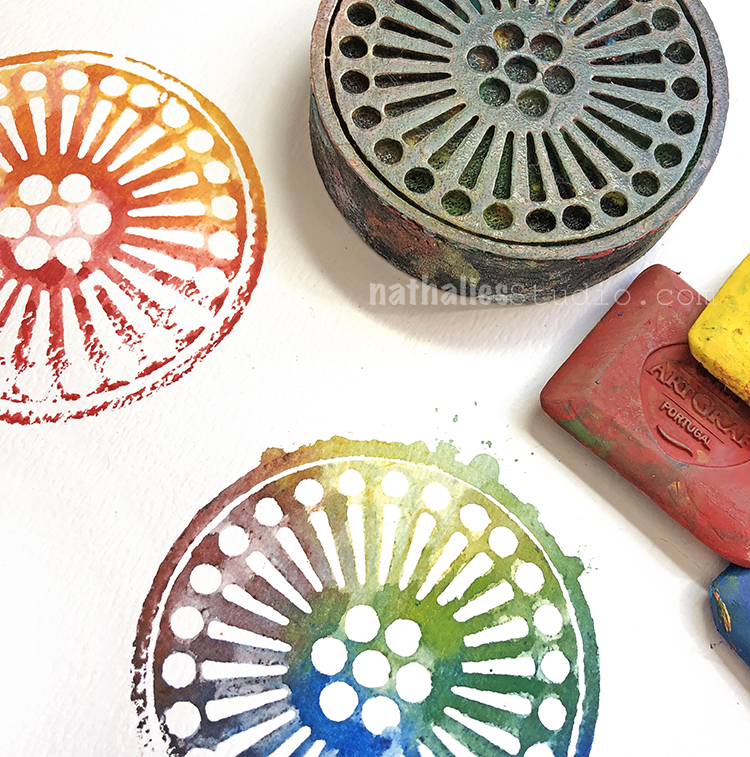
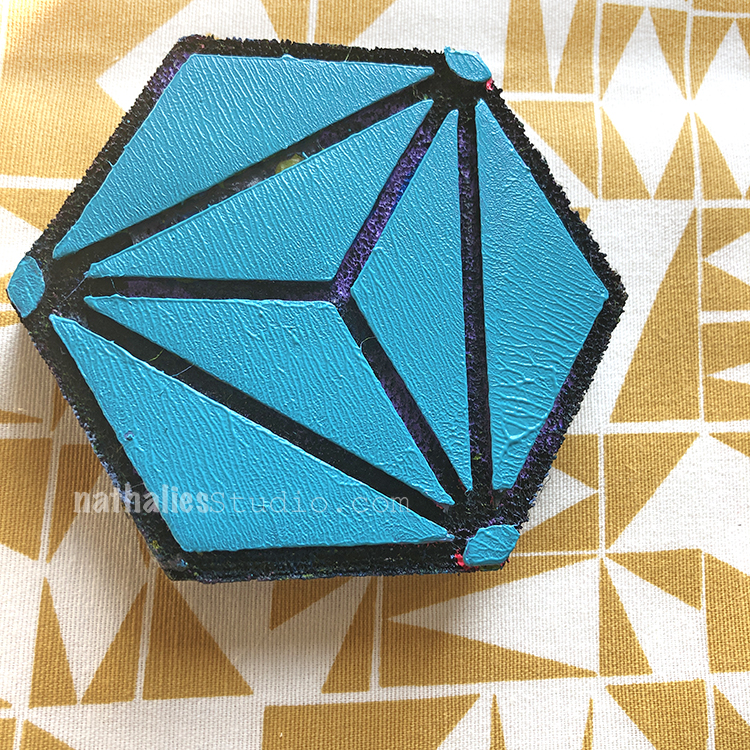
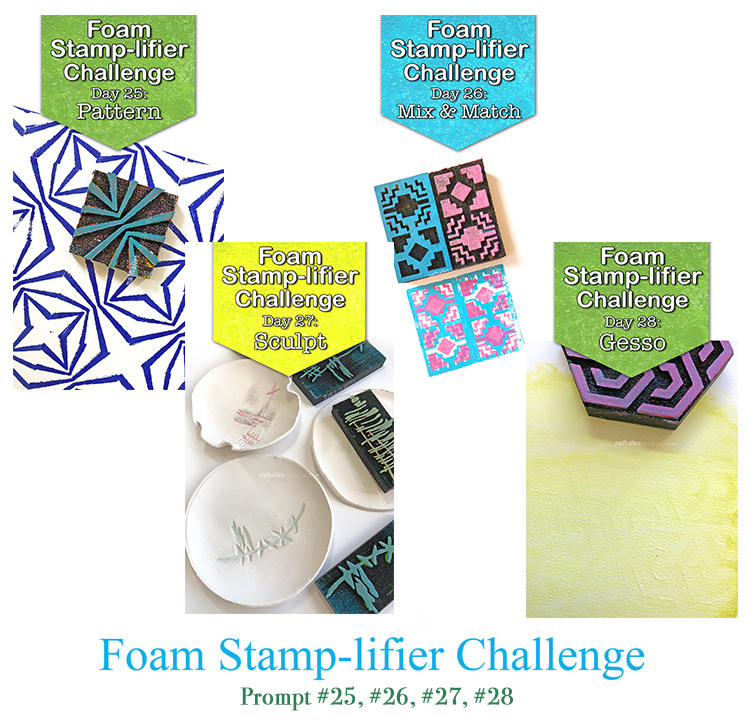
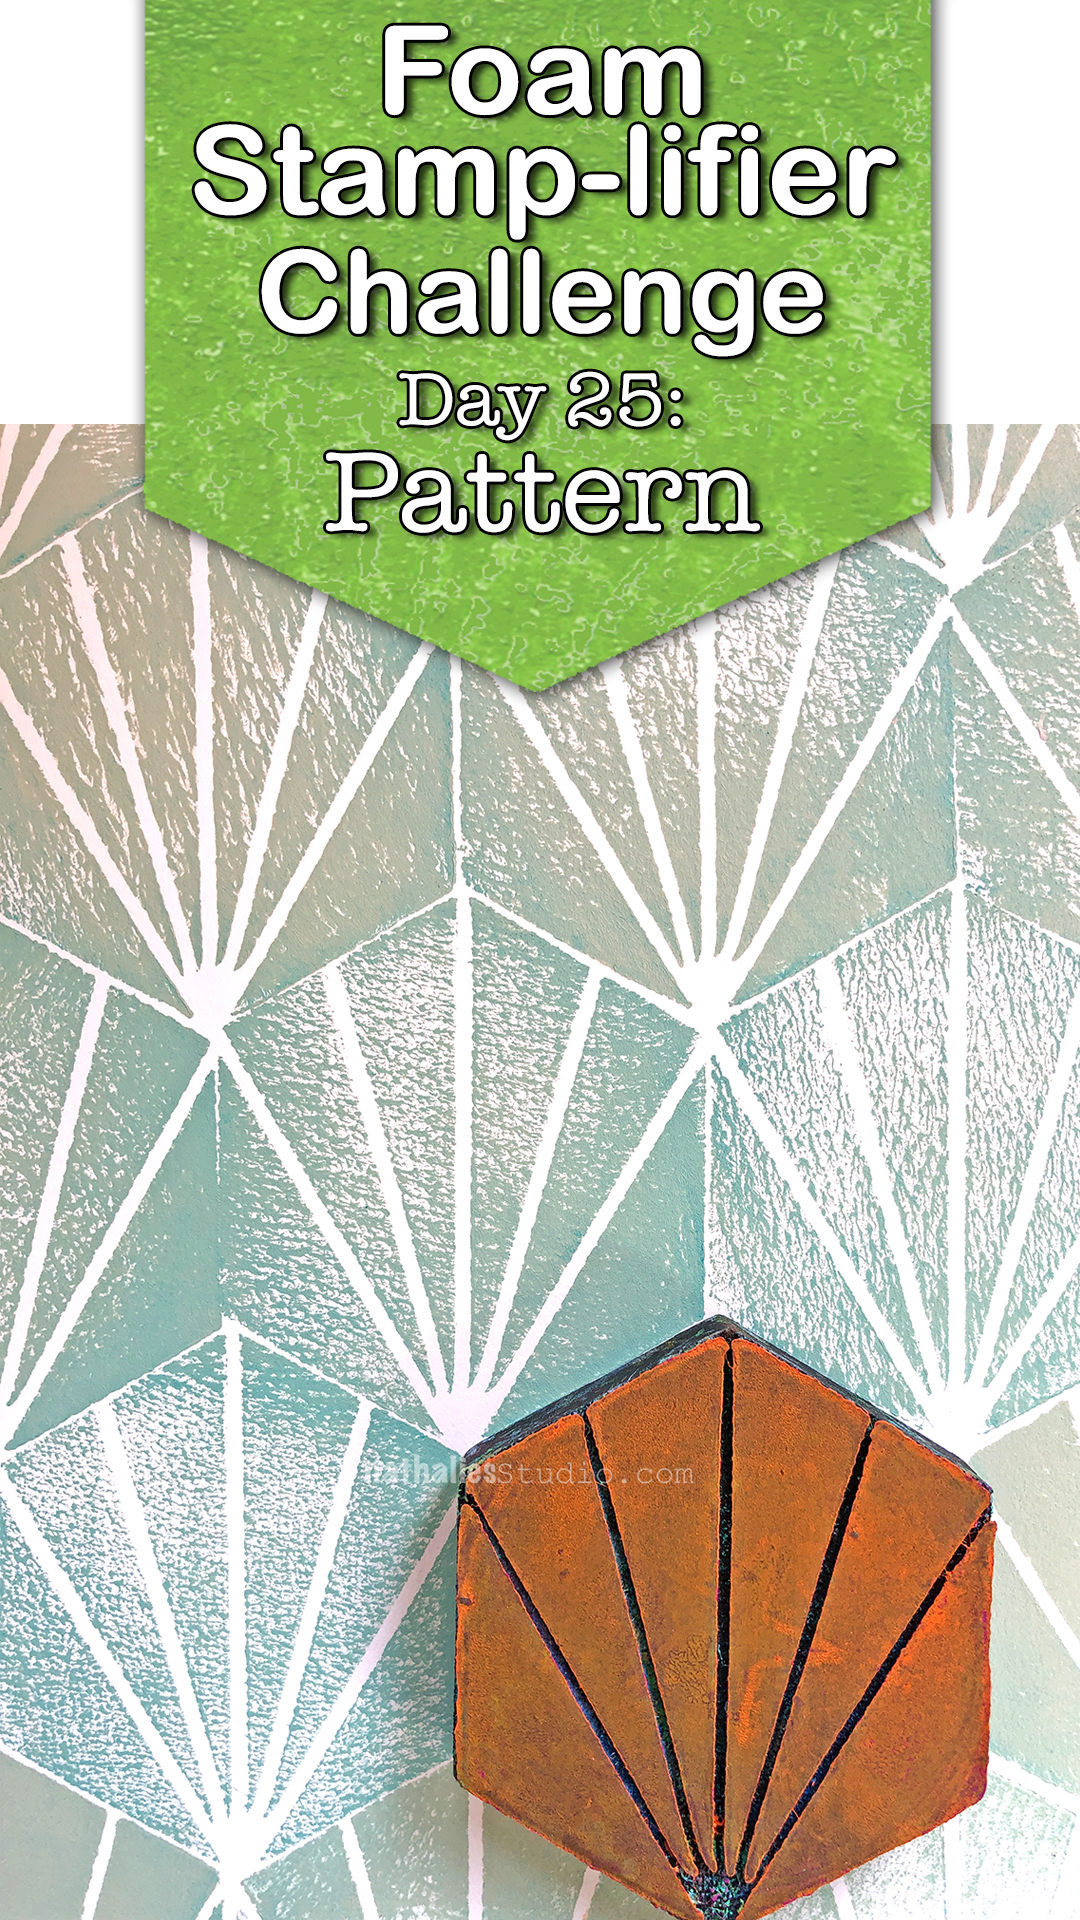
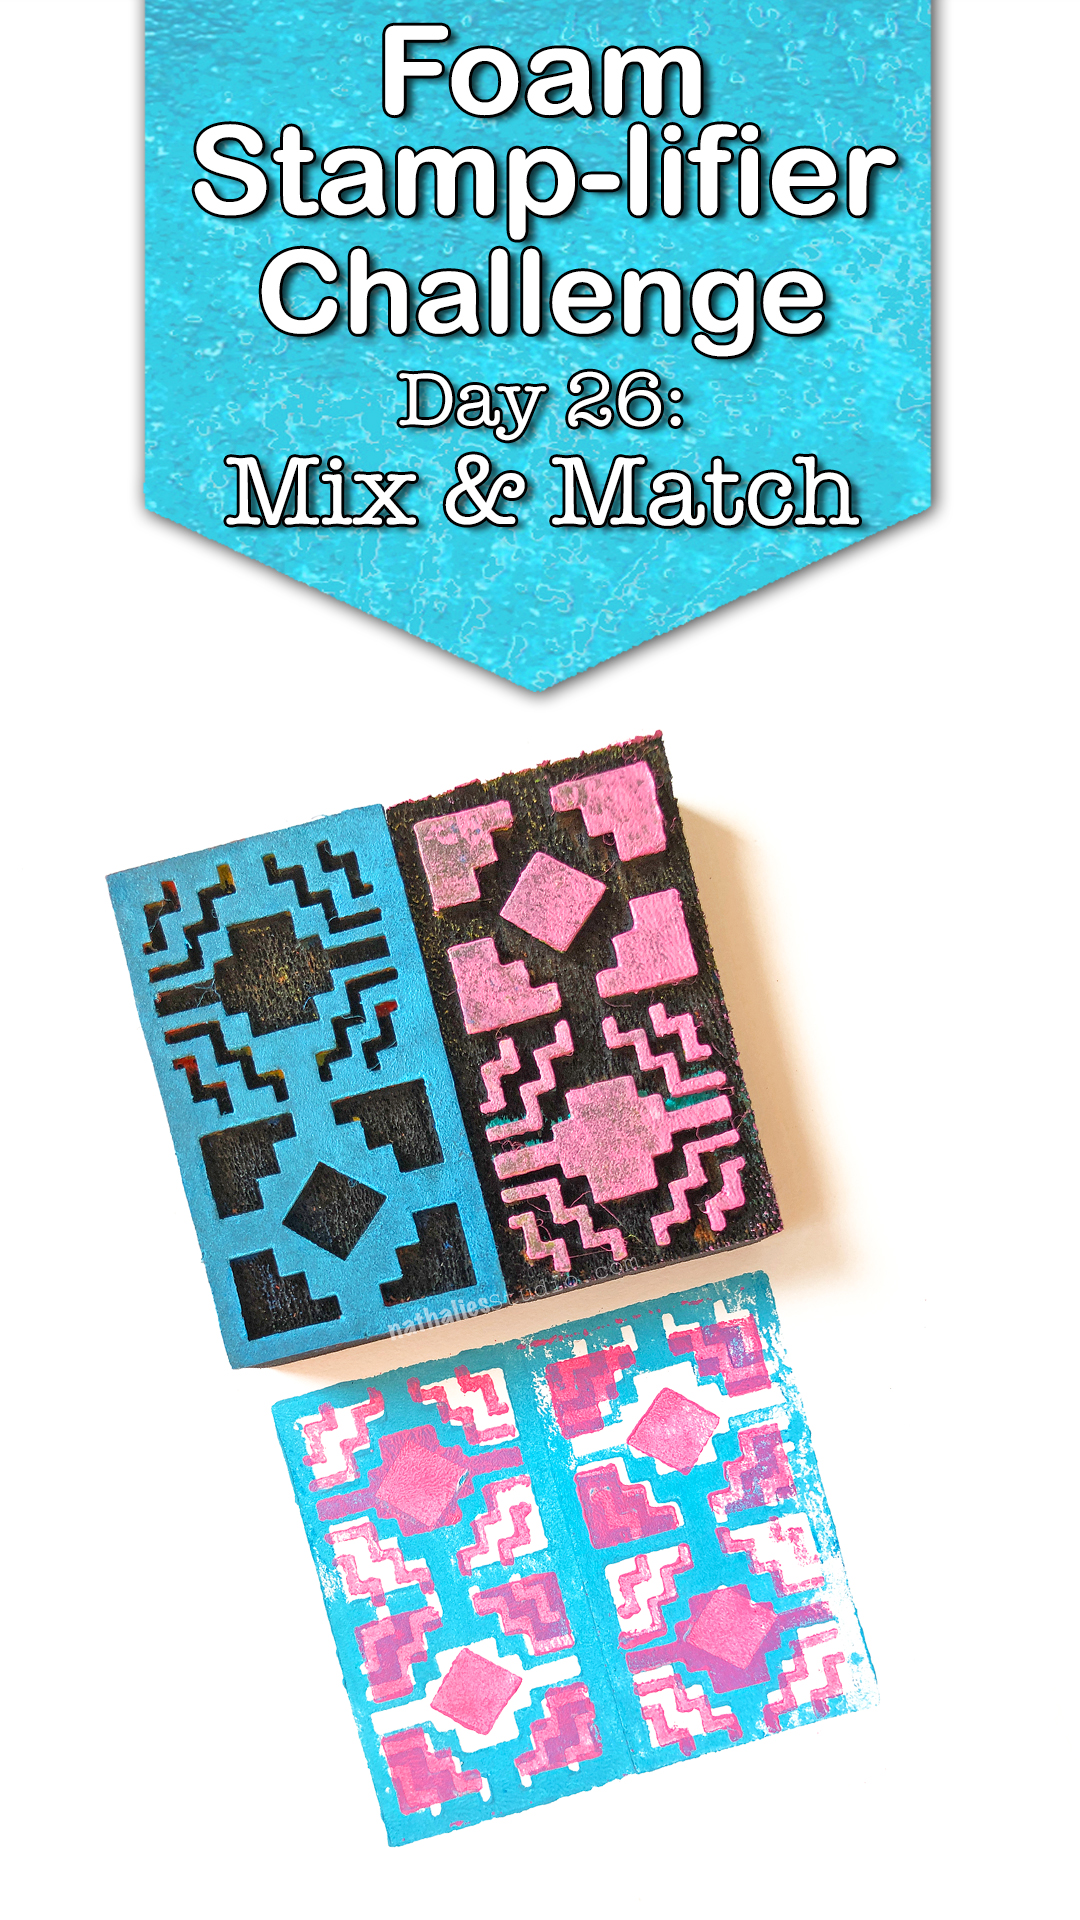
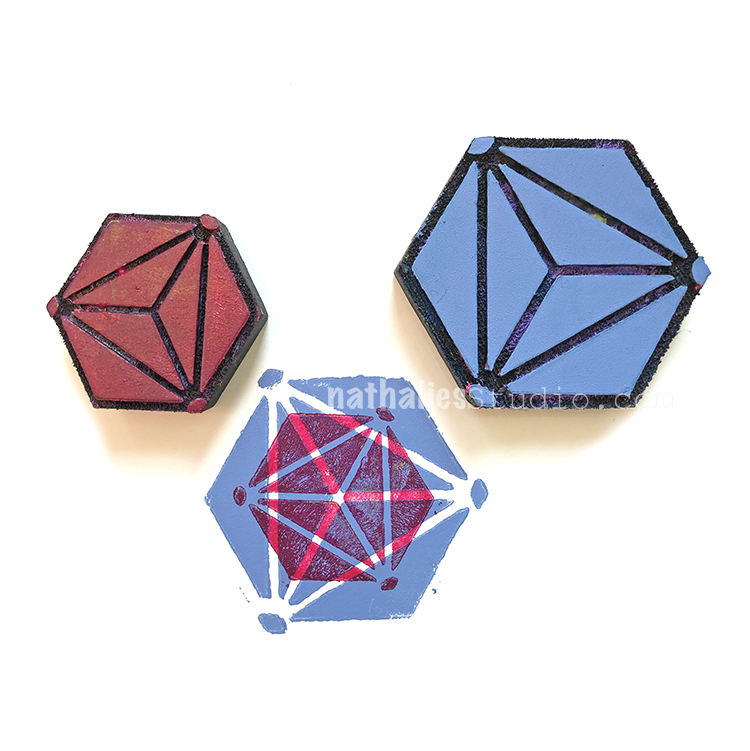
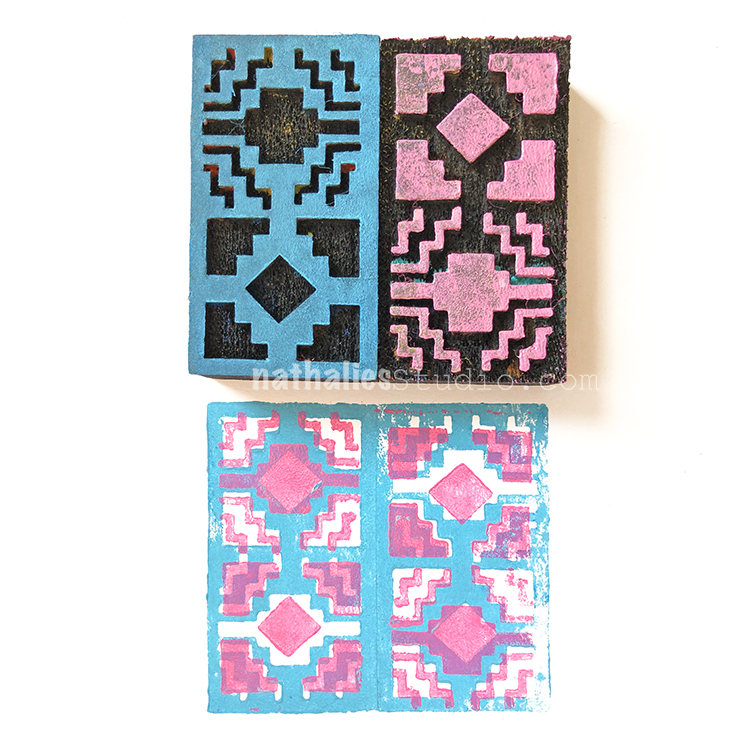
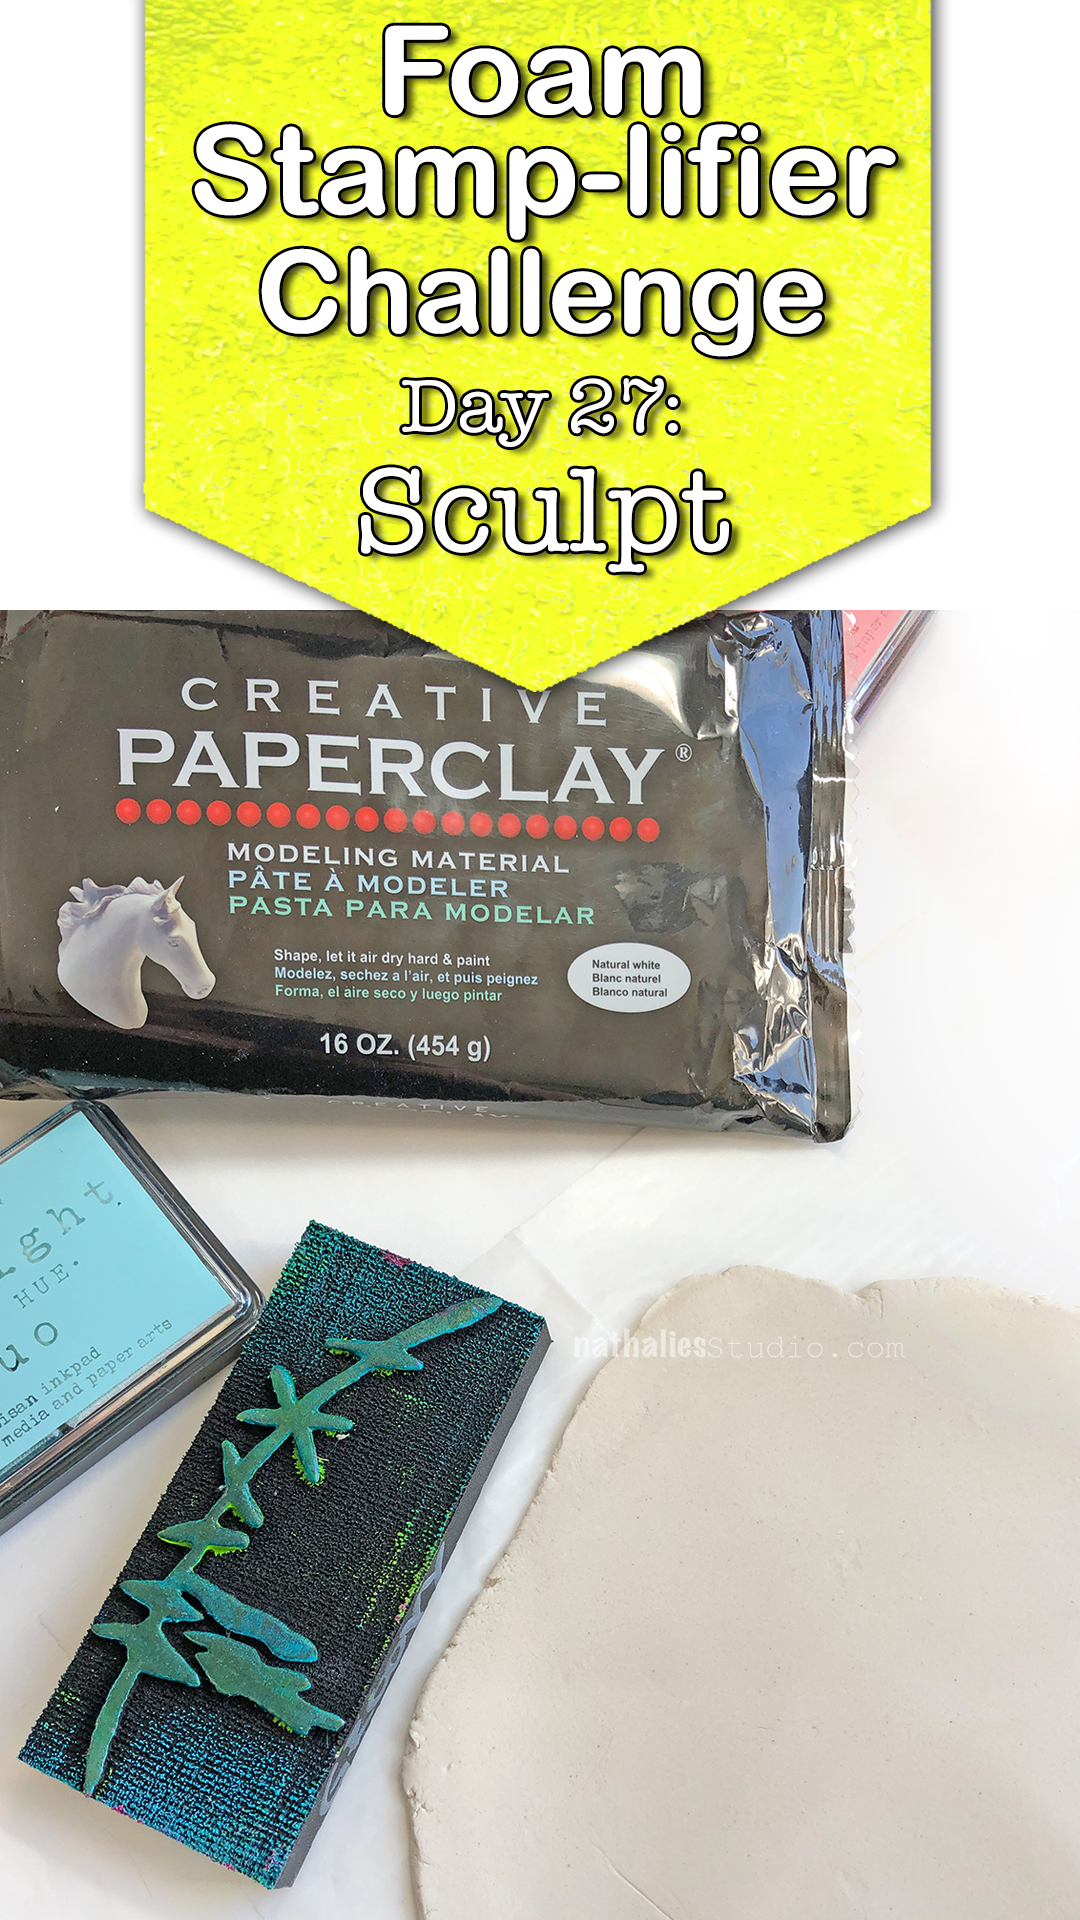
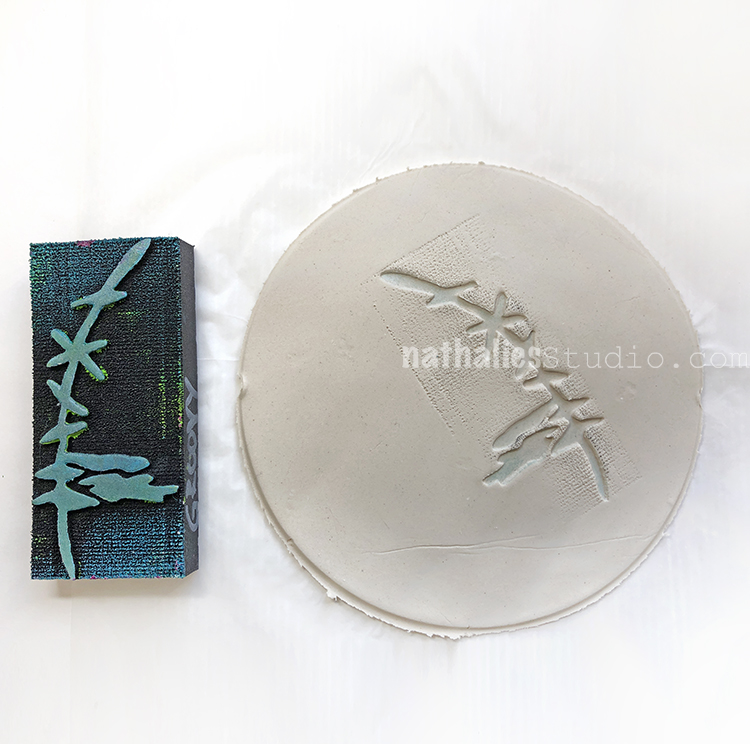
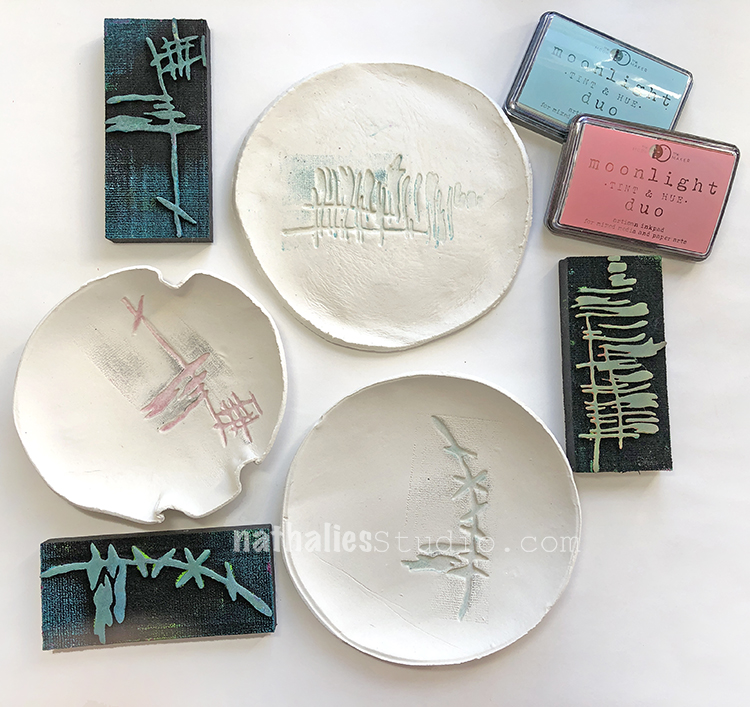
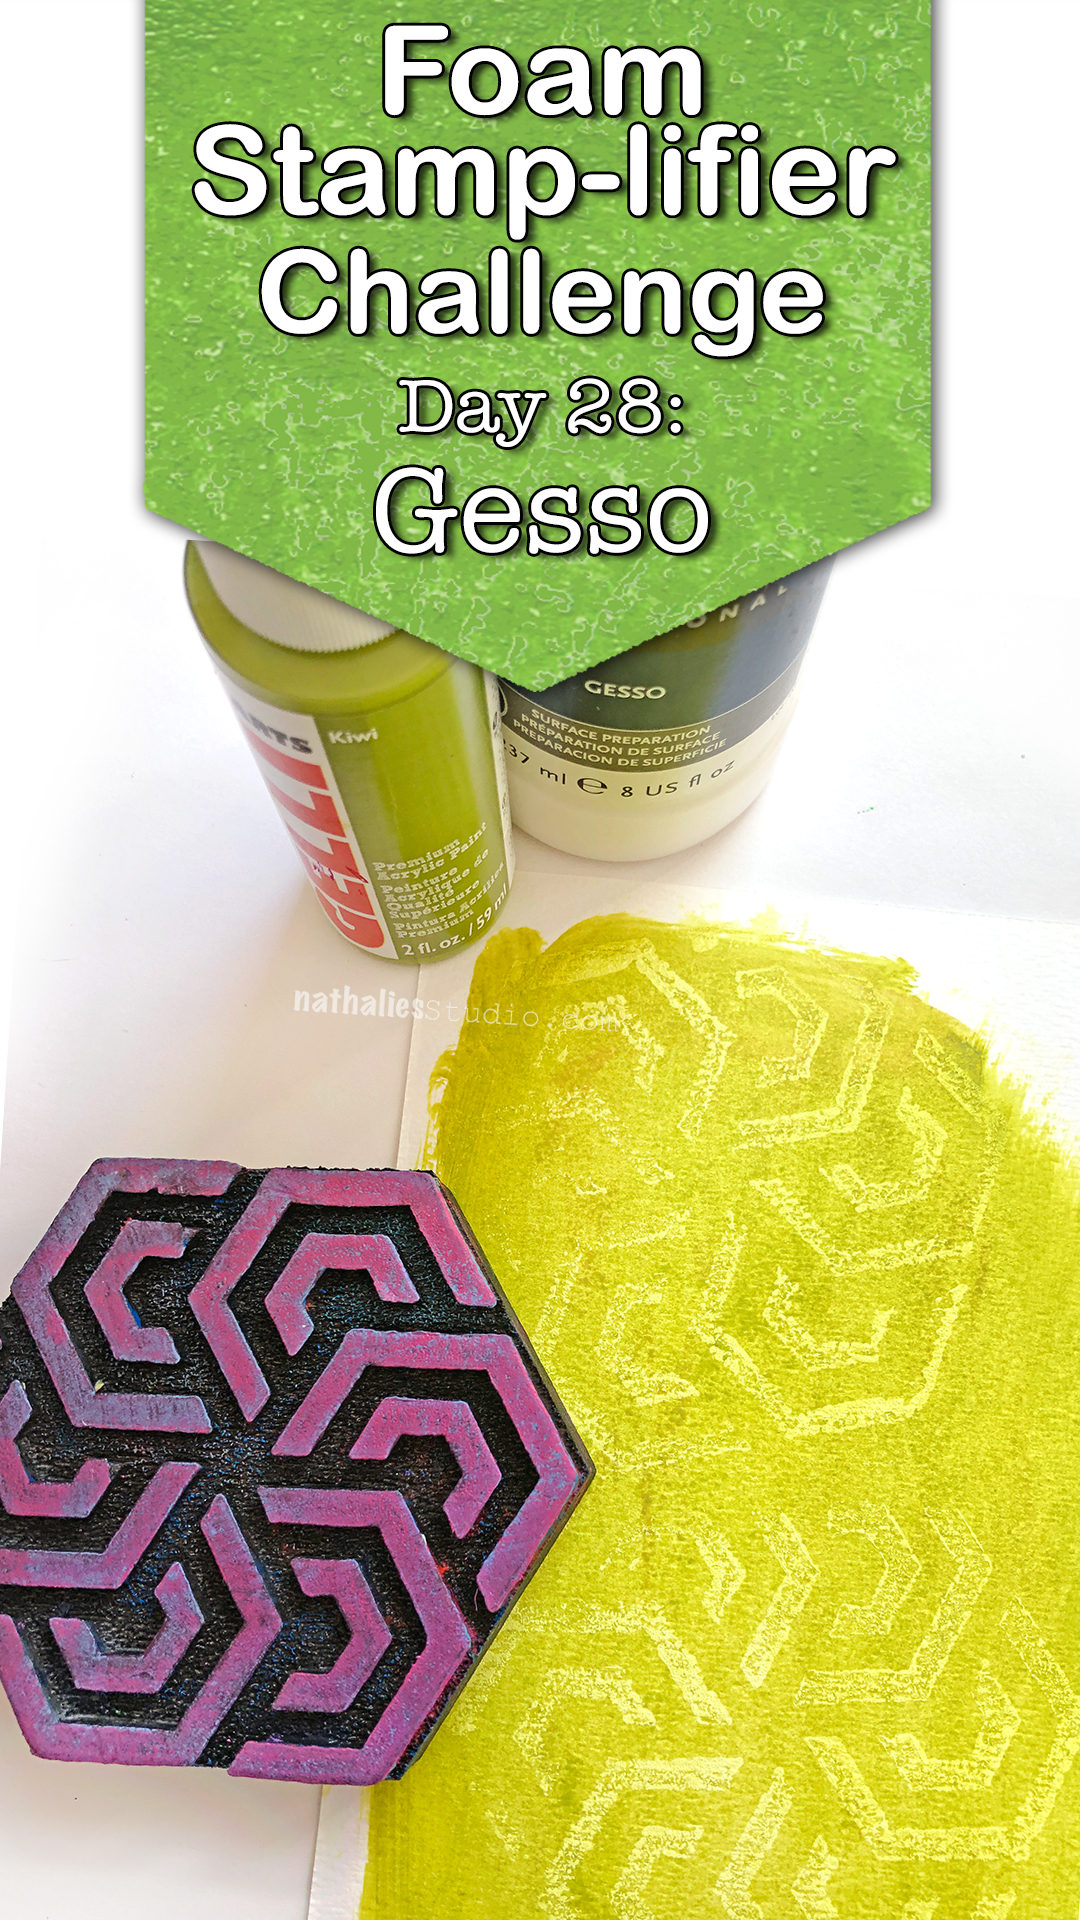
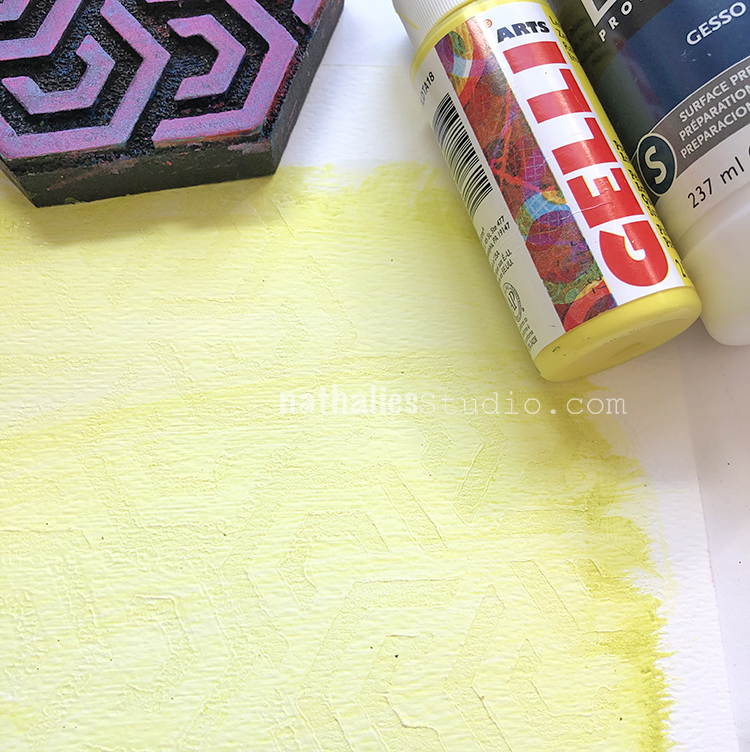
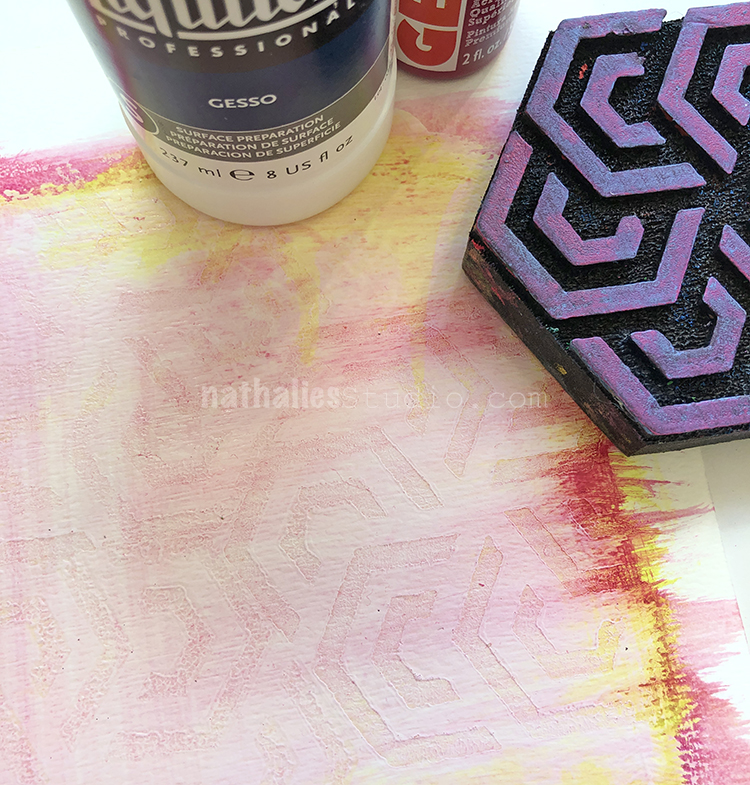
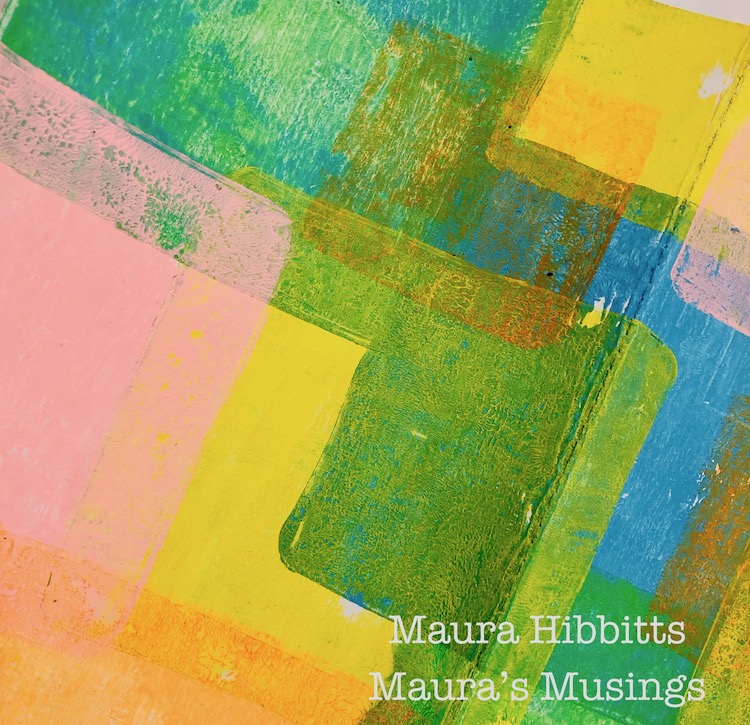
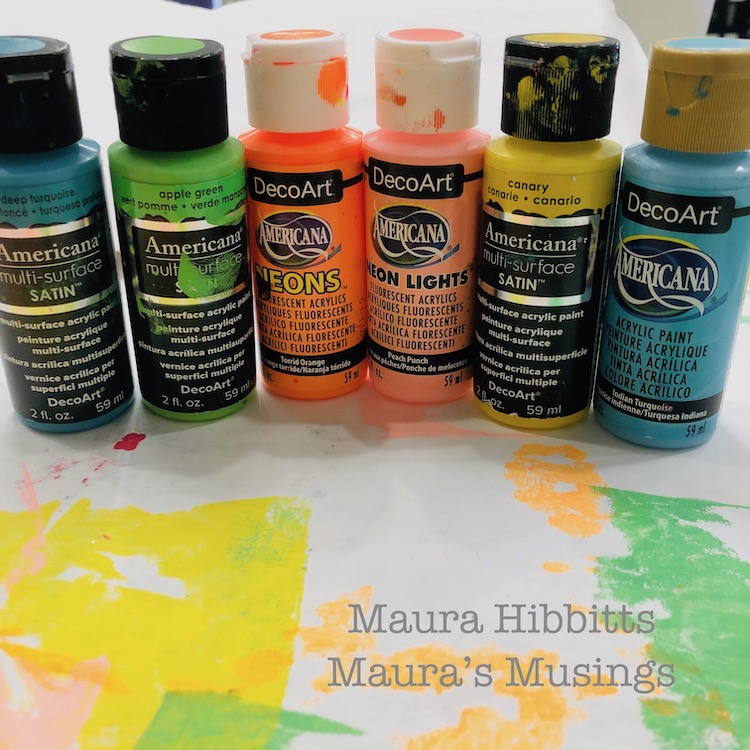
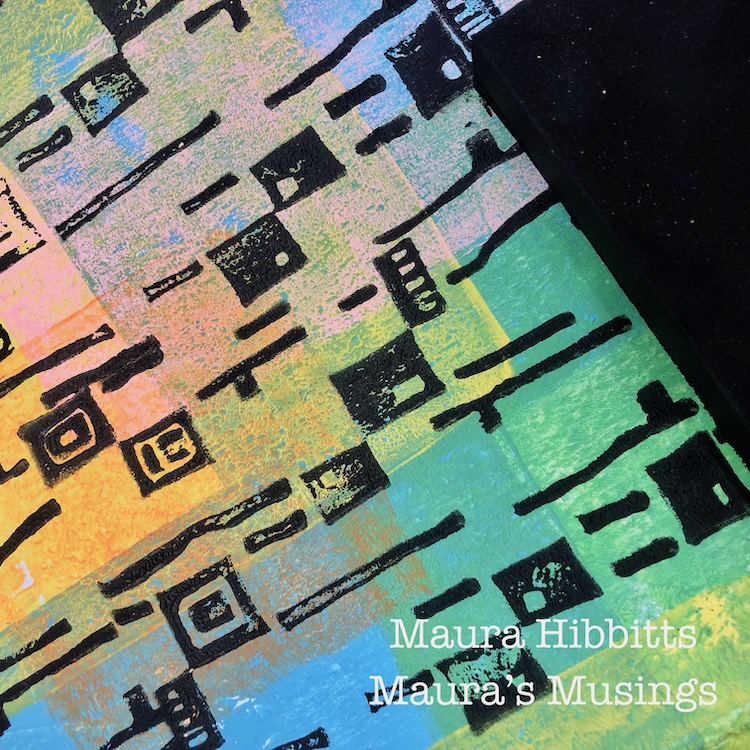
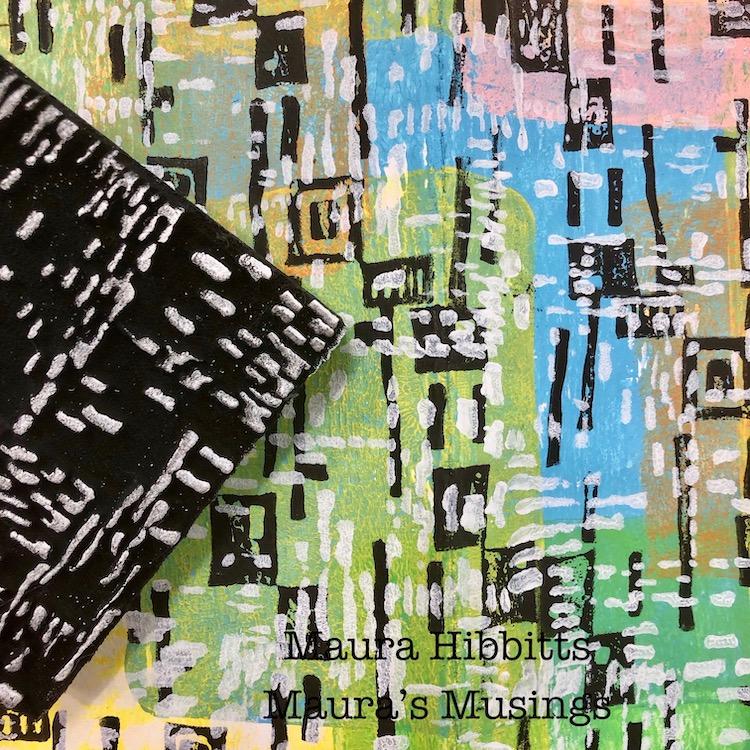
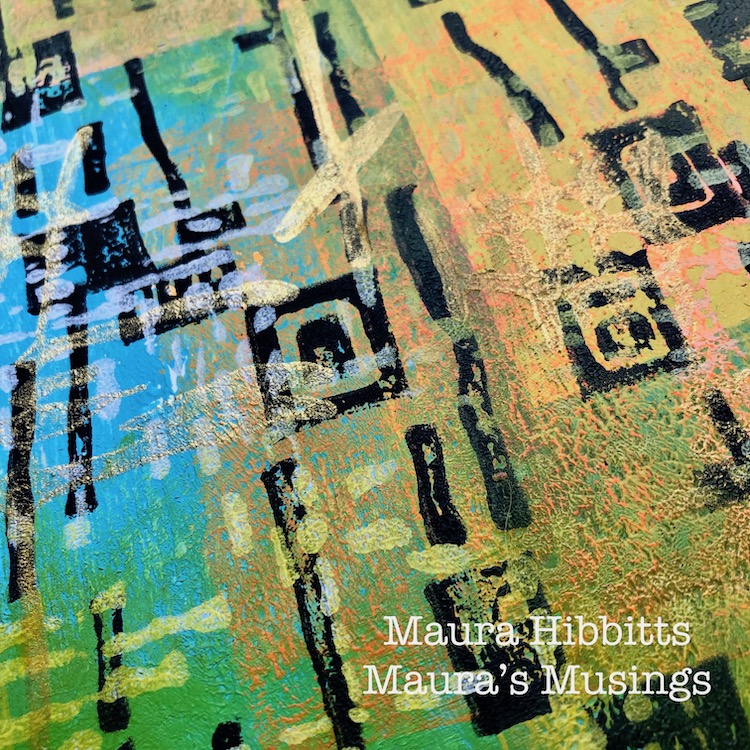
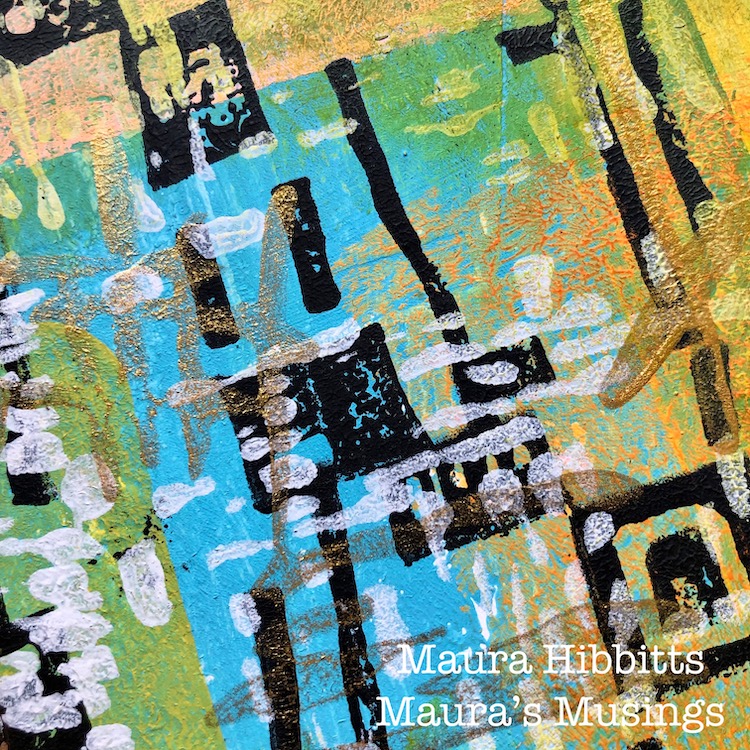
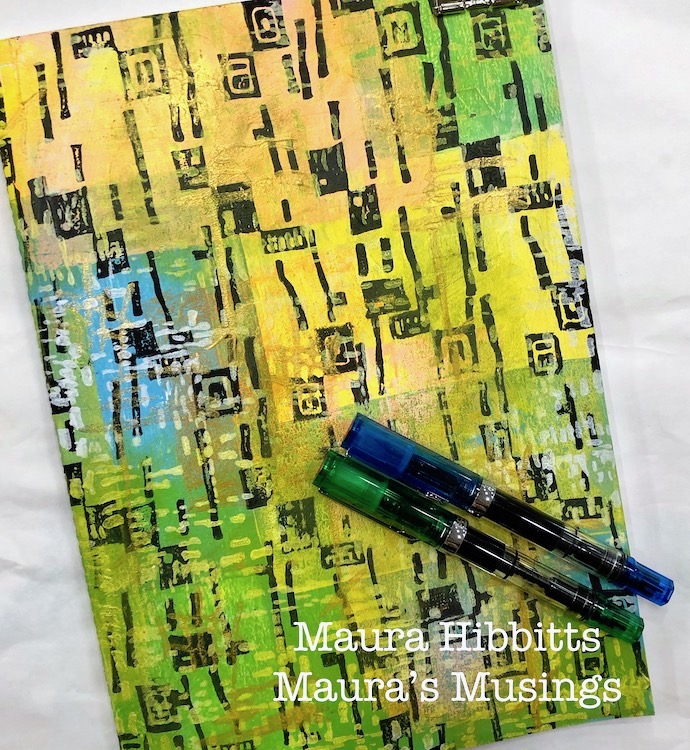
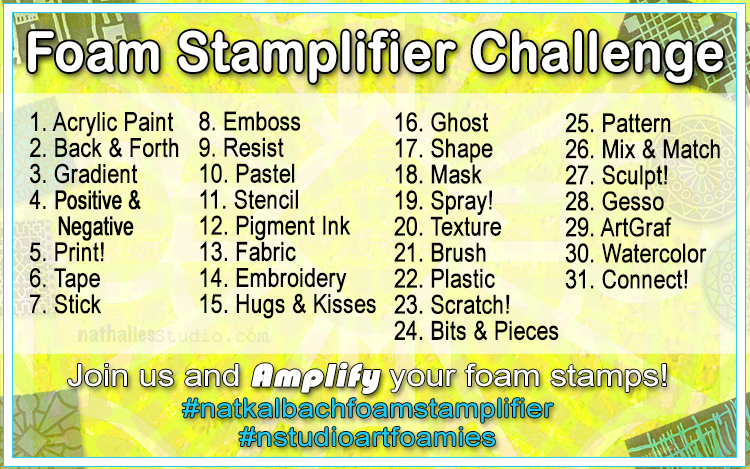
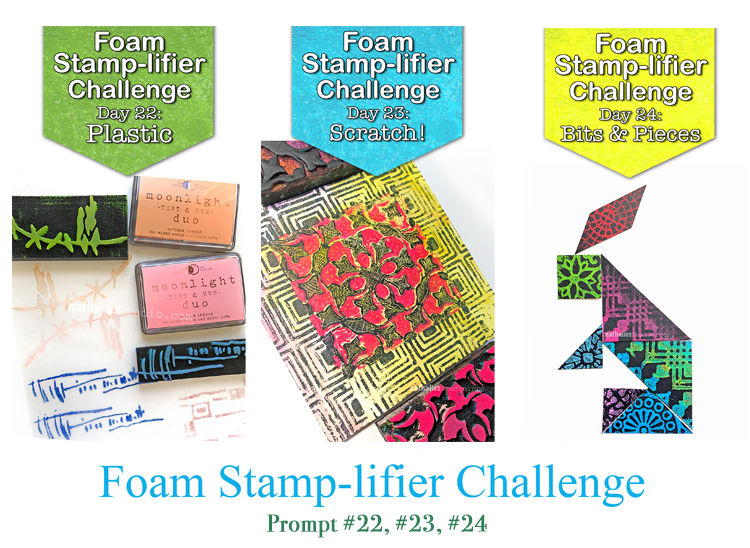
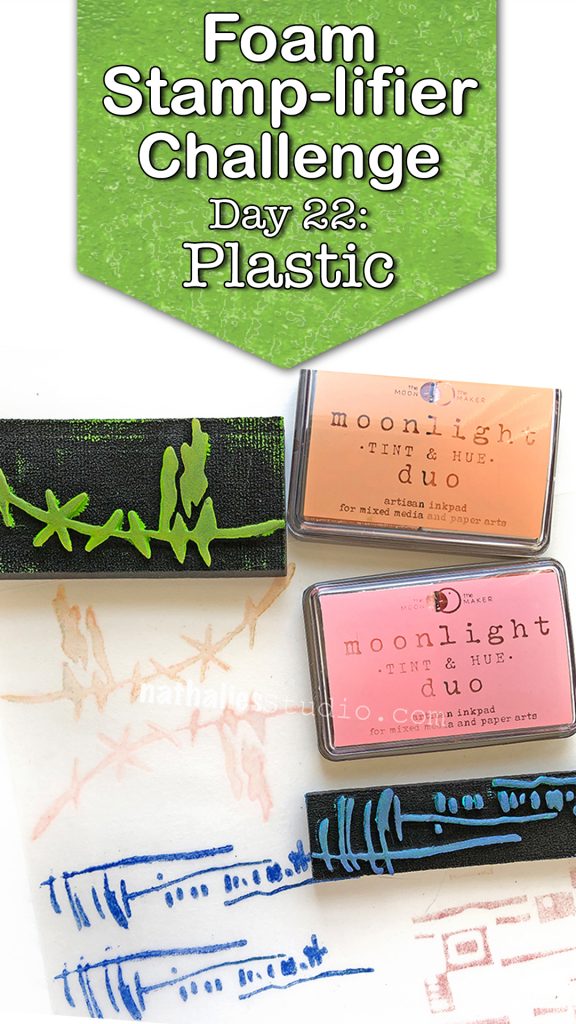
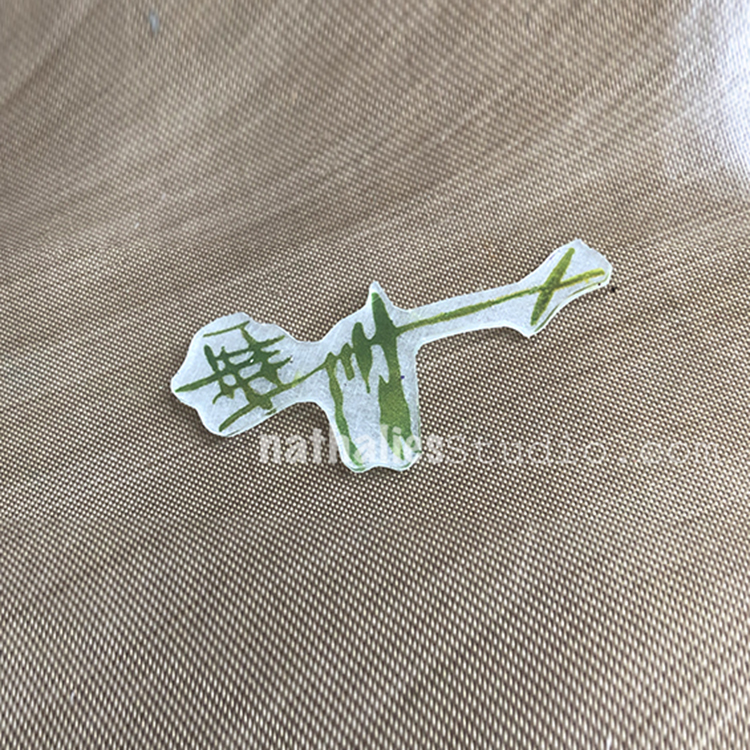
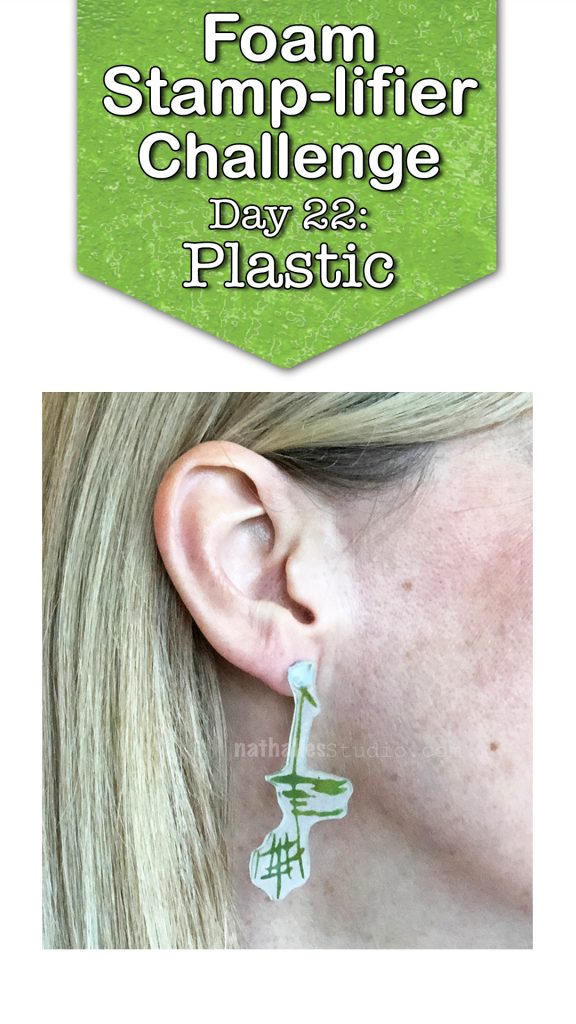
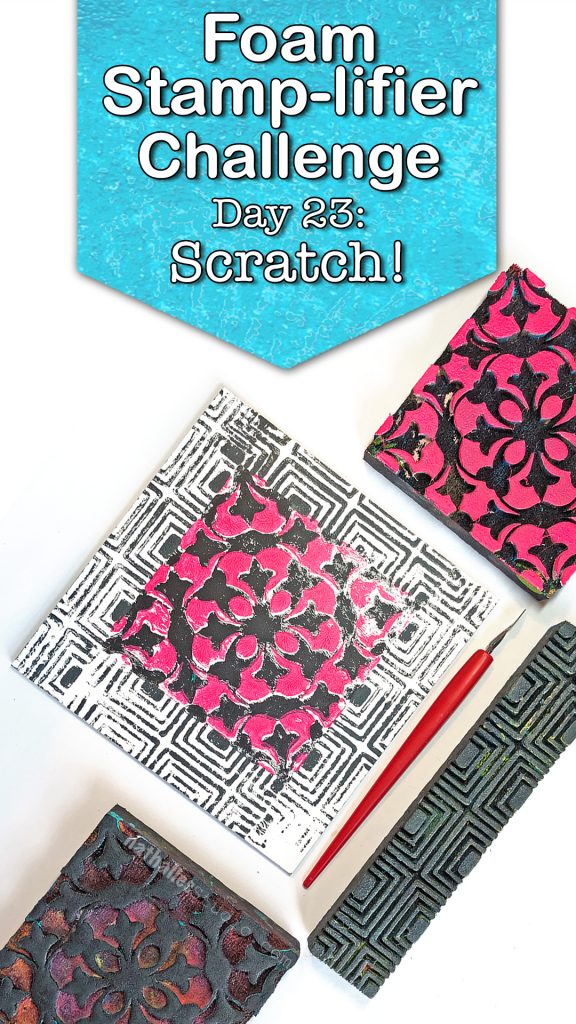
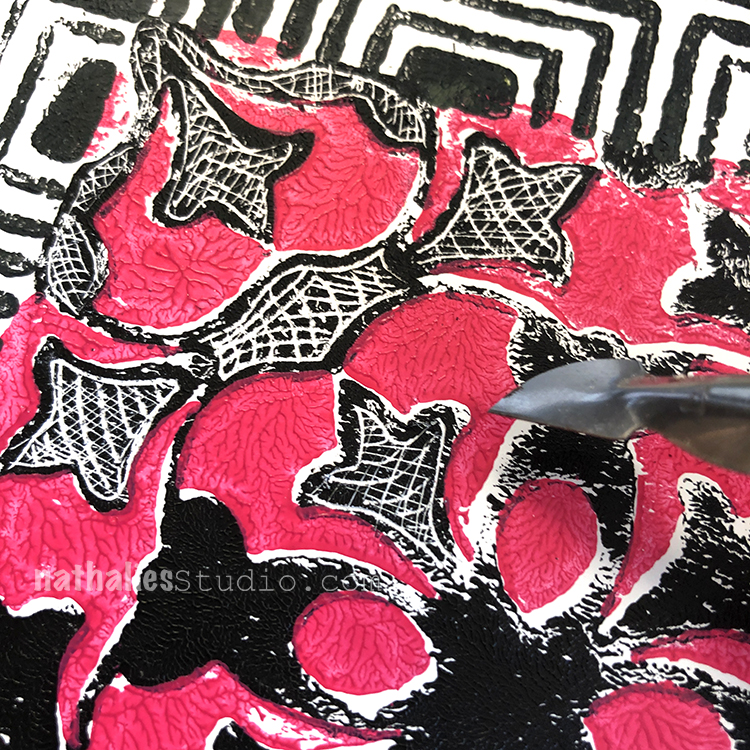
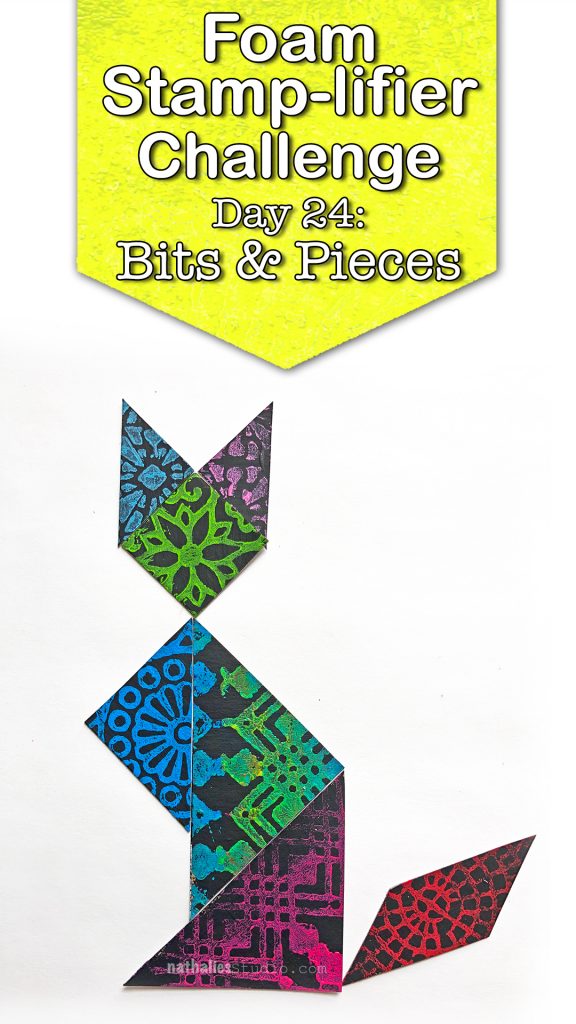
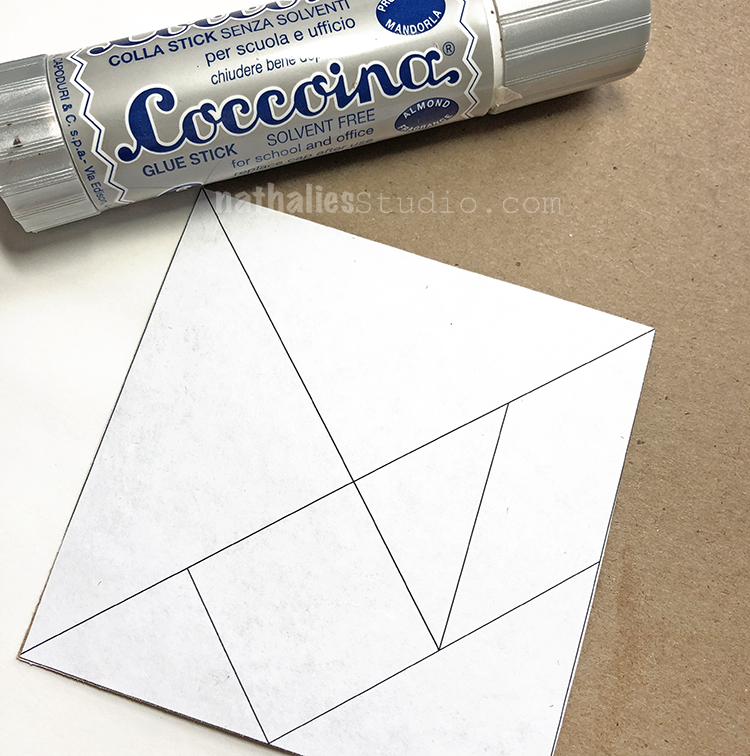
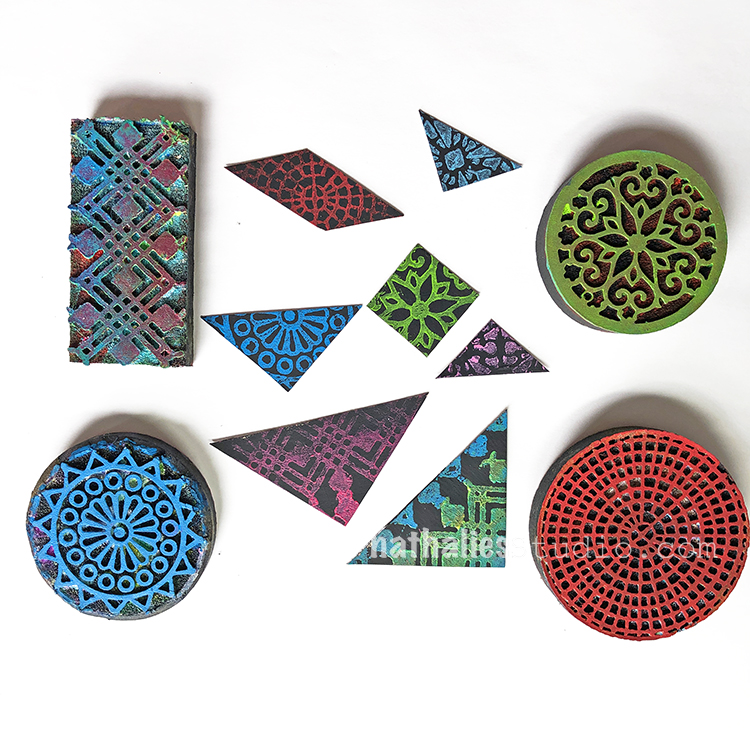
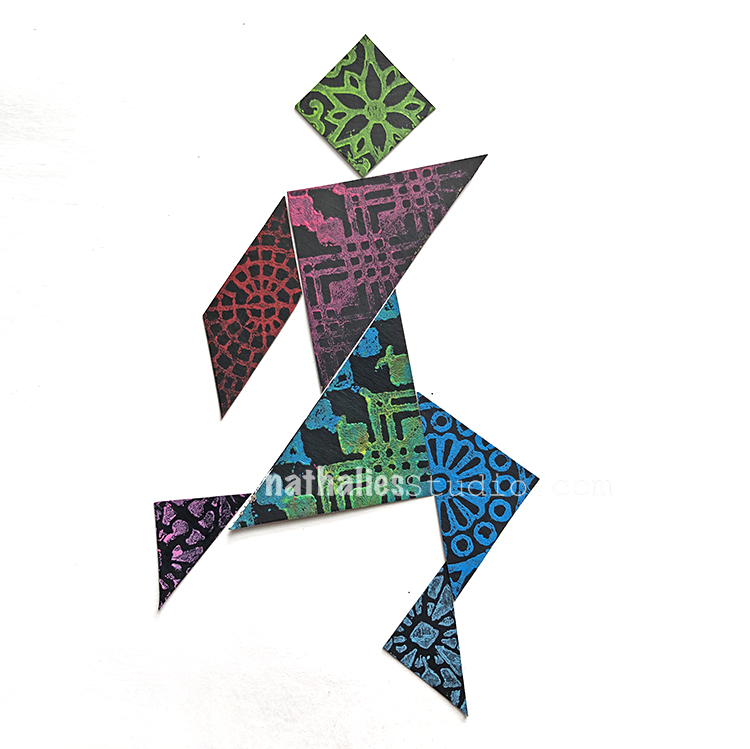
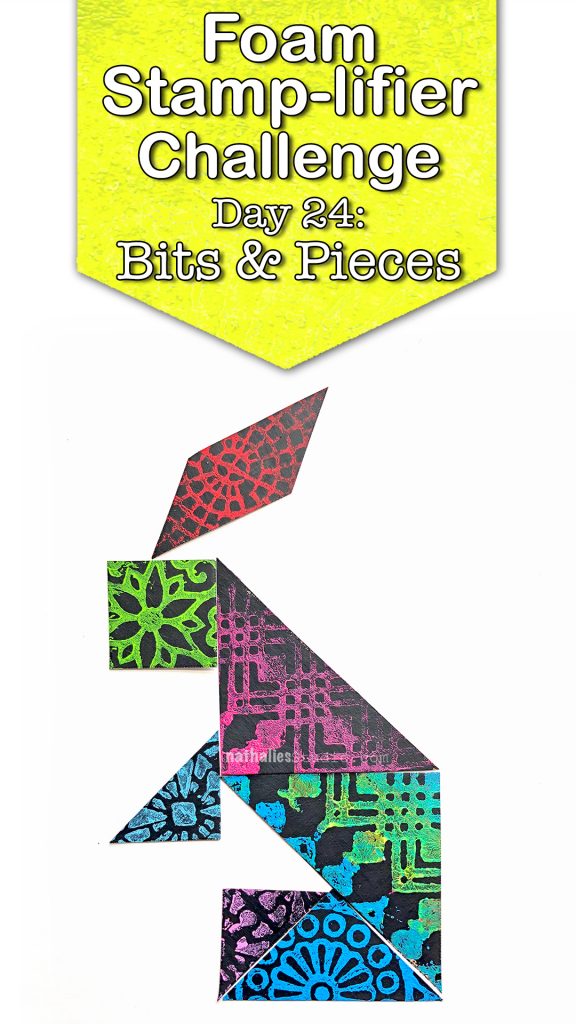
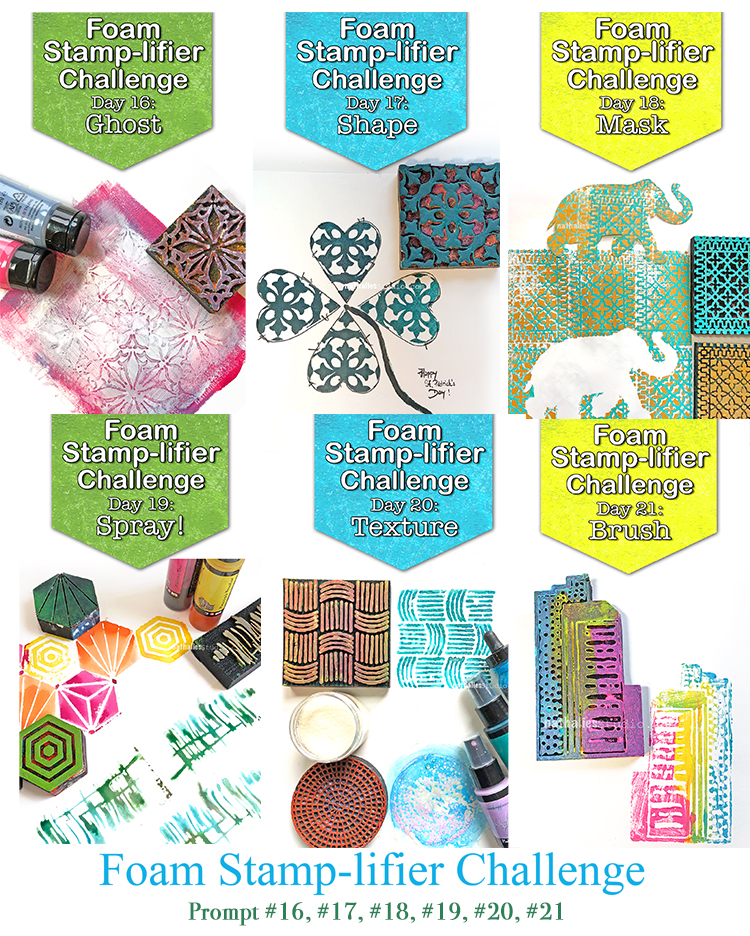
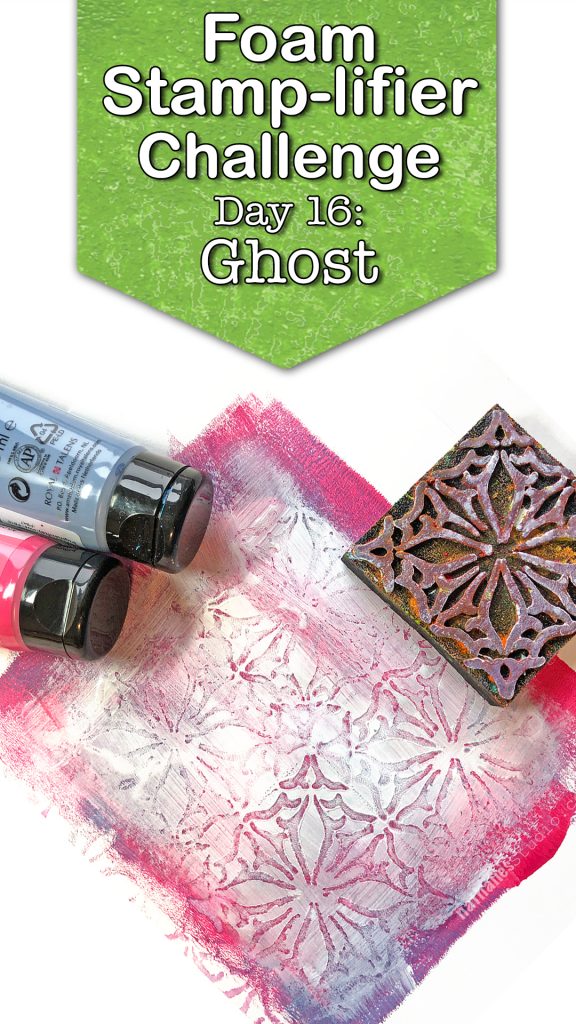
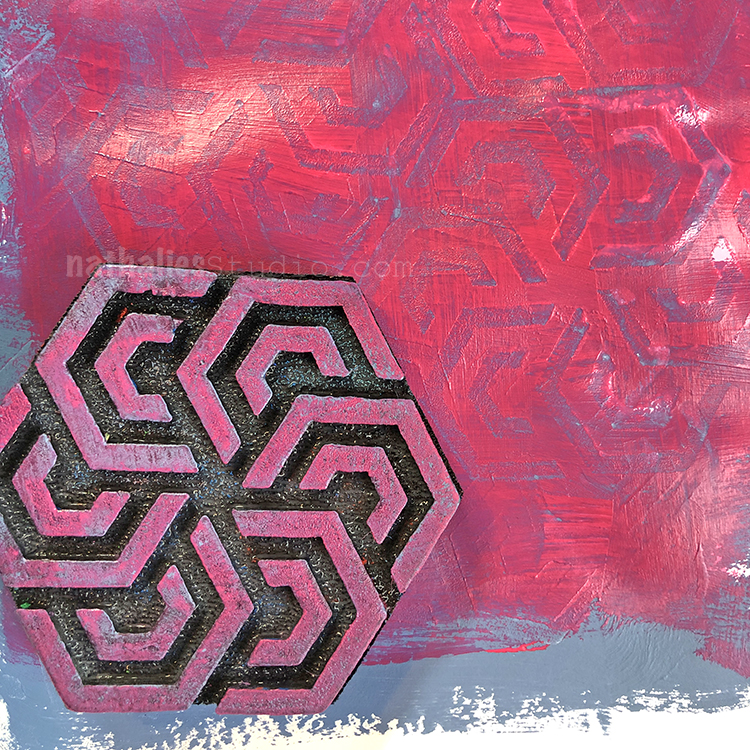
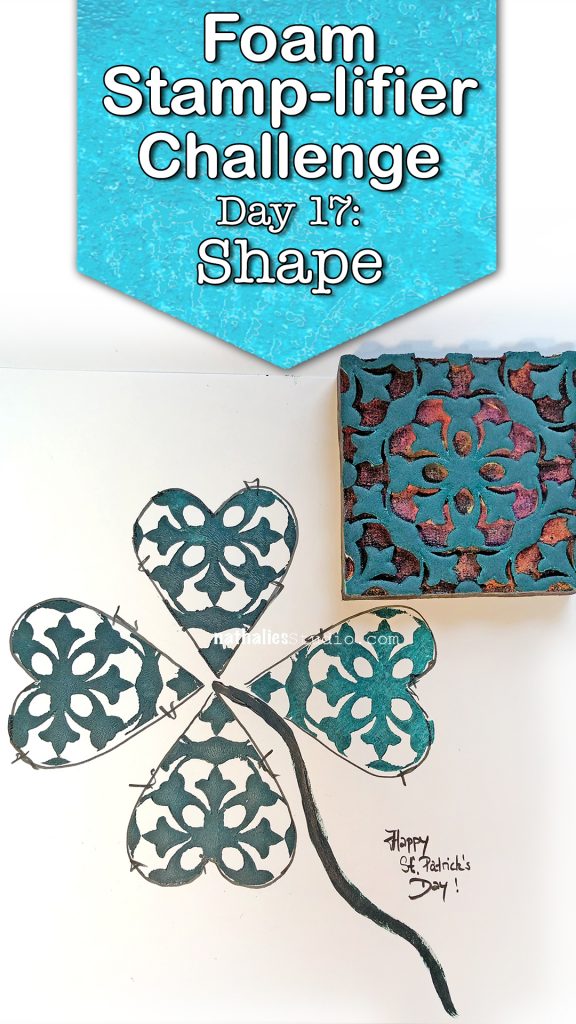
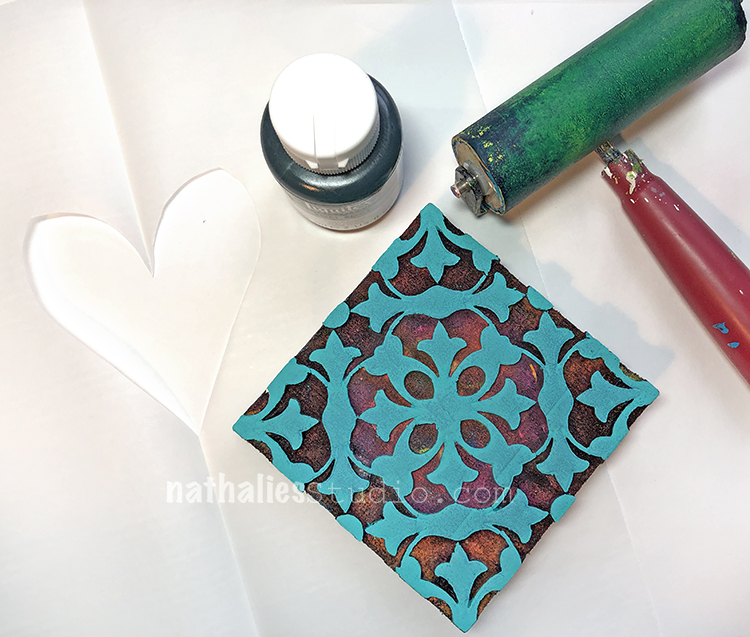
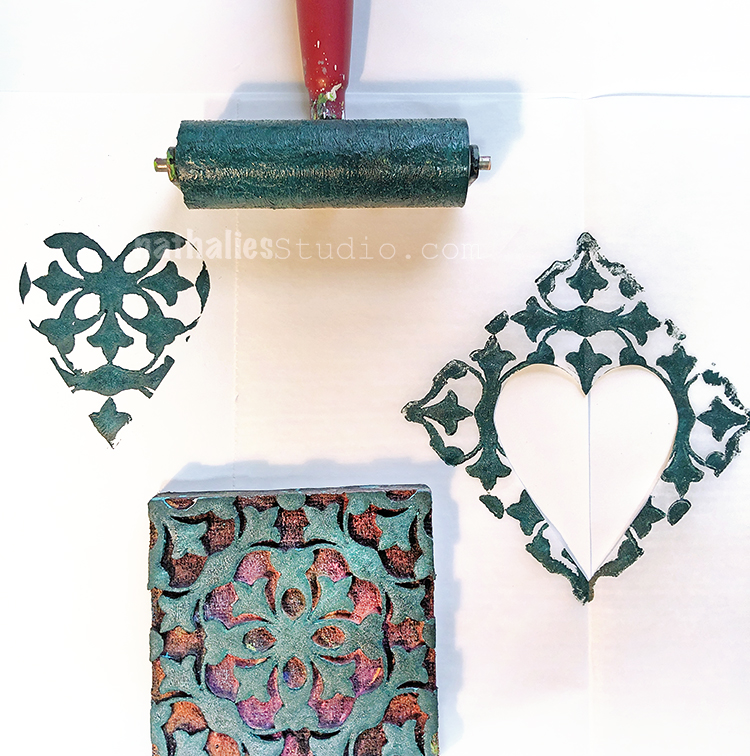
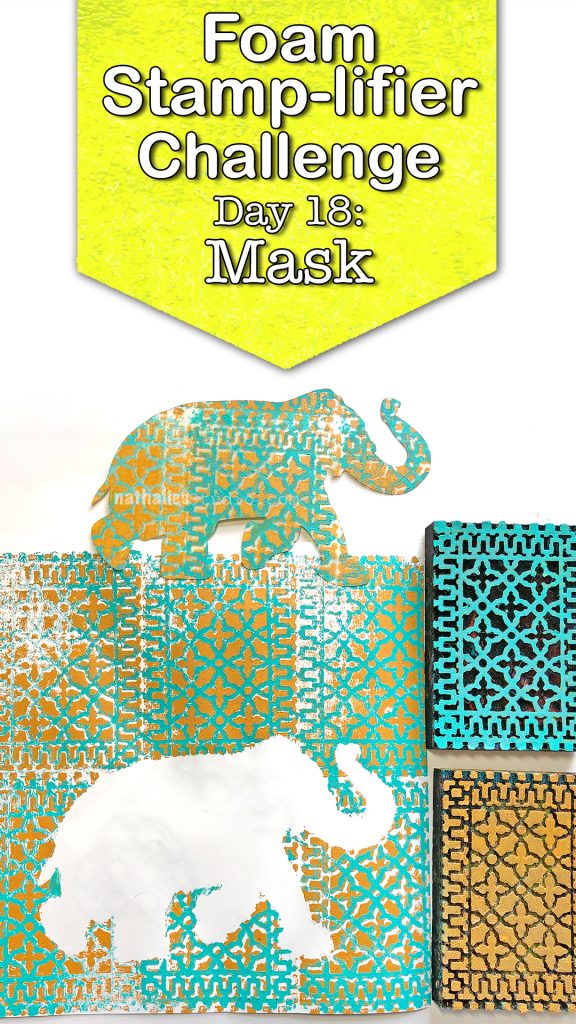
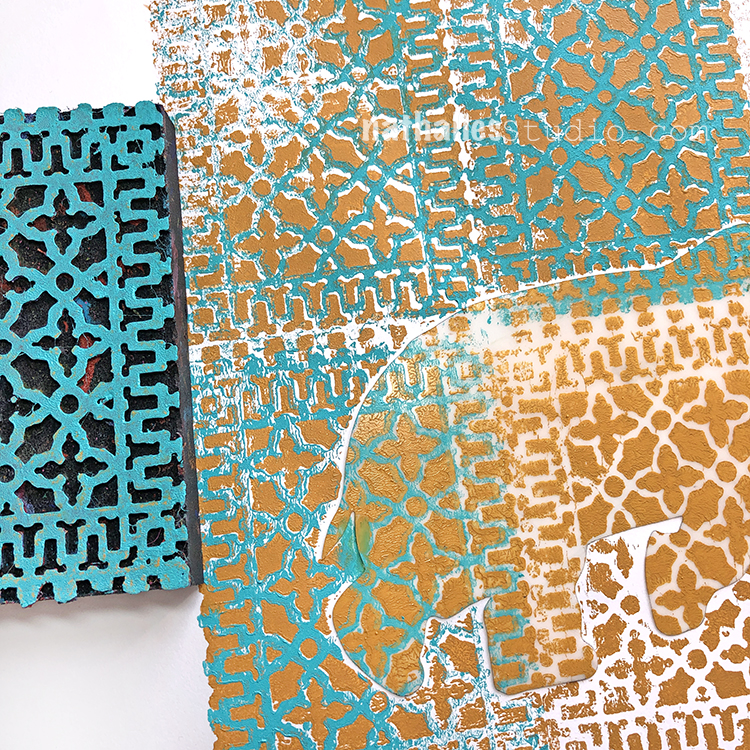
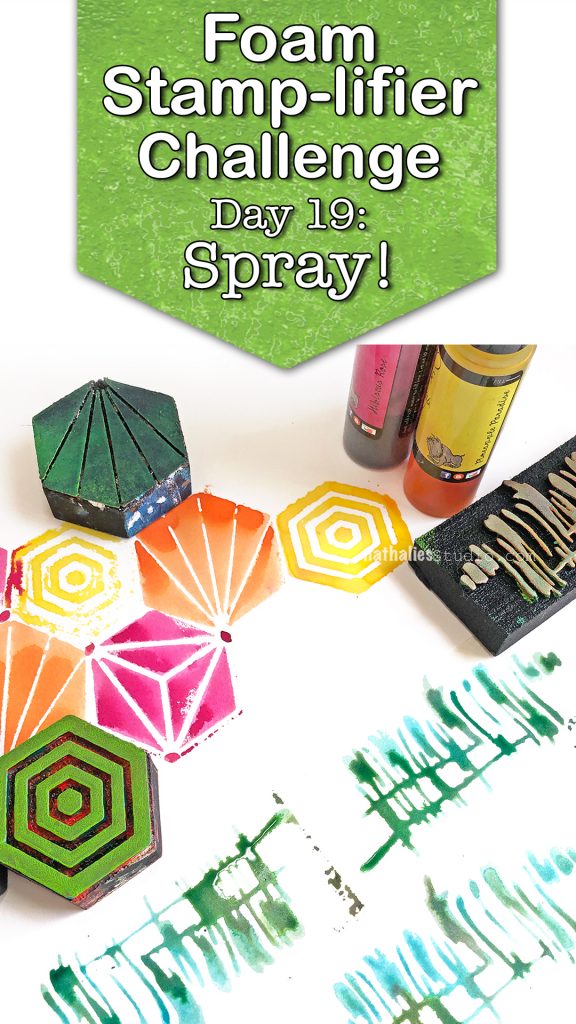
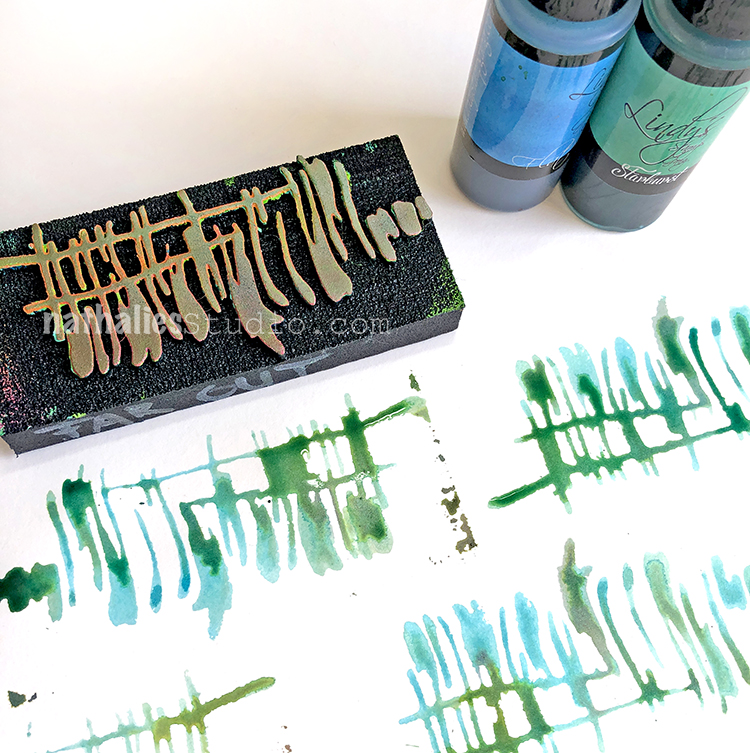
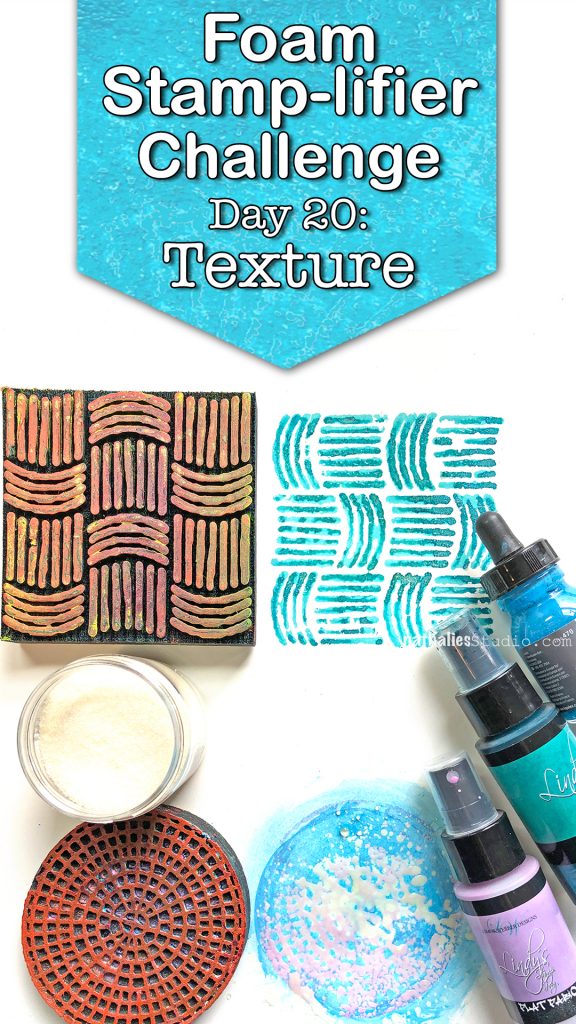
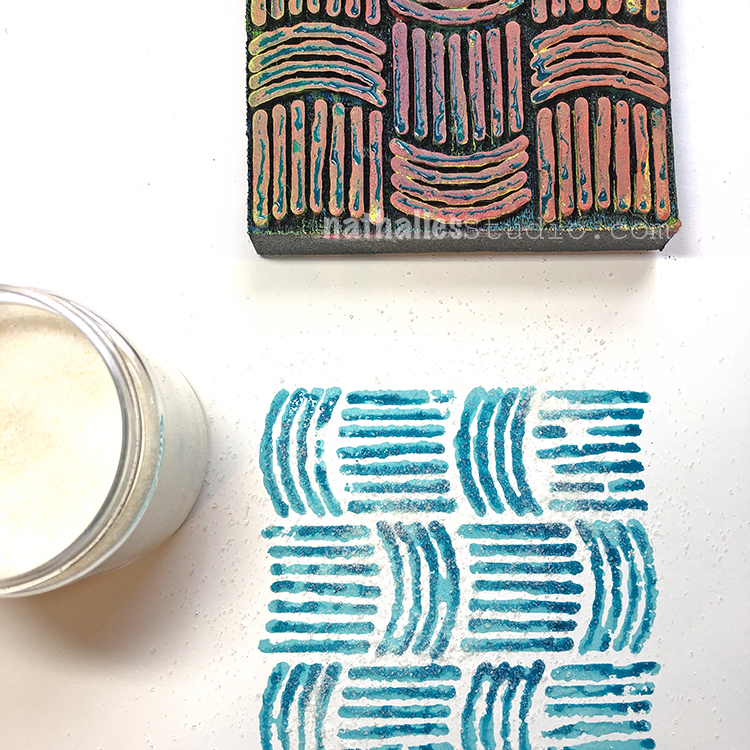
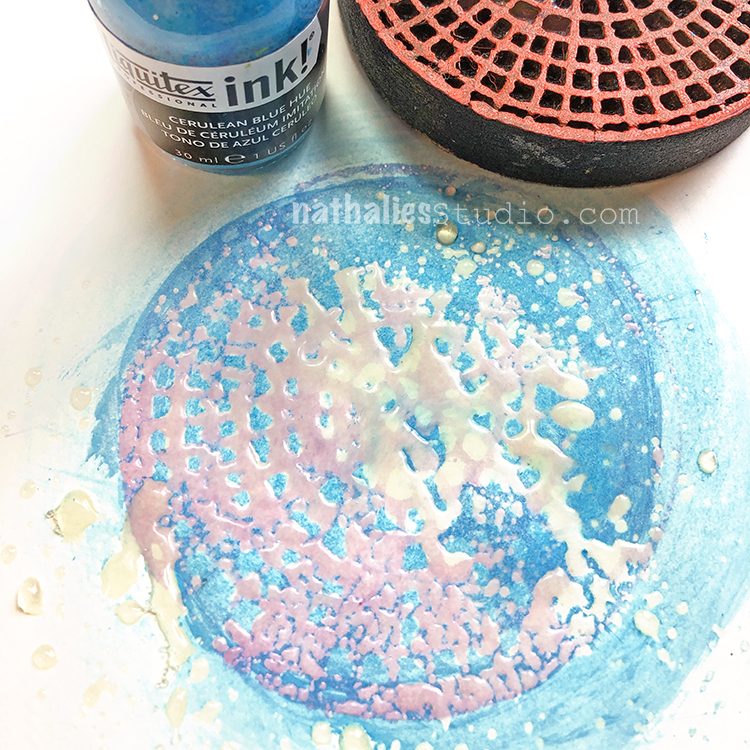
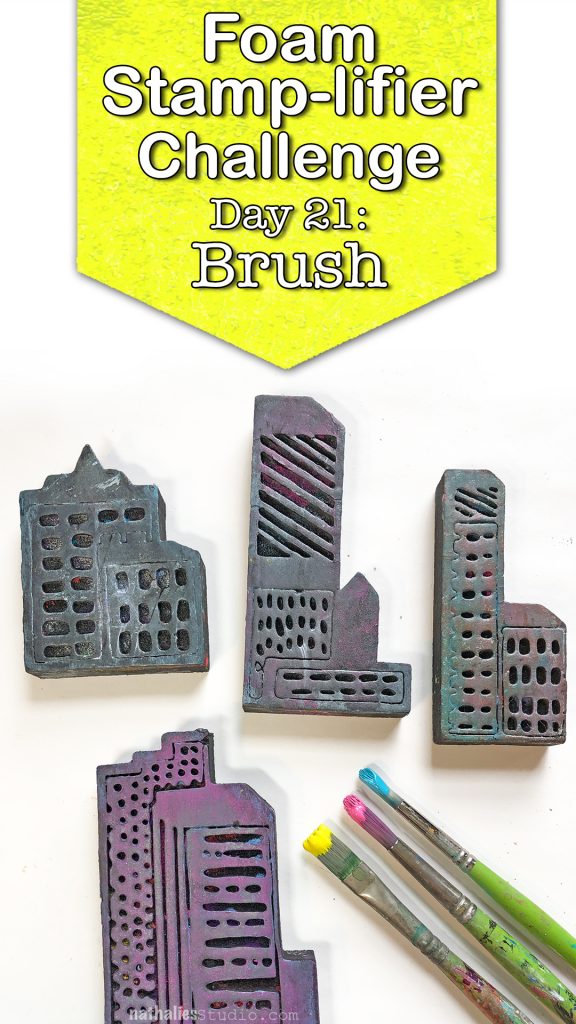
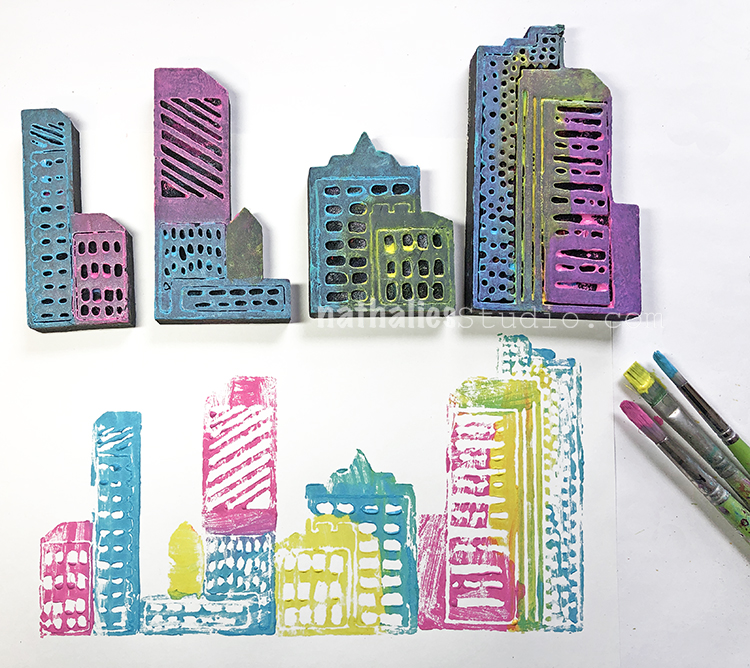
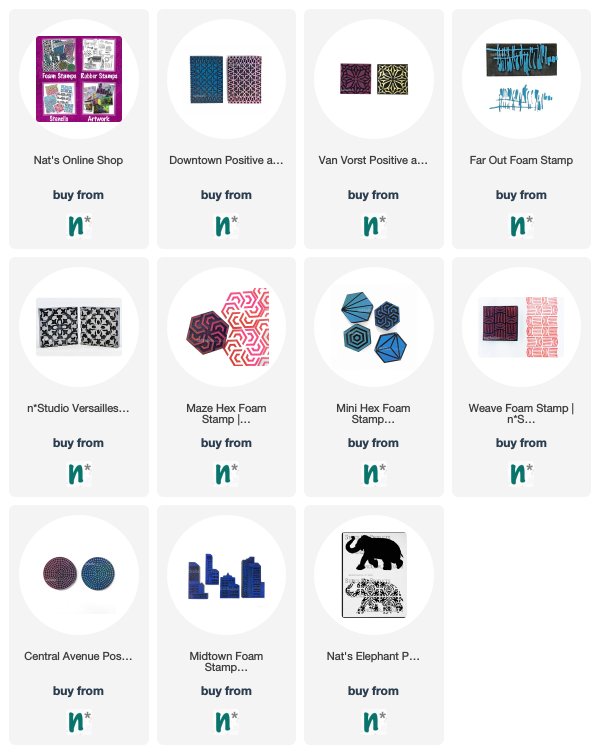
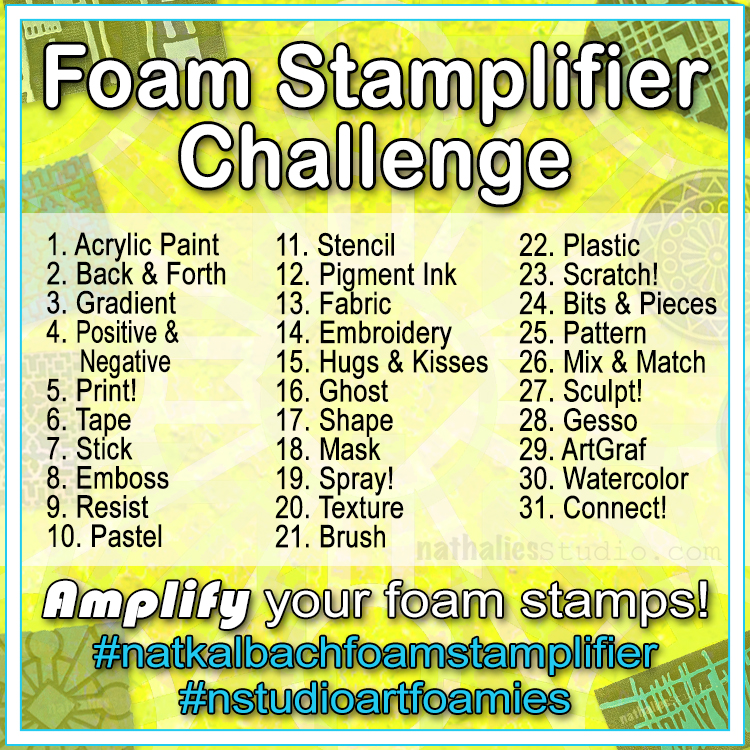
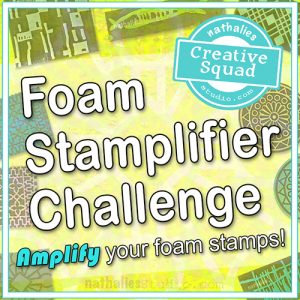
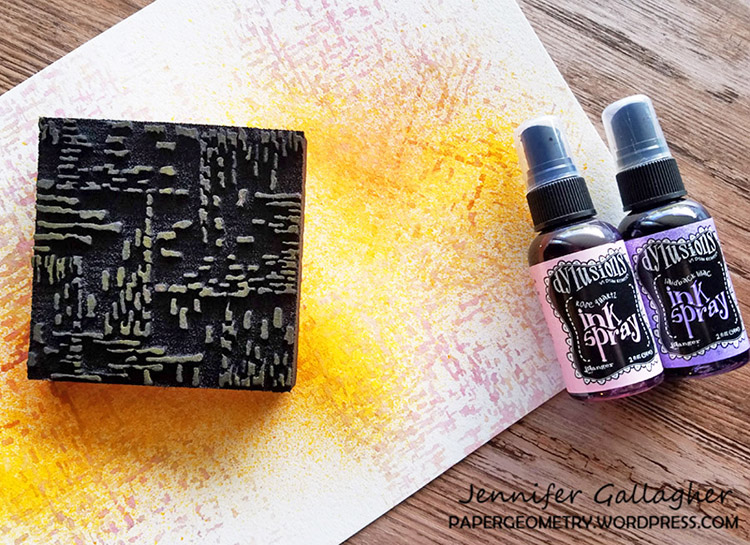
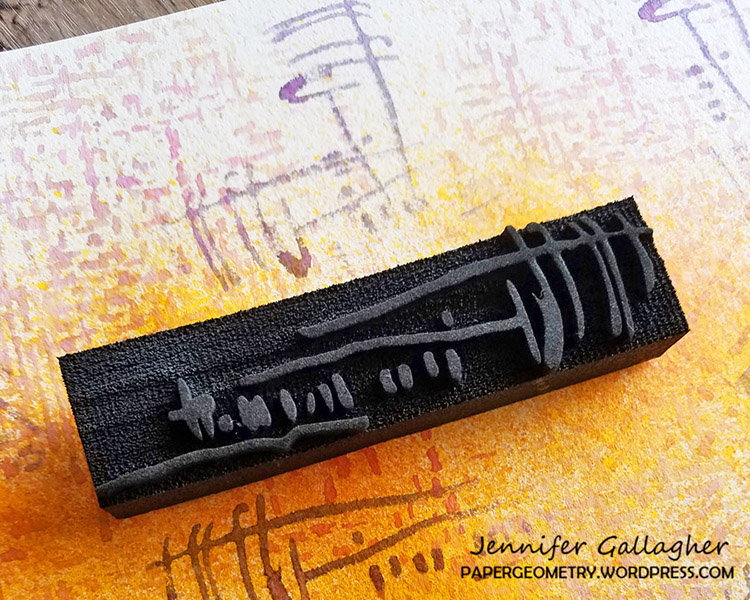
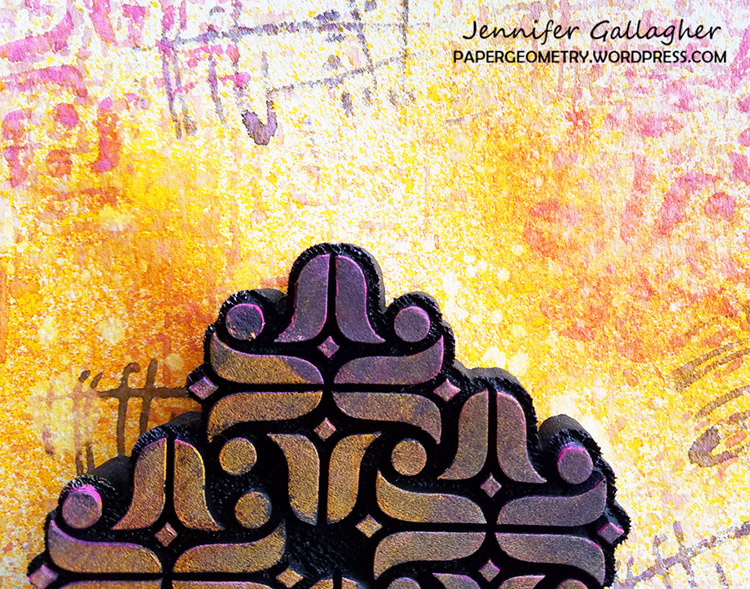
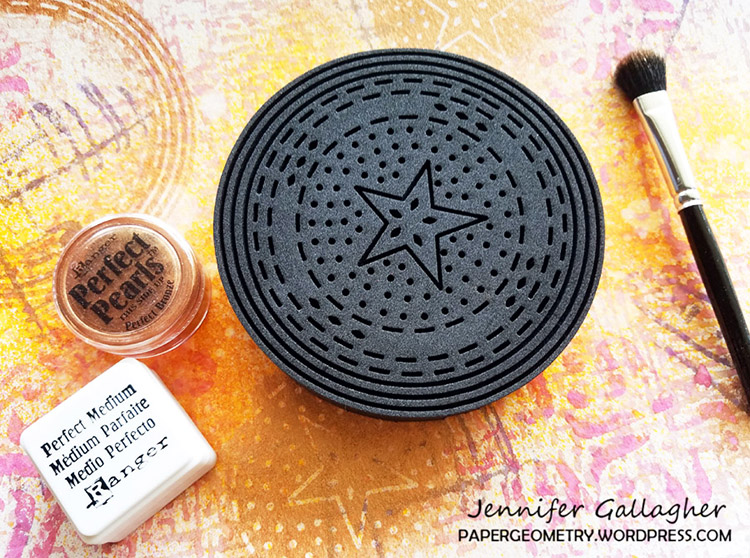
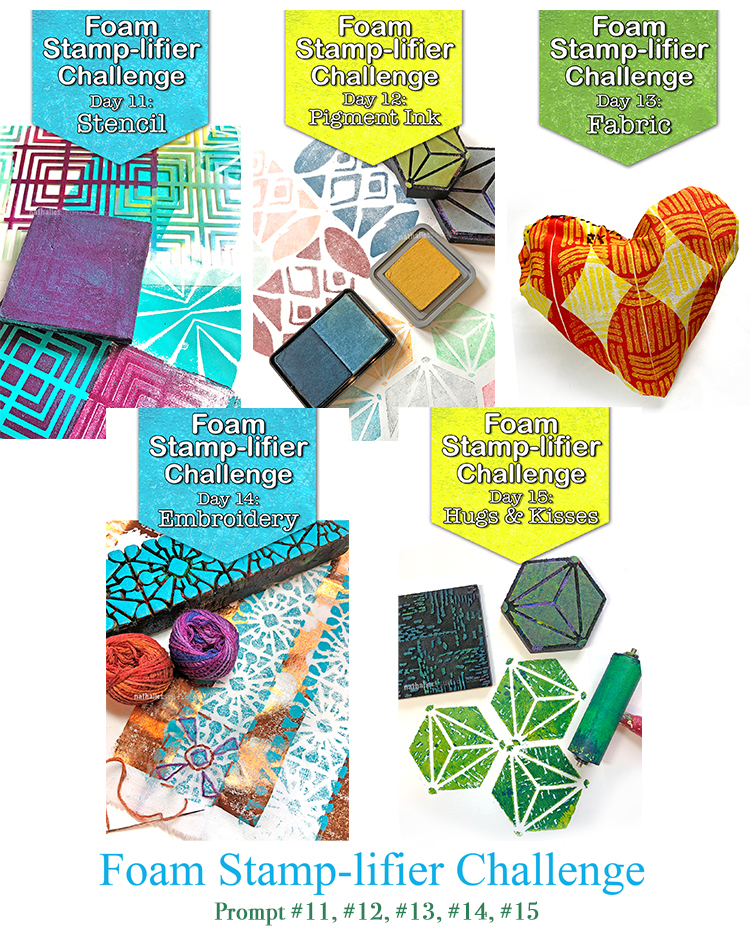
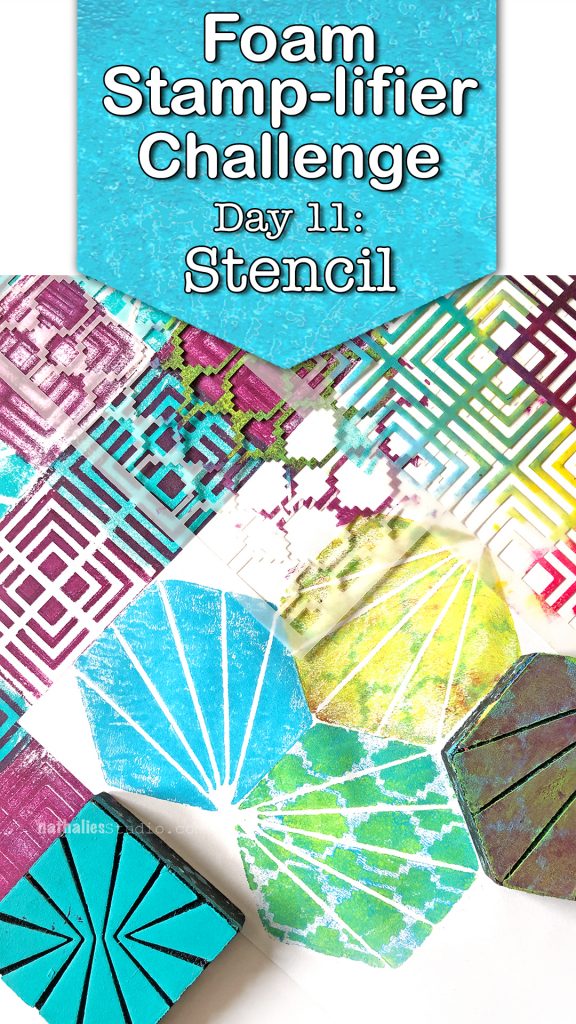
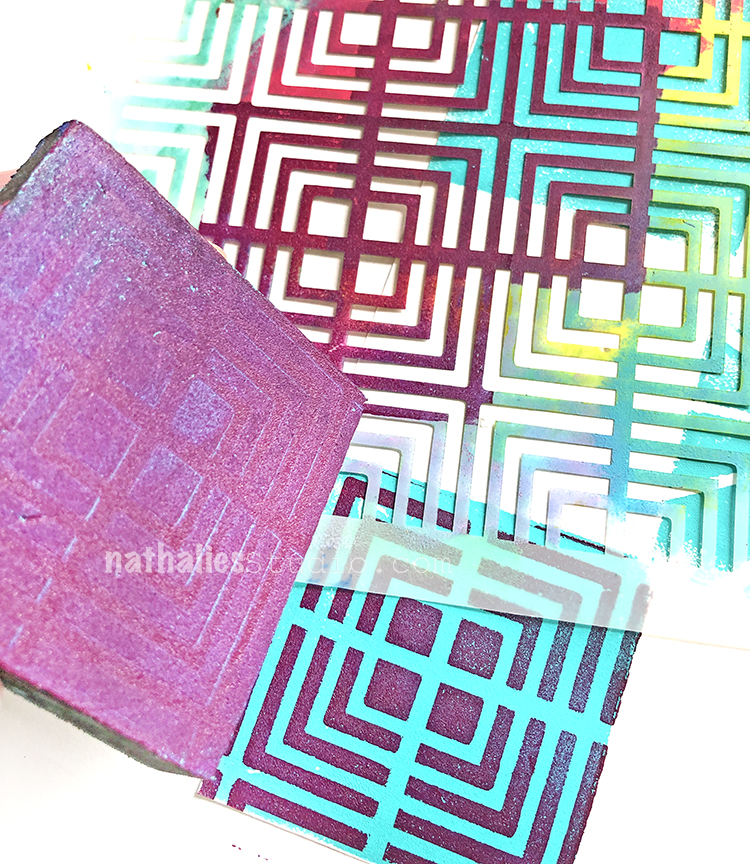
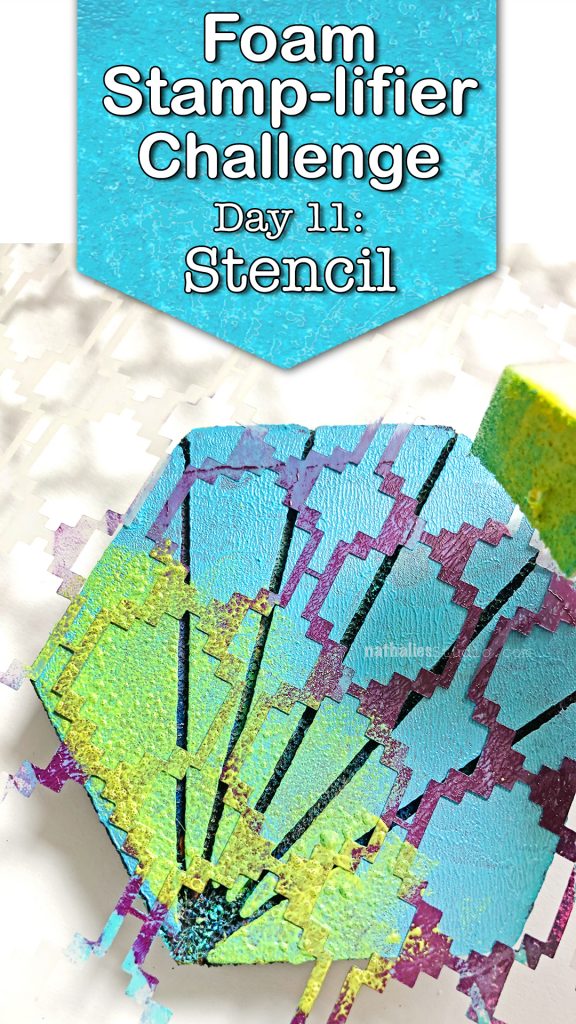
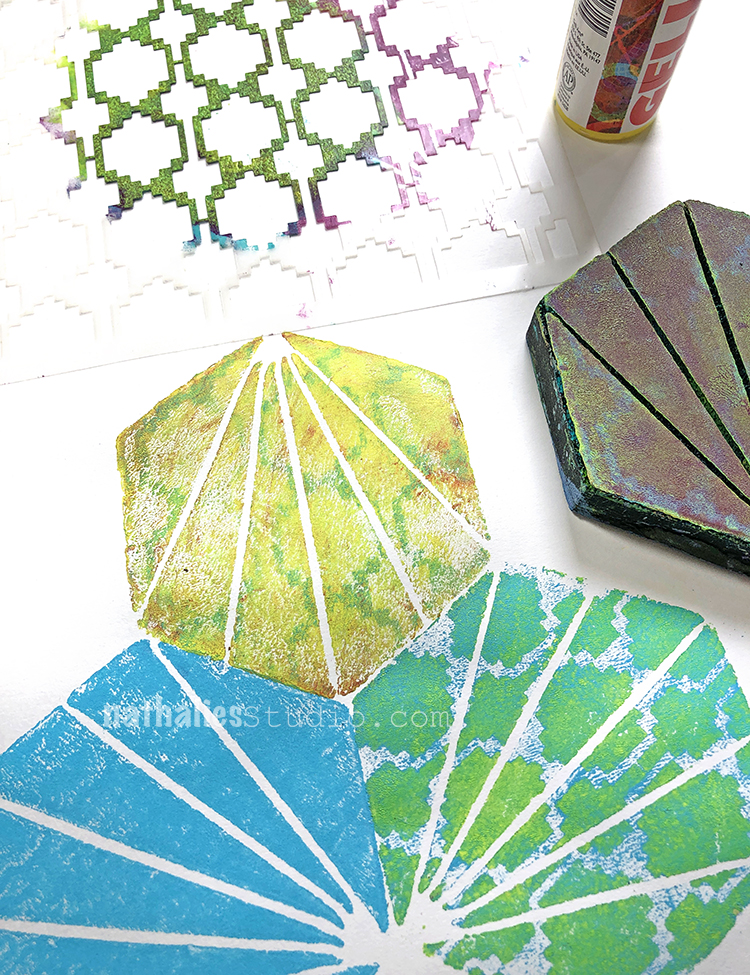
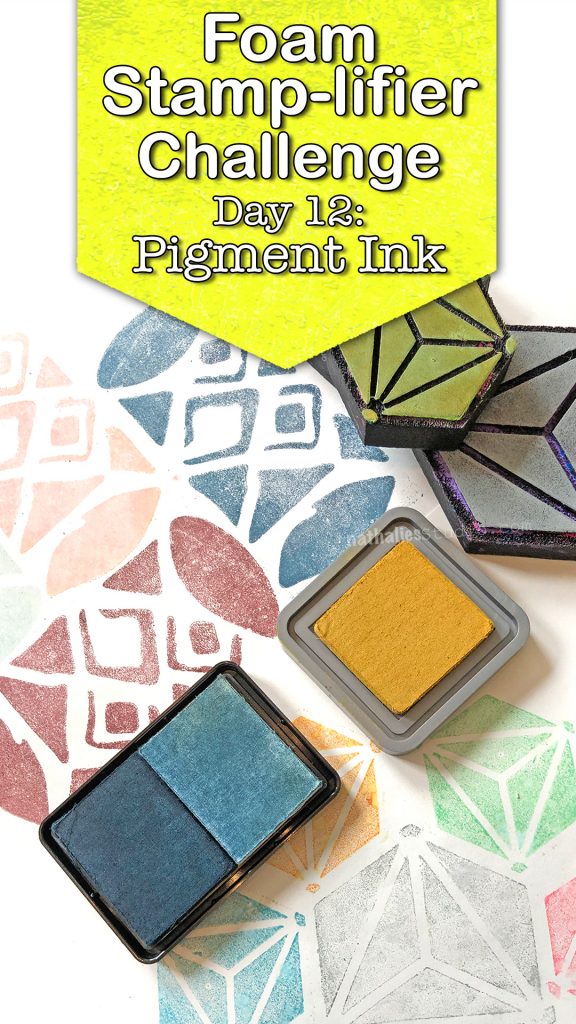
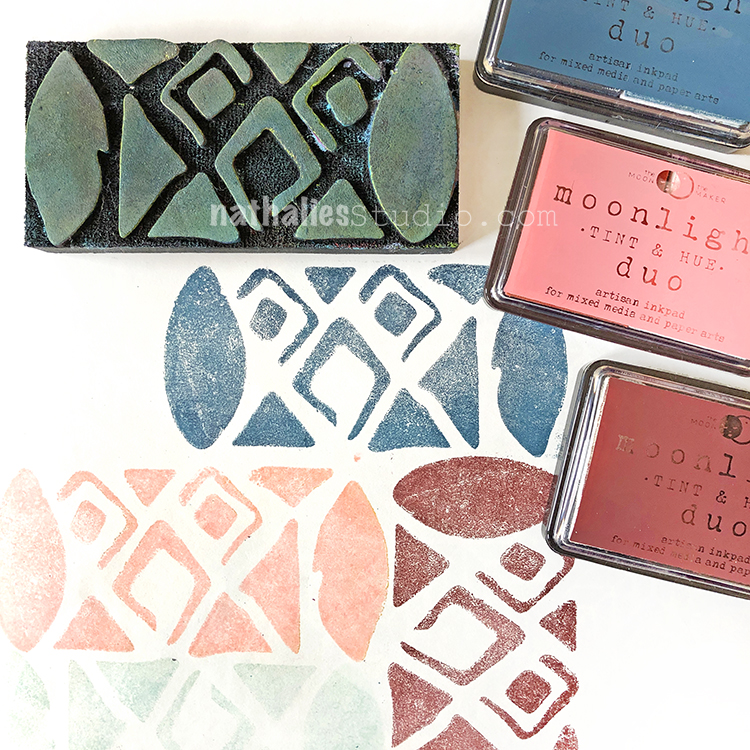
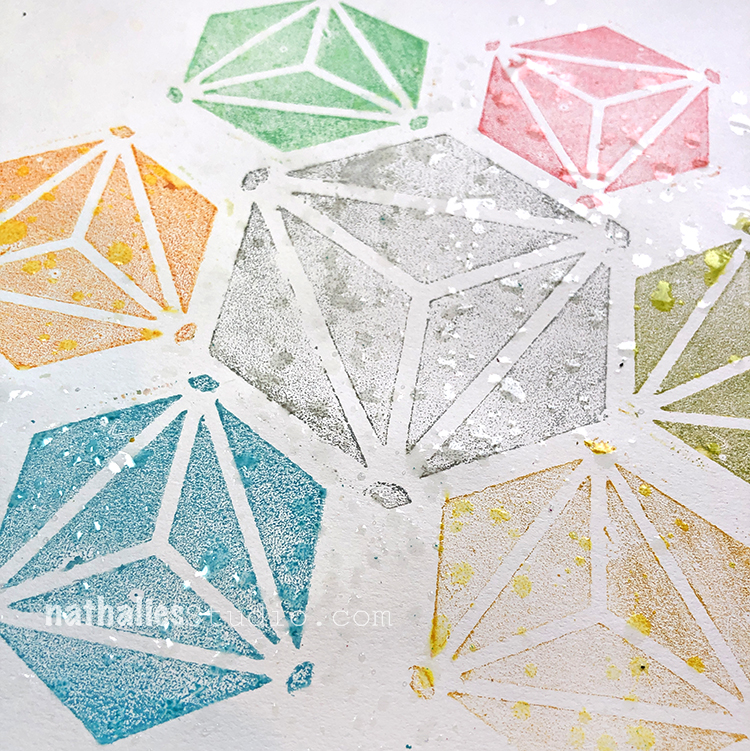
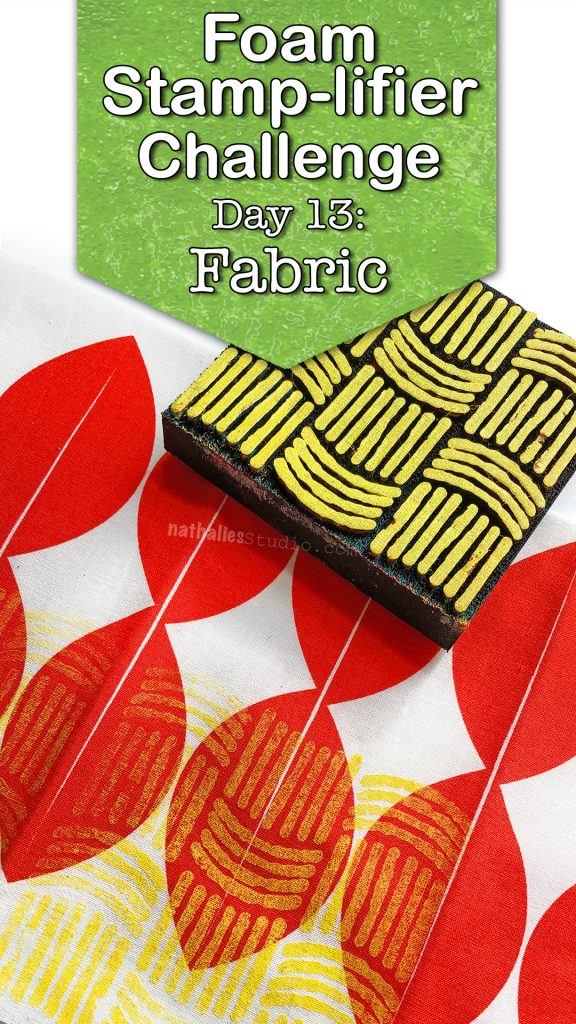
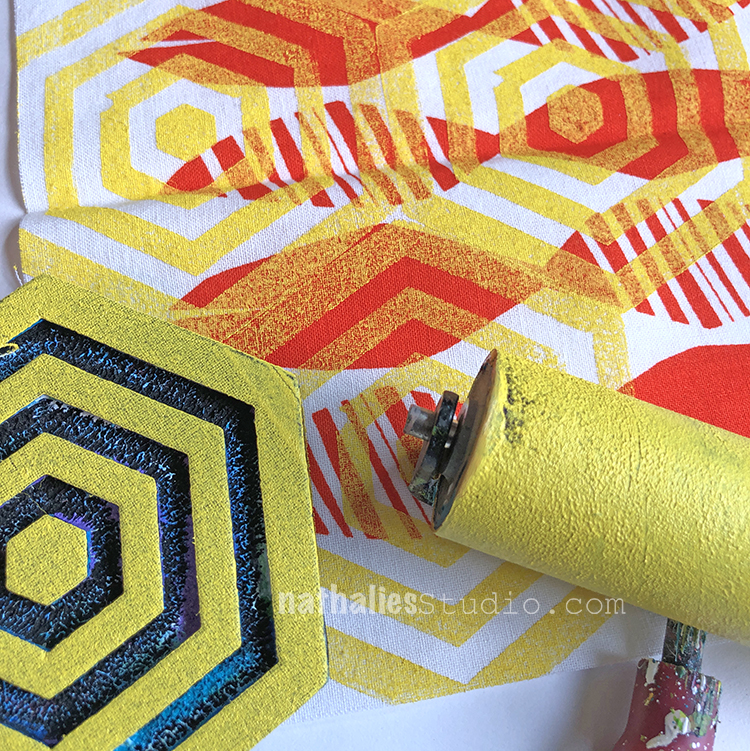
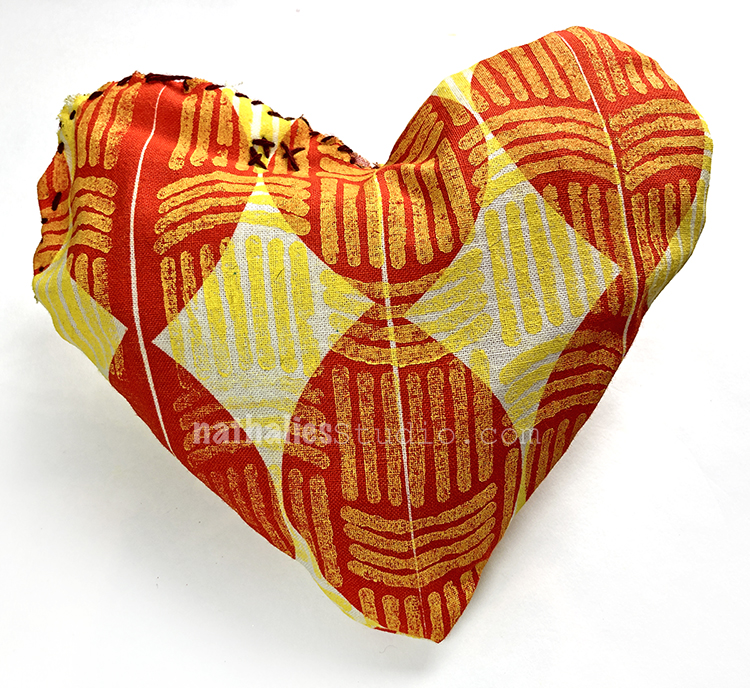
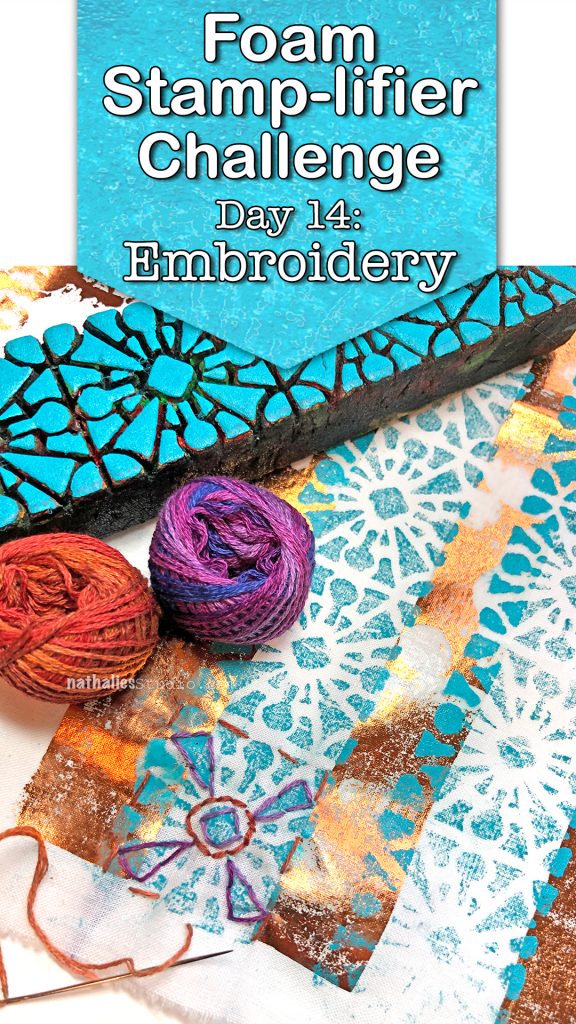
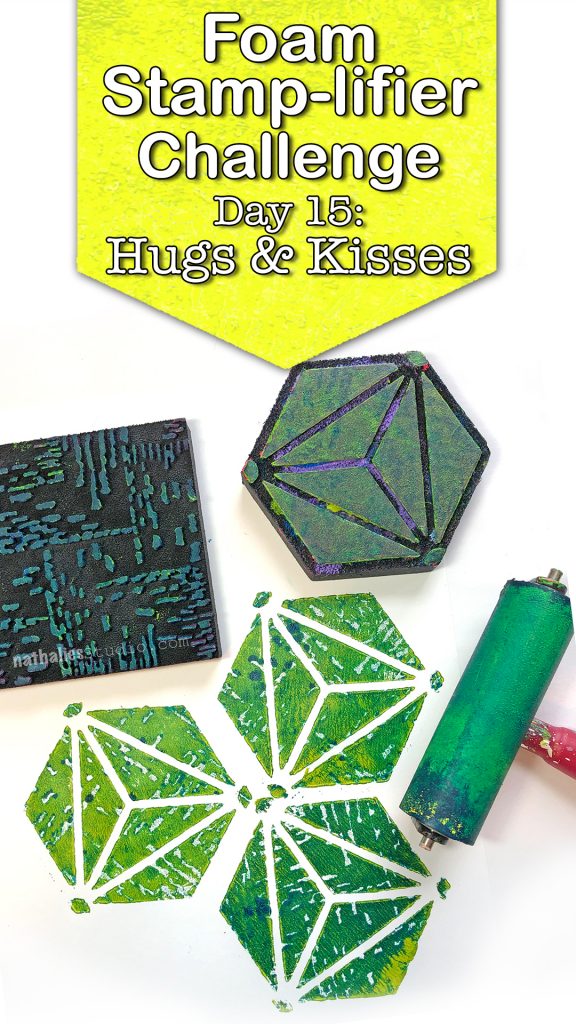
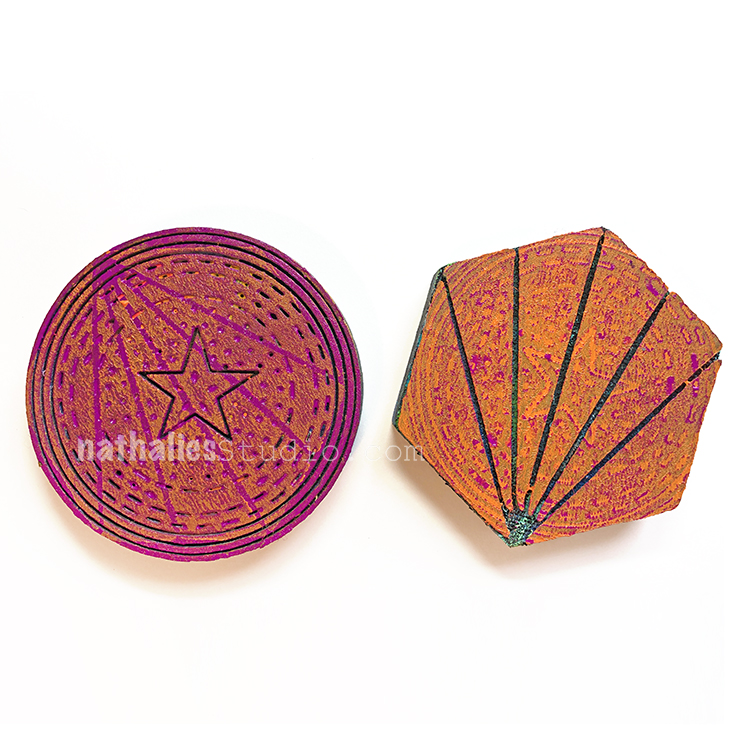
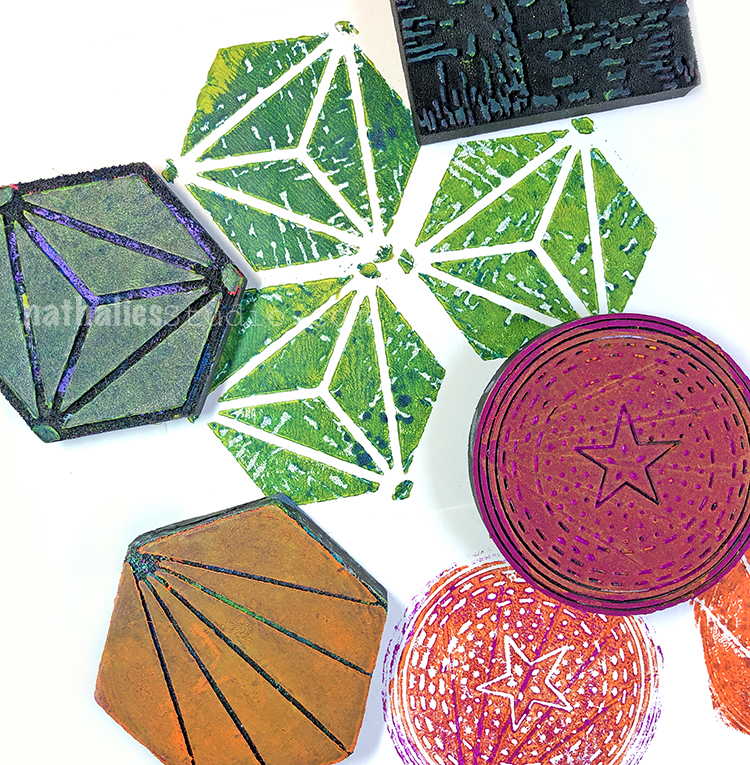
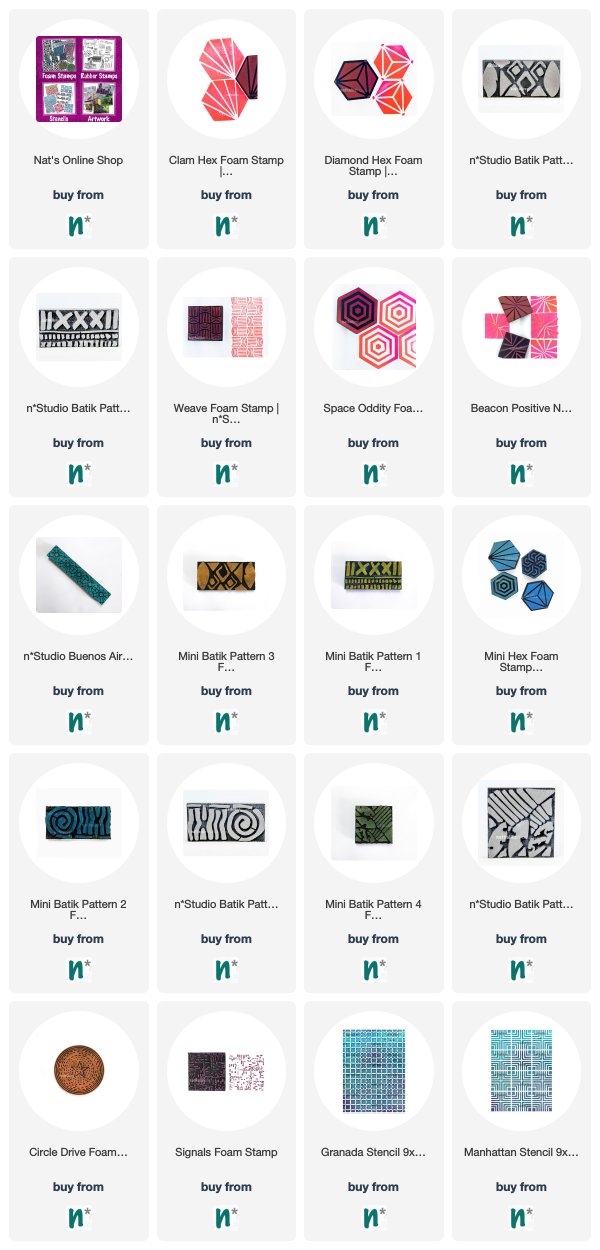
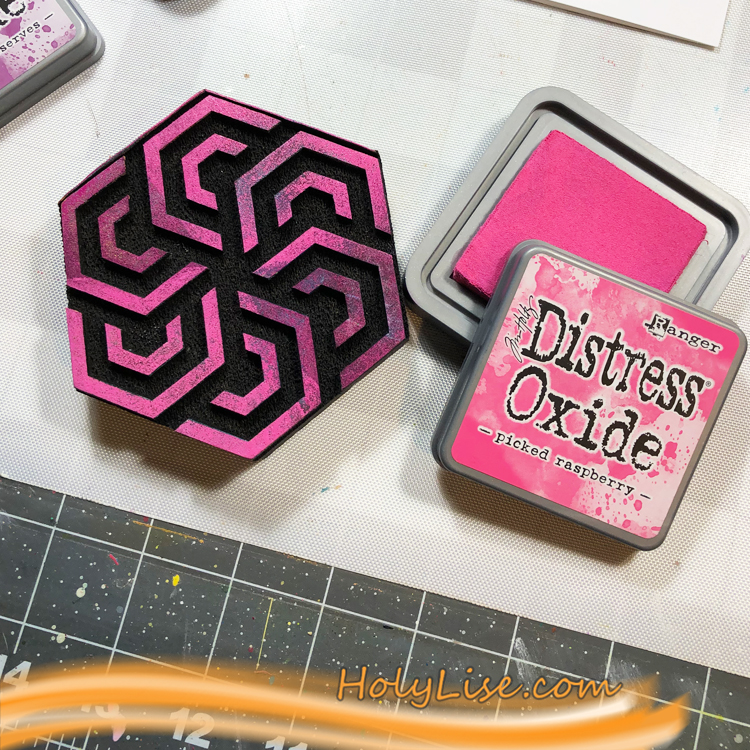
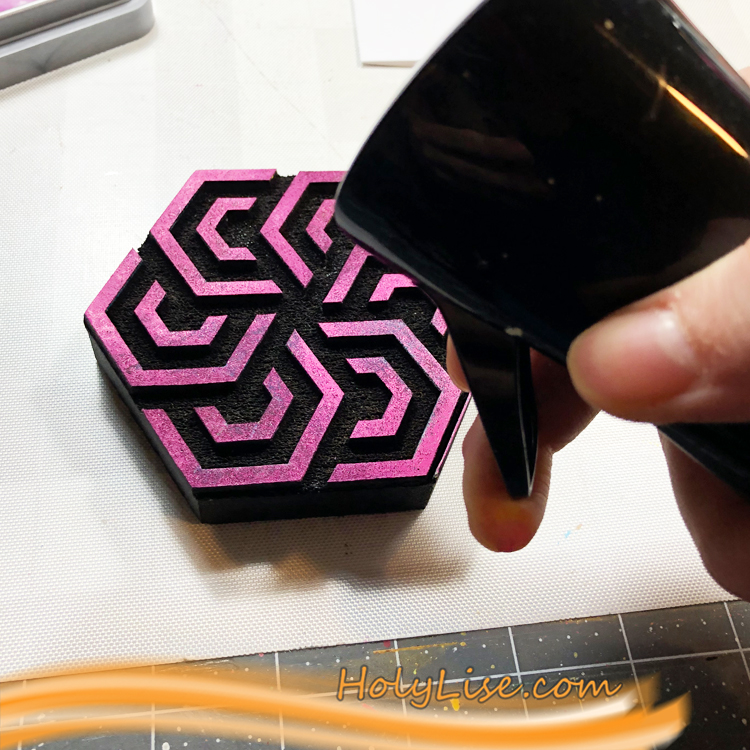
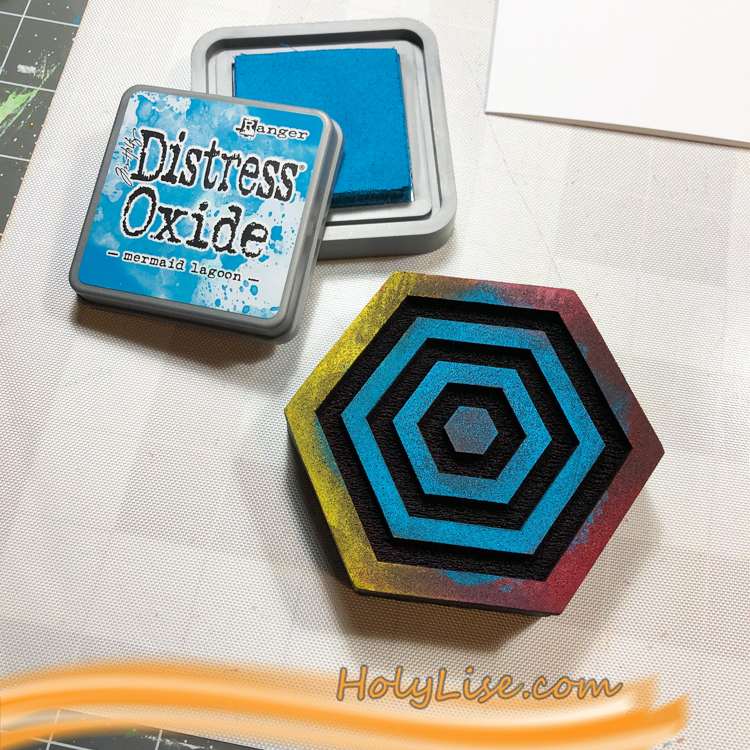
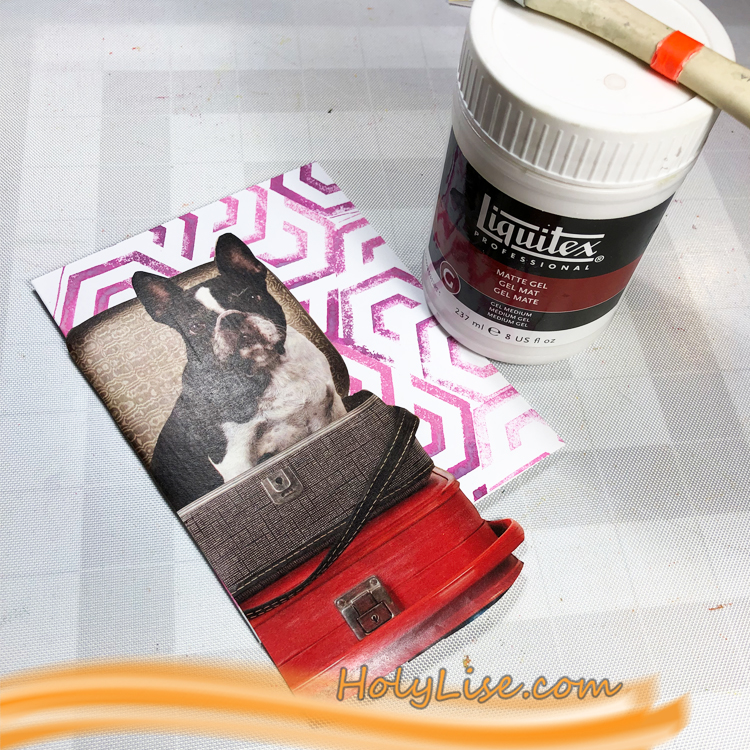
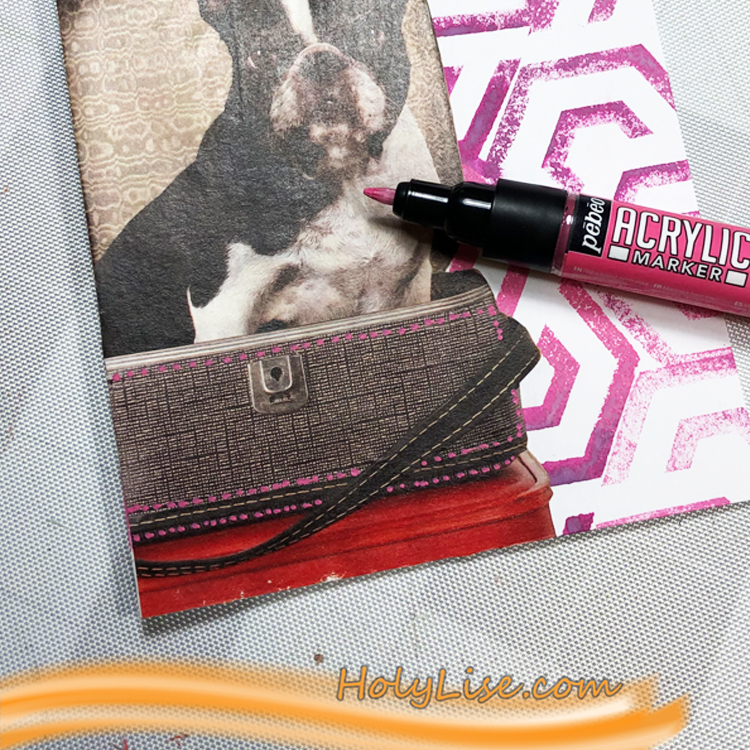
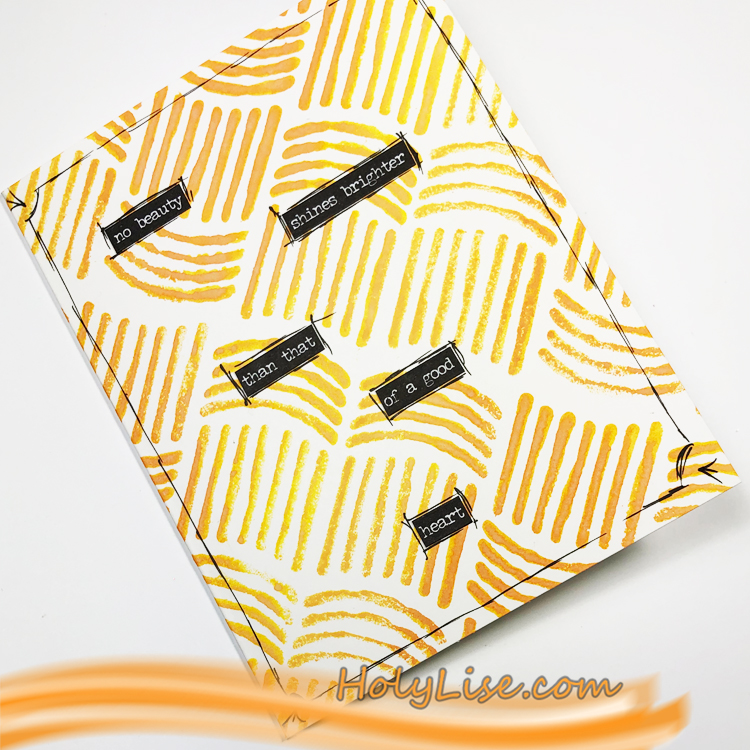
Foam Stamplifier Challenge – In March 2019 it was all about foam stamps and 31 ways to use those. I’m really passionate about my ArtFoamies stamp designs and as they are a relatively new type of product, I thought it would be fun to figure out different ways to use them in my artmaking and art journaling. See what I came up with here on the website.


Nat’s April Patterns – In April 2019 I created a book full of patterns using my rubber stamps. I didn’t use prompts, but each day I created a new pattern for the book and then in the end I posted a flip through video too. Check out all those April Patterns here.

Challenges are the perfect fix if you need some inspiration or new ideas. I hope this Look Back inspired you and I hope you join us for Nat and Sarah’s April ArtFoamies Challenge #artcollabchallengeaccepted

Leave a comment

Foam Stamplifier Challenge Prompts 29-31

Day 29 – ArtGraf

If you have taken a class with me in the past couple years, I have surely “forced”  you to try ArtGrafs  ;) No, seriously those little watercolor graphites are one of my favorite things to use with foam stamps.

Simply wet the foam stamp a little bit, rub the water-soluble graphite on top and stamp. You can use different colors and blend them as well. Take note that this doesn’t work with any graphite- it needs to be like this one water-soluble.

The ArtGrafs are so crazily pigmented that you can stamp several times, simply spritz some water in between on the foam stamp and check if you cannot get yet another wonderful image stamped off.

Day 30 – Watercolor

Oh Yes! You heard right – use your foam stamps with watercolor! For this I use a little trick:

I add my watercolor out of the tube on top of a gel plate and then add water and thin it down then press my stamp into the paint and stamp on paper.

The plate acts as a palette and inkpad and helps that the watercolor doesn’t dry too quick. For dry watercolor in pans, simply load your wet brush and watercolor and try to apply directly to your stamp. If that doesn’t work, try to add the paint first to the plate and then stamp into it. Trust me it is fun to try

Day 31- Connect

There are many ways you can “connect” the prompts of the last days- either use several different techniques on one art journal spread, create layers, or like I did create an Art Journal. I bound my own art journal –based on my online workshop BYOAJ – Bind Your Own Art Journal.

For the cover I printed on some fabric and then I chose my favorite Foam Stamplifier pages and made them into signatures for my book. They will provide great starting prompts when I want to art journal and remind me of the different techniques.

Here are the foam stamps I used for those prompts:


Leave a comment

Foam Stamplifier Challenge Prompts 25-28

Day 25 – Pattern

It is so much fun to create pattern with Foam Stamps- there are so many ways to use them to do that. Sometimes lining up the same stamp next to each other in different directions creates different patterns. Sometimes combining different foam stamps create a nice pattern cohesive pattern like my new mid century patterned foam stamps.

I also love creating tile patterns with my stamps and just thinking of the ways I can amplify one foam stamp and create different outcomes makes me all giddy. 

Day 26 – Mix & Match

Another way to use the foam stamp is to layer different foam stamp patterns on top of each other.

I love to use the same pattern as a big and small pattern to layer on top of each other.

Or as you can see my Creative Squad member Tania created a really cool layered Holiday card by printing the Clam Hex Stamp next to each other and then layering the Circle Drive stamp in the middle – I just love what she did there.

Or sometimes just stamping the positive and negative stamps- like the Santa Fe stamp on top of each other by layering them in opposite directions will create a fun new layered design. Just play with it.

Day 27 – Sculpt

I love using my foam stamps when sculpting little plates or bowls with air-drying paper clay. I rolled out my paper clay as you would roll out dough, put a plate or bowl of my desired size on top and then cut the clay around the edges.

I then pressed my inked up foam stamps into the clay to create texture and pattern with a faint of color.  For the bowl shapes, I put the clay disk into the bowl, shaped it to my liking and then let it dry overnight. I love these little pieces; they make great gifts and can be used to hold jewelry or other little tidbits.

Day 28 – Gesso

Gesso is such an awesome medium. One of my favorite techniques with Gesso and foam stamps is to paint a layer with gesso, and then press the stamp into the gesso while the gesso is still wet.

Remove the gesso from the foam stamp after each print. Then let the imprinted surface dry. The magic starts when you add a thin layer of acrylic paint on top of the surface.

The paint gets more resisted on the raised gesso areas and accumulates in the grooves revealing the pattern and texture in a really beautiful way. Sometimes I let the paint dry and even add another different color – again needs to be fairly thinned down! – on top.

Here are the different foam stamps I used for these prompts


Leave a comment

Foam Stamplifier Challenge with the Creative Squad – Maura Hibbitts

This month my Creative Squad is playing along with my new Foam Stamplifier Challenge: All month long you can follow my daily prompts on Instagram and on the blog to amplify your foam stamps!!! Today Maura Hibbitts is following the prompt Mix & Match. She’s using my Mid Century Squared, Signals, and Jazzed foam stamps to dress up a monthly planner.


How fun is it to mix and match several Art Foamies into a project? For me, it’s a blast! I love to create layers with colors and designs, and I am mixing and matching to my heart’s content as I transform  a calendar. I use a large calendar to keep track of all my art deadlines, and I’m going to need a new one soon, so time to get started!

First step is to apply a layer of gesso to the kraft calendar and let it dry completely. 

I wanted a colorful background to build my layers onto, and came up with this idea. I took my 6×6 gel plate, and added a layer of paint with the brayer, then “stamped”my plate onto the calendar. I repeated this several times with one color, then added new colors. I also overlapped my blocks of color to make it more interesting. 

Now, it’s time to stamp a repeating pattern onto my calendar with the Mid Century Squared ArtFoamie (love this pattern!) and black acrylic. I brayer the paint onto the gel plate, press my stamp into it to get a good solid layer of paint on it, and then line it up and stamp the bold pattern. My gel plate acts like a giant stamp pad, only with paint. Use the heat tool if necessary to speed up the drying time of the layer.

Next layer is white acrylic with the Signals ArtFoamie. I repeat the previous step in order to get another overall pattern that I am mixing and matching with the black. 

Every calendar needs a bit of glitz and glamour, right? The Jazzed Art Foamie is perfect with a shimmer of gold.  I randomly stamped this image onto the calendar, again using my gel plate like a giant stamp pad with the paint. 

I mixed and matched three different patterns onto a very colorful background, and at this point it was looking a bit wild. I decided to tone it down and pull it together by rubbing on some transparent fluid acrylics with my fingers, and using a baby wipe to remove it a bit if I got too heavy fingered. Once my cover was dry, I stamped the months on the pages and started writing in the dates. 

Check out the details to see how easy it is to mix and match ArtFoamies to create delicious layers! Each design remains visible, but is linked to the others. 

I toyed around with the idea of adding a focal piece to my calendar, but decided I like it just how it is. I now have my own personalized, colorful calendar which will be fun to pull out and use for planning. 


Thank you Maura! I just love these colors and how my Mid Century Squared stamp pops when done in black. Awesome! You can find my Foam Stamps in my Online Shop. In addition to white Chalky Gesso, here are some of the supplies that Maura used:


Feel inspired? I hope you join us for the Foam Stamplifier Challenge this month. As you play along, don’t forget to tag me when you share your creations – I would love to share your projects in my next  “n*Spiration From Around the Globe“.

Leave a comment

Foam Stamplifier Challenge Prompts 22-24

Day 22 – Plastic

Printing on top of plastic sheets or overhead foils is a fun way to create transparent elements for your work or nice dividers for your art journal but my favorite of all must be using Shrink Plastic. From wine charms, to embellishments to earrings. Using the foam stamps with inkpads of your choice, stamp your desired images.

Then heat the shrink film up as the manufacturer recommends and you will get a tiny version of your stamped image. Too cute! Here is a sample where I used the shrink film to create myself some new fancy earrings.

Day 23 – Scratch!

Another fun way to use Foam Stamps is to stamp onto some Ampersand Clayboard to create some great textured designs.


Stamp on top of the clay board with acrylic paint or spray ink or inks and then start scratching into the design. It is like doodling by scratching- better then coloring books- trust me!

Day 24 – Bits & Pieces

How about using bits and pieces of foam stamped paper to create something new?

You could create a tangram which is a puzzle which consists of 7 flat geographic shapes which put together can create a new shape.


Simply google tangram, print out the template, glue it on some white or black paper, start stamping with your foam stamps and cut it.

And then go and play …

Here are the different foam stamps I used for these prompts


In case you missed the prompt list  here you go:

Leave a comment

Foam Stamplifier Challenge Prompts 16-21

Day 16 – Ghost

No, no, don’t be scared- this is a friendly Ghost prompt. I love to apply paint on top of a dried paint layer and while the second layer is still wet, I take my slightly wet foam stamp and press it into the paint and lift it.

This will remove the second layer paint partly and create texture making for a subtle and nice imprint and revealing the color underneath. My favorite second color for this is white- it just gives a nice antique plaster effect.

Day 17 – Shape

Happy St. Patrick’s Day. I thought this would be a great day to amplifier your stamps using them to stamp out a shape…like a shamrock. Although …I guess I messed it up since a shamrock is a three-leaf clover ….oh well…you can tell I am not Irish- LOL – but hey, I tried.

Anyway you can use any shape of course and  you can cut it out of a piece of paper or like I do out of a piece of deli paper. Basically you are creating a stencil.

Then just fill in the opening with either one or more foam stamp patterns, and lift the stencil- the filled in area defining the actual shape.

Day 18 – Mask

Now of course you can also mask an area off and then define that area by stamping over the mask. Here I used one of my beloved Elephant Masks and my Downtown positive and negative Foam stamps.

You can easily cut out your own mask of course. And voila …there you have a it – love the background. So many options with this.

Day 19 – Spray

Another one of my super favorite foam stamplifier techniques is to use dye or ink sprays with my foam stamps.

Spray onto the stamps and print – I love the super vibrant watercolor effect this gives. So easy and yet so effective!

Day 20 – Texture

Another one of my old foam stamplify favorites. Use the spray paint we used yesterday as an embossing agent and create some nice grungy texture.

Spray your foam stamp with dye ink and stamp and while the ink is still wet sprinkle some UTEE or ultra thick embossing powder on top and then heat emboss it.

I love the raised water drop like texture this creates.

Day 21 – Brush

Using a brush to color in certain areas of a foam stamp is also a cool way to amplify the stamps.

When working with acrylic paint  you either have to work fairly quick in order to prevent the paints from drying to fast or you can use a little bit of retarder with your paints to extend the drying time a bit.

I hope you enjoyed this round of prompts. Here are the stamps I used for those:

Have you missed the prompt list? Here you go

See you tomorrow for a little Kaffeeklatsch! I’m showing off my new Rubber Stamps and chatting with you on Facebook. See you at 12noon EST :)

Leave a comment

Foam Stamplifier Challenge with the Creative Squad – Jennifer Gallagher


This month my Creative Squad is playing along with my new Foam Stamplifier Challenge: All month long you can follow my daily prompts on Instagram and on the blog to amplify your foam stamps!!! Today Jennifer Gallagher is following the prompt Spray! She’s using my Circle DriveSignals, Amsterdam, Gnarly, and Mid Century Squared foam stamps to demonstrate the art of making and using a masterboard!


All month long the Creative Squad is playing along with Nat’s Foam Stamplifier Challenge. Today’s prompt is “Spray!” So I pulled out my favorite spray inks, Dylusions ink spray by Ranger Ink, and all of my n*Studio foam stamps and got to work. This tutorial will walk you through using water-reactive spray inks and artfoamies to create a beautiful masterboard. Knowing how to create a masterboard will make quick work of backgrounds for Artist Trading Cards and Coins, greeting cards, and more.

Begin with a sheet of heavy watercolor paper. Spray a little of Ranger’s vanilla custard ink spray leaving white space here and there. Next, using Nat’s new Signals foam stamp, spray the stamp with rose quartz ink spray and press the stamp in a few places. Mist the foam stamp with a spritz of water and press it into a paper towel to remove the pink ink. Repeat the process again with laidback lilac ink spray.

Add some additional detail with Nat’s Gnarly or Mid Century Squared foam stamps by spraying it with laidback lilac and pressing it in various spots around the paper. Once dry, we can remove some of the ink to recover some white space and add additional interest by spraying the Signals foam stamp with water, gently pressing onto an area, and dabbing (don’t wipe) the water left behind with a paper towel.

Spray rose quartz ink onto Nat’s Amsterdam foam stamp and press onto the paper.

For a fun metallic flair, apply Ranger Ink Perfect Medium onto Nat’s Circle Drive stamp and Amsterdam stamp and emboss with perfect pearls in pewter and perfect bronze.

I’ve turned my masterboard into artist trading cards and coins. The possibilities are endless. I hope you’ve enjoyed this tutorial. Be sure to play along with Nat’s Foam Stamplifier Challenge and show us what you’ve created.


Thank you Jennifer – I love imagining all the possibilities for your gorgeous masterboard! You can find my Foam Stamps in my Online Shop. Here are some of the supplies that Jennifer used:


Feel inspired? I hope you join us for the Foam Stamplifier Challenge this month. As you play along, don’t forget to tag me when you share your creations – I would love to share your projects in my next  “n*Spiration From Around the Globe“.

Leave a comment

Foam Stamplifier Challenge Prompts 11-15

Day 11 – Stencil

No surprise if you know me…I also love stencils and stencils are perfect amplifying tools for your foam stamps.

You can add paint to the solid back side of your foam stamps and then stamp through a stencil.

Lift the stencil and stamp right away again to receive a second but inverted print. You can also use foamstamps which have a more solid pattern – and stamp with the pattern side through the stencil. Another favorite of mine is to roll out a color onto the foam stamp with a more solid design and then put the stencil on top and add a different color with a cosmetic sponge on top of it.

It gives you so many more and unique possibilities with your foam stamps and for that matter also for your stencil.

Now that’s what I called amplified.


Day 12 – Pigment Ink

Love love love using my foam stamps also with pigment inks. I love how the foam creates some soft texture in combination with the inks and you can easily clean them after use with some water and a rag or a baby wipe.

Moonlight Duos by RubberMoon are a great hybrid ink and their colors are just sooo amazing. I also love using Distress Oxides and sprinkle the stamped image with water drops to lift off some of the ink with a paper towel and create even more visual texture.

So much fun and another medium you can easily use with your foam stamps.


Day 13 – Fabric

Can you say perfect relationship? Foam Stamps and Fabric love each other.

You can use acrylic paint but for fabric I want to wear or when I want to keep the fabric soft I use fabric paint. Besides using the foam stamps on a solid colored piece of fabric using it on a piece that already has a pattern is my total geek out fun.

You can use the fabric many many ways- but here…I give you my heart :)

Day 14 – Embroidery

Oomphing up your foam stamped image by adding some embroidery on top of the image is super fun! You can either just add some accents with certain embroidery stitches or fill in the actually design with satin stitches.

My Creative Squad Member Jennifer did a wonderful job creating some napkins with embroidered foam stamping and they are so beautiful. So many possibilities by combining foam stamping and embroidery.

Day 15 – Hugs & Kisses

I think the right term is stampkissing but I think Hugs & Kissing is perfectly adequate for this foam stamplifier technique. Use two different foam stamps- one that is more solid and one with a small pattern, apply different colors to each of them and then stamp them on top of each other – lift and stamp the more solid patterned foam stamp.

You can stamp off the other stamp on a different paper and get a nice color scheme. Make sure to use colors that mix well together.

I hope you enjoyed these prompts- here are the foam stamps I used for them:

In case you missed the prompt list and want to follow along – here you go:

Leave a comment

Foam Stamplifier Challenge with the Creative Squad – Josefine Fouarge


This month my Creative Squad is playing along with my new Foam Stamplifier Challenge: All month long you can follow my daily prompts on Instagram and on the blog to amplify your foam stamps!!! Today Josefine Fouarge is following the prompt Pigment Ink. She’s using my Maze Hex, Space Oddity, and Weave foam stamps to create some gorgeous cards. And this will be Josefine’s last post with the Creative Squad so we would like to say a HUGE thank you to her for her awesome projects and wish her the best on all her future ventures :)


I love foam stamps which is why Nat’s challenge is so much fun. I hope that you’re getting a lot of inspiration from all the posts and enjoy playing along.

Tuesday is Creative Squad day and of course, we are playing along. Today’s prompt is Pigment Ink and I picked my favorite – Distress Oxide (technically, it’s a hybrid between Pigment and Dye Ink, but sometimes you have to be a rebel ;) ).

To add a third favorite, I chose the hexagon designs and the Weave design from Nat and I decided to create a set of notecards. I ran out again, so I needed a few quick and easy ones. I prepared a few card bases and decided to stamp directly onto them.

I went with two colors per stamp design and applied the first one directly onto the Maze Hex foam stamp.

Then I added the second color. I don’t worry about which color to use first since I always go back with the first color and blend both together.

Because Oxide’s are water reactive, I added water directly on top of the ArtFoamie. You can stamp without adding moisture. I did it, because I really like the effect.

I varied the way of the ombre effect. For some I went from left to right and for the Space Oddity foam stamp from the middle to the outside.

Once I was done with the backgrounds, I started decorating the cards. That can be as simple as adding an outline with a black fineliner…

…or some dots and lines using an acrylic marker.

You can also use die-cuts or magazine cut outs to decorate the cards. For this one, I used a picture from a magazine ad and adhered it with gel medium. Usually, I would add the gel medium to the background, the back of the picture and all over the card to seal it. Since I used Distress Oxides, I just added it to the back of the picture. Otherwise the ink would have moved.

Then I decorated the picture with dots and lines.

It always surprises me how you can create great looking cards with just a bit of stamping and adding dots. They all look different but started out in very similar ways.

Foam stamps are so versatile and work for every style – from clean and simple to super grungy and are great for cards, art journal pages and so many other mixed media techniques.

Don’t forget to join the Foam Stamplifier Challenge over on Instagram and share your own projects using foam stamps.


Thank you Josefine – I love how the foam stamps work with ink!  You can find my Foam Stamps in my Online Shop. Here are some of the supplies that Josefine used:


Feel inspired? I hope you join us for the Foam Stamplifier Challenge this month. As you play along, don’t forget to tag me when you share your creations – I would love to share your projects in my next  “n*Spiration From Around the Globe“.

Leave a comment