Hello and welcome to a post from my Creative Squad! Today we have Nicole Watson sharing with us a nice and easy card project – just perfect to go along with my Deck of Cards Challenge this month on Instagram :) She is using my Valley Road stencil and this month’s theme: Mirror Mirror – A mirror can be a reflection of many things. We look into them every day and can see who we are outside and in. But they can also just be a fun visual tool to play with as we flip and reverse images and patterns. Play with reflection this month.
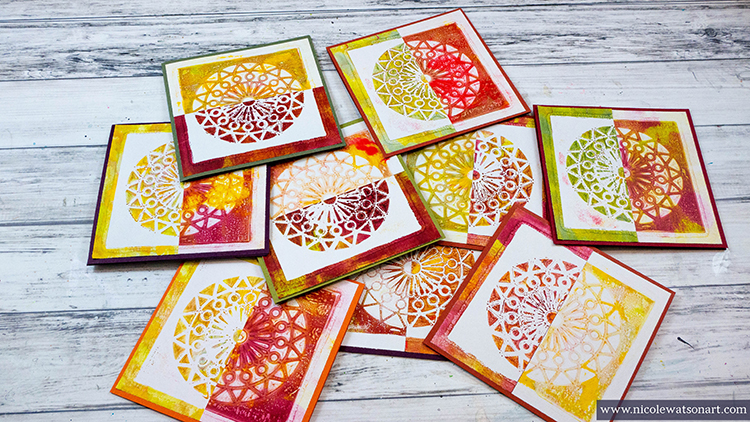
Since Nathalie is doing a card-making challenge this month, I decided to make cards for this tutorial! These mirrored cards are quick, easy, and require minimal supplies.
Here is a video of my process and below the video you can find the step by steps with photos
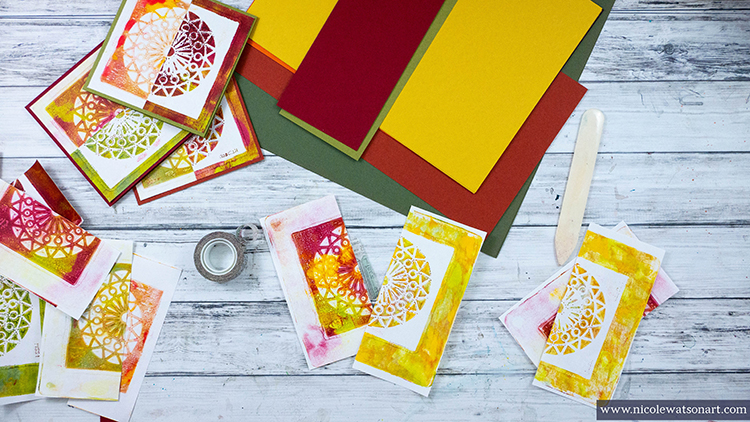
First, grab some fall colored paint. I used Golden’s Open Acrylic paint since it has a longer drying time, and I wanted to pull multiple prints before the paint dried. Begin by squirting several colors of paint on your gel plate and spreading it around with your brayer. I like to brayer off my excess paint in a book. Then, place your stencil in the middle of your plate. Now it’s time to pull some prints!
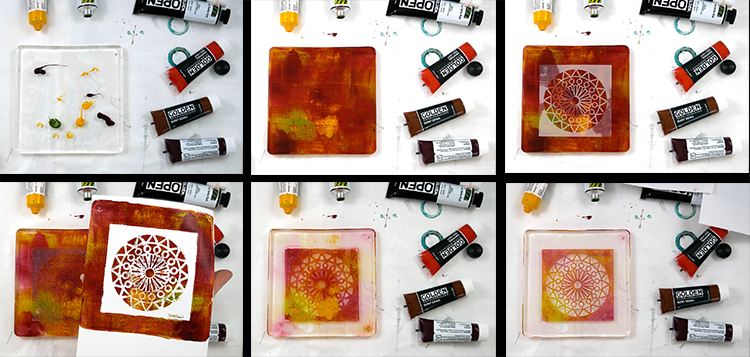
If you’ve never gel printed before, don’t worry. This is very simple printing and a good place to begin. Simply place your white paper on top your plate and stencil and smooth over it several times with your hand. I like to concentrate on the stencil (I’m using Nat’s Valley Road stencil here) with more pressure to make sure the paper contacts the paint inside the stencil holes. The more detailed your stencil is, the harder it is to ensure this happens. Gently pull your paper from the plate and admire your print! Repeat this process about two more times. You should be able to get three really nice pulls before the paint runs out.
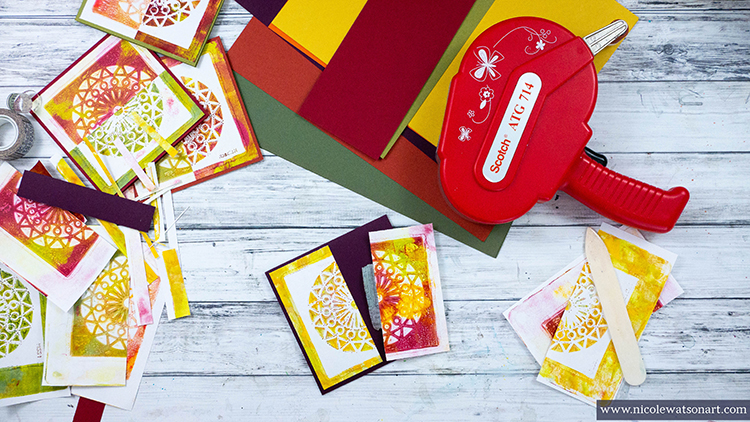
Now it’s time to create the mirrored image. Carefully pull your stencil off the plate to not disturb the paint that was masked by the stencil. Place your stencil paint side up (We’ll use it in a minute!). Grab your white paper and you should be able to get two nice pulls. You will also be able to get one nice pull from the stencil itself. Place the stencil paint side up on your gel plate and use a white paper to pull the paint off the stencil. This will clean it for the next colors, and give you one more print.
Continue this process until you have a bunch of prints. Be creative and use different color combinations so when you put the mirrored images together, they are different.
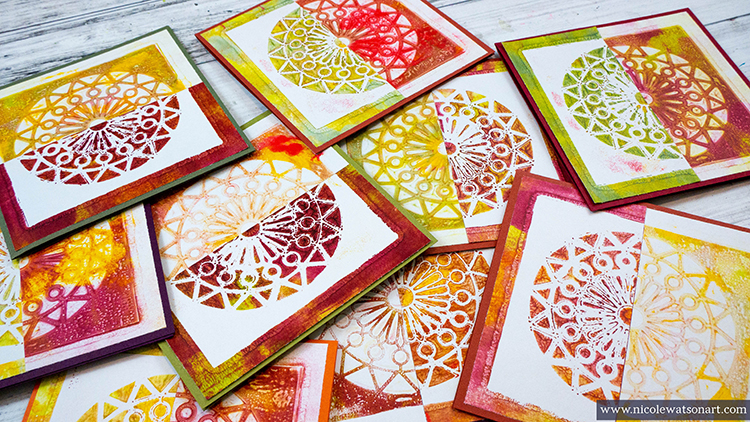
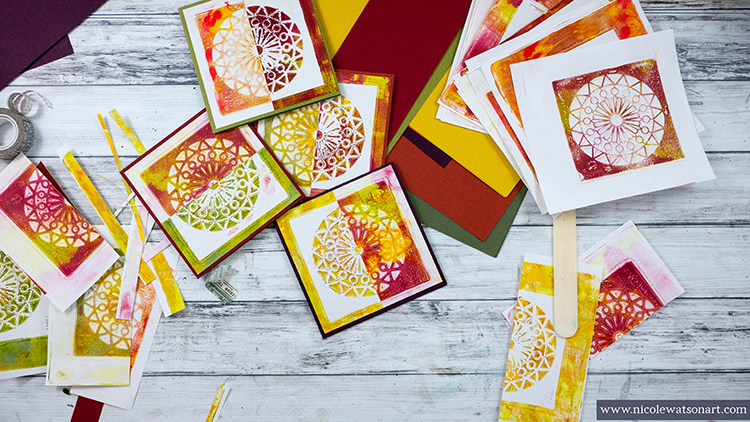
Once your prints are dry, pair them together: one negative and one positive print that you think work well together. Then, cut these prints in half. This is where you can be a precise measurer or just eye-ball it like me. Use some washi tape to gently tape each half together to make a whole print and trim your squares down for card fronts. I made cards that are 5 inches by 5 inches, so I trimmed by stenciled fronts down to 4.75×4.75. Carefully remove the washi tape and adhere your prints to the front of your folded card base.
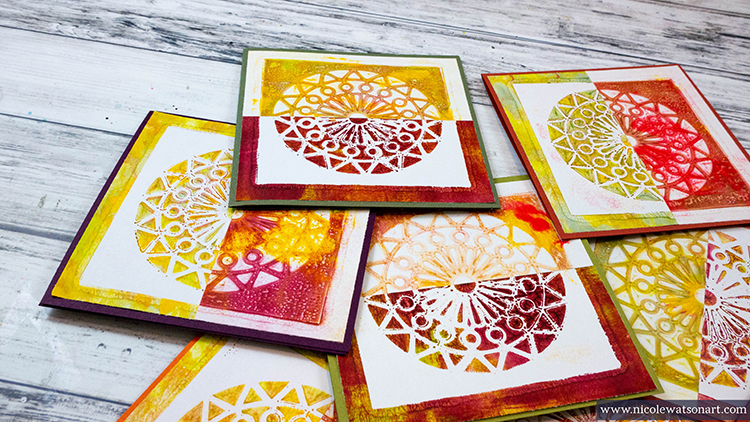
That’s it! Super simple but beautiful fall cards. You can take them further by stamping a sentiment or writing one on the front. These would make great cards to send as a thank you this month or even tie a bunch together with a ribbon to give away. They would also make super-cute place cards at your Thanksgiving table. And, your extra prints are perfect for using in your art journal or other projects.
Thank you Nicole and love that you were inspired by my card making challenge – what gorgeous results :)
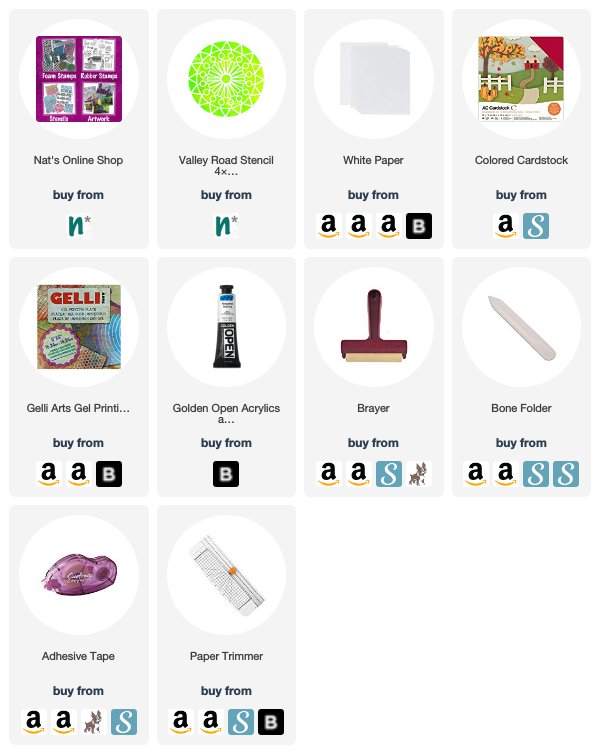
Want to give Nicole’s project a try? You can find all my Stencils in my Online Shop and here are some of the other supplies she used:
Feel inspired? Working on something yourself that you’d like to share? I love to see how you interpret our monthly themes. Email me or tag me #natkalbach how you used my stencils and stamps – I would love to share your projects in my next “n*Spiration From Around the Globe“.