Hi from my Creative Squad! This time we have a really cool art journal page from Emilie Murphy that layers up my Triangle Love and Wabi Sabi rubber stamps. This months theme is: Rise & Shine – Sometimes it is inspiring to think of each new day as an opportunity to do something good – to shine. Create something that will encourage others to do the same and let’s all bring a little more light into this world!
Hi there! Hope you are doing well. The theme for this month really inspired me and I had fun playing with Nathalie’s new stamp sets.
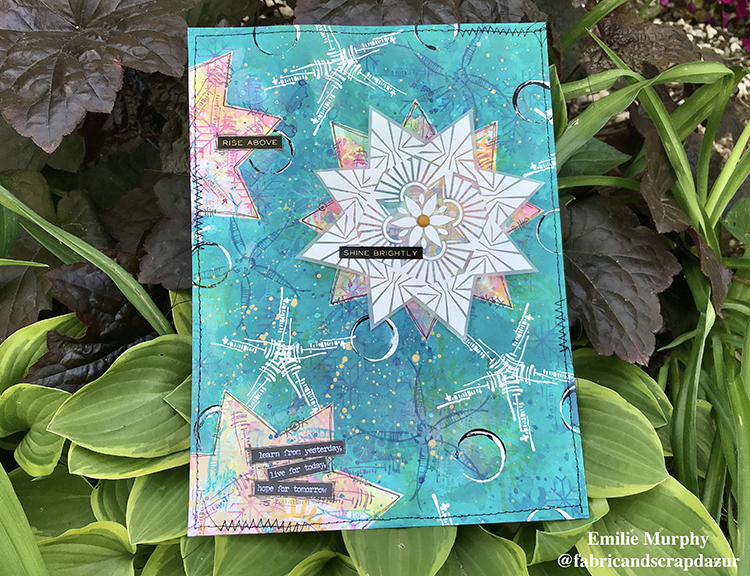
The first idea that came to my mind about the “Rise and Shine” theme was having a star in my project. So here is it!
Let me guide you on how I made this journal page!
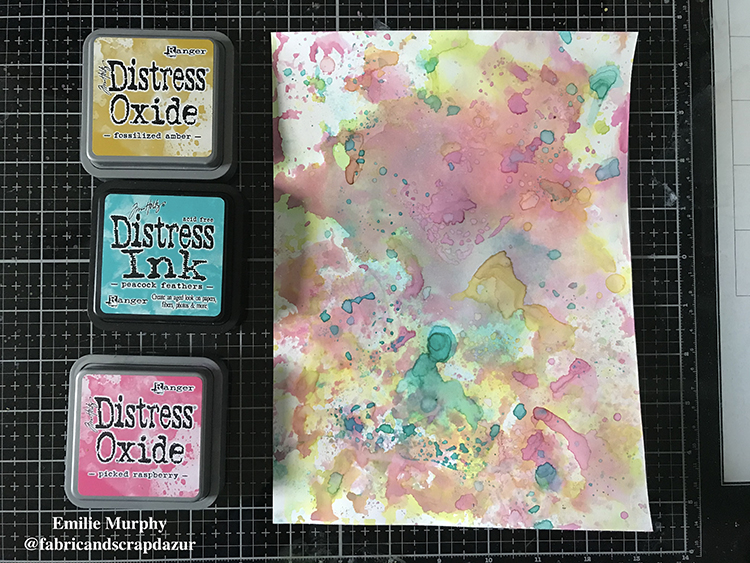
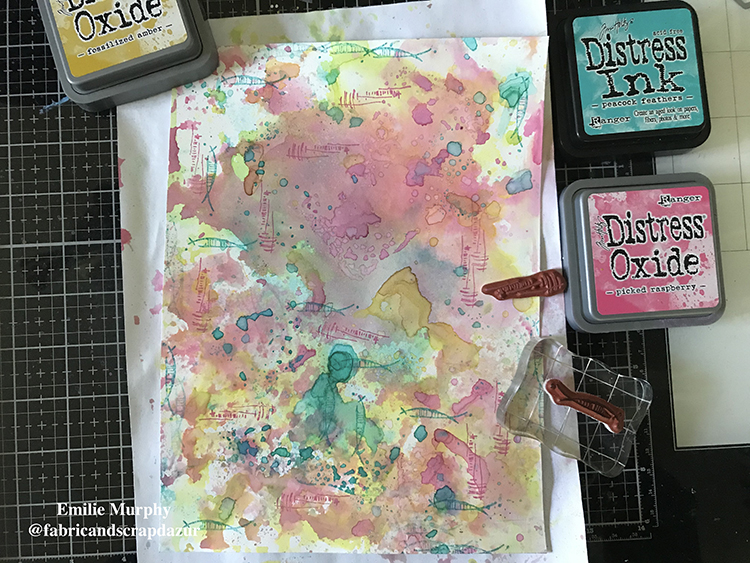
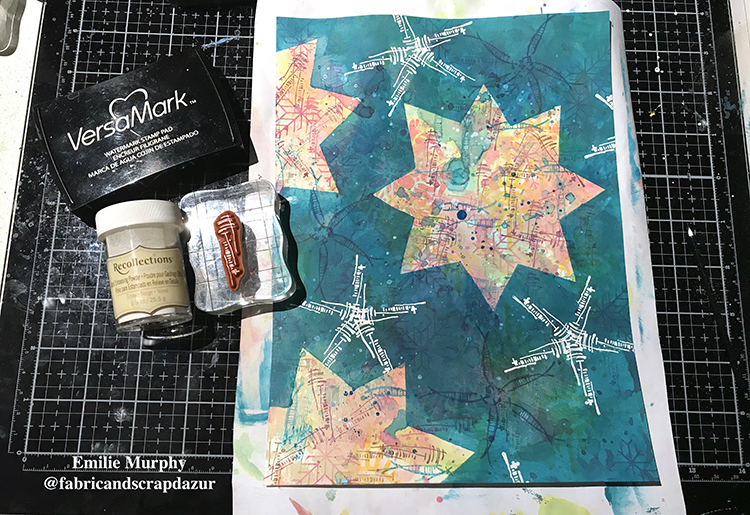
I started with applying some Distress ink on a white cardstock with a piece of packaging. I then used some white cardstock because I wanted a smooth surface for this project. By applying the distress ink on a piece of packaging, it allowed me to get a random watercolor effect.

I limited my color palette to 3 colors for not having too many different colors. That is what I got.
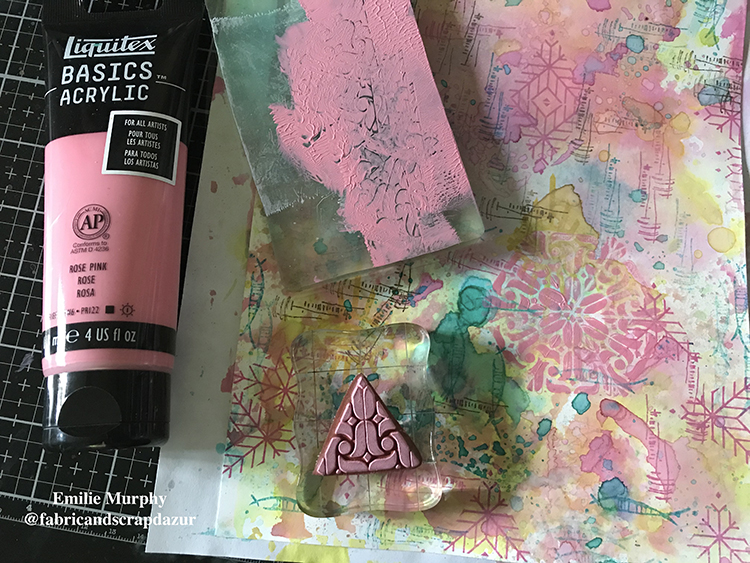
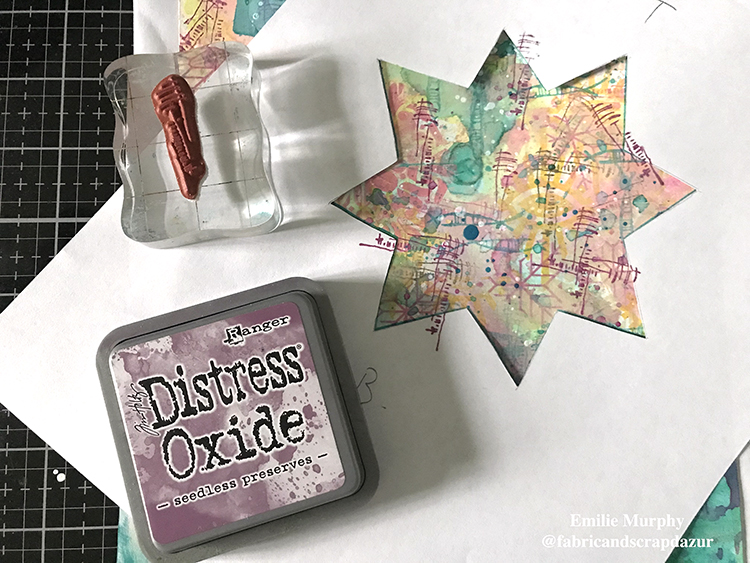
The next step was to add texture by stamping with some stamps from the Wabi Sabi stamps set and some triangle stamps from the Triangle Love stamps set. I used the same colors as before.
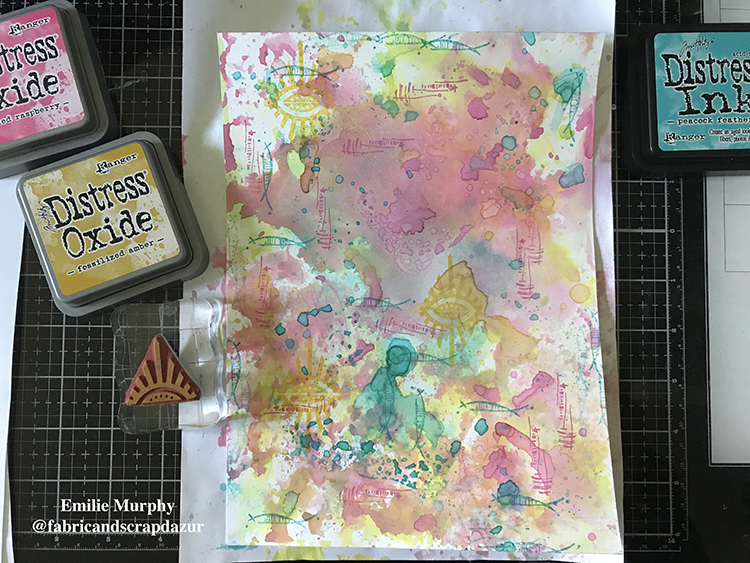
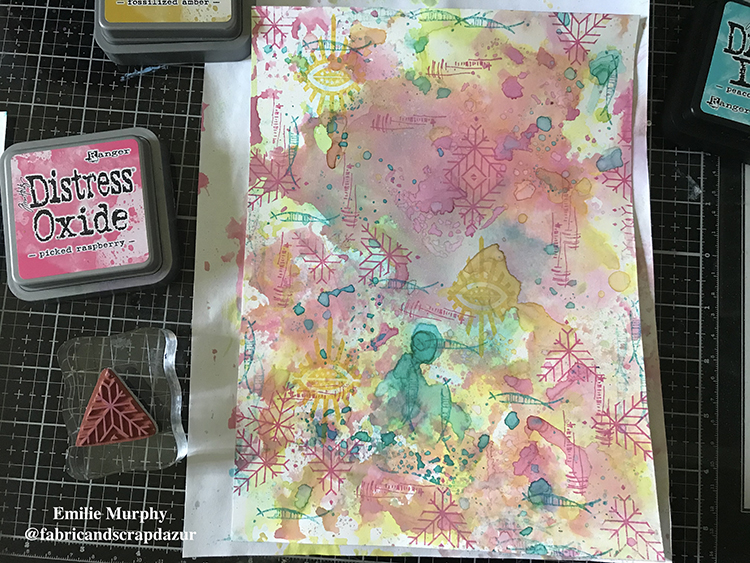
Then I repeated stamping with a darker color to add some contrast.
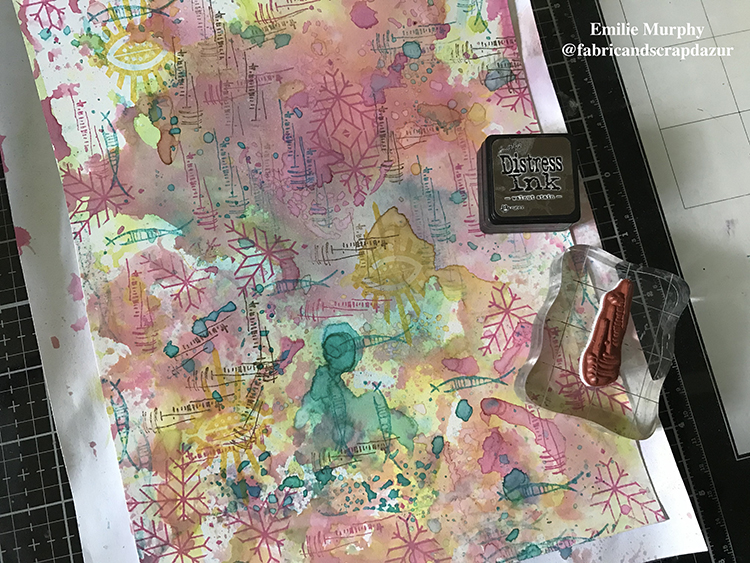
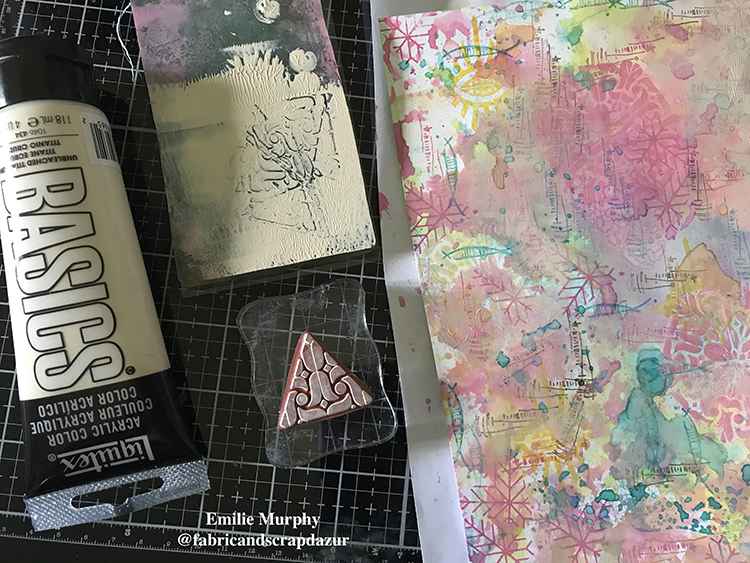
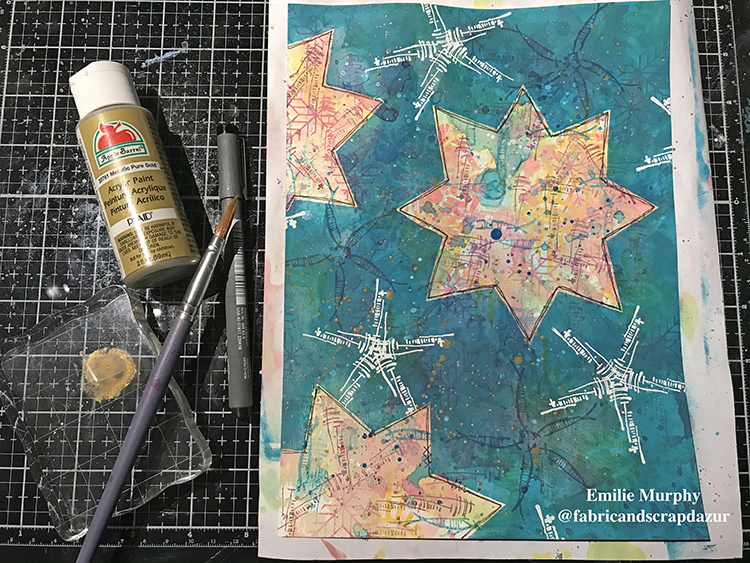
As I love texture, I kept stamping with acrylic paint with the same color tone “light pink” and kind of “light beige” than the distress inks. I like doing this with my gelli plate but I could have simply spread some paint out of my craft /glass mat.
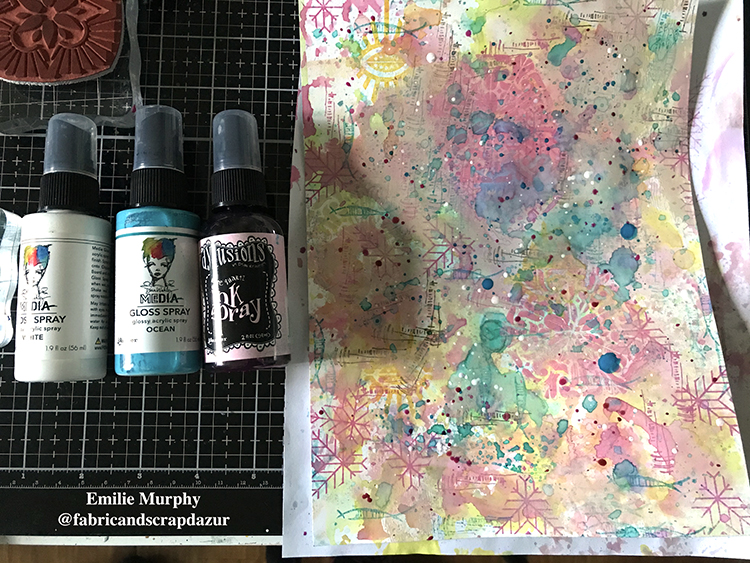
Then I added some splatters.
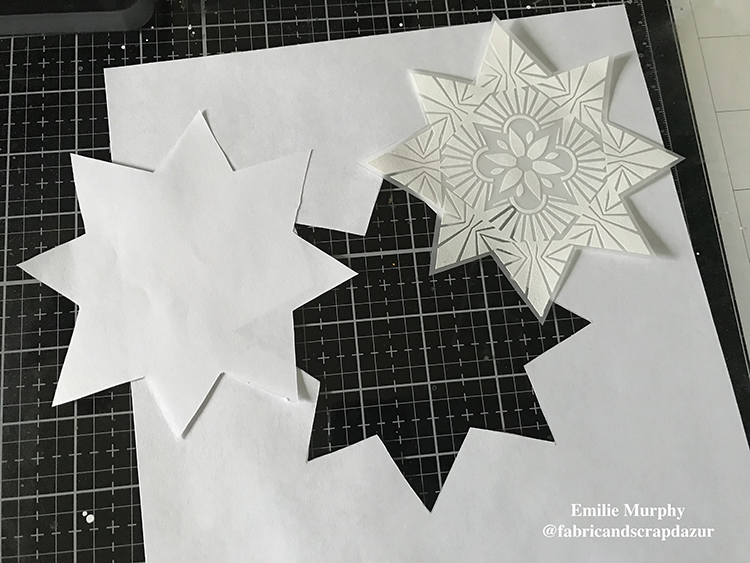
At that stage, I was satisfied with the texture of my background. It was time to take care of the focal image in my journal page. I embossed a star with Nathalie’s “Hamilton Negative Floral Tile (Large)” stamp and the “Sunburst” triangle stamp with white embossing powder on vellum paper. The secret to emboss without making your vellum wrinkle too much is to wait for your heat gun to be very hot.
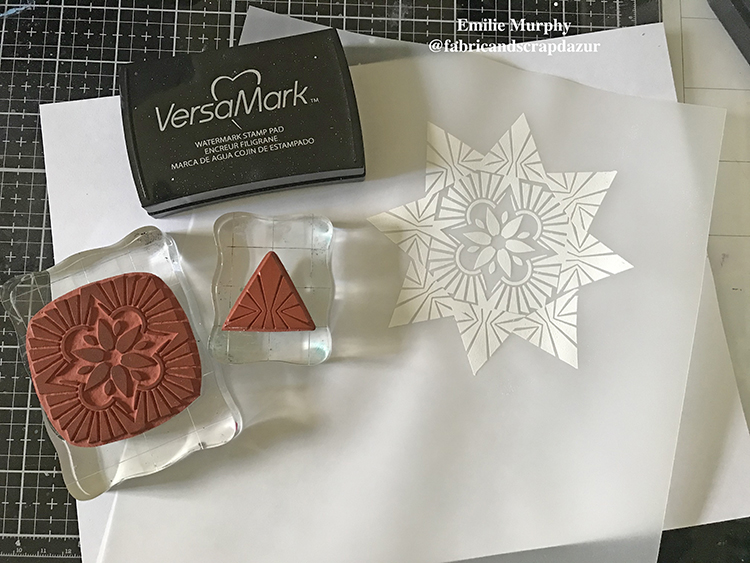
I cut my star and used it to make a mask and stencil template.
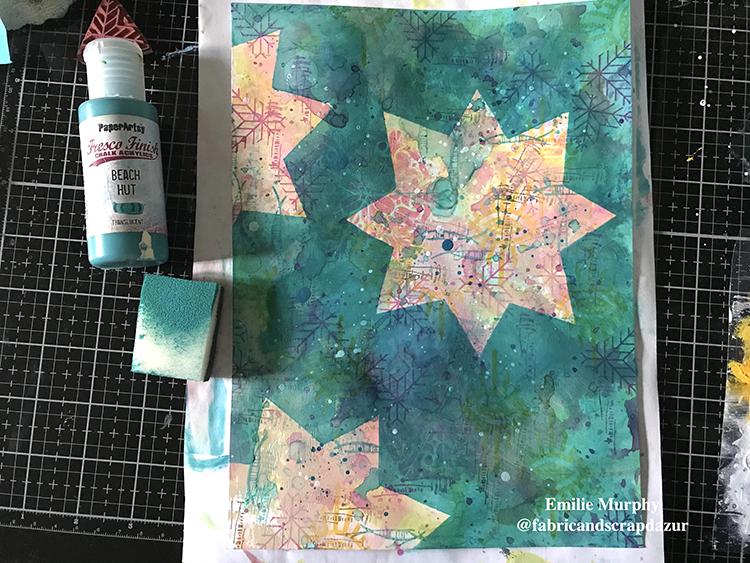
I put down my star mask where I wanted it and applied with a sponge some acrylic paint all around. Very important step here! I chose a translucent acrylic paint because I wanted my background to be see-through.
Here is a tip: you can make an opaque acrylic paint translucent by simply adding some matte gel medium or glazing medium.

Here is the final result.
In the next step, I used the star stencil to add more stamping (just a matter of taste).
Personally, I don’t think that my journal page would have been completed if I had let the page like that, and had glued down my embossed star.
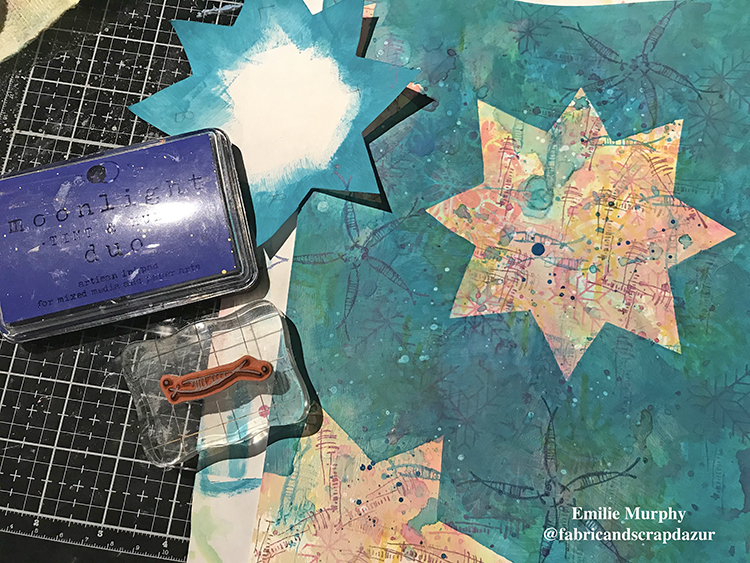
When I was playing with the Wabi Sabi stamps, I found out that I could make some other star shapes. Isn’t that awesome! These stamps are so versatile . . .
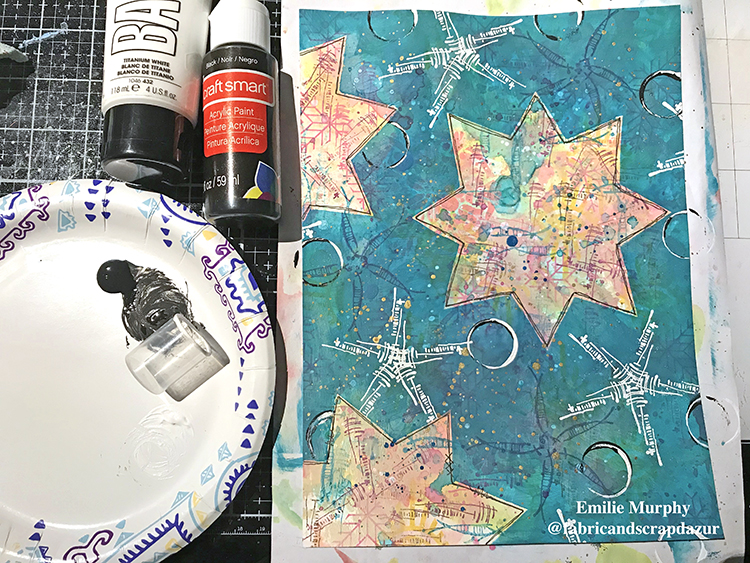
So I stamped some star shapes with Moonlight Duo Ink pad, which were slightly darker than my blue-teal color background, and some with white embossing powder. And voila, I just loved it!
Then, to finish it up, I added some splatters (metallic gold acrylic paint), drew the contours of my stars with a black pen, and added circles with a recycled cap.
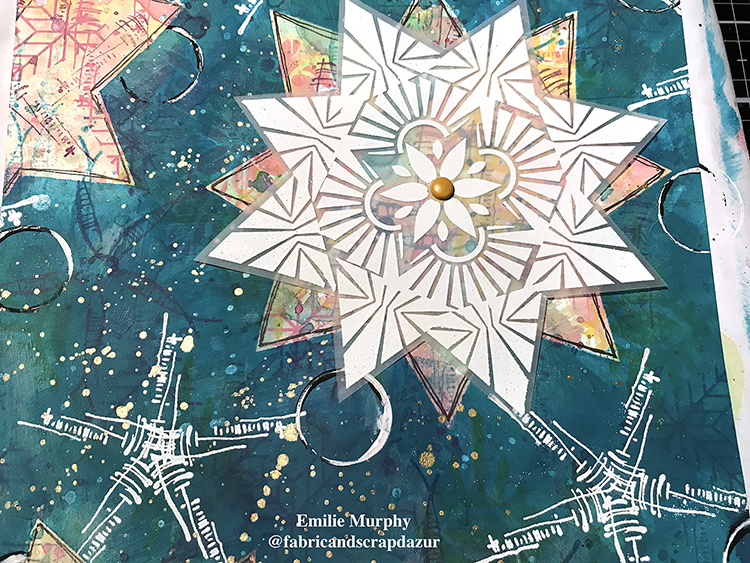
Finally, I attached my star with a brat and glued down some “chit chat” stickers from Tim Holtz.
Here is another tip: I usually fix my vellum with double side tape instead of liquid glue because the vellum wrinkles badly and personally I don’t like the look of that.
My very last touch was to stitch all around my page.
Hope you have enjoyed this tutorial. It was all about layers.
Have a good rest of the week and see you next month!
Thank you Emilie – loved seeing your layering process and how you made your stars using the stamps!
Give it a try: you can find all my Rubber Stamps in my Online Shop and here are some of the other supplies Emilie used:
Feel inspired? Working on something yourself that you’d like to share? I love to see how you interpret our monthly themes. Email me how you used my stencils and stamps with the theme and email me an image – I would love to share your projects in my next “n*Spiration From Around the Globe“.