Today I have some very cute Easter cards to share with you today from Creative Squad member Judi Kauffman. Judi is on a roll revamping her calendar pages into new projects. Remember back in December she created a monthly calendar, with the goal of reusing the pages once the month was passed? Well here we have the February page, turned into some sweet bunny cards, and a couple other items too.
From Judi:
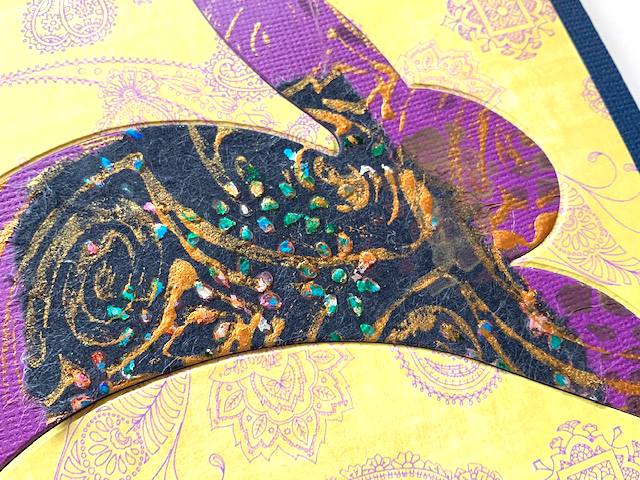
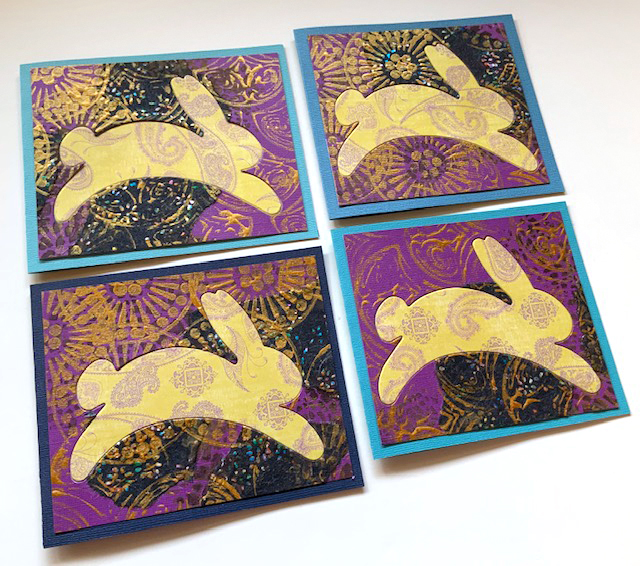
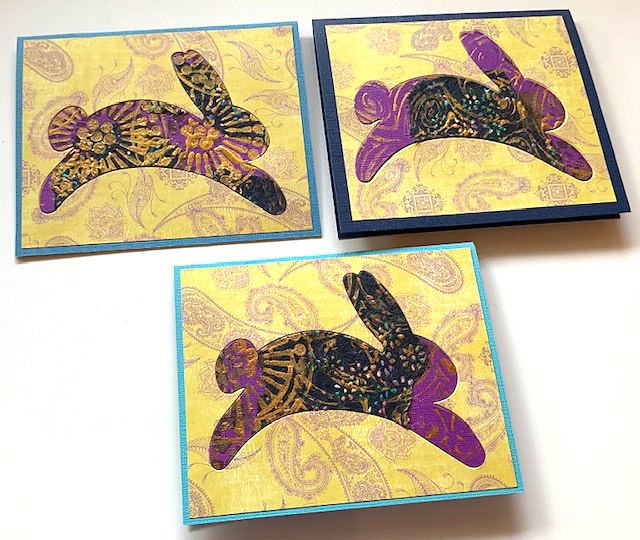
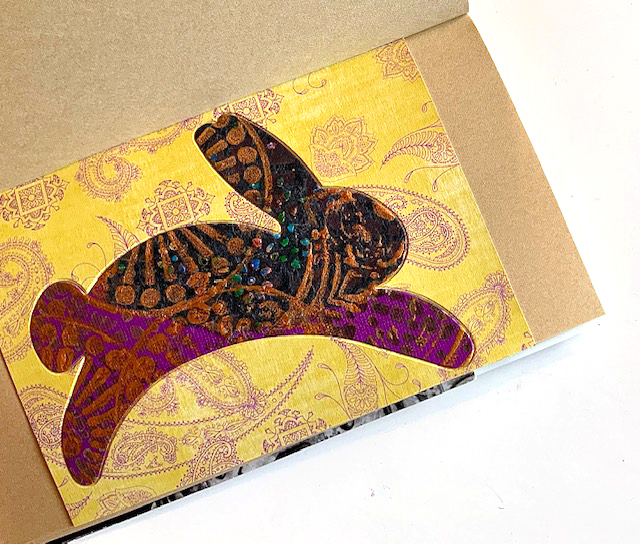
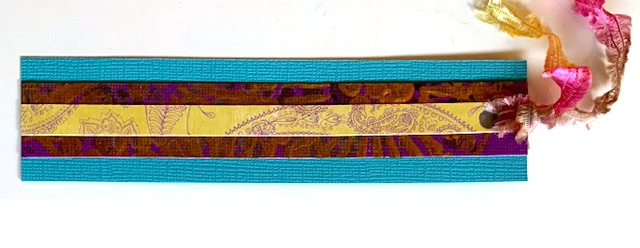
“I used my inlay technique* to turn the February calendar page into seven Easter cards, one Traveler’s Notebook page, and used a remaining scrap for a bookmark. I considered simple egg shapes, but couldn’t resist the bunny. (Die from AccuCut)”
*Judi Kauffman’s Inlay Technique: Die cut a simple shape from two or more coordinating sheets of stenciled/stamped paper and purchased patterned paper. Make sure there will be good contrast. Inlay the positive image (shown: a bunny) so it fits into the opening on a contrasting background. Glue both pieces in place on a piece of board, a card front, into an art journal, or on mat and frame.
Thank you for sharing Judi!
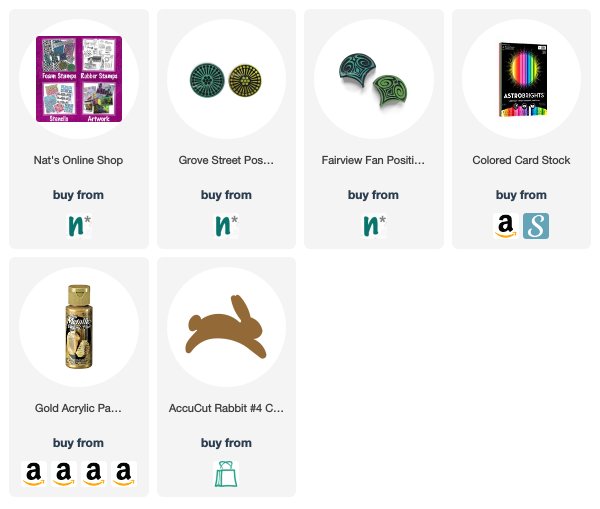
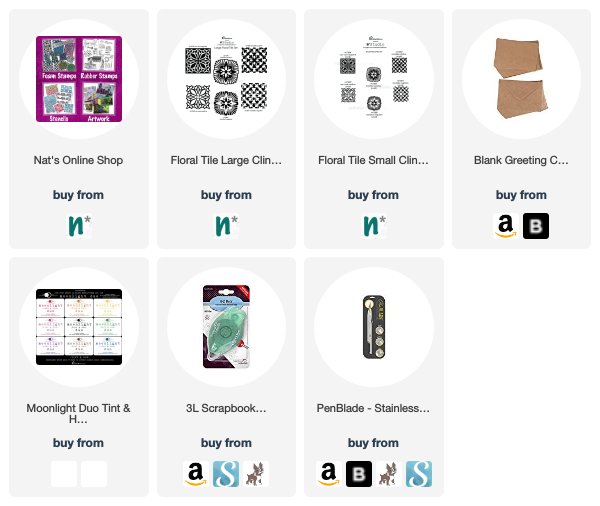
Here are some of the supplies Judi used:
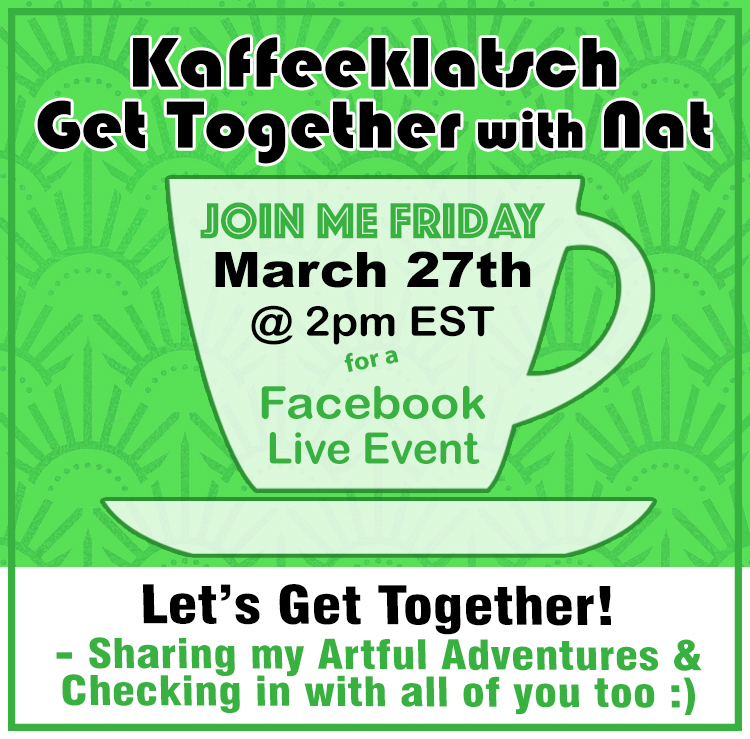
And I hope to see you tomorrow, March 27th at 2pm on Facebook for a Live chat. I would love to hear from you and learn about how you are doing these days. Please join me and say HI!
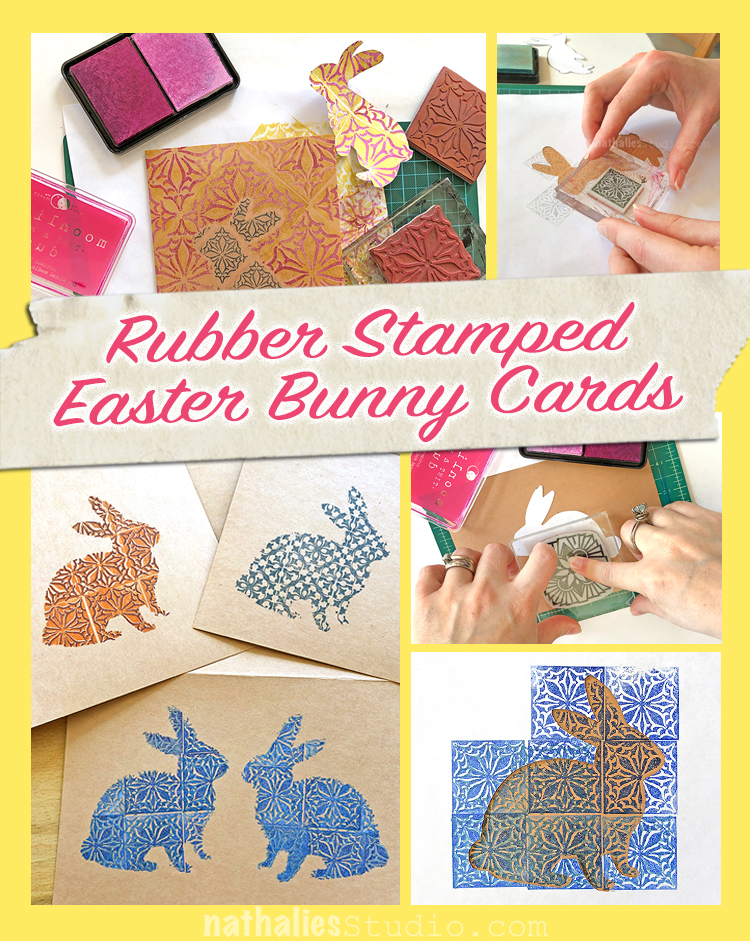
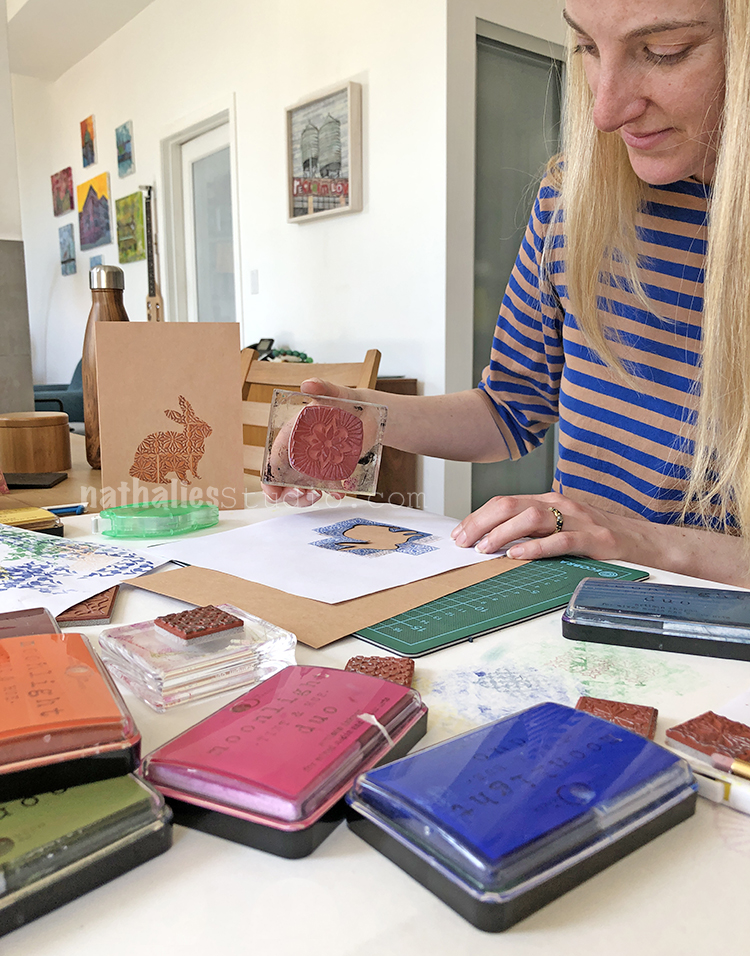
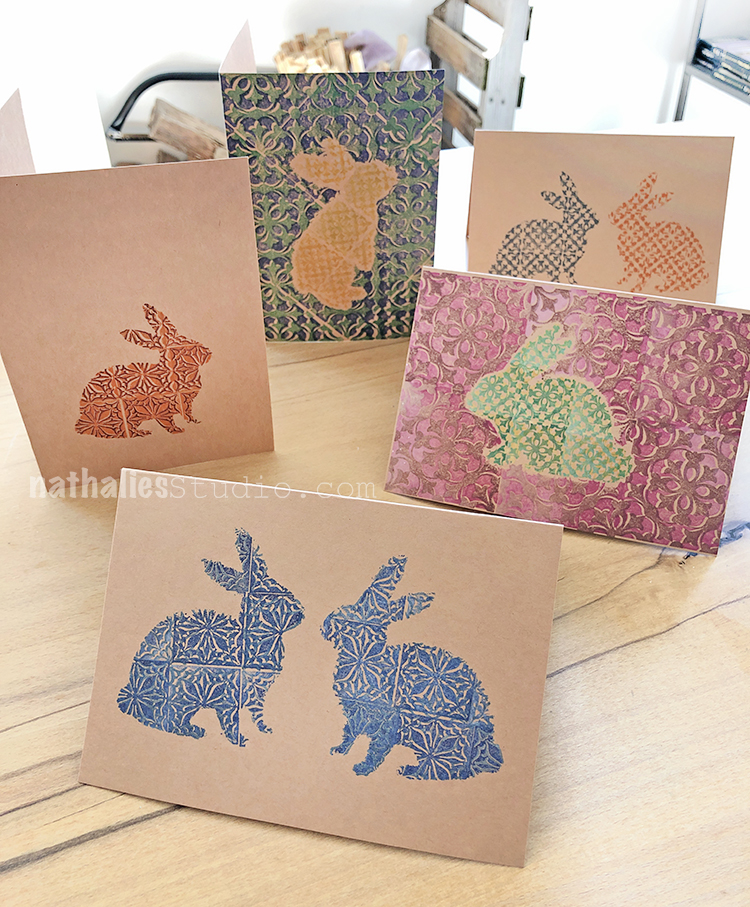
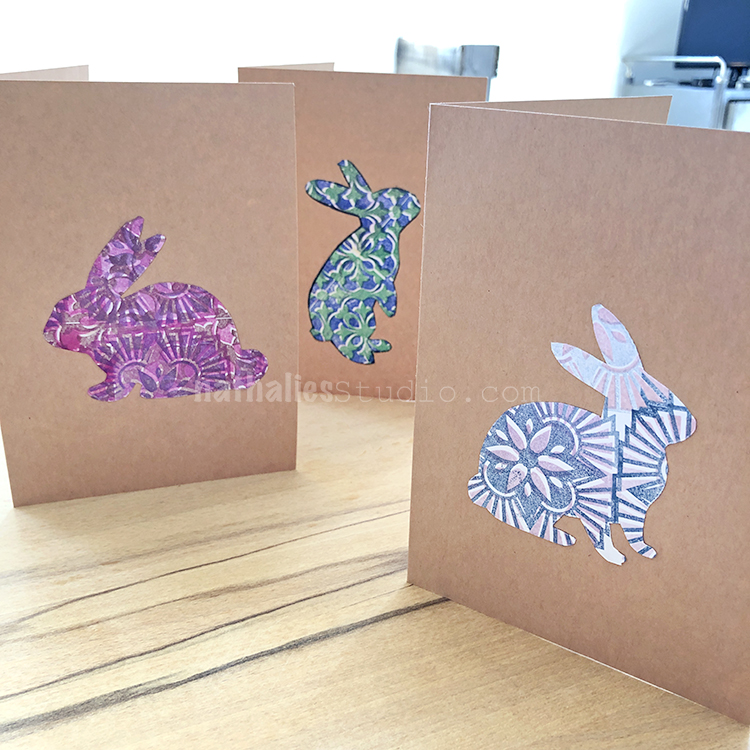
Hippity Hoppity :) Kim and I got together for a Play Date with some of my new Rubber Stamps for the upcoming Easter holiday. We had a nice morning stamping some Easter Bunny Cards for friends and family.
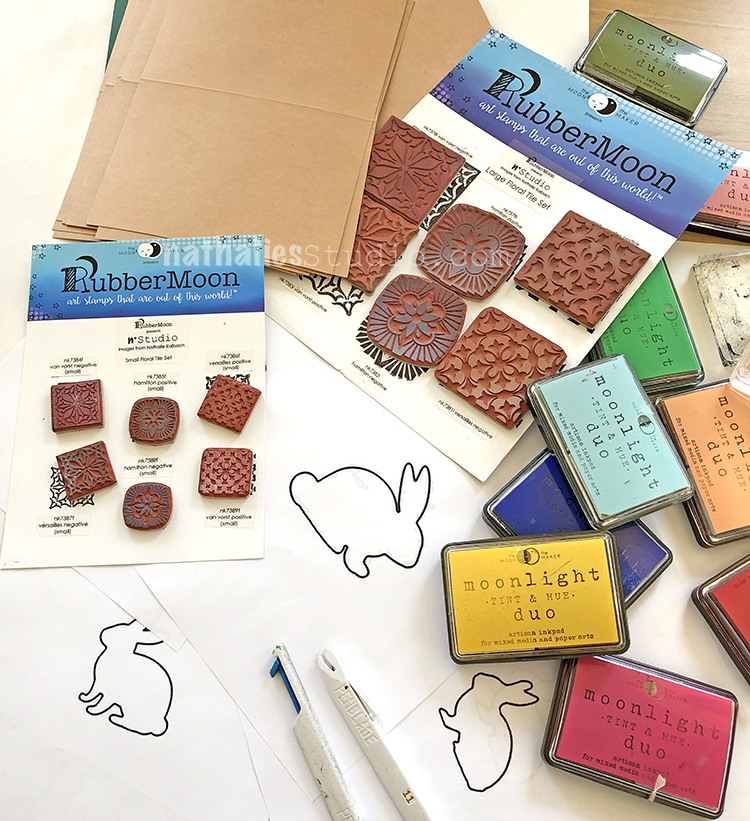
For supplies we had my new Floral Tile Large and Floral Tile Small stamp sets, blank cards, colorful ink pads, some bunny images we printed off the internet, a craft knife, and repositionable tape.
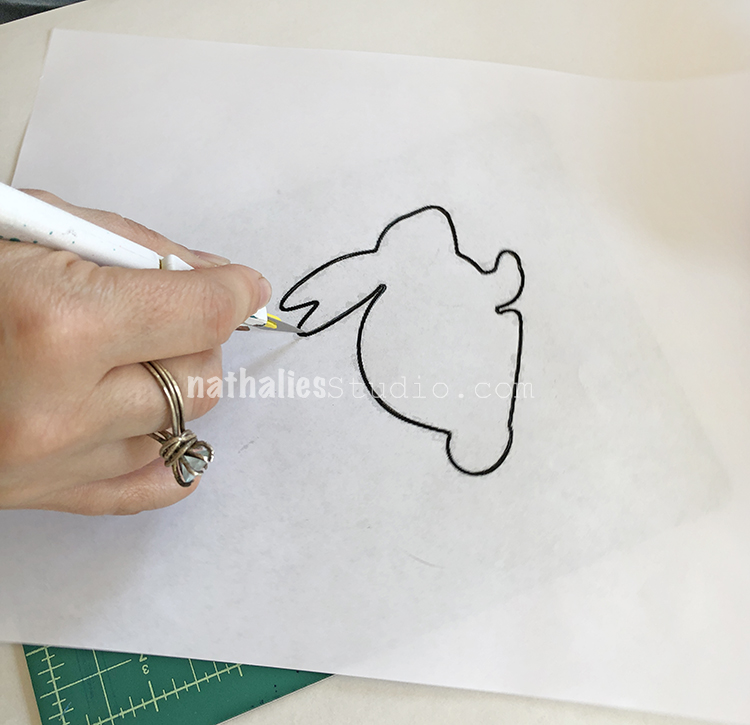
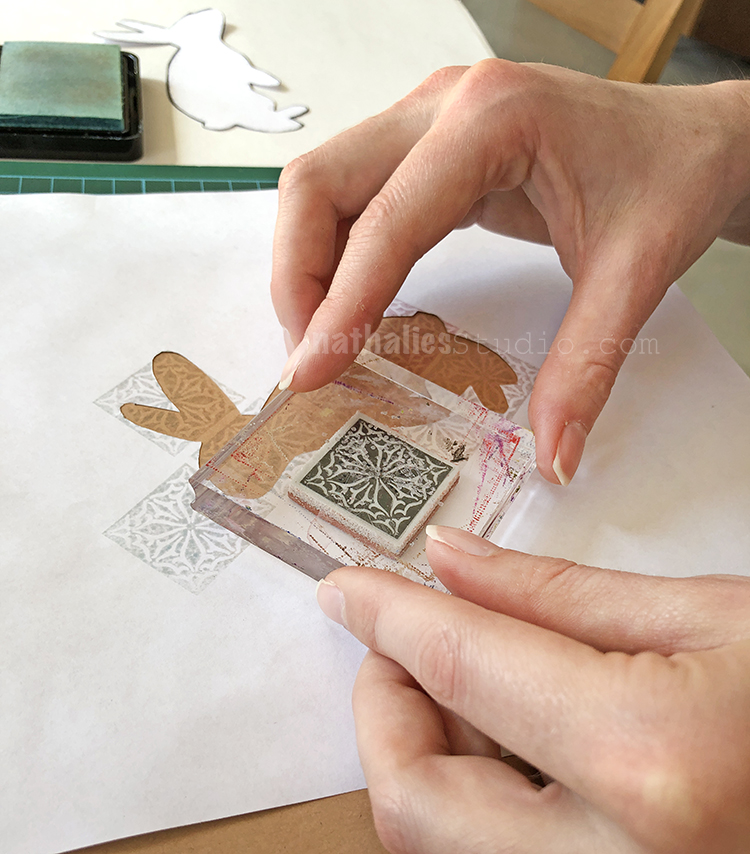
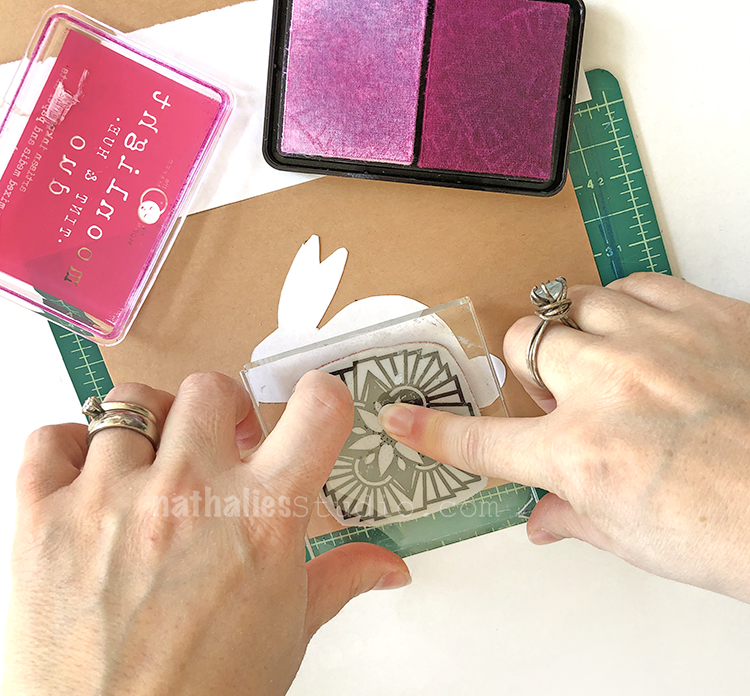
First we carefully cut out some rabbit shapes, leaving both the outside and inside intact. These became our stencils and masks.
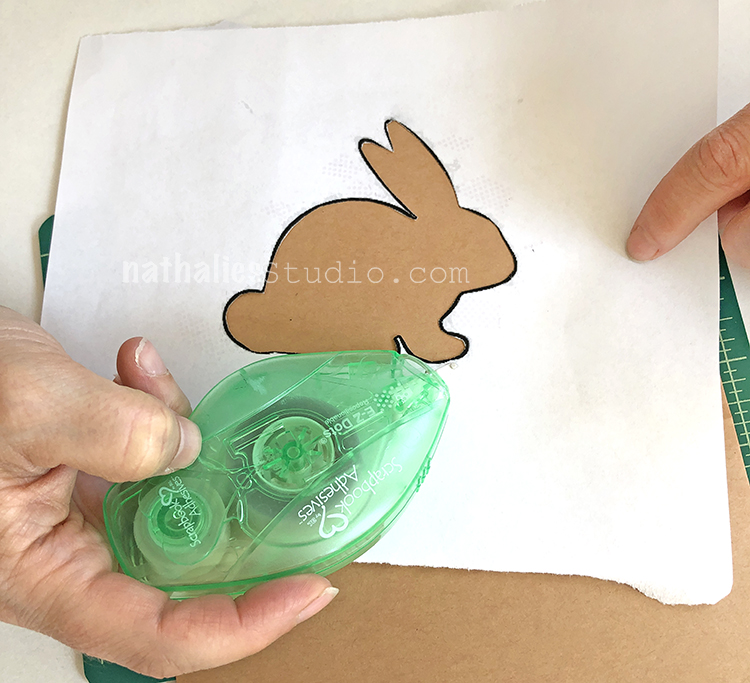
We used Scrapbook Adhesives E-Z Dots to temporarily stick our stencil to the front of the card. I love this tape – it’s easy to apply, sticks well, and comes off easily too!
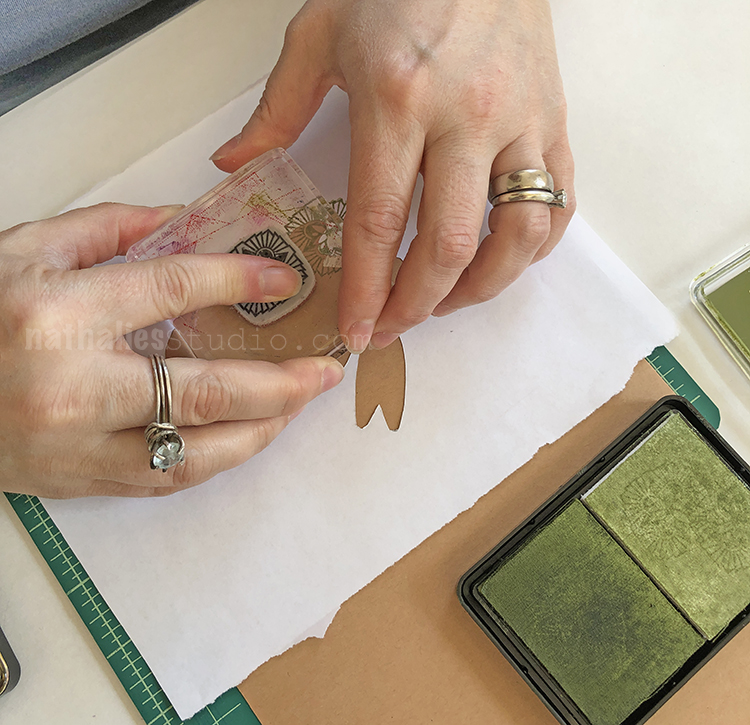
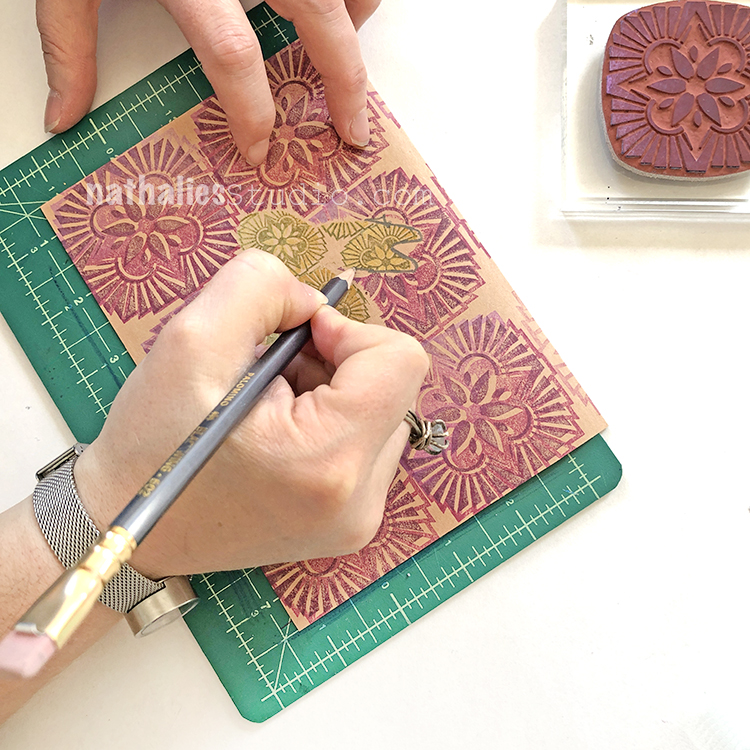
We stamped into our bunny “stencil” with stamps from my Floral Tile Small set – the scale is just perfect for tiling into small areas. Here I am using one of the Hamilton designs.
Kim began with one of the Van Vorst designs from the Floral Tile Small set.
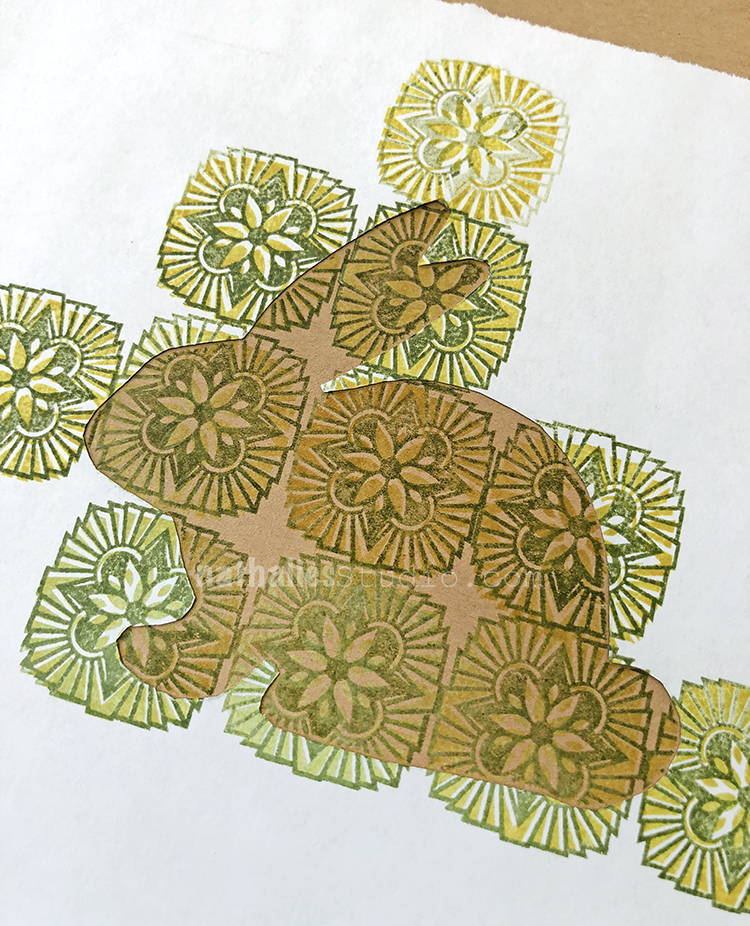
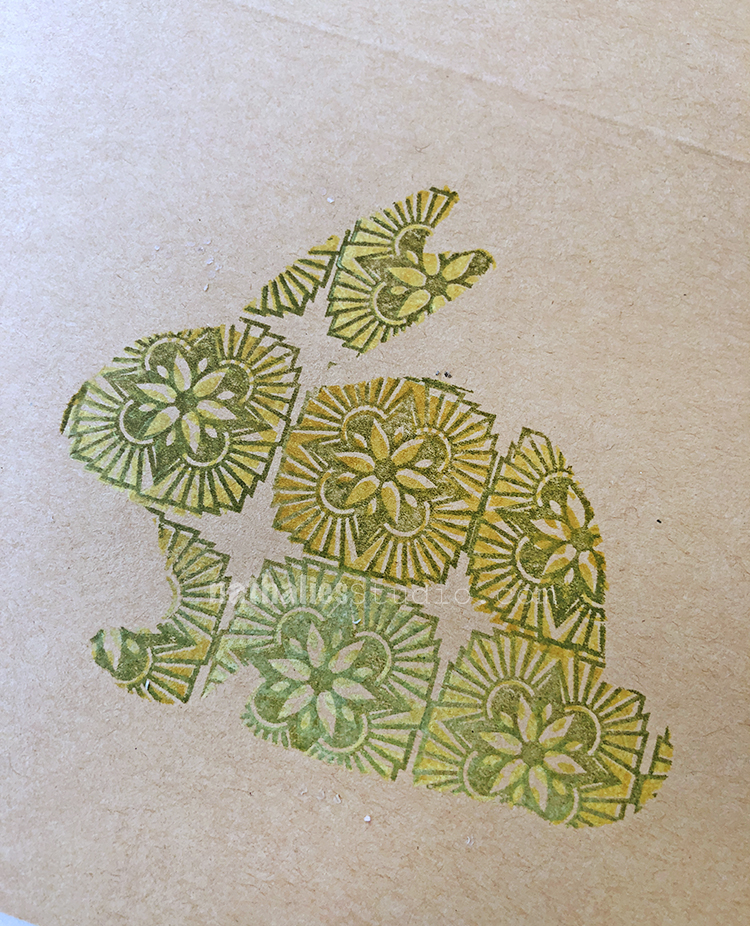
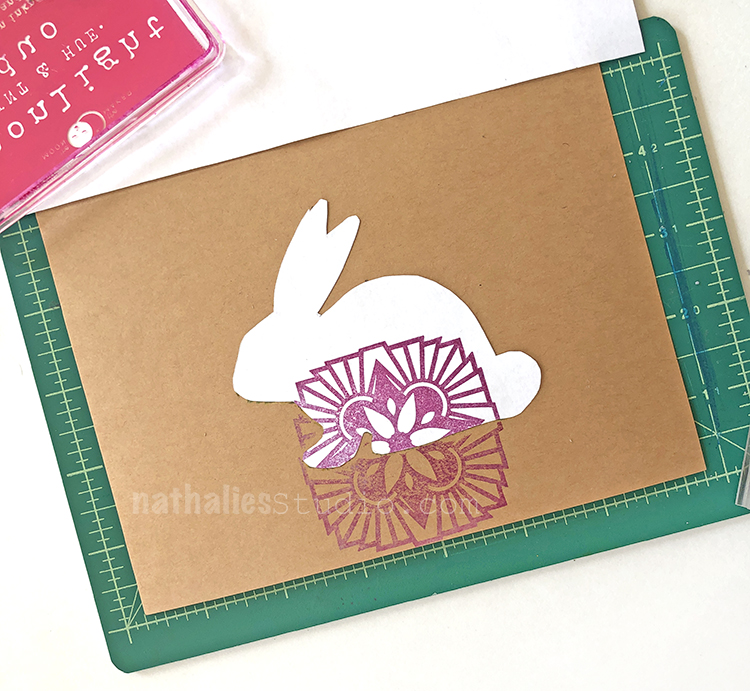
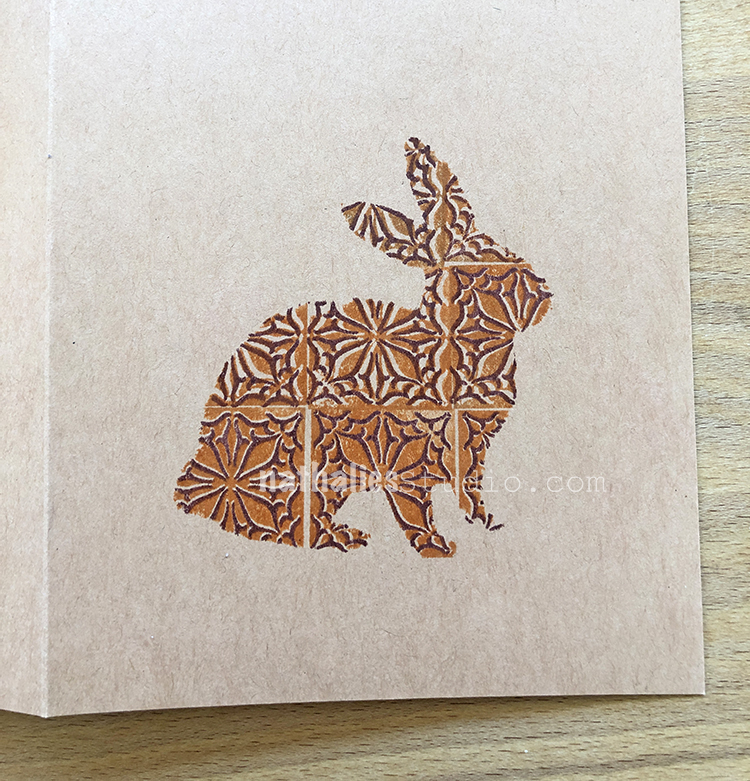
I used both the Positive and Negative Hamilton stamps from the small set and filled in the entire bunny.
And here is the big bunny reveal! Now to fill in the rest…
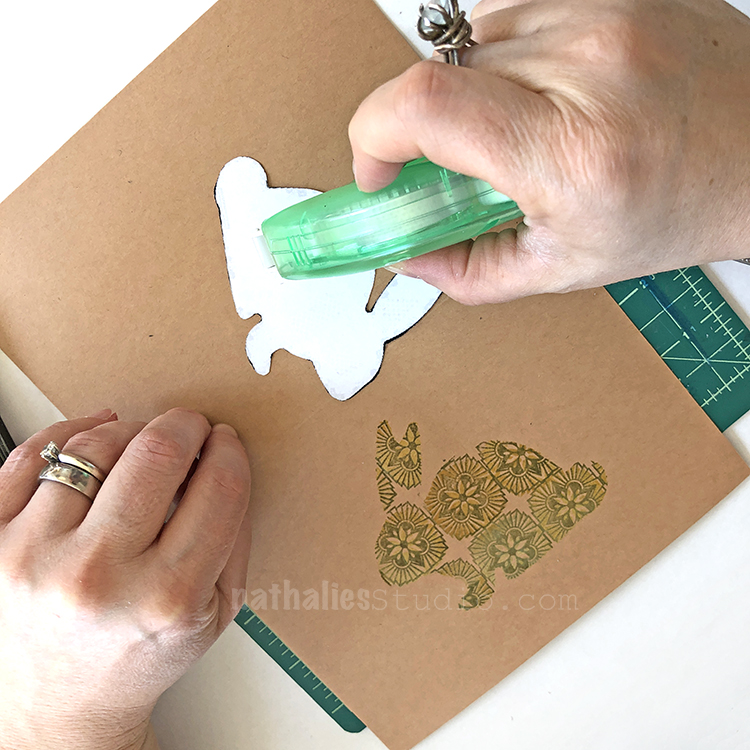
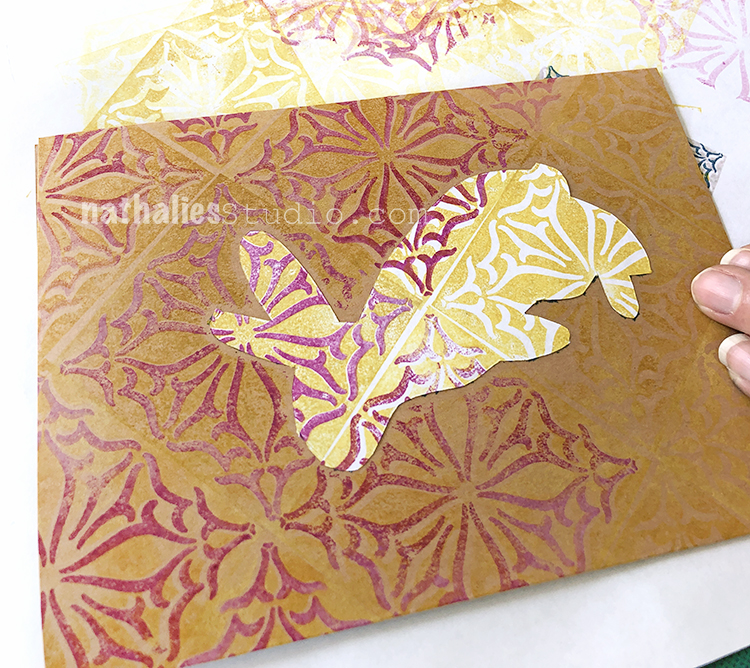
Put a bit of repositionable tape onto the bunny mask and place on top of your stamped image.
Begin filling the area around the bunny. Here I decided to use the Hamilton stamps from the Floral Tile Large set.
It becomes quick work with the large size stamps.
Kim worked with the Van Vorst stamps from the Floral Tile Large set to fill in the area surrounding her masked off bunny.
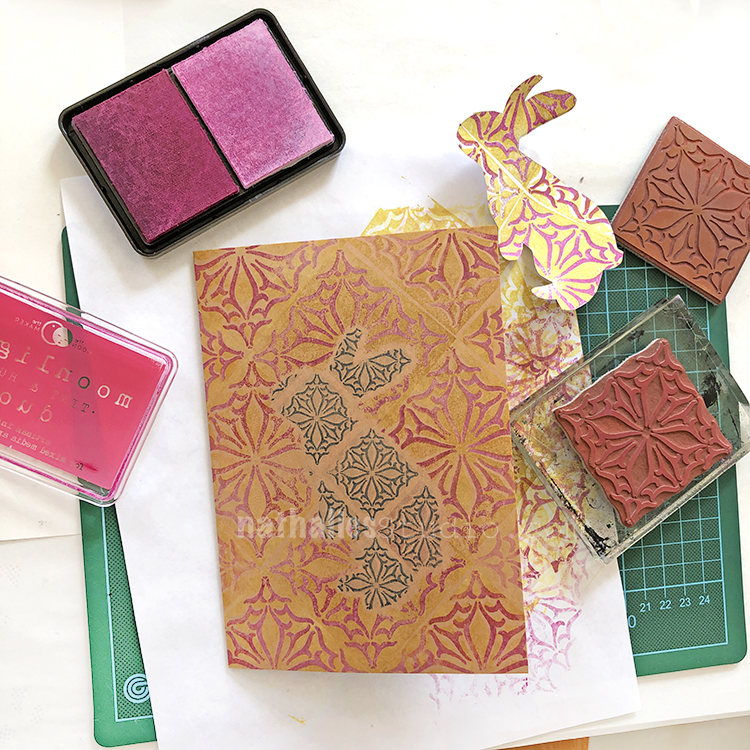
Looks pretty awesome when it is all done!
I experimented with outlining the bunny too – there are a lot of ways you can take these cards to another level.
Another card beginning with the outside, using the Versailles Positive and Negative stamps from the Floral Tile Large set.
And another using the Versailles Positive and Negative stamps from the Floral Tile Small set.
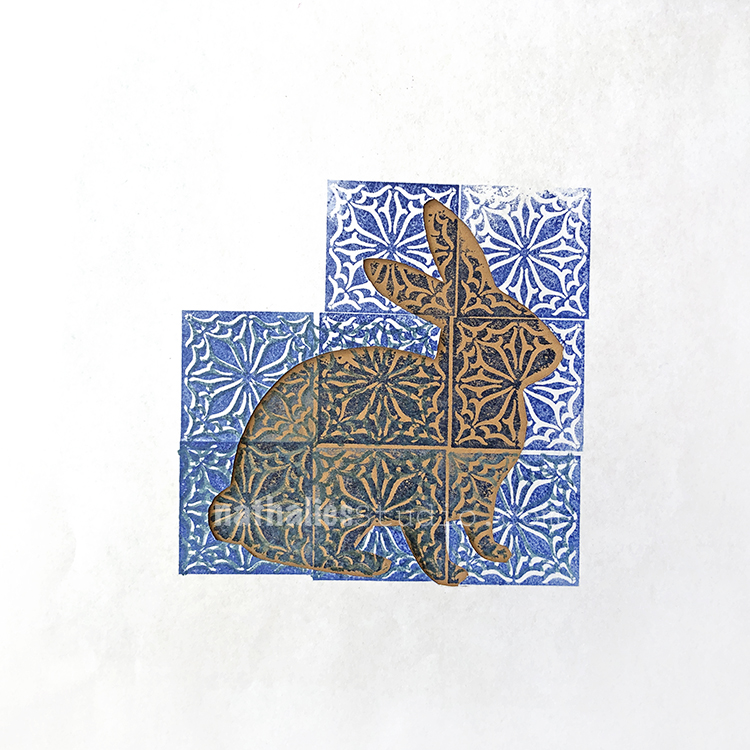
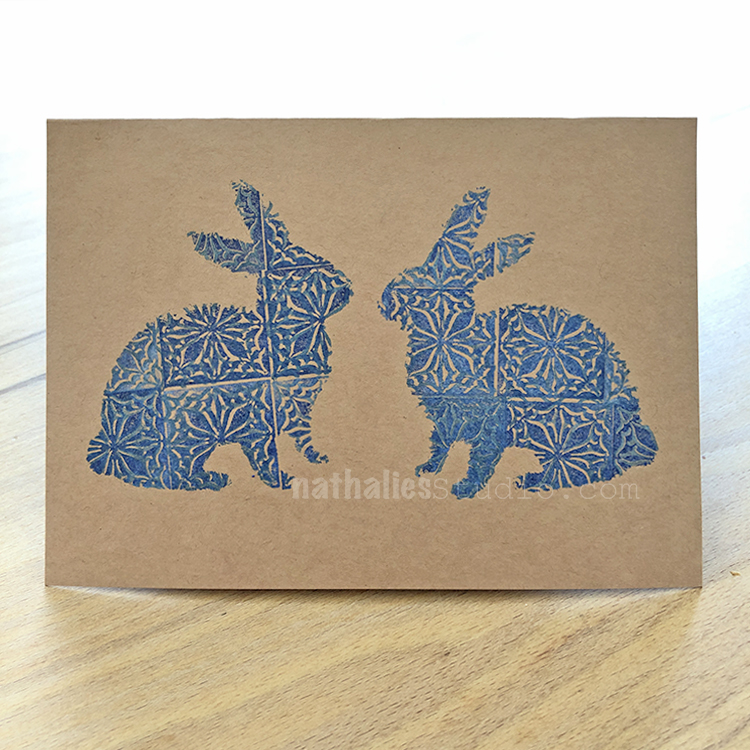
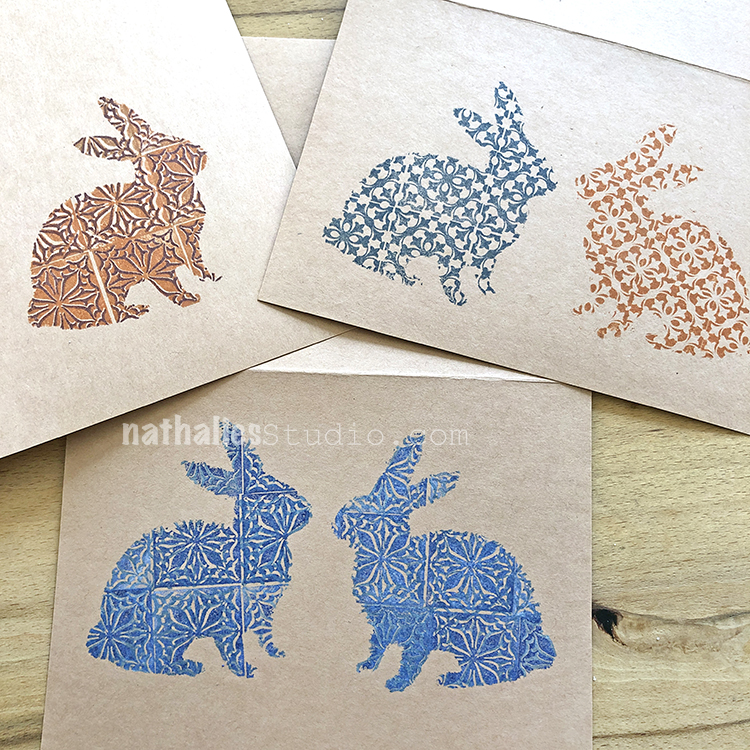
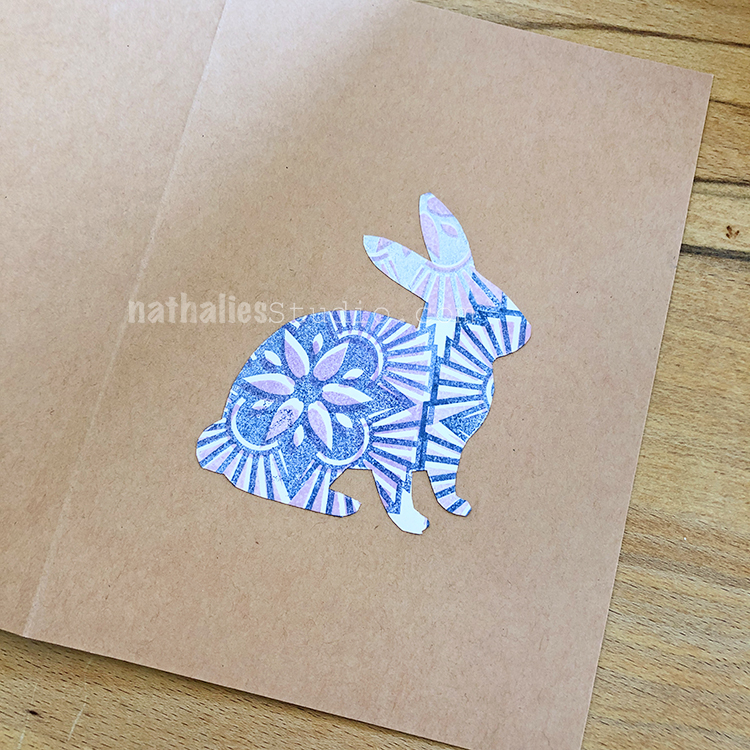
A very sweet bunny in blue using the Van Vorst Positive and Negative stamps from the small set. This dense pattern worked really well to define the bunny shape.
Kim getting into it – so fun with a lot of different stamp pad colors to choose from!
In the end we made quite a few cards – some that are really wonderful!
I just love this one I made with 2 bunnies!
Kim made a sweet orange one…
So fun to play with different iterations!
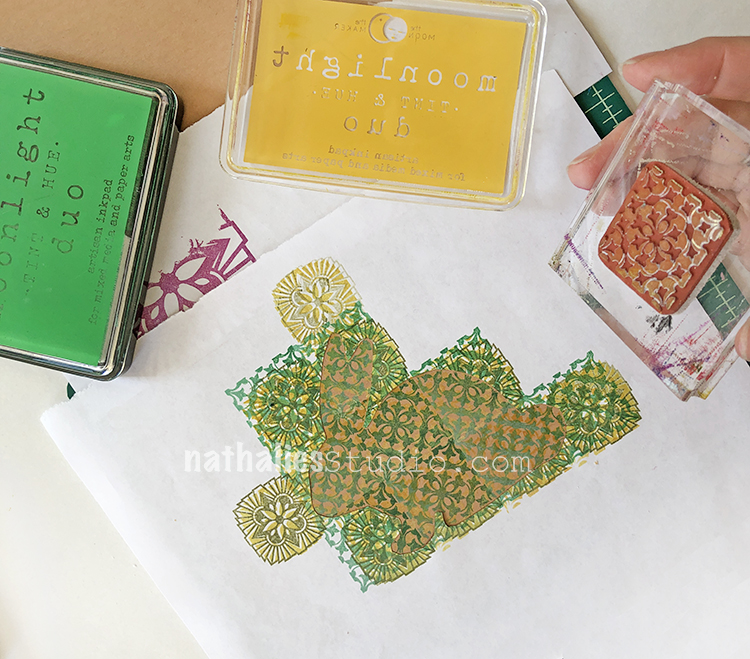
And then I realized that the stamped bunny masks should not go to waste – they looked great on the cards too!
Last one :)
We hope you try some of these techniques with my new stamps. Try mixing up different colors, playing with the positive and negative designs, and work with both sizes. We had a blast and can’t wait to spread a little Easter cheer with our cards.
You can find my rubber stamps in my online shop. Here are some of the supplies that we used in this play date:
Don’t forget! Now is a great time to shop in my Online Store and use the coupon code SWEEPSALE to get 20%off all physical products. Hurry! The sale ends April 15th at 11:59pm EST.
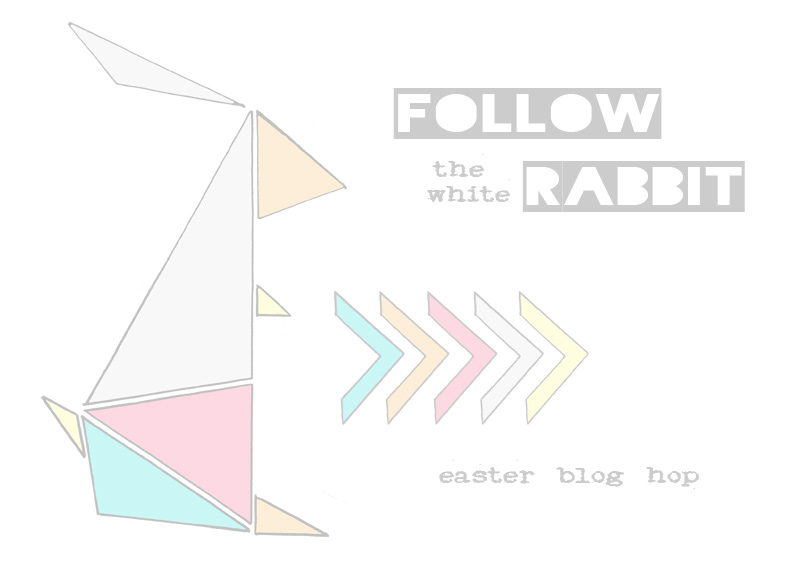
Happy Easter and welcome to the Easter blog hop! Today is the day when we tumble-down the rabbit’s hole and hop after the White Rabbit. The rabbit hops from blog to blog, from country to country all around the cyber scrapbooking world!
Although the countries and styles vary and designers participating had a free choice what to create for the hop, the pieces of art have all something in common. If you’re familiar with Alice in Wonderland, you might remember that the White Rabbit, which Alice followed and found the Wonderland, had a pocket watch. So in this hop the common theme is the time piece. You can find an interpretation or a way to incorporate a clock in every creation! Inspiring, right?
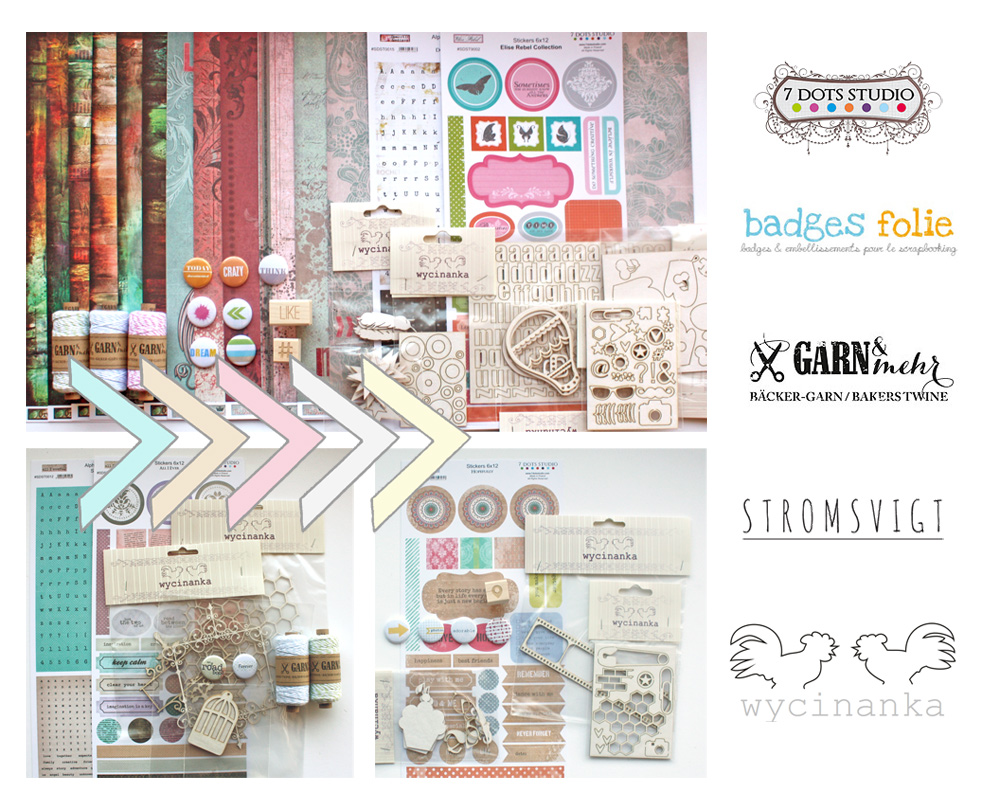
So please hop along and remember to leave a comment at every stage! That way you ensure as many tickets for the raffle as possible. You’ll have just a week to participate (to April 8th at noon GMT) for the giveaway put together from donations from 7 Dots Studio, BadgesFolie, Garn&Mehr, Stromsvigt and Wycinanka.
So enjoy the hop and find the inspiring Wonderland of scrapbooking!
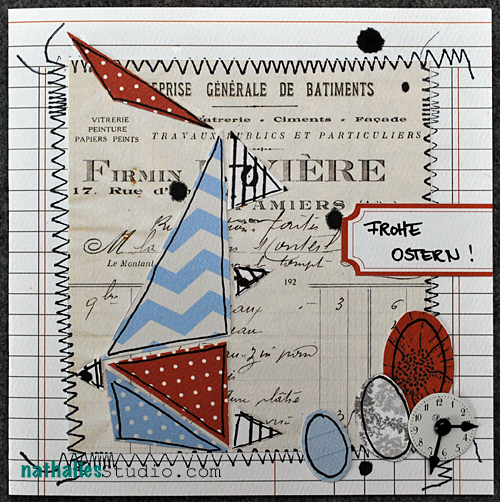
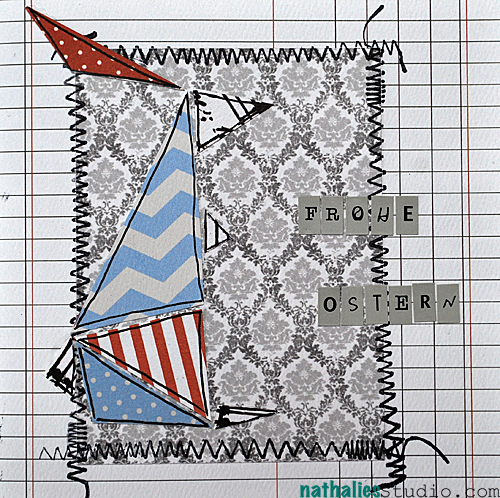
So here is my take on the Follow The White Rabbit Easter Hop – I was inspired by the cute logo so I had to use this for my easter cards :)
Supplies: Theresa Collins Stationary Noted Paper Collection, Autumn Leaves Stamps, Prima Marketing Clock, Liquitex Acrylic Ink, Scrapbook Adhesives by 3L E-Z Squares, Ranger Archival Ink
So now follow the other links and comment in order to be able to win one of the awesome prices :)
Happy Easter for those of you who celebrate Easter and a wonderful day for all of you!
hugs
nat
Über*Media is my series of online workshops that is dedicated to different kinds of media that cross a variety of materials. I also teach project based online workshops which you can find here.
Hey hey hey Miss Sunshine! Hope all’s got with you and your auntie M. Ha ha you got me here, thought I’d find one of your fabbo mixed media canvases! these cards are so so cute, really love the graphic sails and sweet colours. Hope your long weekend was a really good one!! xoxoxoxox


Beautiful cards, I love the fresh colors!
Reply