Blog: DIY

A Look Back – Hand Carved Stamps

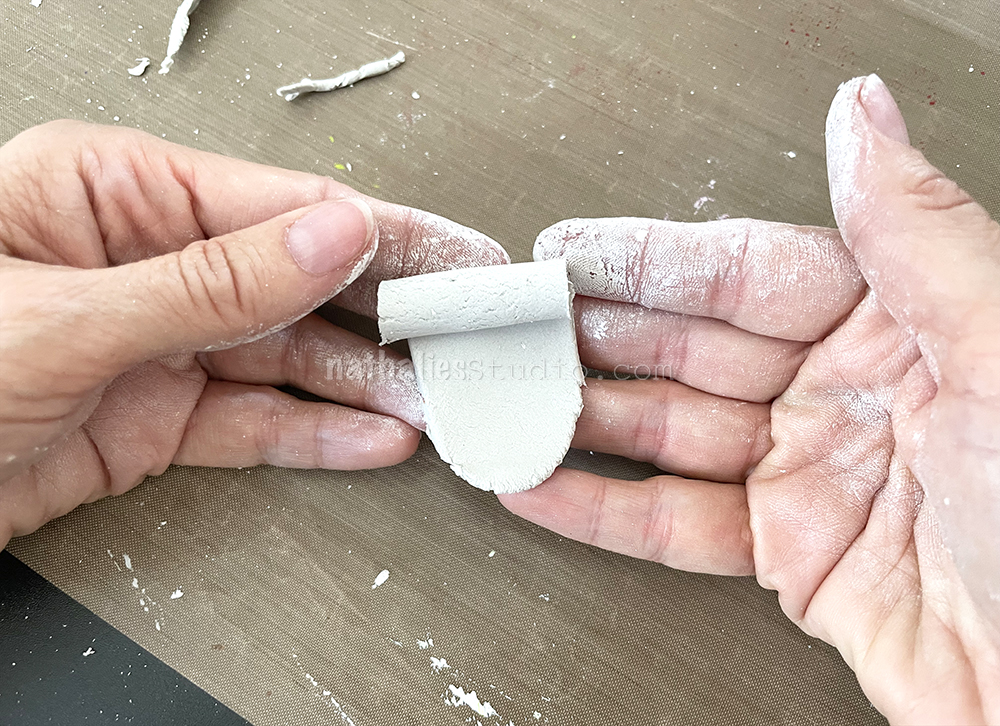
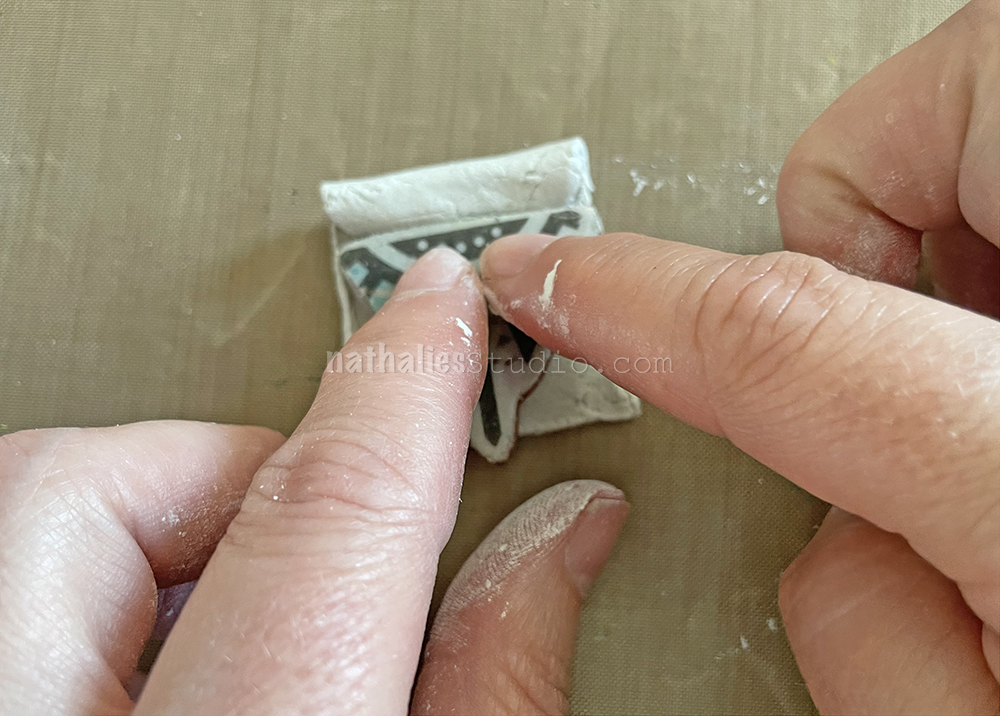
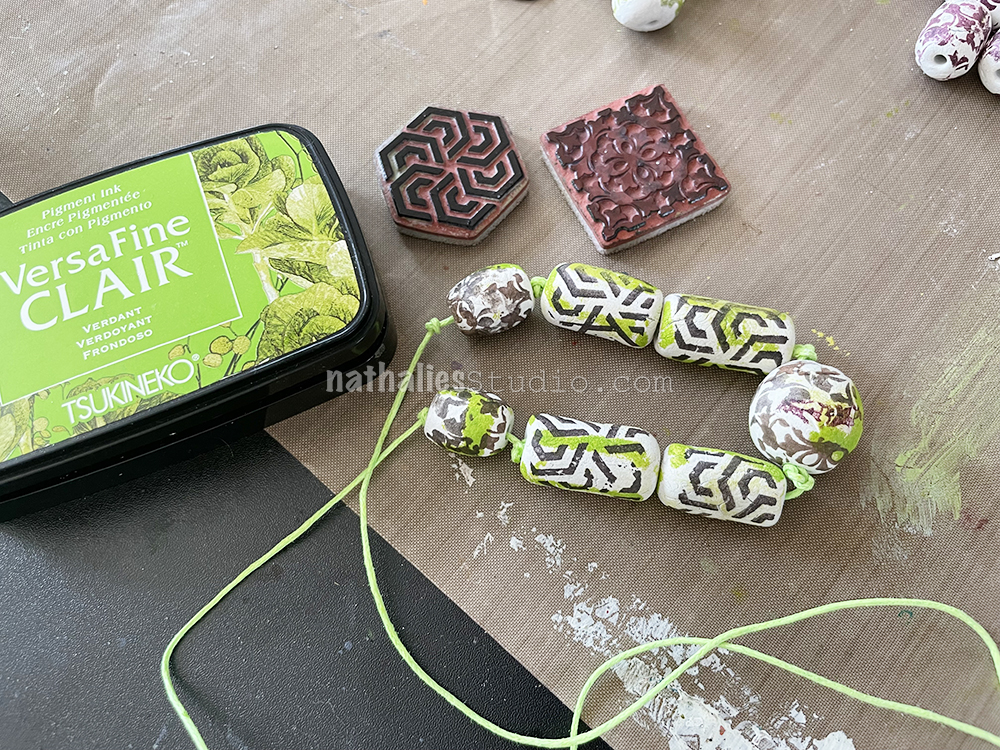
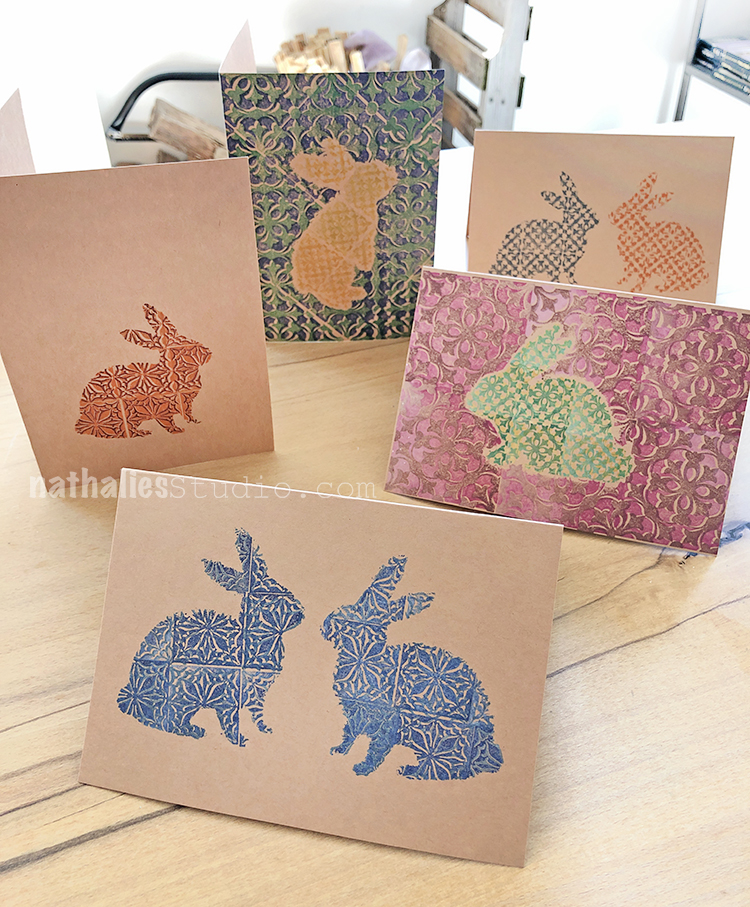
A Look Back… at hand carved stamps! I love using my rubber and foam stamp designs in my art journal pages. They add pattern and detail and another element of my style into what I’m creating. Sometimes though, I don’t have the motif that I’m looking for in a ready made stamp so… I carve my own! It’s a fun process and it can give you that look and ease of use that is so great about stamps, but it usually also has a slightly imperfect look that makes it special. Here is a Look Back at some pages where I mix up hand carved stamps with my other favorite art making materials:

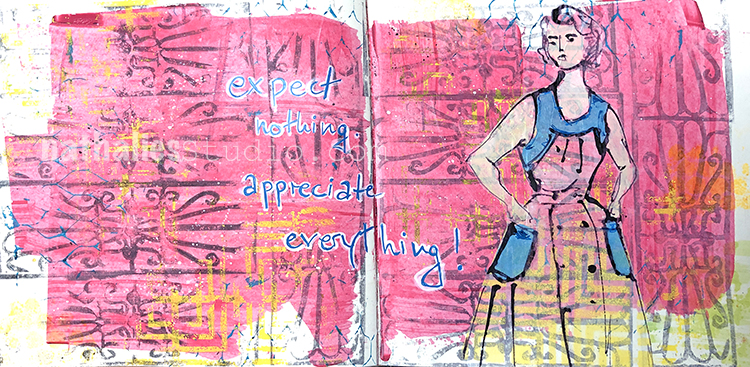
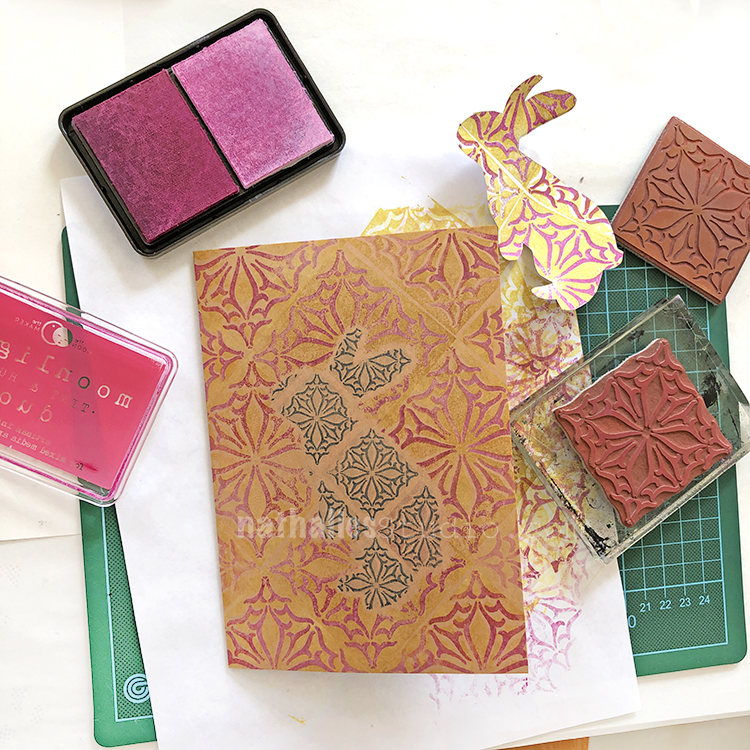
Here in this art journal page, the sinuous design in the background is a hand carved stamp. It looks like iron work or an architectural detail and was perfect for creating a background. I mixed in a little of my Manhattan stencil to soften things and blend the foreground and background elements.

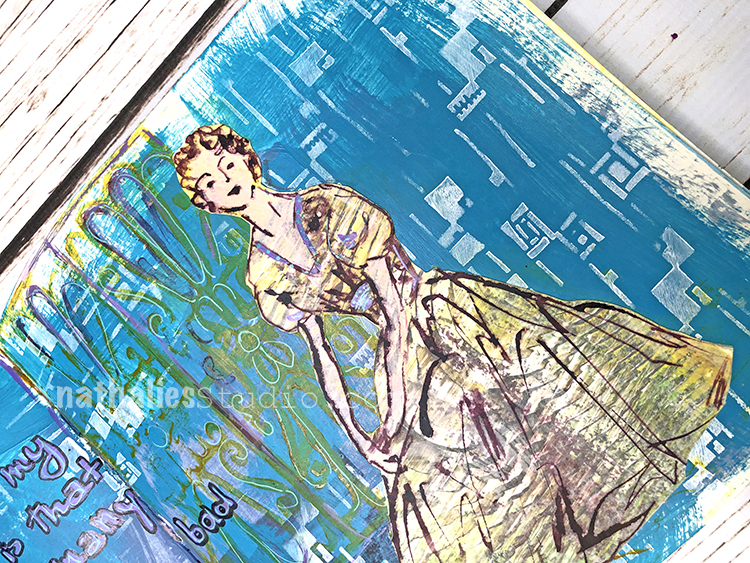
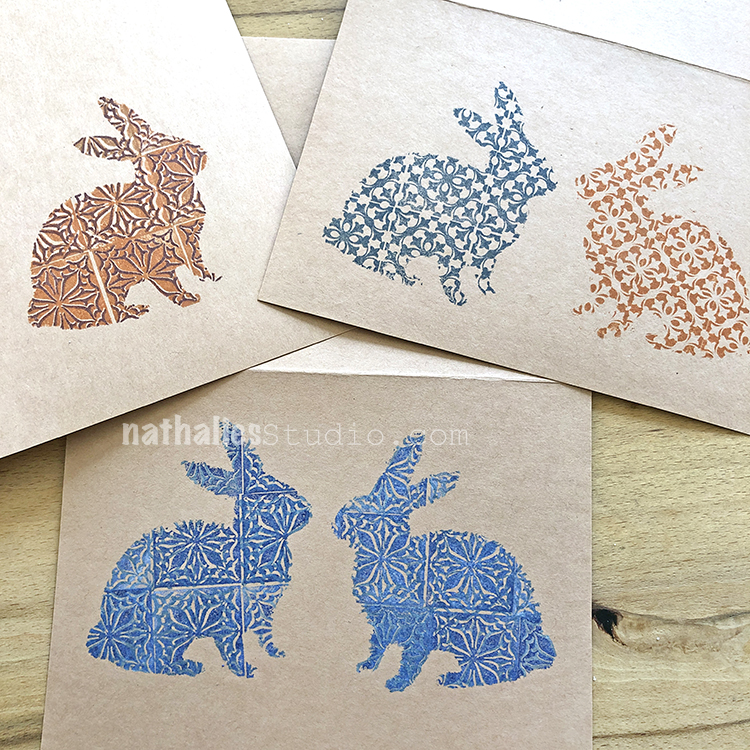
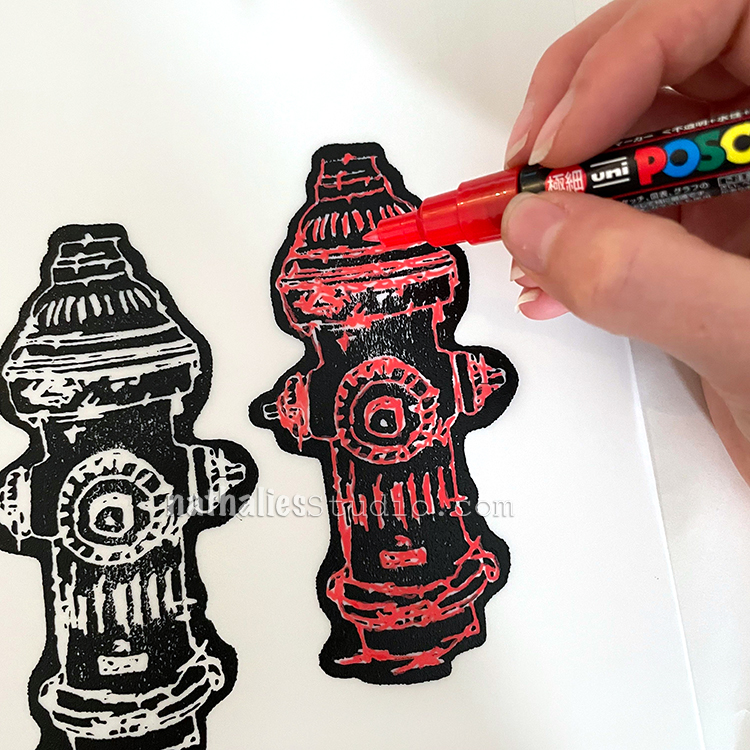
Just like any stamp, a hand carved stamp doesn’t need to be a single use tool. As you can see I used that guy again in the background of this art journal spread. The double impression reminds me of a gate or doors behind the figure. I stamped it in yellow and then gave the design some more oomph (but not too much) with a fine white acrylic marker.

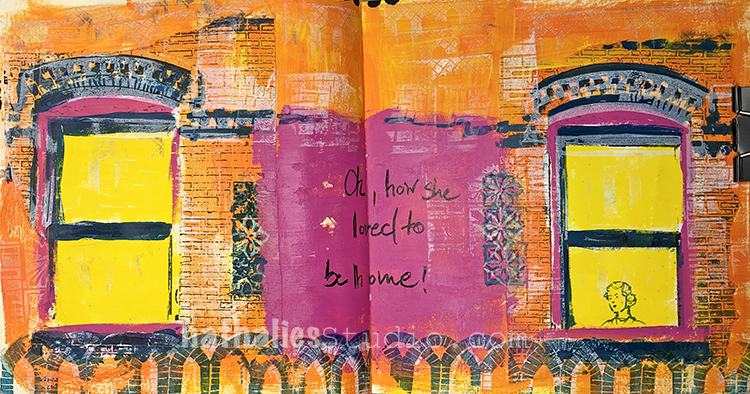
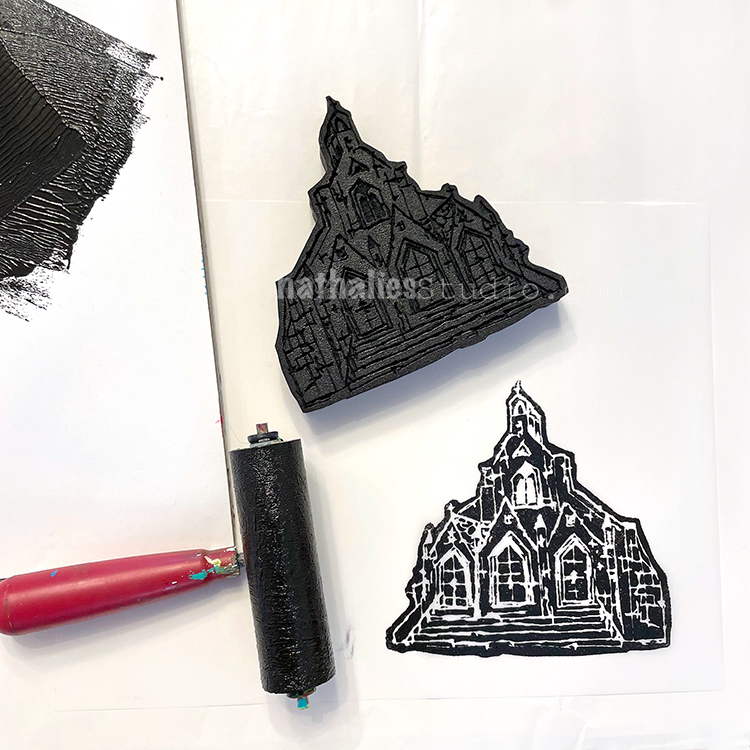
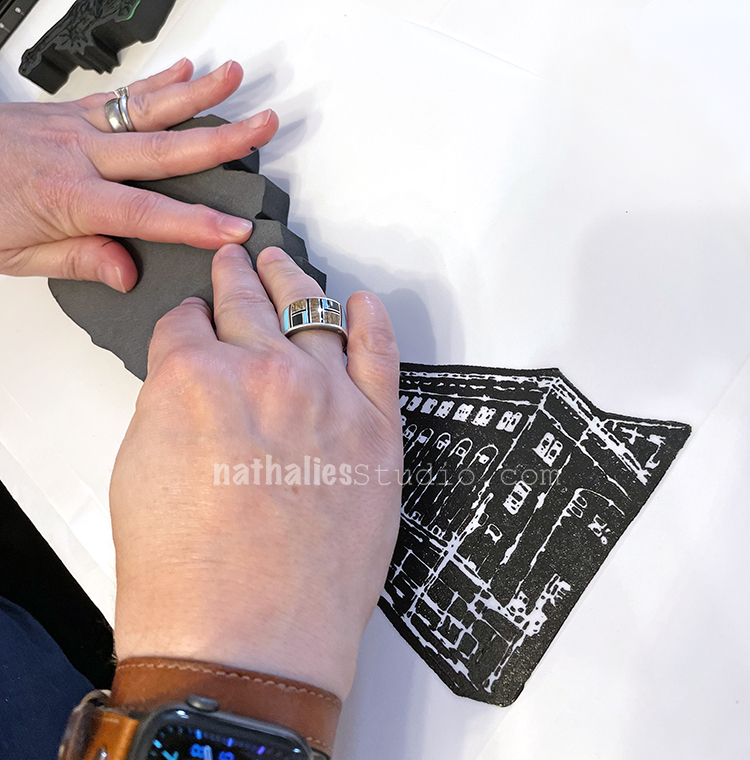
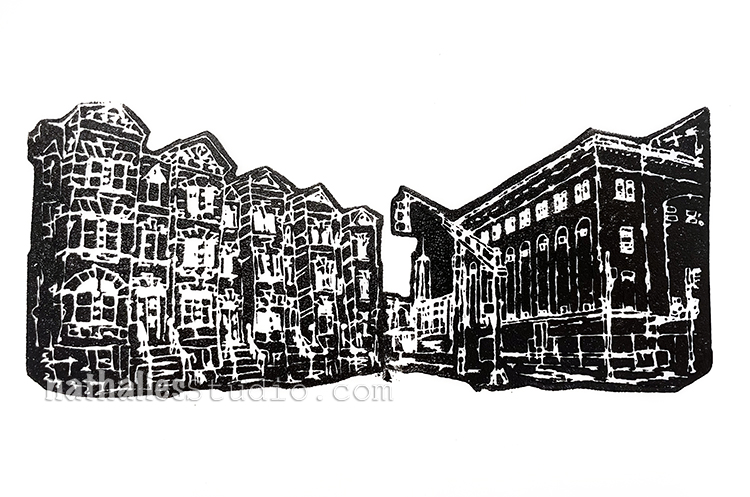
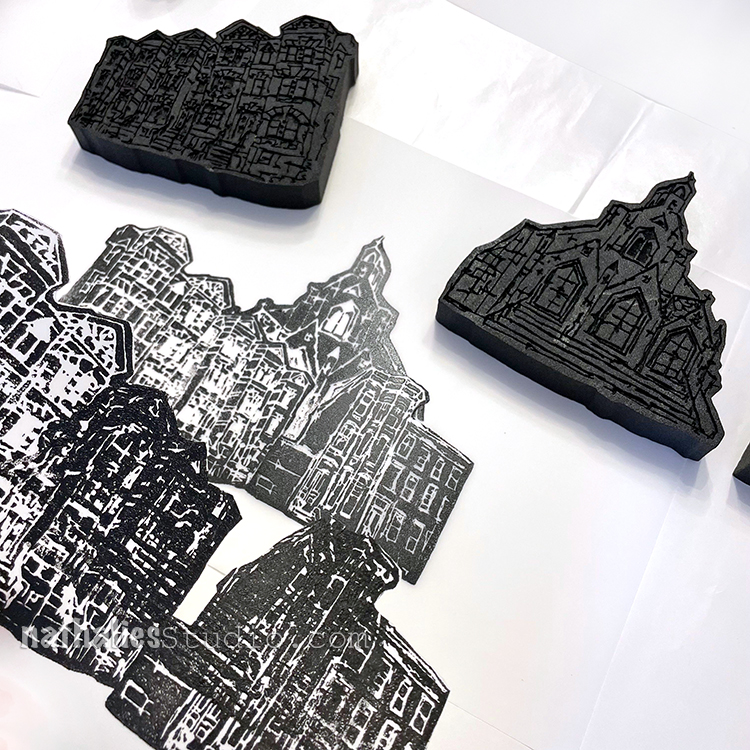
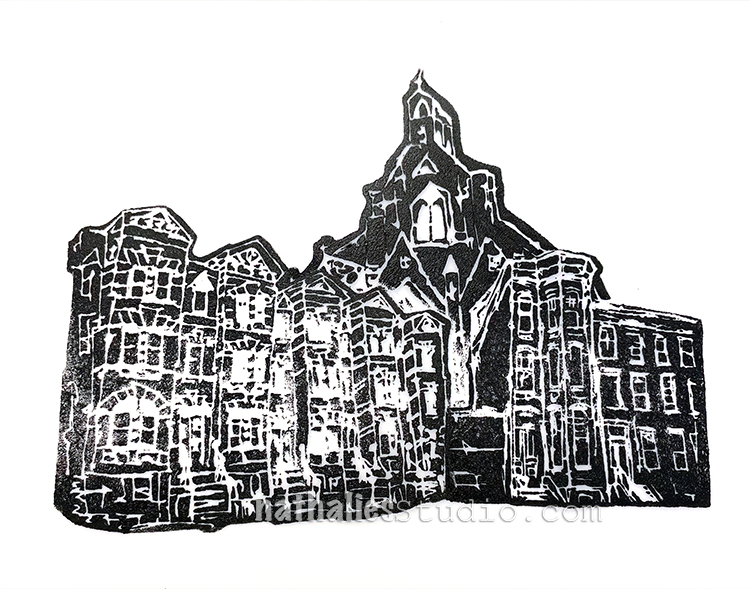
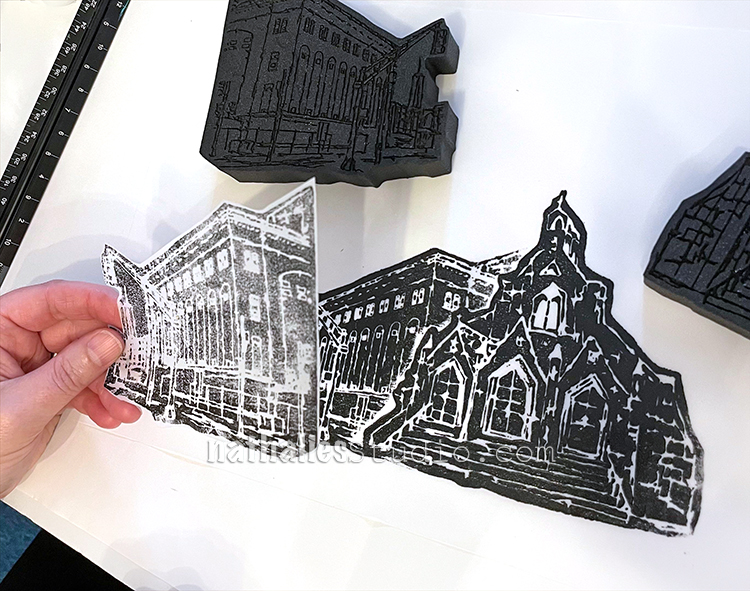
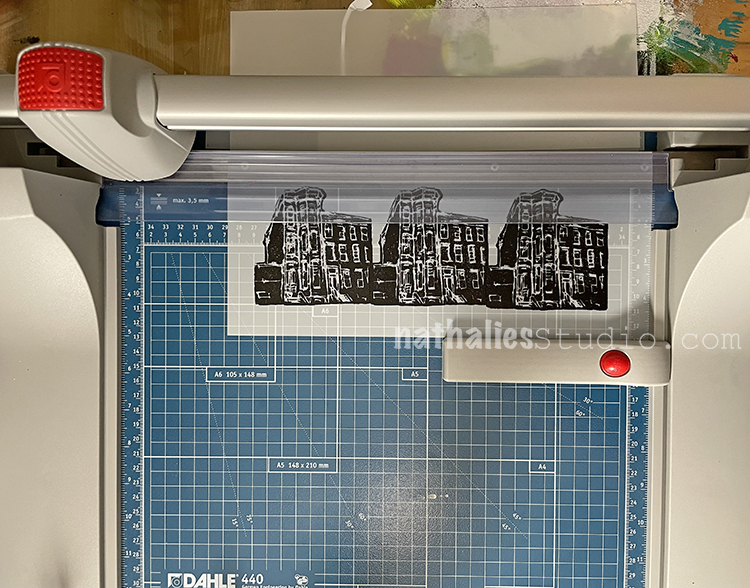
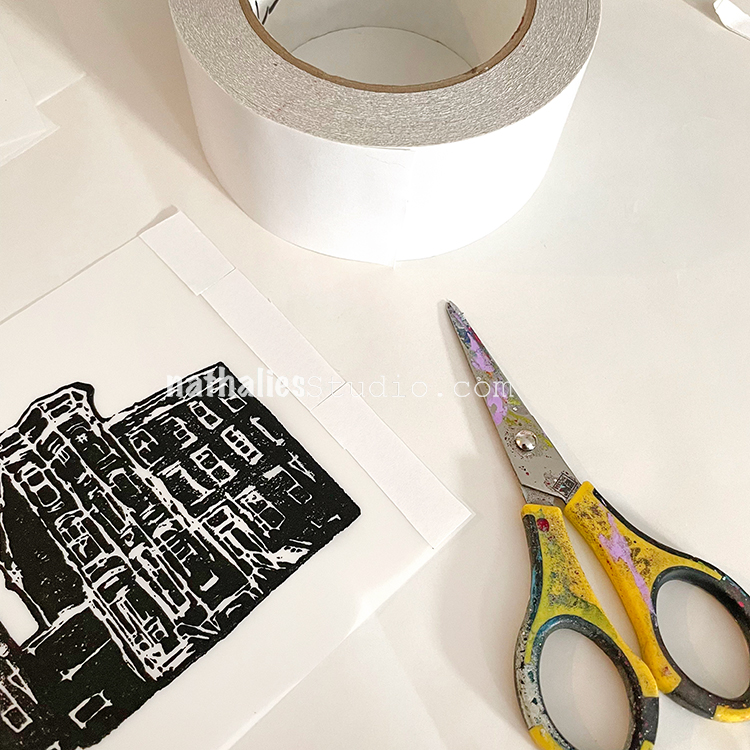
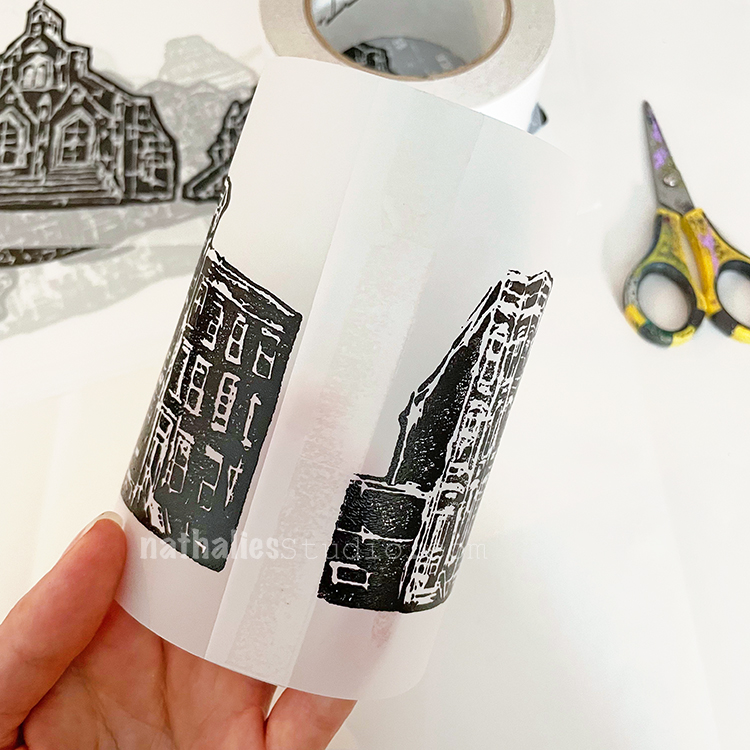
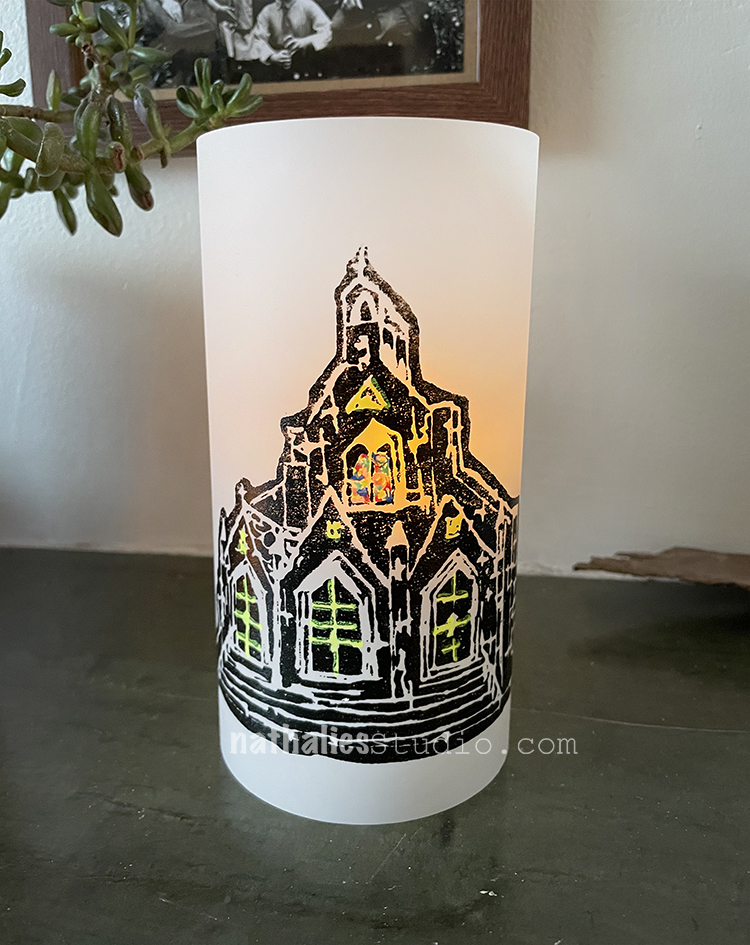
Speaking of architectural elements, that’s how I made them in this art journal page: hand carved stamps! You can go quite big if you use a product like Speedy-Carve that comes in sheets. It’s almost like linoleum printing but the material is so soft and easy to work with.

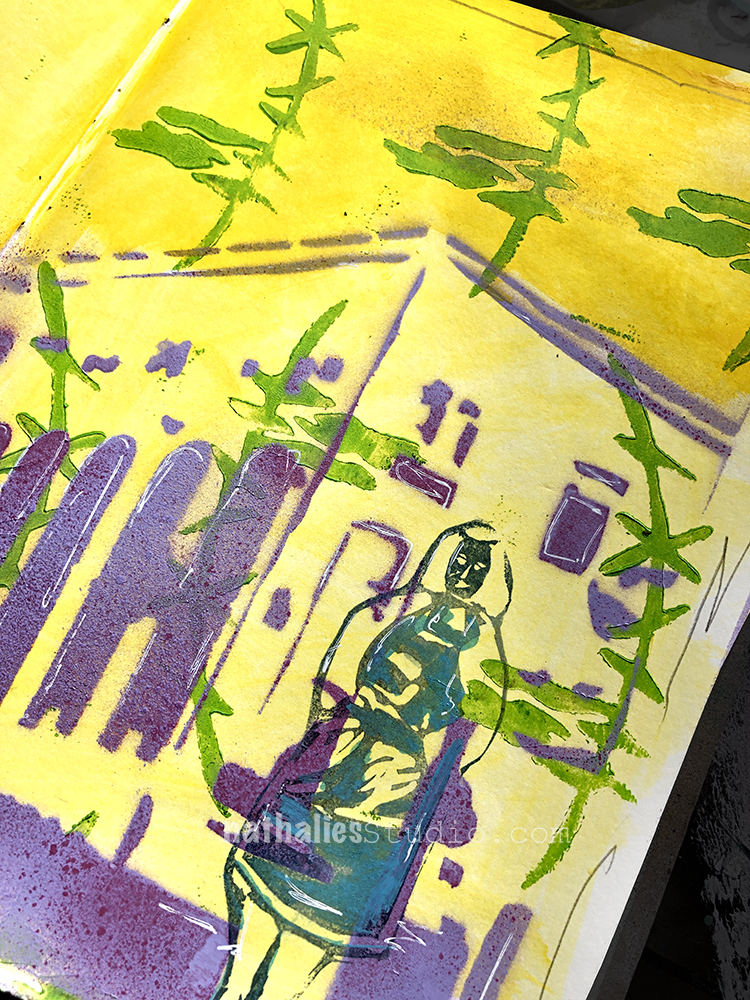
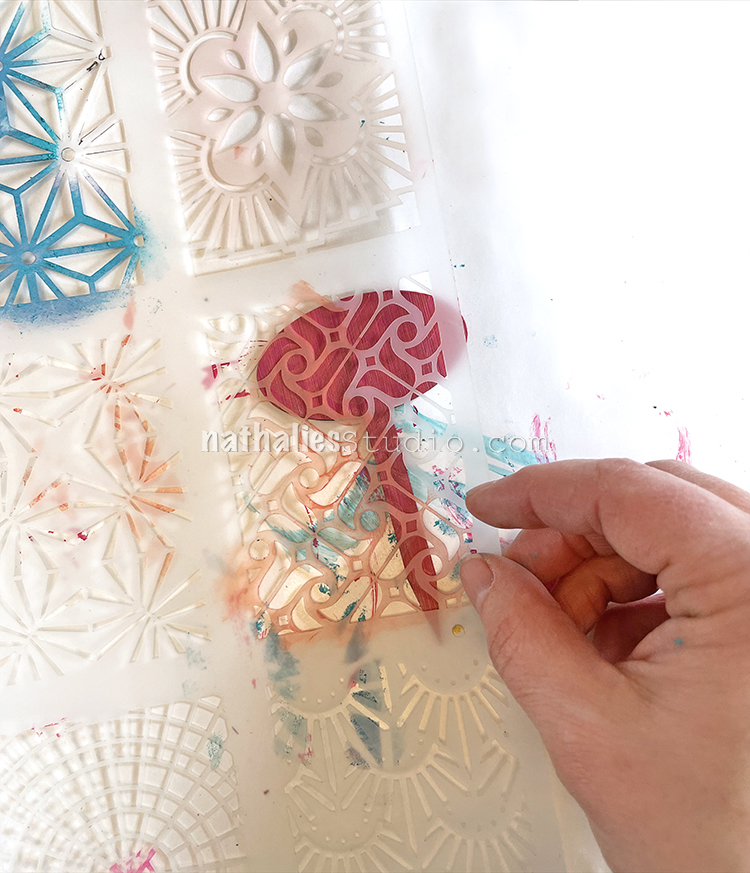
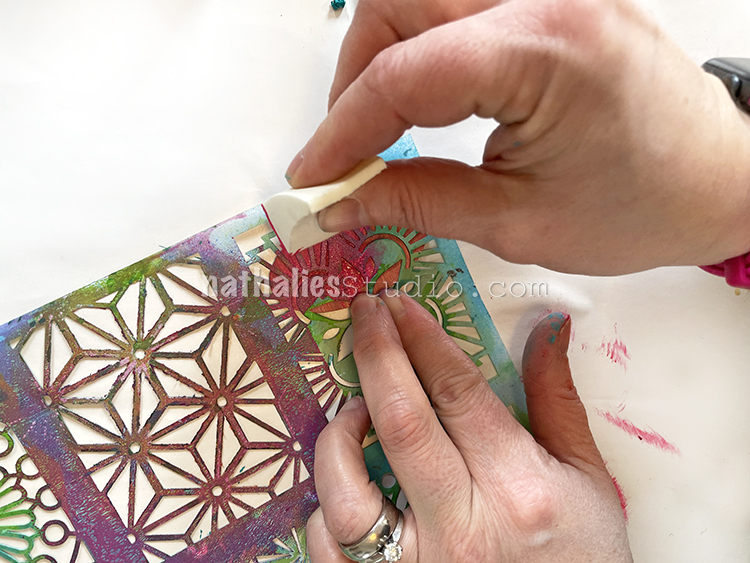
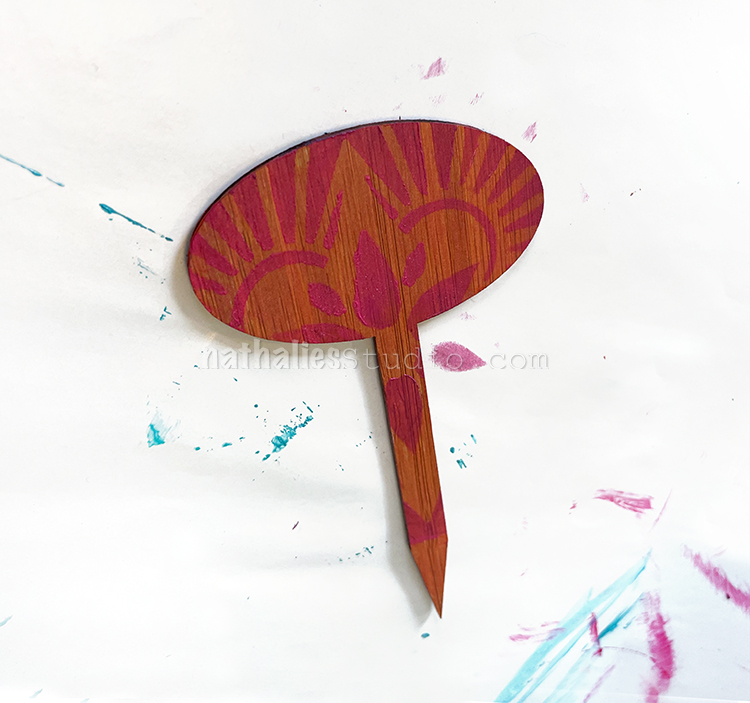
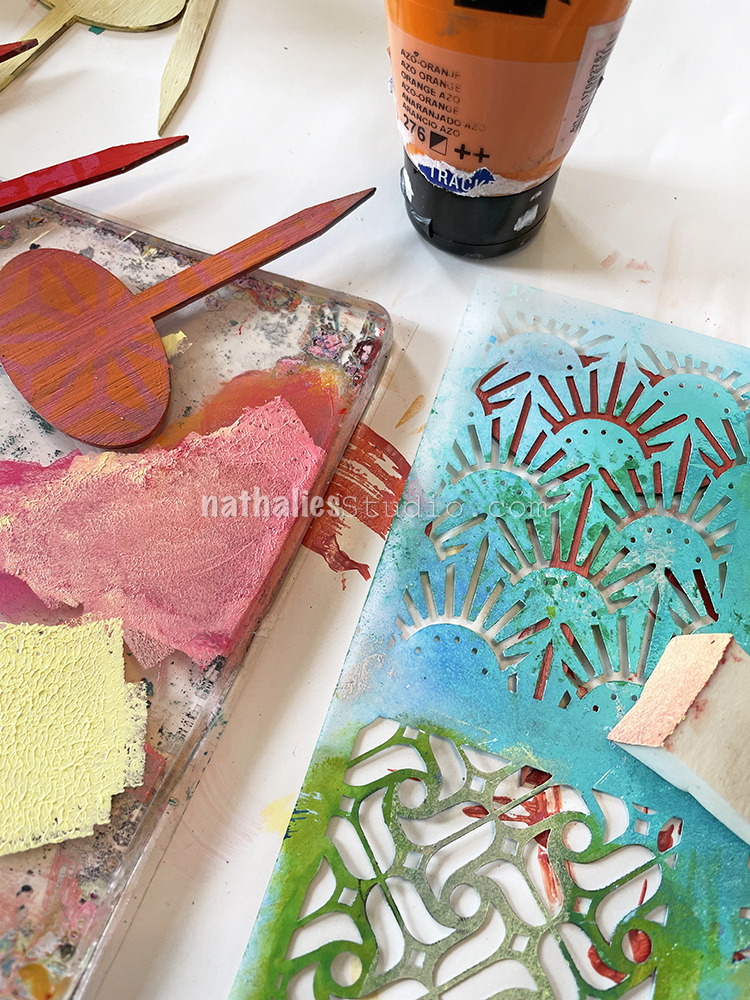
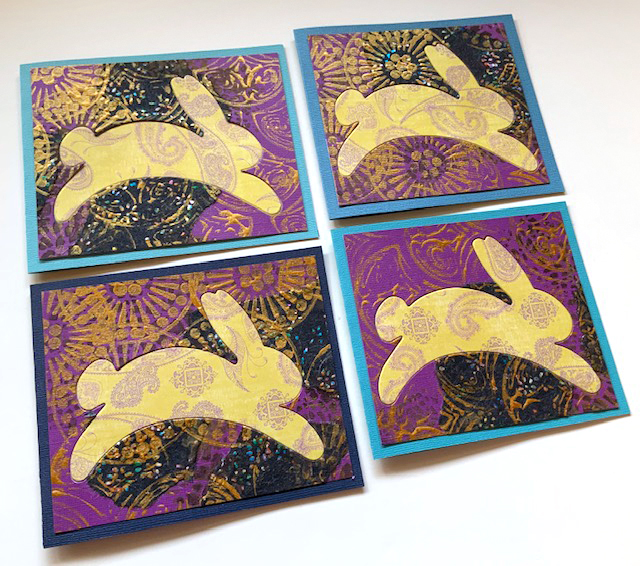
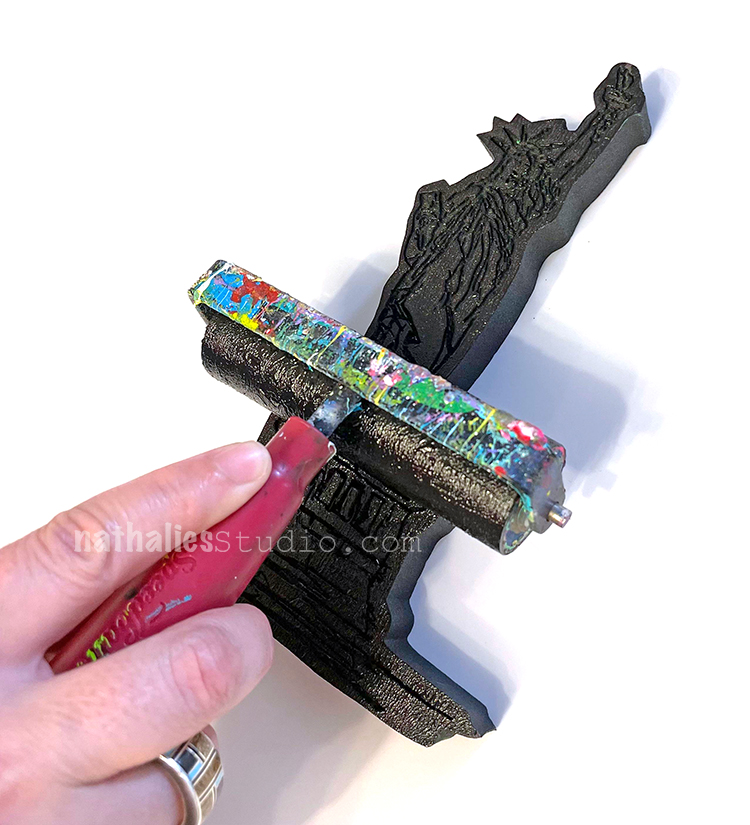
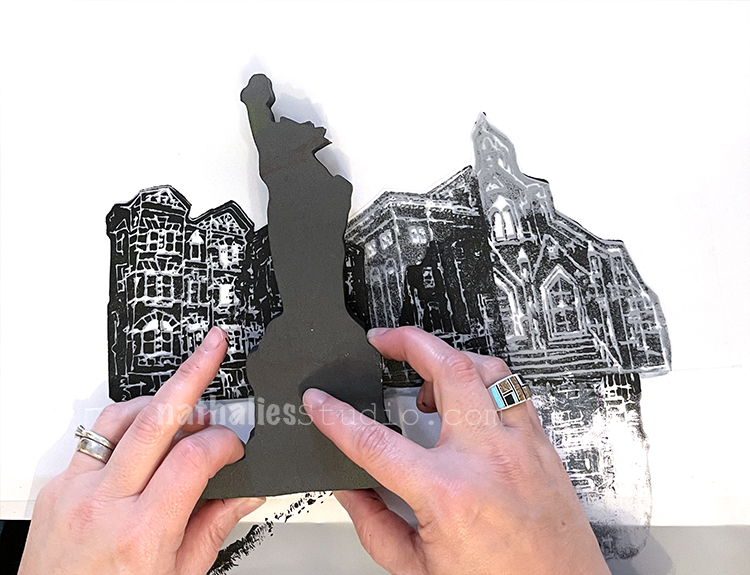
The figure above is a hand carved stamp, along with a hand cut stencil, and my Groovy foam stamp. I like how they all work together in this art journal spread, with similar line weights, curves, and scale. Don’t be afraid to mix up and layer your hand carved stamps with other stamps and stencils. They can be the focal point or a supporting actor on the page ;)

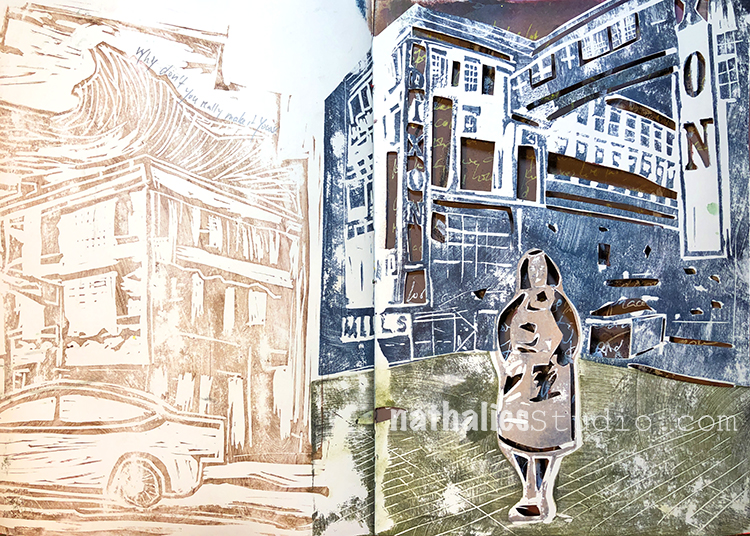
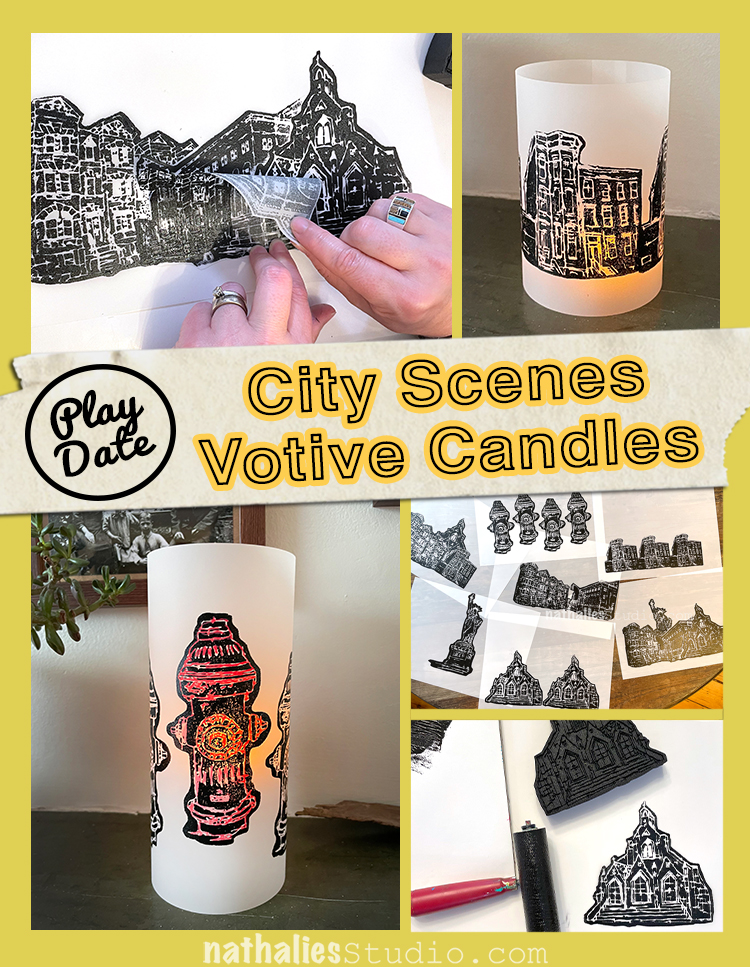
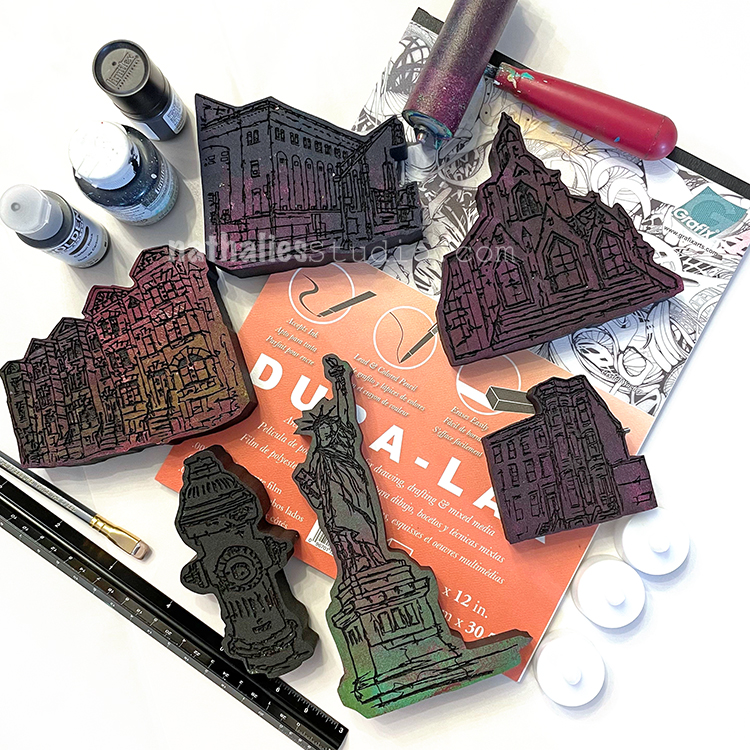
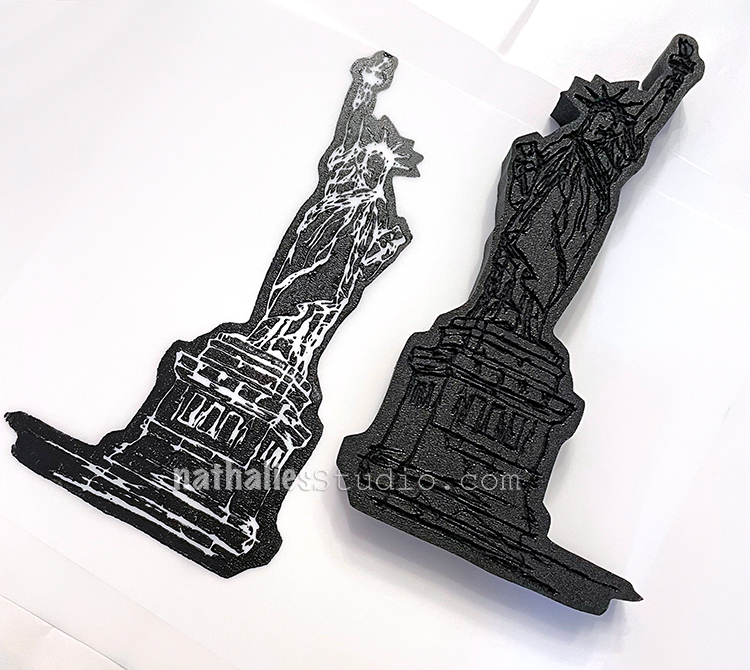
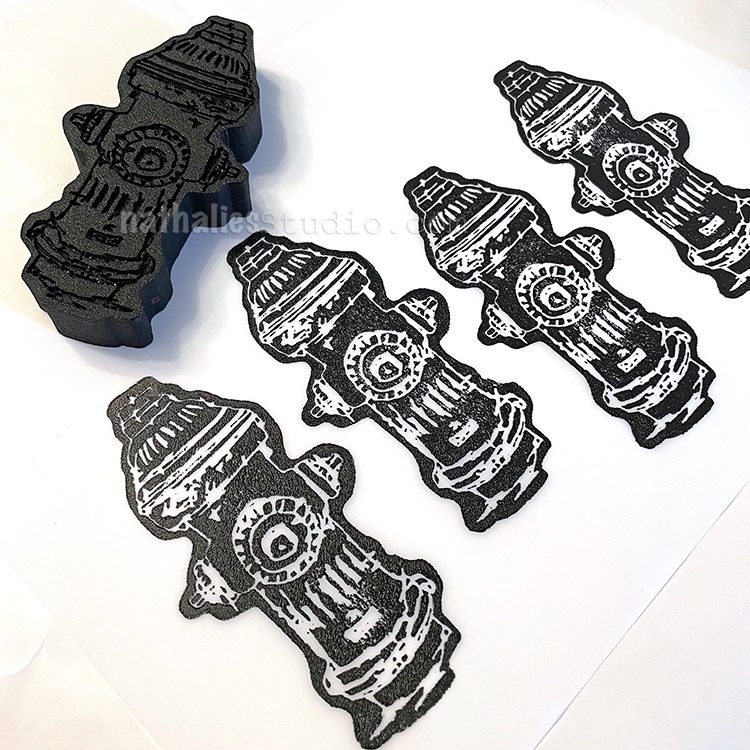
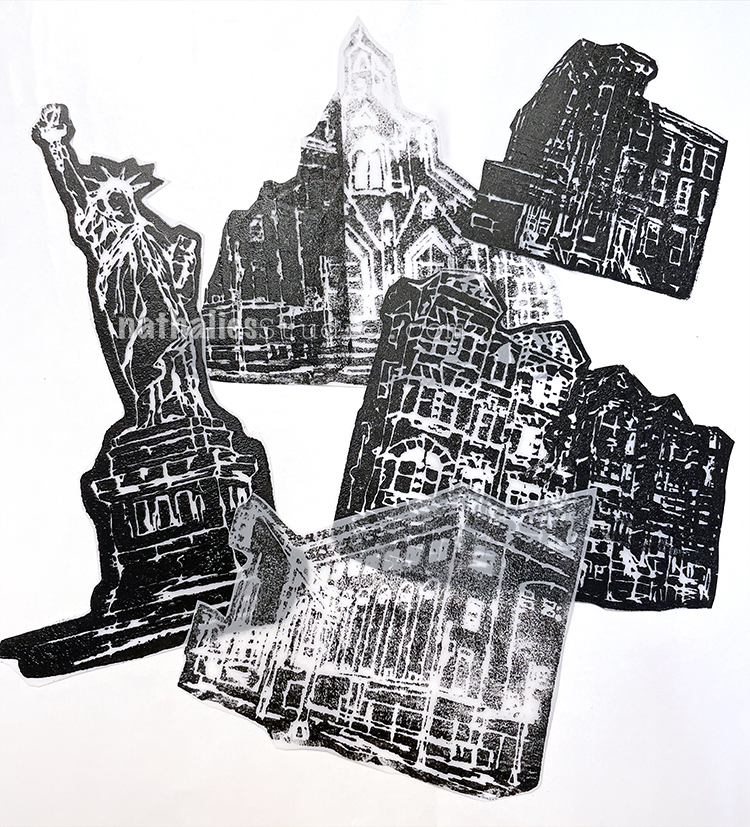
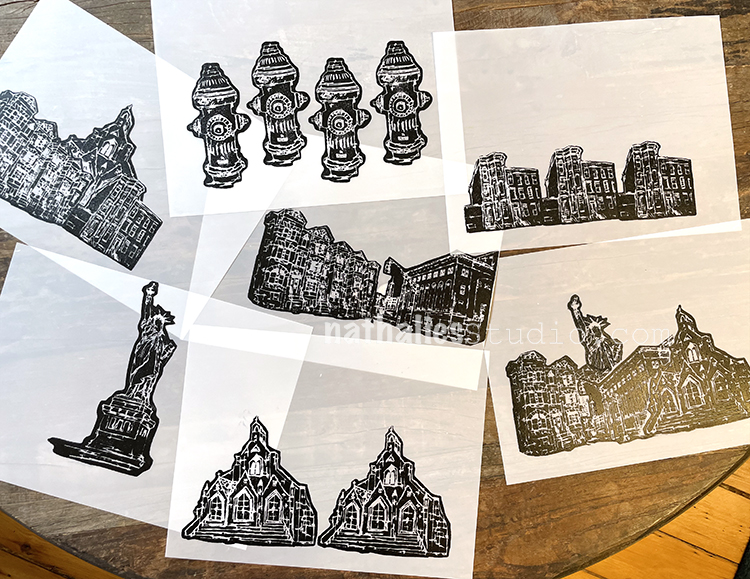
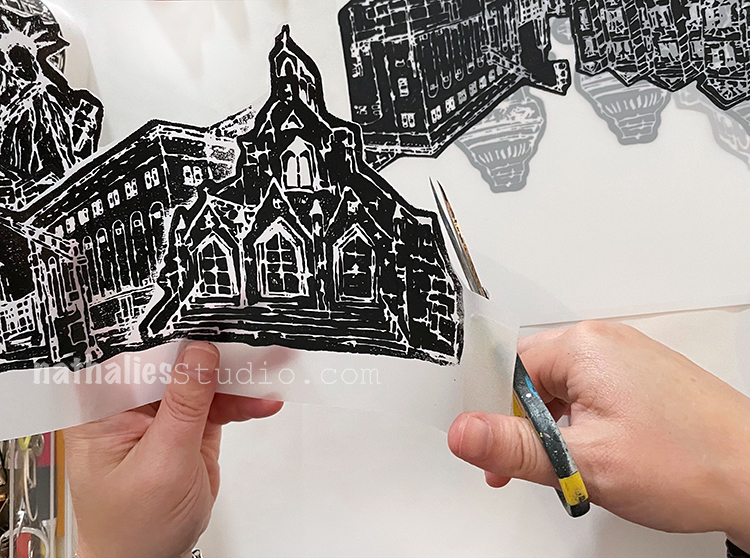
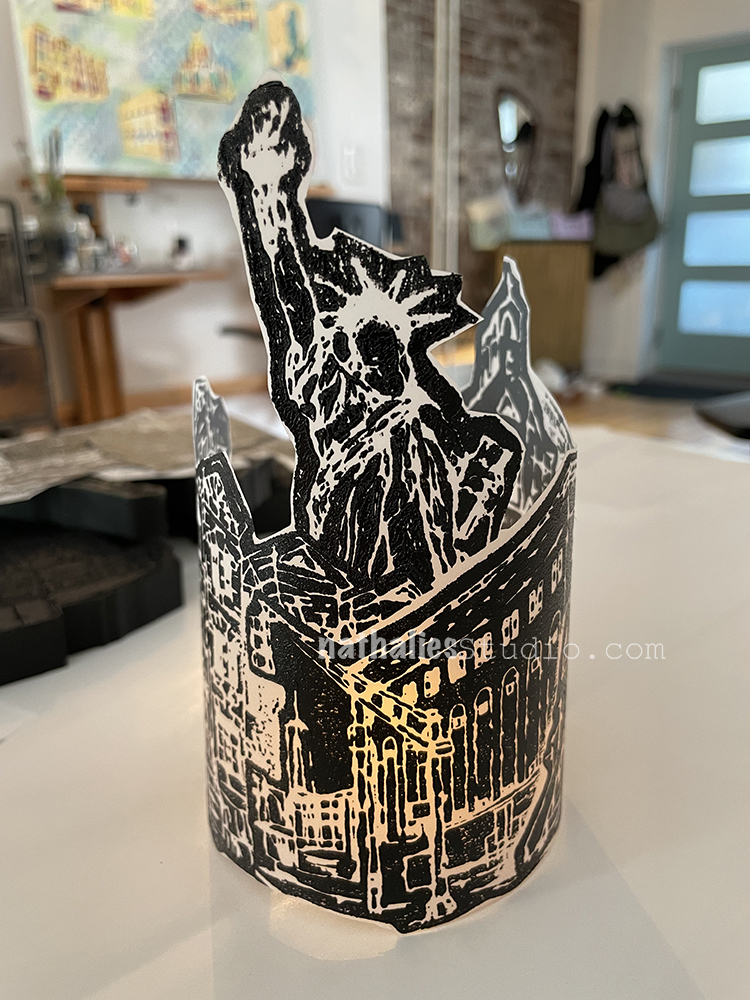
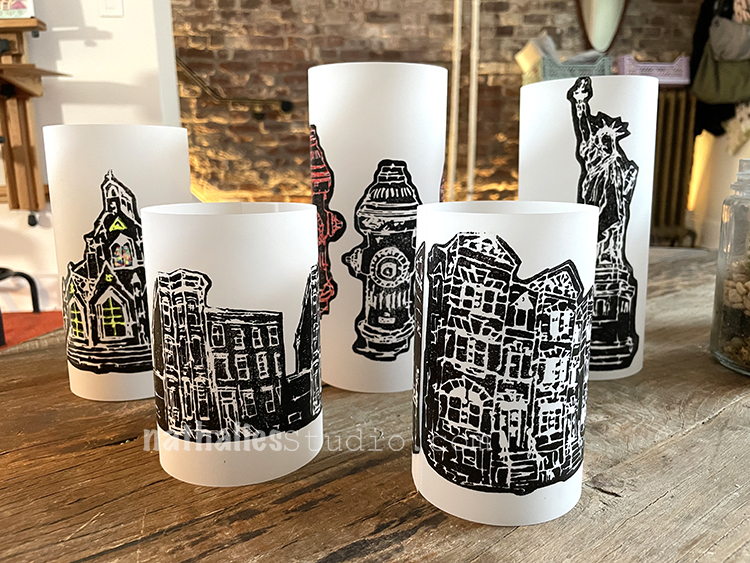
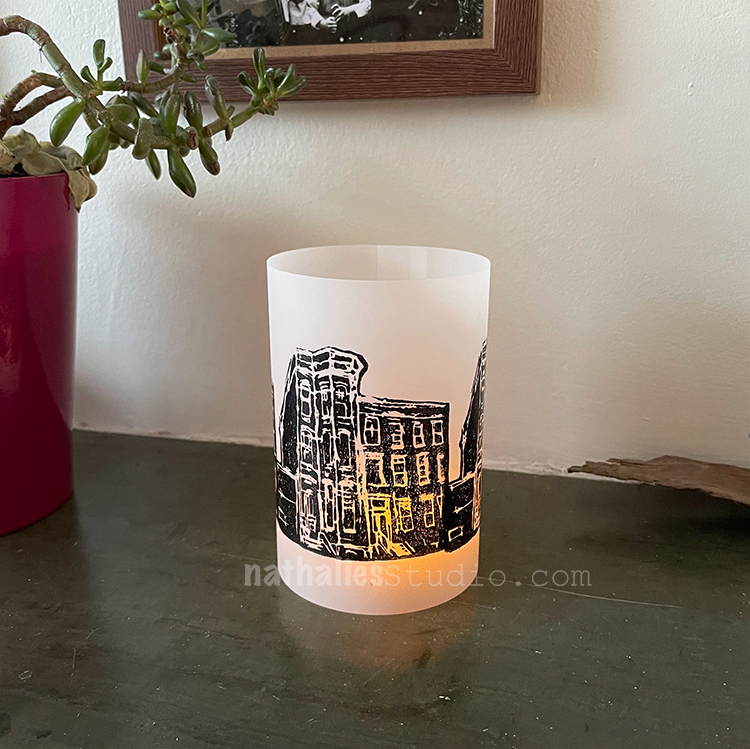
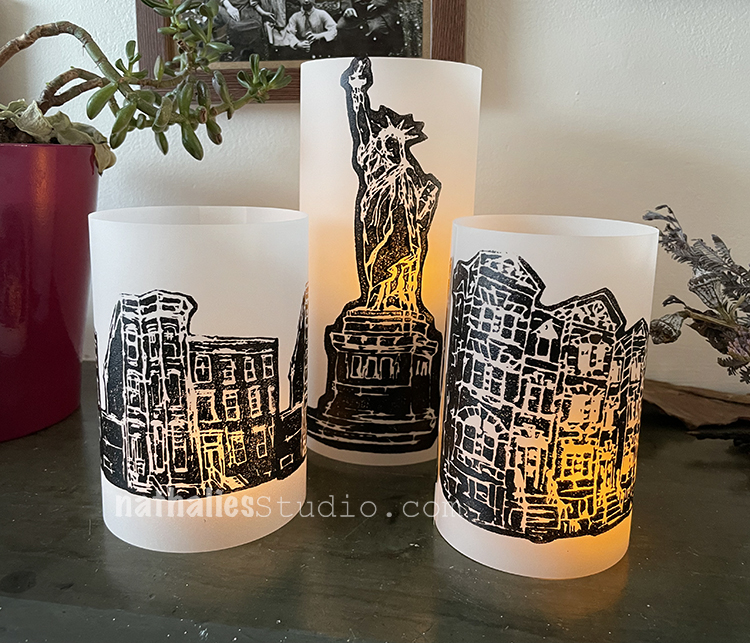
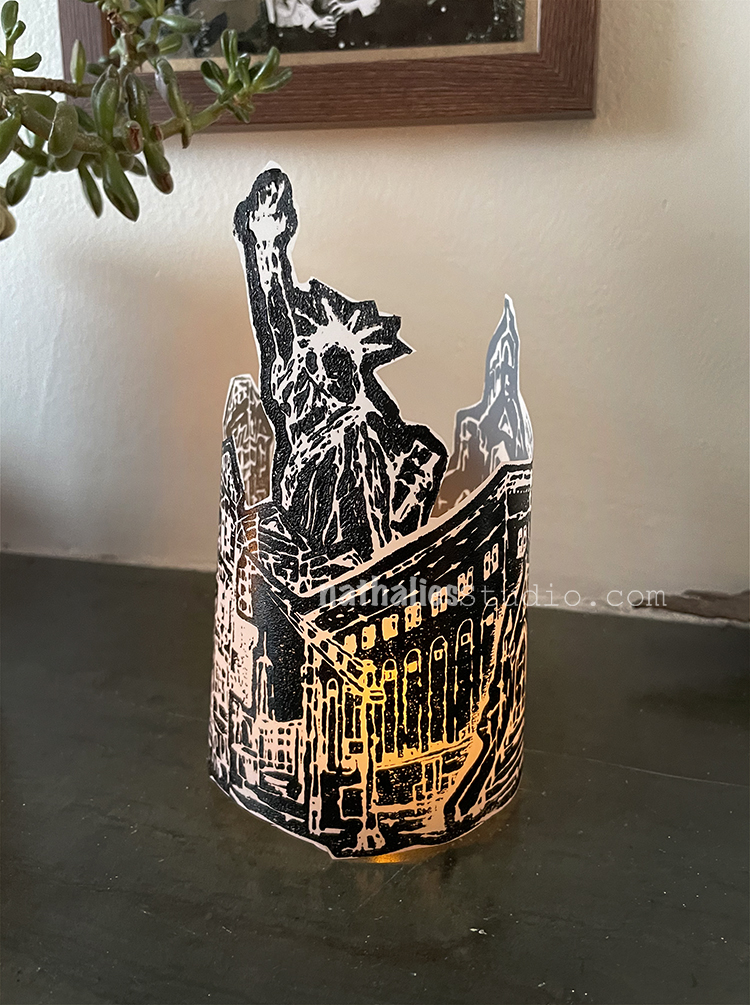
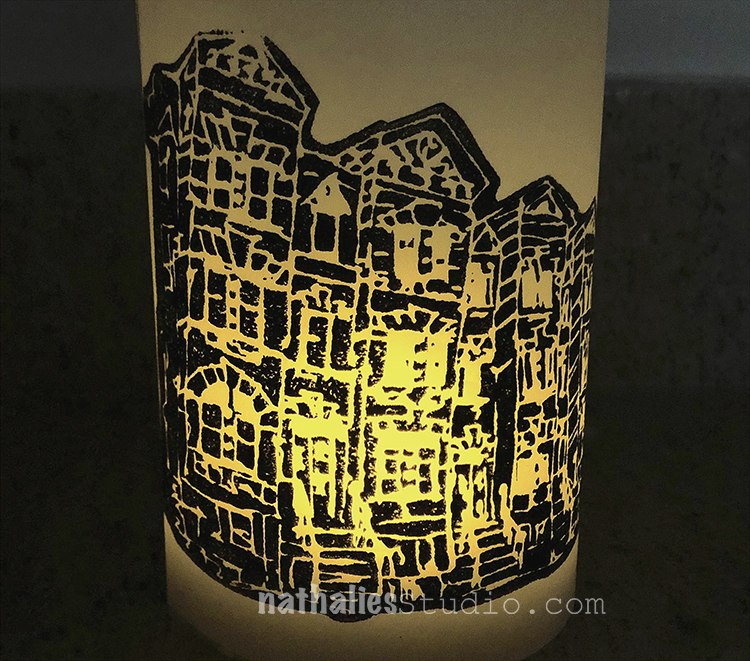
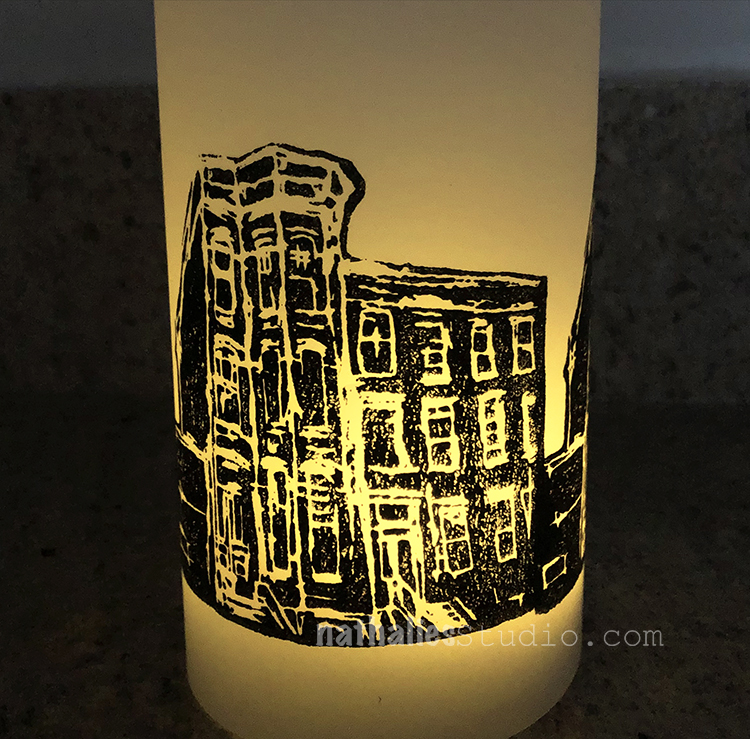
I’m finishing up with a double-header of an art journal spread: two pages that are celebrating hand carved stamps. The one on the left is a straight up impression and the right has cut outs and layering (and hey, recognize that figure from before?). Like I said, it’s fun to go big. These are both scenes from my hood and subjects that I definitely wanted to explore as stamps.

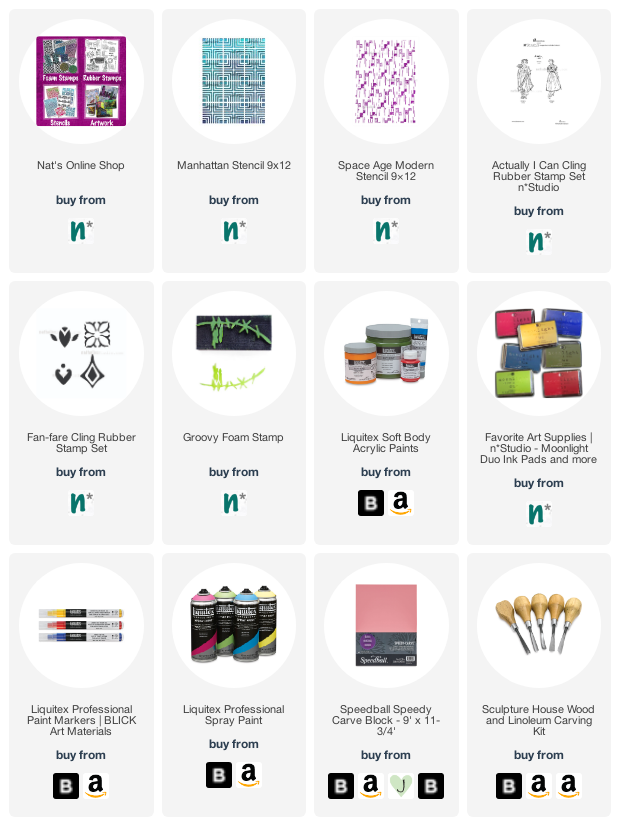
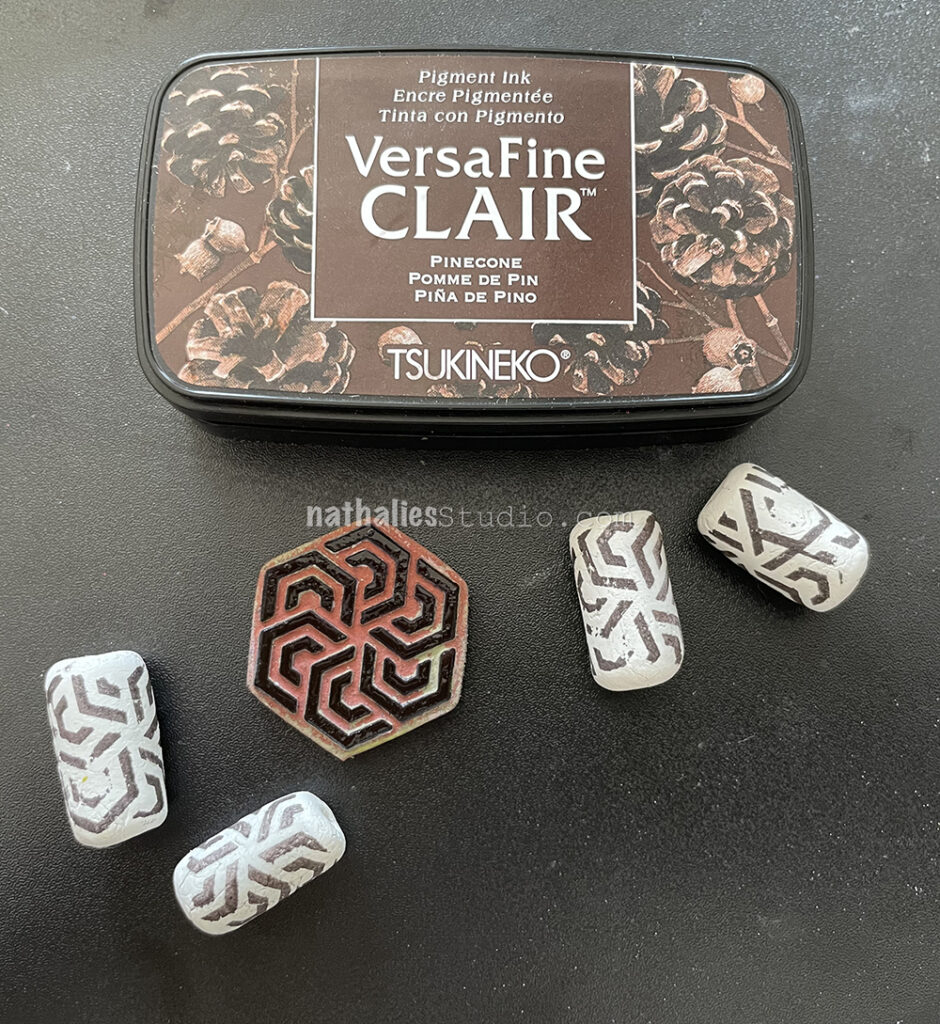
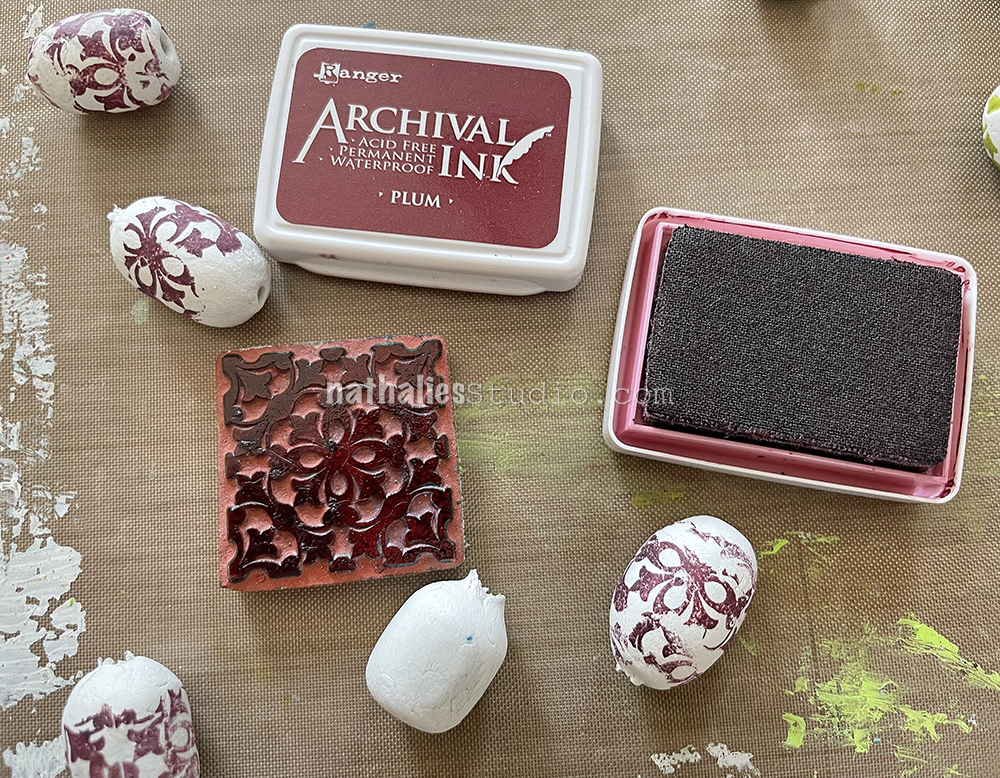
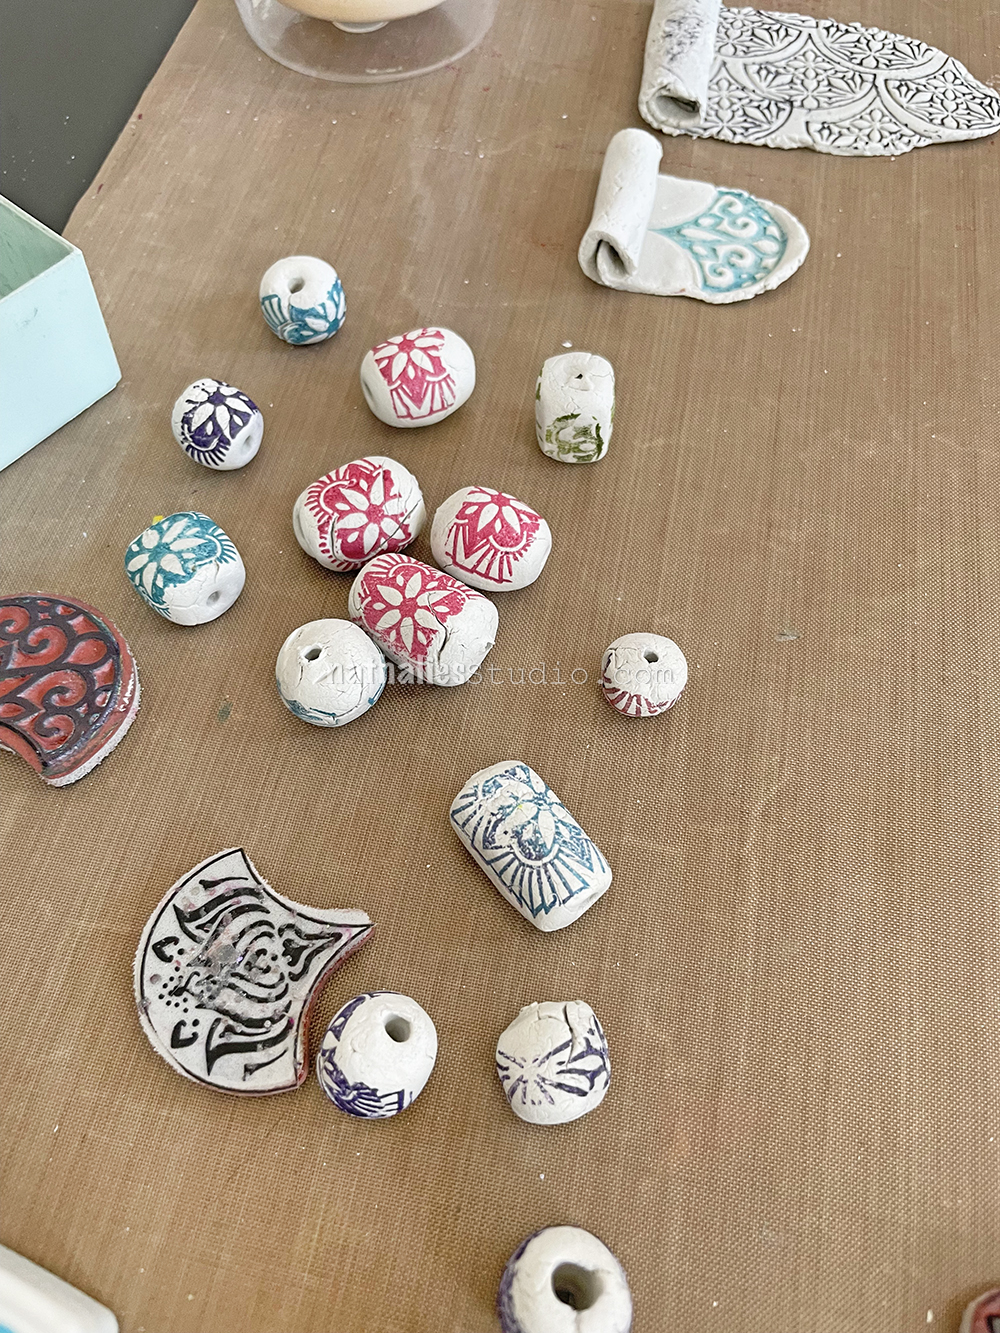
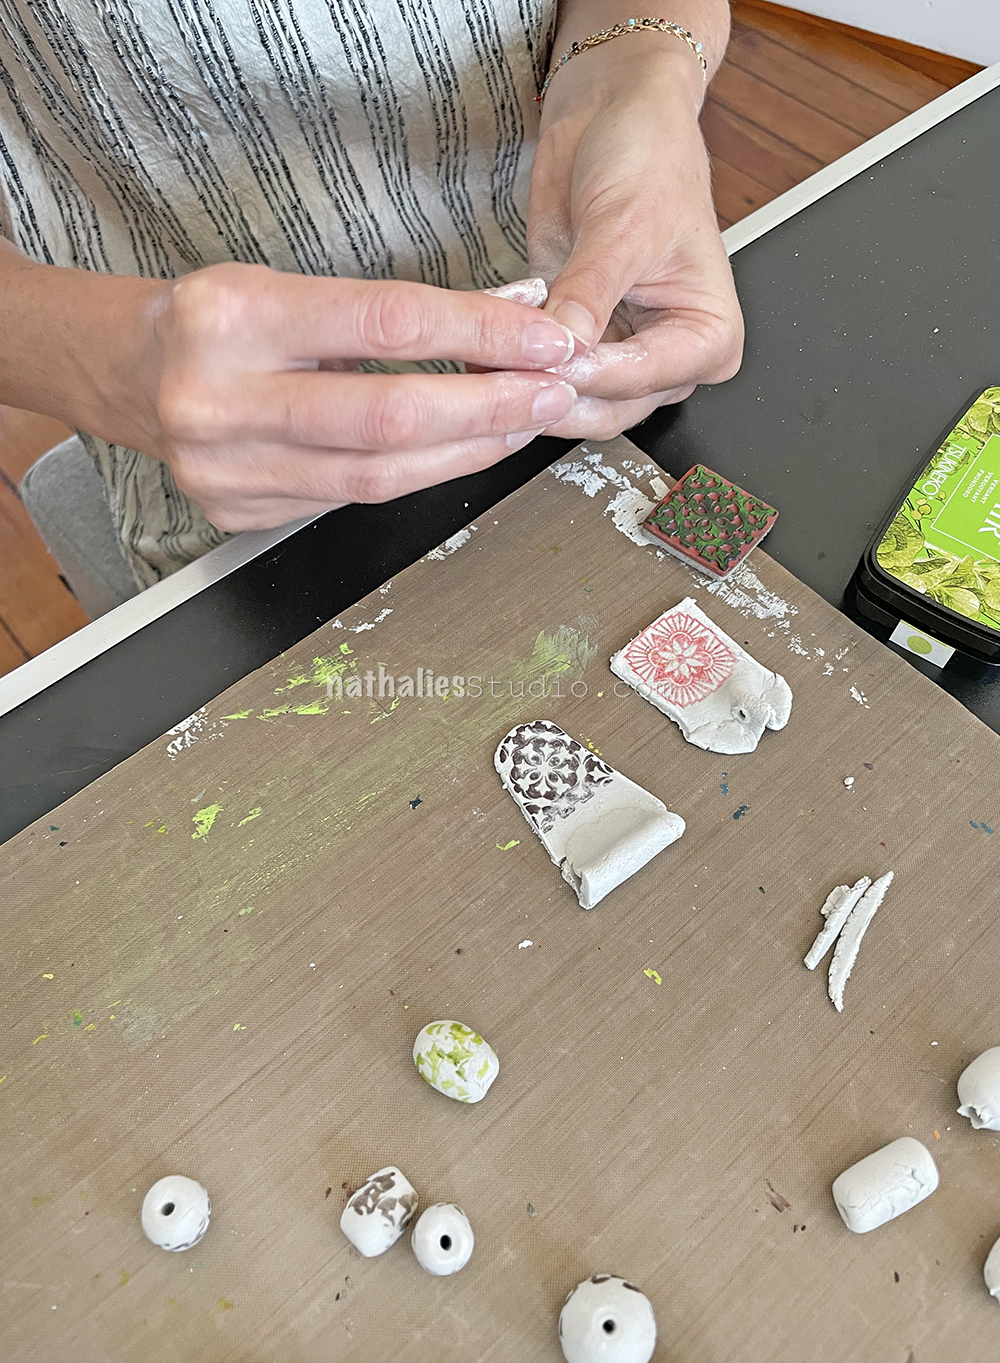
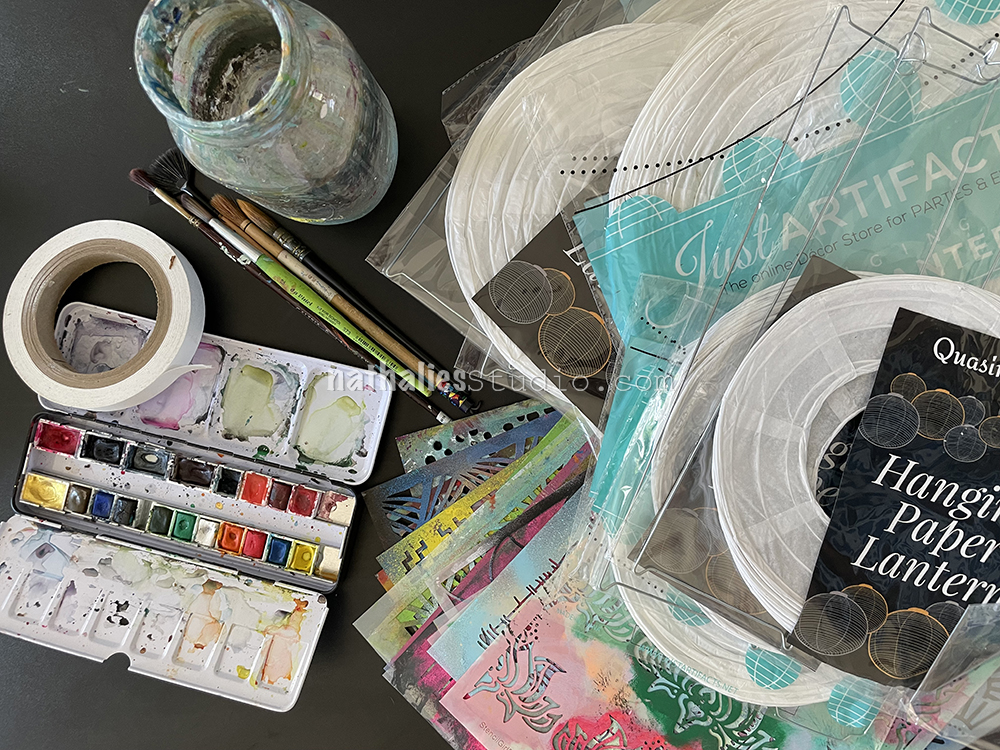
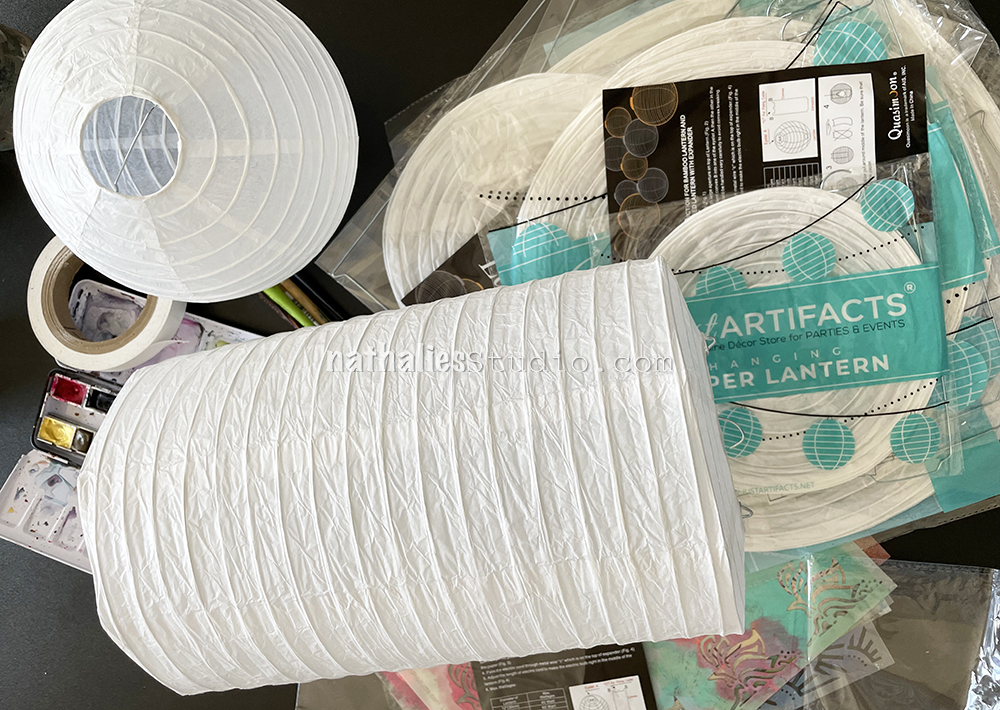
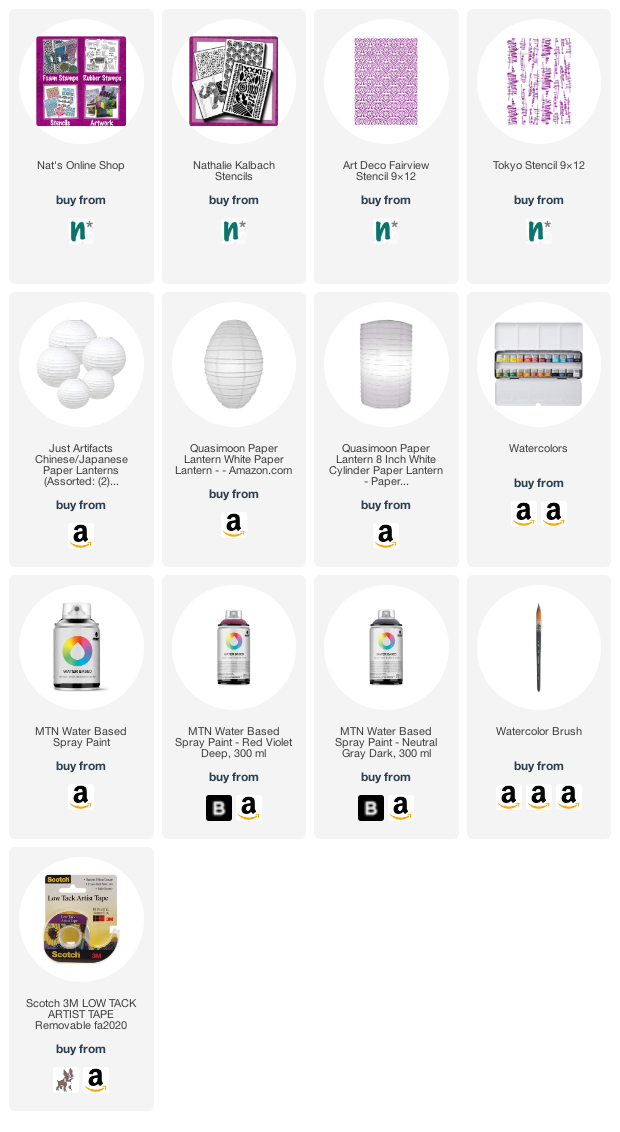
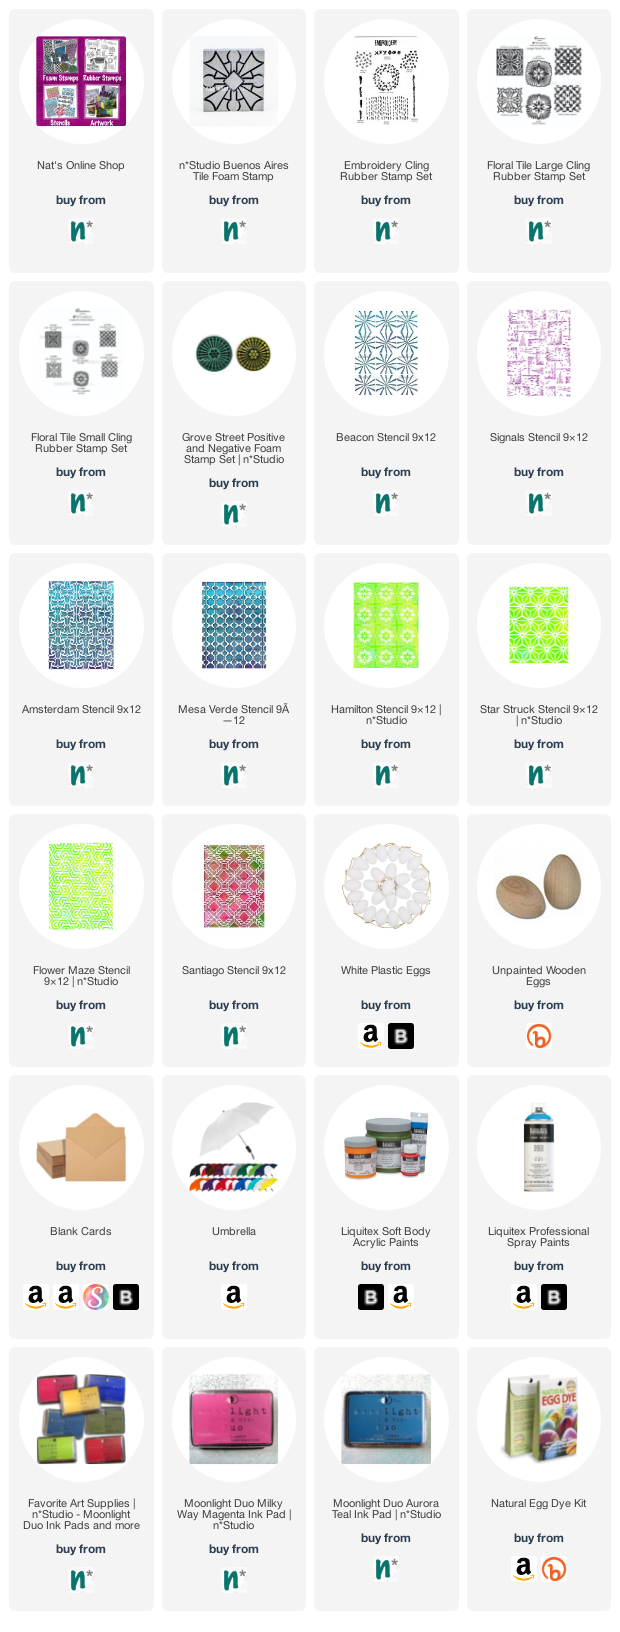
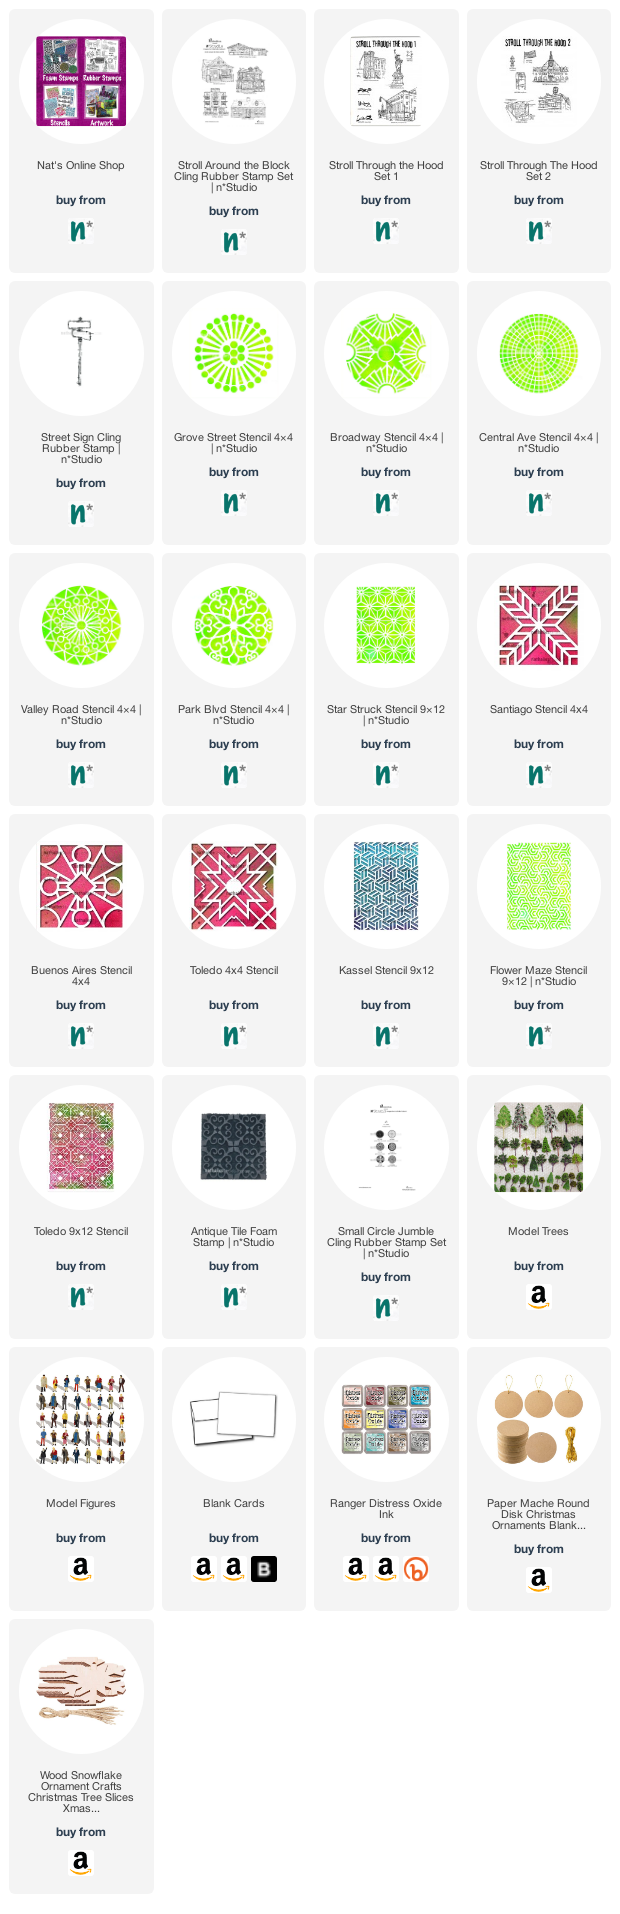
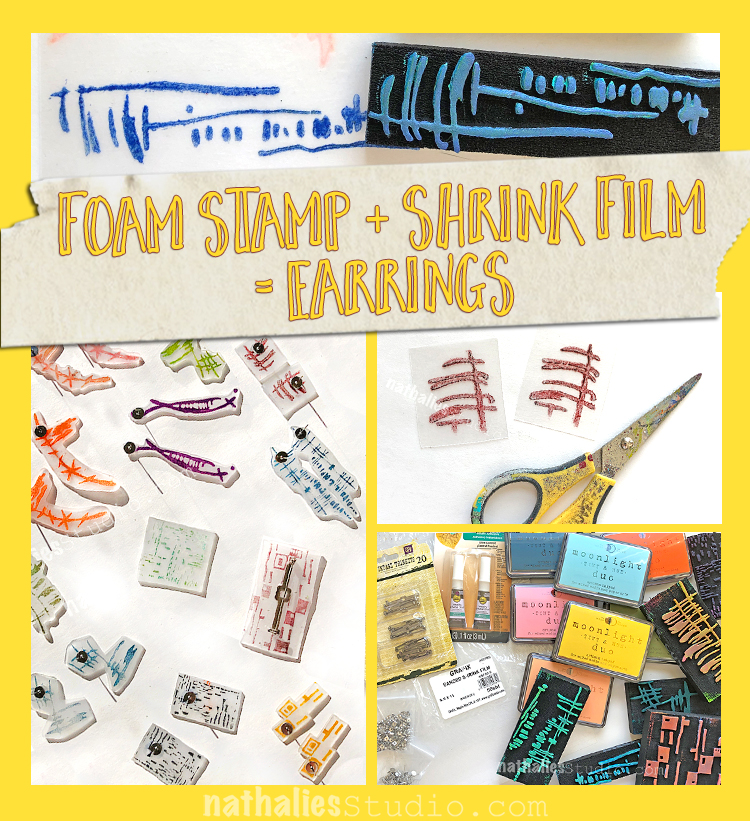
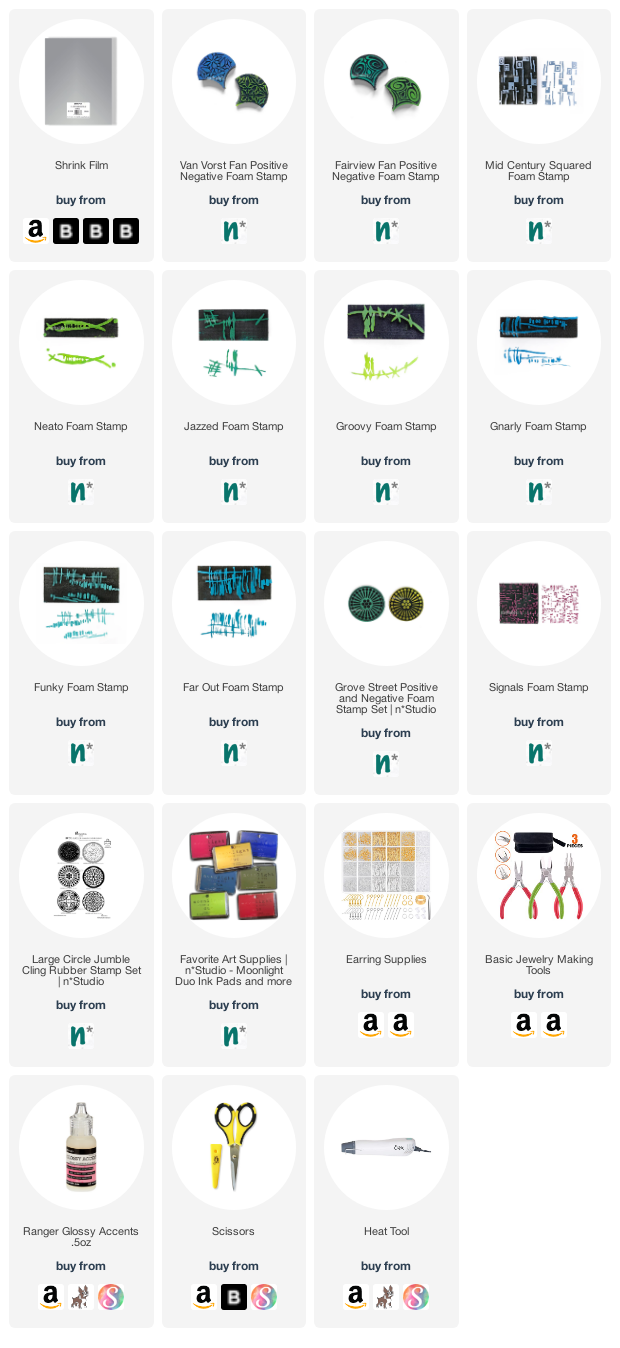
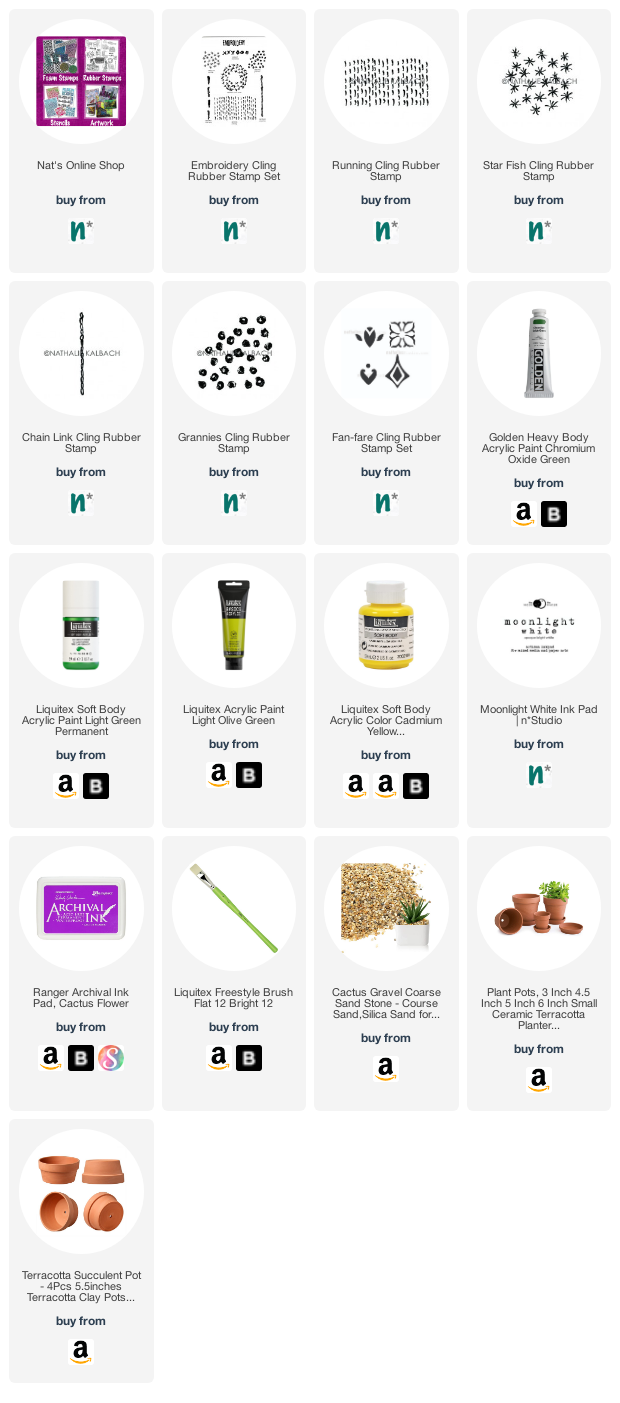
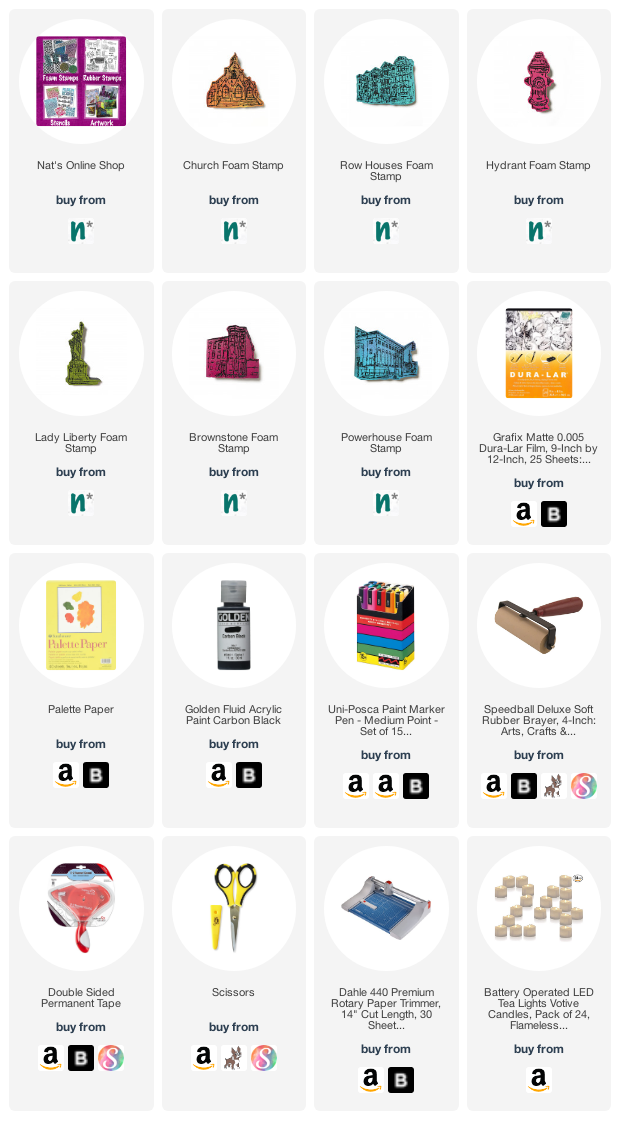
Ready to try making and using hand carved stamps? Here are some of the supplies I used in the above posts:

Look Back is a blog series to show you some projects and posts that you may have missed – sometimes going WAY back in the archive. I think it will be fun to revisit a few ideas that we haven’t seen for a while. I’m excited to see how a little look back might inspire something new in the future :)

Leave a comment

Play Date – Clay Beads and Rubber Stamps

Last month I had a few old friends visit from Germany so Kim and I scheduled our play date with one of my guests: Sandra! We knew she would have fun with it as she teaches art classes and is always looking for inspo herself. So we set up a big table where we could all sit, poured ourselves some coffee and even had a little plate of treats too. It was great to get together and create, gab, and LAUGH :)

Our project was to make air dry clay beads, decorate them with my rubber stamps, and then string them to create funky necklaces. Wanna play along? You will need: air dry clay, jewelry cord, rubber stamps (small patterns work great for these), a selection of ink pads, an awl (or toothpick/ball tool/tapestry needle) to make holes, a small rolling pin, a clay cutting knife, a sanding block, scissors, and a craft sheet.

Working on the craft sheet we created some plain beads. Round, oval, barrel, square sided etc are all easy to do. Make a bunch!

Before they get too dry, poke a hole in them that is big enough for whatever cord you have. We used an awl to poke the holes and then a ball tipped tool to make the ends a bit nicer. You could use a skewer or toothpick or even a heavy tapestry needle to make your holes. Then it is time to let them dry.

We also experimented with rolling out the clay to create larger pendent pieces with a rolled top edge.

This was trickier to do and if your clay dries out, the edges get a bit rough. You could use a clay blade to clean up the edges or a wet finger to smooth things out.

The idea is to create a flat surface to stamp on. We played with both my Triangle Love and Floral Tile Small stamp sets and used both Archival and Versafine Clair ink pads. You want an ink that dries permanent. We stamped into the still pliable clay, creating a small amount of relief too.

You can go pretty big with these and then use a stamp like my Fantastic Small set to tile up an allover design.

When our plain beads dried, it was time to stamp on them. Barrel shaped beads can just be rolled across an inked stamp. Here a stamp from my Hex Set Small creates a cool geometric feel.

A stamp from my Floral Tile Small set adds a bit of abstract floral design to oval beads. They don’t need to be perfect impressions to create a cool look.

With three people making we created a big variety of beads.

Love all the different color and pattern combinations that each of us chose, whether it was cool gray, shades of brown…

… vermillion and chartreuse…

… and vibrant pinks and blues and violet!

If you have rough spots on your beads, you can sand them with a sanding block for a smooth finish.

Once you’ve decorated your beads, it’s time to think about the next step – stringing them to make a wearable necklace. We got a little tub of colorful waxed cotton jewelry cord so that we had lots of colors to choose from.

When you choose your cord, unwind a longer piece than you think you will possibly need. You may want to tie knots around the individual beads and that will take extra cord. We also planned to slip these over our heads in the end, so allow enough to do that once you’ve tied it.

If you’ve made a lot of beads like we did, there are so many ways to combine colors and patterns.

Play around and see what you like. You can always switch things up later if you have extra cord and beads.

And if you still need a bit more color in there, don’t be afraid to use the ink pads to add a little more color here and there.

This was a really great play date to do with a group of friends. It was fairly easy to create some striking designs and everyone went home with a wearable creation.

Give it a try! Here are the supplies we used:

Leave a comment

Victorian Inspired Paper Lanterns – Play Date

While I was researching some of the previous owners of my home, I came across an image of a place where they would go in the summers for a type of retreat from the city. Each summer the whole family would head out to their cabin in Mount Tabor NJ, and they participated in the tradition of hanging painted paper lanterns along the front porch to celebrate “Children’s Day”.

I have since seen examples of these Victorian age paper lanterns in antique stores and thought it would be an excellent Play Date for Kim and I for the summer. Although you could choose to paint or stamp them using a variety of media, we decided to do watercolor washes and then stencil them with water based spray paint.

For the version that we did, you’ll need paper lanterns, watercolor paint and large watercolor brushes, water based spray paint, stencils, and maybe low tack tape.

The paper lanterns come in a variety of shapes and sizes and arrive flat. Ours included simple instructions on how to expand them.

We applied watercolor in large patches but left some blank spots too. Be careful not to work the surface too much or apply too much water – these are made of very thin paper.

We kept this application free and loose and allowed drips and areas of less and more color.

They were already looking great at this point. Our next step was stenciling but from here you could also paint freehand designs on them.

We used a matte finish water based spray paint. You may want to use low tack tape to hold the stencil in place but we also found that holding it with one hand and spraying with the other worked well too.

I decided to use my Tokyo stencil and a gray paint. The scale and pattern worked well on the size of the lanterns.

With the spray paint we found that less is more on these curved surfaces – short light bursts of spray gave the best results.

We did not cover the entire surface with stenciling or watercolor, leaving white areas to balance out areas of pattern and color. Here Kim is using a raspberry pink spray paint and my Art Deco Fairview stencil.

I love the abstract results of these and I think it’s an interesting modern interpretation of an old tradition.

Overspray, drips, and lighter applications of the pattern all look great and add to the character of these decorations.

Depending on your lanterns, you may be able to hang them on cafe lights or add an LED light within to complete the magic.

You can also go with whatever colors and patterns make sense for your decor or maybe a special holiday that you would like to celebrate.

I would love to see these strung up outside for an event and with the lanterns being fairly affordable, it wouldn’t be tough to do a bunch for a real impact. I hope you enjoyed and maybe will give it a try too.

Here are some of the supplies we used:

Leave a comment

Stenciled Garden Plant Tags – DIY Play Date

After a long hiatus, Kim and I are finally getting back together for some regular Play Dates at my new place. We really missed this time together to gab and create and it was so nice to come together for a spring themed project: Stenciled Plant Tags. If you have a garden or grow things inside, these are a sweet way to personalize bamboo plant tags and keep track of what is what.

The supplies for this were very simple and can be found at the end of the post too, but basically you’ll need: bamboo plant tags, small pattern stencils like my ATC Mixup, acrylic paint, brushes, makeup sponges, and an acrylic marker or Sharpie.

Paint your tags with acrylic paint. A flat brush makes this a breeze and you could even start with gesso if you want to minimize the woodgrain more. We liked the natural wood peeking through so just went straight for the paint.

Bright and pastel colors are a great choice, but go with what makes you happy and just keep in mind what color marker you will use at the end to label with.

Stencils with small patterns will fit on these petite tags. My ATC Mixup has 9 different patterns and we used almost all of them!

Auditioning the patterns :)

A makeup wedge sponge works perfectly for this of course.

A subtle color palette looks pretty cool and won’t compete too much with the labeling, but high contrast is good too. There are sooo many ways to go with this. Our set of labels came with 20+ to play around with.

If one of the colors didn’t look quite right, we redid the stenciling on some of them to oomph things up or even get a subtle shadowing effect.

A gelli plate is always a nice surface to blend some colors and then print with that later ;)

Plant tags looking good!!!

If you’re planting veggie seeds, you might need a bunch of these!

When everything is dry, it’s time to label. An acrylic marker or even a Sharpie will do for this.

You can go fancy with the type!

But leave some blank – you never know what you might plant later.

They look great with those small stenciled patterns and happy paint colors.

What are you planting this year? Flowers? Herbs? Vegetables?

There’s no question what these little sprouts are.

And these can go into the garden when the time is right.

Hope this inspired you to get your stencils and think about the garden and how you can get creative there too. Although my garden is a work in progress this year, I will get a few potted herbs to tag soon so that we can have a bit of fresh greenery to enjoy. Happy stenciling and happy gardening!

Here are some of the supplies we used:

Comments (1)

  • jean marmo

    |

    These are so much fuN!

    Reply

Leave a comment

Happy Easter! Happy Spring!

Happy Easter! Happy Spring! This time of year always gives me a little boost – the air is warming, the parks are greening up, the farmer’s markets will be opening up soon, and flowers are in bloom. I usually also feel more inspired and I am in the mood to create. Are you feeling some new creative energy too? How about a roundup of Spring and Easter themed projects to give you some ideas?

Creating these classic Easter decorations is one way to celebrate the season. In this project we covered hanging eggs with collage papers that we made using my Buenos Aires and Santiago foam stamps and my Embroidery rubber stamps. Store bought hanging plastic eggs can easily be personalized with stamps using color and pattern to suit your style.

Do you and your family love dyeing Easter Eggs? Take your tradition to the next level and possibly even create future heirlooms with my tips in this post. I show how to decorate wooden eggs, blown out eggs, and hardboiled eggs in beautiful deep colors and contrasting stamped patterns and designs.

Cards are another way to get creative this time of year. We created bunny silhouettes and turned them into stencils and masks for this stamping project using my Floral Tile Small and Large stamp sets. You need just a few colors of ink and some pattern stamps to fill in the bunny shape.

Our Creative Squad member Judi Kauffman used a bunny die to turn out a whole bunch of stamped Easter cards. See her technique here for stamping with my Grove St foam stamp and using scrapbook papers in seasonal colors.

Another Creative Squad member Cheiron Brandon shared this project with us using my Beacon stencil, happy spring colors, and a bunny die cut for her Easter card creation.

Even if you don’t celebrate Easter, there is plenty to be happy about when it’s Spring. More sunshine and even a rain shower or two mean more flowers, so bring them on as Creative Squad member Maura Hibbitts has in these fun seasonal cards. She’s using my Signals and Amsterdam stencils for all that texture and pattern.

Did someone call for rain? Just another excuse to grab a stenciled umbrella like I made here in this play date with Kim. You can buy plain white umbrellas, or start with any color, and use spray paint and stencils like my Hamilton, Star Struck, and Flower Maze.

When the sun returns it’s time to head back outside and admire all the blooms out there. Creative Squad alum Marsha Valk created this mixed media piece by collaging some stenciled papers using my Amsterdam, Santiago, and Mesa Verde stencils. There is nothing like brilliantly colored tulips to lift your spirits this time of year.

I hope you enjoyed some of these Easter and Springtime projects and that you feel excited to try a few of the ideas. Happy Easter! Happy Spring!

Here are some of the supplies I used for these projects:

Comments (1)

  • Sue Clarke

    |

    I just love the shapes of the bunnies on those cards Nat.
    I used to have cards (purchased) that had the sentiment:
    Happy Easter! Happy Spring! Happy Happy Everything!
    Yes! This time of year promises new hope…and my mood reflects it.

    Reply

Leave a comment

A Look Back – Holiday Projects

A Look Back – let’s get into the spirit of the season and recap some of my favorite holiday posts from years past. If you’re looking for creative and crafty ideas for holiday decorating, cards, and such, this is a handy list.

A Look Back is a blog series to show you some projects and posts that you may have missed – sometimes going WAY back in the archive. I think it will be fun to revisit a few ideas that we haven’t seen for a while. I’m excited to see how a little look back might inspire something new in the future :)

Hands down this was one of my favorite play dates ever! These rubber stamped, waterless snow globes were so fun to make and I still love displaying them each year around the holidays. We really got creative setting up the scenes with my Stroll Around the Block and Stroll Through the Hood stamps, along with some quirky miniature figures and trees. Love creating your own miniature world? This is for you!!! Here’s a link to the post.

Another winner was a card making play date we did by layering my stencils with Distress Oxide inks. So satisfying to see how different patterns worked together to create snowflake-like designs. Each one was unique, each one was beautiful. Here is the post where we show you our step by step method.

Remember these fresh looking tree cards from Creative Squad alum Jennifer Gallagher? She created trees using my Kassel and Flower Maze stencils, washi tape for the trunks, and then set them aglow with my Park Blvd stencil. I love the simple, modern look of these cards and you could really churn out a lot of variations in no time with her stencil and masking technique. Check it out.

Looking for something a little different for holiday cards? Creative Squad member Maura Hibbitts shared this card project with us last year and they still catch my eye. I love her color choices and how well they work with my Star StruckToledo, and Santiago 4×4 stencils. And using my Small Circle Jumble rubber stamps for the center is such a nice detail. Give it a try: here is Maura’s post.

Let’s not forget the ornaments! These festive examples from Creative Squad alum Nicole Watson utilize some simple blank ornaments, acrylic paint, a gelli plate, my Valley Road stencil and my Antique Tile foam stamp. Their rustic style makes me want to cozy up with my hubby and trim a tree. Here is how to make them.

I hope you enjoyed this look back on some seasonal holiday projects using stamps and stencils and will maybe make a few of your own too. Remember that right now we have our big annual Holiday Sale in the shop so it’s a nice time to pick up a few of the stamps or stencils that you see in the above post for 25% off – just use the coupon code HOHOHO25 when you check out. The sale runs through November 21, 2021. Here is a link to the shop.

Here are some of the supplies we used:

Leave a comment

A Look Back – DIY Jewelry – Cool Stuff You May Have Missed

A Look Back – Today I sifted through my blog archives and pulled out some jewelry making posts from the past few years. Every once in a while my Creative Squad creates a jewelry project using my stamps and shrink film, and one time Kim and I got in on the action too during a play date. It’s a fun and nostalgic process using shrink film but also all the projects we show here are very giftable too ;) so bookmark these ideas and get creating!

A Look Back is a blog series to show you some projects and posts that you may have missed – sometimes going WAY back in the archive. I think it will be fun to revisit a few ideas that we haven’t seen for a while. I’m excited to see how a little look back might inspire something new in the future :)

First up is a play date that Kim and I did when I released my Wabi Sabi foam stamps. We stamped them with Moonlight Duo ink pads onto shrink film and then made them into post back earrings. I love how modern these are and the idea to use foam stamps in this way opens up a lot of ideas. Here is the full post with instructions.

Next up was a pendant that Creative Squad member Tania Ahmed made for one of our monthly themes. She used shrink film with my Large Circle Jumble rubber stamps, and she encased the medallion in glossy clear resin to seal the jewel. Here is a link to her post and video.

Creative Squad member Linda Edkins Wyatt was inspired to turn my Van Vorst Fan foam stamp into shrink film earrings, and I love the intricate beauty that this design lends to shrink film. Here was her post outlining the process she used to create these stunning baubles.

Before Riikka Kovasin officially joined the Creative Squad, she shared some shrink film earrings that she made using my Grove Street and Fairview Fan foam stamps. I love her use of color in these and I was quite tickled to catch her wearing them during a recent Spill your heART episode too :) Here was her original post.

I hope you enjoyed this look back on some jewelry projects using stamps and shrink film and will maybe make a few of your own too. Here are some of the supplies we used:

Leave a comment

Faux Cactus Rock Garden – DIY Play Date

Last week Kim and I had another Play Date together to create a few Faux Cactus Rock Gardens! This was an easy project and I think the results are pretty darn cute.

I love succulents and cacti – they are plants that almost anyone can keep alive and they have such interesting, sculptural shapes. But let’s say that you really do not have a green thumb… well I’ve also been seeing a lot of faux versions too using materials that are usually hanging around and easy to get… like rocks! Yes this is a good old painted rock project – suitable for all ages and skill levels :)

Our materials were: rocks (variety of shapes), 3 colors of green acrylic paint, paintbrushes, Moonlight white opaque ink pad, my Embroidery and Fan-fare rubber stamp sets, a pink archival ink pad (Cactus Flower is a great color), gravel, and a few small terra cotta pots. We also wound up using yellow paint, old newspaper and a glue gun.

The process is pretty easy – just paint your rocks different colors of green using acrylic paint. We found that higher quality paints like Golden and Liquitex covered better and were more vibrant. Those rocks suck up the paint like a sponge.

And no matter what, you will have a green thumb when you are finished this LOL. Keep some wipes handy or wear gloves even to avoid painty fingers.

We painted a bunch of rocks, and we also made some small ones yellow for a few cactus flowers.

For the cactus spines we used Moonlight White – an opaque white ink pad – and rubber stamps from my Embroidery stamp set. The stamps that worked super well were Running, Grannies, Star Fish, and Chain Link – they really made our faux cacti look distinctive.

Here is Star Fish in action, putting on some faux cactus spines.

And my Chain Link stamp is nice for the long rocks… er cacti ;)

And here we have Grannies. Unmounted or cling rubber stamps will help you stamp on the uneven rock surface. And if you miss a spot, just go back in with more.

Here are our finished cacti! A big variety of shapes, colors, and spine styles.

For the cactus flowers we used my Fan-Fare stamp set and a pink ink pad – Archival Ink Cactus Flower is just perfect!

We glued the cactus flowers onto some of the cacti using hot glue.

To prepare the pots for the gravel, we filled them most of the way up with old newspaper. Our gravel bag was pretty small and this was an easy way to fill them up and still have enough gravel for the top.

Time to top it off with our cactus gravel.

We used both short, wide pots and regular small terra cotta pots. You could use any small pots or containers you have on hand. We found about .5 – 1″ of gravel was needed to support the rocks.

Now the fun part – arranging our little Faux Cactus Rock Gardens! You can spread things out…

…or go naturalistic with some unpainted rocks too!

Choose a variety of shapes, colors, and one with a flower to set the mini desert scene. You get the picture. Have fun with it! Get the kids involved – this is one everyone can do.

Give it a try! In addition to some old newspaper and rocks, here are the supplies we used:

Comments (2)

  • Sue Clarke

    |

    SUPER cute and I have killed cactus before.

    Reply

Leave a comment

City Scenes Votive Candles – DIY Play Date

Last week Kim and I got together for the first time since 2019 for one of our epic Play Dates!!! We had such a nice time gabbing and making art and just enjoying the experience of creating together. Our project? Votive candles using my NEW foam stamp designs! It was an easy peasy project to get us back in the groove and the results are very nice. Here’s how we did it:

The supplies are simple: my new foam stamps (Clockwise from the top they are Powerhouse, Church, Brownstone, Lady Liberty, Hydrant, and Row Houses), Grafix Dura-Lar matte film, black acrylic paint, brayer, double stick tape, LED votives, and scissors or a paper trimmer. We also dressed some up with Posca markers, but more on that in a bit ;)  The whole idea was to have the buildings and such silhouetted so that the light shines through all the details. Read on!

We started out by rolling black acrylic paint out on palette paper with a brayer. We both liked Carbon Black Golden Fluid Acrylic paint for this – a nice opaque black. Then we rolled it on the stamp (in this case, the Church stamp) and stamped it on the Grafix Dura-Lar matte plastic sheet – a matte white plastic that is kinda translucent with light behind it. You could also use a StampBuddy here too to ink up your stamps.

We left some room at the bottom of the film and stamped across the width, leaving room on either side to eventually tape the ends together. In this one I am stamping the Brownstone foam stamp.

Here I am inking up Lady Liberty

… for a nice impression :)

A lineup of Hydrant stamps… cue the dogs!

Keep in mind that when stamping on plastic film the surface is slick and the stamps can slide if you aren’t careful.

The Row Houses on the left turned out fine but I slipped a bit with Powerhouse on the right. We each had a couple misfires so plan on having some extra sheets of plastic just in case.

With some of the mistakes, we created masks to use in building up more complex, layered scenes – a great way to use those.

Kim stamped Row Houses and Brownstone and then used the masks to add Church to the background for a little streetscape.

Looks pretty neat all together like that.

I first stamped Church, then added Powerhouse, and then…

…I added Row Houses to the left…

And then I finished with Lady Liberty!

We created a variety of sheets to move on to the next step:

I broke out my new Dahle trimmer and we cut things down to size. We experimented with trimming some with a margin around the image – room for tape and a little lift off the ground.

We also fussy cut some for a different effect!

Looking pretty good there Lady Liberty! The choice is yours on how you want to trim them.

We also tried coloring some in with acrylic markers.

Here are some details in those stained glass windows.

Using double sided clear tape we got ready for the final assembly.

Coming together and holding tight with permanent tape.

Here are our City Scenes votives ready for illumination – LED lights must be used with these to be safe.

Let’s light them up!!!

For the taller ones you may want to use a taller LED votive or stack the votive on something inside the sheath.

Love this one that I fussy cut!!!

And now after dark…

I hope you enjoyed this little tutorial and maybe you’re feeling inspired to make some foam stamped votives of your own. Please do!!! And I hope you join us back here for our next Play Date :)

Here are some of the supplies we used:

Leave a comment