Creative Squad

Creative Squad: Dear Mother Earth – Riikka Kovasin

Hello from my Creative Squad! Today we have a post and video from Riikka Kovasin who is sharing her mail art project and guess what??? You have a chance to receive one of these lovely envelopes from Riikka herself – read on to find out how :) They are a fantastic bunch, using my Grove Street foam stamp set and our theme this month: Dear Mother Earth – Our planet Earth is an amazing and beautiful gift to all of us. Let’s write her a letter, telling her just how we feel. This could be an actual letter/mail art, an art journal page, or some other mixed media project.


Bee Nice to Mother Earth

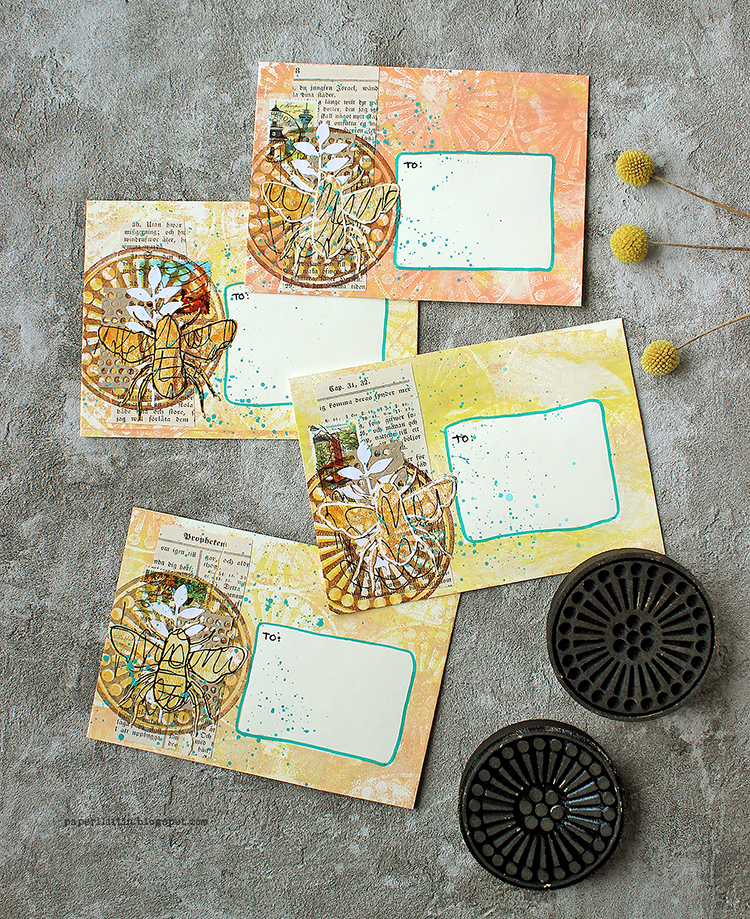
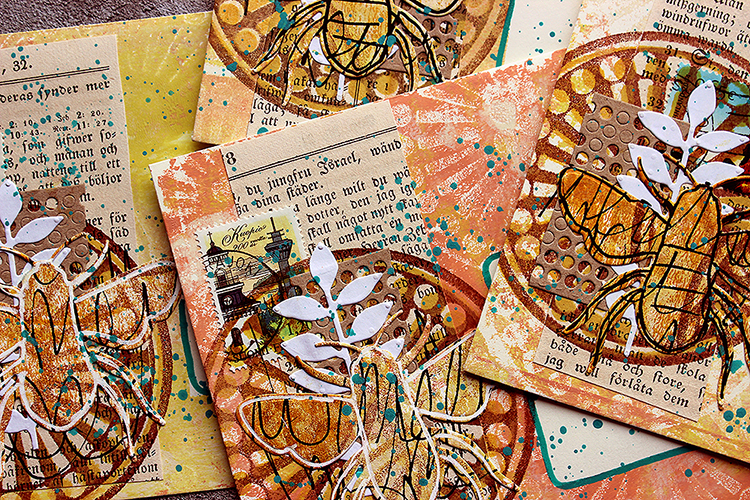
Heippa! It’s Riikka here with my project for this month’s theme of “Dear Mother Earth”. The theme mentions mail art so I jumped to this idea and decided to do a set of decorated envelopes to be sent out.

Mail art is an art movement with the idea of sending small works of art through postal services. The movement started in the 1950s and 60s. Mail art can take various forms such as postcards, envelopes or parcels. Some artists concentrate more on the envelope than the piece inside. Artists also can create their own postal stamps, called artistamps. 

As I plan to send the envelopes out, I needed to create flat layers. I’m usually drawn to dimensional pieces and assemblages, but that kind of work wouldn’t hold through the mailing process without the protection of a parcel. According to some, mail art becomes mail art only after it is dispatched. Even though I actually am looking forward to seeing how the envelopes change in the mailing process, what kind of wear and tear they get, totally losing the added elements isn’t the thing. So, I made small, flat collages on the envelopes with the help of last month’s goodie – Grafix Double Tack Mounting Film.

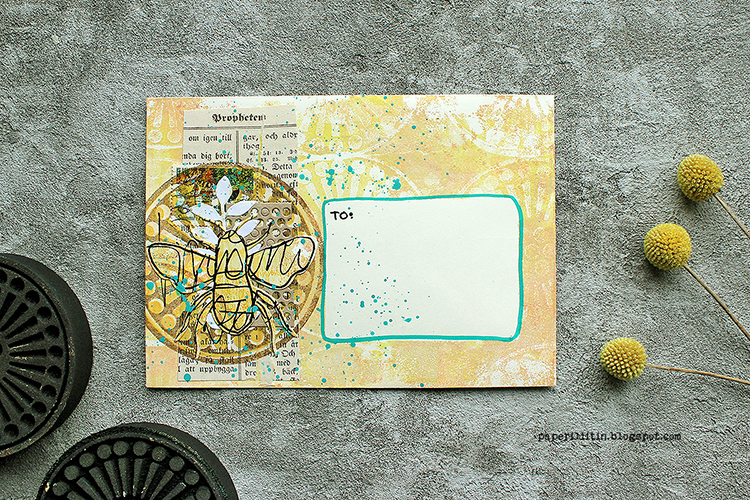
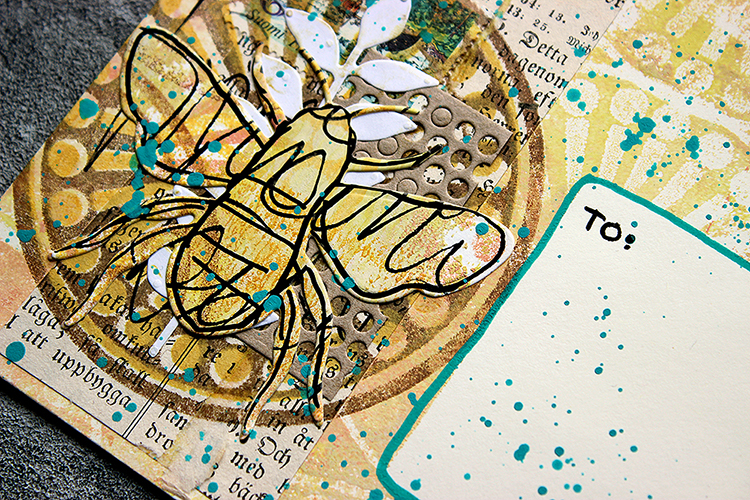
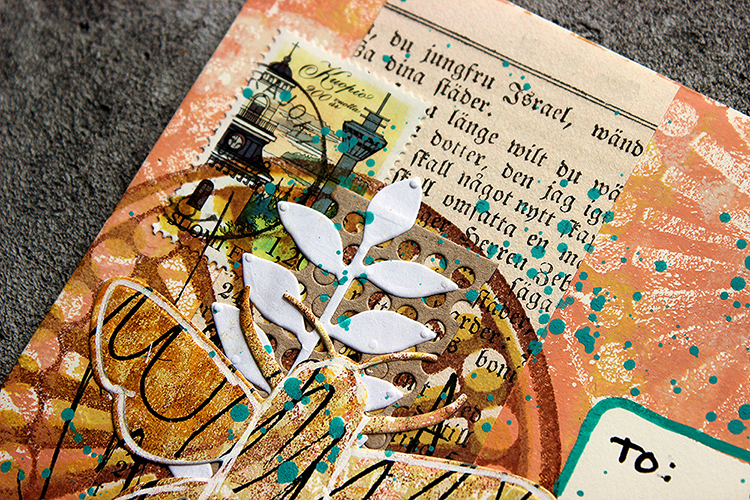
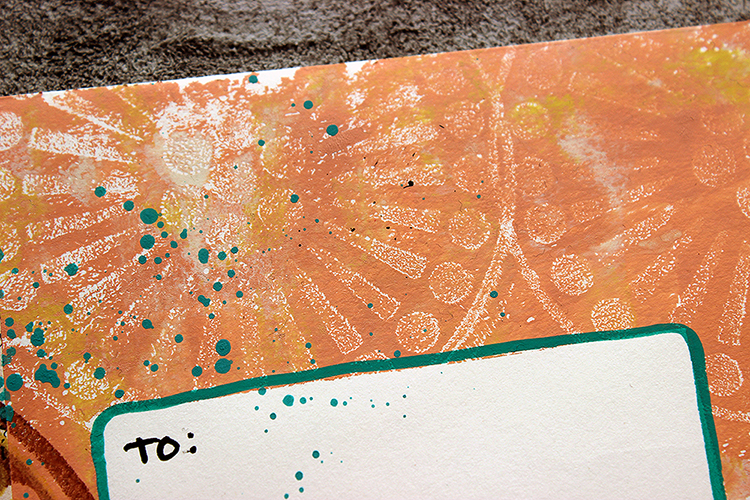
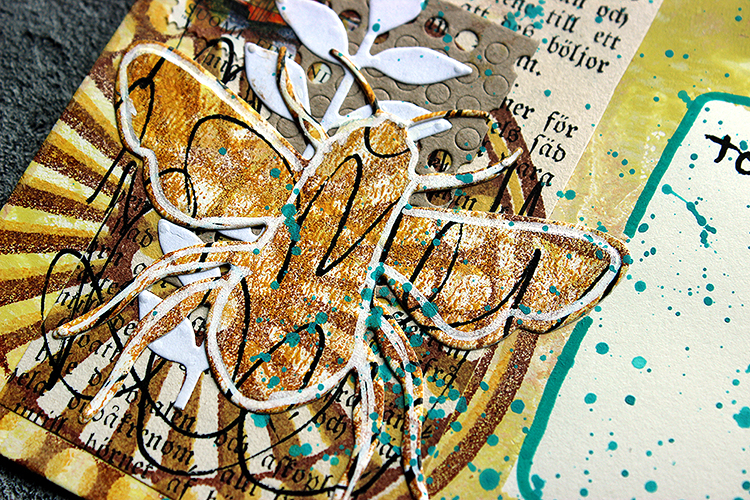
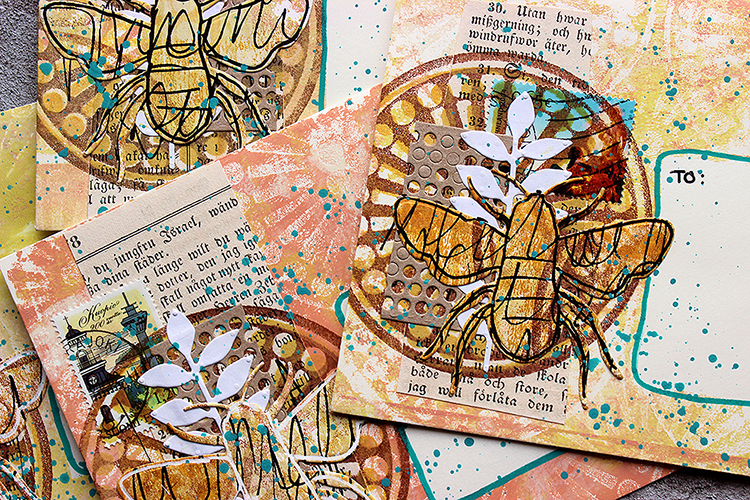
I first added a paint layer to the envelopes, masking off the placement of the address. I also made a separate collage sheet which I die cut to bees. I also die cut some leafy stems and a piece looking like dry wall tape. I collaged a piece of book paper underneath the die cut elements and added some stamping in there, too. If you wish to see how the envelopes came into being, please see the video underneath.

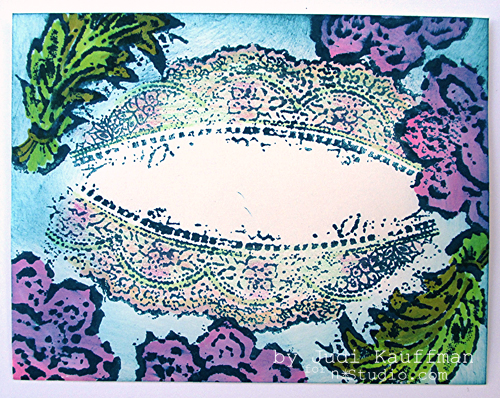
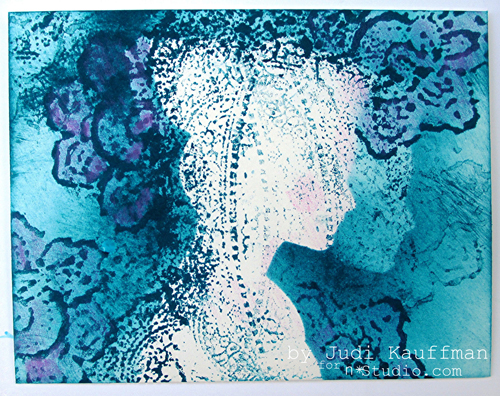
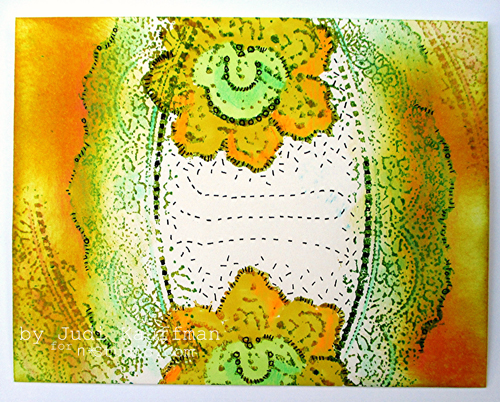
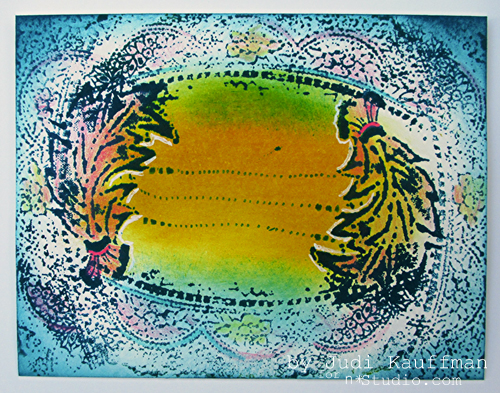
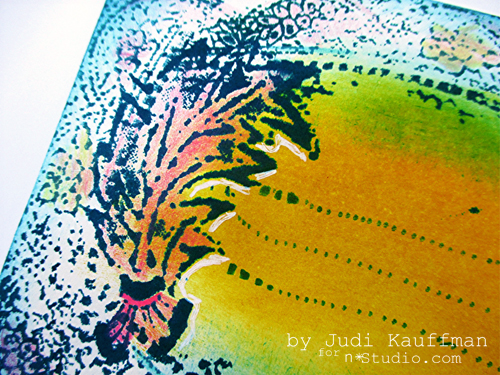
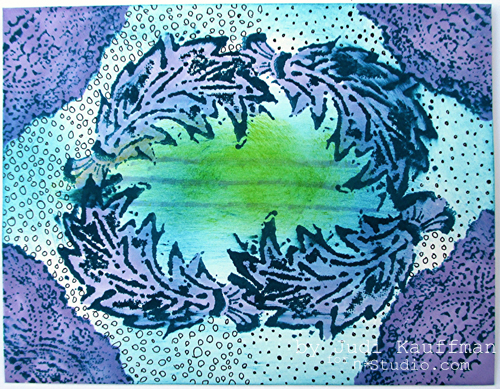
When thinking about the theme of Mother Earth, I had no option but to choose the “Grove Street” stamp set. I really like the pattern, but more important, the stamp was round and thus reminded me of Earth. As there’s been a lot of talk about the declining numbers of bees and insects, I felt that a honey bee would be a nice focal point in the layering. It somehow resonated with the nurturing Mother Earth theme, maybe partly because of the importance to the ecosystem as pollinators, but also through the Finnish national epic, Kalevala. There a honey bee flies to the heavens to bring a drop of golden honey to mother of Lemminkäinen so she can heal her son. I recently made an assemblage piece with that theme, you can see it here if you like.

And now comes the fun part! I’m sending these envelopes out and you could receive one. It’s first come, first served styled thing so if you wish to receive an envelope from me, please send me your mail address in an email. My email is rkovasin (a) gmail (dot) com. There’s a catch though – you need to send me a photo of the envelope when it has reached you as I want to see how it traveled! To make it worthwhile, I’ll pop something inside the envelope, too – a little note from me on a postcard picturing Finnish nature.

Thank you for stopping by today! Have a beautiful July!  Xoxo Riikka


Thank you Riikka – these are such lovely little artworks and I love that you will send them out into the world!

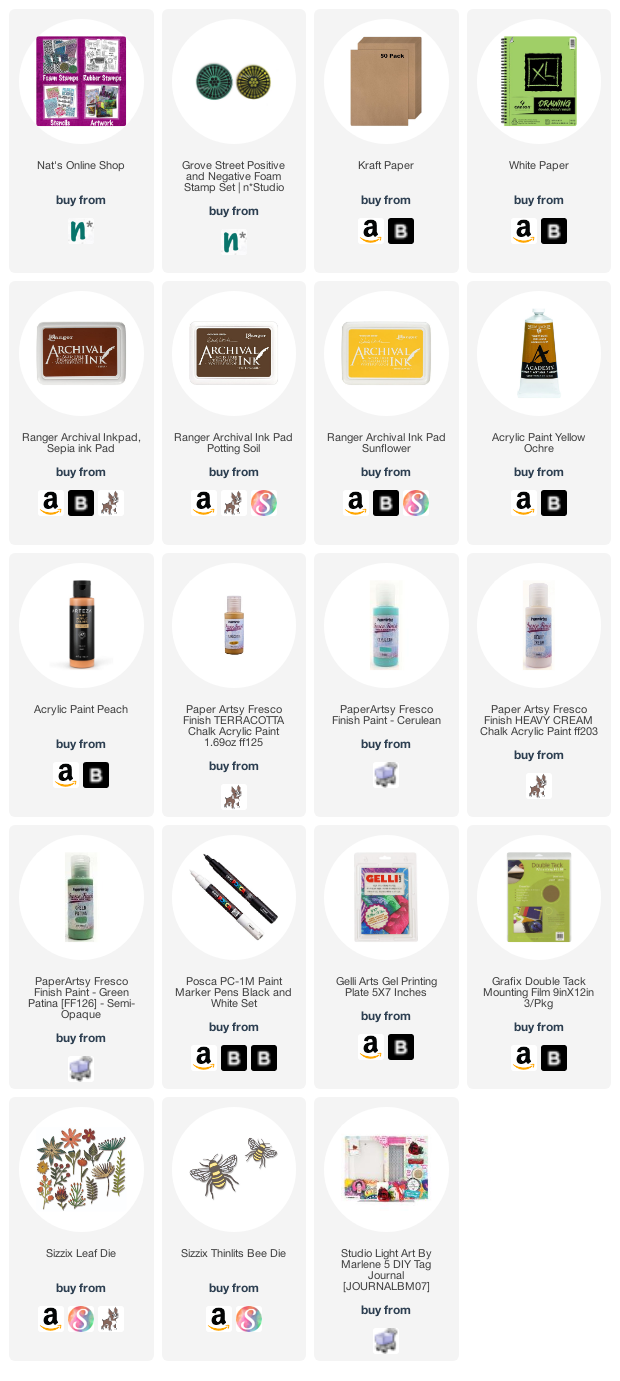
Give it a try: you can find all my Foam Stamps in my Online Shop and in addition to vintage book paper and postage stamps, here are some of the supplies Riikka used:

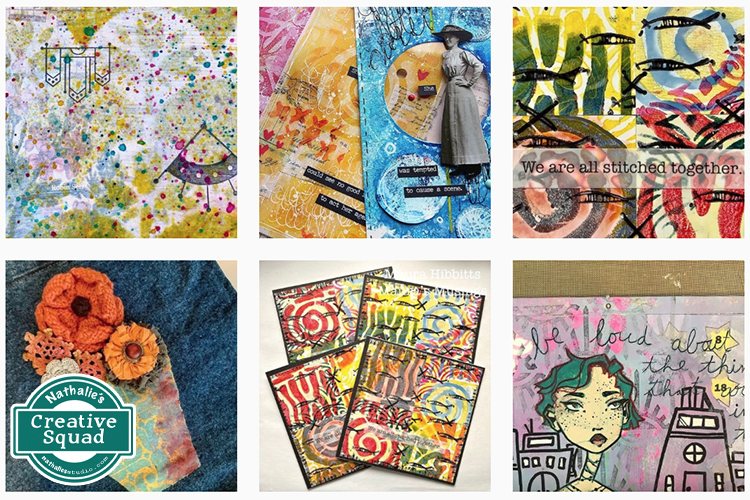
Follow Nat’s Creative Squad on Instagram too: Each week we post projects, ideas, and inspiration for mixed media art.

Comments (1)

  • Riikka Kovasin

    |

    Thank you for your emails! All the envelopes are now called for. :)

    Reply

Leave a comment

designed by n*Studio features: The Envelope, Please! By Judi Kauffman

One of the things that make me really giddy is when I spy someone using my stamps by Stampendous or also my Stencils with StencilGirl Products :) So, once in a while I feature the work of those wonderful talented people with a series called: designed by n*Studio features:…..

And today I feature: Judi Kauffman. Judi has no blog – so please leave some love for her here :)

I am so happy to have my friend Judi Kauffman back for another feature!

JudiAndPuppies


Here is what she has to show and tell:

Nat_9-2015-I1

Thank you for inviting me to be your guest designer, Nathalie. When I saw your new Fiesta stamp set, the first thing I thought about was envelopes! A decorated envelope makes any card or letter extra special and the stamps and stencils in the set are the perfect fit in every way.

Nat_9-2015-D

The stamps provide a great combination of lacy and floral elements, bold as well as soft-edge, large and small – just right for mixing and matching, layering and overlapping. The silhouette stencil and masks of a lady and gentleman dressed in their finery sparked all sorts of ideas and added to the possibilities.

Nat_9-2015-A

Given that envelopes are meant to be ephemeral, tossed after they’ve done their job of carrying correspondence, I like to decorate them quickly, working in big batches. Ideas beget more ideas; before you know it there are a couple of dozen envelopes ready to use, a series of one-of-a-kind creations that take only a few minutes each.

Nat_9-2015-B

Sometimes all I do is stamp and smudge and call it a day. But other times I take the envelopes beyond the initial stamping and smudging: Markers and pencils and pens come out to play!

Nat_9-2015-E

Instructions:

  1. Spread out some newsprint to protect the work table. (Save the newsprint to use for collage, it will have partially-stamped images and lots of smudged color on it!)
  1. Temporarily mount the stamps on acrylic blocks. Using a dark color dye-based ink (sepia, stream, or denim, but not black) stamp a series of envelopes making sure to leave an area for writing the recipient’s name and address. Envelopes shown are A2 size. Substitute #10 or any other size you prefer.
  1. Using artist’s sponges smudge the same ink and other ink colors over and around the stamped areas.
  1. Use the silhouette masks to create open areas toward the center of some of the envelopes as shown.
  1. Stamp some more envelopes using lighter colors.
  1. Use markers, pencils and pens to add bold accents or subtle color blends, highlight and bring out areas within the design, and create doodle patterns. If you enjoy wet media make sure to stamp with permanent inks and use watercolors, acrylic paints, and mists to accent the envelopes (in addition to, or instead of, the markers, pencils and pens).
  1. For the finishing touch, choose postage stamps that coordinate with the colors and designs on the envelopes.
  1. While you’re at it: Stamp some cards, create some collage papers, or work on art journal pages using the same design strategies and supplies.

A list of the supplies is at the bottom. Here are some more samples:

Nat_9-2015-C

Nat_9-2015-F

Nat_9-2015-G1

Nat_9-2015-G2

Nat_9-2015-H

Nat_9-2015-I2

Thank you so much Judi – I love this unique idea for using my stamps for Mail Art! You are amazing!

Here are the supplies that Judi used besides Dye-based inks in assorted colors; Artist’s sponges; White, off-white or ivory envelopes in A2 size (or any preferred size); Acrylic blocks, Winsor & Newton ProMarker :

nSupplies


Comments (6)

  • judi kauffman

    |

    No, they’re standard poodle puppies, Cheryl.

    Reply

  • Toni

    |

    Awesome, colorful work! What did you use for stamping and with the stencils, Judi?

    Reply

    • judi kauffman

      |

      Toni, I used Ranger dye based inks for stamping and smudging, then ProMmarkers and Sakura pens and Prismacolor pencils to add more color and line work in selected areas. Smudging was done with a round artist’s sponge, found in the fine arts aisle of a craft store.

      Reply

  • stephanie

    |

    Great ideas for envies! Thanks.

    Reply

  • Cheryl

    |

    Hi Nat and Judi,

    I love decorated envelopes. Great job. Can’t wait to try this technique.
    Now, the dogs that are with Judi in the photo – are they Affenpinschers?

    Cheryl

    Reply

    • judi kauffman

      |

      No, they’re standard poodle puppies, Cheryl.

      Reply

Leave a comment