Blog: Stamps

Nat’s Spring Pattern Fun – Video 8-14 Recap

When I received my new RubberMoon Stamp Designs I once again couldn’t stop making samples and patterns (remember last year’s April Patterns — well it happened again this year lol). I decided to record a short video for some of them and post them on my Instagram.

These videos are short and sweet – You can see what I use and how I pull the pattern together. I hope it inspires you to give some of them a try and maybe come up with your own too.

Here is a recap of Patterns 8-14 – I hope you enjoy :)


Pattern 08: First up is a simple linear pattern using my Mini Motifs and Fan-fare stamp sets. 2 colors + 2 stamps = Pattern Success


Pattern 09: Next up is another duo – I love when stuff fits nicely together and that is the key with this pattern. I’m using one stamp from my Hex Set Small along with one stamp from my Triangle Love set. 


Pattern 10: How about Diamonds and … Pearls? I made this pattern with one of my Triangle Love stamps and one of my Small Circle Jumble stamps.


Pattern 11: Another fits-just-right combo is my Solid Hex Large with my Triangle Love stamps overtop. This pattern also has a stamp from my Floral Tile Small set in there too. Hexes, triangles, and squares.


Pattern 12: Balancing delicate and bold is a winning strategy for patterns. In this one I use some stamps from my Mini Motifs set and the Solid Triangle Large stamp from my Triangle Love set.


Pattern 13: My Triangle Love stamps are also designed to play really well with my Hex Set Large rubber stamps: the sides of the triangles are the same length as that of the hexes. Look how that can translate into a great field of pattern!


Pattern 14: How easy is it? All you need is a couple triangle stamps and 2 different ink colors to make a field of pattern.


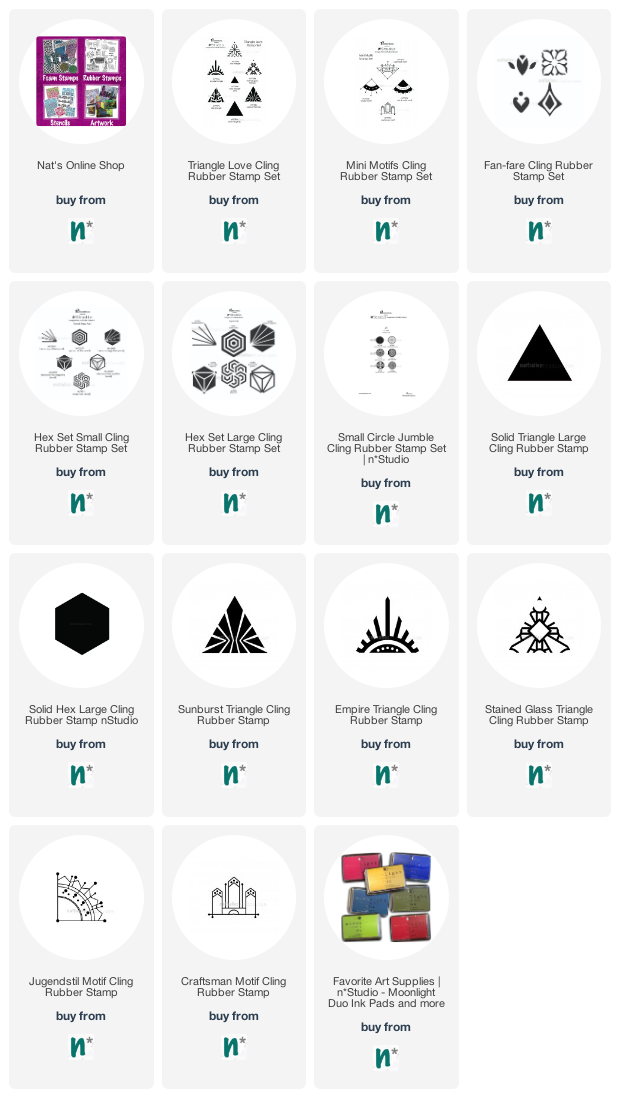
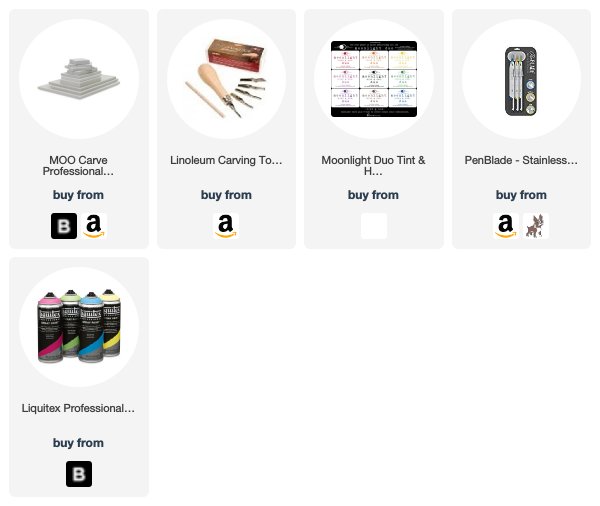
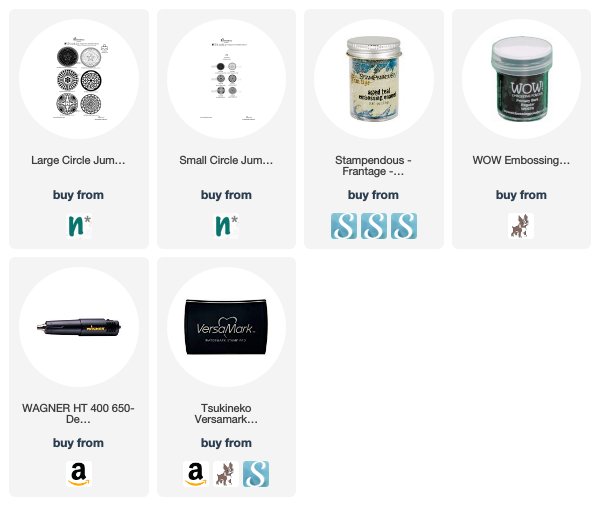
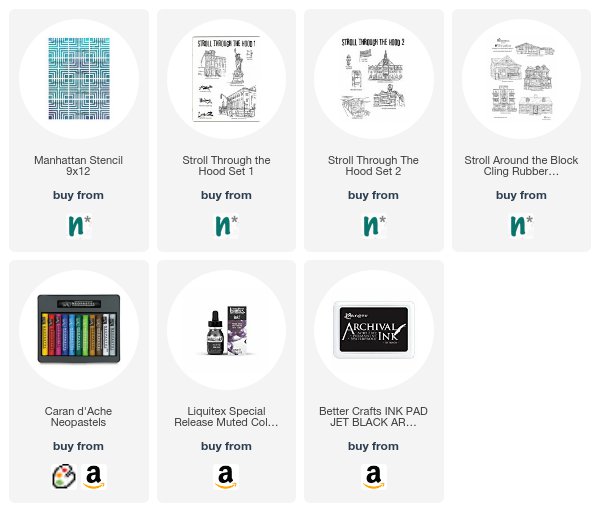
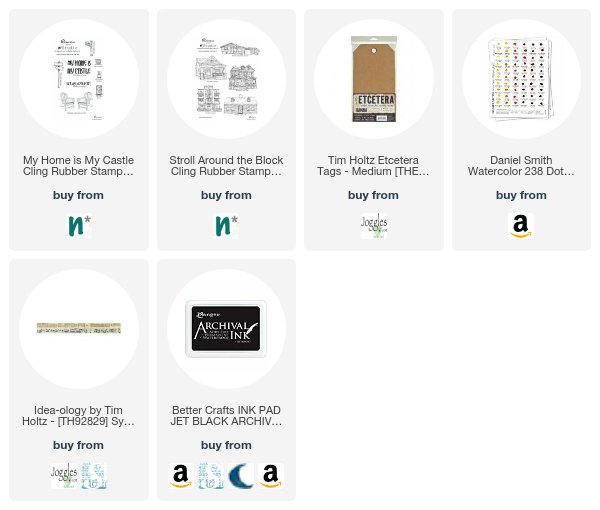
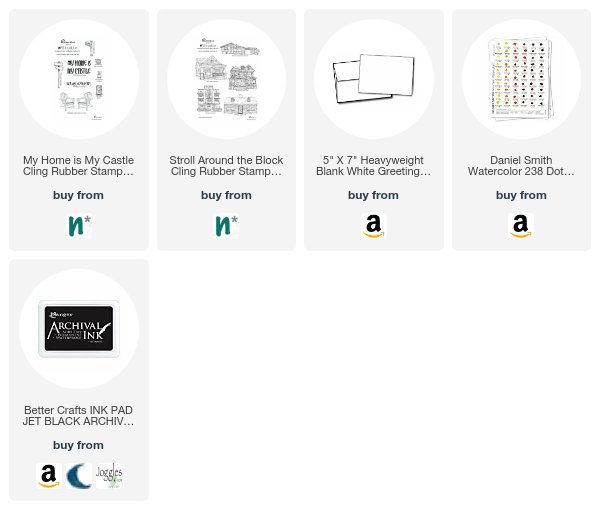
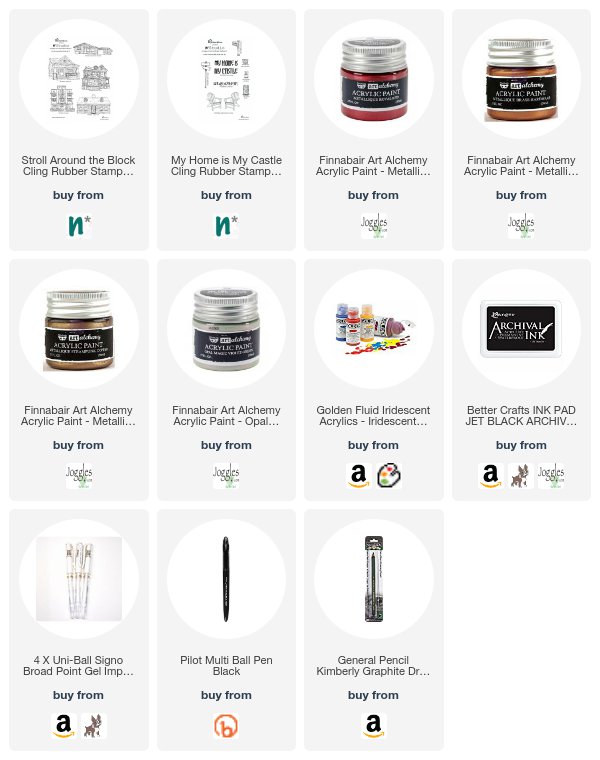
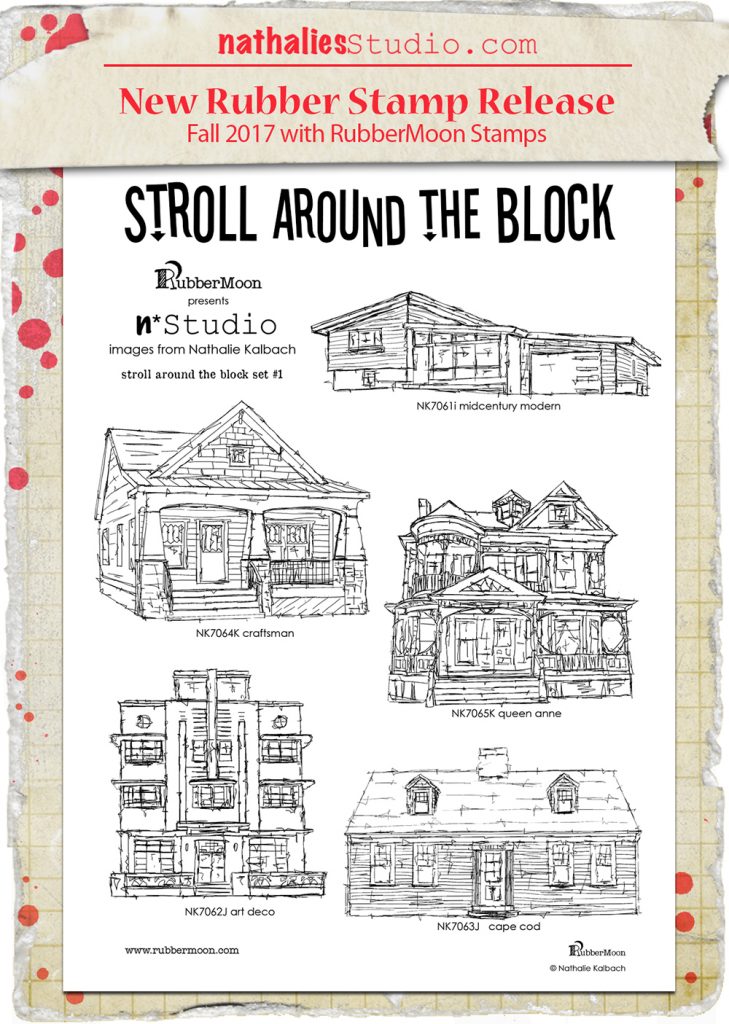
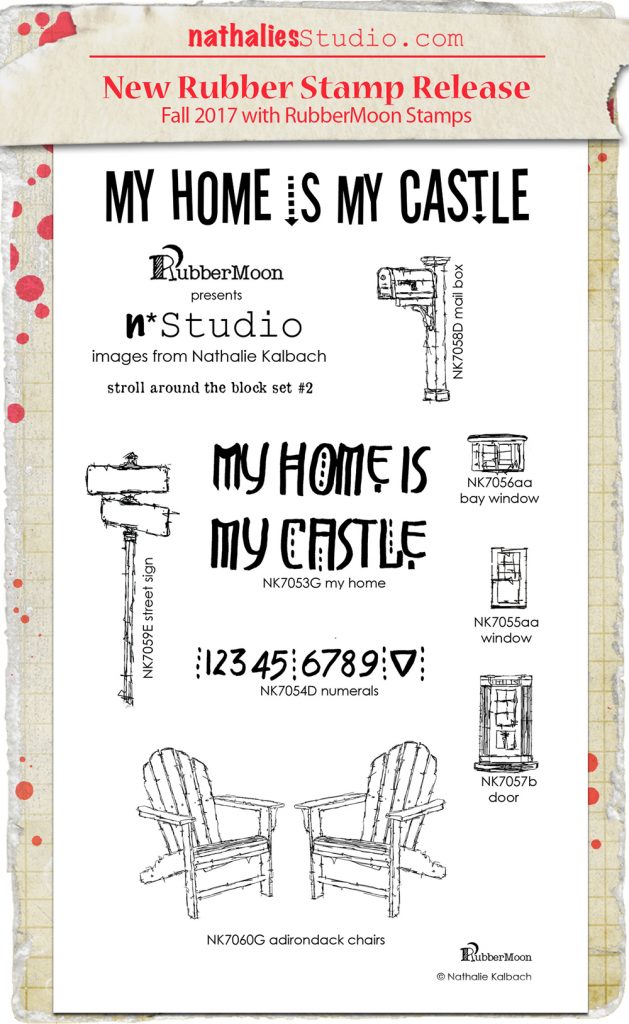
Here are some of the stamps I used for these patterns:

Leave a comment

Truly Yours – Art Journal

I used two hand carved stamps on this art journal spread and if you are part of Creative JumpStart 2019  you recognize especially the right one because I showed how to make it in my lesson and some printing ideas.

For this spread I used some Moonlight Duo Ink pads to ink up the stamps and then I cut out bits and pieces with a craft knife.

I love the effect . The pages on the next side I sprayed with some spray paint and then did some journaling.

I loved using the stamps in a different way and to try something different. Whatcha think?


Leave a comment

At The Center – Art Journal

At the center of your being your being you have the answer; you know who you are and you know what you want!

Great…lol- off to the center ;)

Using my new Small and Large Circle Jumble Rubber Stamp Sets to create some fun patterns. I loved playing with fine and more chunky embossing powders – it has been ages since I used those. I used the small circles only for the bolder pattern with the thick embossing powder as it works better on bigger stamps as the design doesn’t just bleed and melt together.

It is funny how a certain supply keeps you enthralled for a long time and then it is suddenly totally gone from your mind- and then it come back. Actually since all of a sudden all the mixed media world is into it, I kind of was reminded how much I used it to create texture on mixed media canvases etc.

yum! Have you lately pulled out something you haven’t used in ages?

Here are some of the supplies I used besides acrylic paints:


Comments (2)

  • Sue Clarke

    |

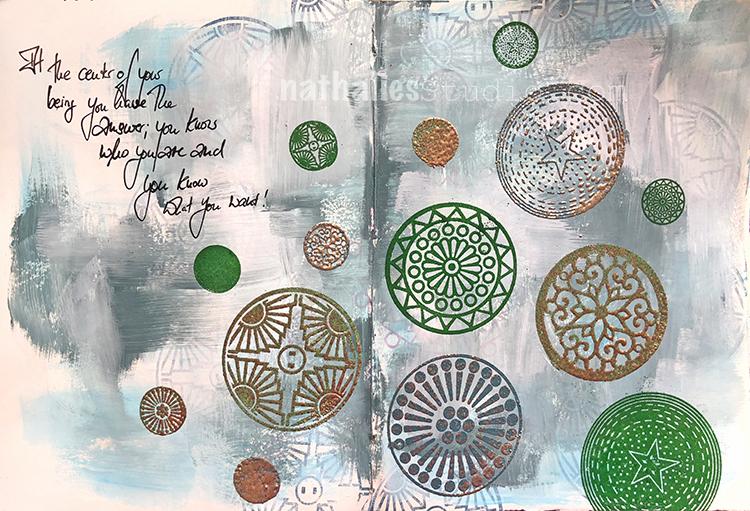
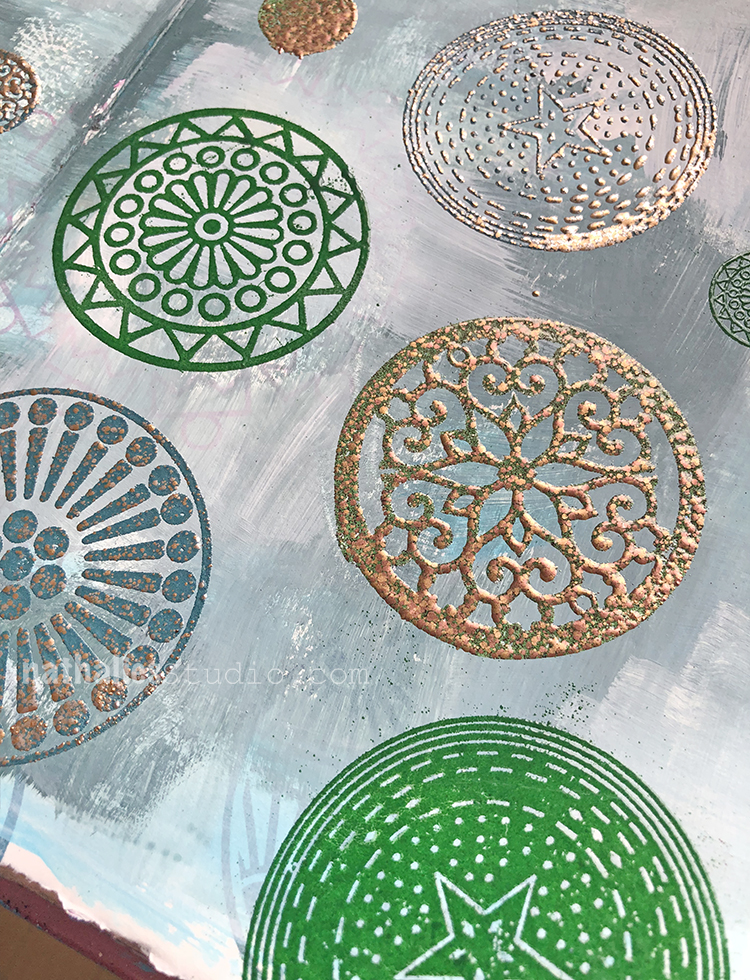
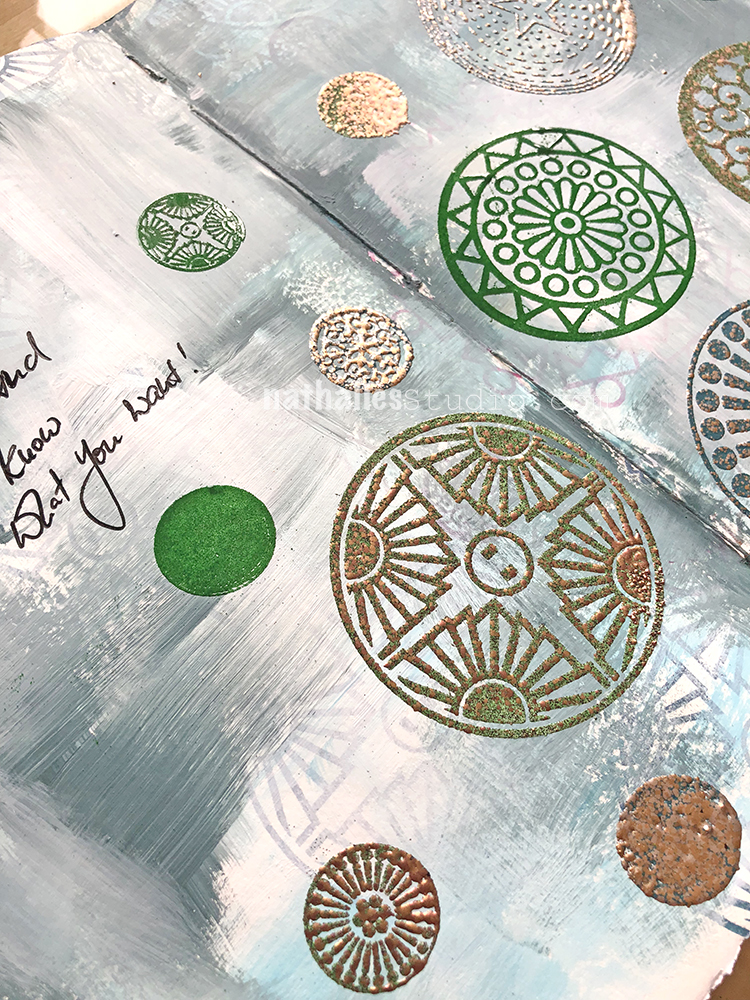
    Love the embossing. I always struggle with it.
    The gold tones are wonderful and the words are right on.

    Reply

    • nathalie-kalbach

      |

      Sue, it is so much fun. It is usually just a matter of watching closely the changes that appear when heating it up.

      Reply

Leave a comment

For All I Know – Art Journal

I have been working on a big assignment and some personal tasks lately which have me stressed out a bit …so a little art journaling mantra is keeping me sane ;)

some stamping with my RubberMoon stamp sets and I used Neopastels to paint inside the ink transferred figure. I also traced with a pink Neopastel inside the opening of my Manhattan stencil and while I like the outcome, there was a lot of the Neopastel sticking to the stencil which wasn’t easily to get off or transfer to a different spot – so this was probably a one time adventure LOL.

Here are the supplies I used for this spread.


Comments (4)

  • Lois Moore

    |

    I read somewhere that a soak in water with dishwasher “liquid” soap would remove dried on paint from stencils. Maybe it will work with your neopastels too.

    Reply

    • nathalie-kalbach

      |

      I will try that Lois. My best experience so far is with Murphy’s Oil- but I usually do not remove paint as long as it is acrylic paint. I will give it a try :)Thank you

      Reply

  • Sue Clarke

    |

    Do you put something over the neopastels so that they don’t smudge on the opposite page when the journal is closed?

    Reply

    • nathalie-kalbach

      |

      Sue, if the layer of neopastels is not too thick it is not a problem, but in this case where it is very thick I put half a sheet of delipaper in between the pages to keep it from transferring to the other side.

      Reply

Leave a comment

Hope is what keeps us going – Art Journal

This started as a page where I had scraped off some paint at the back of my art journal and while the color combination was first not striking and now feel it works quite well :)

I painted over a magazine image with Neopastels and used my new My Home is my Castle numerals stamps as well as some of the building stamps from the Stroll Around The Block set.

I included the Hope – and Love Tag into the journaling. I like how the buildings stamped with white ink are playing well with the the marks and stamping of the background.

Here are some of the supplies I used for this art journal page.


have a wonderful day!!!

Leave a comment

My Home is My Castle – Card

Using some large kraft tags I made a little accordion card for some friends who just moved.

I stamped the different houses from my Stroll Around the Block set as well as the stamps from the My Home is My Castle set on the different panels.

I used some watercolor to add some color here and there and added some words to the street sign :)

I love using kraft paper- it is also surprisingly making some of the watercolors appear more opaque – so I learned something :)

I want all those houses …or maybe just one- …LOL- I woudl take any of them :)

Here are some of the supplies I used:


Comments (1)

  • Sue Clarke

    |

    What a thoughtful card!
    I especially like how the stamped houses look on the kraft paper.
    Happy Holidays,
    Sue

    Reply

Leave a comment

Happy Anniversary Card

A wonderful friend of mine lives in a mid century house and she and her husband were celebrating their anniversary and I thought I would send them a handmade card using my new My Home is my Castle and  Stroll Around The Block Stamps.

I stamped the Adirondack Chairs first, then masked them off and stamped with my Mid-Century Stamp on top of a blank card. I added the Street Sign and wrote “Happy Anniversary” into the two blank street plates.  I then colored everything with watercolors. I think my friend liked the card very much.

Here are the supplies I used to create the card:


Wishing you a wonderful day!

Comments (2)

Leave a comment

It’s a beautiful day in neighborhood!

“It’s a Beautiful Day in the Neighborhood” is a song from a show called Mr. Rogers, which I have never seen because it was not really running in Germany – but once in a while one of my friends sing it for fun – and so it got stuck with me and I love it. For those of you who do not know the lyrics:

It’s a beautiful day in this neighborhood,
A beautiful day for a neighbor,
Would you be mine?
Could you be mine?

It’s a neighborly day in this beautywood,
A neighborly day for a beauty,
Would you be mine?
Could you be mine?

I have always wanted to have a neighbor just like you,
I’ve always wanted to live in a neighborhood with you.

So let’s make the most of this beautiful day,
Since we’re together, we might as well say,
Would you be mine?
Could you be mine?
Won’t you be my neighbor?

Won’t you please,
Won’t you please,
Please won’t you be my neighbor?

I used my new RubberMoon Stamp Sets – Stroll Around the Block and My Home is My Castle with the journal spread. I used the small windows and doors and turned them into cassettes of the doors in – so much fun to play with this.

We do have a pretty cool neighborhood with lots of friends living close by and we do hang out a lot spontaneously – in the summer on the stoop – in the winter in one of our places.

I created a weathered background using some metallic acrylic glazes and acrylic paint, then stamped on top and colored the stamps in with acrylic paints.

I added the lyrics of the song with a pencil.

This spread makes me all happy and fuzzy and now I wanna see my friends who also happen to be neighbors.

Here are some of the supplies that I used for this neighborly spread :)


Wishing you a beautiful day in your neighborhood :)

Comments (2)

  • Sue Clarke

    |

    Please don’t laugh…I had such a crush on Mr. Rogers when I was a kid. Just loved the land of make believe. He was such a gentle soul.

    Reply

    • nathalie-kalbach

      |

      I can totally understand Sue- I think , I would have liked him a lot as a kid as well.

      Reply

Leave a comment

My new RubberMoon Stamp Sets are out!

So stoked for my new RubberMoon Cling Rubber Stamp sets – I just have so much fun with those stamps:

Here is the first one –Stroll Around The Block:

The Stroll Around the Block stamps are inspired by iconic American architectural styles that I saw during my travels around the US. This set includes 5 cling rubber stamps. These original hand sketched stamp designs may remind you of your childhood home, Grandma’s place, or even the house you live in today.

And the second set is called My Home Is MY Castle:

The My Home is My Castle stamps are inspired by the iconic details of American neighborhoods in the US. This set includes 8 cling rubber stamps. It is amazing how some things just never change. Do you remember what street you grew up on? What about the excitement when the mailman came? Or gazing out the window to see who might be at the front door?

Here are some sample cards that I made with both stamp sets- I will show more projects using them,  in the next couple weeks :)

A row of the Queen Anne, Craftsman and the Mid Century. I stamped with some black archival ink and then colored the stamped images in with watercolor. I just loved doing that.

Here is the Midcentury Modern from the Stroll Around the Block Set paired with the Street Sign from the My Home is My Castle set . I also added my Star Tag stamp. I left the street sign empty on purpose so that it can be filled with whatever words or names you would like to use in it.

So much fun with the little door and windows of the My Home is My Castle Set

And another one using the stamps from the My Home is My Castle Set

The Craftsman – I think I will fill the street sign in with Happy Holidays and and send it out as a Holiday Card.

You can get them now in my n*Studio Store here.

I so hope you like the sets! Which of the stamps in the set is your favorite?

Comments (4)

  • Sue Clarke

    |

    Stroll Around The Block!!!
    The craftsman is a great style.
    This set is on my wish list for sure.

    Reply

    • nathalie-kalbach

      |

      YEahh- so glad you like it Sue! I would move into the Craftsman if I could right away- LOL

      Reply

  • Sherry Canino

    |

    They are all soo gorgeous!!❤️❤️❤️

    Reply

Leave a comment