Hello from my Creative Squad! Today we have some funky wrapping paper from Robin Seiz that is a work of art in and of itself using my Brownstone and Powerhouse foam stamps and Manhattan stencil. Our theme is: Good Morning Good Evening – Are you a Morning Person or a Night Owl? Or maybe neither? Create a project inspired by your preferred time of day – when you are in good spirits, doing what you love, and enjoying life.
Hello. This month’s theme, Good Morning, Good Evening, made me ponder the question, “Am I a morning or an evening person?” The answer is, BOTH. For me, it truly depends on the time of year. I am a gardener, so in the summer I love the morning. There is nothing more peaceful than going out to the garden early in the morning when the sun has just come up, and the birds are singing, and the dew is still on the leaves. When it’s hot, I move inside to the studio. In the winter, I tend to rise later and go to bed later. No matter what time of year, I love the glow of the sky when the sun rises and sets.
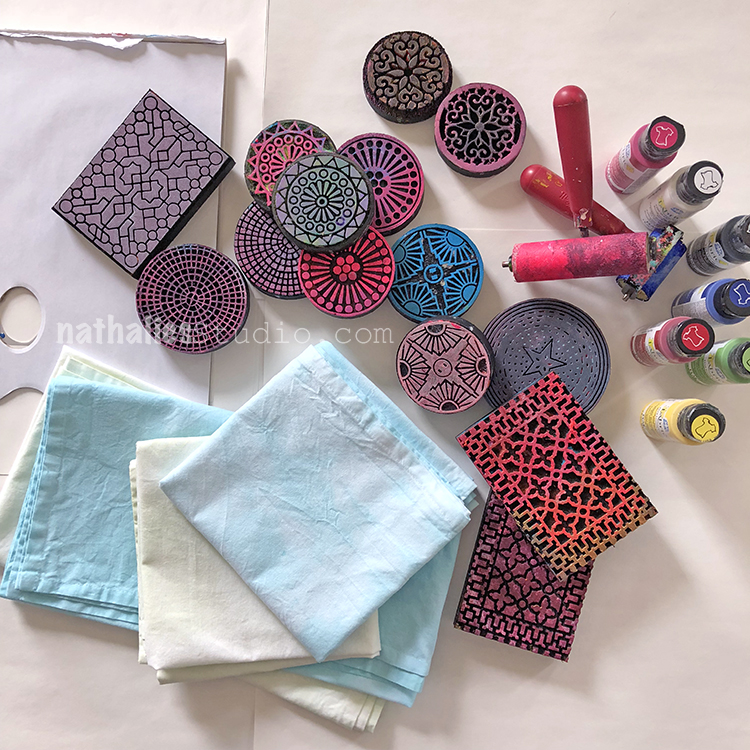
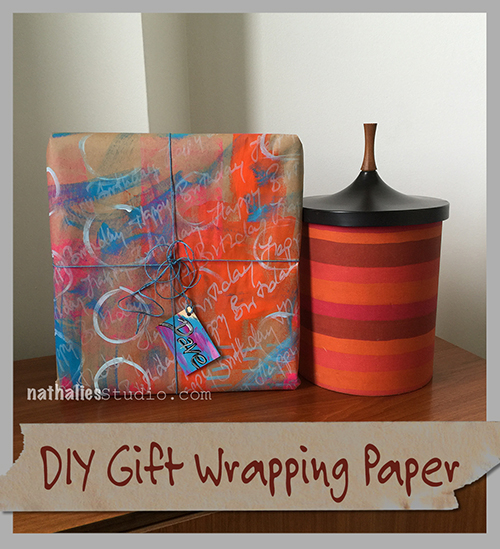
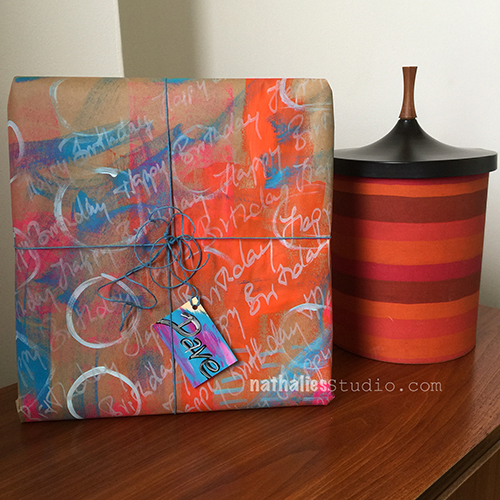
I used that glow as the inspiration for this project. I have quite a few special celebrations in August, and therefore, presents to wrap. I thought these new artfoamie stamps that Nathalie created would be perfect for making printed wrapping paper.
I dug out my 16 x 20 gelli plate, which I don’t use that often, but it’s a perfect size for larger printing projects like this. If you don’t have this size gelli plate, you can use whatever size plate you have and simply stamp it on your paper.
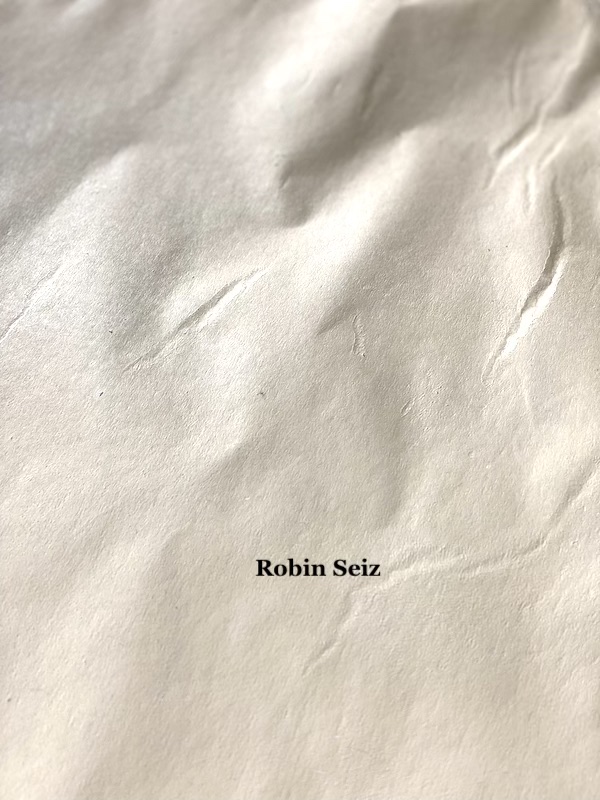
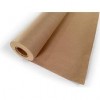
I cut 2 large pieces of white butcher paper (17” x 21”) or thereabouts, (I’m not much of a measurer) Next I generously applied Liquitex Unbleached Titanium, (which is a very opaque color) to the gelli plate. I used the brayer to spread it evenly, and pulled the first print and then a second print (also known as the ghost print).

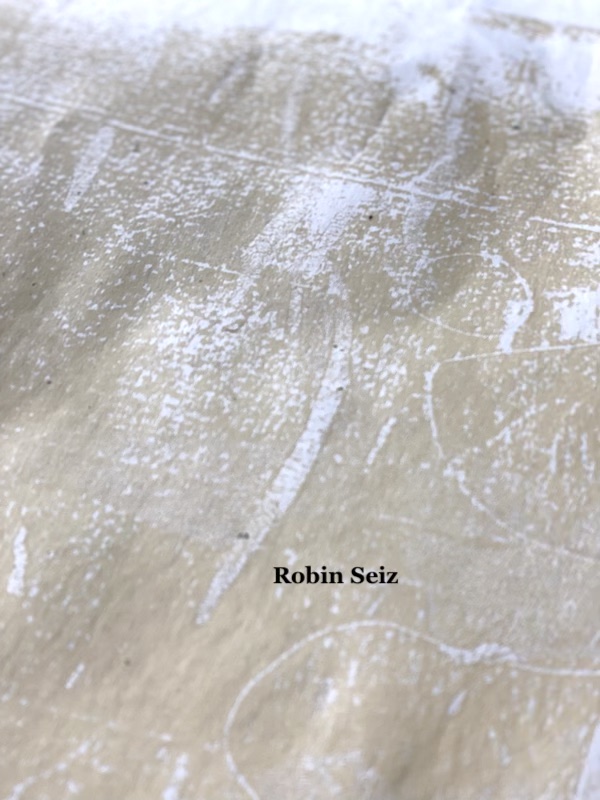
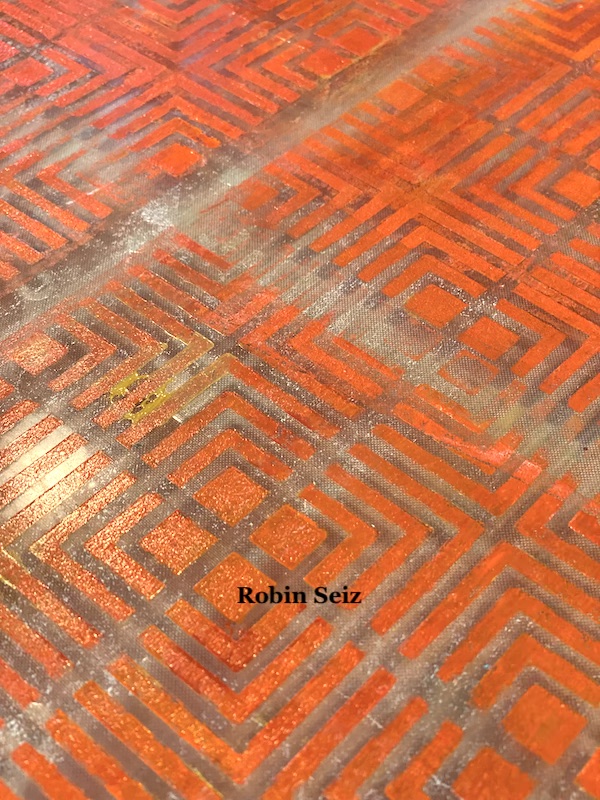
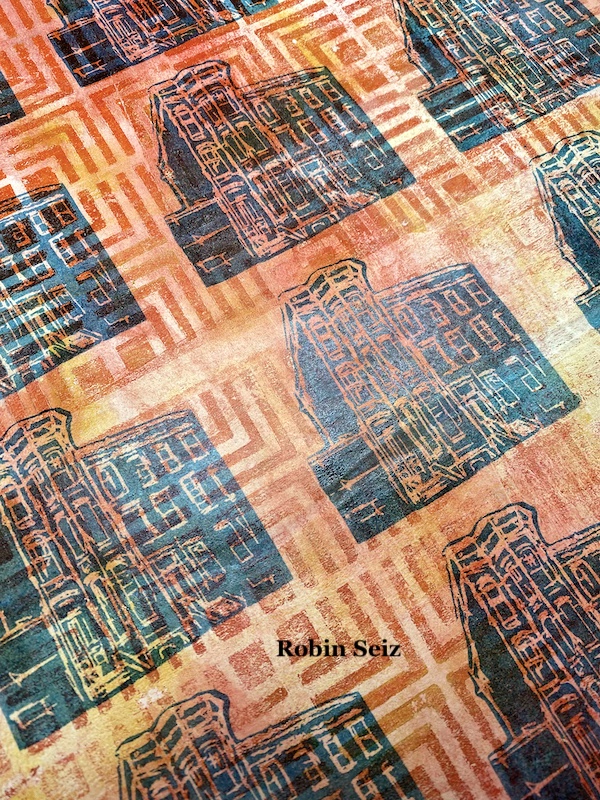
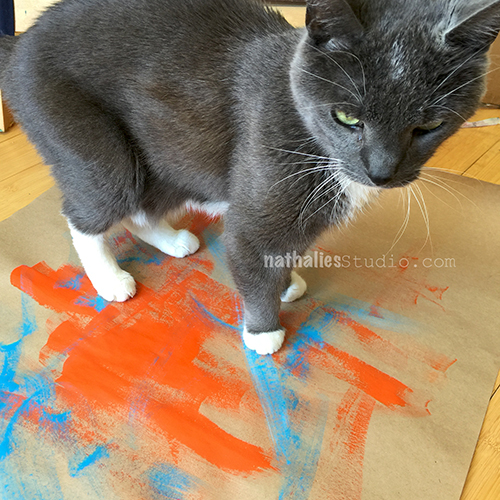
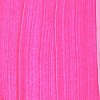
I wanted a fun background for this paper and Nathalie’s Manhattan stencil was perfect. I was looking for something with a great pattern and some open space because I wanted the background colors to show through the open spaces in the stamps. I chose Golden Naphthol Red Light, Yellow Ochre, and Pyrrole Red Light, which when combined, remind me of both sunrise and sunset. I put the stencil down and applied the paint randomly to the plate and used my brayer to completely cover the plate and the stencil. I lifted the stencil and repeated this process 4 times until the plate was completely covered. I did have to work relatively fast so the paint wouldn’t dry too fast. In retrospect, I could have used some Liquitex Slow-dri Blending Medium to help keep the paint open longer. (but I didn’t think of that in the moment) :o) I pulled the first print on the butcher paper.
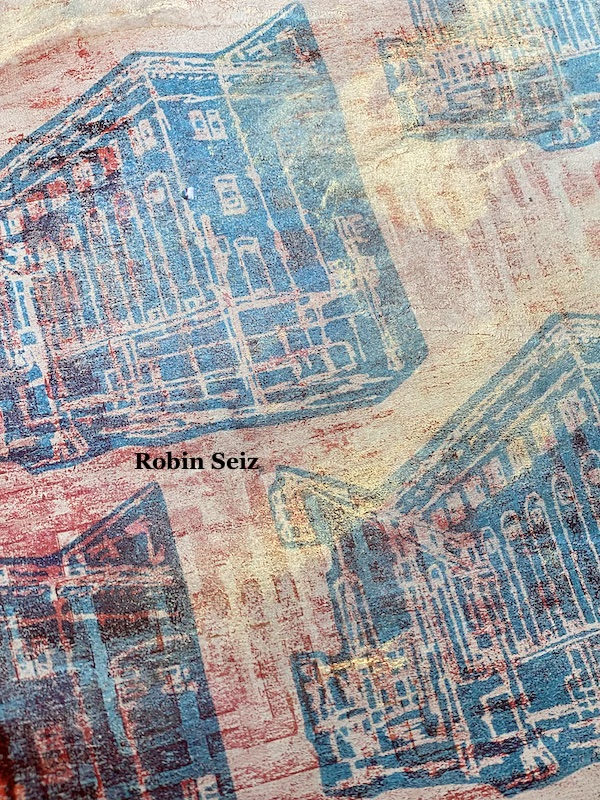
There was quite a bit of paint still left on the plate, but by now, it was dry. I spread a very thin coat of Liquitex Titanium White to the entire plate and pulled the ghost print.
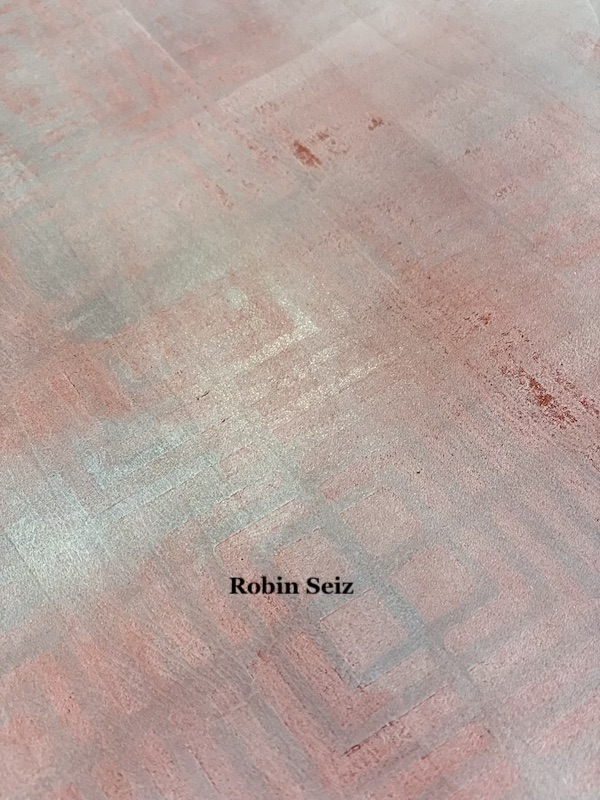
I really liked the detail on the first print, but I felt the ghost print needed more color. I applied some Daniel Smith Gold Gesso with an old room key card. A little gold always adds a lot to any project!
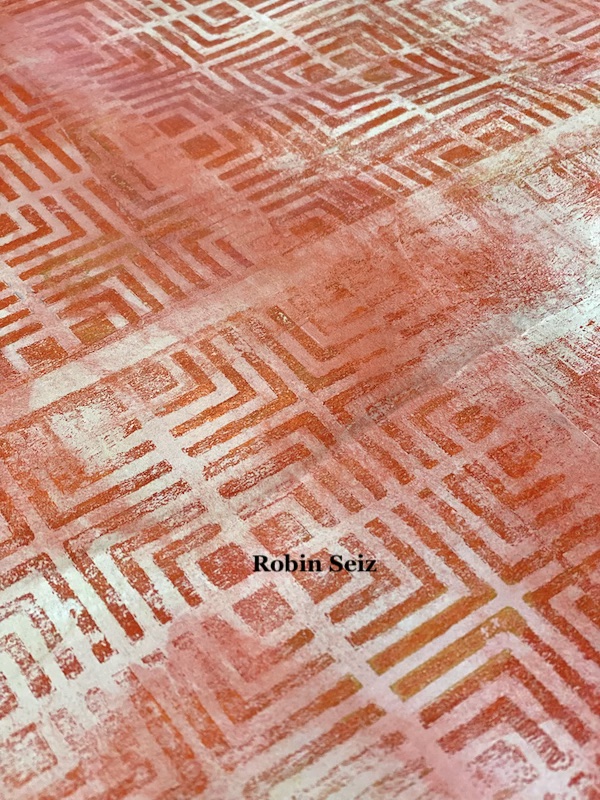
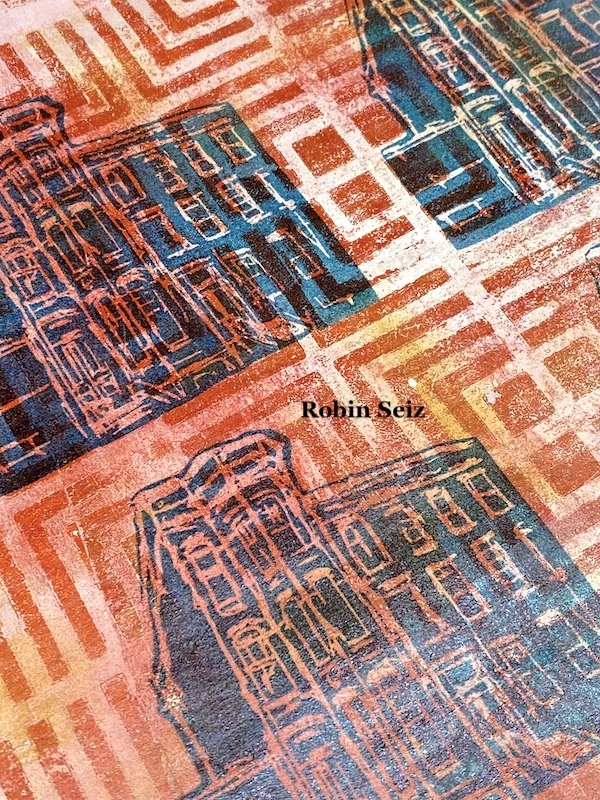
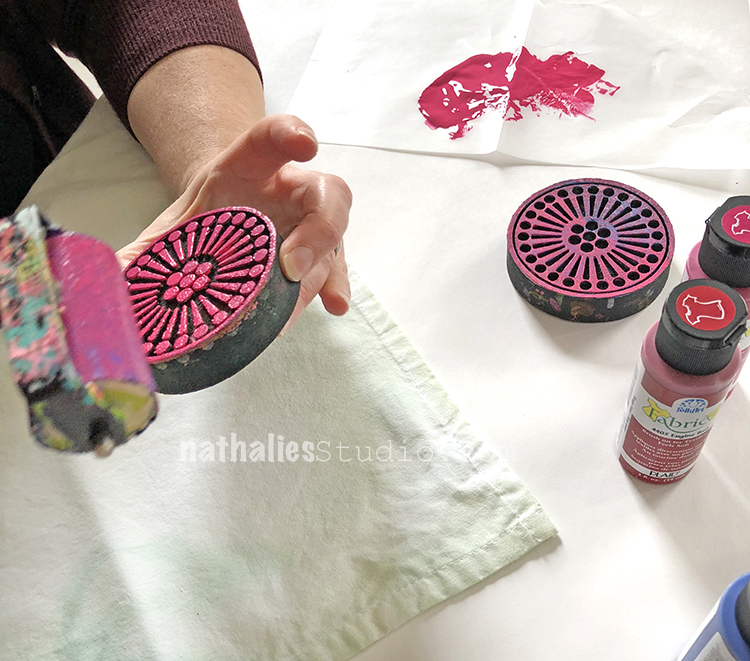
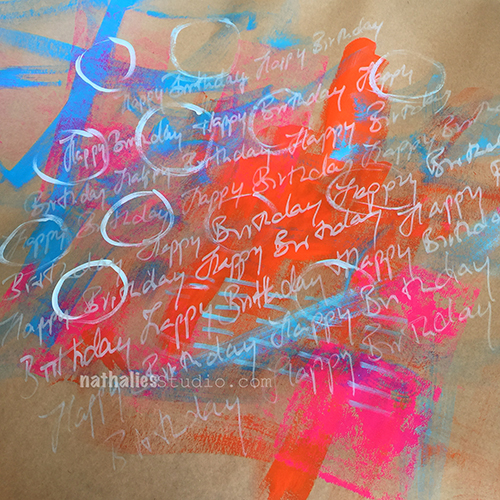
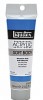
I always go to my color wheel to plan the colors for my projects. I decided on Versa Fine Clair Blue Belle for the ArtFoamies stamp color. Again, I don’t often measure things; I typically just “eyeball” it. I stamped the Brownstone on first print. I was happy with the way the colors came through the spaces in the stamp as I had planned.
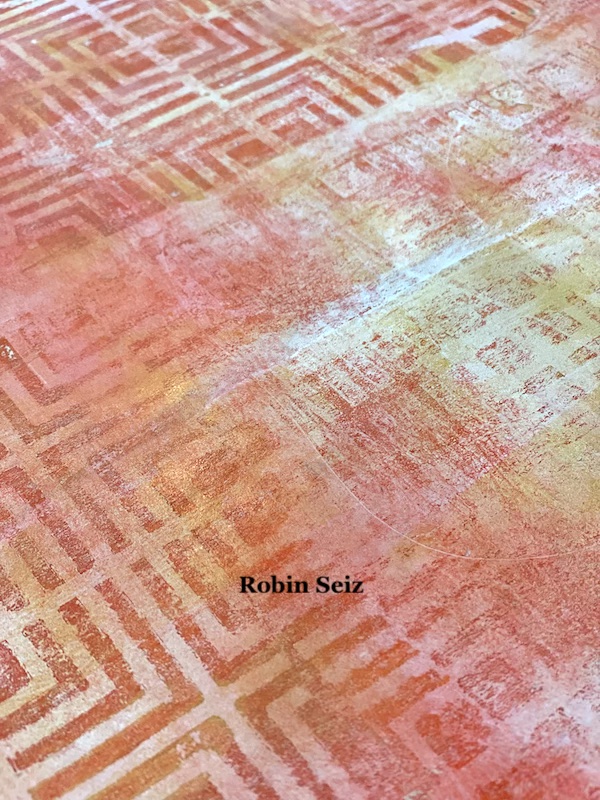
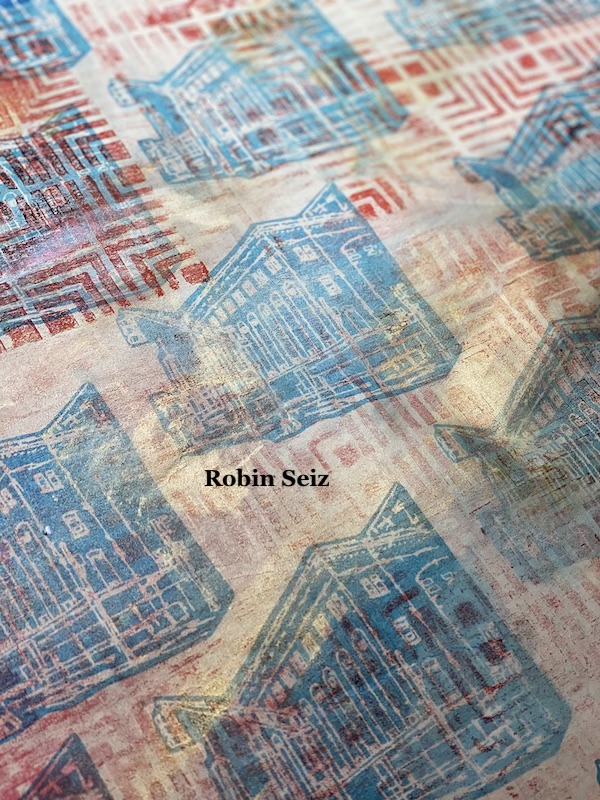
I wanted to use a different ArtFoamies stamp for the ghost print. I used Nathalie’s Powerhouse stamp. This ghost print came out with a grungy feel to it. I really love this distressed effect.
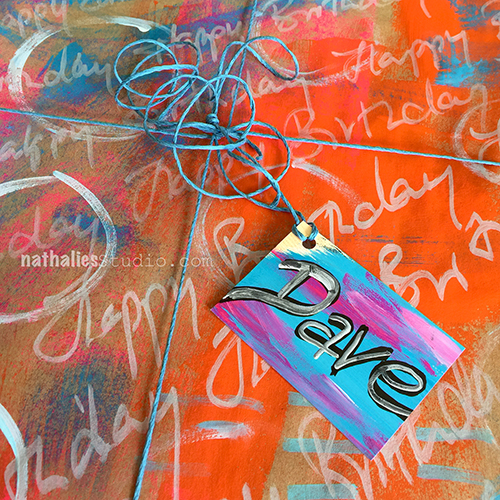
Home made wrapping paper can be whatever you want it to be; it doesn’t have to be occasion specific. My experience is that the receiver often loves the paper so much they want to keep it. I hope you try this project and that you enjoy it!
This is awesome wrapping paper Robin! Thanks for sharing and giving us some inspo for the upcoming holiday season too!
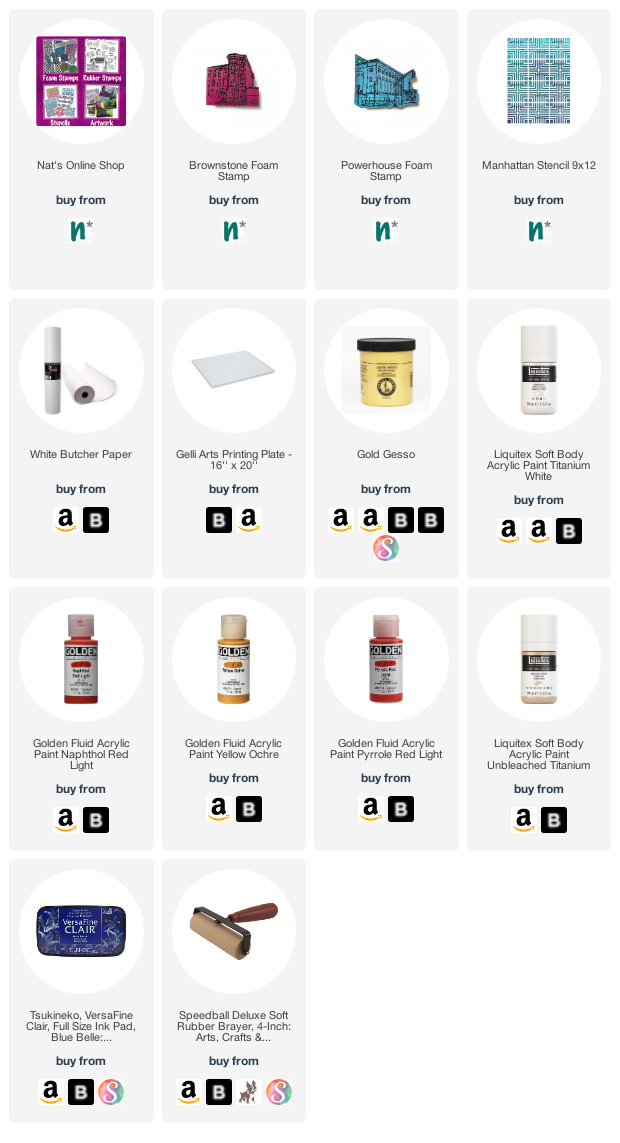
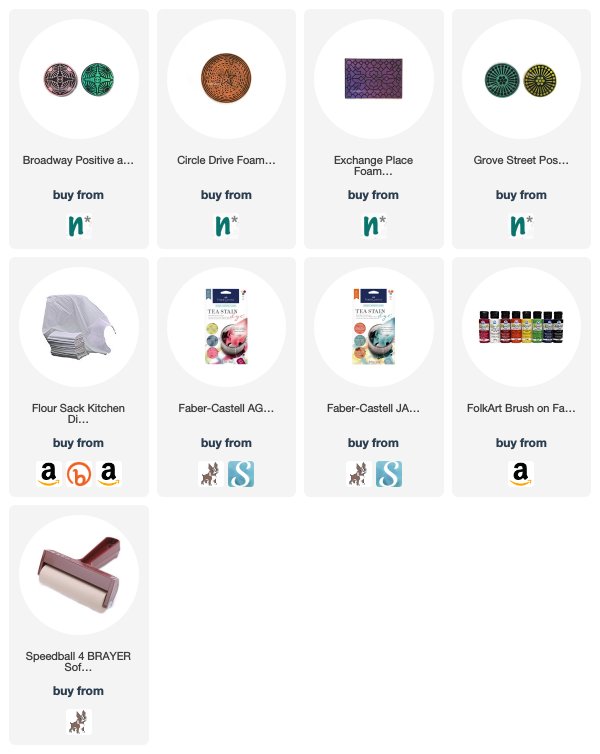
Give it a try: you can find all my Foam Stamps and Stencils in my Online Shop and here are some of the supplies Robin used:
Like what you see? Follow the Creative Squad on Instagram for weekly posts, artwork, and inspiration.


Very beautiful! I would love to receive a gift (or even my lunch) wrapped in something so lovely. I don’t have any fabric paint (yet), but I’m seeing a trip to the store this weekend so that I can give this a try. Thanks for sharing!
Reply