Creative Squad

Motivated in March – Maura Hibbitts

Hello from my Creative Squad! Today we have a post from Maura Hibbitts sharing with us a suite of cards inspired by St. Patrick’s Day and all those lovely shades of green. Maura is using my Fairview Fan and Clam Hex foam stamps and our theme: Motivated in March – What keeps you motivated to create? Is it a certain material? Your favorite colors that you can’t get enough of? Maybe you get motivated when you see artwork in a museum or out and about? Share with us your creative motivation and then create something inspired by it.


March is known for many things…the Ides of March, March Madness, St. Patrick’s Day, Spring Equinox, and so much more, that there is a lot to motivate us! I chose to use my favorite holiday, St. Patrick’s Day as my motivation, and to use those glorious greens that Ireland and this holiday are all about. When I was just a little girl, my mother and the lady next door always had a competition to see who would get their St. Patrick’s Day decorations up first and have the most. Then I learned that her husband was not Irish (he was German), so I told him he could be Irish on St. Patrick’s Day. So, this month, I have filled my project with many shades of green, and a bit of pink like some of the shamrock plants. This month, it’s all about being motivated by color, inspired by a holiday!

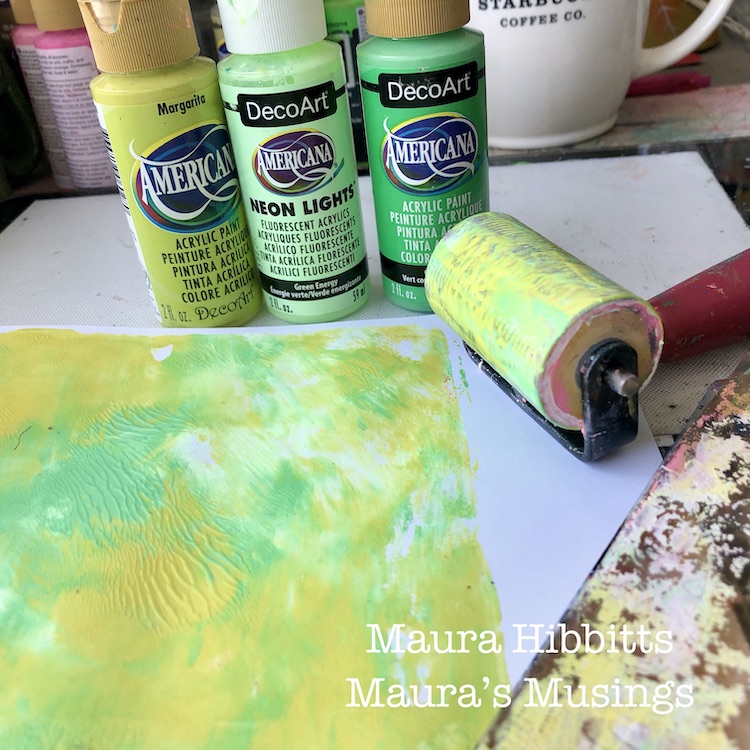
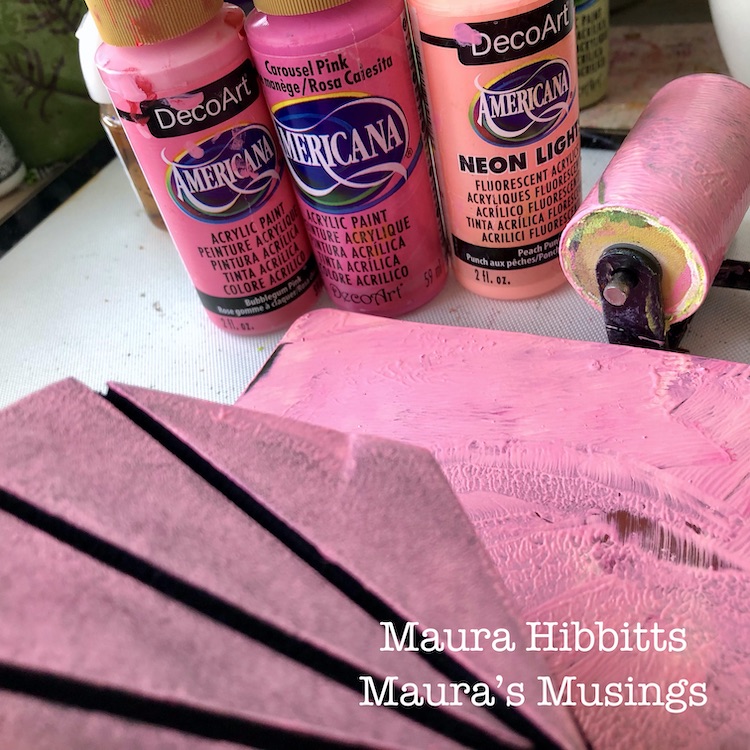
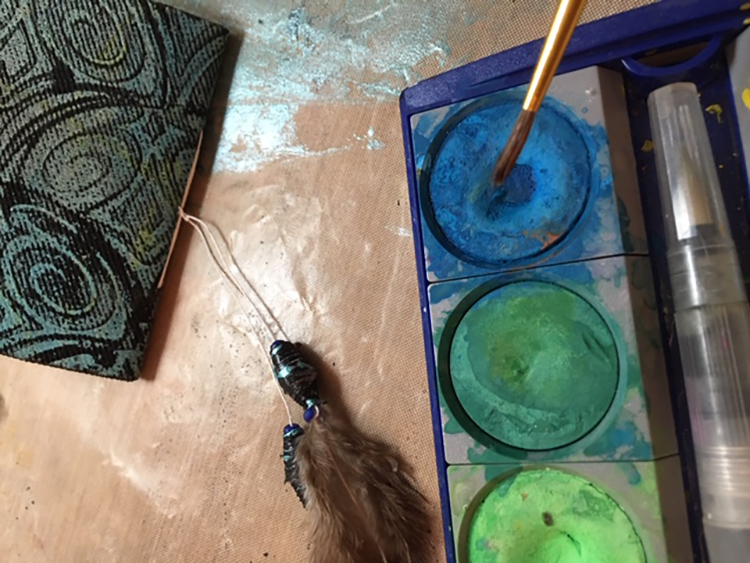
I started by printing several sheets of card stock with a blend of greens. I mixed a bit of three greens on my gel plate and blended it with a brayer, then I pulled two prints to have some variety, and set these aside to dry.

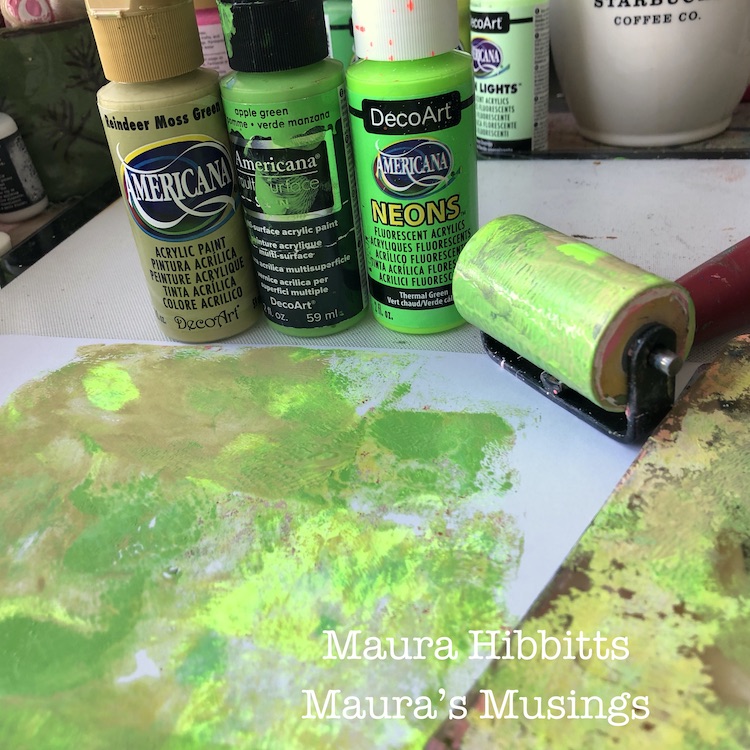
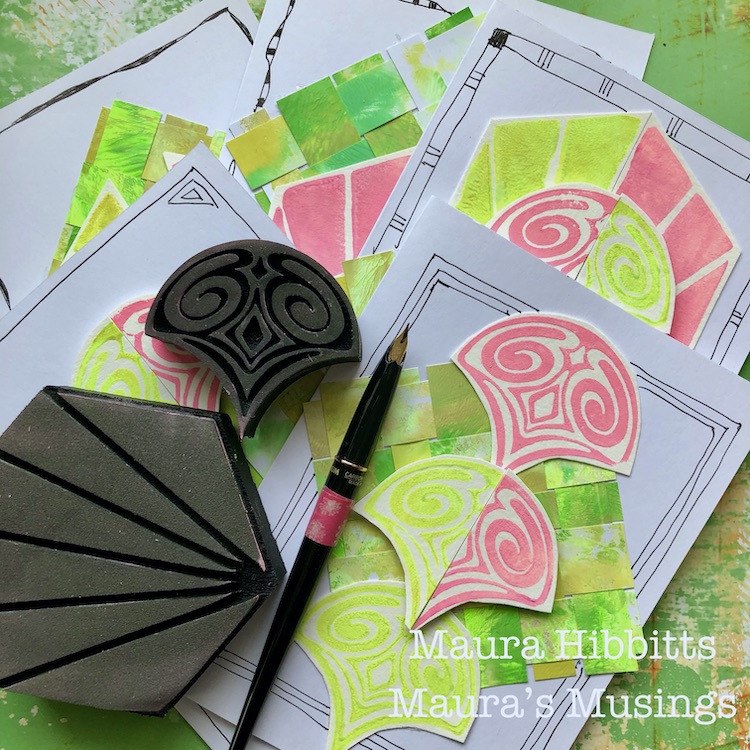
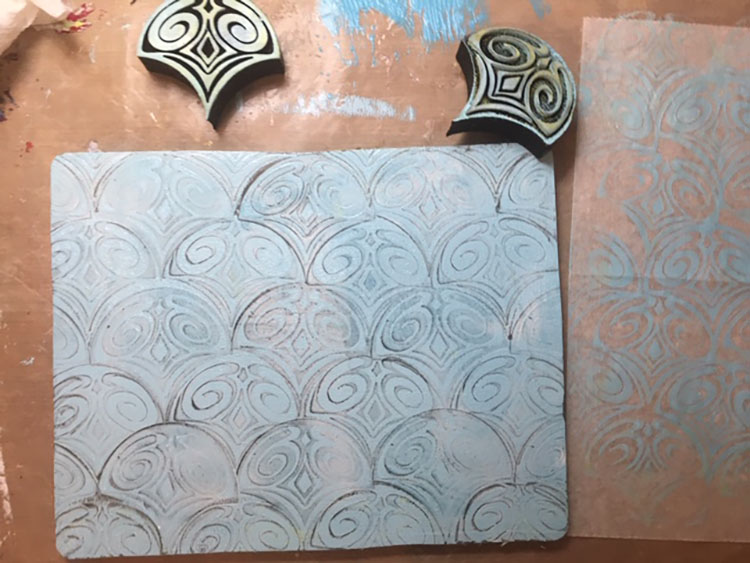
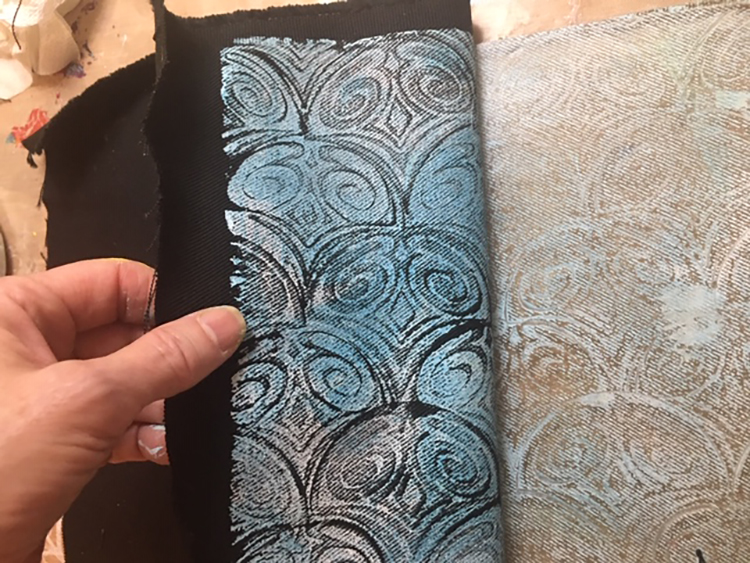
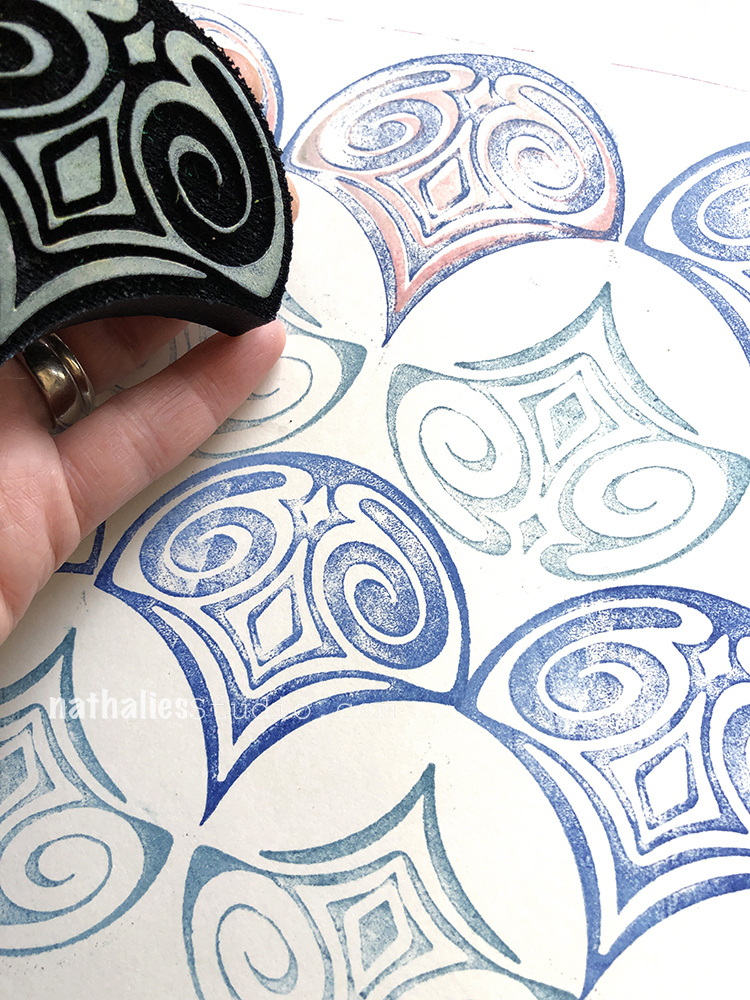
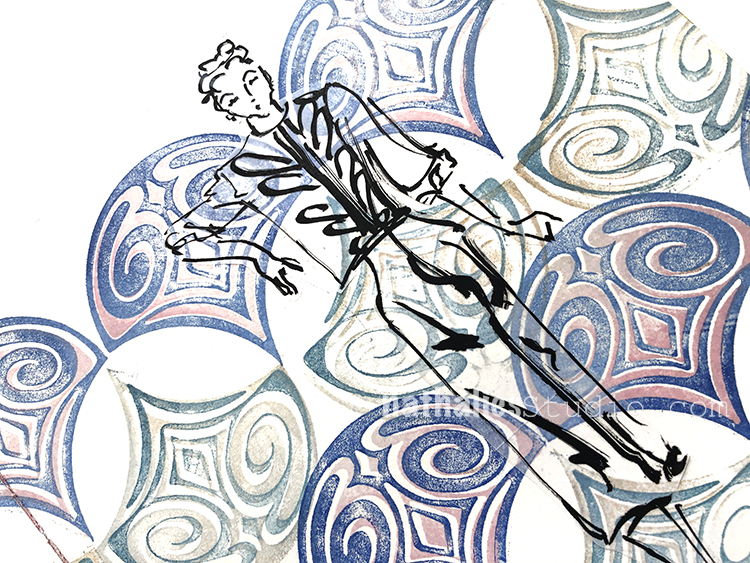
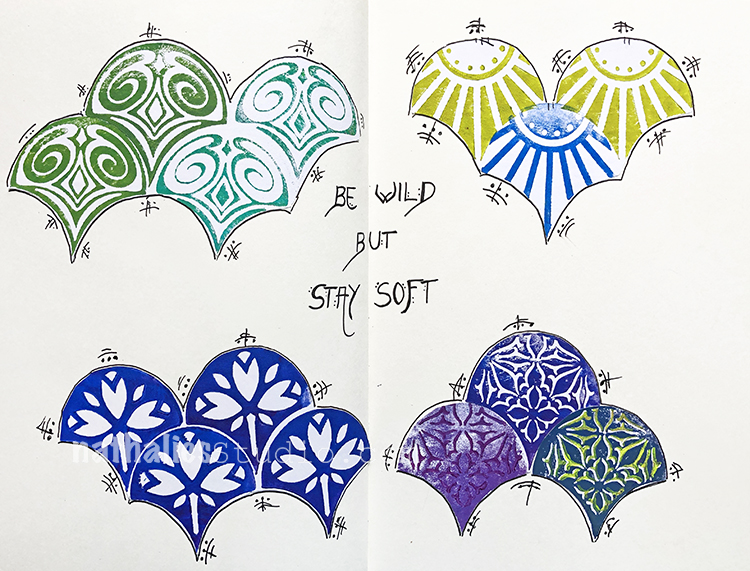
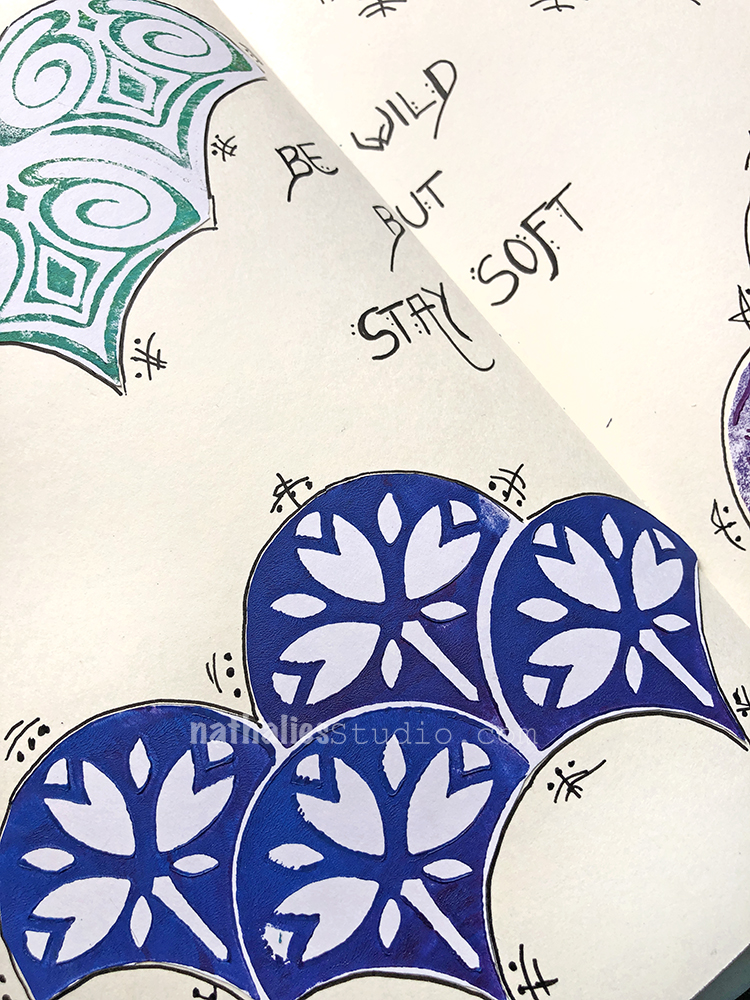
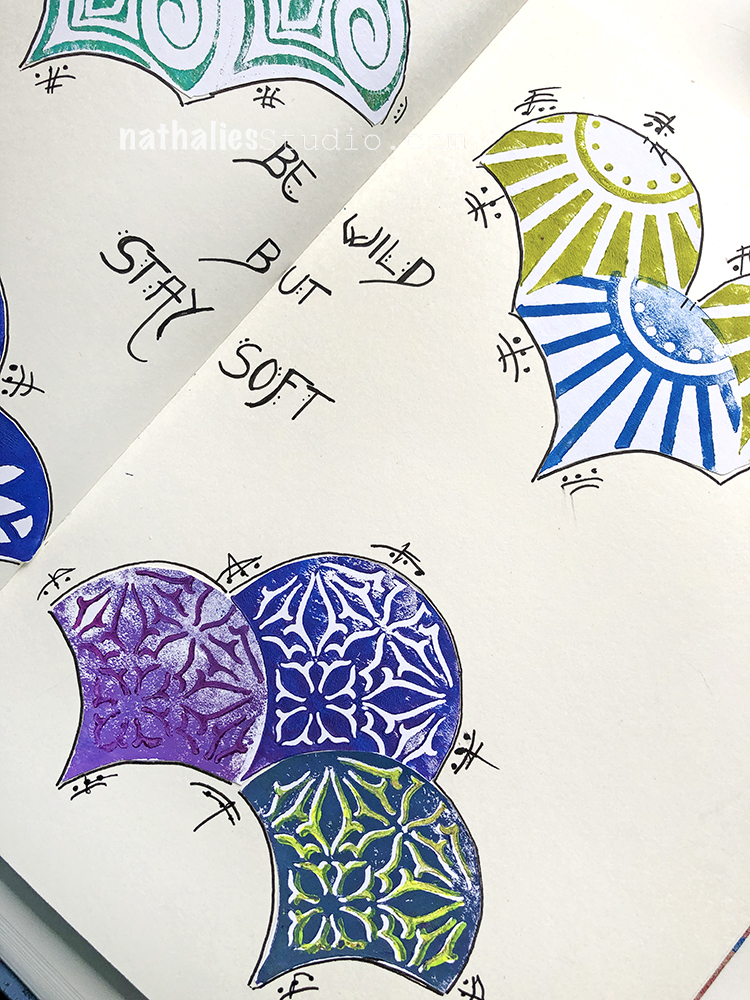
I continued working with the green on my gel plate, adding in some more of the neon colors to get a very bright green. I stamped into this with the Clam Hex ArtFoamie and stamped off on watercolor paper several times.

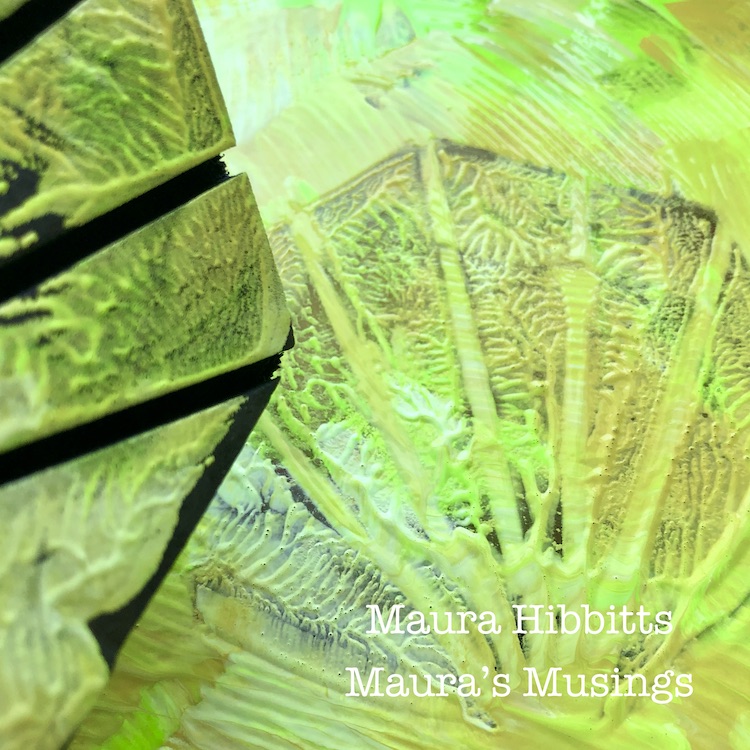
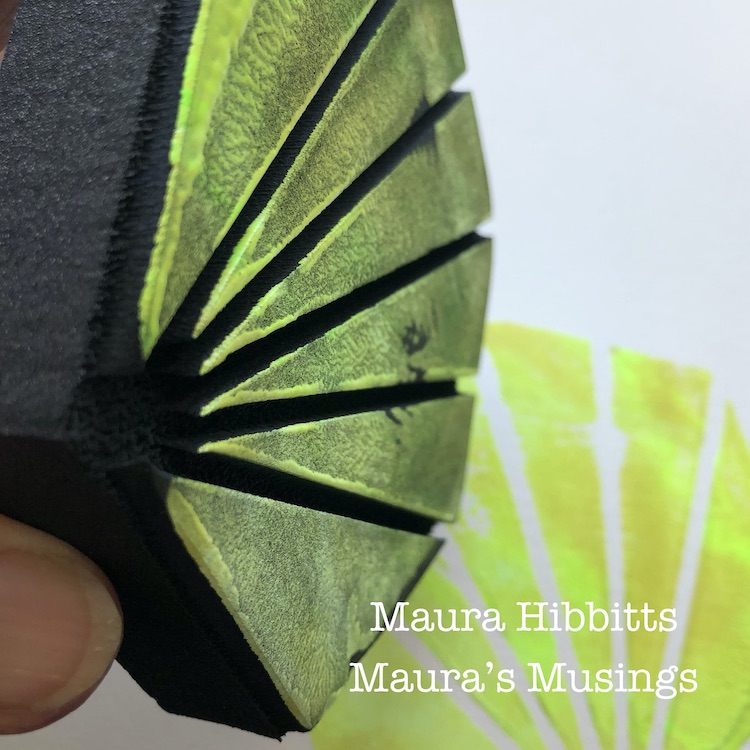
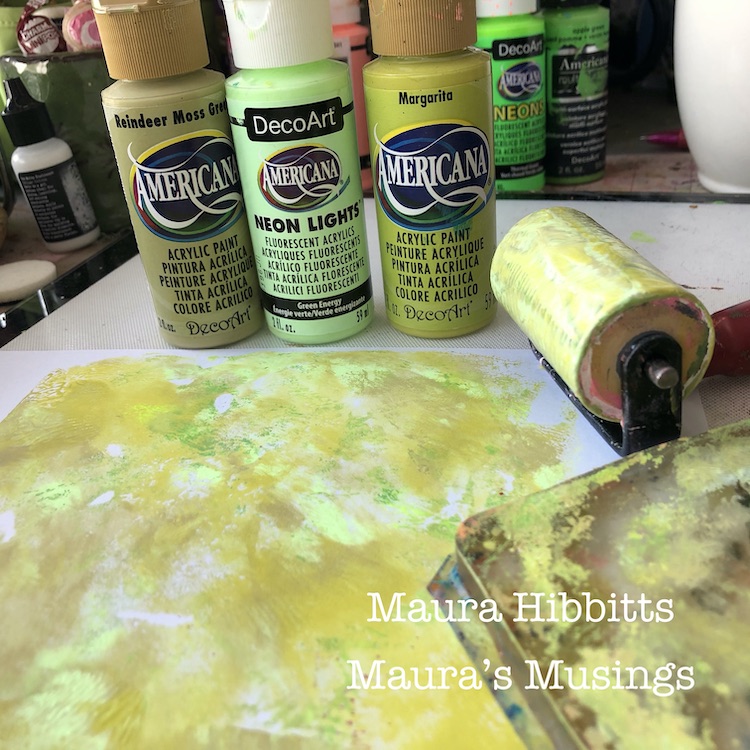
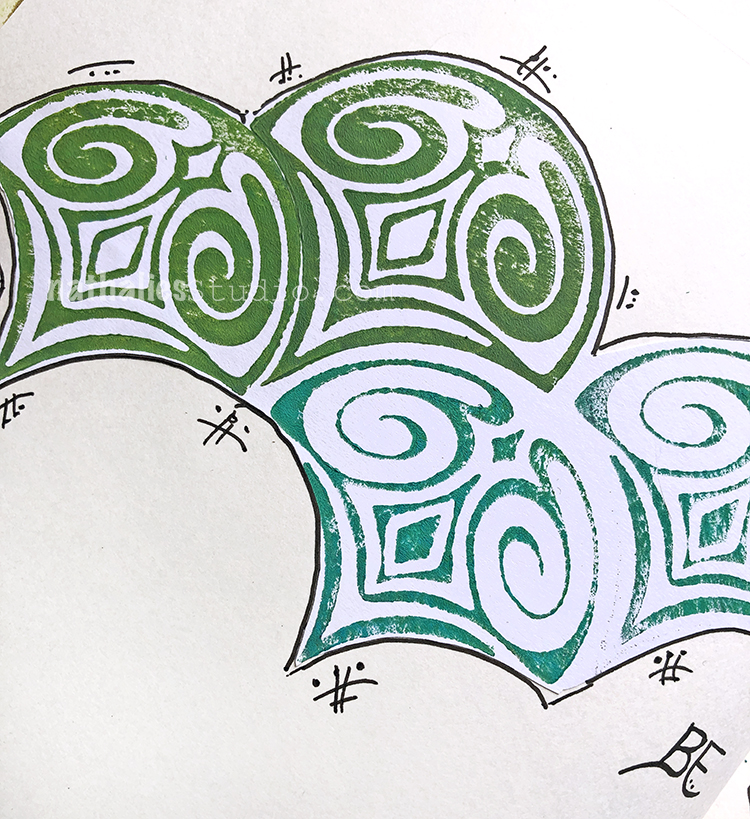
More greens! This time, I used the blended greens on the gel plate with the Fairview Fan ArtFoamie, and stamped several images onto watercolor paper.

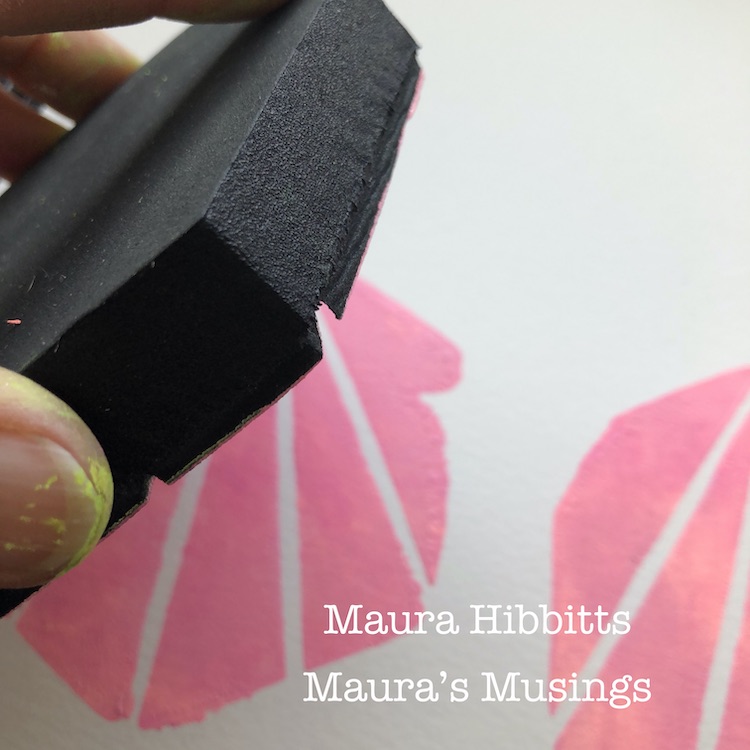
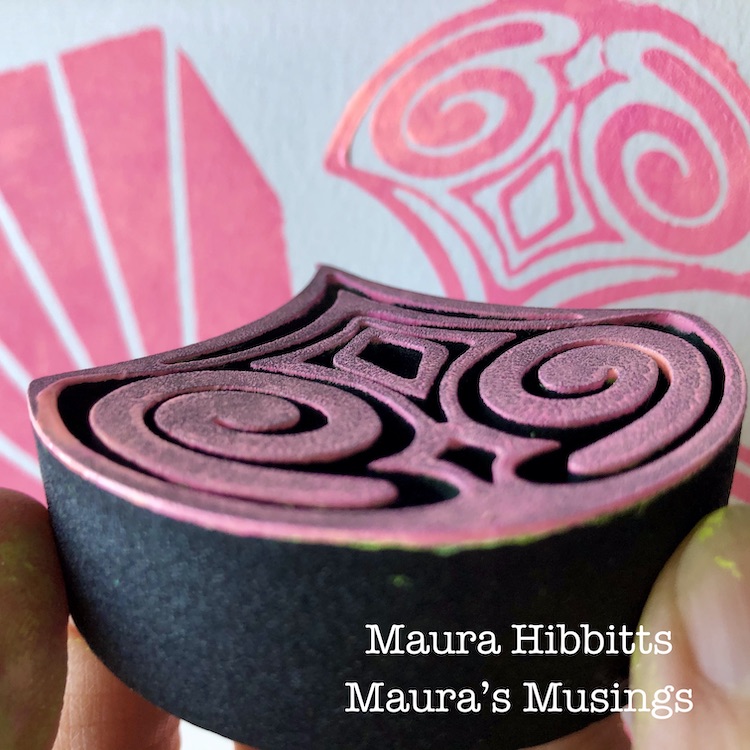
Now it’s time for a blend of pinks – once again, I squirted a small amount of each of three colors and lightly blended it on the plate with the brayer. I stamped into this with the Clam Hex and Fairview Fan stamps to pick up the paint, and stamped onto watercolor paper.

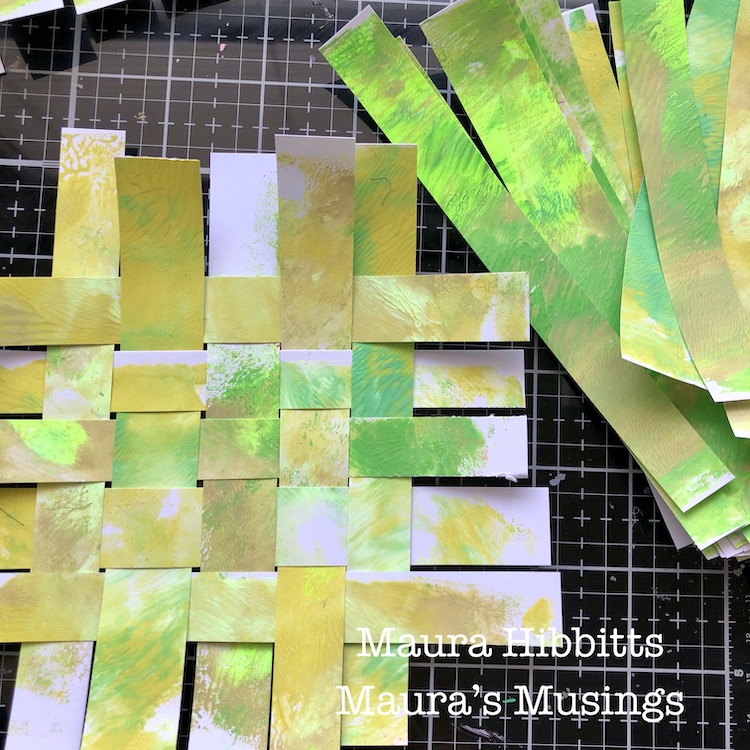
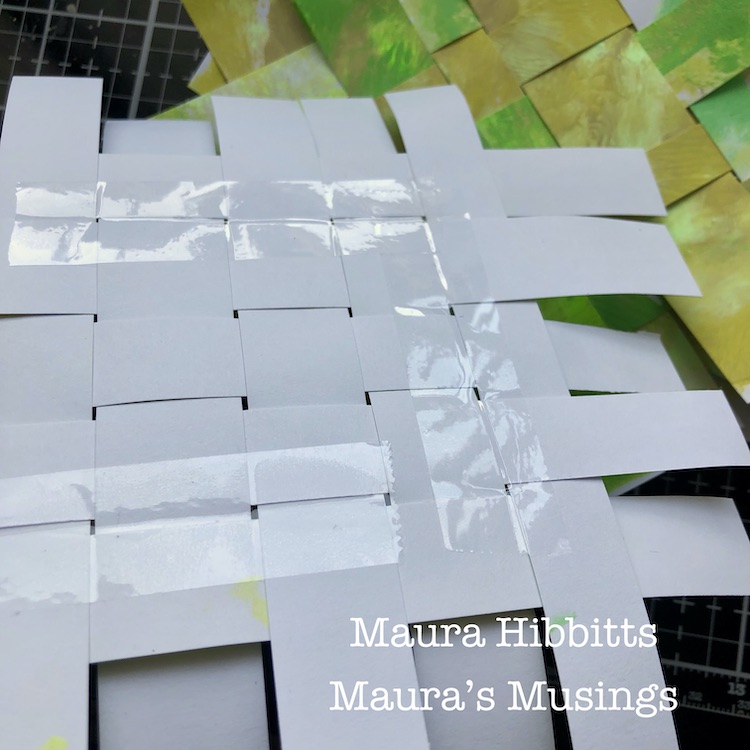
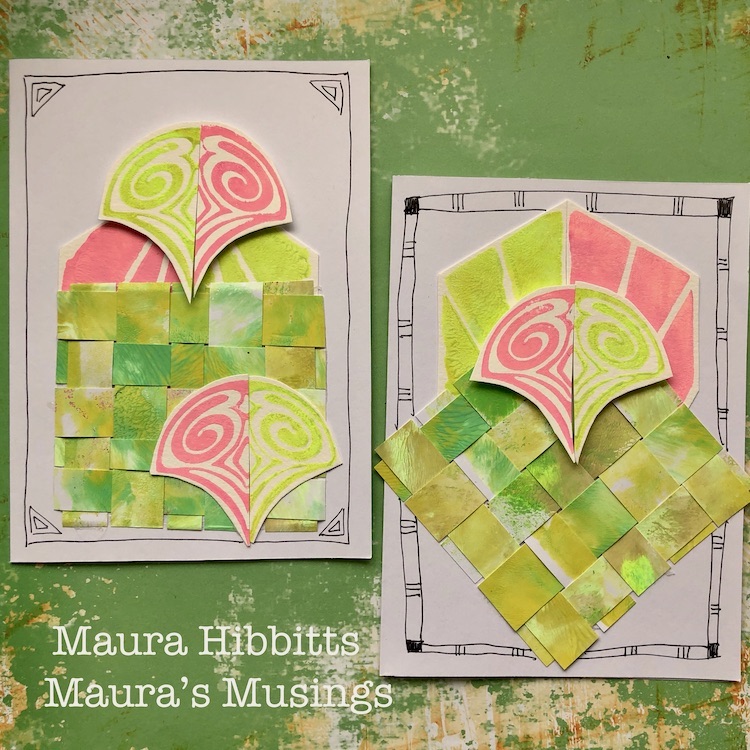
Meanwhile, now that the first set of papers is dry, I cut them into strips with a paper trimmer. I laid five strips down, and wove five strips into them. I pushed them close together, then turned it over and taped it in place with clear tape. Once that was done, I trimmed off the edges.

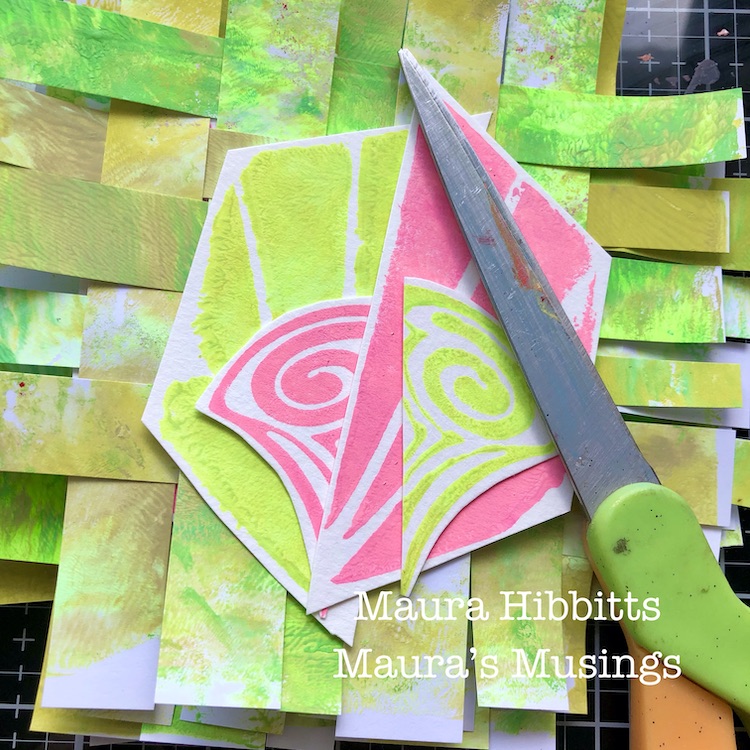
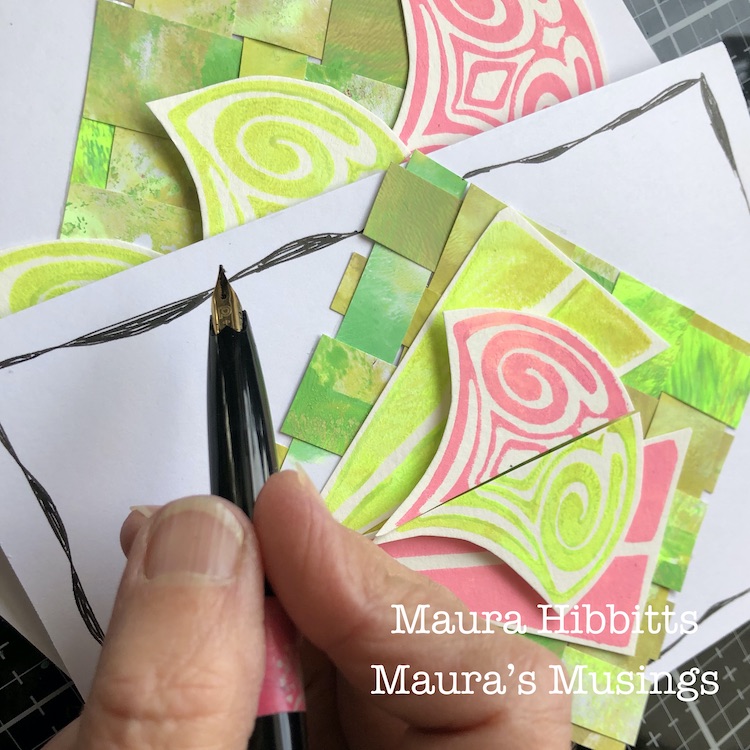
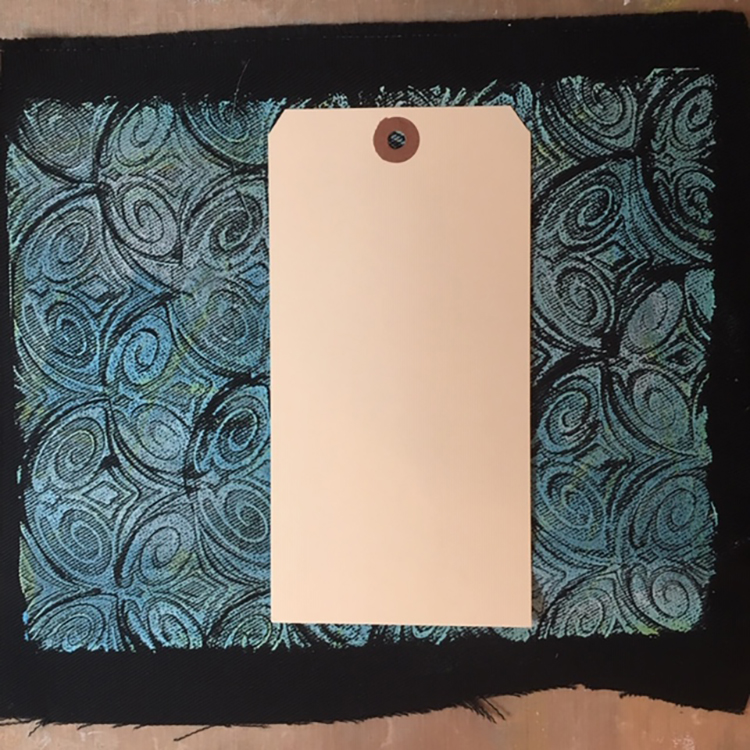
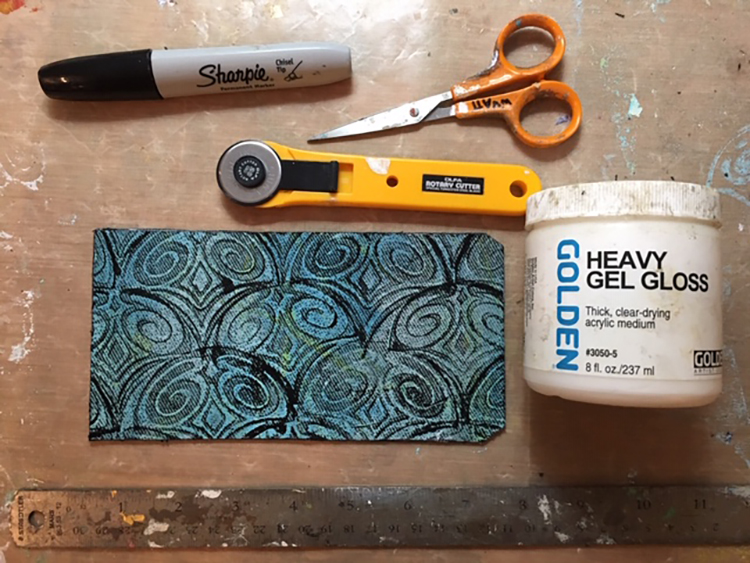
I cut out my stamped images and cut each in half, so that I could put a green and a pink image together.

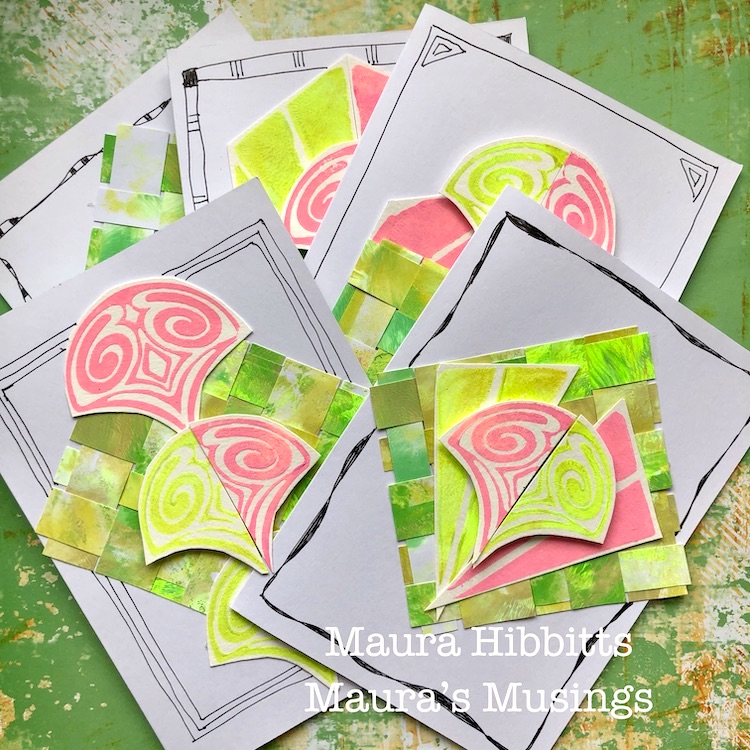
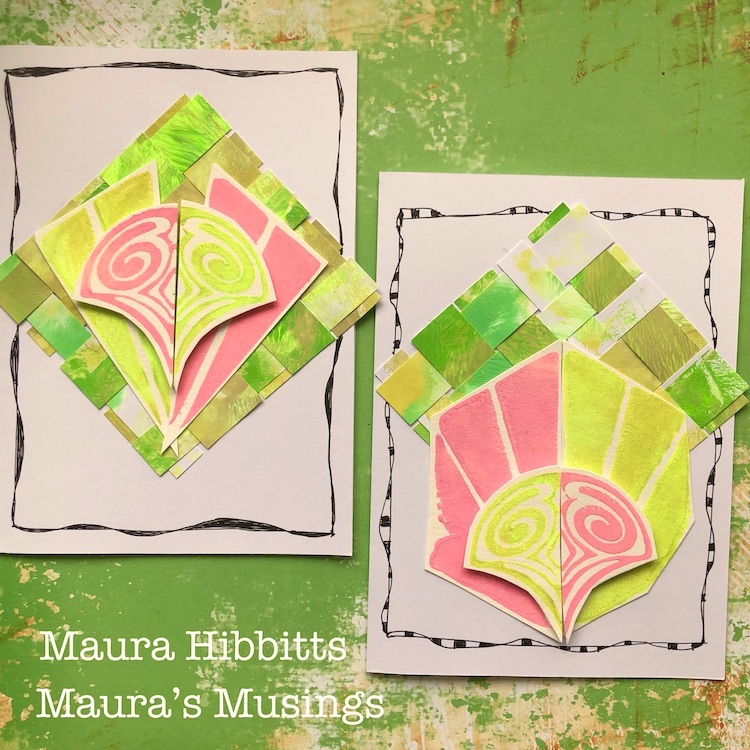
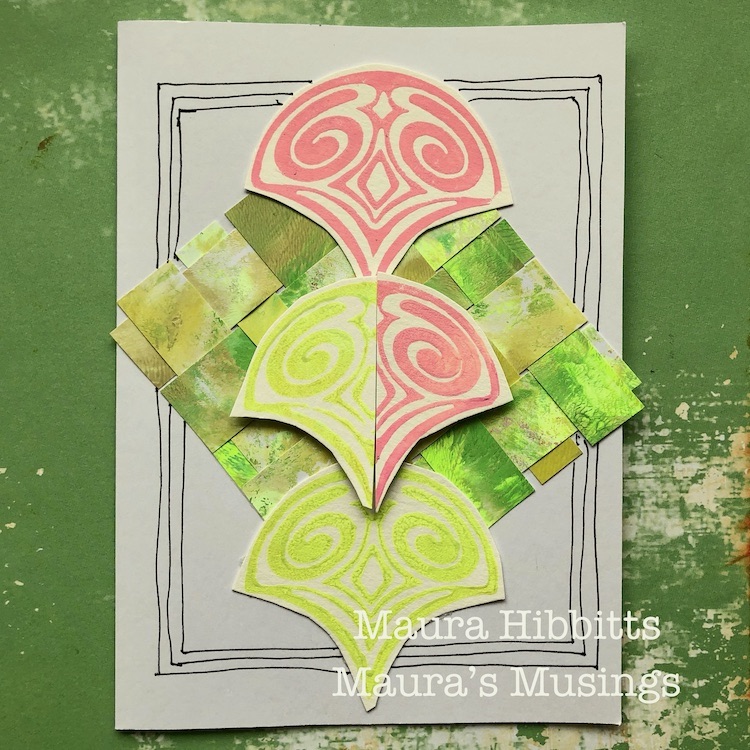
Once I laid out each card with the woven layer and stamped images and adhered them in place with adhesive tape and pop dots, I doodled frames around them with my carbon ink pen.

I now have a set of five cards in very bright spring colors. Next, I need to get motivated to write a letter in them and mail them out! It was fun mixing in neon paint to get a very vibrant image. I also liked how I mirrored the images in both the pink and green, which got me to thinking about watermelon colors. Wouldn’t you know it, my husband just brought home a watermelon from the grocery store! LOL!

Motivated by bright and cheerful colors, my favorite holiday, and the plan to write some letters to friends, I’ve created my set of notecards. Happy March! – Maura


Thank you Maura – I love these happy spring colors this time of year :)

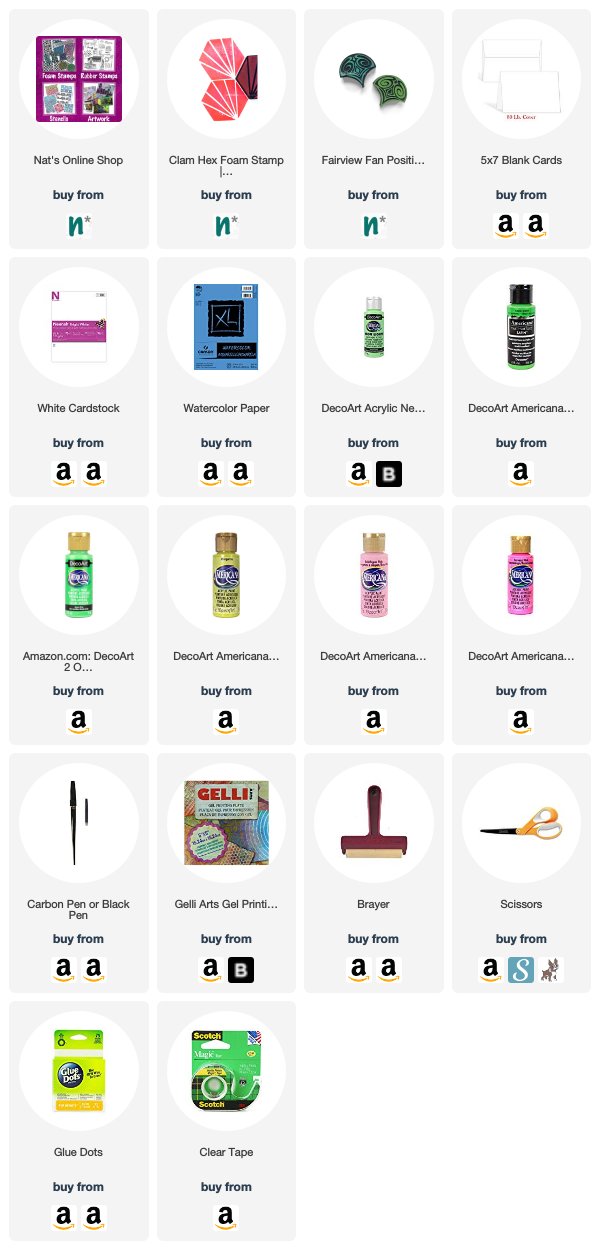
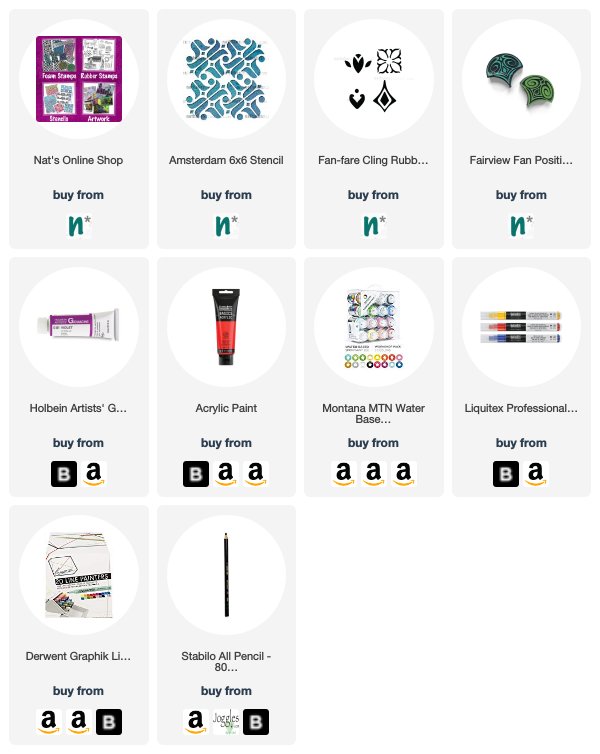
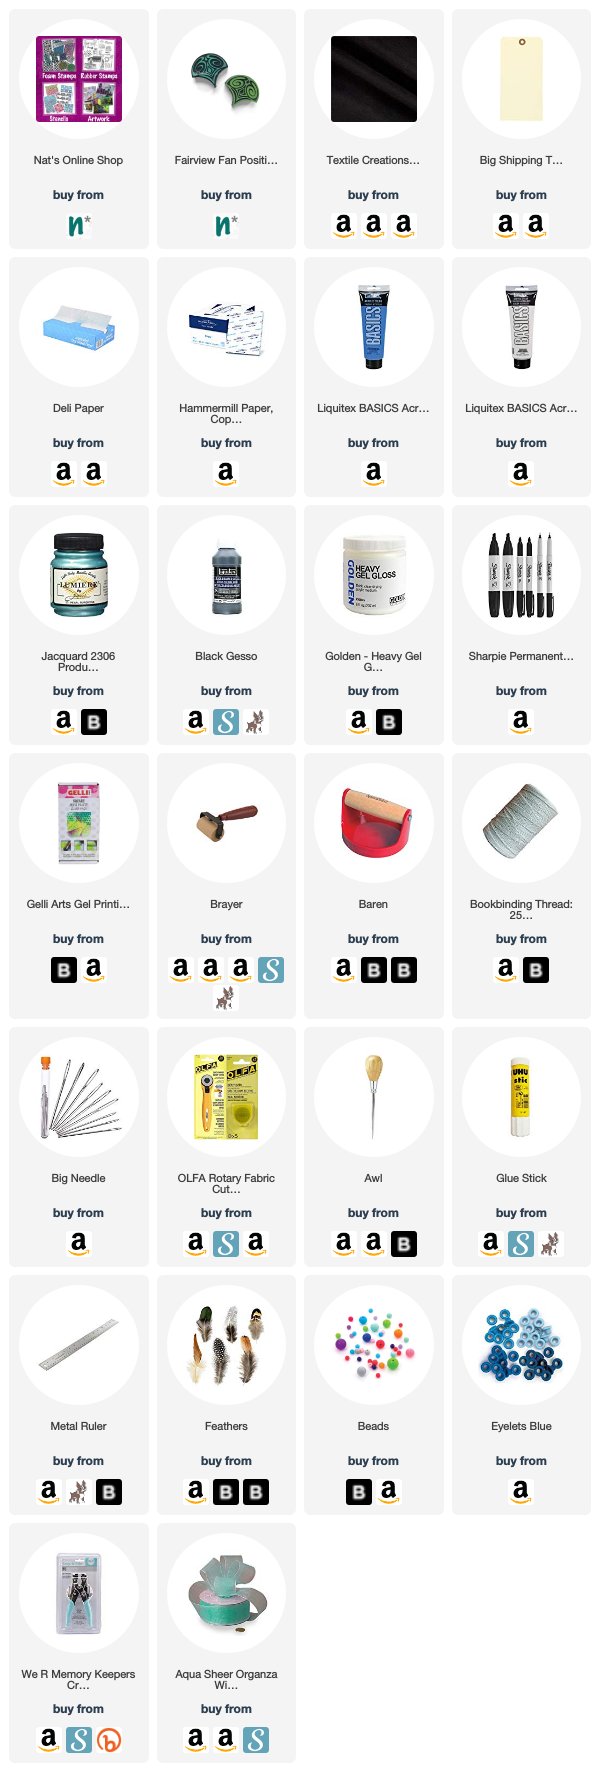
Want to give Maura’s project a try? You can find all my Foam Stamps in my Online Shop. Here are some of the other supplies Maura used:

Feel inspired? Working on something yourself that you’d like to share?  I love to see how you interpret our monthly themes. Email me how you used my stencils and stamps with the theme and email me an image – I would love to share your projects in my next  “n*Spiration From Around the Globe“.

Leave a comment

Embrace New Ideas – Art Journal

“I can’t understand why people are frightened of new ideas. I am frightened of the old ones.” John Cage. A great quote and definitely a nice reminder to not get stuck in the same old same old.

There is a lot of little techniques going on in the background here – I used my Amsterdam stencil to make a negtive print with spray paint. Then a wash with gouache and acrylic paint on top. Next I used a Fan-fare rubber stamp with yelllow Moonlight Duo ink. And finally I finished with my Fairview Fan foam stamp and brayered on paint.

At the end I added a bit of scribble with a Stabilo All pencil.

Here are some of the supplies I used:

Comments (1)

  • Shilpa

    |

    Absolutely beautiful art journal spread, Nathalie. Awesome colors, layers, stamping. Very Inspiring!!

    Reply

Leave a comment

Your Biggest Fan – Linda Edkins Wyatt

Hello from my Creative Squad and today we have another debut post from our stellar new member Linda Edkins Wyatt who we are so happy to have join our talented group. She is sharing with us a precious little book, using my Fairview Fan foam stamps on fabric – a lovely little keepsake for anyone! This month’s theme is: Your Biggest Fan – Let’s give a shout out to someone who is doing an amazing job. In a world obsessed with Me Me Me it’s important to take a look around sometimes and give some encouraging words to another, and not just in your art and craft making :) Be their Biggest Fan!  


Hi! I’m super excited to be part of Nat’s Creative Squad and share my first Squad project with you.

A few months ago, I had the opportunity to take a gelliprint class with Julie Balzer at Ink Pad NYC. I thought I was a terrible gel press printer and couldn’t see what all the excitement was about gelli printing, so I figured if anyone could help me get the hang of it, it would be Julie. Among the many tricks and tips Julie shared, I learned that I was using way, way too much paint. I also learned to use a barren to make sure the gel press transferred the paint to the paper evenly.

I decided to test my newly developed gel press skills with Nat’s “Fairview” positive/negative fan set. I coated the gel plate with paint and pressed the art foamie Fairview pieces into the color, then printed the excess on a nearby piece of deli paper. After printing a bunch of different colors, I mixed up some light turquoise paint and created a nice design on the gel plate, alternating the positive and negative images until the whole 9”x12” plate was covered. But this time, I thought “let’s try it with fabric!” (I am, by training and inclination, a textile designer, so using fabric, stitch, and creating repeating designs is second nature to me.)

I cut a piece of black fabric to about 12”x14”, pressed it carefully onto my gel plate, applied pressure with my brayer, and gently pulled it off. The fabric had a twill weave which added to the design and gave it a rustic look. I loved it! So, I made a couple more pieces of printed black fabric, trying different arrangements of the fan foamies.

My favorite print was just the right size to fit on an oversized shipping tag, so I decided to create a tag book. I was inspired to start making tag books when I saw a post from a wonderful artist, Ann Sullivan Barnes. I am a big fan of Ann, who artfully combines precision and fine detail with creativity—not an easy feat.

I carefully glued the fabric to both sides of an oversized shipping tag and let it dry. Next, I trimmed the fabric close to the tag edges, added black sharpie to cover the white edges of the tag, and added a thin layer of heavy gel gloss to keep the fabric from fraying. Once the glue had dried, I folded it in half, pressing the fold with my bone folder, then placing the folded tag under a heavy weight for a few hours.

It needed pages, so I cut some heavy white printer paper to fit inside the tag book (I made the pages about 1/8” smaller than the cover) and, using bookbinding thread and a fat needle, stitched the signature in place. I left the strings long with an idea of later adding some kind of decorative beads.

It looked great so far, but then I had to decide what kind of closure and embellishment it needed. I inserted grommets in the tag hole, poked a second hole, and placed another grommet in the back of the book. I chose a simple ribbon closure: I tied a length of sheer aqua ribbon on the inside of each grommet, leaving it long enough to tie the two pieces into a bow closure at the side.

I decided to embellish both the signature’s hanging threads and the ribbon closure with Tyvek beads. I painted some Tyvek black and added splashes of turquoise Lumiere paint. Once it was dry, I cut long triangles, rolled beads, and heated them until the Tyvek melted. I threaded each end of the sheer ribbon through a bead and tied the ends.

On the long threads of the signature, I got a little fancier. I added a small bead onto the string, then a Tyvek bead, and inserted a small feather into the bead. A few drops of glue on the feather tip held the feather inside the beads. Then I used watercolor to paint the white thread to match the turquoise paint.

The Little Fan Book is a nice small size to fit in a pocket or a purse, and great for writing notes or dashing off a quick sketch. It also could be filled with photos, poetry or inspirational quotes for a very personal and special gift.


Thank you Linda! I love that you stamped on fabric and then created this gorgeous little treasure with it. Want to give Linda’s project a try? You can find all my Foam Stamps in my Online Shop and here are some of the other supplies she used:

Feel inspired? Working on something yourself that you’d like to share?  I love to see how you interpret our monthly themes. Email me or tag me #natkalbach how you used my stencils and stamps – I would love to share your projects in my next  “n*Spiration From Around the Globe“.

Comments (2)

  • Sue Clarke

    |

    Wow Linda, I can’t wait to see more of your posts…this one is gorgeous!

    Reply

  • Ann

    |

    I am thrilled to see Linda as part of your Creative Squad, she is such a talented artist, and seeing her incorporate her talents in textile design makes me even happier. This is a gorgeous piece. I am honored that Linda is inspired by my work because I truly admire her talents and creations. Fantastic tag book, all the special details bring it to life and that fan stamp design is glorious! ~Ann

    Reply

Leave a comment

Crossing Bridges – Art Journal

“Sometimes you need to burn bridges to stop yourself from crossing them again.”

I stamped out my Fairview Fan foam stamp using Moonlight Duos ink pads – love this art nouveau inspired design.

The figure is drawn using a Holbein marker, nice and sketchy :)

Here are some of the supplies I used:

Leave a comment

Stay Soft – Art Journal

“Be Wild but Stay Soft”

For this spread I stamped out my new fan foam stamps with acrylic paint onto some white paper, cut them out, and collaged them into my art journal. Here is my Fairview Fan Positive Negative stamps.

And here is one of the stamps from the Jewett Fan Positive Negative pair. I went back into these elements with a bit of dots and marks using the new Winsor Newton fineliner pens – which I am super impressed with btw and links are below for them if you are also a fan of good fineliners :)

And here is the Broadway Fan Positive Negative stamps and the Van Vorst Fan Positive Negative stamps. Then I went in and played around with my lettering, bringing in the dots to tie everything together.

Here are some of the supplies I used:

Leave a comment