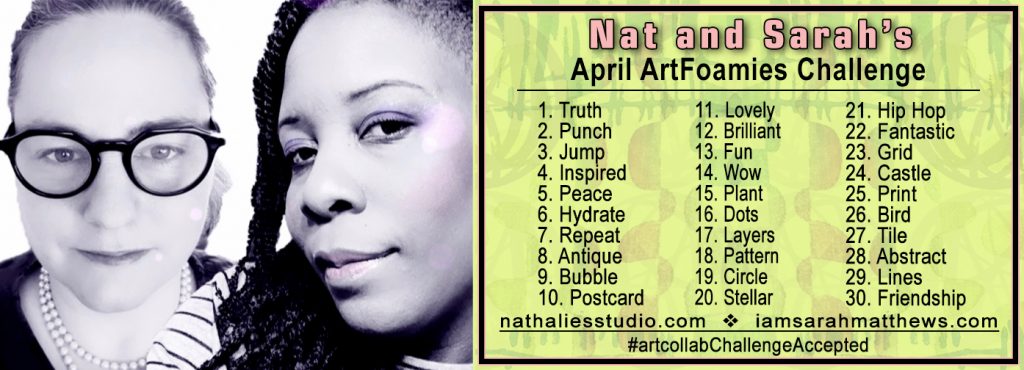
Are you playing along with Nat and Sarah’s April ArtFoamies Challenge ? You can follow along on my Instagram feed daily with videos and photos, and I post updates here on the blog too. Today I’m recapping 22 and 23. Enjoy!
Day 22 – Fantastic –
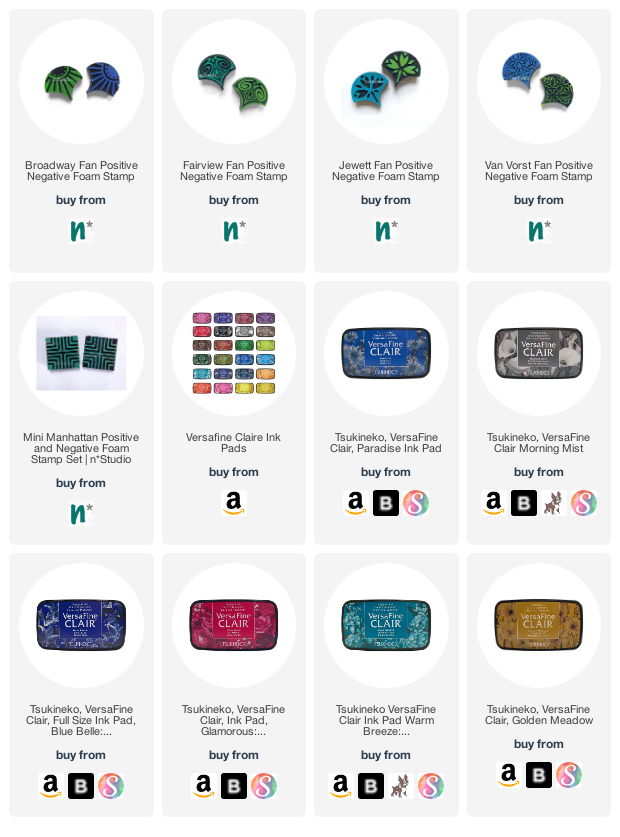
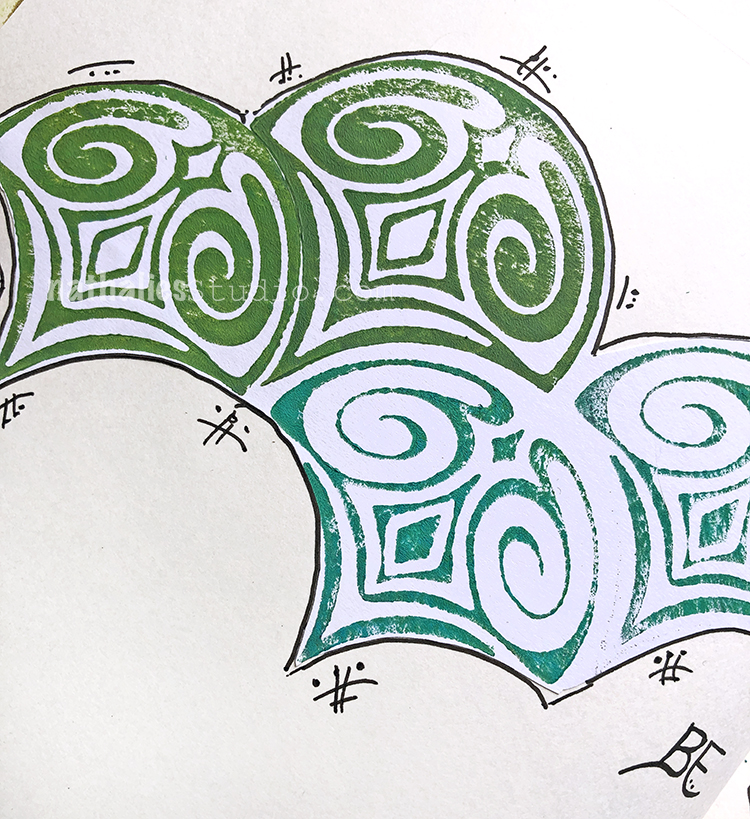
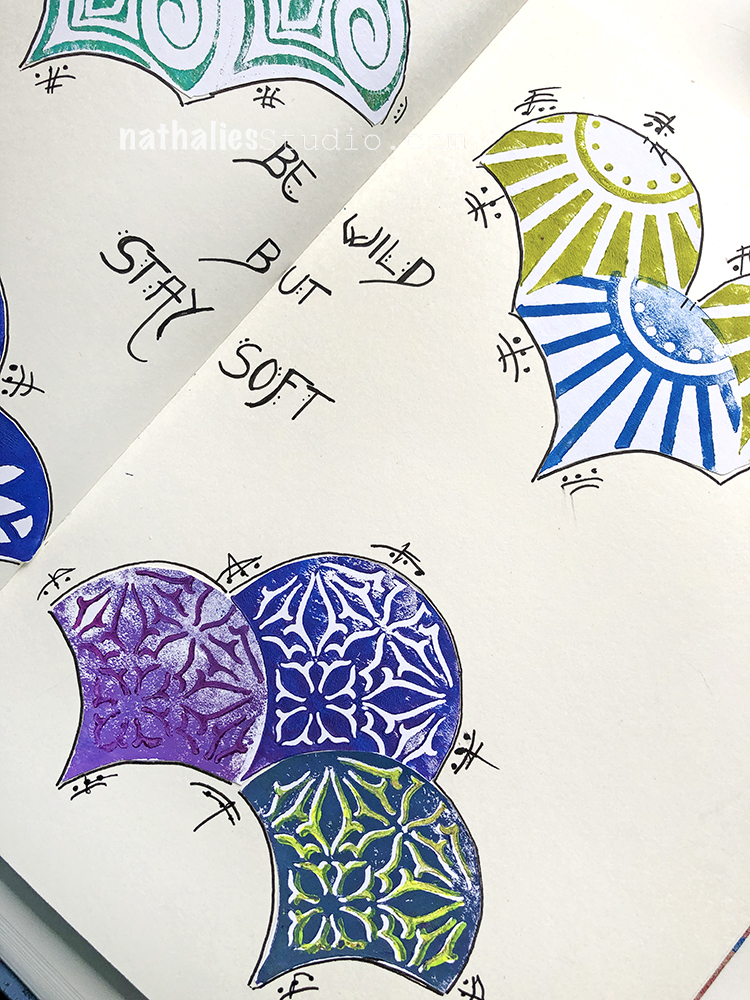
Not a surprise here…since I have been creating a ton of fan shaped stamps for a while. The shape and possibility to add pattern to it just makes me super happy! So here is a bunch of fantastic stamps ;) including Broadway Fan, Fairview Fan, Jewett Fan, and Van Vorst Fan.
Here is a look at those Fantastic Fans!
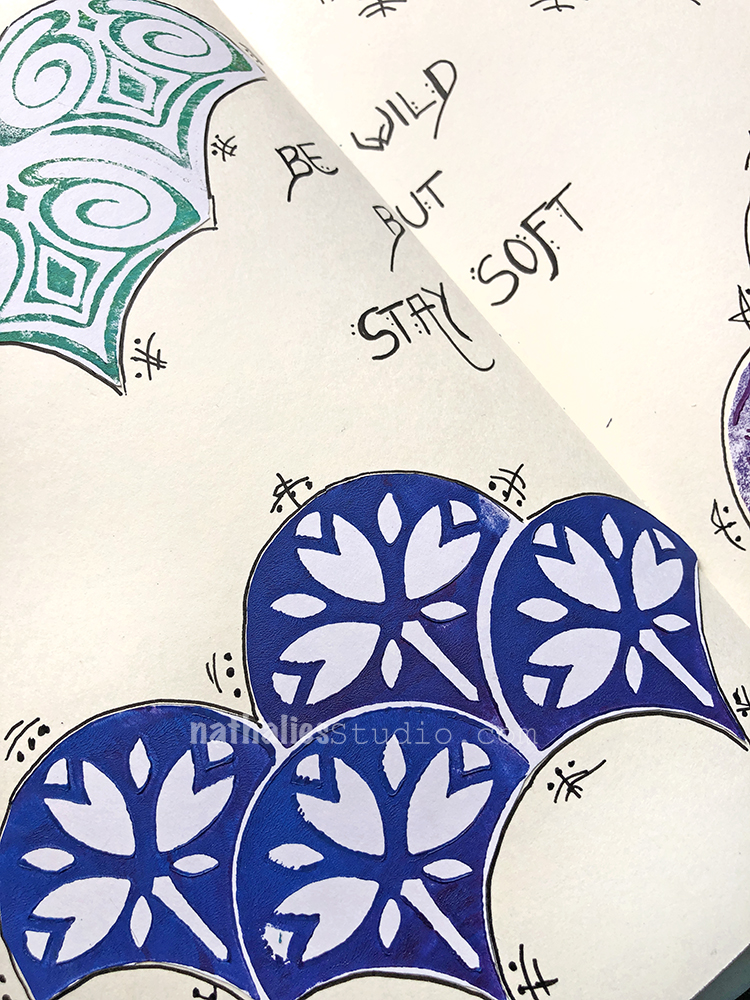
April 23 – Grid – Had to be the Manhattan Positive and Negative Stamp set. Of course I screwed it up in the middle of the stamping – just like you get lost in Manhattan when you do not pay attention. The trick is to just pretend you wanted to go that route anyway… and then all is good and you are mastering the grid.
Here is a look at that April 23 Grid:
Follow along with the challenge on instagram and post your artwork too with the hashtag #artcollabChallengeAccepted
We’re recapping Day 08 and Day 09 of Nat and Sarah’s April ArtFoamies Challenge today! You can follow along on my Instagram daily with videos and photos, and I will post updates here on the blog too from time to time throughout the month.
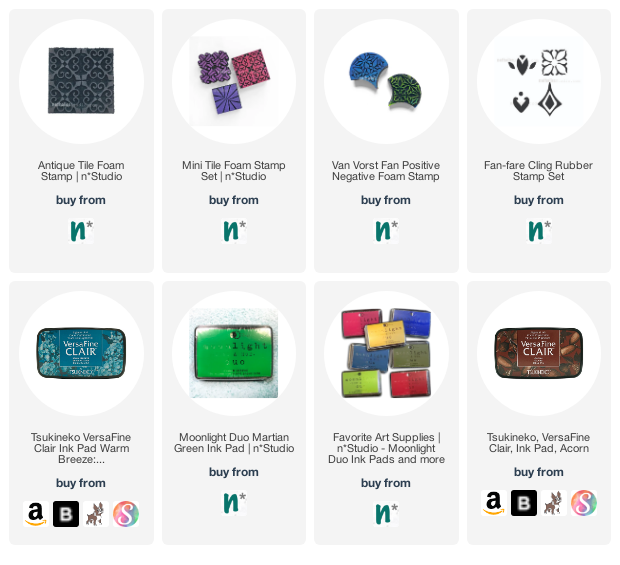
April 8: Antique – Having two foam stamps that are already called Antique- the big one Antique Tile and the small one as a part of the Mini Tile stamp set I knew I had to use those and layer them up. I also sneaked a rubber stamp in again – from my Fan-fare set – because the design made sense here and I used a pinkish red that went with the red print from the Ledger already. A pretty modern antique print, no?
Here is a look at the April 08 page:
And then April 09: Bubble – The Van Vorst Fan positive and negative stamps kind of remind me of little bubbles when stamped in a pattern like this. I should have poked my head under the camera so that I actually evenly spaced my stamping – but there is a lot of vanity right now not to put my roots under the camera LOL. It still turned out well and I dig the teal with the brown ink. The empty space with the ledger background makes up it’s own element – definitely a plus.
Here is a look at the April 09 page:
Follow along with the challenge on instagram and post your artwork too with the hashtag #artcollabChallengeAccepted
Everyone approaches Challenges differently. This ArtFoamies Challenge that Sarah Matthews and I came up with has had me thinking about how I want to approach it. In the past my Foam Stamplifier Challenge #foamstamplifierchallenge I used all kinds of different media, so I didn’t want to repeat myself. I also thought about how Sarah usually uses ArtFoamies with ink pads, while I use acrylic paints and the first parameter became clear: I will only use ink pads for the challenge. The other challenge is that I purchased an old ledger journal and I want to turn it into a pattern book. I usually make my own pattern books by binding loose printed papers into a book. This method has the advantage that if a print doesn’t turn out too great it can be discarded. By printing directly into this 125 year old ledger I have no out. So using my foam stamp designs to create patterns into a ledger book with ink pads is my challenge for this month.
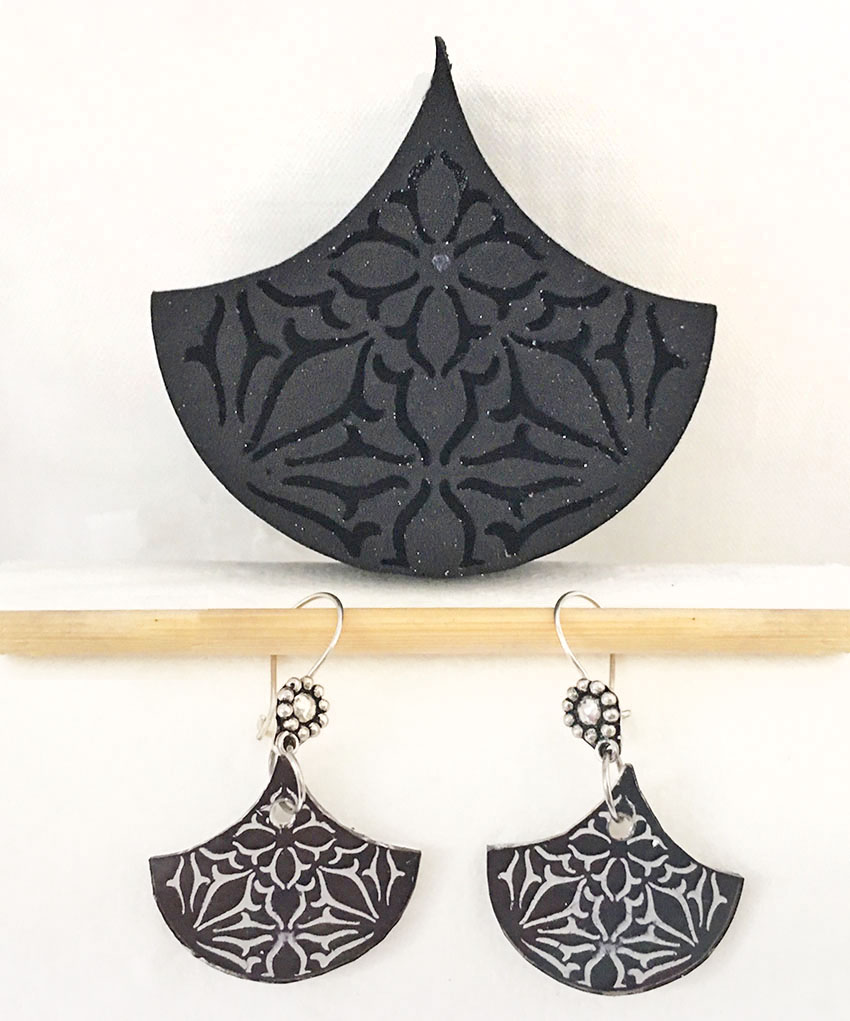
Hello from my Creative Squad! Today we have a post from Linda Edkins Wyatt, and it is extra special because this will be her final one with us and we thank her so much for her amazing creativity and contributions to our little group! She leaves us with some awesome earrings, using my Van Vorst Fan foam stamp set and this month’s theme: Motivated in March – What keeps you motivated to create? Is it a certain material? Your favorite colors that you can’t get enough of? Maybe you get motivated when you see artwork in a museum or out and about? Share with us your creative motivation and then create something inspired by it.
What keeps me motivated to create art? New products!
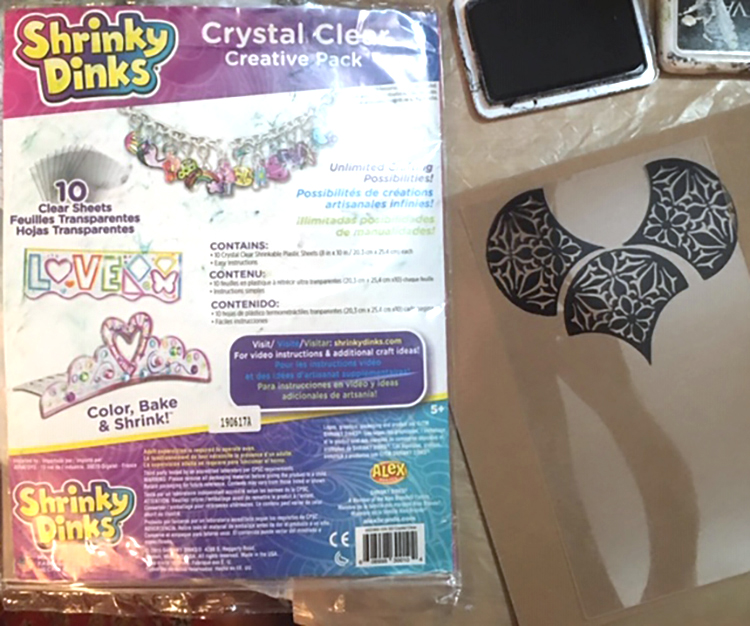
For March, Nat asked us to think about what motivates us. I’m motivated by sooooo much: a shadow on the sidewalk, a pretty leaf changing colors, buds beginning to grow, architectural details on my daily walk, and advertising I see on a billboard or in a magazine. But, one thing that really gets me percolating with ideas is discovering a new product. Often, it’s a new stencil or stamp. But my latest discovery is something I totally missed in my childhood: shrinky dinks! One of my artist friends included a few sheets in a recent package, and I have to say, I’m addicted. It is so magical to watch it suddenly start to shrivel and buckle and turn into a miniature piece of art in minutes.
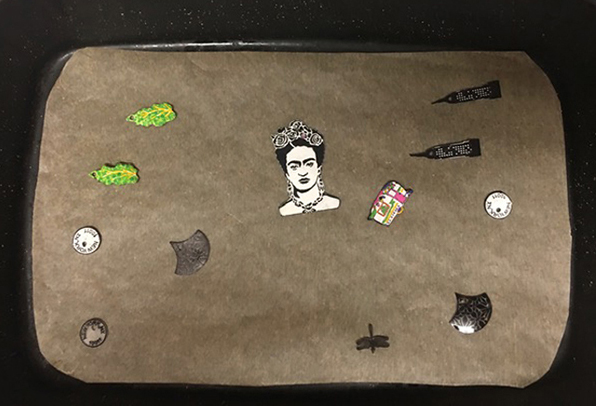
When I got the shrinky dink film, I thought, “Let me test that beautiful fan-shaped Van Vorst art foamie and see what happens.” It printed beautifully on the film using black Archival ink. I also tested a few stamps and stencils with both ink and acrylic paint.
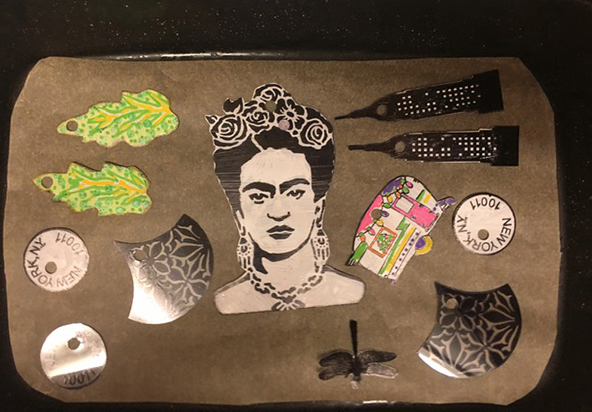
I punched holes in the top center of all the stamped, stenciled and painted pieces with the idea of using them in the future to make jewelry. I heated the oven, put in my shrinky dinks, and waited for the magic.
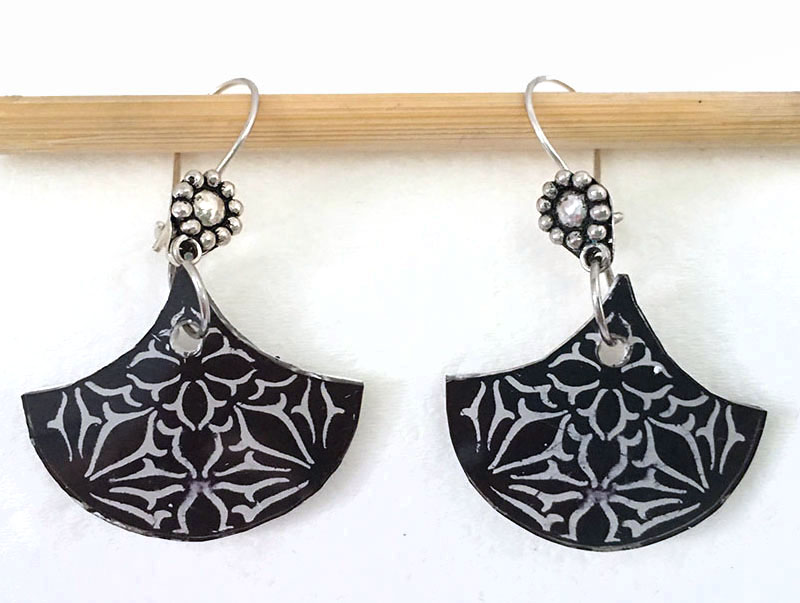
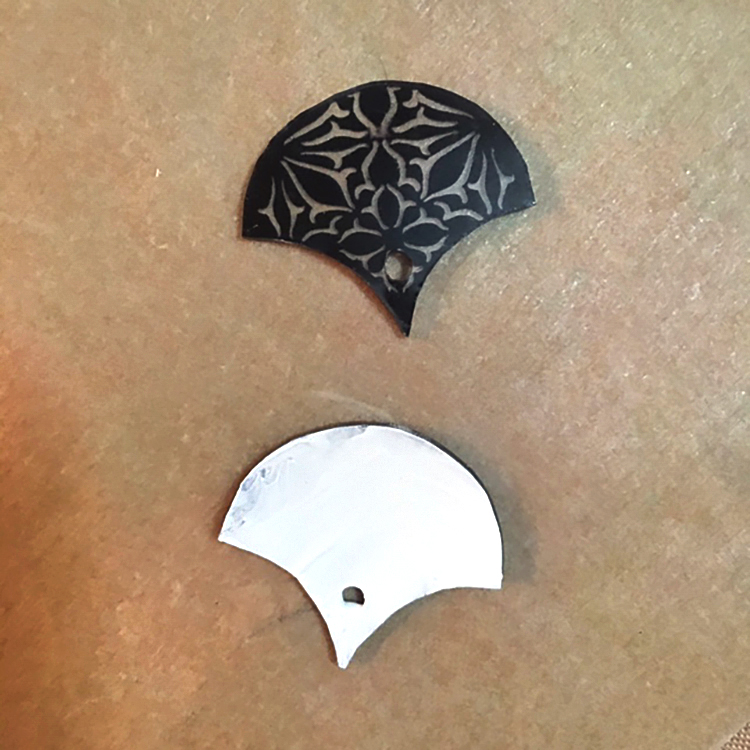
Once the stamped film had shrunk, flattened, and cooled I painted the back of the shrunken Van Vorst pieces with white acrylic. It looked fine without painting the back, but I wanted to make the design pop a little more.
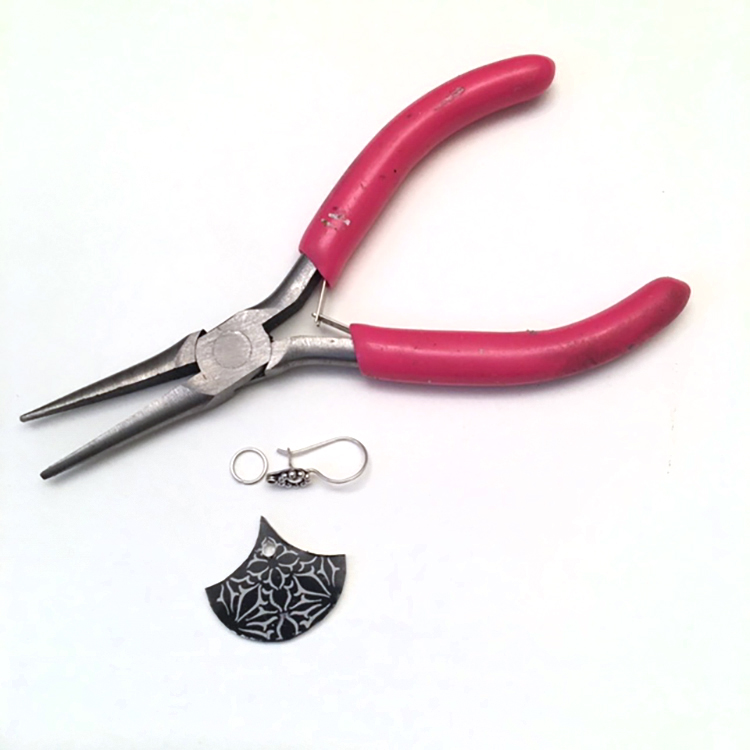
I got out my jewelry-making components and tools and rummaged around in my containers to find some earring wires that would work with the stamped design. I also selected a small silver ring to connect the fan design to the earring wire.
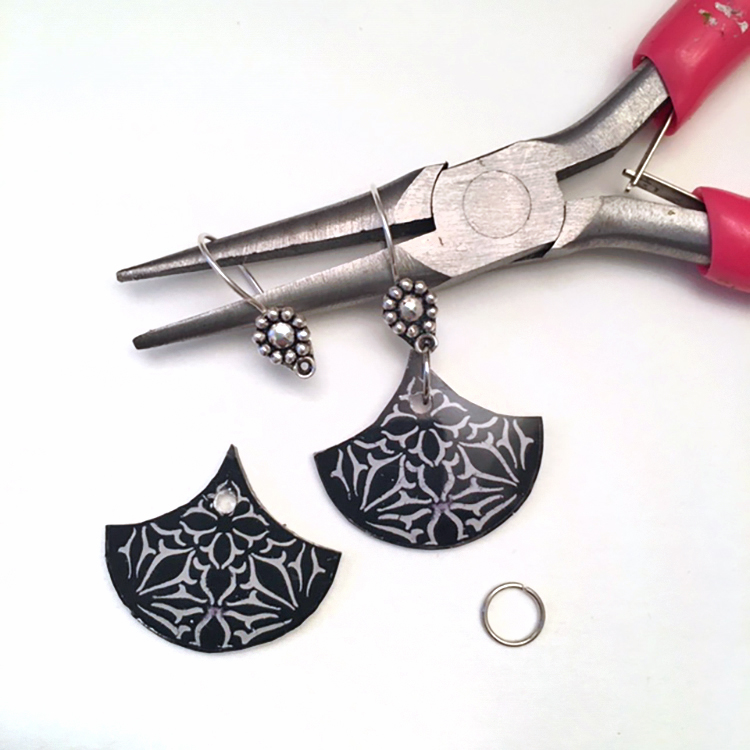
Carefully, I opened the small, round ring and threaded it through the fan and the hole on the earring wire, then closed it with my jewelry pliers.
Take a look at the final earrings with the art foamies fan stamp for comparison. The design shrunk to about one quarter to one third of its original size, and also got much thicker. The details of the design were even more crisp and clear.
Here’s the “how-to” steps:
1-carefully stamp the chosen design onto the shrink film. Press carefully, being careful not to slide the stamp. Lift the stamp straight up to avoid smearing.
2-cut the shape out with scissors. I cut close to the design edge, but you can also leave a little border.
3-punch a ¼” round hole near the top of the earring so that you can attach the earring wire or a jump-ring loop. (It will look way too big but once it shrinks the hole will be just the perfect size.)
NOTE: Be very careful when you cut and punch so that the ink does not smear. Hold the stamped design by the edges only.
4-bake in the oven or a toaster oven according to the directions on the shrink film package until the design shrinks. It will cool quickly. If your piece looks curved or buckled, quickly flatten with a spatula. Once it is fully cooled you cannot reheat to take out any curve or buckle.
You can also use the shrink film to make necklaces or pins—the possibilities are endless!
Thank you Linda – always love working with shrink film and watching the designs transform to miniature wonders :)
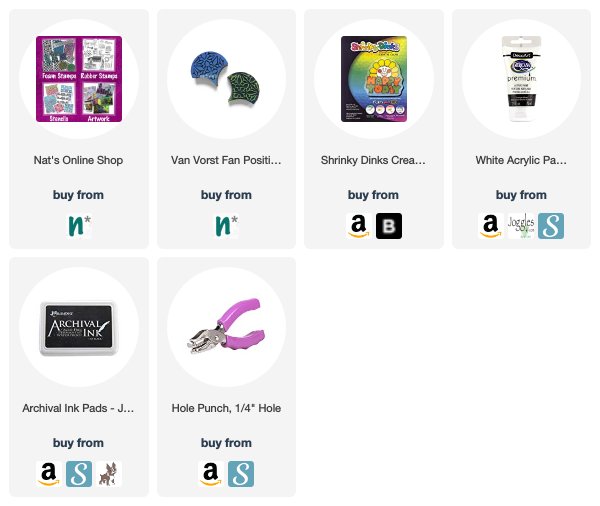
Want to give Linda’s project a try? You can find all my Foam Stamps in my Online Shop and here are some of the other supplies she used:
Feel inspired? Working on something yourself that you’d like to share? I love to see how you interpret our monthly themes. Email me how you used my stencils and stamps with the theme and email me an image – I would love to share your projects in my next “n*Spiration From Around the Globe“.
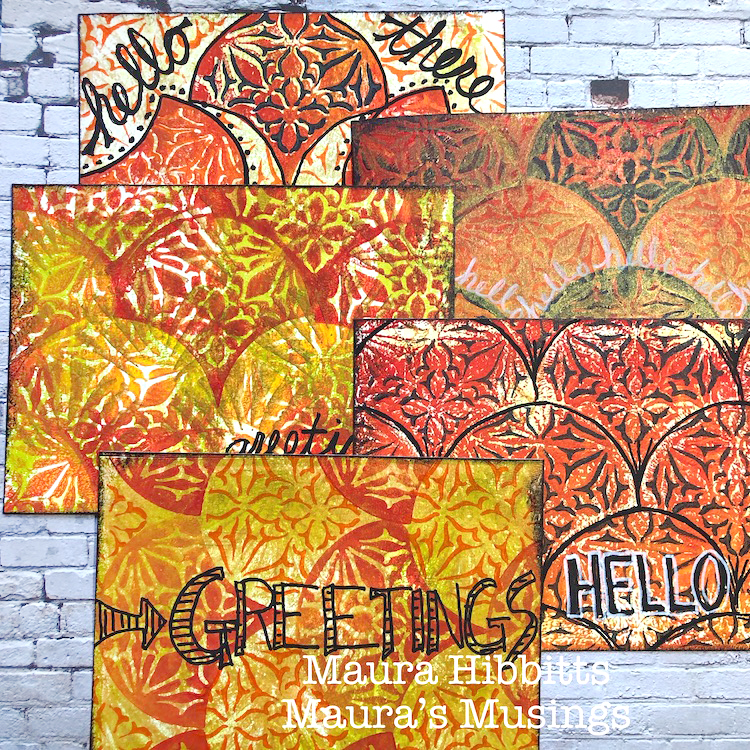
Hello from my Creative Squad! Today we have a series of cards from Maura Hibbitts that will inspire you to send a greeting to everyone in your life :) Maura is using my Van Vorst Fan Positive Negative foam stamps, my Art Deco Wallpaper stencil, and this month’s theme: Your Biggest Fan – Let’s give a shout out to someone who is doing an amazing job. In a world obsessed with Me Me Me it’s important to take a look around sometimes and give some encouraging words to another, and not just in your art and craft making :) Be their Biggest Fan!
How do you choose the most awesome person in your life, or who has inspired you the most? I would have to include my family, friends, artists, musicians, authors and many more. Some days it might be the barista handing me my much needed coffee, or the mechanic fixing my car so I can get back on the road. Many days it is not even a person, but the natural world…Mother Earth. So I decided instead of focusing on just one person, that I would create some postcards that I can send to a few people and let them know how much they mean to me. The trees are dressing themselves in beautiful autumn colors where I live, and that inspired me to choose my color palette for this project. Happy Fall everyone!
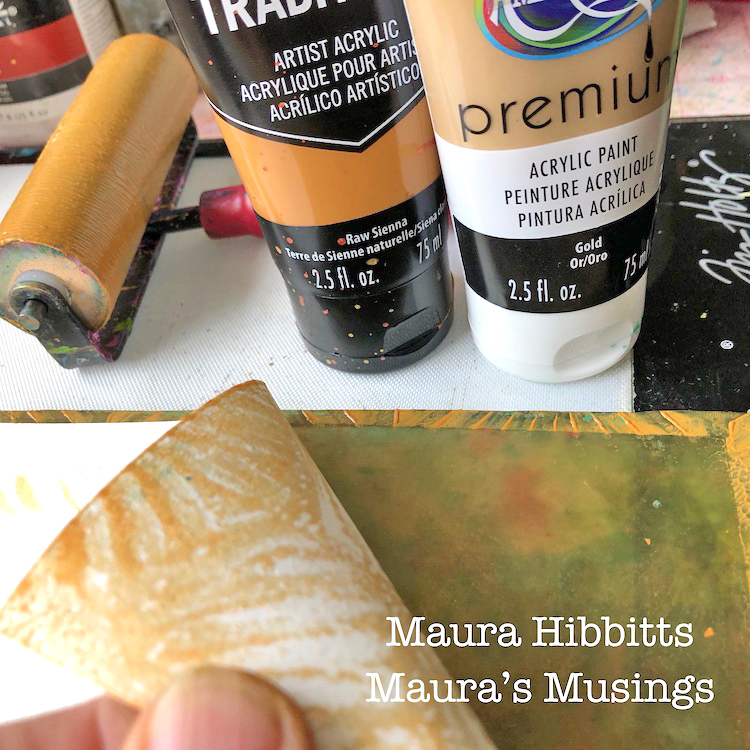
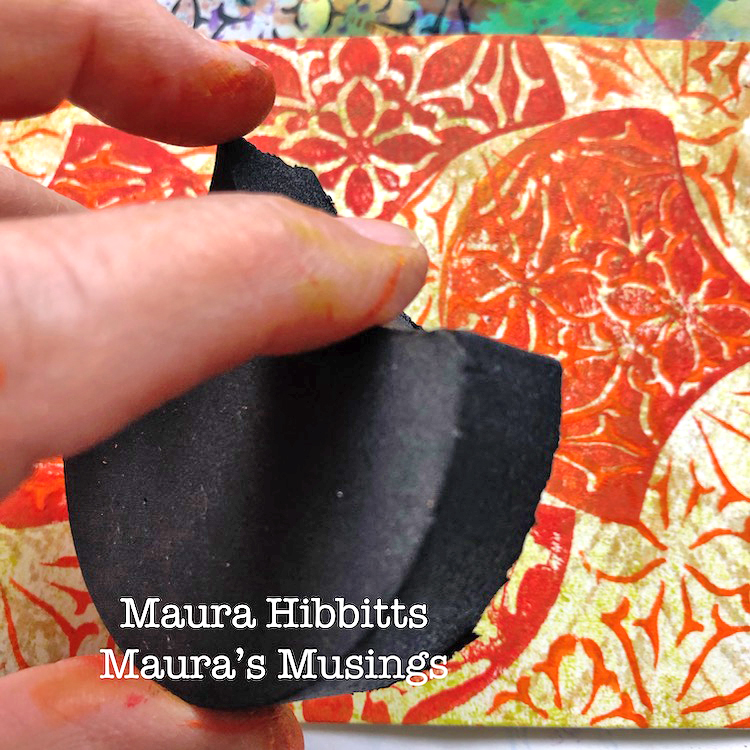
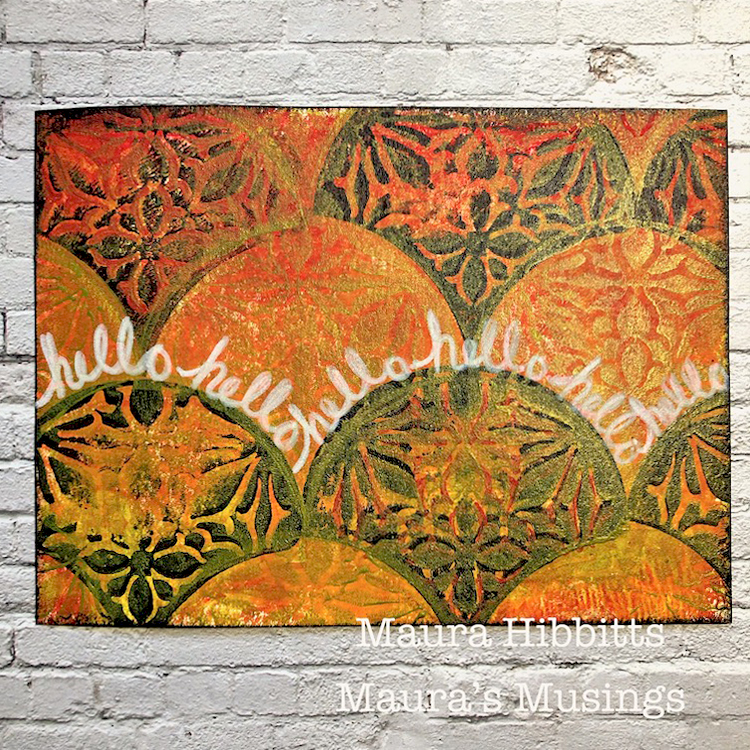
I cut large sheets of watercolor paper into 4.5 x 6 inch rectangles for my post cards. I began by blending Raw Sienna and Gold acrylic paints on my gel plate with the brayer, and laid the Art Deco Wallpaper stencil on top. First pull was a paper over the stencil, then, lifting the stencil and pressing it down on a second sheet. I finished up with several pulls on the gel plate. Check out the wide variety of designs you can get by switching it up just a bit.
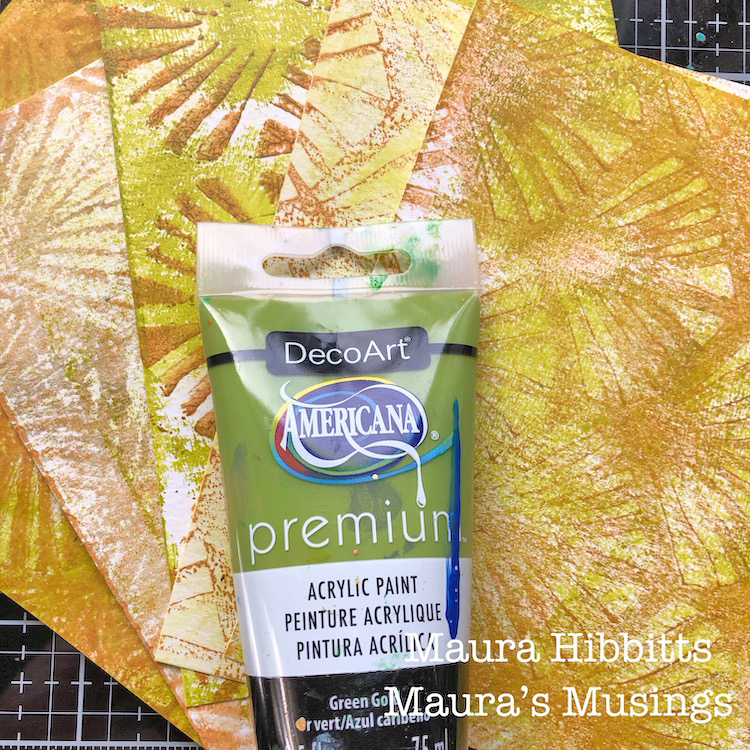
When you look closely at the trees, you can still see the green under a lot of the bright colors, so I wanted to add a bit in. I put a light layer of Green Gold on the gel plate and lightly pressed my papers over it. I also used a baby wipe with the extra paint and blended it in here and there.
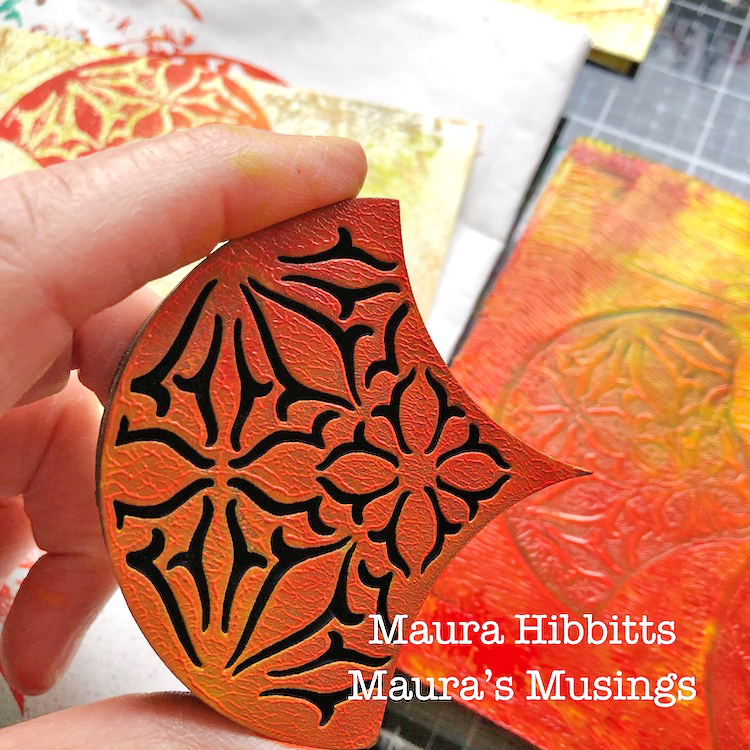
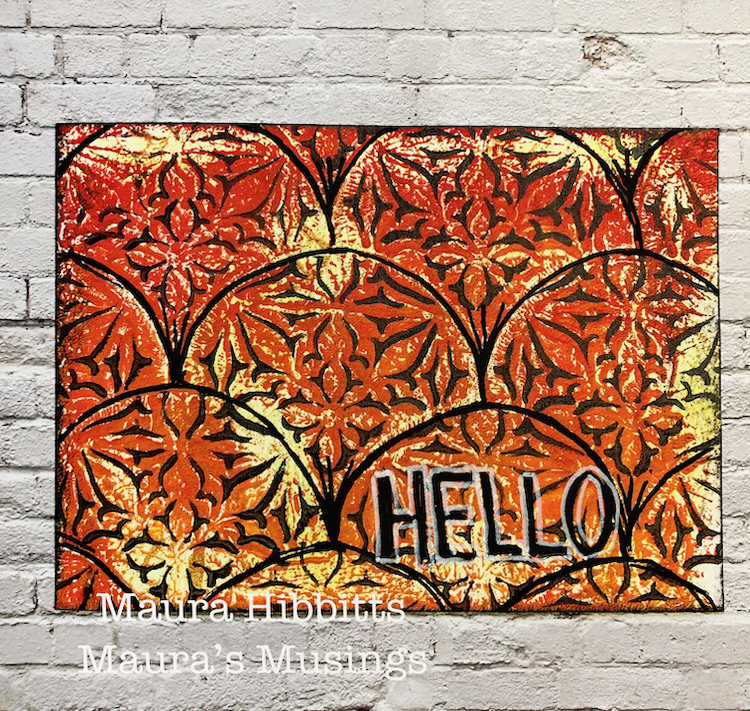
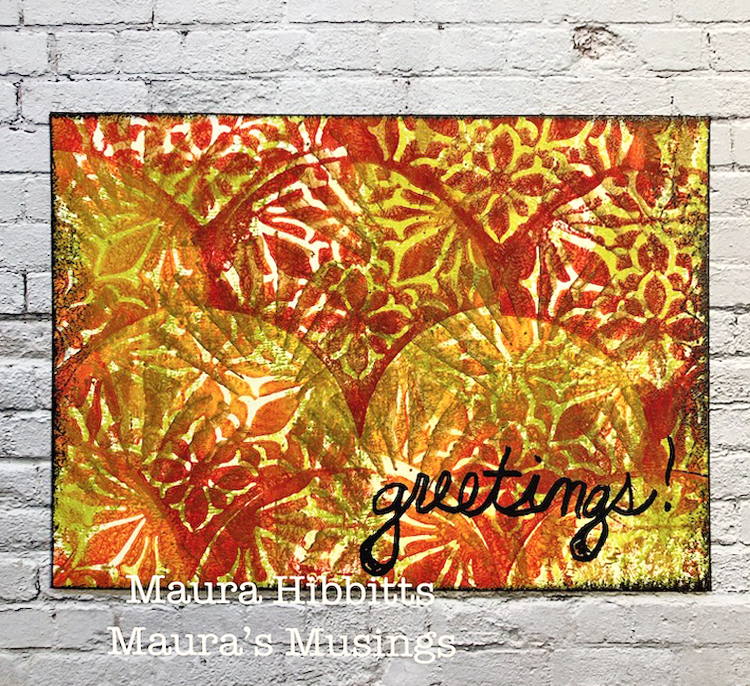
Now comes the fun! I put a layer of Napthol Red at the bottom of the gel plate, and a strip of Hansa Yellow at the top, then blended them with the brayer. I stamped into this with the Van Vorst Fan Positive Art Foamie and began stamping my postcards in a variety of patterns. TIP – whenever you stamp with paint, clean the stamp off right away. I use baby wipes, a mister if I need it, and sometimes an old toothbrush if it is not all coming off.
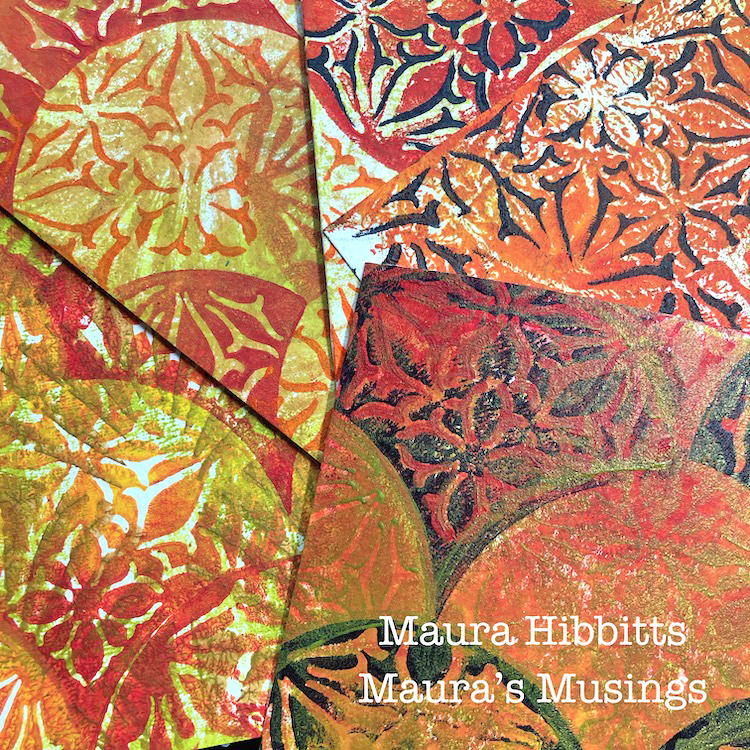
Next up, stamping with the Van Vorst Negative Art Foamie. On some cards, I used Cadmium Orange Hue, on others Payne’s Grey, some I mixed in a bit of Gold, and others I left alone. I wanted a variety. I messed up on one card, so even went back in and stamped the positive with the grey and green gold to “fix” it.
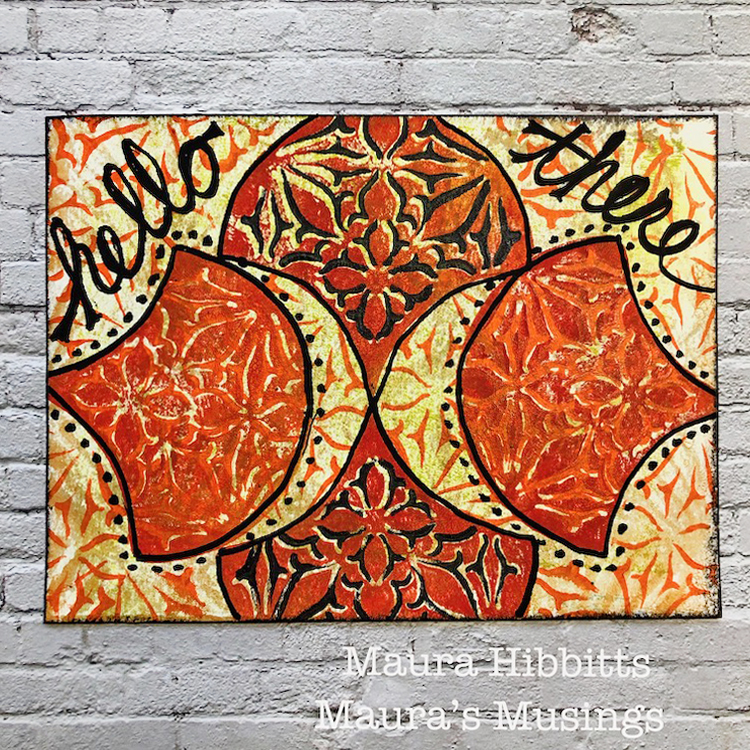
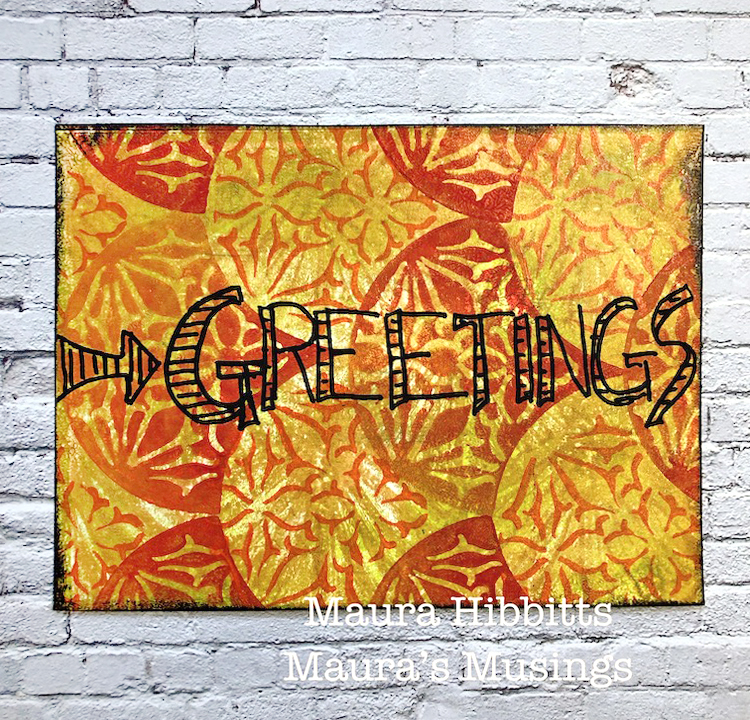
I added detail and words with black and white Posca paint pens, and edged the cards with black archival ink. I wanted to be sure to use all waterproof materials since these will be going through the post.
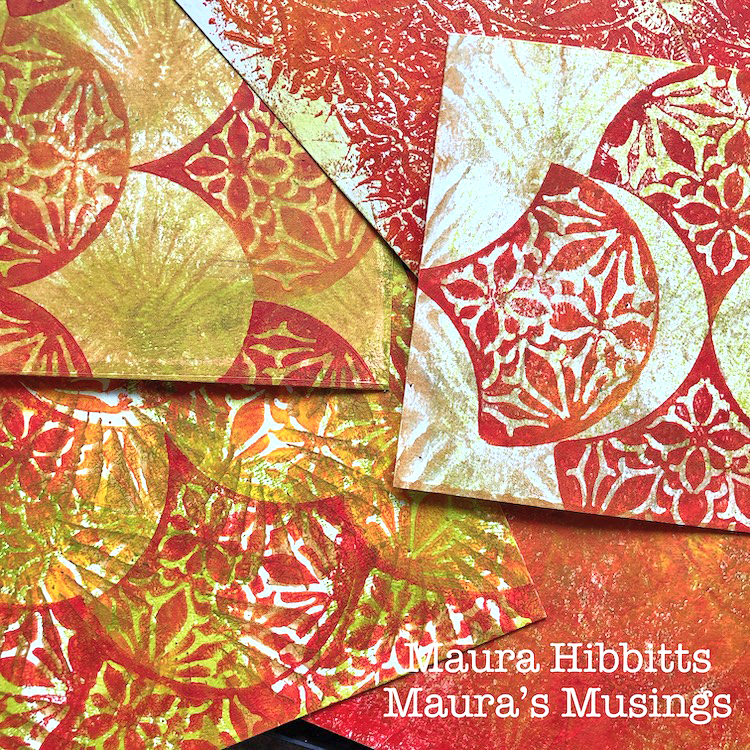
Just look at what you can do with two stamps, a stencil and a few paints! I would have a completely different set of postcards if I switched out my materials. Hmmm, I may just have to make a set with my favorite color palette – green, blue and purple. Why not give it a try yourself and make a set of cards or postcards to send to someone you admire?
My set of postcards in autumn colors and fun designs are ready for me to tell a few people how much I admire them…after all, I am their biggest fan! (and isn’t the fan shape a perfect tie in to this theme?) I hope you have fun thinking of who you admire, and creating a little something special to let them know! – Maura
Thank you Maura! We absolutely love these autumn colors and your message :) Want to give Maura’s project a try? You can find all my Foam Stamps and Stencils in my Online Shop and here are some of the other supplies Maura used:
Feel inspired? Working on something yourself that you’d like to share? I love to see how you interpret our monthly themes. Email me or tag me #natkalbach how you used my stencils and stamps – I would love to share your projects in my next “n*Spiration From Around the Globe“.
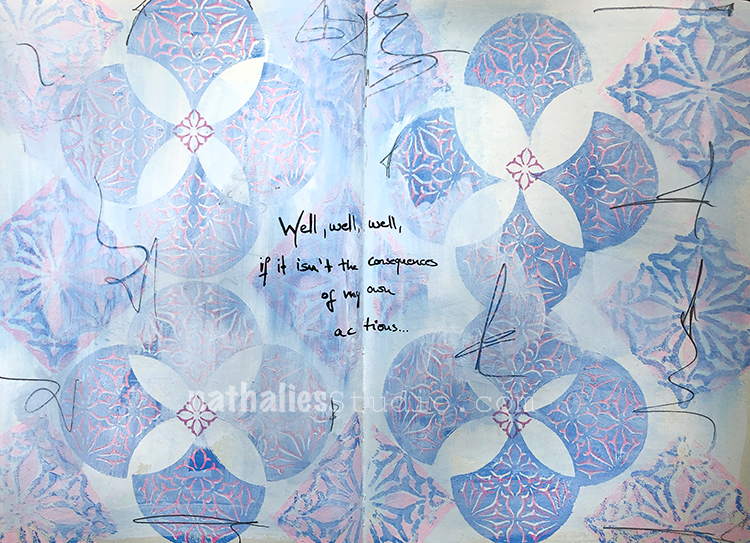
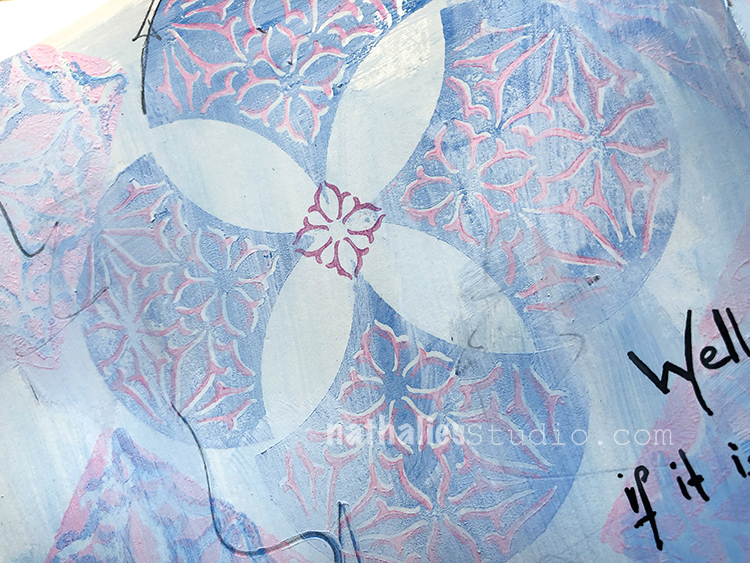
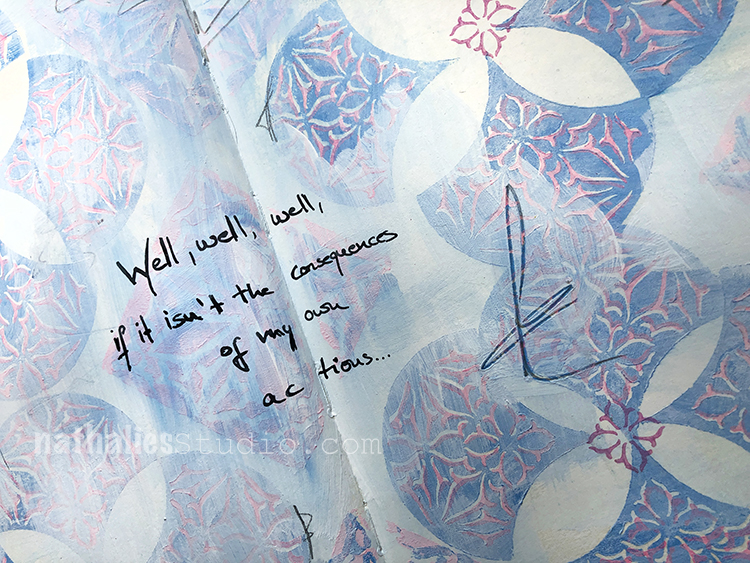
“Well, well, well, if it isn’t the consequences of my own actions…” lol Don’t you hate when that happens?
This page evolved a bit as I was working on it. Basically I actually didn’t like the outcome of the background due to the colors I chose, and then pushed everything to the backround by applying a thin layer of gesso. So peeking through you see the pattern I made using the Van Vorst Fan foam stamps and the Fanfare rubber stamps. Using gesso to knock stuff back a bit is one of my favorite ways to use it – works so well when you’ve gone a bit too crazy with colors and such.
And it gives you a nice surface to journal on. Here I used a fountain pen.
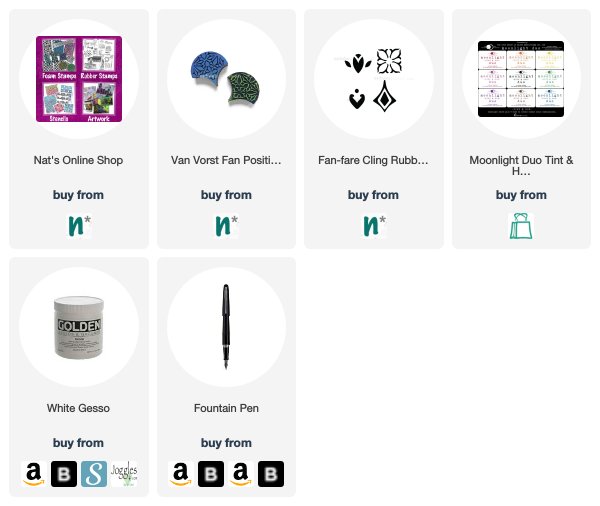
For this spread I stamped out my new fan foam stamps with acrylic paint onto some white paper, cut them out, and collaged them into my art journal. Here is my Fairview Fan Positive Negative stamps.
And here is one of the stamps from the Jewett Fan Positive Negative pair. I went back into these elements with a bit of dots and marks using the new Winsor Newton fineliner pens – which I am super impressed with btw and links are below for them if you are also a fan of good fineliners :)


Such a creative fun idea. Thanks for the inspiration and clear instructions.
Deb
Reply