Hello my friends! Today is Tuesday so that means one of my Creative Squad posts! Here we have Josefine Fouarge sharing with us an art journal page that is a wonderful combination of colors and stamped and stenciled elements. Josefine uses my new Flower Maze and Valley Road stencils, and my Brownstone and My Home is My Castle stamps in this lovely composition. This month’s theme is: True Blue – Blue is the color of honesty and serenity. It’s calming and has even been shown to promote healing. It reminds us of the water and the sky. Let’s slow things down this month and bask in the tranquility of the color blue.
I could use some calmness this month. Life is catching up and finding those quiet moments is becoming a challenge. So, I’m looking forward to those healing effects from using the color blue (it’s probably more the process of creating itself that will do that for me ;) ).
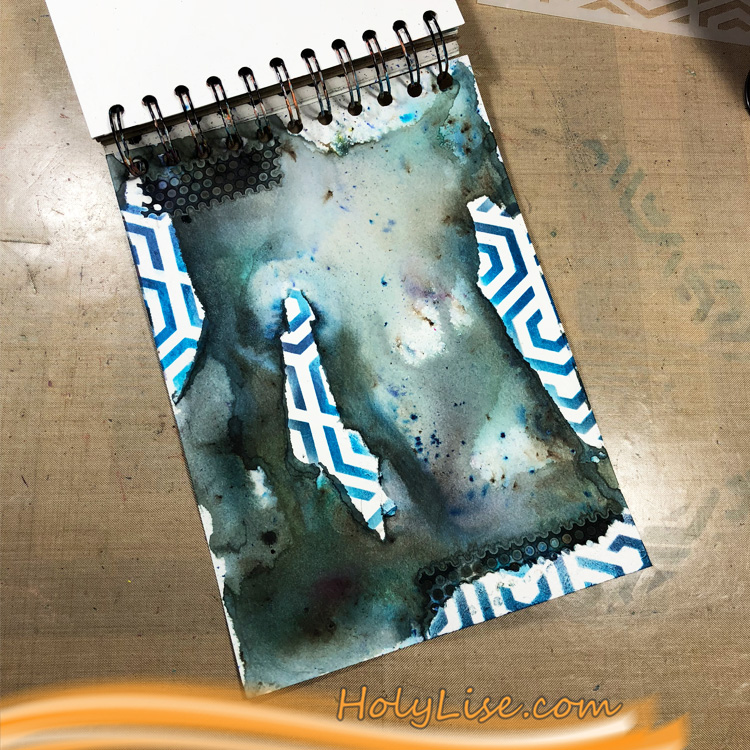
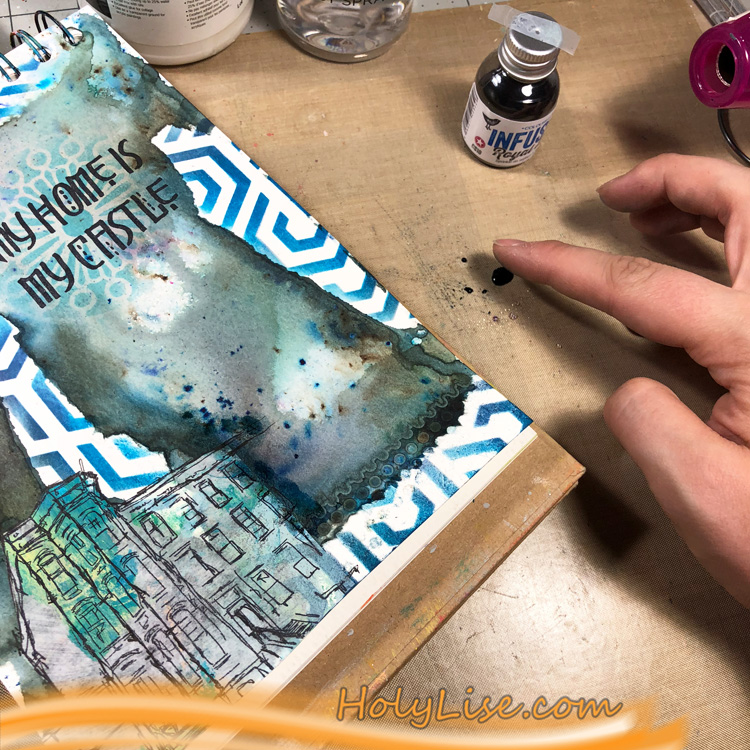
I started by adding different pieces of tape to my journal page to create some texture for the background. I was hoping for more blue from the watercolor powders, but it turned out that there were a lot of green and purple pigments in there as well.
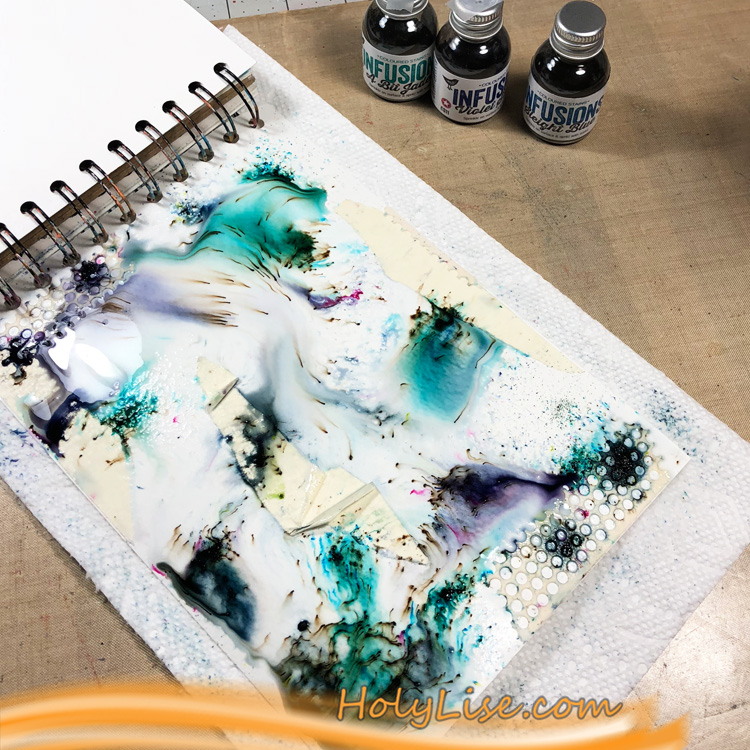
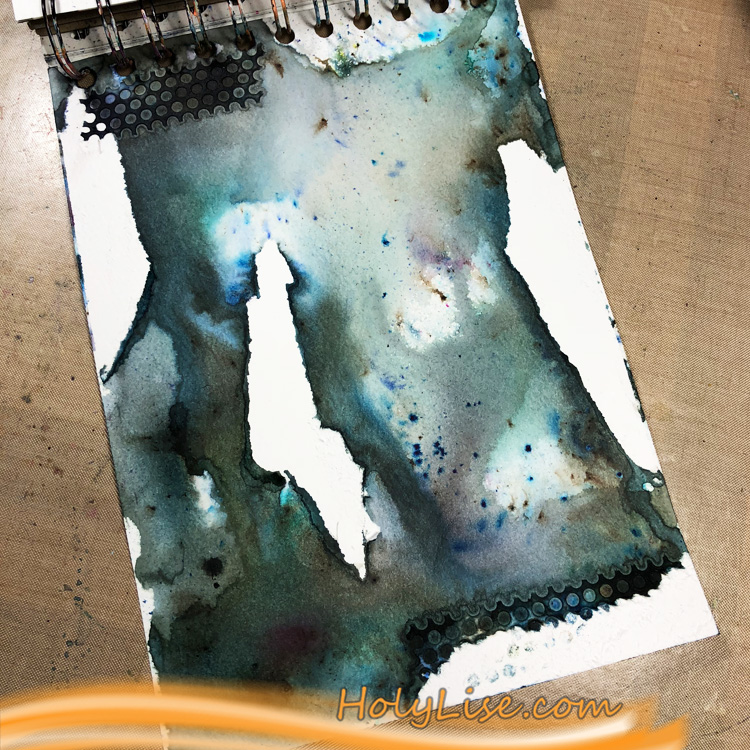
But that just made it more interesting, so I added powders and water in different layers, till I had the look that I liked. What I didn’t like was the tape that I used for the background, so I removed those, at least the majority of it.
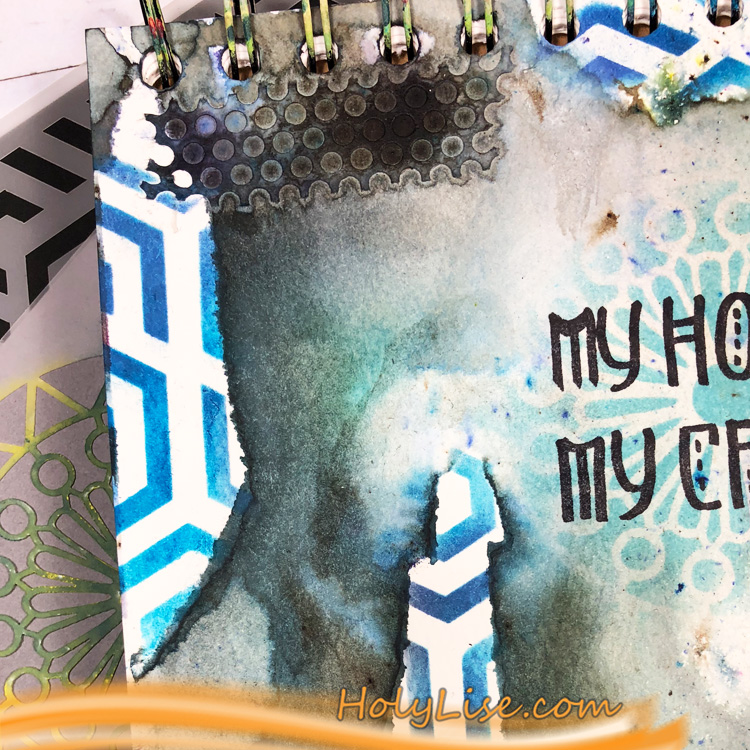
To decorate those now white areas, I grabbed the new Flower Maze stencil and blended a mix of Mermaid Lagoon Distress Ink and Blueprint Sketch Distress Oxide through them.
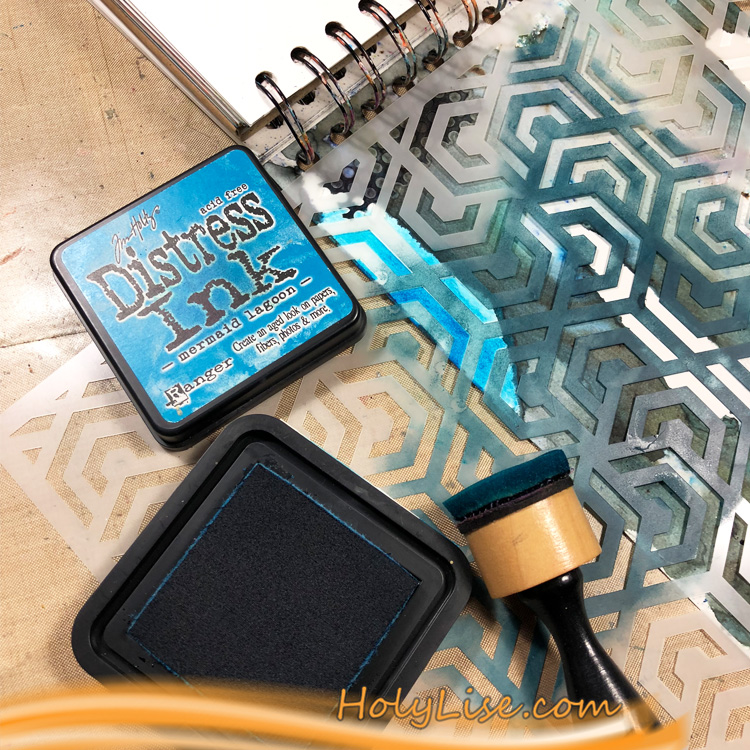
I made sure to blend the ink only in those white areas.
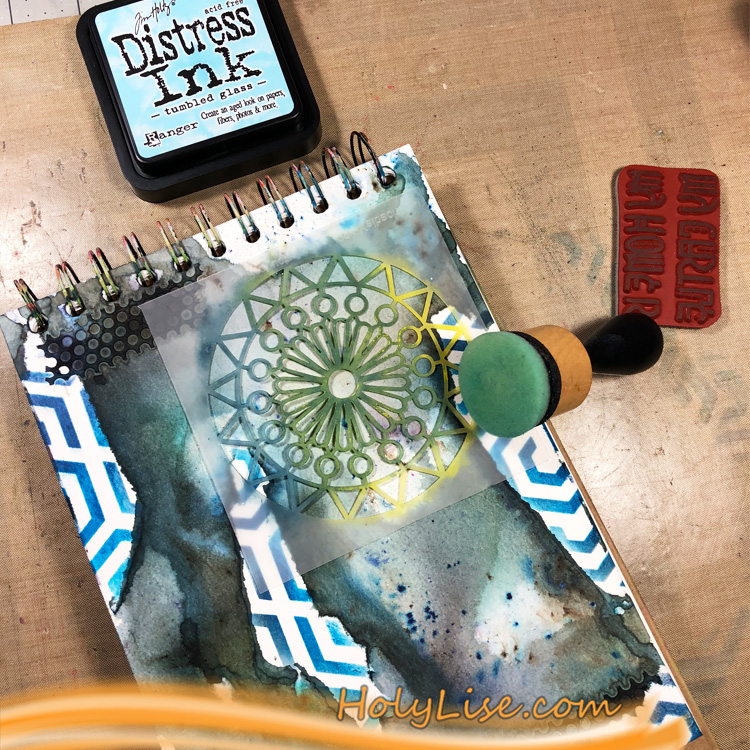
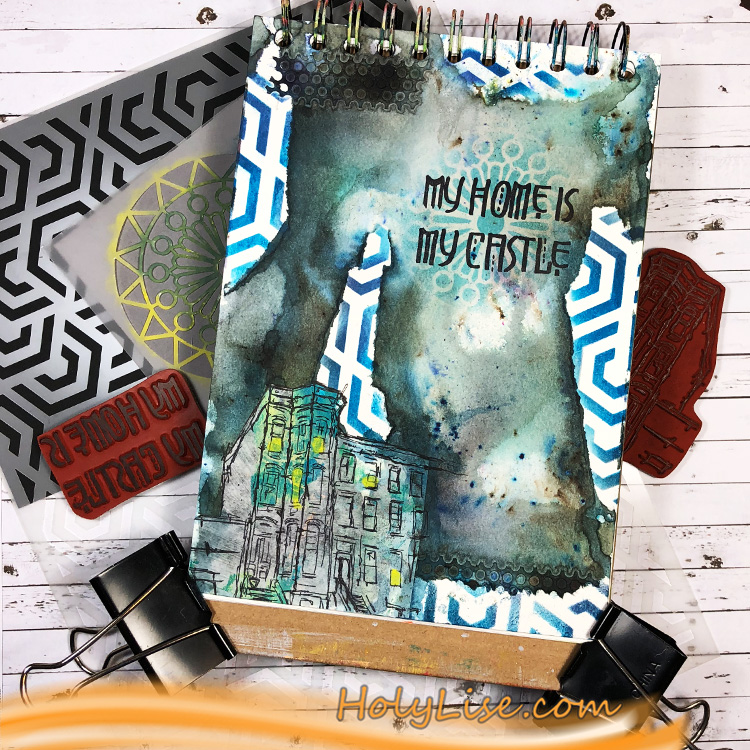
I already knew that I wanted to add the sentiment “My Home is my Castle” and I wanted it to pop a little against the background. A lighter blue blended through the Valley Road stencil helped me with that.
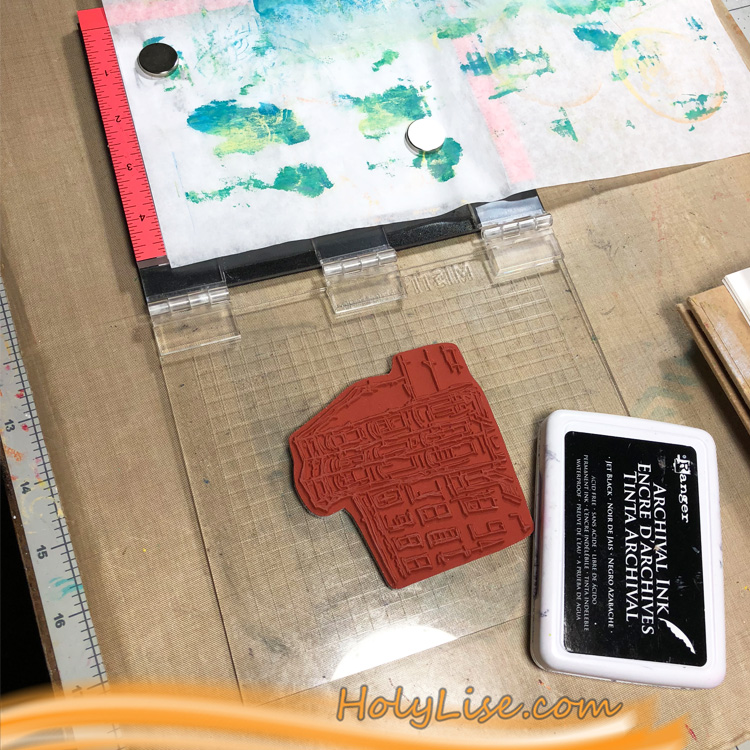
My home really is my castle and the place where I regenerate and calm down. In order to see the Brownstone stamp house in the background, I decided to stamp it onto a piece of tissue paper that had some clean up spots from a different project on it. Thankfully, they are mainly blue.
Just a few finishing touches everywhere and I was done with my grungy, blue art journal page.
I really like the look of the Flower Maze stencil in the white areas.
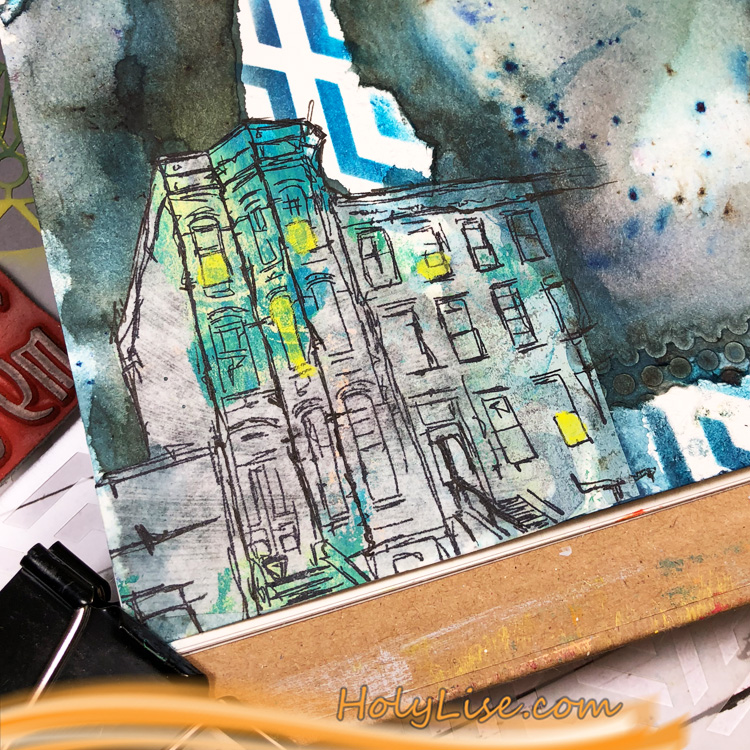
Here is the close up of the Brownstone. A few of the neighbors were home.

Thanks for stopping by and don’t forget to come back every Tuesday for more inspiration from the Creative Squad.
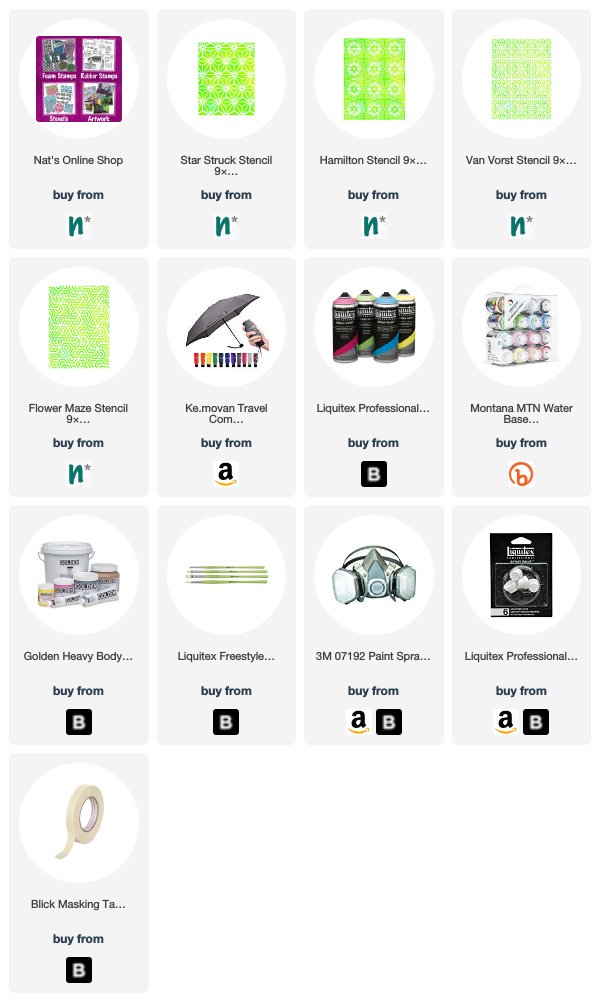
Thank you Josefine – I also love how that Flower Maze stencil pops! You can find all my stencils and stamps in my Online Shop. Here are some of the other supplies that Josefine used:

Feel inspired? Working on something yourself that you’d like to share? I love to see how you interpret our monthly themes. Email me how you used my stencils and stamps with the theme and email me an image – I would love to share your projects in my next “n*Spiration From Around the Globe“.
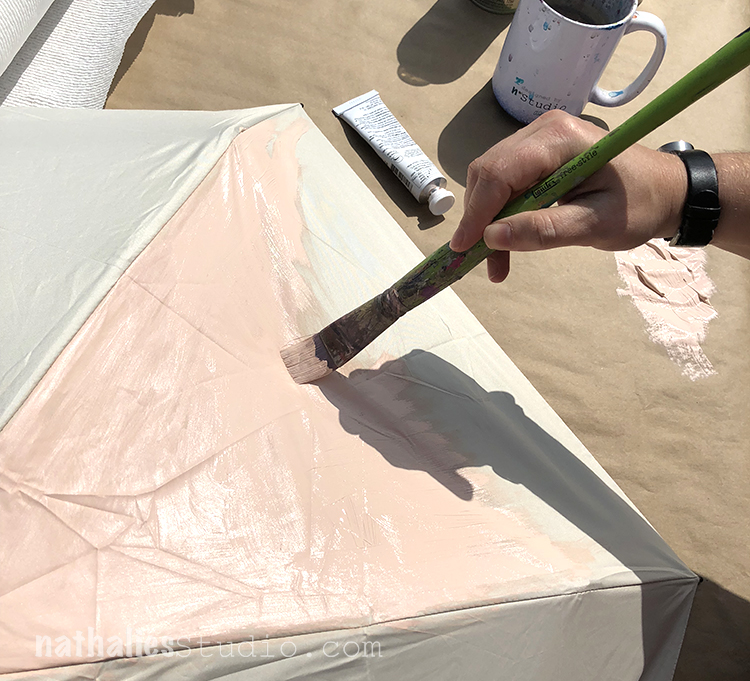
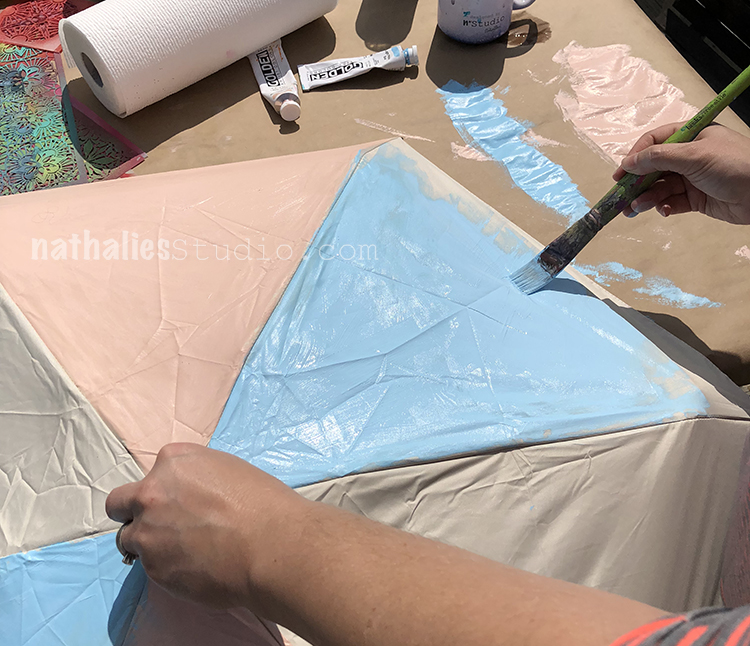


If you add textile medium to the acrylic paint you’ll avoid the stiffness you experienced when you base-coated your umbrella. Hi from San Jose.
Reply