Blog: Stencils

A Look Back – Just Stencils and Words

A Look Back – Want to know a great recipe for an art journal page? Just stencils and words. Yup. That’s it. There are days when I feel the urge to sketch and other days I am in a stamping mood or feeling a layering vibe. And then there are days when I just want to get my words down and I want a background that is straightforward and comes without too much exertion. Not everything needs to be complicated. Let’s take a Look Back at a few art journal pages that use just stencils and words.

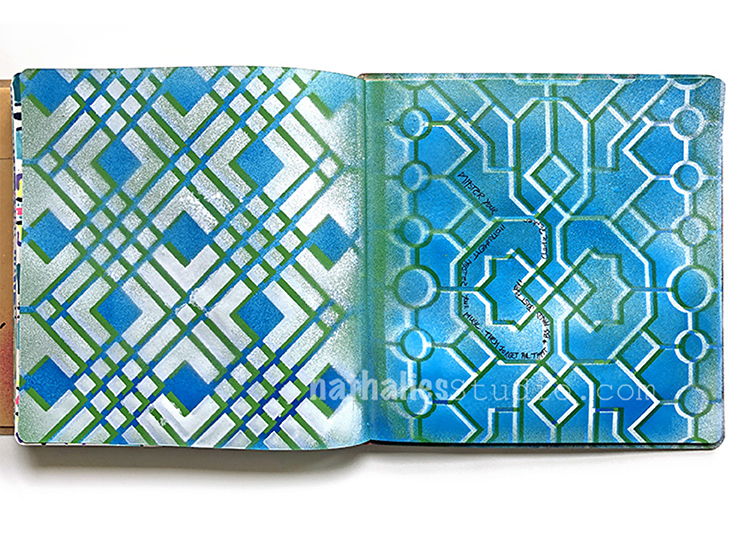
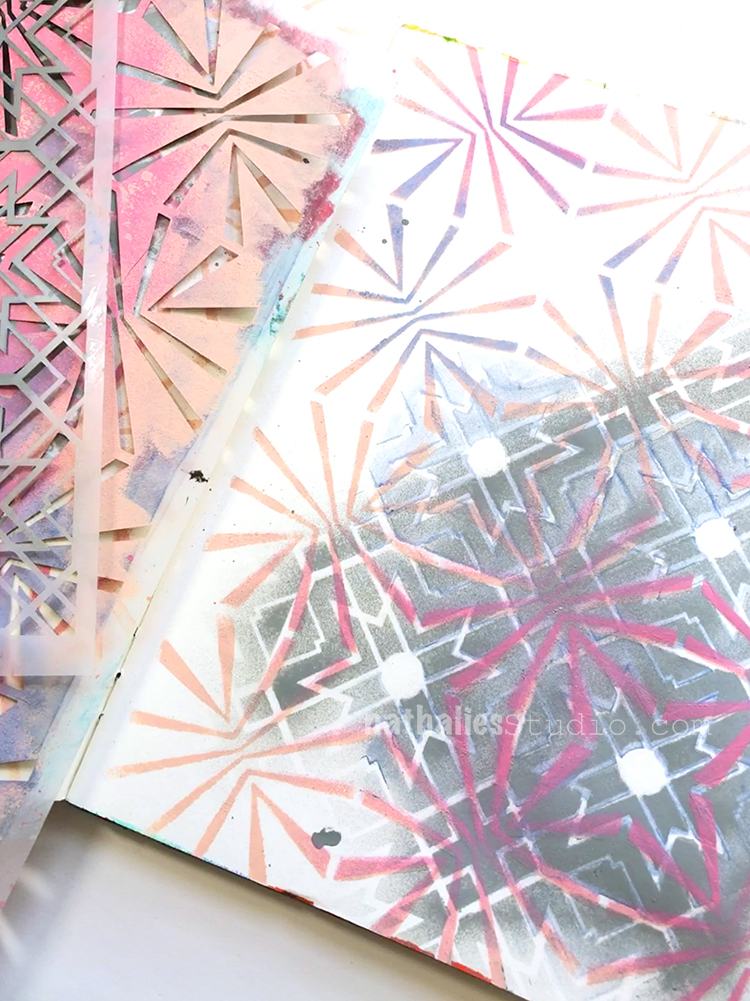
This art journal page was part of my Stencilbop challenge and uses two different stencils, Chicago and Exchange Place, along with acrylic spray paints. I love how fast it is to use spray paint with stencils, and shifting them slightly to create a shadow effect is a pretty cool trick. Where to journal on this one? Just follow the lines on the stencil :)

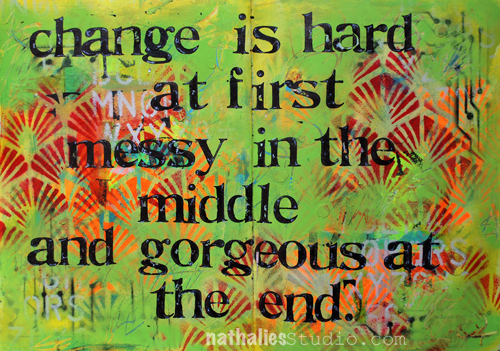
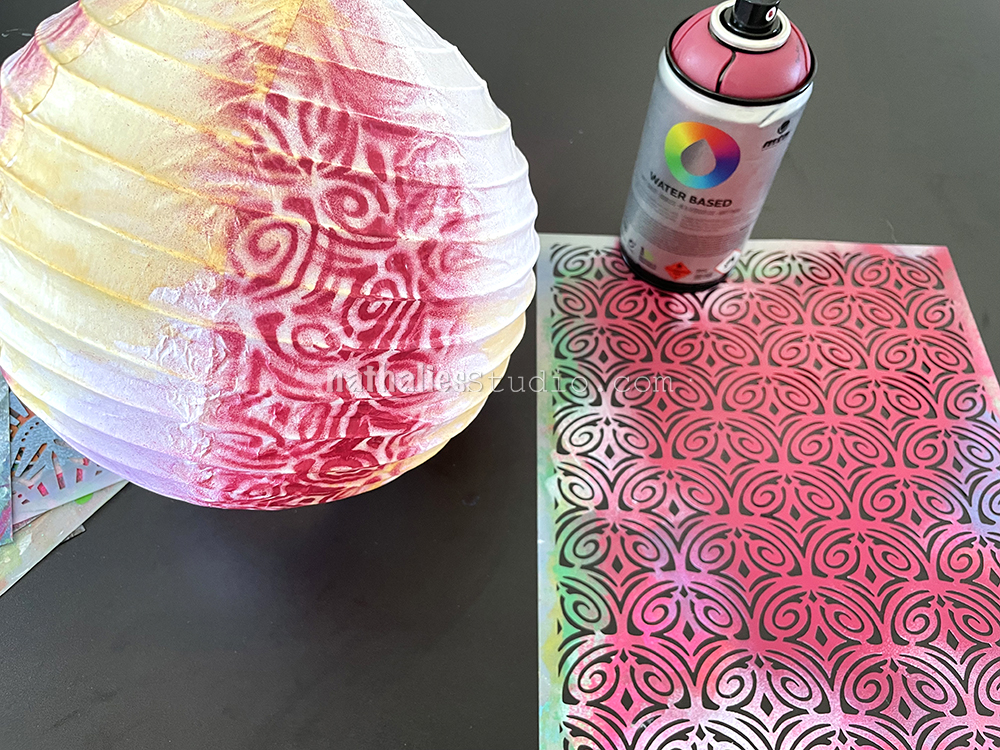
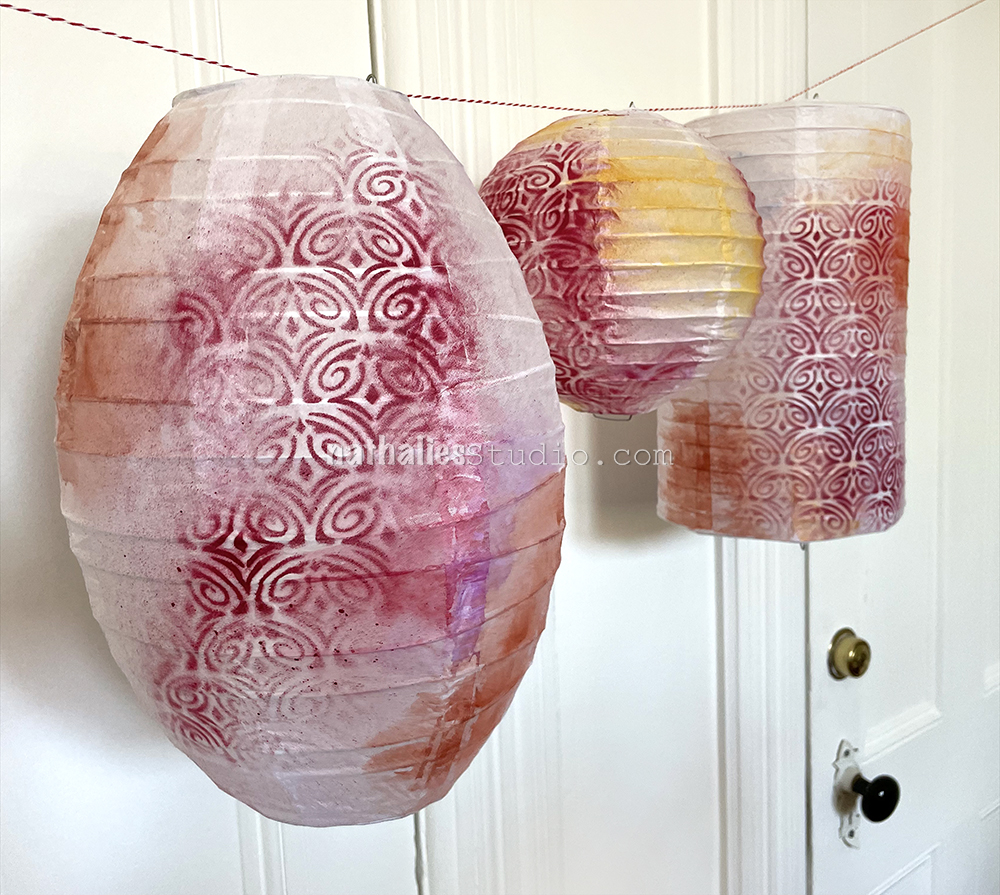
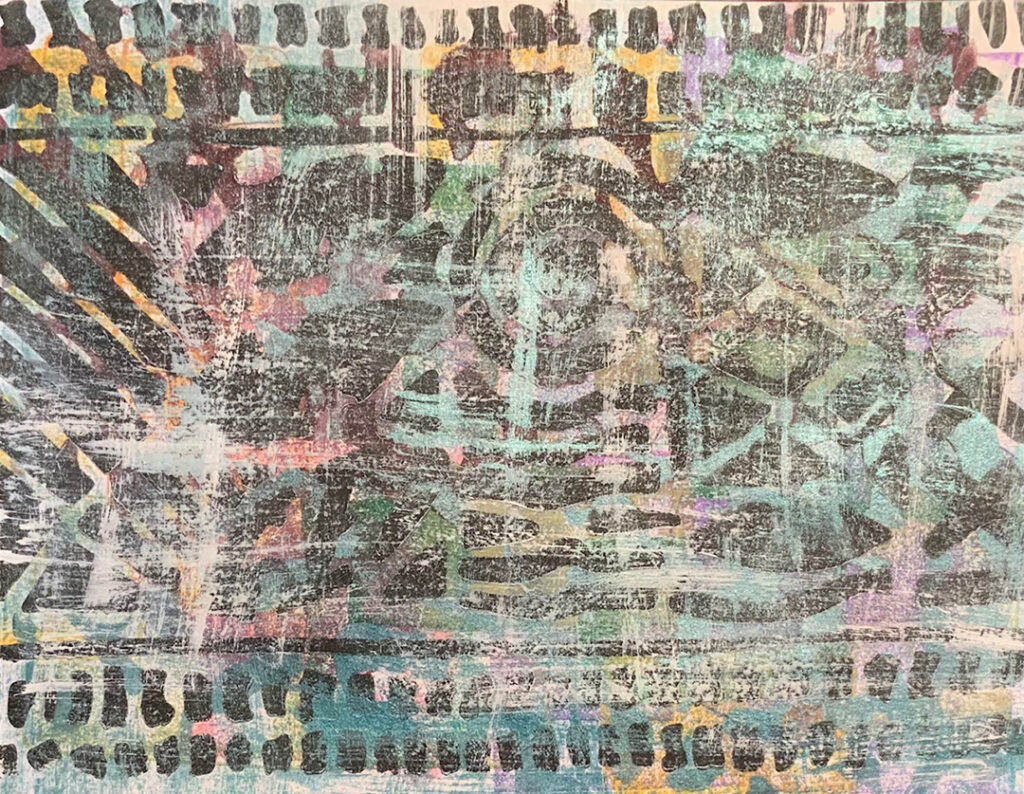
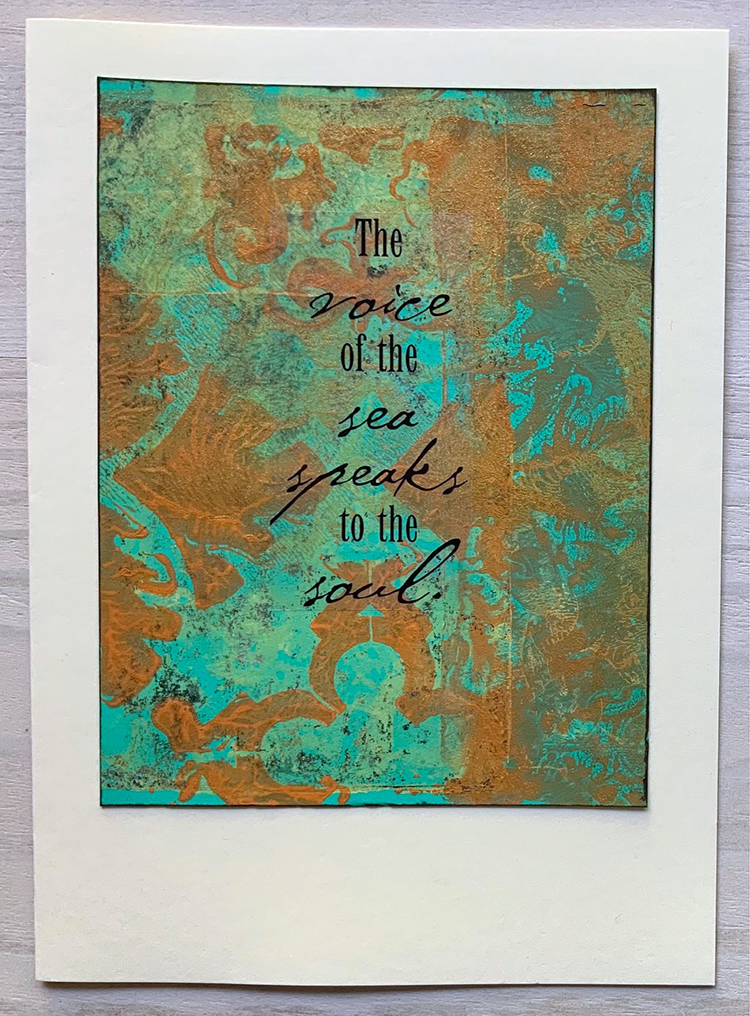
Two stencils work in harmony in this art journal spread that you wouldn’t necessarily think to put together: Art Deco Wallpaper and Circuit. I think it came together because Circuit is “playing second fiddle” in this case and just providing a more delicate detail to balance the assertiveness of the Art Deco fan pattern. BUT the star of the show really is the boldly stenciled words. Play with what takes center stage – it could be a stencil or your journaling.

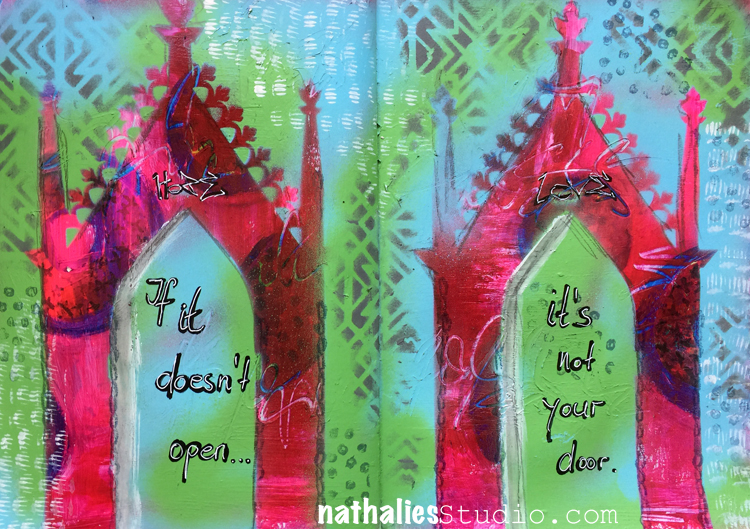
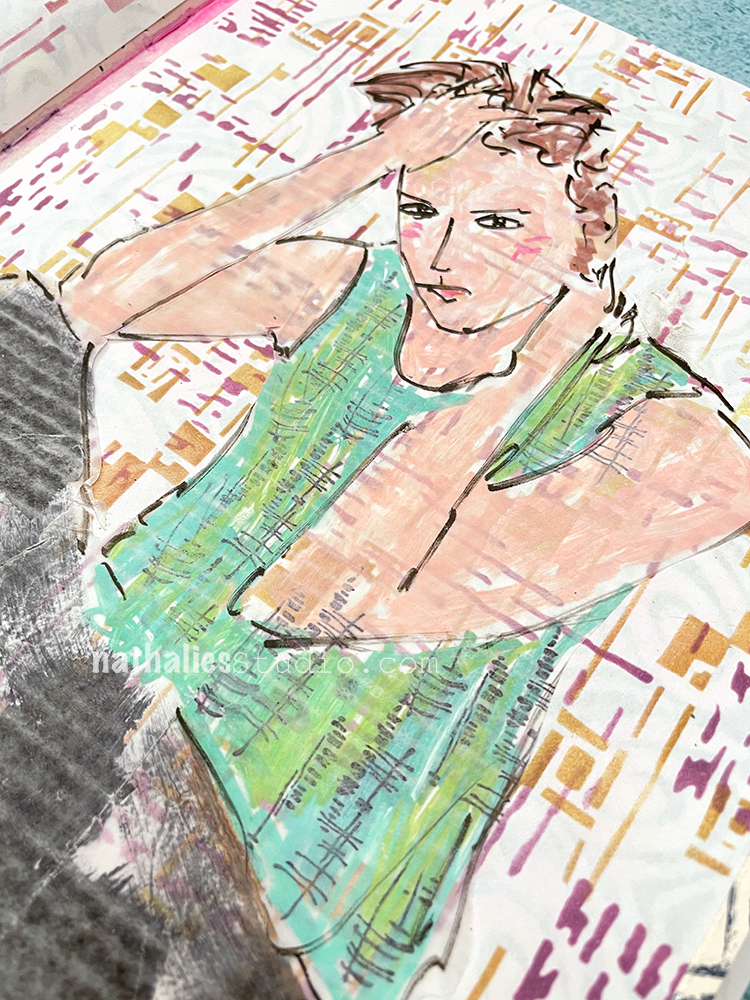
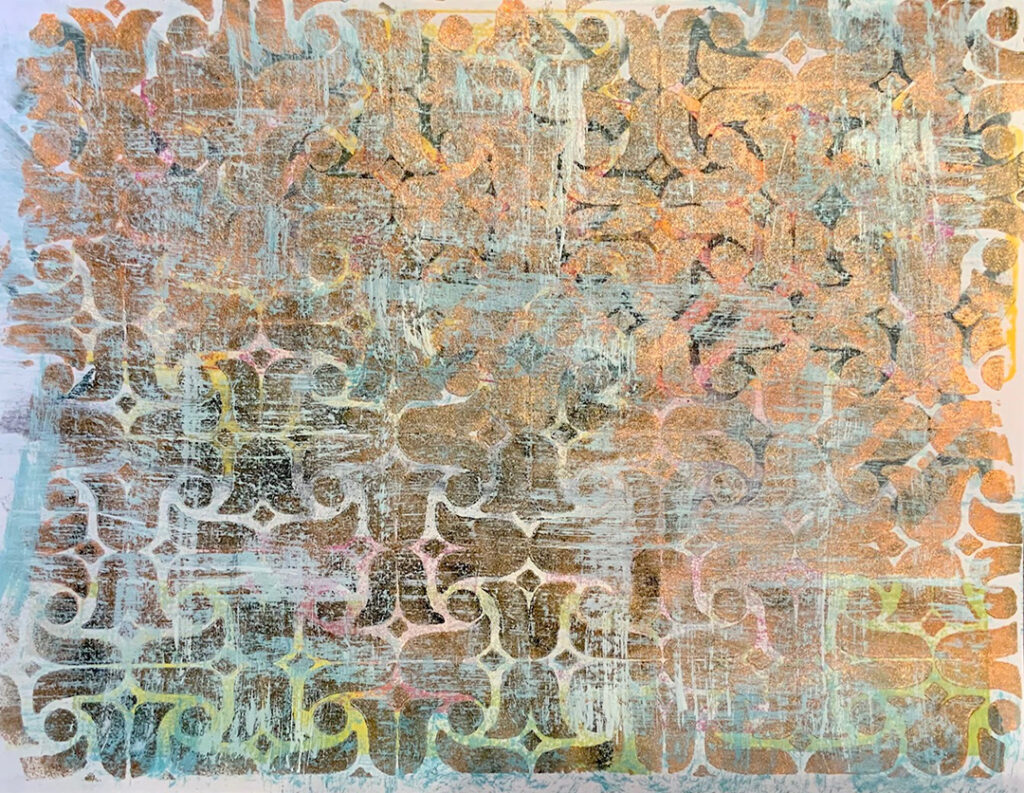
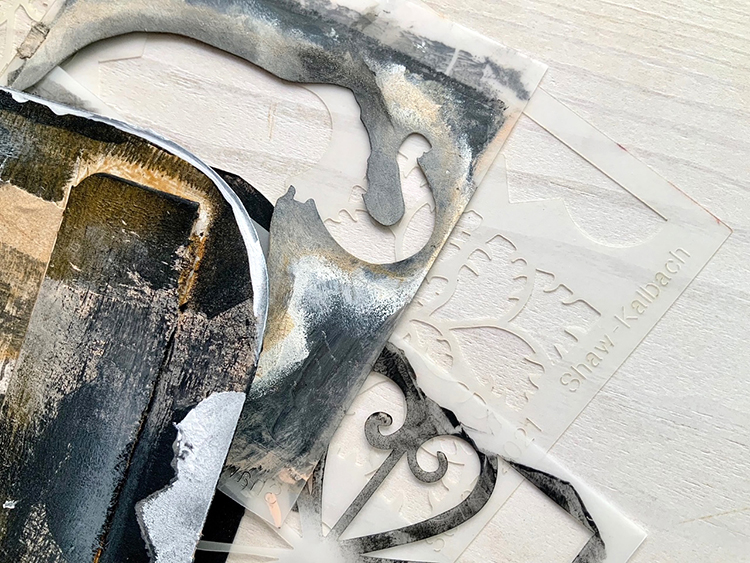
What is a stencil? In this spread I used my Toledo stencil but also a template to a shrine kit that I had. Think about what you have around that could work like a stencil when you are creating. In this case the shrine shape made the perfect spot to journal in.

One stencil, bold colors, black spray paint, maybe a little paint splatter… Looks pretty sweet, right? When you have a cool pattern (like the Hamburg one here), you don’t need much else. Leave a spot to journal and you have a winner. Check out the original post for this spread here.

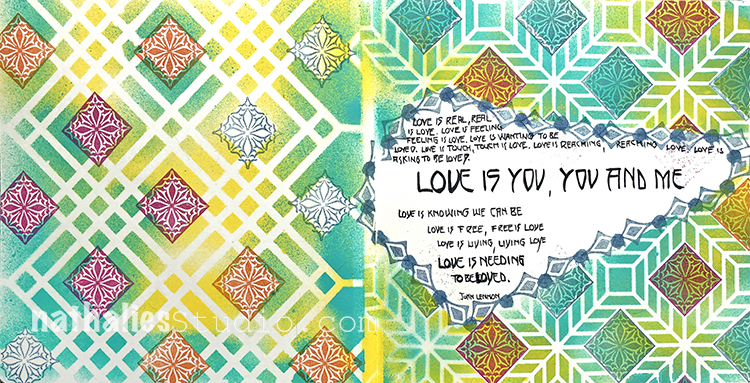
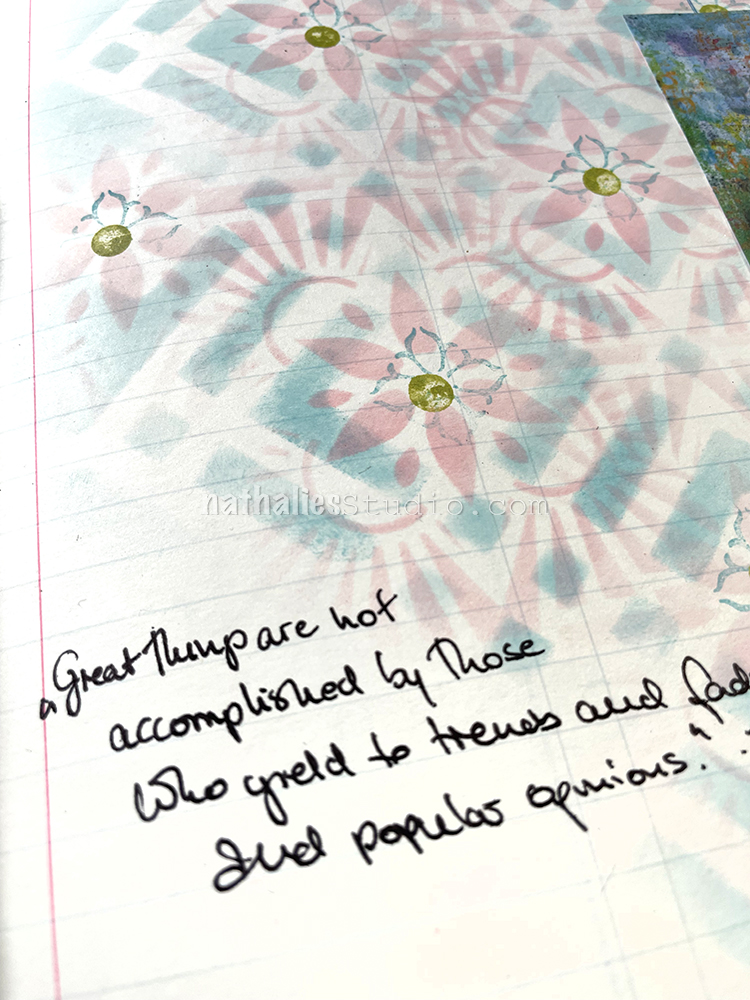
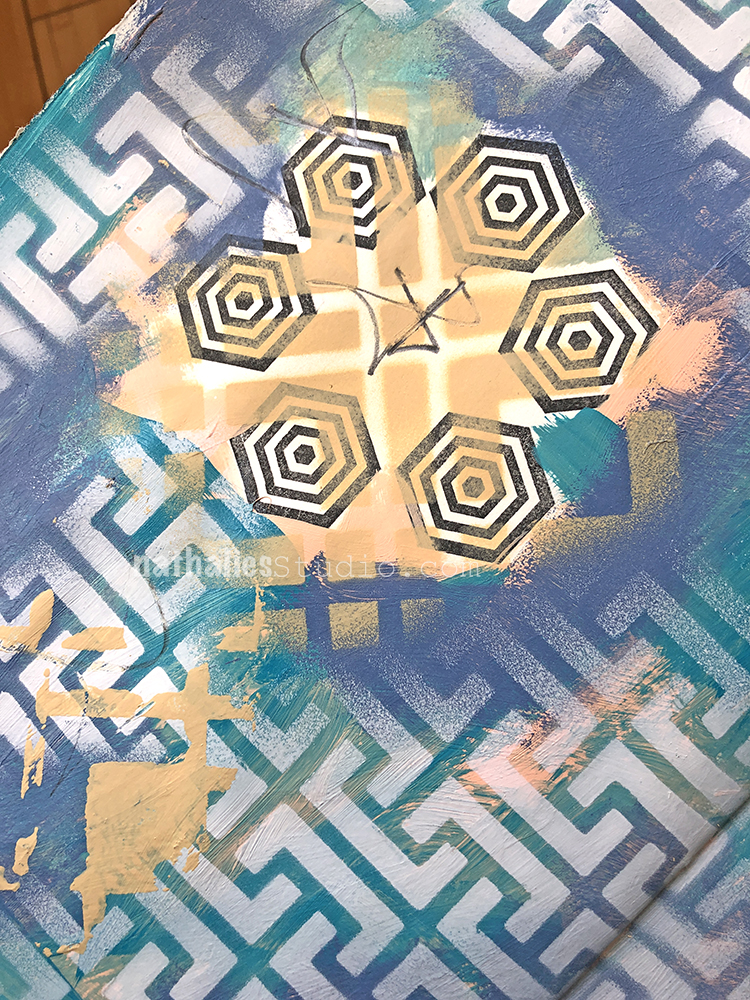
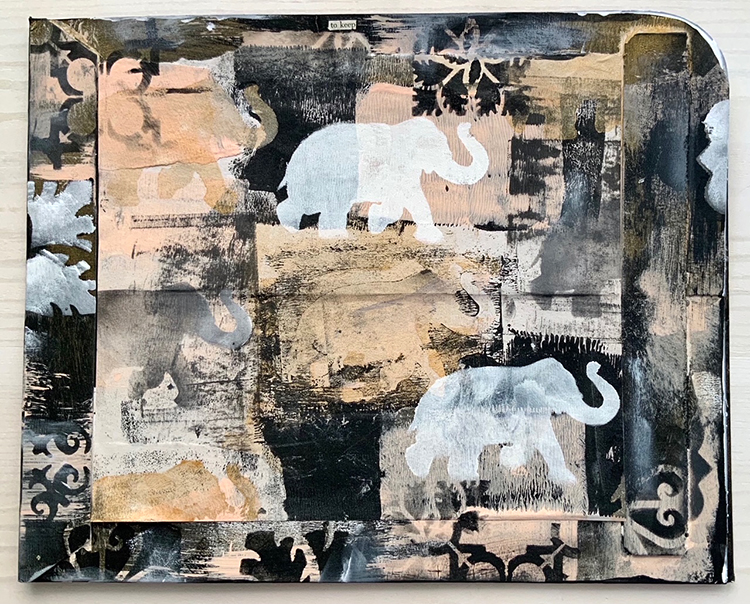
Okay I had to sneak this art journal spread in too just because of course you can go a bit further. Maybe you need a little something extra in there and no worries – you’re the boss! Here I used my Chicago and Santiago stencils with spray paint, added a white area and my journaling, but also discovered how nicely my Floral Tile Small stamps fit the stencil pattern. So I added stamps too because some days all you need are just stencils and words… and stamps ;)

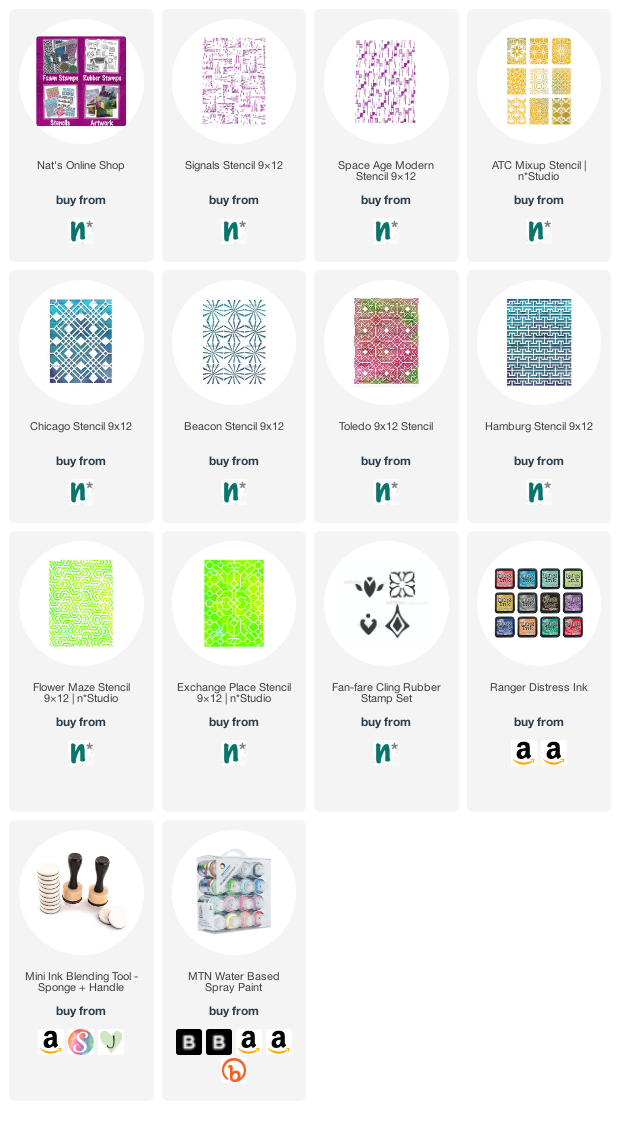
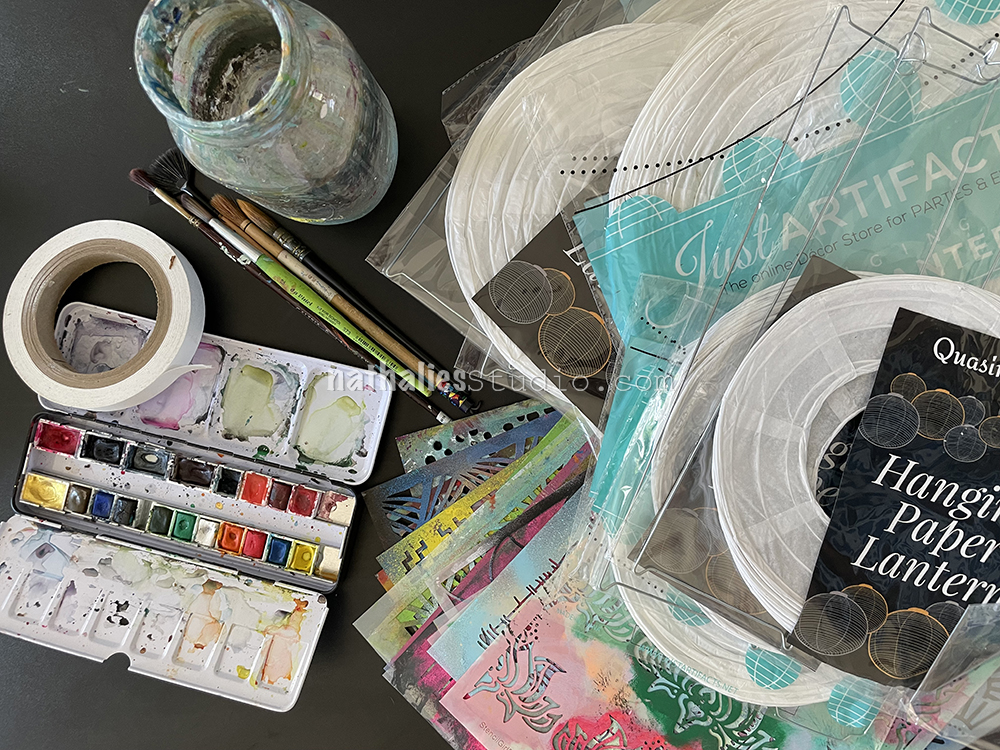
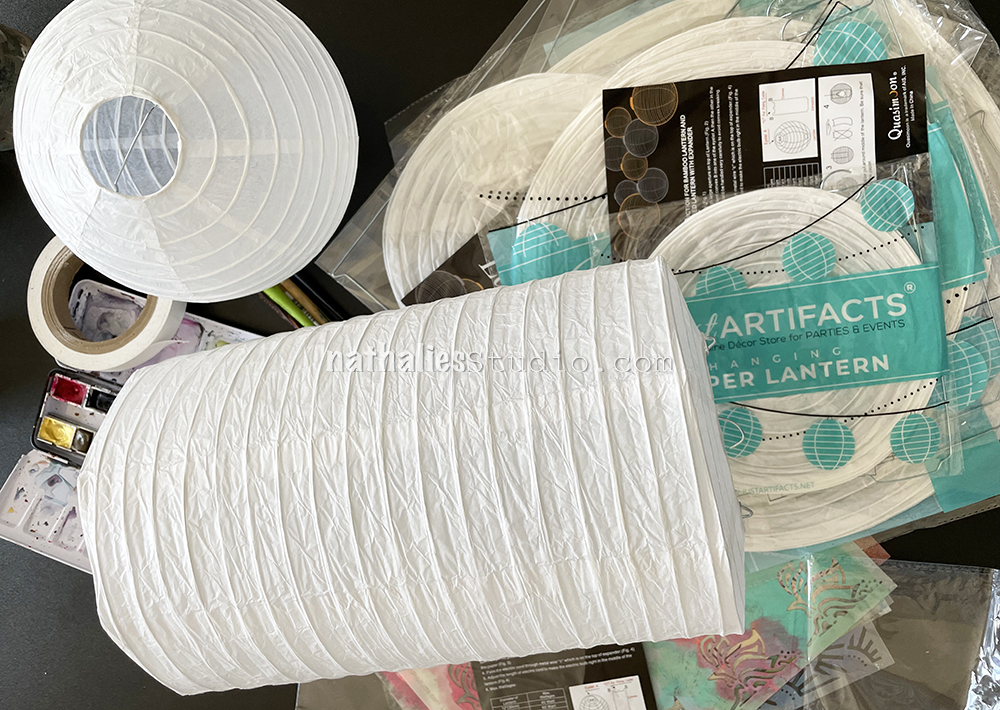
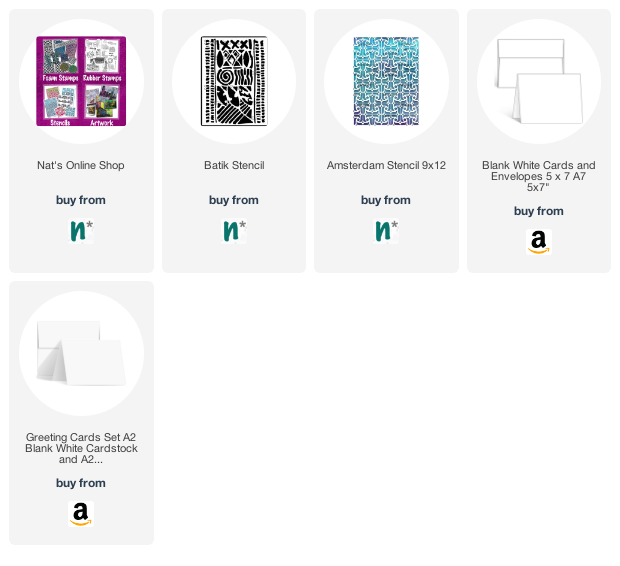
Now it’s your turn: make some art journal pages using just stencils and words. Here are some of the supplies used in these spreads:

Look Back is a blog series to show you some projects and posts that you may have missed – sometimes going WAY back in the archive. I think it will be fun to revisit a few ideas that we haven’t seen for a while. I’m excited to see how a little look back might inspire something new in the future :)

Leave a comment

A Look Back – Layering Stencils

A Look Back – Lots of times I’ll reach for a stencil when I want a quick background in an art journal or mixed media piece. Pair a stencil with some acrylic spray paint or acrylic paint and a makeup sponge and it’s almost instant success. But then there are times where I want the background to be a bit more complex and I’m not in the mood to start layering in lots of collage papers or stamped impressions. Layering on another stencil is my secret weapon in these cases. Let me show you some examples:

In this art journal page I chose my Signals and Space Age Modern stencils to layer on in warm colors. The scales are similar in terms of the marks and it doesn’t really read as two patterns, but one more complex pattern. I think it’s a nice effect. You can see the entire spread here.

I love finding two patterns that can work together in my stencils and I did that here in this art journal page with my Chicago and ATC Mixup stencils. I first put down the Chicago pattern with a blending tool and one color of Distress Ink, then used one design on the ATC Mixup stencil in the diamond part of the Chicago stencil with another color of ink. Instant complexity. Then I also took it further with one of my Fan-fare rubber stamps and a dot from my eraser.

Two more stencils that seem born to layer? Beacon and Toledo – the patterns just line right up. This is also a cool combination because the Beacon is a delicate design and Toledo so dense. I definitely recommend putting the dense design down first as your base and then the delicate one on top to add details to the layered pattern. Check out the full art journal spread here.

Here I used Hamburg and Chicago and I like how they are similar in line weight and all those right angles, but obviously not the same. The tension between the two stencils totally activates the page. It’s like a hole in the one pattern and a patch job that doesn’t quite match. Here’s the post so you can see the whole spread.

Here’s another example of two layered stencils that also have similar line weights, and it makes for a pretty interesting combination. It gets a bit confusing as to what pattern is what and I like that. For this page I used Flower Maze and Exchange Place, all of it in warm colors. You can see the full spread here in the original post.

So there you go: some ideas on layering stencils for when you want a nice way to oomph up those backgrounds.

A Look Back is a blog series to show you some projects and posts that you may have missed – sometimes going WAY back in the archive. I think it will be fun to revisit a few ideas that we haven’t seen for a while. I’m excited to see how a little look back might inspire something new in the future :)

Here are some of the supplies used in these projects:

Leave a comment

Victorian Inspired Paper Lanterns – Play Date

While I was researching some of the previous owners of my home, I came across an image of a place where they would go in the summers for a type of retreat from the city. Each summer the whole family would head out to their cabin in Mount Tabor NJ, and they participated in the tradition of hanging painted paper lanterns along the front porch to celebrate “Children’s Day”.

I have since seen examples of these Victorian age paper lanterns in antique stores and thought it would be an excellent Play Date for Kim and I for the summer. Although you could choose to paint or stamp them using a variety of media, we decided to do watercolor washes and then stencil them with water based spray paint.

For the version that we did, you’ll need paper lanterns, watercolor paint and large watercolor brushes, water based spray paint, stencils, and maybe low tack tape.

The paper lanterns come in a variety of shapes and sizes and arrive flat. Ours included simple instructions on how to expand them.

We applied watercolor in large patches but left some blank spots too. Be careful not to work the surface too much or apply too much water – these are made of very thin paper.

We kept this application free and loose and allowed drips and areas of less and more color.

They were already looking great at this point. Our next step was stenciling but from here you could also paint freehand designs on them.

We used a matte finish water based spray paint. You may want to use low tack tape to hold the stencil in place but we also found that holding it with one hand and spraying with the other worked well too.

I decided to use my Tokyo stencil and a gray paint. The scale and pattern worked well on the size of the lanterns.

With the spray paint we found that less is more on these curved surfaces – short light bursts of spray gave the best results.

We did not cover the entire surface with stenciling or watercolor, leaving white areas to balance out areas of pattern and color. Here Kim is using a raspberry pink spray paint and my Art Deco Fairview stencil.

I love the abstract results of these and I think it’s an interesting modern interpretation of an old tradition.

Overspray, drips, and lighter applications of the pattern all look great and add to the character of these decorations.

Depending on your lanterns, you may be able to hang them on cafe lights or add an LED light within to complete the magic.

You can also go with whatever colors and patterns make sense for your decor or maybe a special holiday that you would like to celebrate.

I would love to see these strung up outside for an event and with the lanterns being fairly affordable, it wouldn’t be tough to do a bunch for a real impact. I hope you enjoyed and maybe will give it a try too.

Here are some of the supplies we used:

Leave a comment

Stenciled Papers from my Creative Squad

Last month our Creative Squad member Judi Kauffman shared some stenciled papers she made while going through her stack of ink pads. Here is what she did with my Batik and Amsterdam stencils and the beautiful patterned papers that resulted:


I had started out testing my old ink pads to see which ones were worth keeping. Some of the foam on ancient pigment pads had disintegrated, others were dry and discontinued so re-inkers weren’t possible. (The first photo with lots of sheets show where things started.)

The rest of the photos show sheets that I stenciled and dry-brushed. 

Not shown: I trimmed the sheets, cut them into randomly-sized rectangles, and put the prints onto white and ivory card bases in three sizes ranging from A2 to 5×7. Also kept one scrap for a bookmark and made one card with the tiny slivers that were leftovers from trimming. I left one sheet as-is and made Mark Rothko-style cards, another sheet is waiting for some stamping. And I did use a stencil from another company for one sheet as well. (Last week’s Big Project was organizing ALL of my stencils – egad!)


Thanks for sharing Judi! What a great way to get organized and to make something beautiful from the process. And I love that the sheets then went into other card projects and a bookmark etc.

You can find all of my stencils in my Online Store. Here are some of the supplies that Judi used:

Comments (1)

  • Yvonne Marchant

    |

    Think I need to go through long forgotten ink pads hummm big and juicy ones spring to mind though they might be all mud lol

    Reply

Leave a comment

Envelope Transformation from my Creative Squad

I’m sharing a gorgeous envelope transformation from Creative Squad member Judi Kauffman today. Instead of just recycling the shipping envelope her new stencils arrived in, Judi decided to give it new life and we love the results!

Judi received my new StencilClub mash-up stencils in the mail -the stencils are exclusive for StencilClub members, and you can learn more about that here and get the new 3 stencil set.

She shared her process with us:

“I cut the shipping envelope from the stencils along two sides and rounded one corner to turn it into a storage folder for the new release. I painted the edges and trimmed down a piece of gift wrap  to fit between the two raised strips at the sides (cut edges at left, right and bottom but left it torn across the top). Then more stenciling with the pattens (but no more elephants…). I had the words “to keep” among my found poetry snippets and that seemed like the right text to add at the top edge.”

“I always keep the StencilGirl shipping envelopes to use as storage folders for my stencils, just hadn’t decorated any of them till now. I like being able to see the contents without digging inside.”

Fantastic idea Judi! Thank you for sharing.

Here is a link to the StencilClub so you can get a hold of these exclusive July 2021 stencils and begin decorating your own StencilGirl envelopes too :) 

Leave a comment

Seaside Inspiration from my Creative Squad

Today we have a series of cards from Creative Squad member Judi Kauffman. Is anyone else out there dreaming of the sea???

Judi is mixing up a lovely palette of colors and using a gelli plate along with my new StencilClub mash-up stencils for these cards and I’m really digging the subtle layers of pattern and color that she’s created. The stencils are exclusive for StencilClub members, and you can learn more about that here and get the new 3 stencil set.

In the meantime, let’s look at some of these cards:

Judi used clear stickers for the words and phrases and it creates a seamless unity between the card’s sentiment and background.

She did her gelli prints on navy blue cardstock – giving them a nice depth of color.

One last look:

Here is a link to the StencilClub so you can find those exclusive July 2021 stencils. 

Comments (1)

  • Denise M. Krueger

    |

    Judi, these cards are stunning and speak to me of a beach visit!! Love the color combos too!

    Reply

Leave a comment

Stencil Inspiration from my Creative Squad

I’m sharing a suite of tags made by Creative Squad member Judi Kauffman today. With some stencils and just a few other supplies, Judi mixes big juicy texture, delicate layering, and bold pattern in these beauties.

She is using my StencilClub mash-up stencils that I designed with Mary Beth Shaw at StencilGirl Products. The 3 piece mash-up set is available exclusively to StencilClub members through this link.

Here are some of Judi’s tags using acrylic paint, a gelli plate, the stencils, and some word and phrase stickers:

I love how the patterns and colors blend and wash over each other. Here’s a closeup:

Judi is using black, vanilla, and bronze metallic paint.

Thank you Judi for sharing this grouping and for showing us how just a few stencils and colors of paint can yield so many lovely results.

Here is a link to the StencilClub so you can find those exclusive July 2021 stencils. 

Leave a comment

StencilClub Mash-Up with Mary Beth Shaw

This month I am doing a stencil mash-up with StencilGirl’s very own Mary Beth Shaw for their StencilClub! This is an exclusive 3 stencil set for July 2021 if you are part of their StencilClub (Info here). It’s a mash-up so it includes design motifs from each of us, combined in a new way and new scale. Here is a little video introduction to the stencils with Mary Beth and myself:

I love how our patterns work together in this set and oh my, that little elephant is pretty cute! We had fun testing these out and I wanted to share a little sneak peak with you:

Here are the details: You get all three exclusive member stencils when you join StencilClub.

  • The large 9×12 inch stencil is easy to use to create repeating patterns. It evolved from Mary Beth’s Leaf Diamond and my Hamilton stencils.

  • The small 6×6 inch pulls in elements perfect for layering to create stunning patterns.

  • A baby elephant completes the set as a mini 4×4 inch stencil, open, so you can paint one color and then slide another stencil underneath and paint with a contrasting color.


You also get a Project video and PDF that Mary Beth and I made especially for you that you can download and keep.

The set ships out to members on July 15th. Can’t wait to see them in action!

Here is the link for StencilClub to get yours

Leave a comment

Creating a Zine with Marsha Valk – StencilGirl Talk

After tuning into Marsha Valk’s 100 day vlog on her instagram, I was so stoked to see her take the project one step further with this awesome gelli printed zine she shared on StencilGirl Talk here this week. She creates a charming little book of prints that is like one of her daily vlog posts, but in print form with tons of stencils, gelli plate printing techniques, and of course her cool signature style. Check out the video:


The outcome is a nifty permanent record of daily life these days – something tangible as an archive. I loved seeing the different subjects that have become so familiar in Marsha’s vlog, finding a place in the prints: that cup of hot deliciousness, her feet out on a walk, her workspace and so on. And watching her build her backgrounds with different stencils – including some of my own like Signals and New Orleans – is a nice zen moment that I hope you enjoy too :)

Comments (1)

  • marsha.

    |

    Oh wow! Thanks for sharing, Nat! I enjoyed making this zine so much! It was fun and simple to make and as you said I recorded a little moment in time!

    Reply

Leave a comment