Creative Squad

Creative Squad: Wish You Were Here – Maura Hibbitts

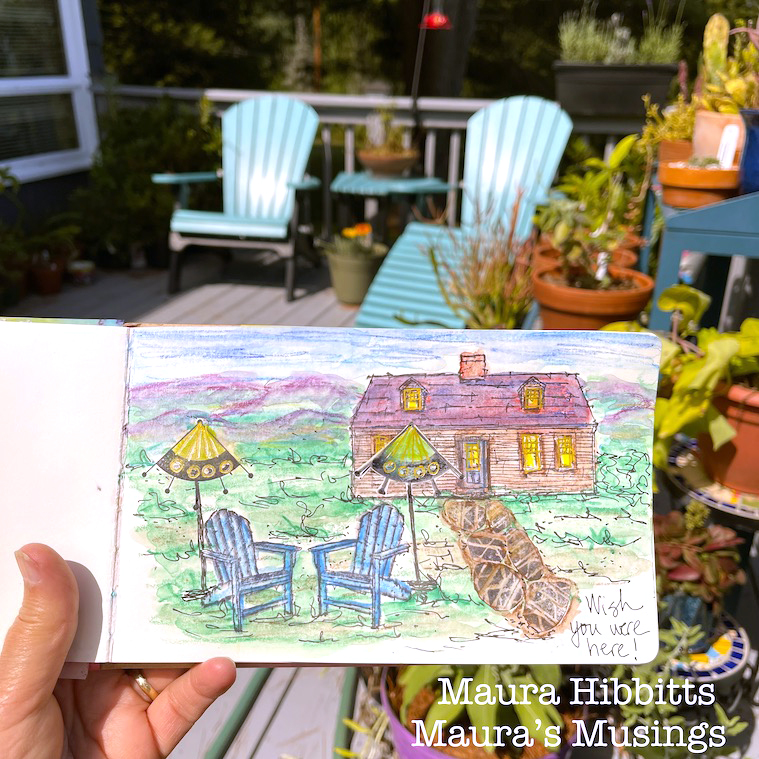
Hello from my Creative Squad! Today we have a lovely art journal spread from Maura Hibbitts using my Cape Cod, Mini Motifs, Tread, and Adirondack Chairs rubber stamps and our latest theme: Wish You Were Here – This time let’s think about those old travel postcards, or someone you are missing or haven’t seen in a while, or maybe a place that you are missing. The message is loud and clear: Wish you were here!


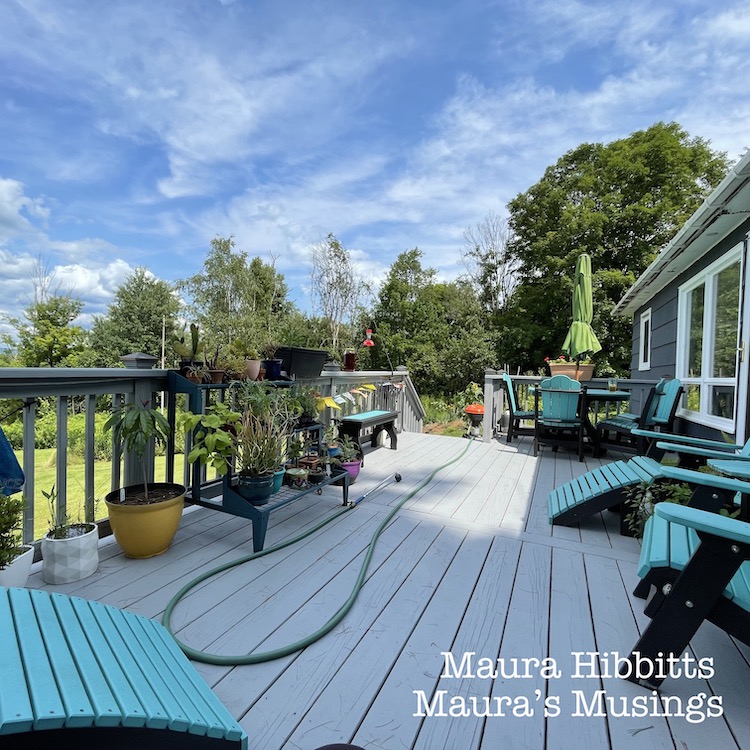
One of my favorite places in the world is right here at my home…I love my deck! I have a beautiful view of the Adirondack Mountains that I enjoy every day. The warm months let us move outside to enjoy relaxing in the Adirondack chairs and eating outdoors. My son Dan has the green thumb and adds his touch to the deck with a variety of plants: this year it’s a lot of rhododendrons, cacti, herbs and more. It’s the perfect place to gather, and I wish you were here with me.

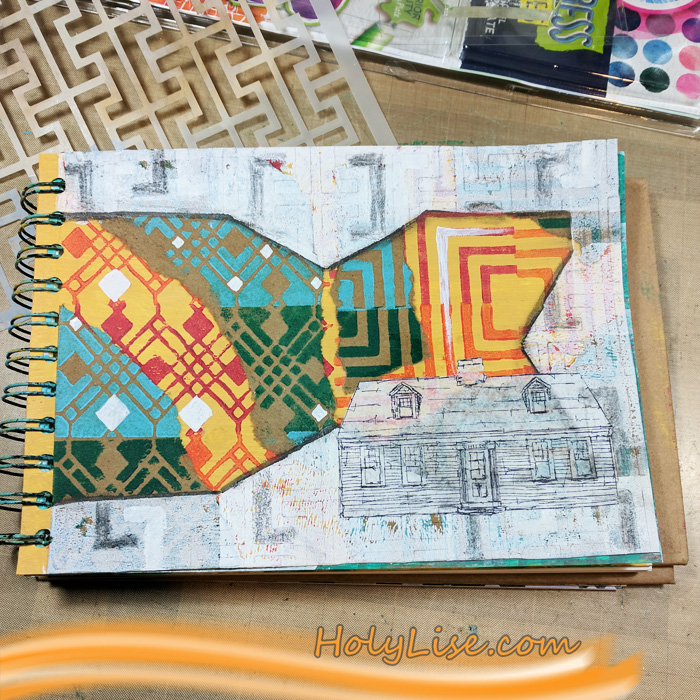
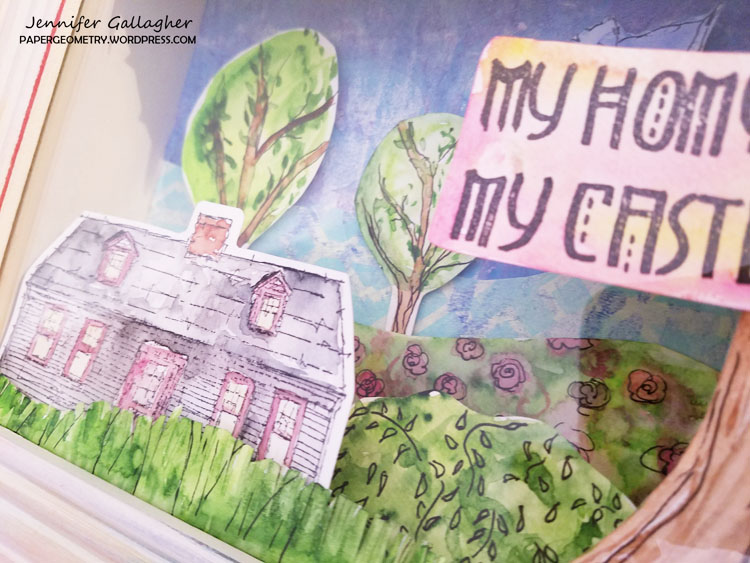
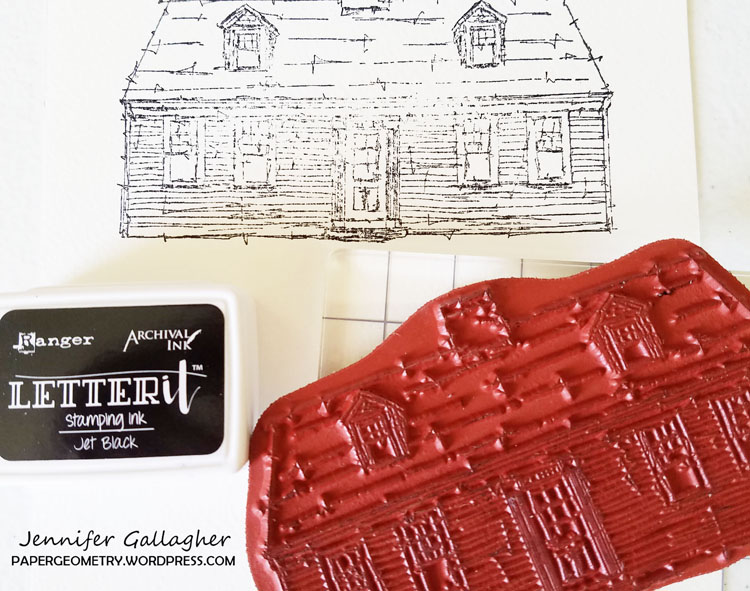
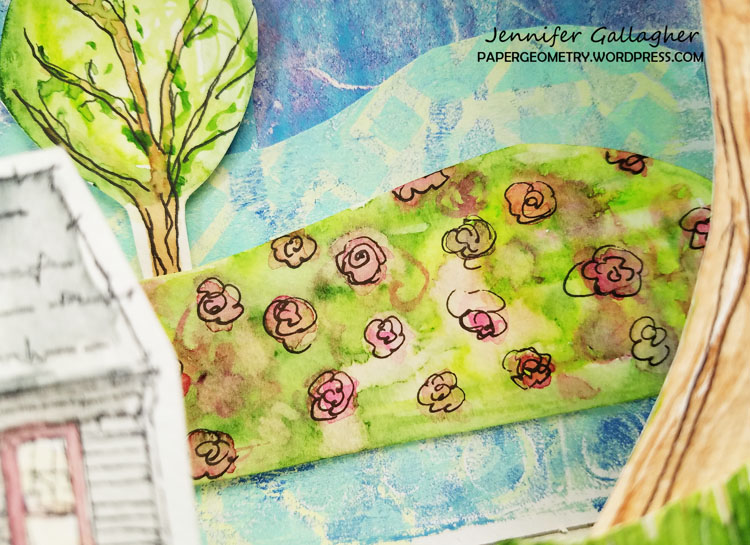
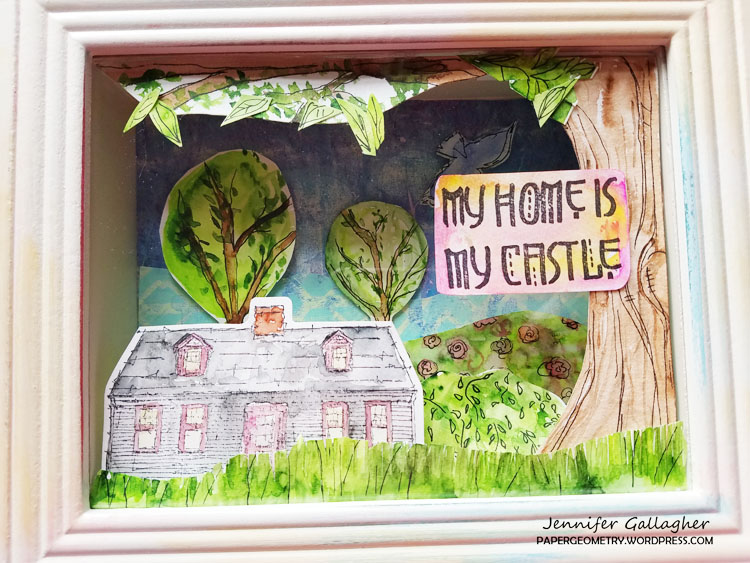
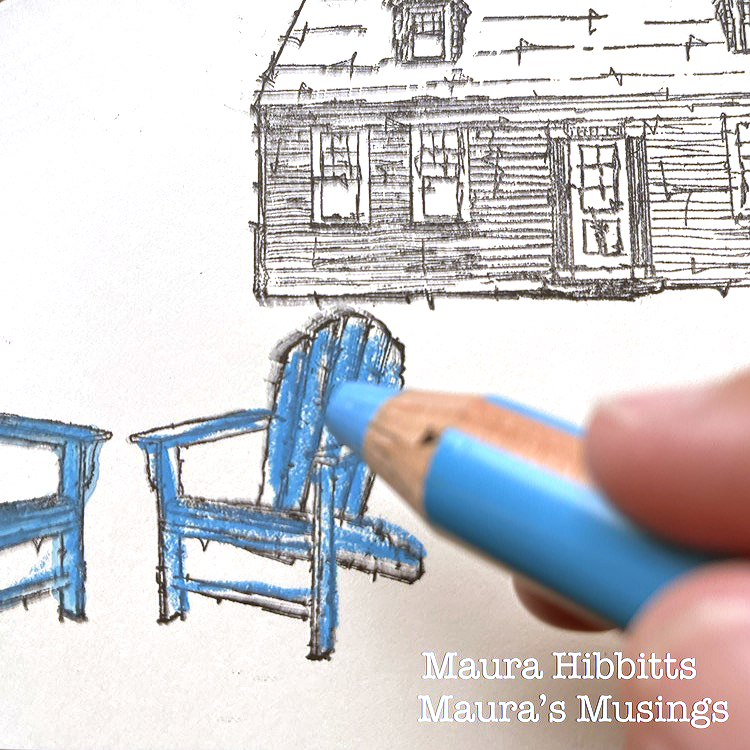
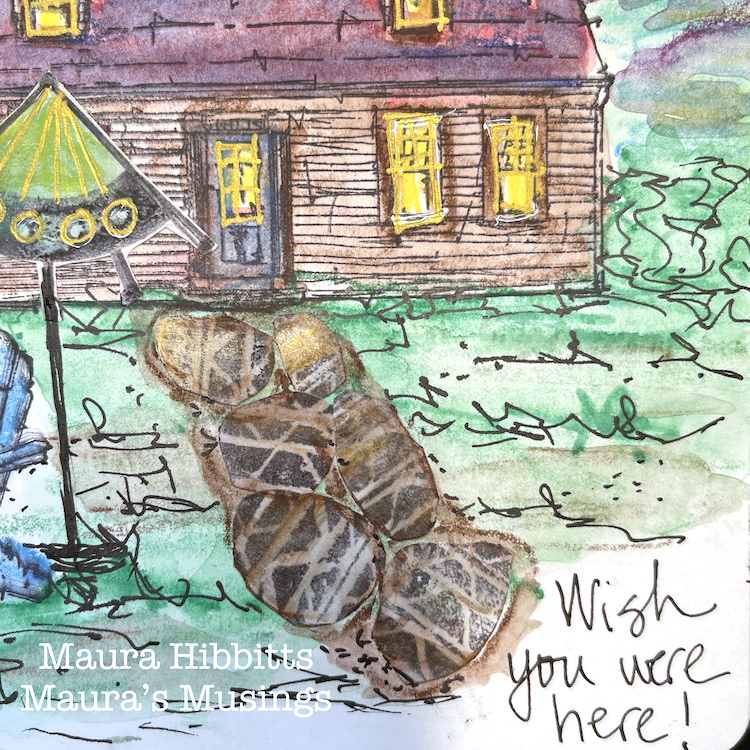
I’m working in one of my art journals, and began the project by stamping a scene with black ink, onto the page using Nat’s Cape Cod, Adirondack Chairs, and Mission Motif stamps.

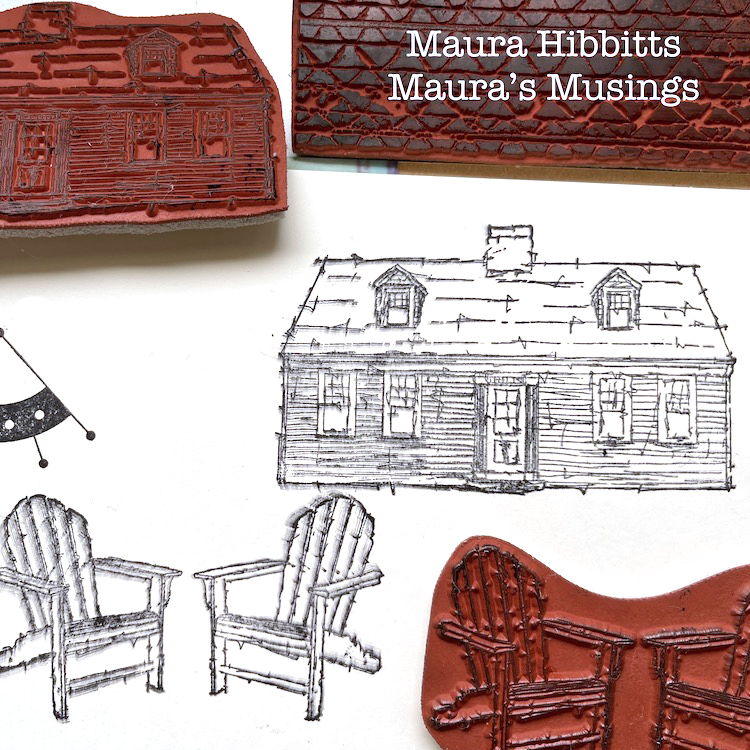
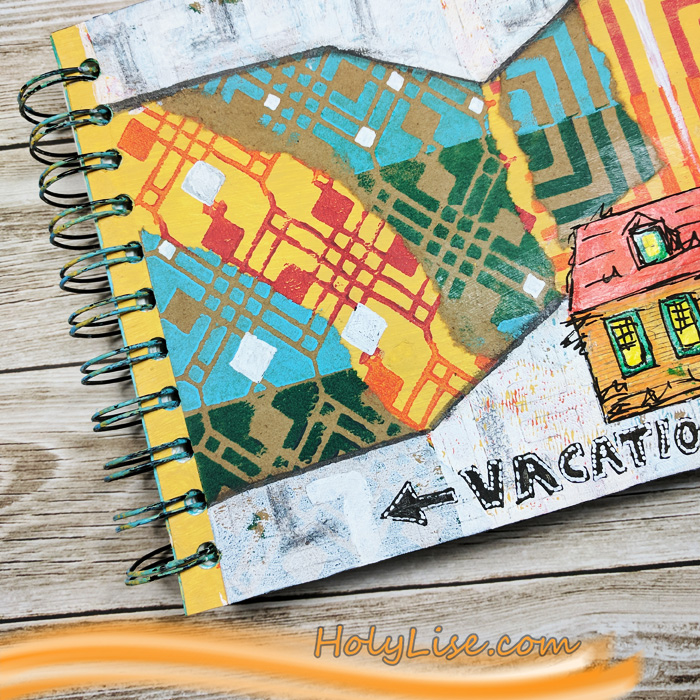
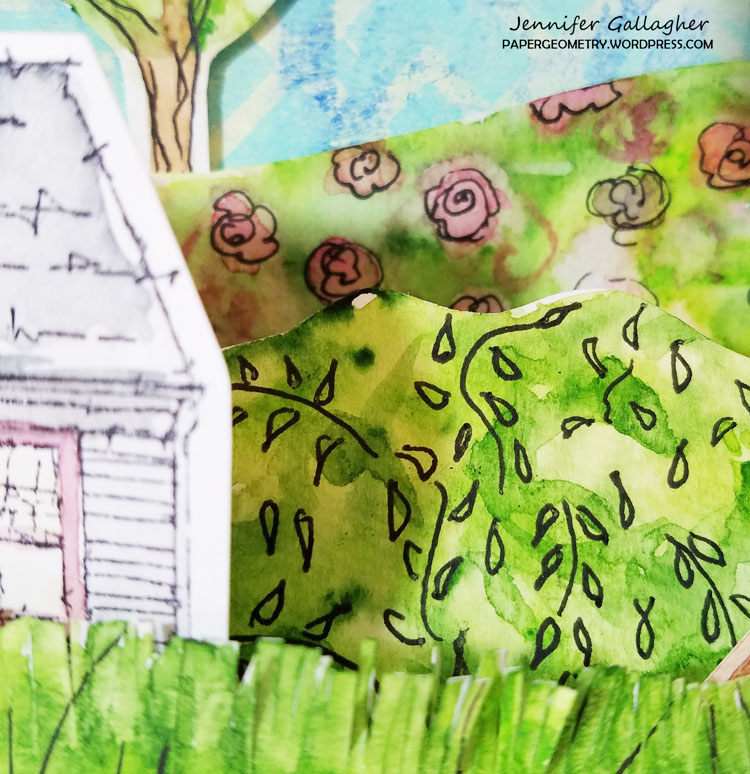
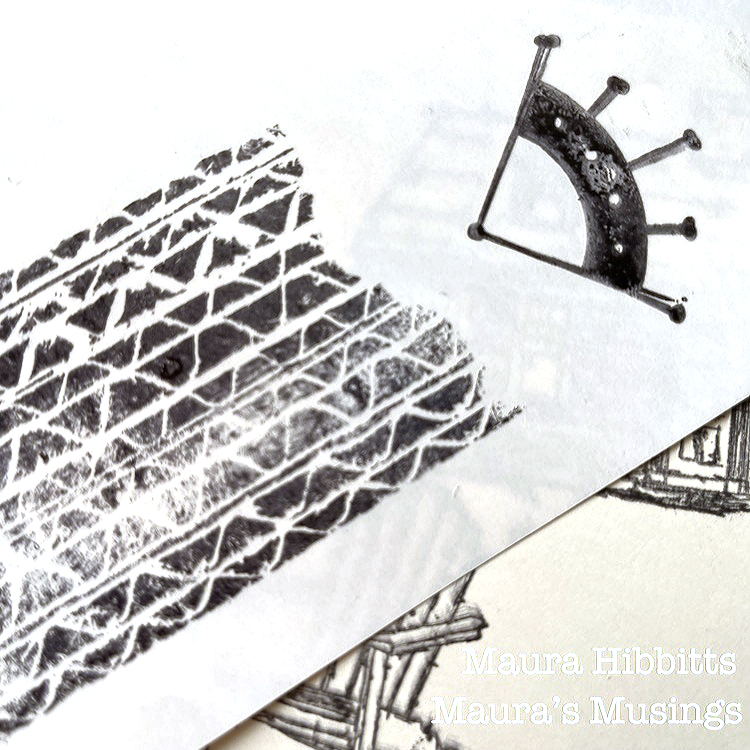
I also stamped some images onto Grafix Doubletack paper. I used Nat’s Tread and Mission Motif stamps. Be sure to let these dry completely.

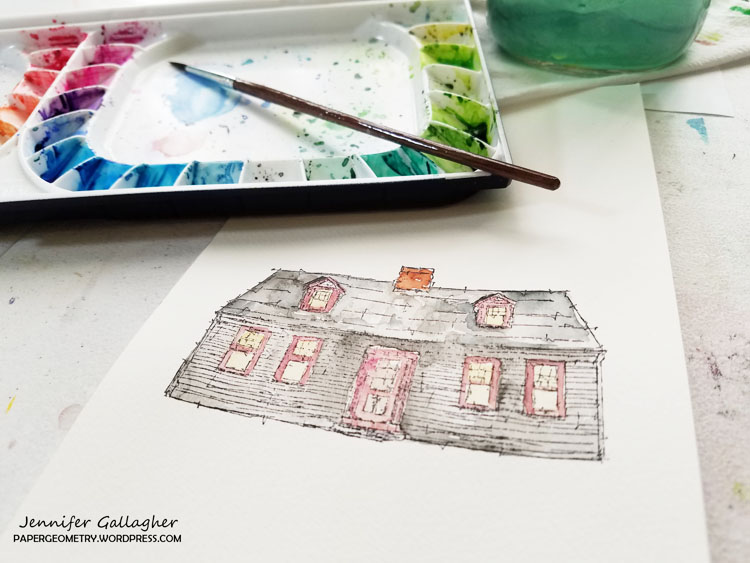
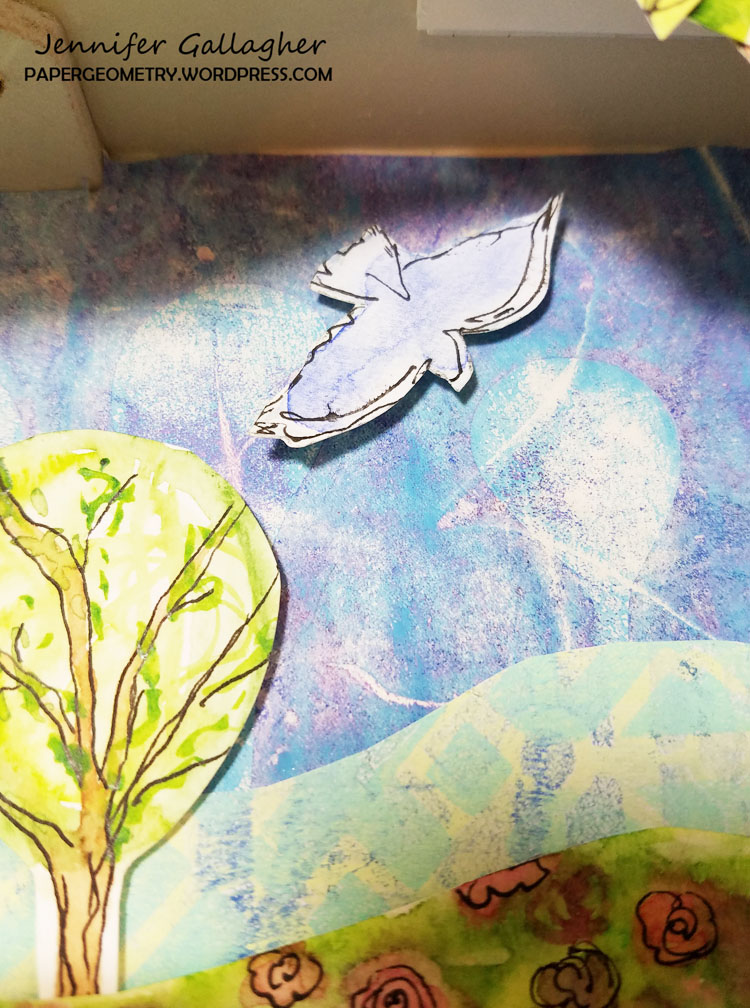
Now comes the fun part! Color the images in the art journal and on the Grafix sheet with Woody pencils (or any water soluble pencil).

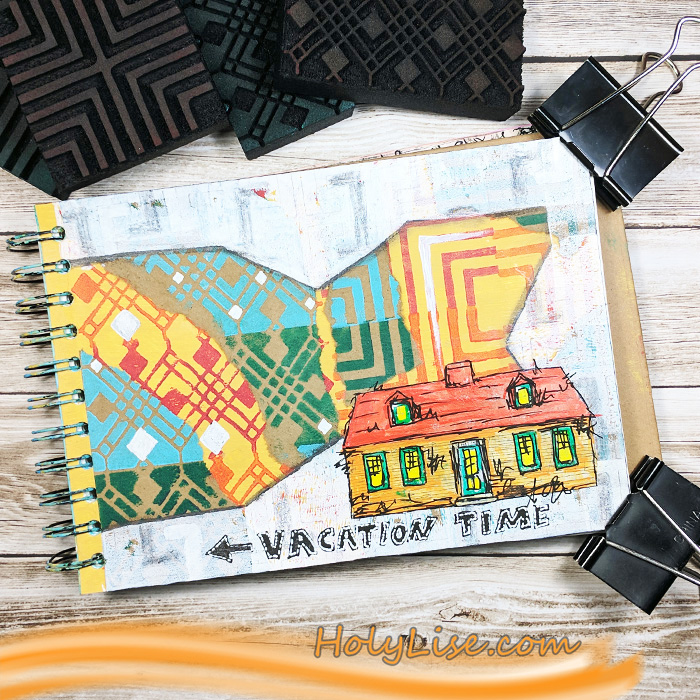
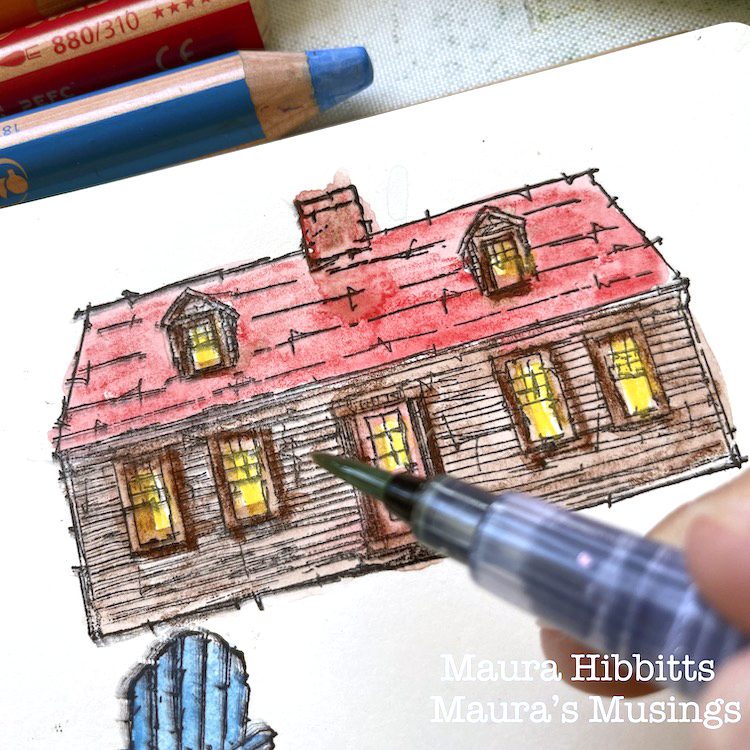
Use a water brush to spread the color from the Woody coloring. You will note later that I changed my mind on the roof color. This was easy enough to do – once the page was dry, go over the area with another color and blend again.

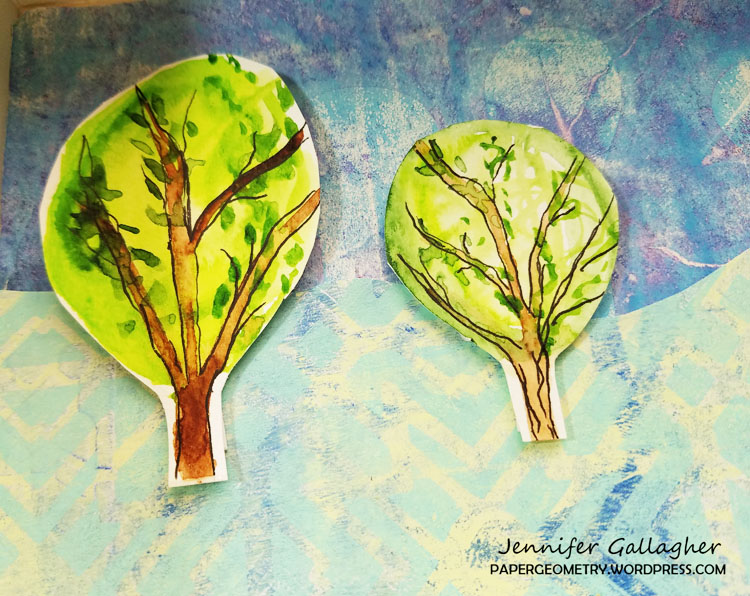
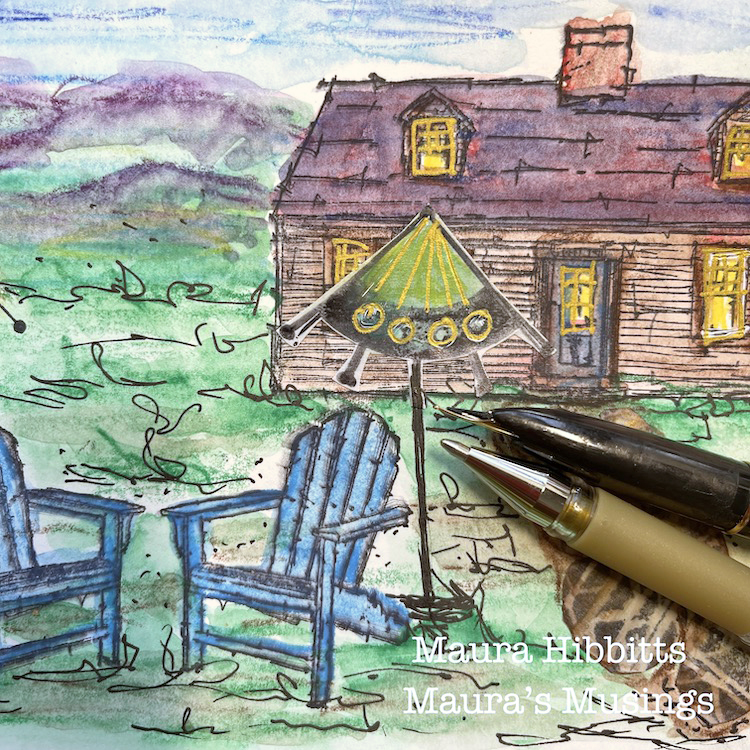
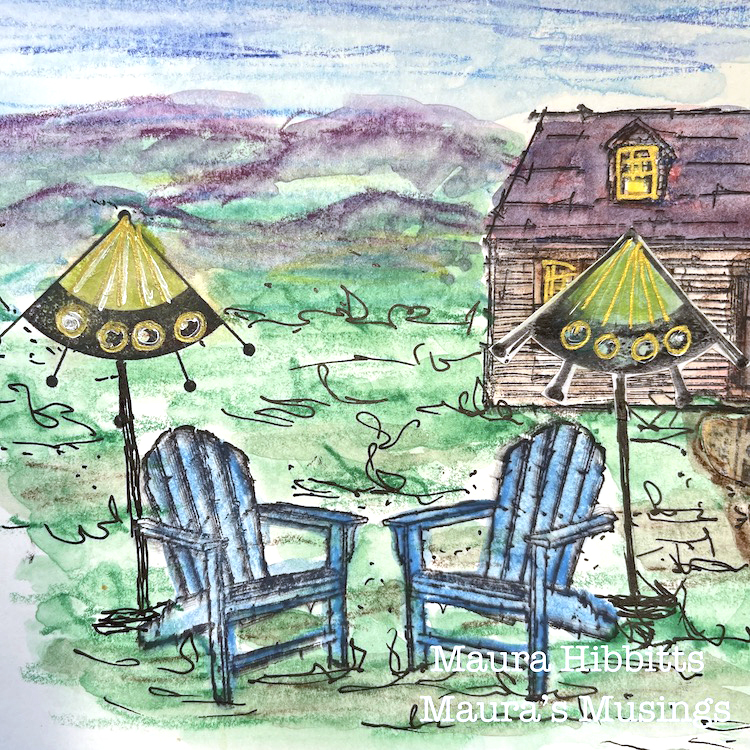
Cut out the second “umbrella” and cobblestones from the Grafix paper and adhere to page. Color and blend in a background with the Woody pencils and water brush. Let dry completely, then add detail with a gold pen and waterproof black pen. Add “Wish you were here” and your page is done!

I do love to travel and have many places I carry in my heart, from the ocean to the mountains, villages to cities. Each place has its own unique beauty. But, it is always good to come home and enjoy what is right here on my doorstep. I have been so grateful to have this special place in recent times, and to share it with family and friends. Where is your special place? Let us know in the comments! – Maura


Thank you Maura! We love seeing your beautiful backyard oasis and how it inspires you!

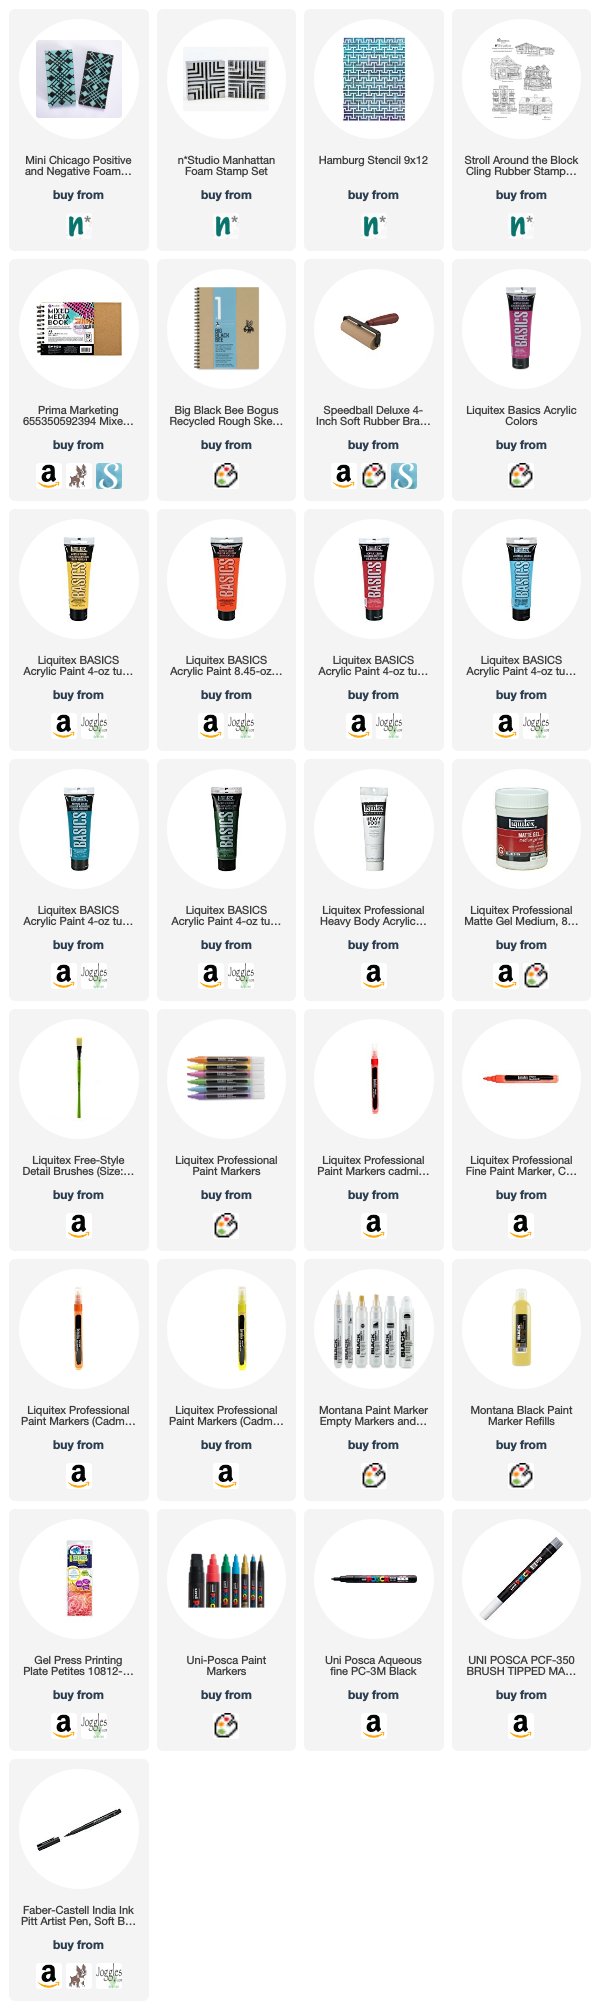
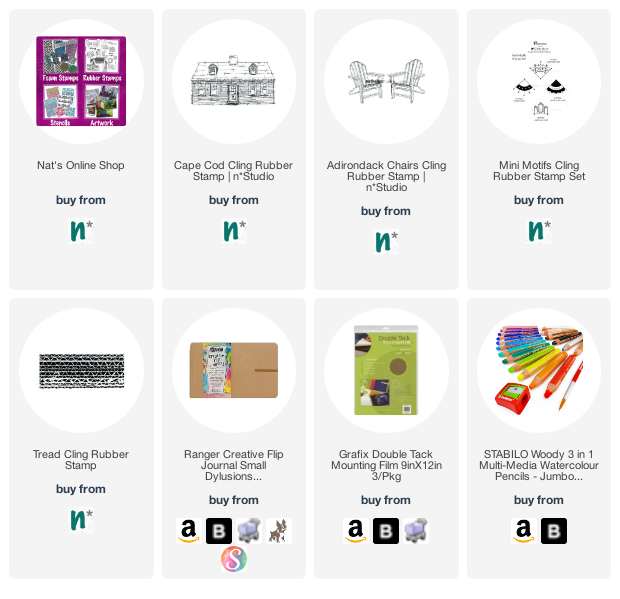
Give it a try: you can find all my Rubber Stamps in my Online Shop and here are some of the supplies Maura used:

Looking for more inspiration from the Creative Squad? Follow them on Instagram here.

Leave a comment

Vacation Mode – Josefine Fouarge


It’s time for a project from my Creative Squad! Today we have a sweet little art journal page that is filled with pattern and color, from Josefine Fouarge. She is using my Manhattan and Mini Chicago ArtFoamies, my Cape Cod stamp from the Stroll Around the Block set, and my Hamburg stencil. This month’s theme is: Vacation Mode – Here in the Northern Hemisphere, we are slogging through winter with only one thing on our minds – vacation! Whether it’s Spring Break, a weekend getaway, or an hour with a good book, everyone needs an escape to Vacation Mode now and again.


This month’s topic got me thinking. It’s been a while since I have been on a vacation and there is none in sight either. So, I decided for myself that if you can’t go on vacation, shopping is the next best thing. And trust me, I am good at that ;)

I was at one of the big box stores the other day and couldn’t pass the paint and paper aisles without grabbing a few items. To make sure that they don’t end up in a drawer unused, I incorporated them in my new art journal page.

I covered my art journal page in the new Liquitex paint. Then I picked a few ArtFoamies (Mini Chicago and Manhattan) to stamp them with other shades on top. I used two different paints and alternated the colors between each stamping. Aren’t these colors just pretty? Do you understand why I couldn’t walk by them? :)

Next up, I used the new recycle paper and stamped the negative ArtFoamie in the same patterns, but with a contrasting color. Again, I alternated between two colors.

Now I ripped up the brown paper and adhered some of the scraps onto my art journal page. It was important for me that the patterns match and create the illusion all the shapes merging together.

I needed a border, so I used the Gel Press petites and white acrylic paint to add one. Because the border was rather boring, I added a very light pattern to it. I did that by tracing the pattern from the Hamburg stencil with a pencil.

While I was coloring in some of the stenciled shapes with the same pencil, I thought that the colorful background needs some white as well. So I added a few white shapes.

The page still was missing a focal point, but I didn’t want to stamp anything directly onto the page. Usually that doesn’t end well for me. Instead, I prefer to stamp the image (in that case the Cape Cod house from the Stroll Around the Block set) onto a piece of tissue paper. I adhered that with gel medium and colored the house with Liquitex and Montana paint pens.

To finish the page up, I added a few scribbles and some shadows. I love that the paint pens made the house look like a cartoon.

On a side note, I totally enjoyed working with the brown recycle paper. It has such a neat texture to it and added the perfect contrast for the negative/ positive foam stamps.

Thanks so much for stopping by! Don’t forget to check out all the other Creative Squad creations every Tuesday!


Thank you Josefine! I absolutely love those colors and patterns together! Here are some of the supplies that Josefine used:


Feel inspired? Working on something yourself that you’d like to share?  I love to see how you interpret our monthly themes. Email me how you used my stencils and stamps with the theme and email me an image – I would love to share your projects in my next  “n*Spiration From Around the Globe“.

SaveSave

Leave a comment

My Home is My Castle – Jennifer Gallagher


Hello from the Creative Squad! Today we have a super charming little project from Jennifer Gallagher that will definitely inspire you and warm your heart :) She is using my Stroll Around the Block and My Home is My Castle stamp sets and this month’s theme: My Home is My Castle – Home means many different things depending on who you ask and where you are in the world. This month we’re thankful to have a place to call home, a place where we can rule and be King – or Queen :) – of the castle!


With the beginning of each new year, it is normal to think back over the past and assess where you are and what is important to you. What is most important to me is family. My husband and I often talk about how much we love it at home. Not necessarily the structure itself, but the time spent with each other and the memories we have made here. This month the creative squad will be sharing inspiring projects that reflect on just that. Using Nat’s new Rubbermoon stamp collections, Stroll Around the Block Sets 1 & 2, we hope to inspire you and share with you what home means to each of us.

Back in the Summer, I acquired several of these shadow boxes at a yard sale. I wasn’t sure exactly what I was going to do with them but I knew they would come in handy. You can purchase shadow boxes at your local hobby and craft store or create your own with recycled materials. I started by removing the frame and glass from the front and emptying the box of all the decorations. I sanded down the frame to give it a distressed feel. Then with a baby wipe, I smeared some Tim Holtz distress stains on the frame and let it dry.


I knew that I wanted to create a little scene in the shadow box to represent my home. I decided to keep with the artistic and sketch-like feel of Nat’s stamps and I felt watercolors would compliment that. I chose the Cape Cod stamp because it most resembles my ranch style home. I stamped the image onto watercolor paper with archival blank ink and then used my watercolors to match the colors of my house.

I decided on where I wanted the house to sit in the box and then designed the other pieces around it. I decided to add a large tree, a flower garden, bushes, a bird, smaller trees in the background and grass. This is where your creativity can really shine. Is this an exact replica of my home? No. But it does relay the feeling I have about home to my audience. Keep that in mind when designing your piece.

I started by choosing a blue and green gelli print from my stash. The blue to represent sky and the green as grass in my background. I used double sided tape to fix those to the shadow box. I then started painting my trees. I used my gelly roll pen to add sketchy lines to each element.

Starting on the background, I fixed each element with scor-tape. The bird and background trees were added with mounting tape to give it a little lift off the background. As I moved closer to the foreground, I fixed the elements with paper tabs like you would in a pop-up book. Mix up the levels throughout the box, giving your piece lots of dimension and interest.

The finishing touch was to stamp the sentiment, My Home is My Castle, onto watercolor paper with archival ink and add a pop of color to it. Once added, I was able to put the glass and frame back on my shadow box.

To me, this piece expresses how I feel about my home. It’s a happy and peaceful place. It is truly my favorite place on Earth. I hope that this piece inspires you to step out of the box this year in your artful adventures. I am wishing you all a wonderful year filled with art, happiness, and creativity.


Thank you Jennifer for this awesome way to use a shadow box! In addition to gelli printed papers, Jennifer used the following supplies:


Play along with us too: I love to see how you interpret our monthly themes. Email me how you used my stencils and stamps with the theme and email me an image – I would love to share your projects in my next  “n*Spiration From Around the Globe“.

Leave a comment