Blog: Stroll Around the Block

A Look Back – The Artful Tabletop – Cool Stuff You May Have Missed

A Look Back – As many of us retreat to our homes again I thought it would be good to look at some projects that can make dining at home feel a bit more festive. This is a collection of posts from the past that can help you think about using stamps and stencils to create an Artful Tabletop. Lets make eating in, even on special occasions, feel like an elevated experience!

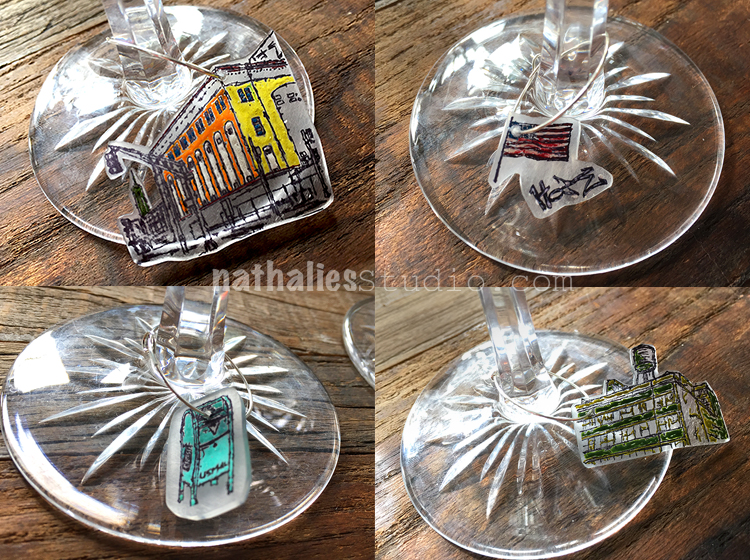
Ok first things first, pour yourself a glass of wine :) Then let’s look at this post on making some sweet wine charms with shrink film and my Stroll Through the Hood 1 and 2 stamp sets. You don’t want to mix up that glass with anyone else that may be in your household or bubble, right? This is no time to be sharing germs. And hey, even if you aren’t interacting with anyone else right now, wine charms are just cute accessories to have regardless and shrink film is ALWAYS fun to play with.

So we have the drinks covered. Let’s move on to some napkins…

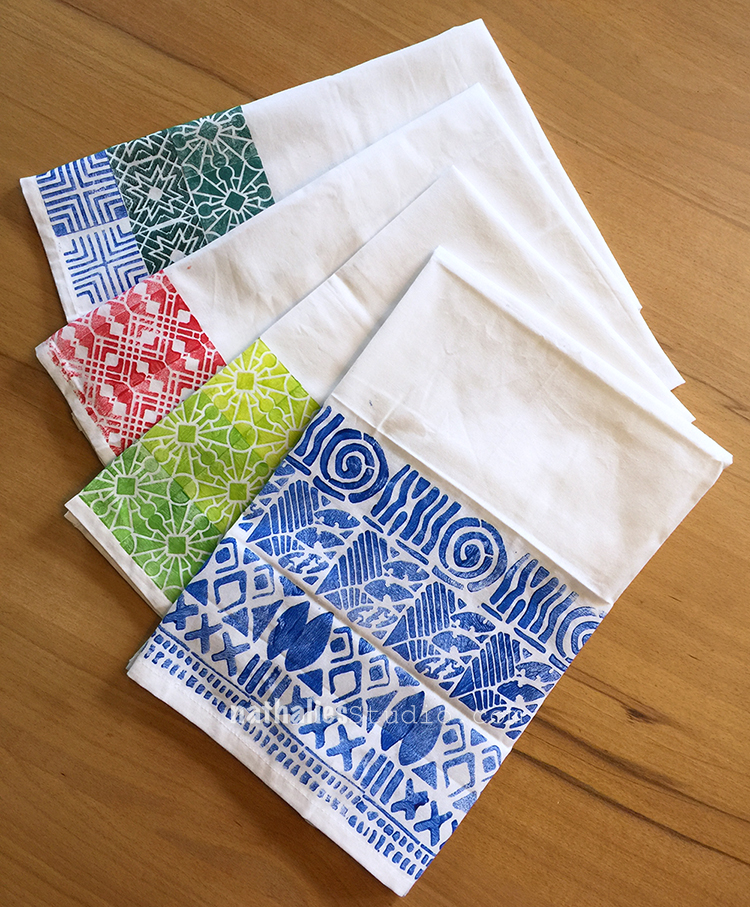
Cloth napkins are the way to go when it comes to making your table look good at home. Not only are they better for the environment, but they just feel nice when you’re dabbing that homemade lasagna off your mouth. And, when you follow the tutorial in this post you’ll see you can choose the perfect colors to go with your tableware and vibe at home. We used some of my foam stamps for the patterns and fabric paint to make sure they hold up in the laundry. Welcome to Chez Moi.

Next up: let’s give those napkins a ring! Nothing says you tried to gussy up a table like napkin rings :)

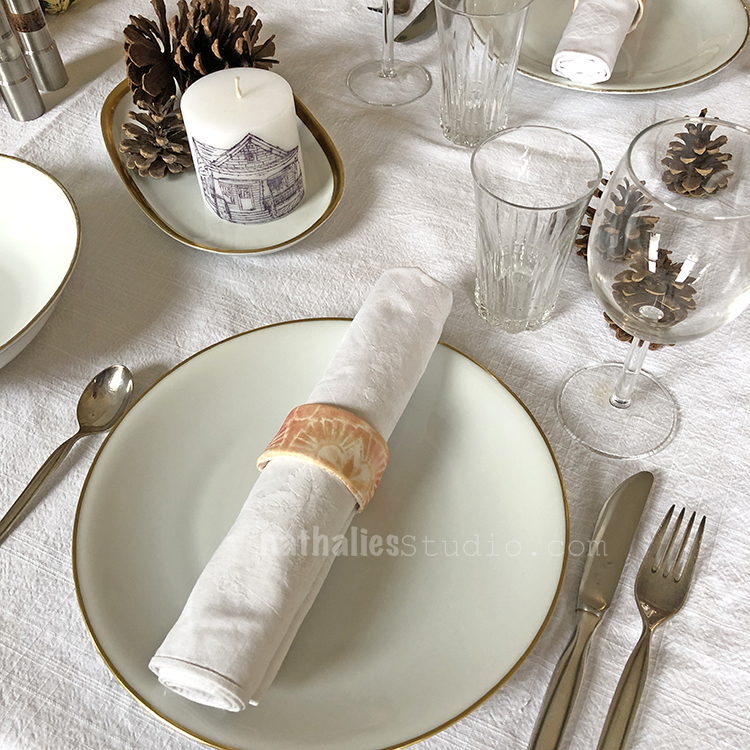
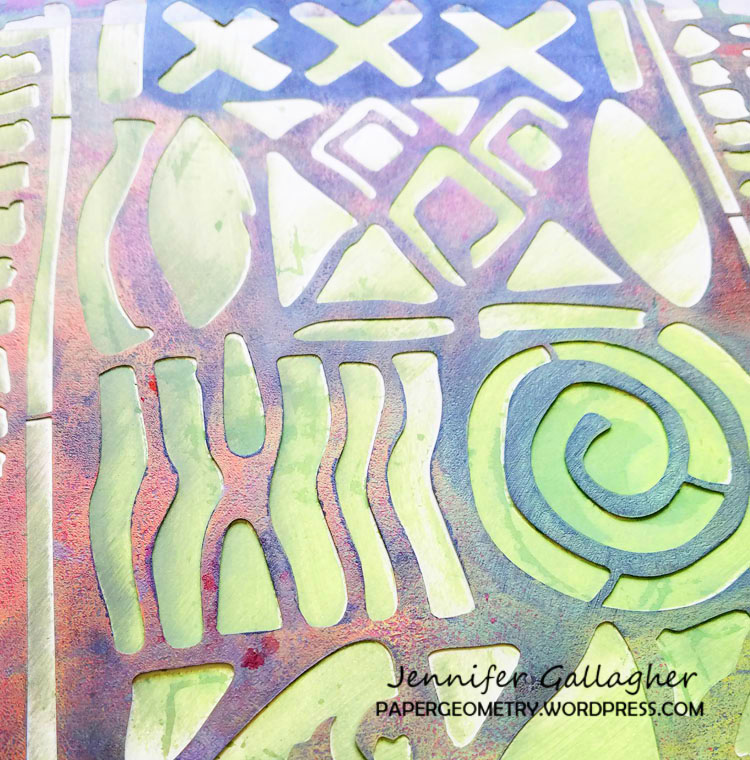
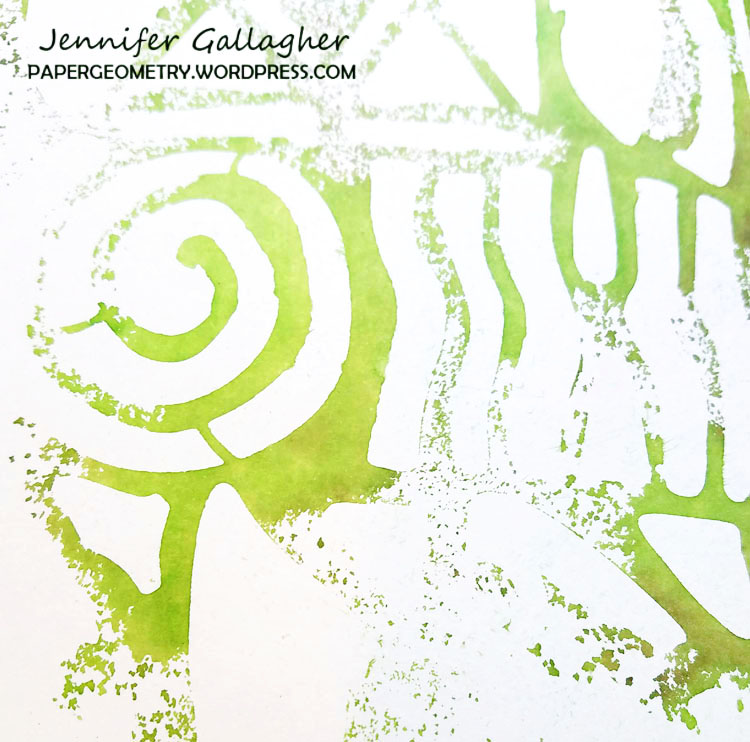
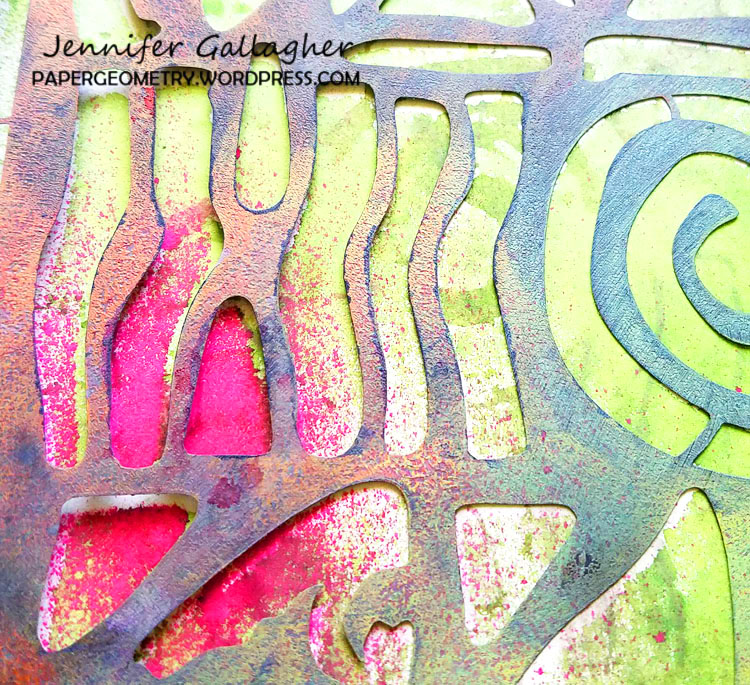
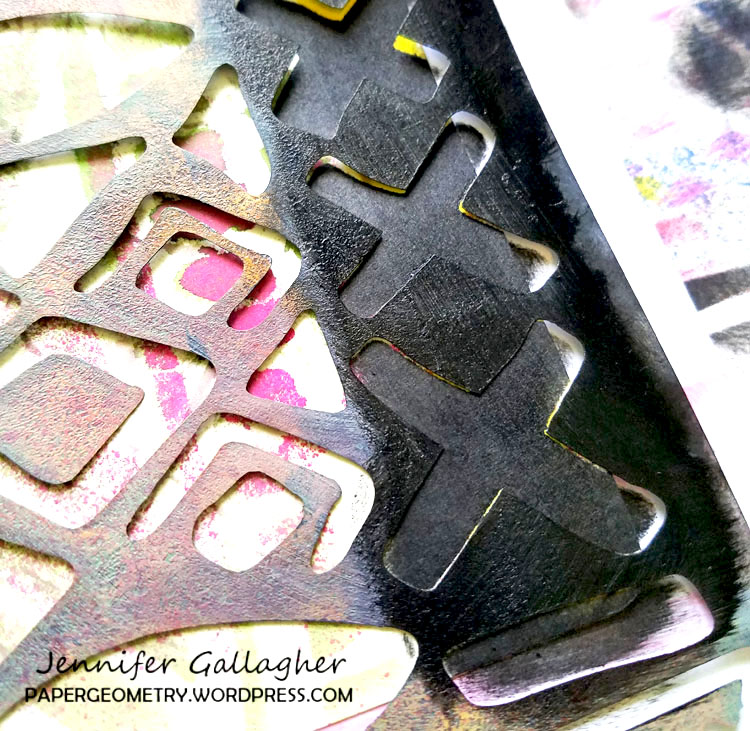
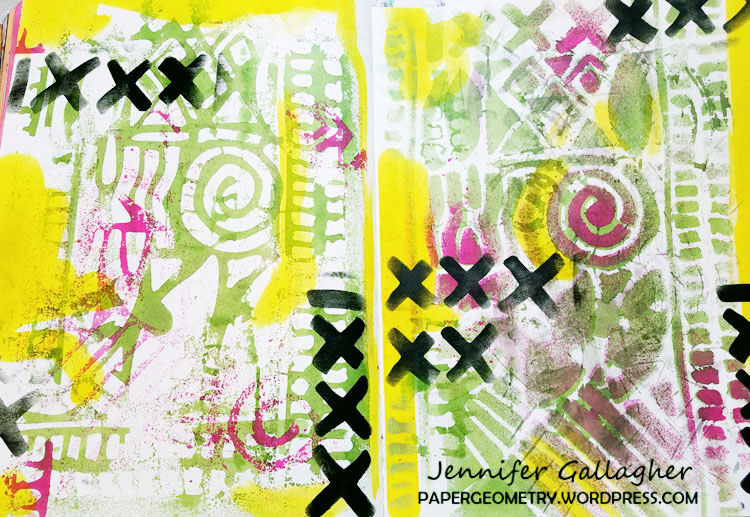
This blog post tutorial shows how to turn paper clay, some of my pattern stencils (like Hamilton seen above), and PanPastels into one-of-a-kind rings for those newly stamped napkins. Give it a try and see if dinner doesn’t feel a bit fancier!

No tablescape is complete without a little element of nature – be it real flowers, greenery from your yard, or faux flowers.

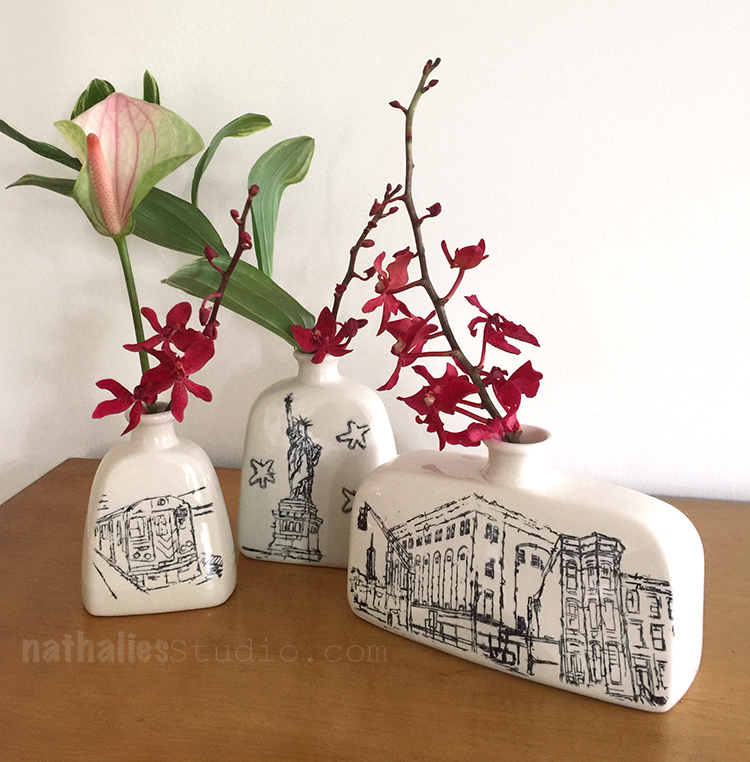
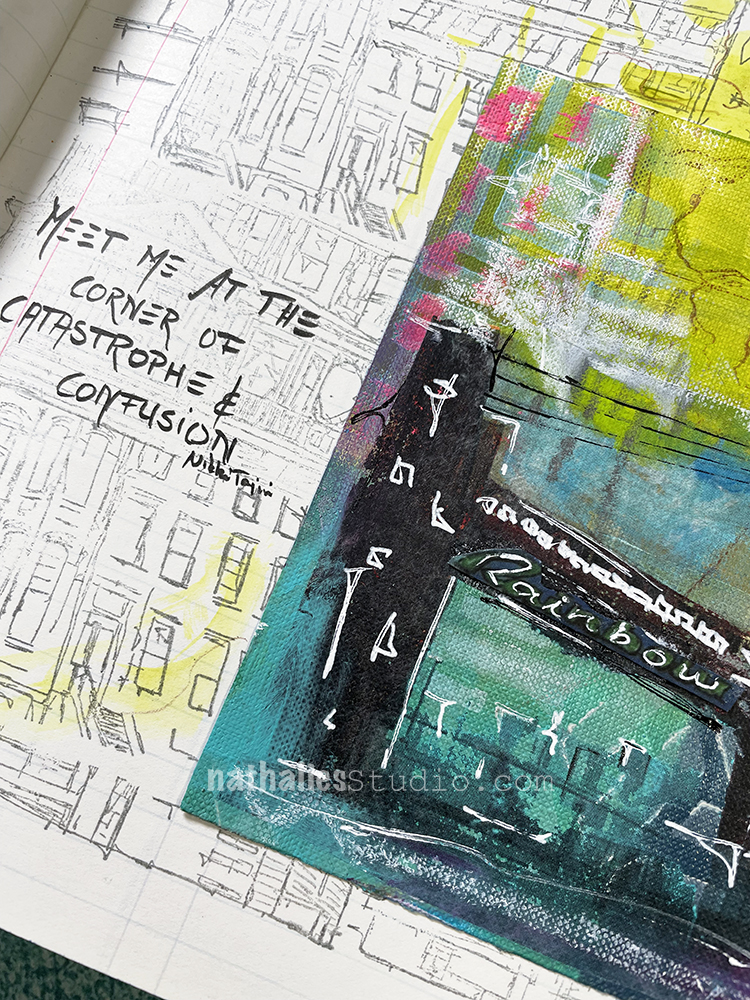
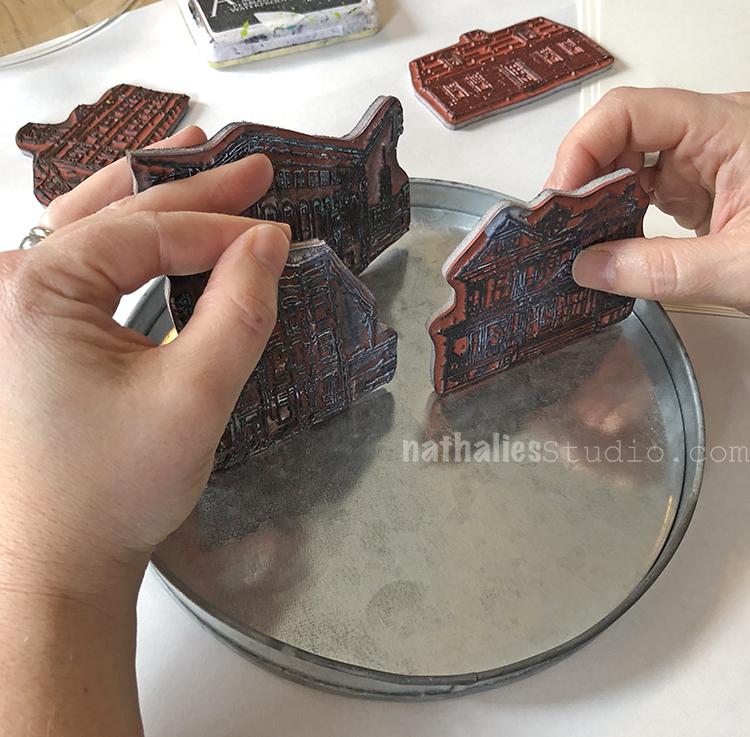
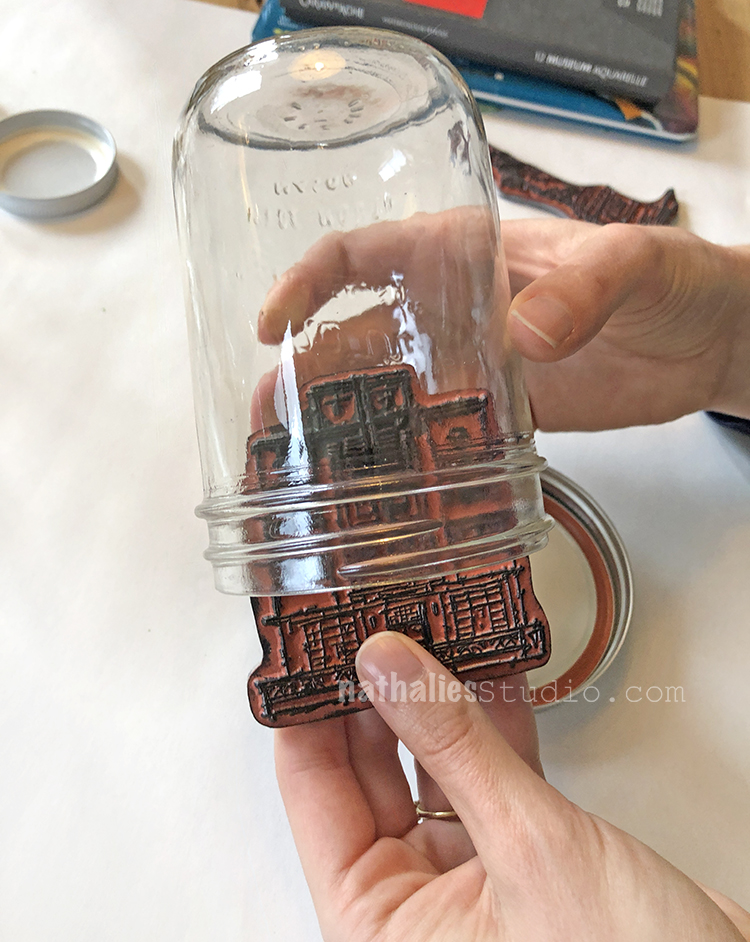
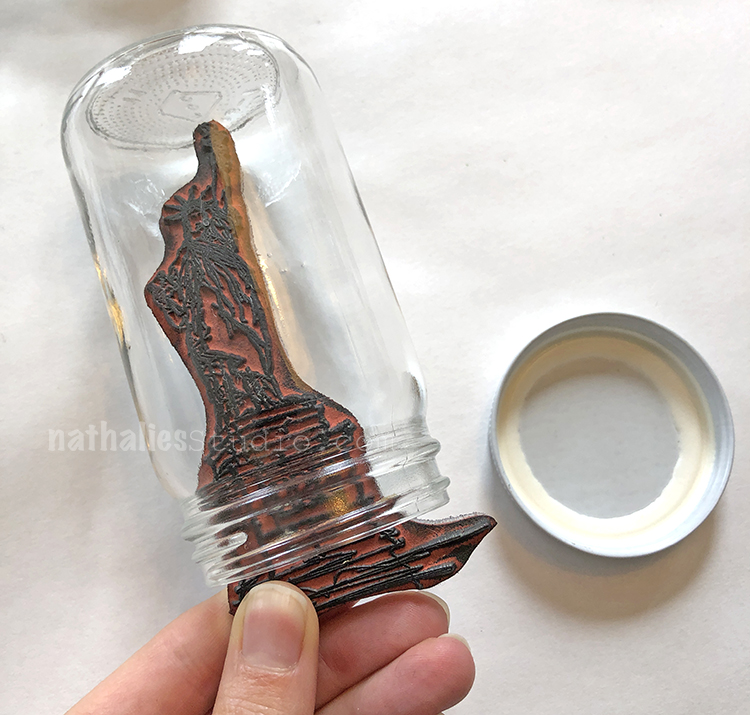
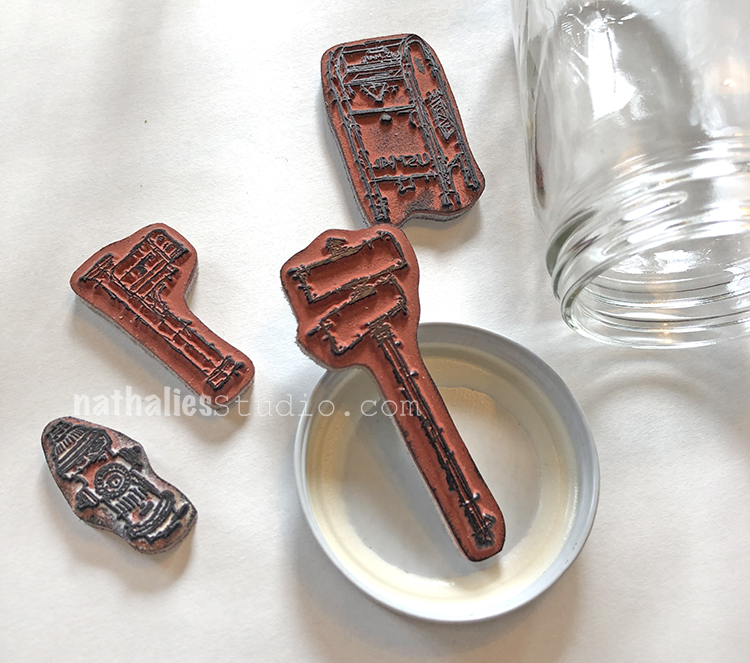
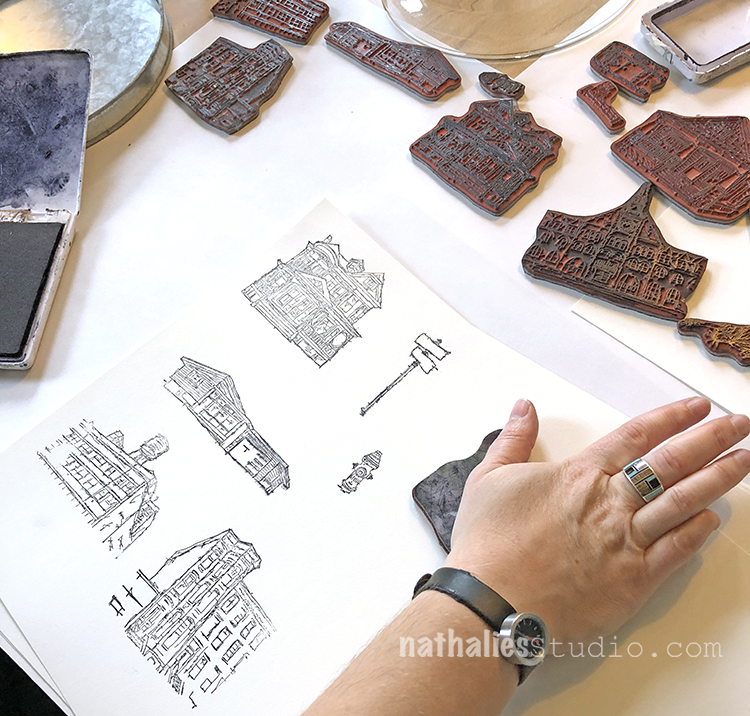
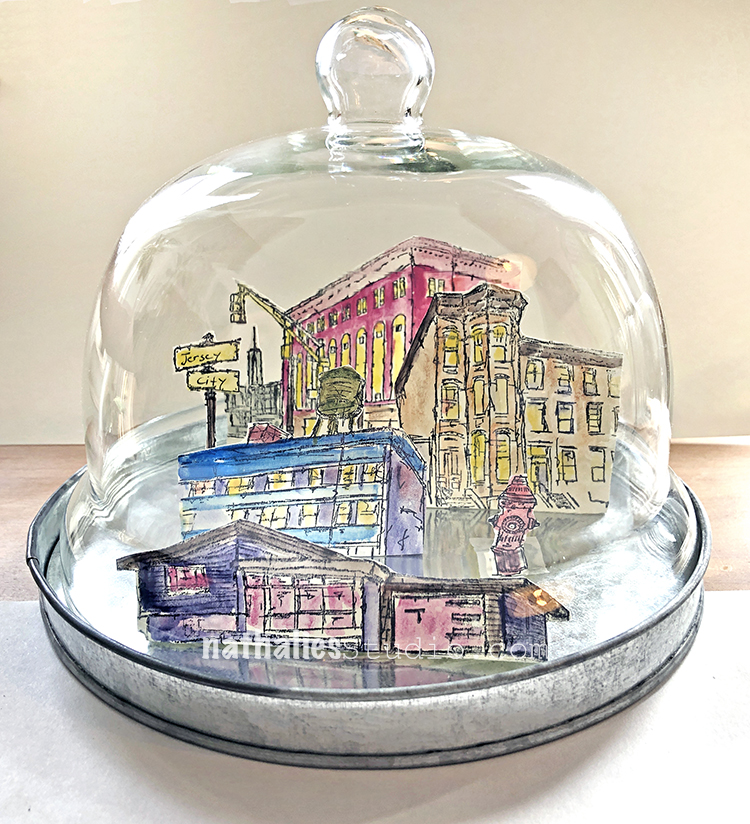
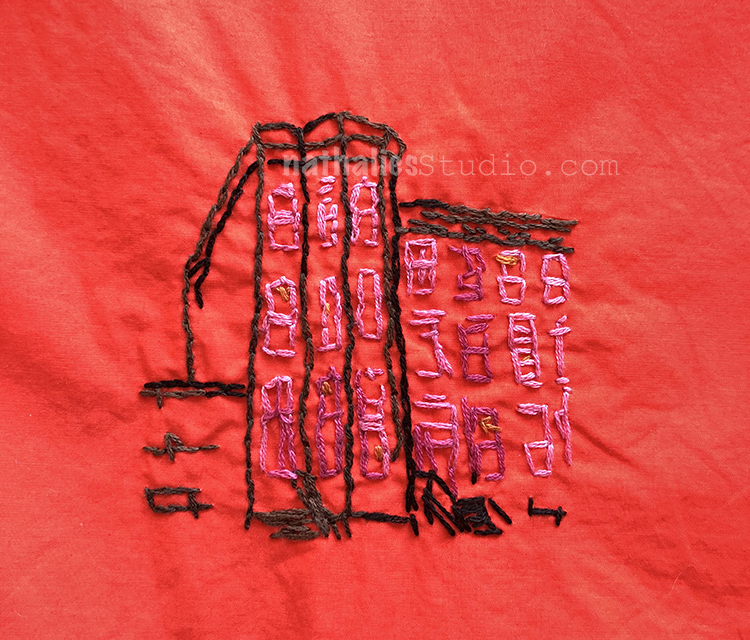
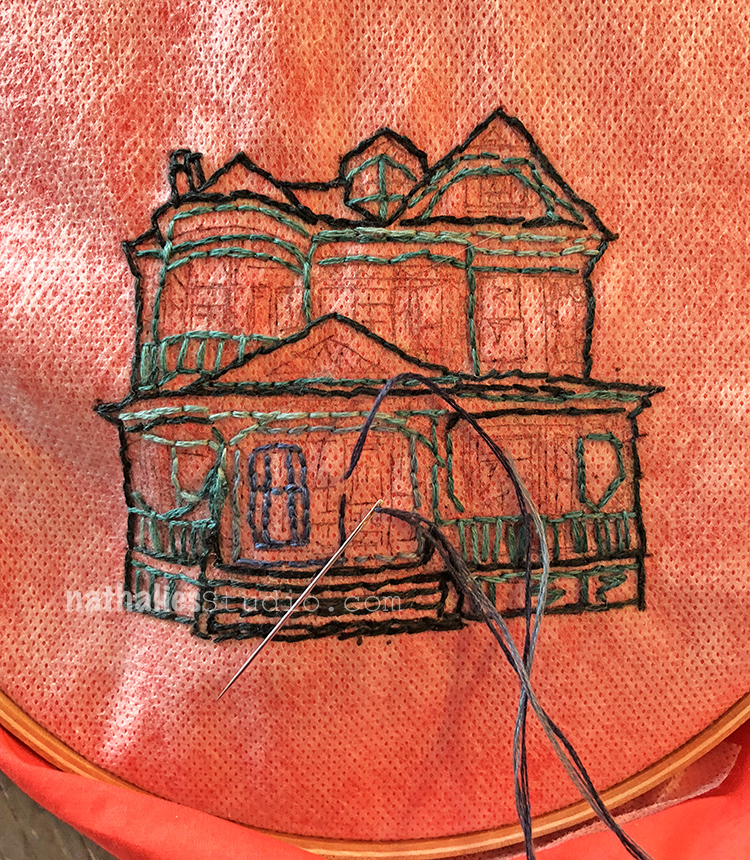
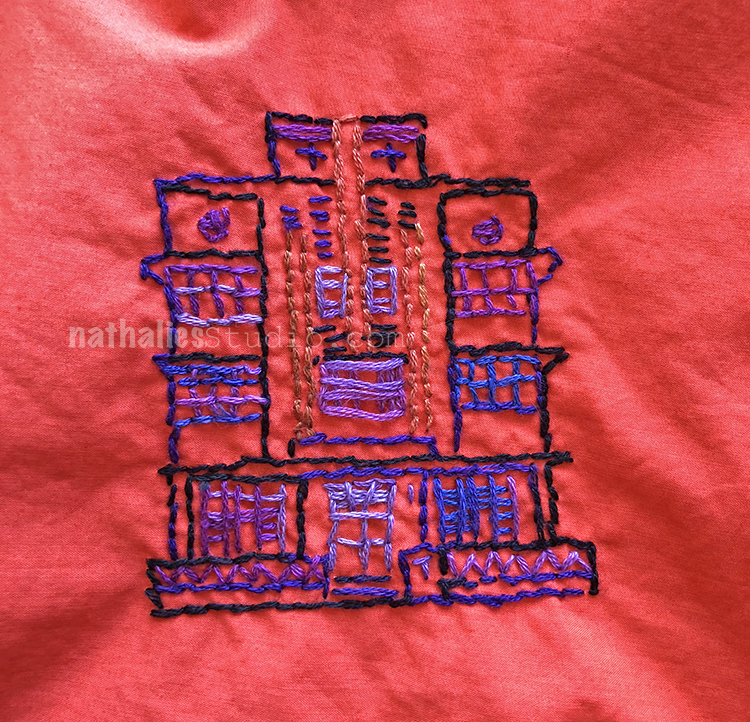
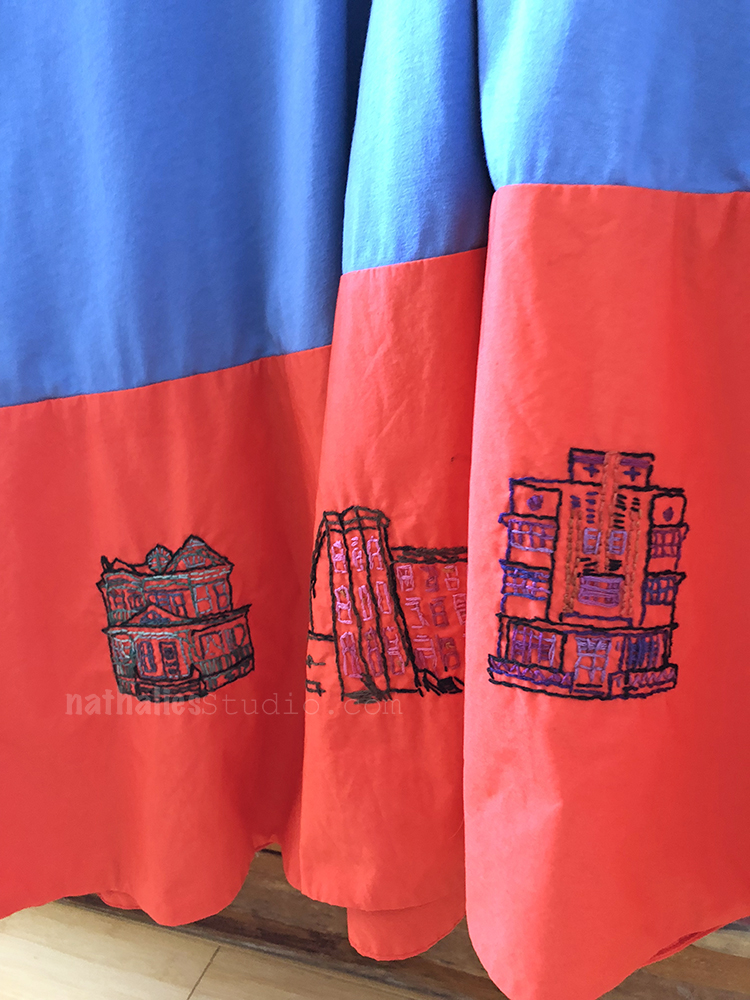
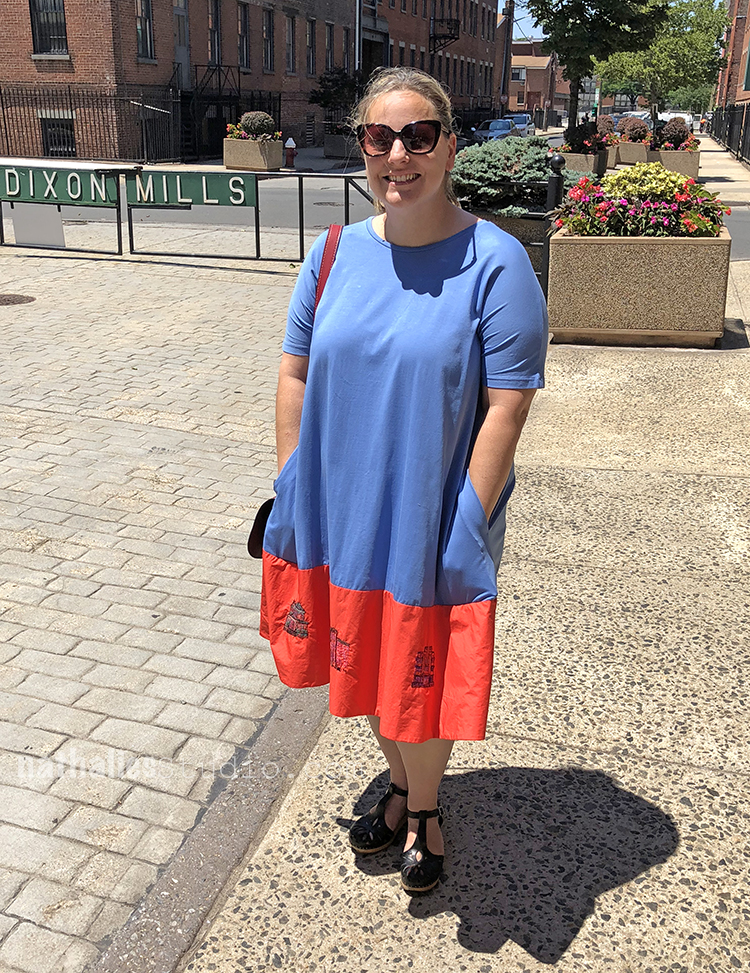
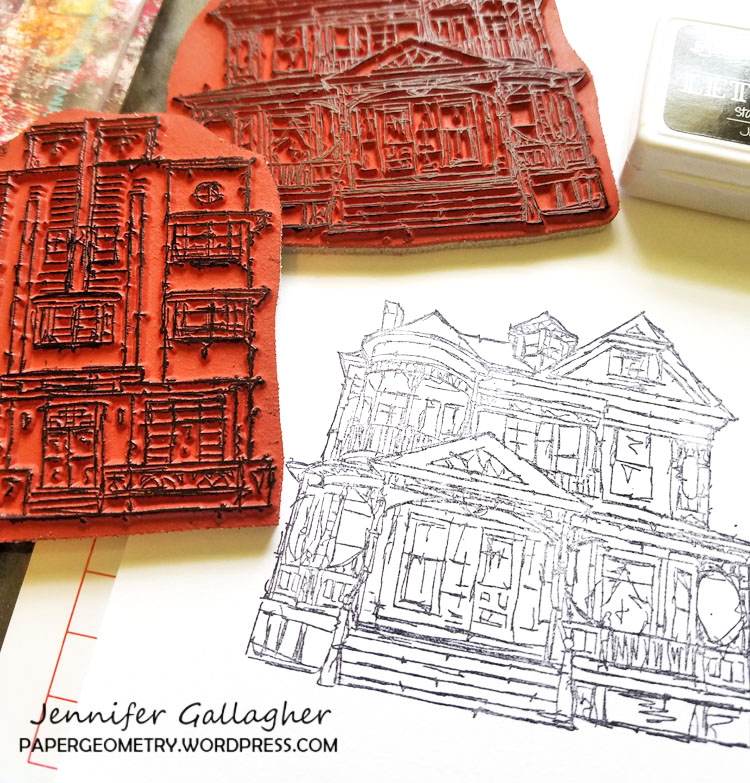
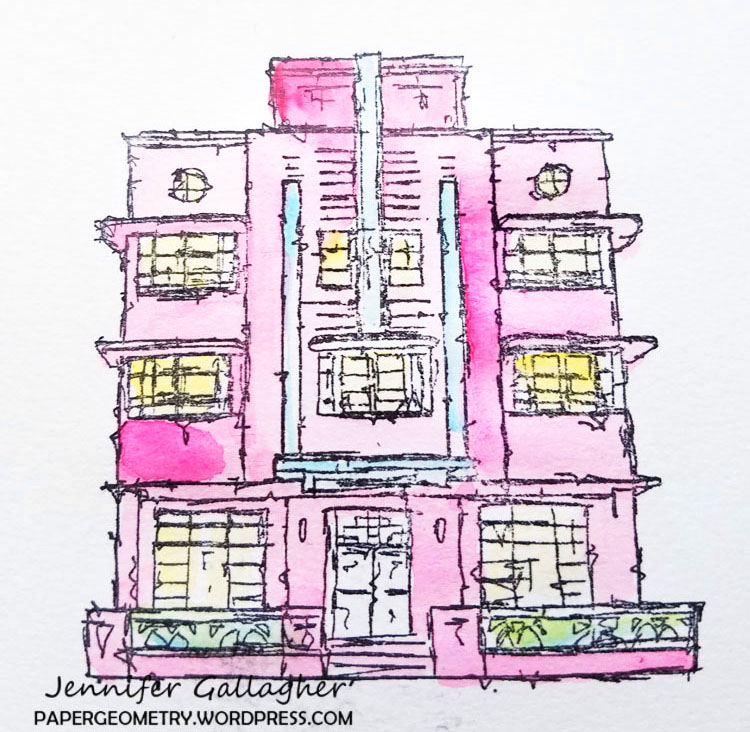
In this blog post we turned plain white ceramic vases into artistic scenes by stamping my Stroll Through the Hood 1 and 2 rubber stamp sets. You’ll want to use an ink like StazOn for this project and then you can even color in with paint markers or glass paint markers. If you use the same stamps that you used for your wine charms, you will begin to build a cohesive look for your Artful Tabletop.

Lastly let’s talk about lighting.

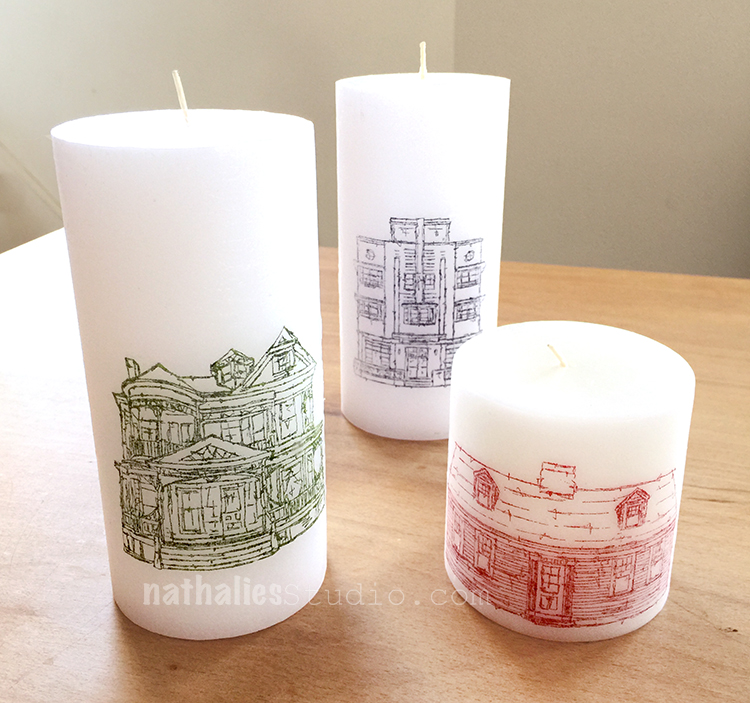
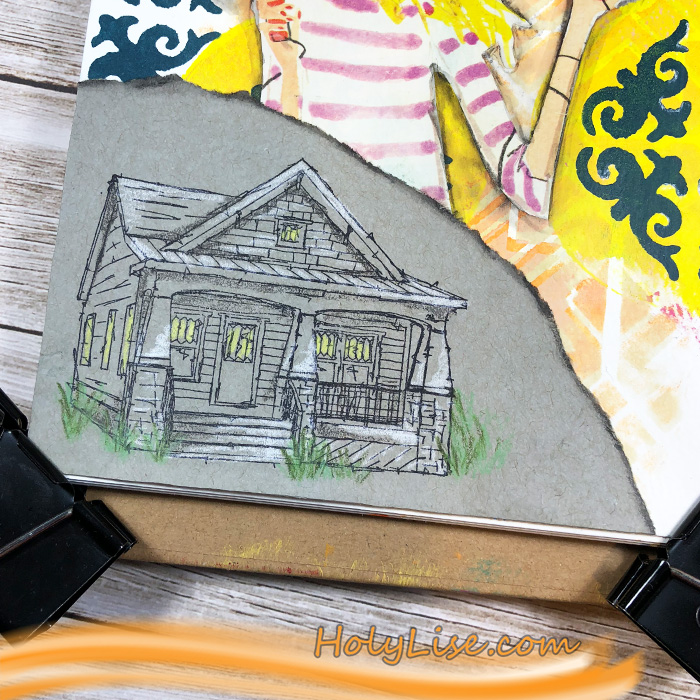
To set the mood on any elegant table, candlelight is a must. Everyone looks better by candlelight, candlelight feels festive even when it’s dark and dreary outside, and I don’t know if there is any scientific proof to this but food just tastes better when there are lit candles on a table. Here is an easy tutorial to create candles stamped with my Stroll Around the Block rubber stamps and some tissue paper.

There you go – 5 projects to get you excited about dining at home and making your Artful Tabletop something to admire and enjoy. You may even need to start posting pics of your dinner online if you keep this up. Have fun!!!

I hope you enjoyed this. A Look Back is a blog series to show you some projects and posts that you may have missed – sometimes going WAY back in the archive. I think it will be fun to revisit a few ideas that we haven’t seen for a while. I’m excited to see how a little look back might inspire something new in the future :)

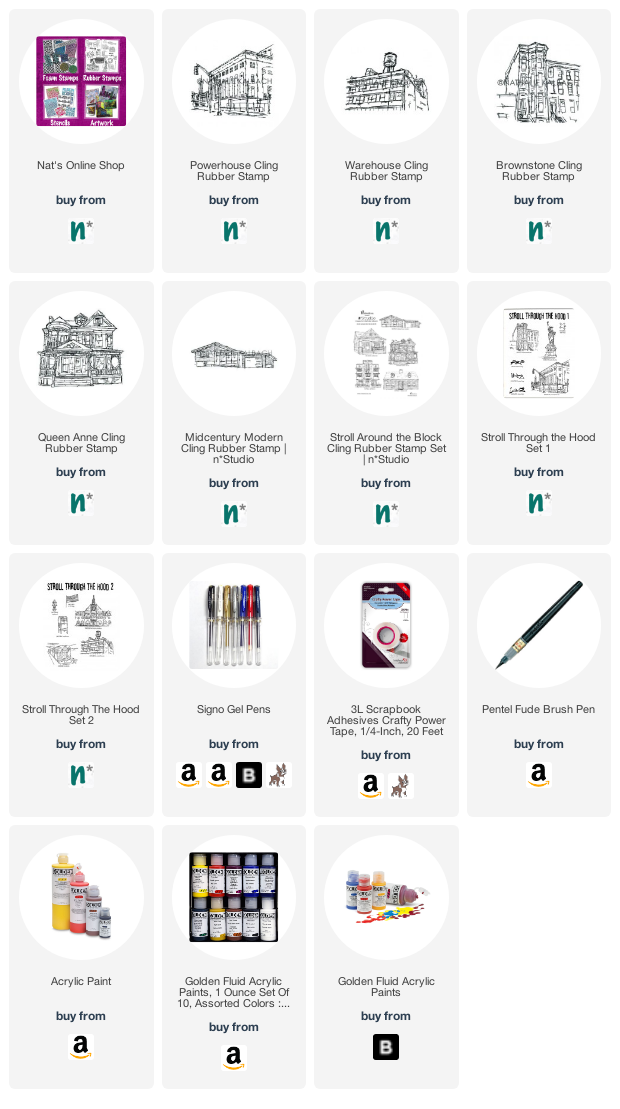
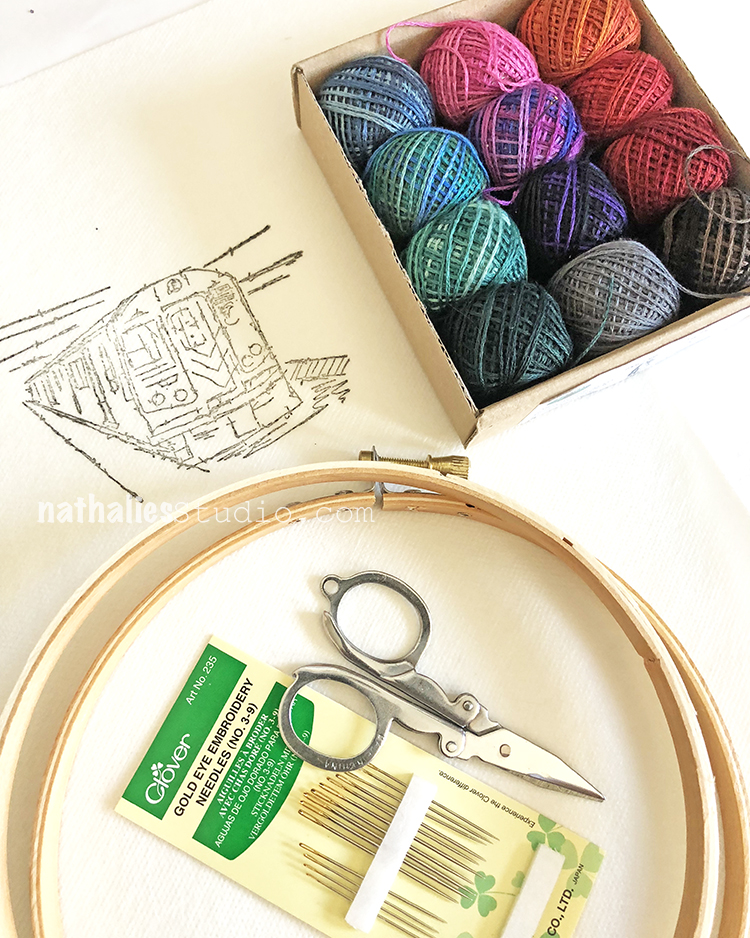
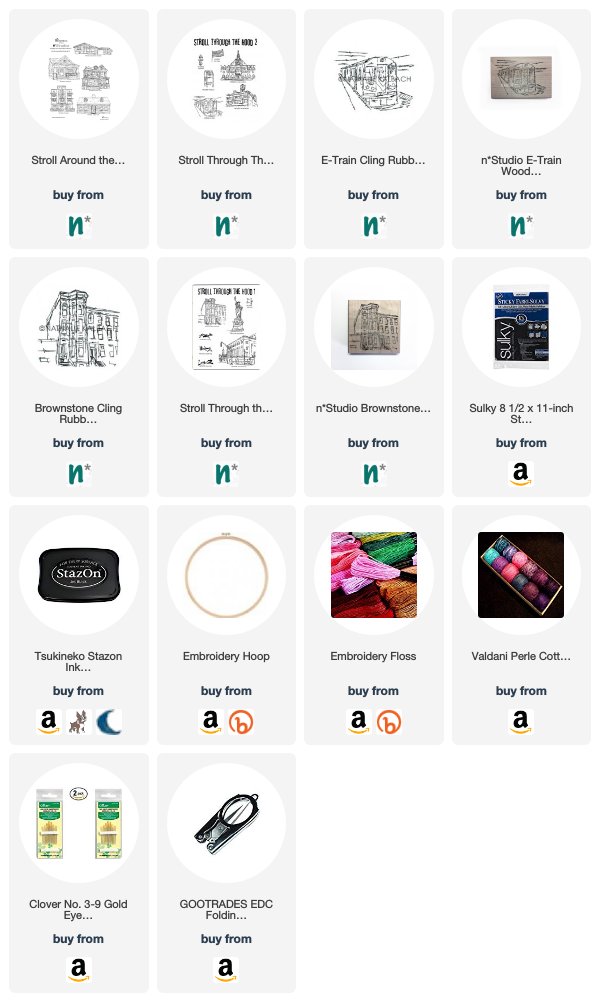
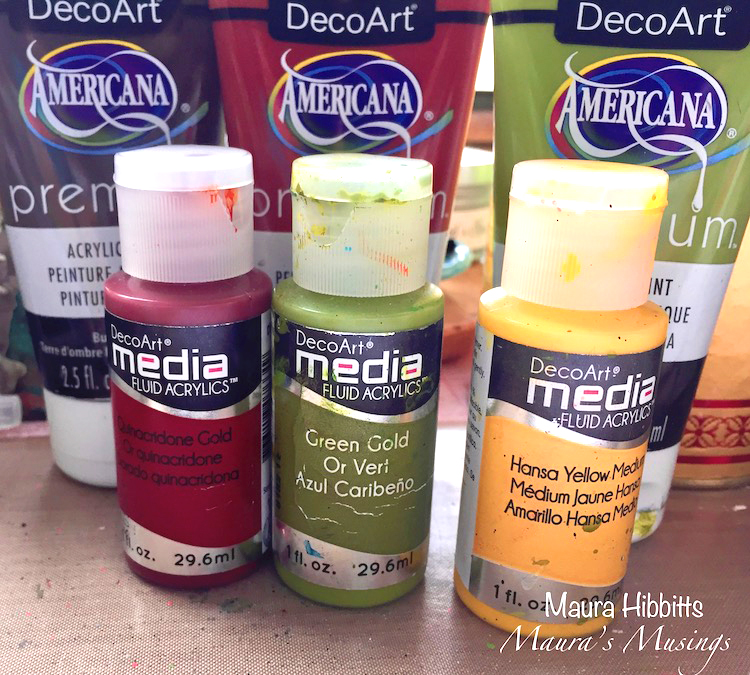
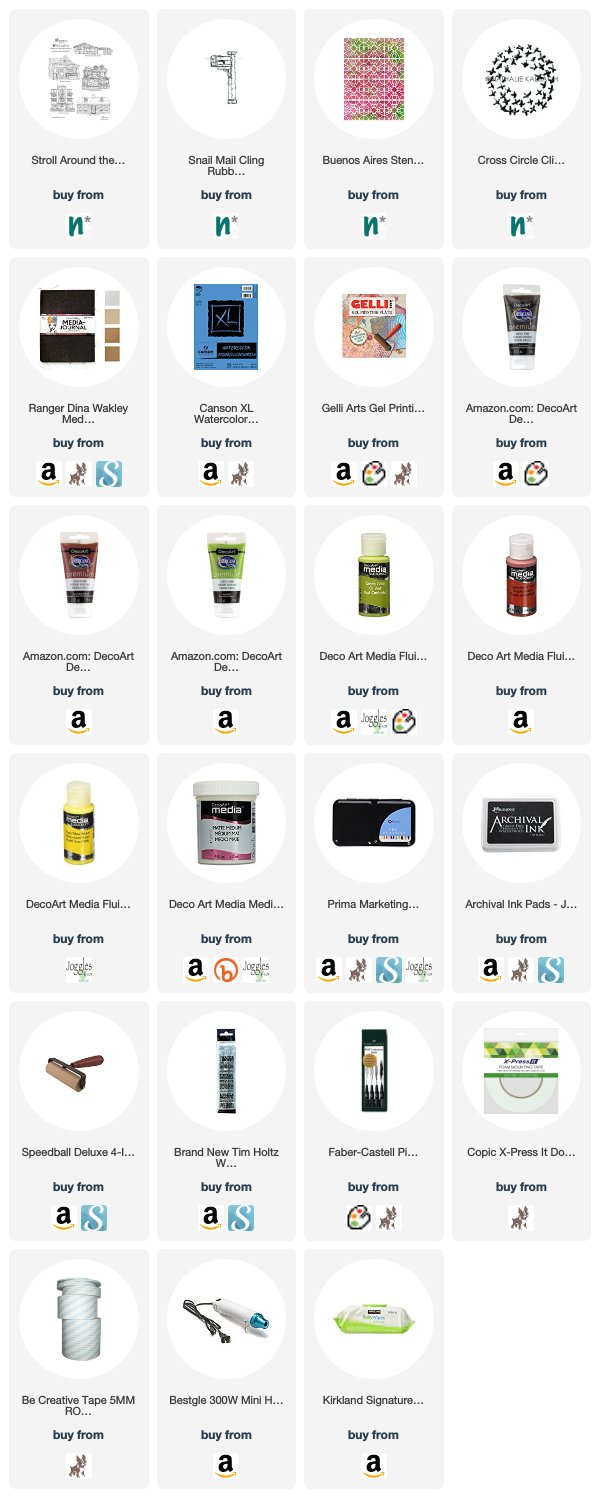
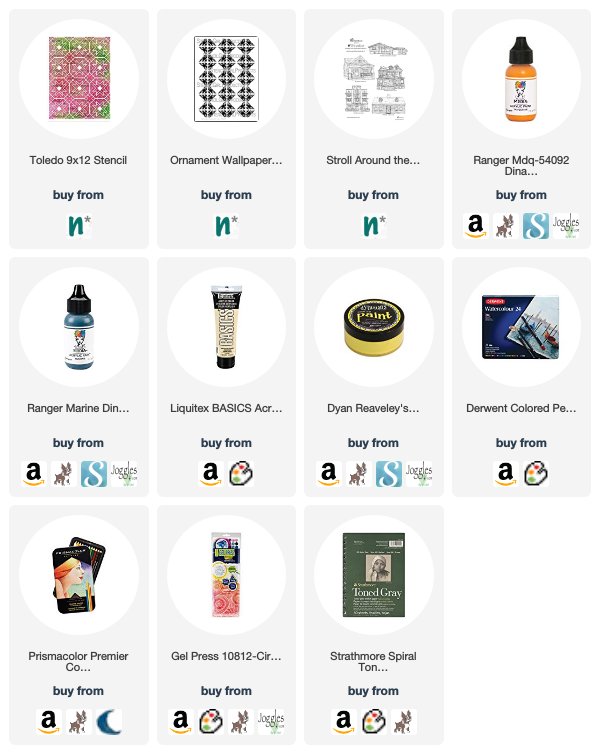
Here are some of the supplies I used in these projects:

Leave a comment

Meet Me at the Corner – Art Journal

“Meet me at the corner of Catastrophe & Confusion.”

For this page I used a collage from a while ago – a 6×6″ piece which I had painted and stamped on with acrylic paint and Signo markers.

I stamped the background of my ledger with my Powerhouse, Warehouse, Queen Anne, Midcentury Modern and Brownstone rubber stamps, covering the images to mask off while layering. I adhered the collage with double-sided tape and I used the same green as in the collage to carry it a bit into the background and tie everything together.

For my journaling I used a Fude pen.

Here are some of the supplies I used:

Leave a comment

Sunny Home Card from Riikka Kovasin – Guest Post

Happy to have another Guest Post from Creative JumpStart 2021 teacher Riikka Kovasin! Today she shares a card celebrating a new home using my Queen Anne rubber stamp and my Grove Street foam stamp.

 We are so excited to share some projects with you from Riikka. Enjoy!


Hi there again! It’s Riikka here with another project! This time I made a card. The rays in the “Grove Street” stamp made me think about a sun, so I combined that with one of the beautiful, detailed house stamps Nathalie has. This one is “Queen Anne”.

When I started, I was thinking of going with yellow tones and instead of black embossed the stamped house first with pale yellow. When I then started adding colors to it, I realized that it won’t work. The pale yellow looked odd with the stronger colors coming on top. So, I ended up using black anyway.

I recorded a little video while working with the card so you can even see my two takes with the outline color:

After getting the elements done the card was easy to put together. 

I used white on white in the background where I added a strip of embossed white cardstock as kind of an anchor. On top I then added the warm sun and then the house.

Like I write in the video, the house just couldn’t float on the card front, so I stamped some grass, too. For that I used the “Queen Anne”, too, stamping the lines multiple times on top of a strip of white cardstock. The intersecting mishmash creates an illusion of a texture stamp!

Thank you for stopping by today! Wishing you a sunny day!

Xoxo Riikka


Thank you Riikka – love watching you work in the video to figure out the best solution!

Want to give it a try? You can find all my Foam Stamps and Rubber Stamps here in my Online Shop and here are some of the other supplies Riikka used:

Comments (4)

  • robinseiz

    |

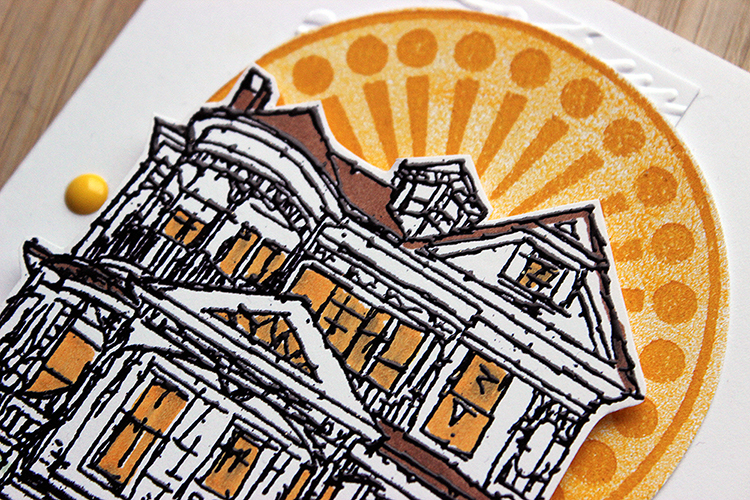
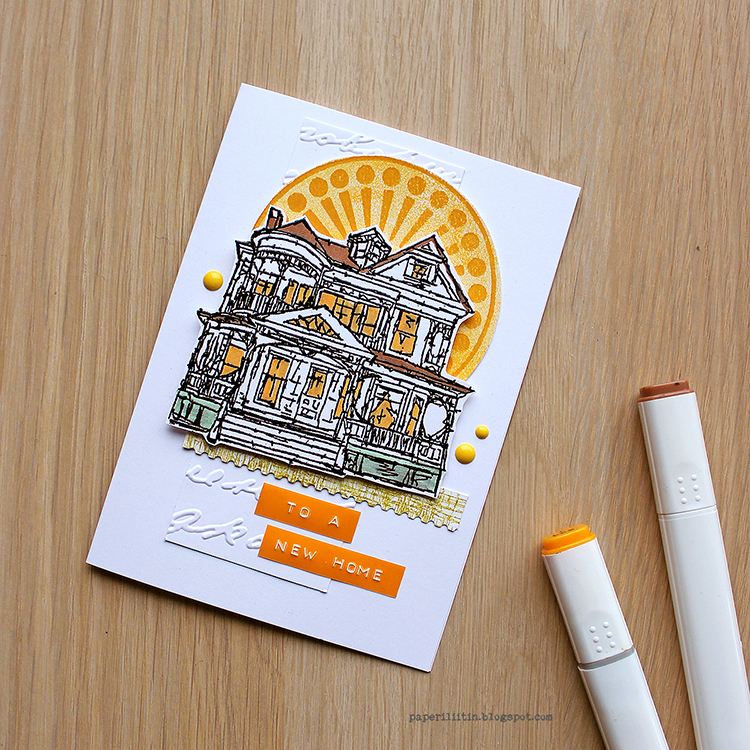
    This is such a lovely card. Thanks for sharing!

    Reply

  • Sue Clarke

    |

    Cheery, bright colors and such a wonderful use of the stamp!

    Reply

Leave a comment

Rubber Stamped Waterless Snow Globes – DIY Playdate

This is my favorite Play Date with Kim yet!!! Seriously, I geeked out on this and had too much fun making a little Winter Wonderland under glass. We knew we wanted to do snow globes and waterless is the way to go – easy peasy and sooooooo cute! Here we go – waterless snow globes filled with little rubber stamped scenes to warm your heart this holiday season and into the winter beyond.

You’ll need a jar or cool glass cheese dome like I found. The size of the jar and lid will determine what rubber stamps you can use. We went right for my Stroll Around the Block house stamps, and the little street elements and buildings in my My Home is my CastleStroll Through the Hood 1 and 2 sets. Then we got some fake snow, some tiny trees and tiny people, heavy card stock, archival ink, colored pencils and ink blocks to color our stamped images, scotch tape, a hot glue gun and scissors. How many accessories you want to add is up to you – there are so many choices when it comes to miniature scenery – plants, animals, different people, etc.

My cheese dome was wide enough to have a little city scene in it, so I played with various arrangements to see what fit. Here I am testing out my Powerhouse, Queen Anne, and Brownstone stamps. You can use the stamps to see what will actually fit in your jars.

Kim had a canning jar that she found the Art Deco image would fit right into.

And another smaller jelly jar for a Lady Liberty snow scene :)

If you have small jars like baby food jars, you can choose small stamps like my Hydrant, Snail Mail, Mailbox, or Street Sign stamps.

Ok time to stamp! I’m using a few different stamps to build my snow globe neighborhood.

Next you cut them out, leaving a “foot” at the bottom to fold over and tape onto the lid. You can cut them out before or after you color them.

Color your stamped images with watercolor pencils – after all these snow globes won’t have any water :)

Kim added some seasonal details to the Street Sign stamp.

I love to use Derwent Inktense blocks with water and a brush, almost as watercolors to color in my stamps. They have beautiful rich colors and you can use a fine brush to get very detailed with them. Here I am adding some color to my Powerhouse stamp.

I chose a lot of different colors for my snow globe scene.

Use some tape to tape the image into the lid. Here is Lady Liberty, ready for winter I hope lol

She just fits.

Here is my scene and SQUEEEEEEL it is coming together so amazing!!! This was a test to make sure the lid fit.

Now I glued in some trees and shrubs with hot glue.

And people to bring your snow globe to life.

Kim put together 3 scenes.

Time for the blizzard!!!

Just spoon some snow into the jars.

Or gently spoon around the elements in the cheese dome.

On goes the lid

Kim assembled her North Pole snow globe :)

This is where we realized that for lidded jars, you may want to build your scene up a bit so it sits above the bumpy rim at the bottom of the jars. You could cut out a cardboard circle and paint it white and stick it in the lid first, then put buildings etc on top. We would definitely do that next time. Also if your jar has a colored lid, you may want to paint it with gesso before you begin.

But oh WOW this was sooooo fun! And looksie at my little winter wonderland!!! What a success and done in under 2 hours.

Take a stroll through my snow dome :)

Kim’s waterless snow globes – waaaaay cute!

That guy in the bottom cracks me up!

And for even more fun, I added a small battery operated tea light into the back of my snow globe so now it glows at night. Ooooooo!

I hope you try this project and I hope you have as much fun as we did. It’s a nifty way to get into the holiday spirit :)

In addition to my Rubber Stamps from my Online Shop, here are some of the supplies that we used:


Comments (4)

  • Sue Clarke

    |

    Love love love these Nat!
    Now maybe make some on shrinky material and you can use water too???
    Super fun project that you and Kim made.

    Reply

    • nathalie-kalbach

      |

      Great Idea Sue! We really wanted to have no glycerin or water involved – it was so much easier and gives more possibilities to add candles and use a cheese dome too :) It was so quick and I bet it is fun to make with kids too!

      Reply

  • stresso

    |

    oh my gosh – how fun!!!

    Reply

Leave a comment

Embroidery with Stroll Rubber Stamps

This month my friend Kim and I decided to do an embroidery play date. I am loving this new hobby and it is so nice to settle into a movie at night and do a little bit of embroidery. It’s relaxing, creative, and a fun way to add a personal touch to clothing. Kim and I chose some clothing items to embroider, and went straight to my Stroll Around the Block and Stroll Through the Hood rubber stamps for our designs.

You don’t need much to pull this off: embroidery thread, needles, scissors, a hoop, and a super nifty adhesive fabric stabilizer from Sulky that dissolves in water (see the link in the supplies below). Then you just choose a rubber stamp design and stamp on the fabric stabilizer. Kim chose the Craftsman stamp from my Stroll Around the Block set. It fits right in a 6″ hoop with some room to spare.

Then she carefully peels the backing off the stabilizer, removing the bottom a little to position and stick onto her tshirt. It is important to make sure the tshirt is flat underneath with no wrinkles and do not stretch the tshirt either. Slowly peel away the backing and press the stabilizer firmly onto the fabric.

I chose my E-Train rubber stamp from the Stroll Through the Hood 2 set. It fits nicely on the shoulder of this tshirt.

I next put the embroidery hoop on, careful to not stretch or distort the fabric. It should be taut but not stretched. Because of the neck opening, I had to position the image off to one side so that the hoop could grip the fabric all around.

Kim got to use my new StazOn stamp pad that I got in Japan with the cute cat cover…

Now the fun begins, and we begin to embroider, stitching to follow the stamped designs.

I like to make a stitch, then double back and go through the stitch to make a quasi “split stitch”. I am no expert on embroidery, and the main thing here is that you don’t have to be! Just make stitches and follow the design.

I trace the outline of the E-train stamp and Kim traces the Craftsman house…

It’s fun to begin to choose colors and mix things up in the design. If you don’t like what you did, you can always gently loosen the stitches back with your needle and cut the threads out. I also found that I could trace the design with a colored pencil to help envision how a color would look.

Here are our designs, coming along.

When I finished, I loosened the hoop and slipped it off, and tore off the excess stabilizer.

Next you wash it gently under running water and the stabilizer melts away, leaving just the embroidery. Be gentle and make sure to get under the stitches if you have dense areas.

Now your piece is ready to be laundered to take any additional adhesive off.

Then you can wear your new personalized shirt :)

And of course I didn’t stop there. I had a dress with a red hem that was calling for some decoration…

I began with my Brownstone stamp from the Stroll Through the Hood 1 set.

And then the Queen Anne house from the Stroll Around the Block set…

And finally the Art Deco stamp from the Stroll Around the Block set!

Here they are on the hem of the dress:

I loved taking some clothing items and making them more interesting so I might now wear them. And the embroidery is so easy to pick up and have fun with, especially if you use the rubber stamped design on the stabilizer sheet. Give it a try! Everything you need to get started is below:


SaveSave

SaveSave

Comments (4)

  • Nancy Sapp

    |

    I LOVE, LOVE, LOVE ALL the embroidery ideas from your stamps, Nat!!! I just wish I was good at embroidering!!

    Reply

    • nathalie-kalbach

      |

      thank you so much ! I am not good at embroidery at all and this was really easy- promised!

      Reply

  • Sue Clarke

    |

    Clever…unique…love it!

    Reply

Leave a comment

Inside Outside – Maura Hibbitts


Happy Wednesday my friends! Today we have a post from Creative Squad member Maura Hibbitts to brighten your day. Maura is using my Stroll Around the Block, Snail mail, and Cross Circle stamps and my Buenos Aires stencil to create a lovely art journal page that definitely has me thinking “Home Sweet Home”! The theme this month is Inside Outside – Inside can be cozy and warm. Outside is about fresh air and freedom. Are you a homebody or do you suffer from cabin fever? We’re creating with these opposites in mind.


I have long been an admirer of the Arts and Crafts Movement, the pottery, wallpaper, furniture, and love the Craftsman style homes. The outside details of Nathalie’s Craftsman house stamp make for a delightful little cottage, one I would love to live in. I do have several pieces of furniture inside my home made in this style, that we enjoy every day, and I can foresee passing these on in the family, they are so sturdy and well made.

I started with my gel plate and squirted on a bit of burnt umber, green gold, and quinacridone gold with my heavy body paints, then used the brayer to blend them out a bit. Next, I laid the Buenos Aires stencil down onto the plate and pressed a sheet of copy paper over it, then lifted the stencil. Be sure to clean the stencil right away and not leave it too long on a sheet of paper. (I learned the hard way that they will stick together. If that happens, just soak the stencil in water.)

I pulled two prints from my gel press to use in my project. The print on the left made from laying the paper down on the stencil and paint, and the one on the right is the second pull directly from the plate.

I tore the edges of my print, and adhered it onto a kraft page in my Dina Wakley Media Journal with matte medium. Once dry, I brushed on several transparent colors, then wiped them away in some areas with a baby wipe. I used Hansa Yellow Medium, Quinacridone Gold and Green Gold for this layer.

While that was drying, I stamped the house and mailbox on watercolor paper, and colored them with Prima watercolors and a water brush. Once they dried, I cut them out.

I used my other print to cut out part of the stencil to layer and create my sun, and the stone pathway to the house. I added a bit of doodled lines, and watercolor to the stones.

When I first looked at the Cross Circle stamp, I saw flying birds, so I used part of the stamp to add some birds to the page.

The house, sun and mailbox are attached with foam tape. I also scribbled a bit around the house, mailbox, and stone path, and wrote Take the Path Home onto my page as this seemed appropriate. After all, I know my home always calls me back, especially if I’ve been away for a while.


Thank you Maura! I love the little scene you’ve created and so cool that you interpreted my Cross Circle stamp as a flock of birds – I love that idea! Here are some of the supplies that Maura used in her art journal:


Do you feel inspired to create now? Are you working on something yourself that you’d like to share?  I love to see how you interpret our monthly themes. Email me how you used my stencils and stamps with the theme and send me an image – I would love to share your projects in my next  “n*Spiration From Around the Globe“.

Comments (1)

  • Sue Clarke

    |

    I would love to vacation in the house you created Maura.
    The path is my favorite part of the design.

    Reply

Leave a comment

Inside Outside – Jennifer Gallagher


Hello my friends from the Creative Squad! Today we have a boldly patterned and colorful art journal page from Jennifer Gallagher. She uses my Batik stencil for some awesome background patterns and my Stroll Around the Block stamp set for the houses. This month’s inspiration was our theme:  Inside Outside – Inside can be cozy and warm. Outside is about fresh air and freedom. Are you a homebody or do you suffer from cabin fever? We’re creating with these opposites in mind.


This month we are creating with opposites in mind. I immediately thought of positive and negative and wanted to play with this idea through stenciling. I went straight to my Dylusions large journal to create a fun art journal spread. Nat’s Batik stencil is one of my favorites and the bold designs would be perfect for the play on positive and negative space. On the right hand side page, I laid my stencil down and painted with Dylusions Mushy Peas, leaving some parts of the design not painted. I then filled in those spots with the matching Dylusions Ink Spray in Mushy Peas. This is where the fun starts. There will be a lot of ink left on the stencil. Carefully turn the stencil over and press it down on the left hand page. This will leave the opposite, yet complementary, design of your stencil. Do this technique multiple times until you are satisfied with the left hand page.


I knew I wanted to add another color and decided to go with a complementary color choice. Red is the complement to green but this always makes me think of Christmas. I tend to avoid this direct combination in my art. I decided to go with a deep pink and peony blush was just perfect. I sprayed my peony blush ink spray through the stencil on the right page and then pressed the leftover ink onto the page on the left. Repeating the process the same as before.

At this point I added a third color for a visual pop. Yellow is always great for this, so I used my Distress Stain in mustard seed. And no page in my art journal is complete without a little black paint. The ‘x’ design on Nat’s Batik stencil makes a cool design detail.

I stamped up a few of Nat’s rubber stamps from her Stroll Around the Block Set and finally, keeping the theme of opposites in mine, I settled on the Art Deco stamp and the Queen Anne stamp. I colored them with my Dina Wakley Media scribble sticks.

I cut out the stamped images and placed them on my pages with scor-tape. I added journaling on both pages with my fude ball pen and ran a stripe of Dina Wakley Media washi tape down the center of where the pages meet. I hope you have enjoyed this page. Be sure to play along with the Creative Squad each month and share your creations with us.


Thank you Jennifer! I love all the different elements you pulled out of my Batik stencil for that gorgeous background! Here are some of the supplies that Jennifer used:


Feel inspired? Working on something yourself that you’d like to share?  I love to see how you interpret our monthly themes. Email me how you used my stencils and stamps with the theme and email me an image – I would love to share your projects in my next  “n*Spiration From Around the Globe“.

Comments (2)

  • maura

    |

    Love how you’ve layered the Batik stencil, Jennifer! It’s one of my faves too. Your pink houses are so fun! Maura

    Reply

  • Sue Clarke

    |

    Thanks Jennifer…you’ve inspired me to play in my art journal!

    Reply

Leave a comment

Inside Outside – Josefine Fouarge


Hello from the Creative Squad! Today we have a post from Josefine Fouarge to show us a great way to use my Toledo and Ornament Wallpaper stencils, along with my Stroll Around the Block stamps, in a cute art journal page that shows how creativity can take your ideas on a journey! Josefine’s inspiration began with this month’s theme: Inside Outside – Inside can be cozy and warm. Outside is about fresh air and freedom. Are you a homebody or do you suffer from cabin fever? We’re creating with these opposites in mind.


Hi everyone! This month’s theme took me on a journey. At the beginning, I wanted to create something around Winter vs Summer or a similar contrasting theme, but then I started working in my art journal and it moved into a different direction.

Basically, I created a page about myself and the contrast of me at work and me at the craft table. But more on that later ;)

I started with a page that already had a few “clean up” marks on it from a Gel Press session that I had. I decided to use the round Gel Press marks and work with those circles. I used the Toledo stencil and placed three of the stars around the two circles.

I didn’t use the alignment of the stencil and created my own pattern with them. Next up, I used the same stencil and positioned it slightly off. As you can see, I didn’t cover the entire page, just a few areas that I blended out and into each other.

Now I added the circles on top using a round Gel Press. I thought that the bright yellow looks like spotlights. But I didn’t like the brightness, so I added the Ornament Wallpaper pattern inside and then, while I was at it, to the left border.

Coincidentally I found this girl in a magazine. Even though she’s struggling with her hair, I thought that she fits perfectly onto my page – just switch the hairdryer with a heat gun :)

And onto the contrast part. I work at a job where a business casual is preferred. Not that I have a problem with that, but it’s very different to how I usually am when I’m at home. Let’s just say I love to craft in my jammies…

That’s why I picked the Craftsman stamp from the Stroll Around the Block set and stamped it onto a grey piece of paper. I kept the house very clean and colored it lightly with Prismacolor pencils.

At the end, I ripped the edges of the grey paper, adhered it onto my art journal page, added some black watercolor around the edges and sealed the entire page with Earl Lube paste.

Now we have a clean, successful looking outside with a chaotic me in the inside :)

On a side note, I love how the white pencil adds contrast to the Craftsman house.

Thanks for stopping by! Don’t forget to come back every Tuesday for more Creative Team inspiration.


Thank you Josefine! I love hearing about your evolution of ideas – sometimes we just need a little spark to get inspired and then our creativity takes it from there :) In addition to Earl Lube Paste (gel medium), here are some of the supplies that Josefine used:


Feel inspired? Working on something yourself that you’d like to share?  I love to see how you interpret our monthly themes. Email me how you used my stencils and stamps with the theme and email me an image – I would love to share your projects in my next  “n*Spiration From Around the Globe“.

Comments (1)

  • Sue Clarke

    |

    What a fun page Josefine…thanks for sharing.

    Reply

Leave a comment

Back by Popular Demand: 21 Secrets – Online Workshop

I’m happy to announce that you can now purchase “21 SECRETS The Best of 2014 & 2015” downloadable eBook!

For those of you who don’t know, 21 Secrets is an Art Journaling workshop where the focus is to showcase a variety of approaches, techniques, and ways of integrating art journaling and creativity into one’s life.

This is a “Best Of” eBook featuring 37 workshops by 38 teachers from the 2014 & 2015 Spring or Fall editions. You get a 150+page downloaded eBook, packed with links to videos (downloadable), full color photos and templates, and clear, inspiring instruction. You will receive immediate and lifetime access to all content, plus membership to a private Facebook peer group to share your work and receive support. This is a great resource to inspire your art journaling!

Early Bird Special

The price of 21 SECRETS The Best of 2014 & 2015 is $128 but…

sign up by Friday, May 4, 2018 and you can save $21 using the coupon code: BESTOF at check out!!!

Join me and 37 other awesome art journaling teachers!!!


…And for even more fun, join Birgit Koopsen and me in Toronto on July 20-22 for our NEW 3-day workshop: Stroll Around the Block

This workshop will be held in the lovely Old Mill facility, where we will spend time seeking out inspiration, mastering new mixed media techniques, and translating it all into gorgeous art journal pages.

Each full day of creative fun will run from 9am – 4pm. Included is: continental style breakfast, lunch, and afternoon snacks. Toronto is an awesome city to visit with loads of great restaurants, museums, and nightlife. This event is also great if you are nearby in the US as the exchange rate from US to Canadian dollars is very favorable. Make it a long weekend and treat yourself :)

For more information and to register, visit the Stroll Around the Block website!

Class size is limited to 35 so sign up asap to reserve your spot.

Leave a comment