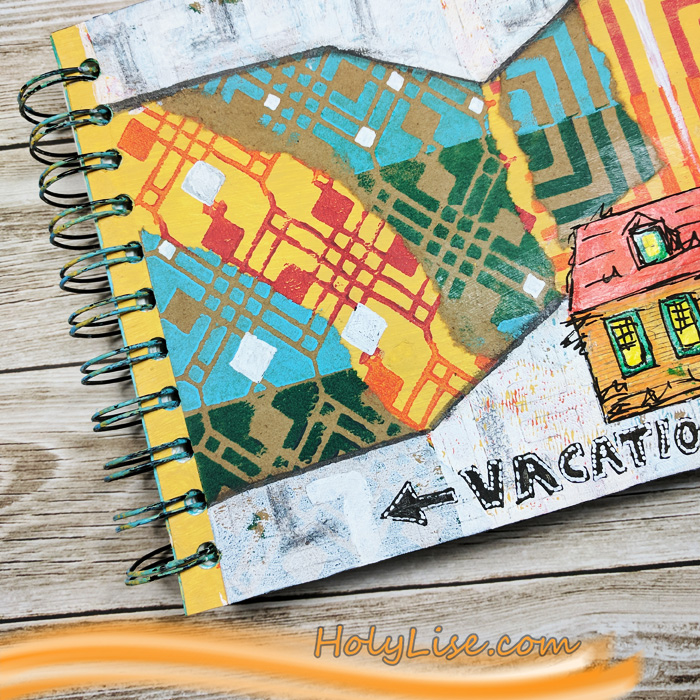
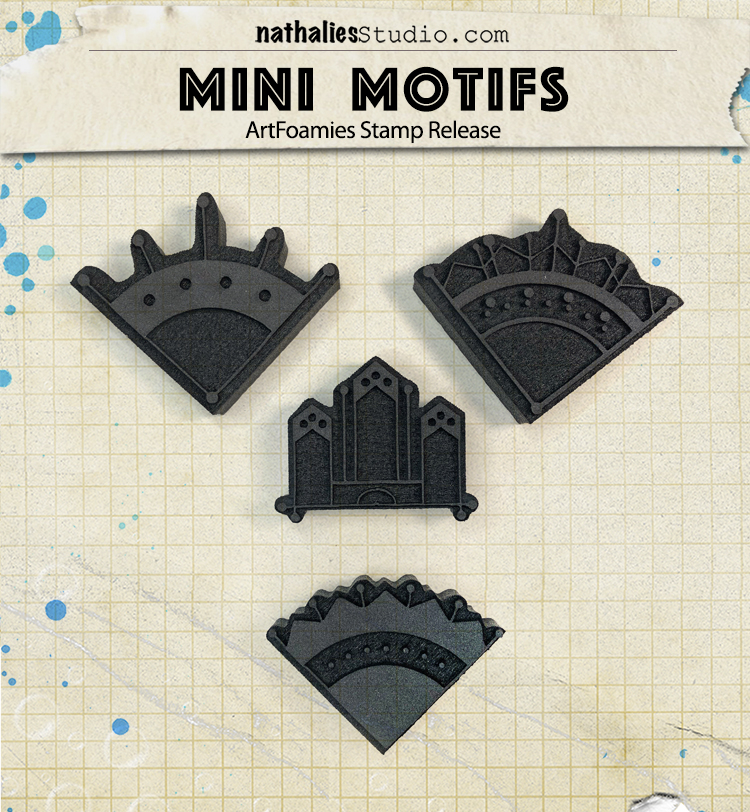
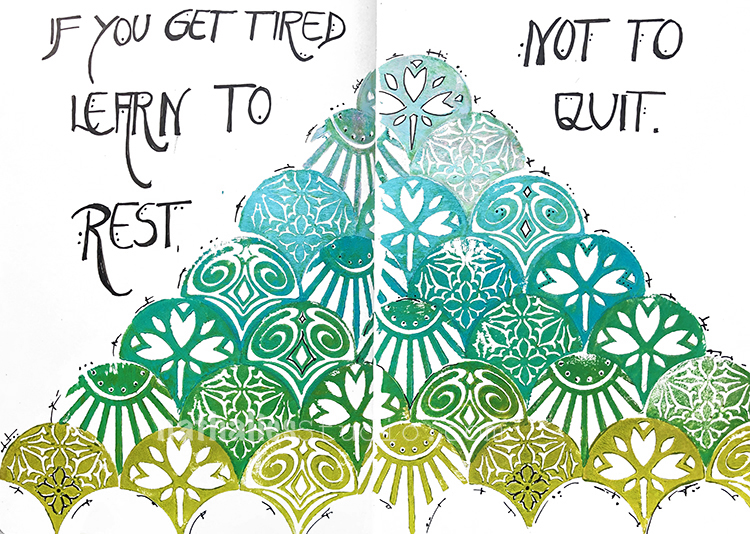
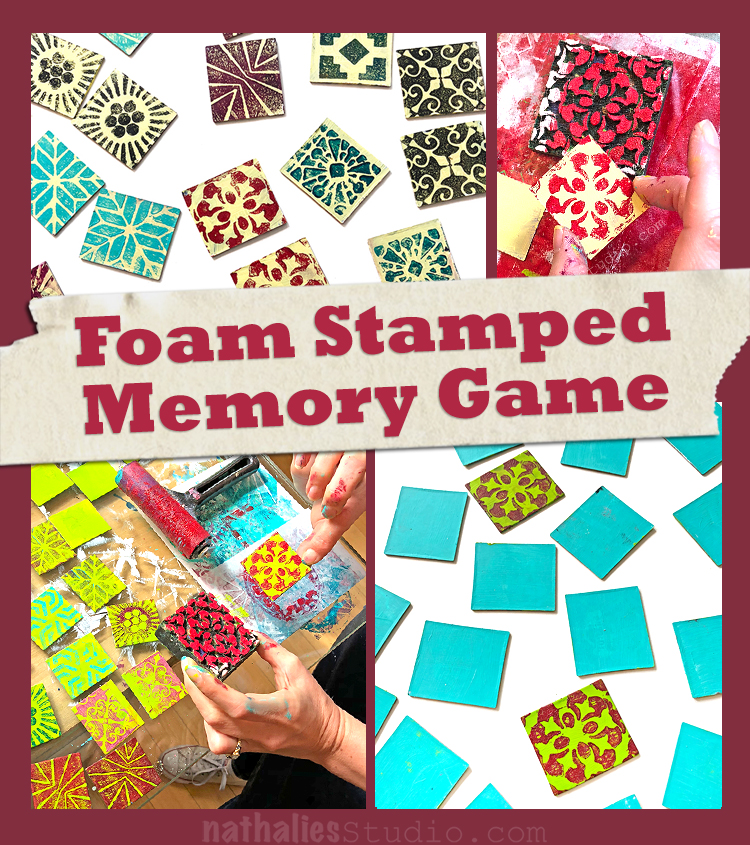
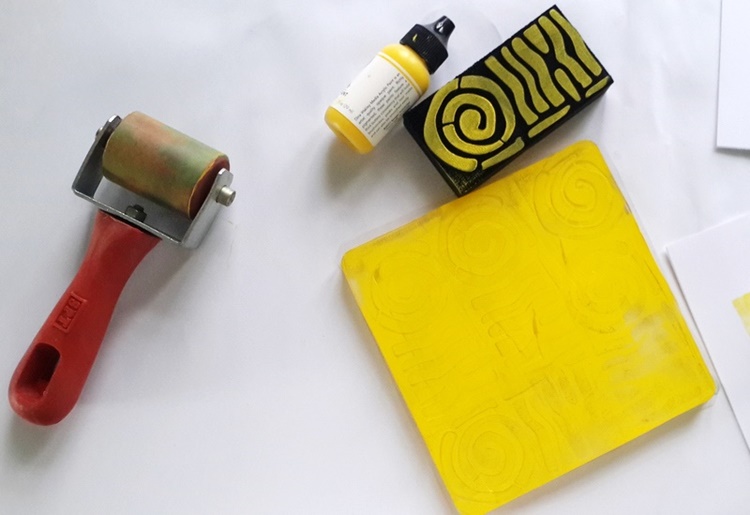
It’s time for a project from my Creative Squad! Today we have a sweet little art journal page that is filled with pattern and color, from Josefine Fouarge. She is using my Manhattan and Mini Chicago ArtFoamies, my Cape Cod stamp from the Stroll Around the Block set, and my Hamburg stencil. This month’s theme is: Vacation Mode – Here in the Northern Hemisphere, we are slogging through winter with only one thing on our minds – vacation! Whether it’s Spring Break, a weekend getaway, or an hour with a good book, everyone needs an escape to Vacation Mode now and again.

This month’s topic got me thinking. It’s been a while since I have been on a vacation and there is none in sight either. So, I decided for myself that if you can’t go on vacation, shopping is the next best thing. And trust me, I am good at that ;)
I was at one of the big box stores the other day and couldn’t pass the paint and paper aisles without grabbing a few items. To make sure that they don’t end up in a drawer unused, I incorporated them in my new art journal page.
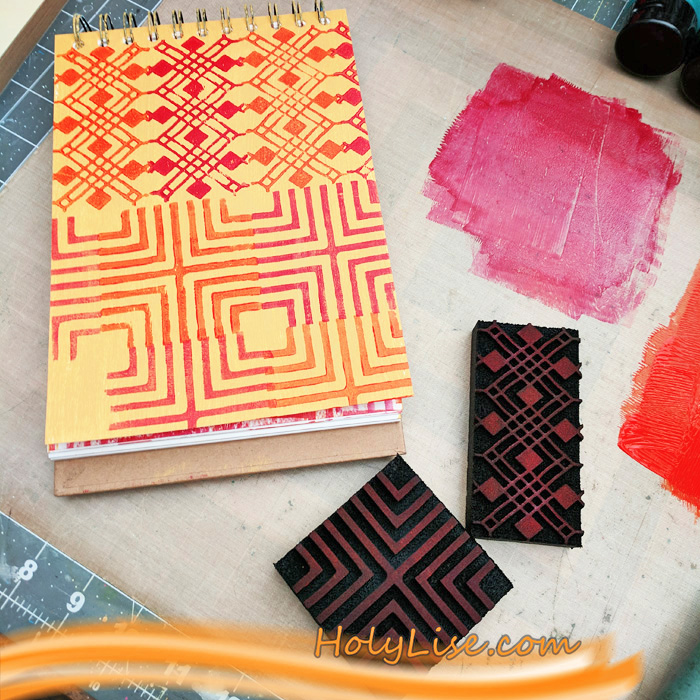
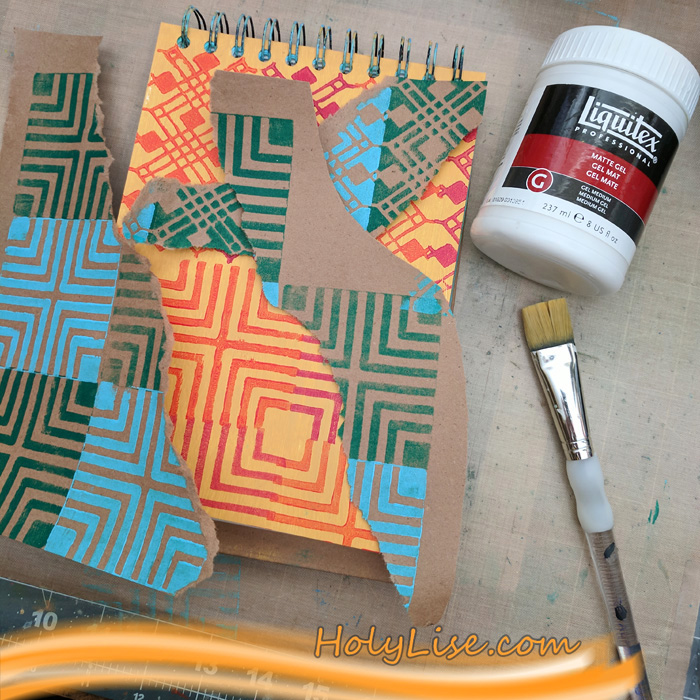
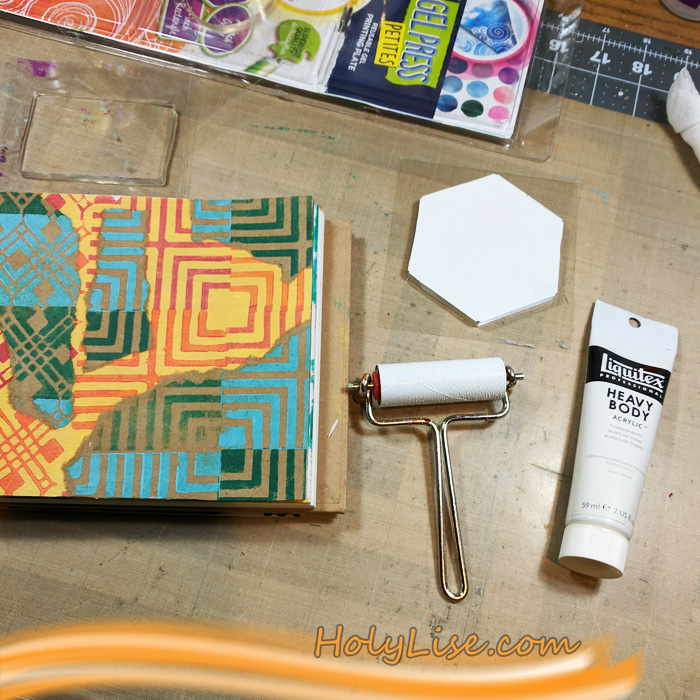
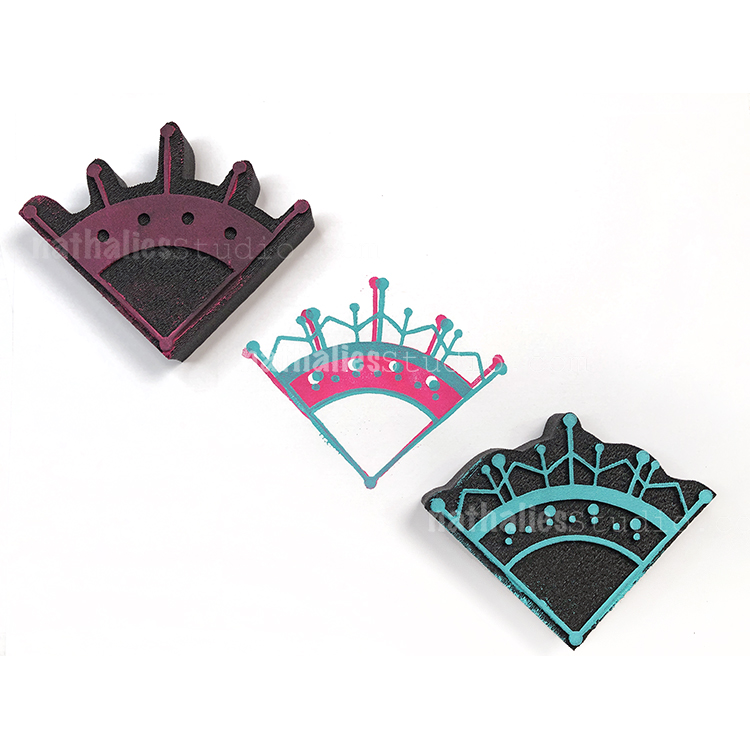
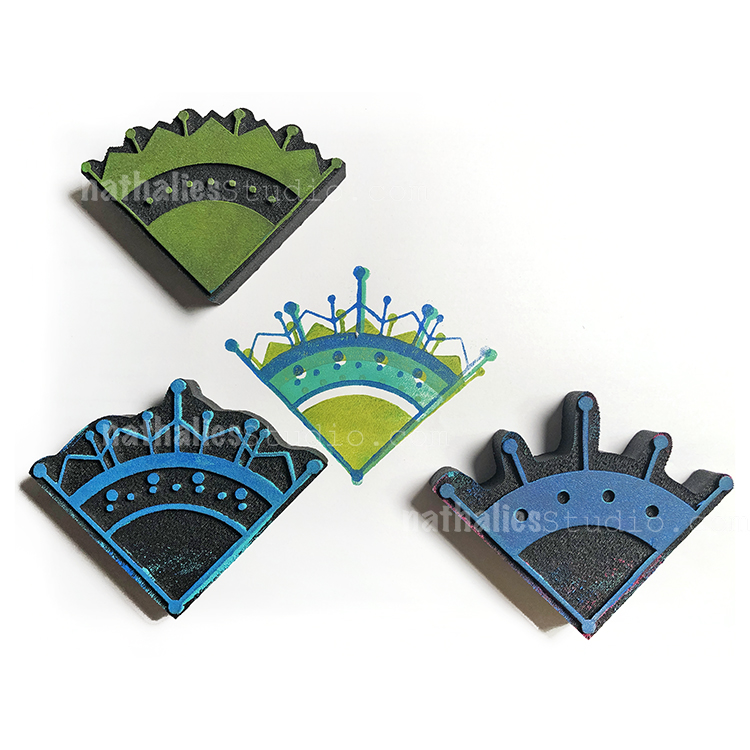
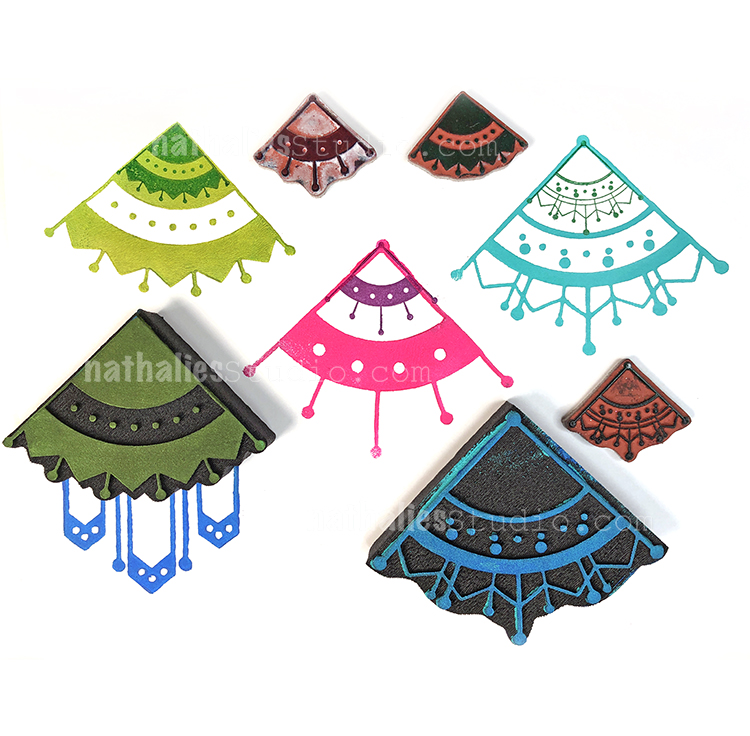
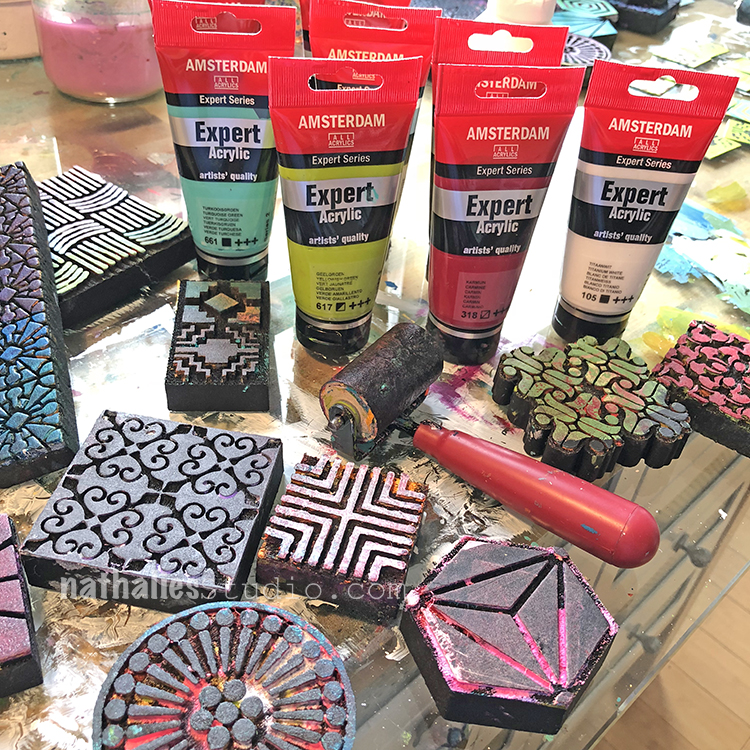
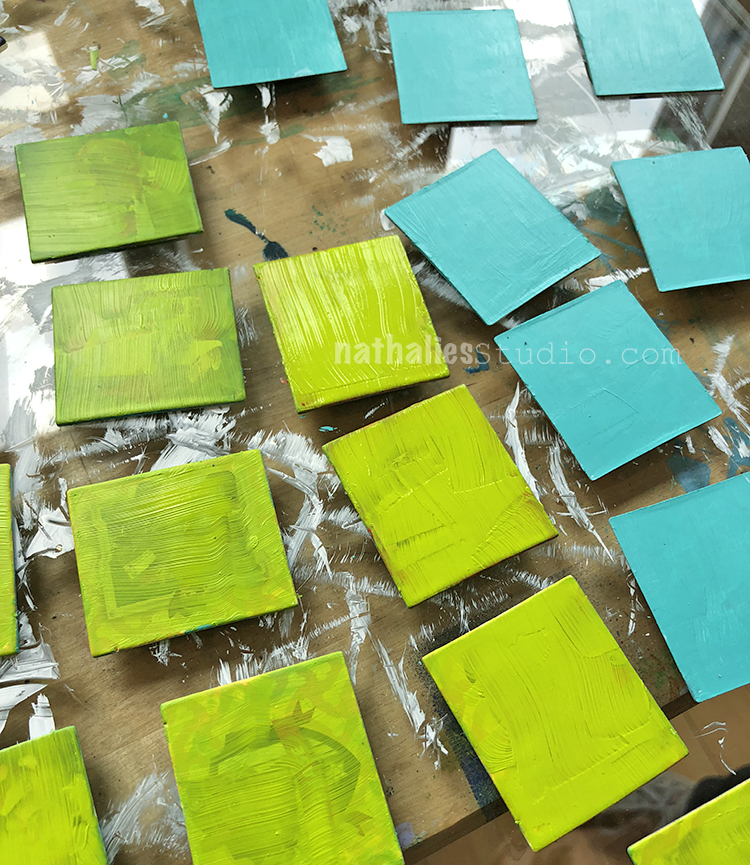
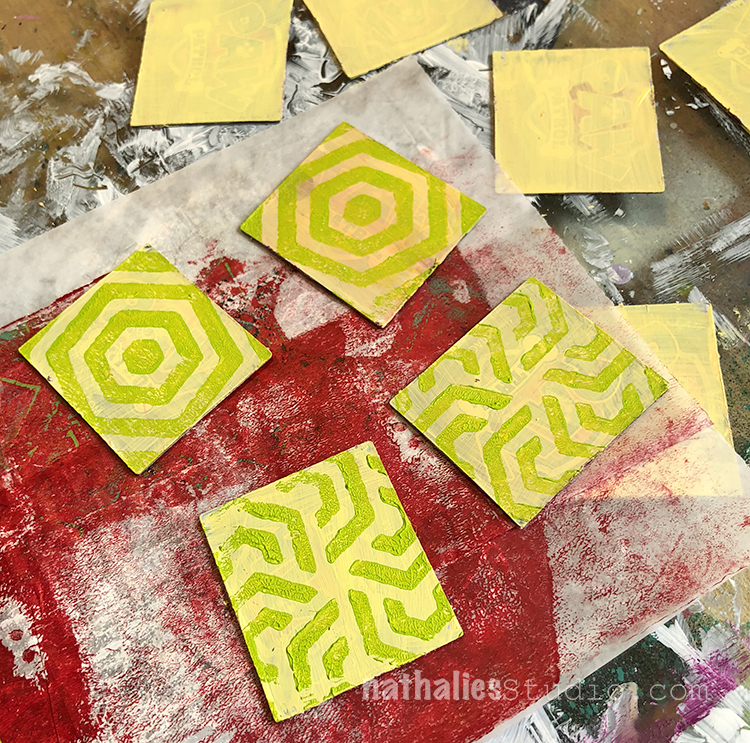
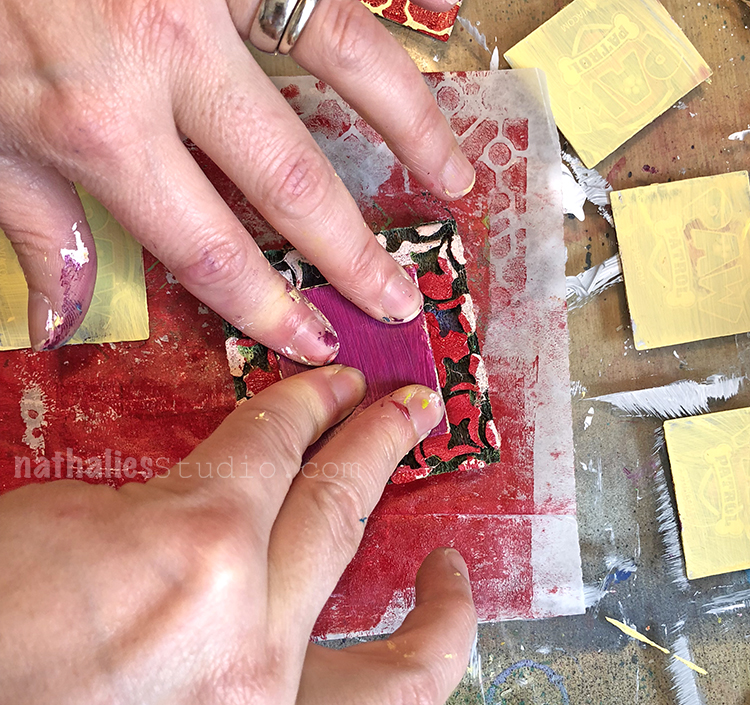
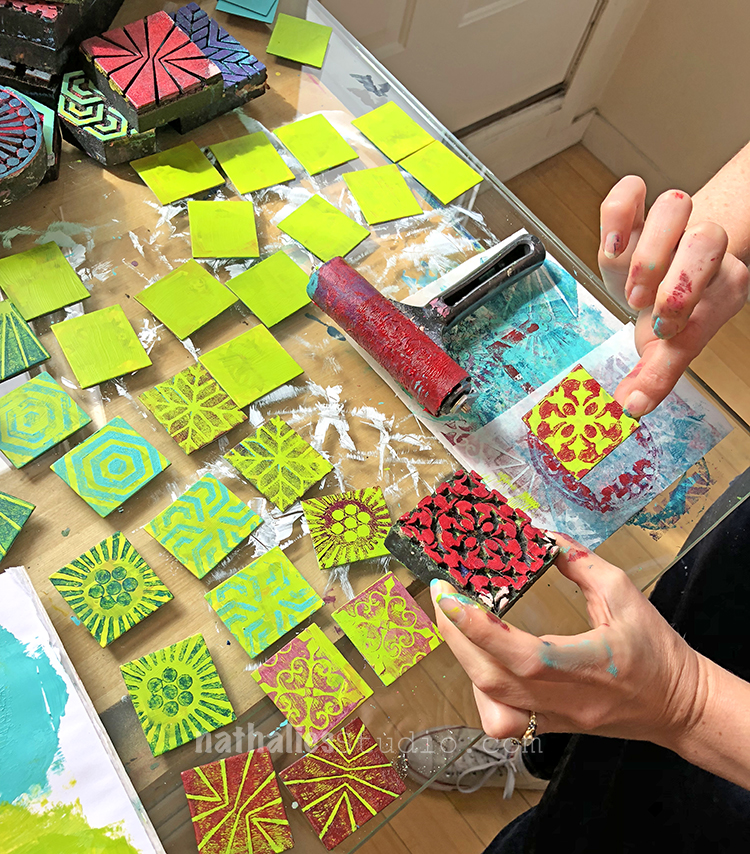
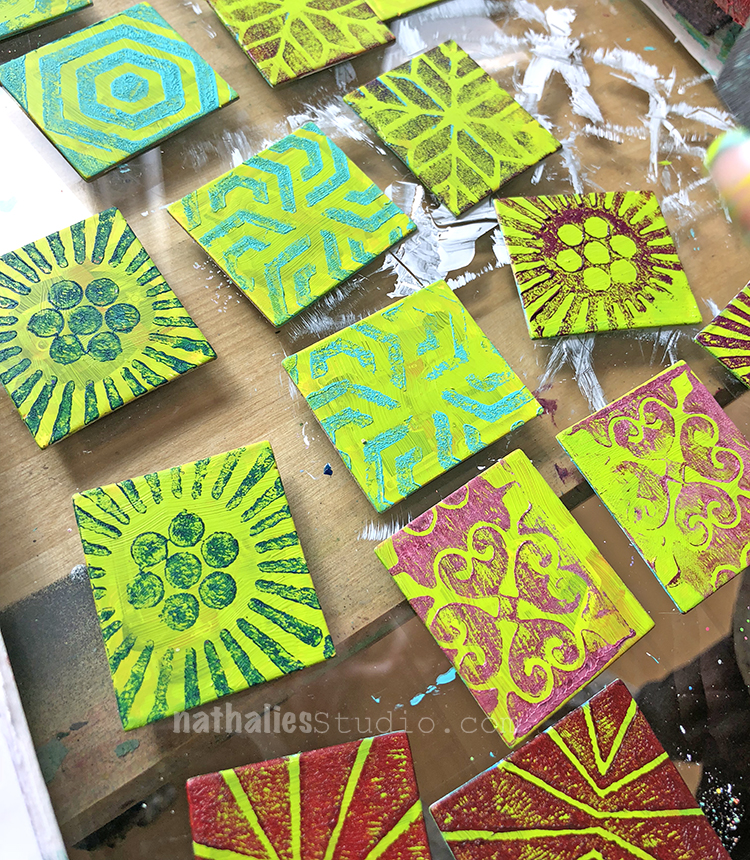
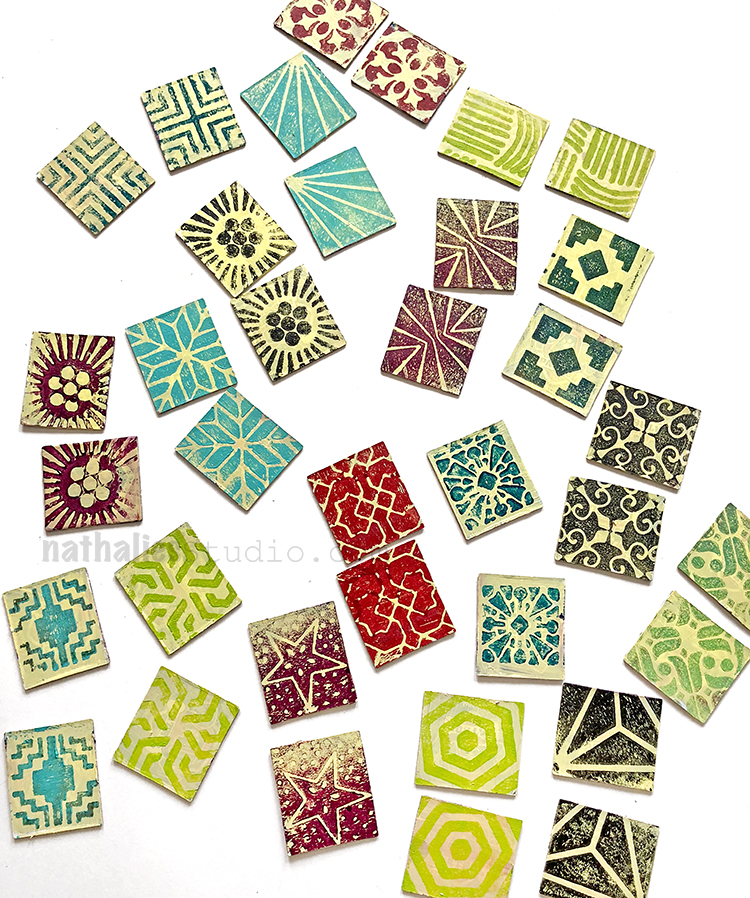
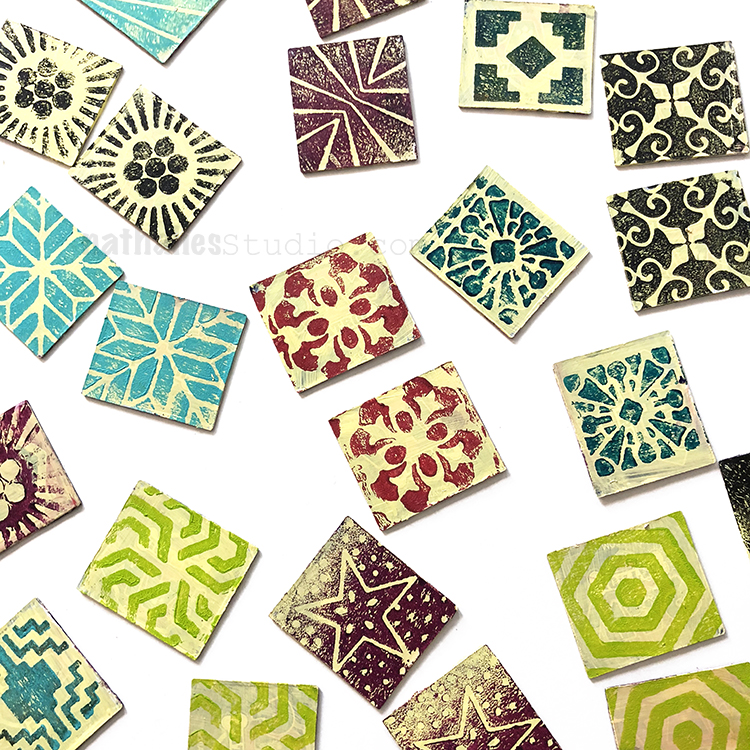
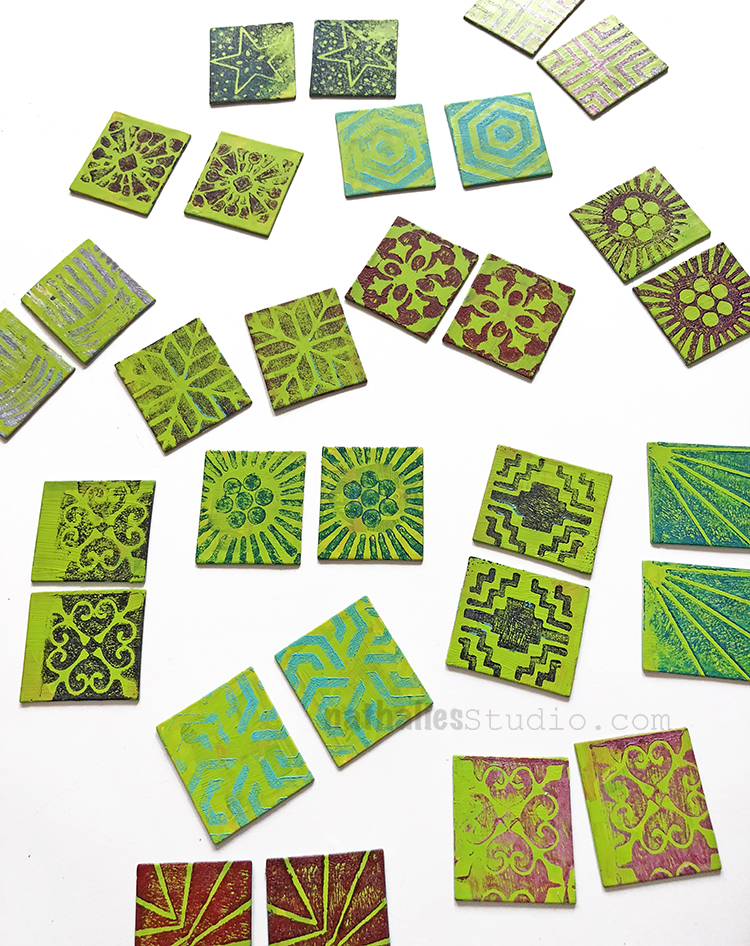
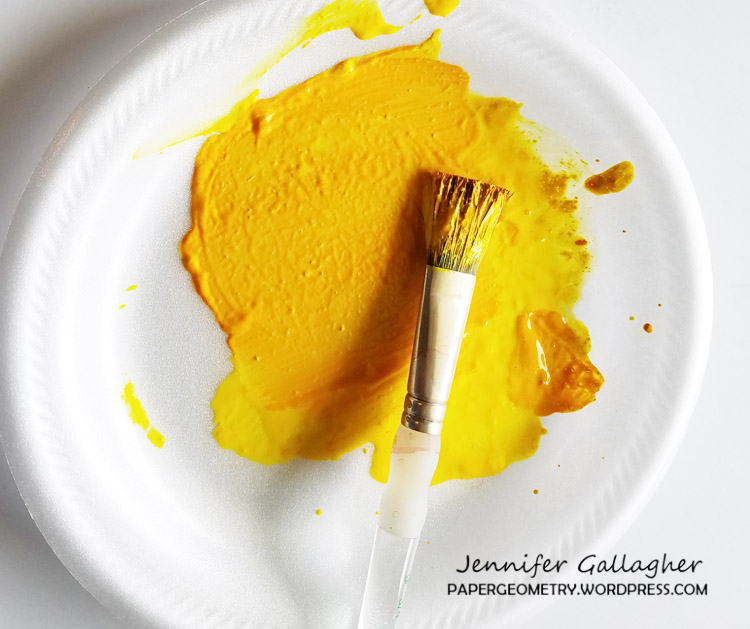
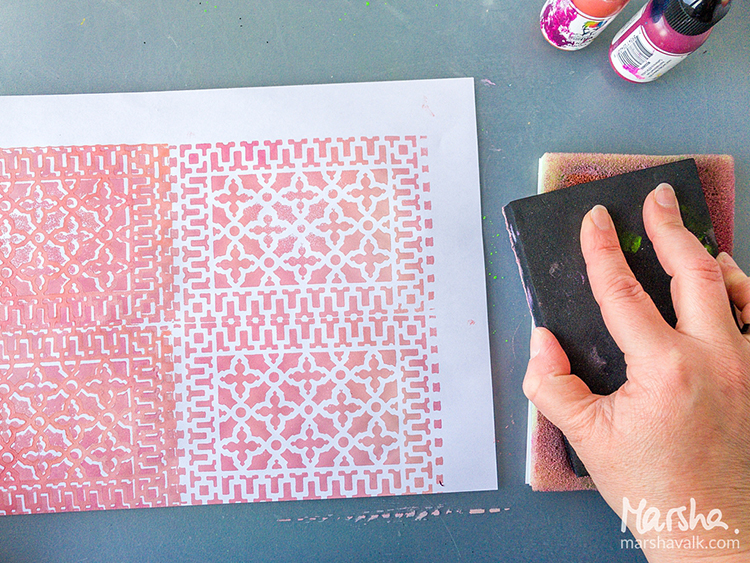
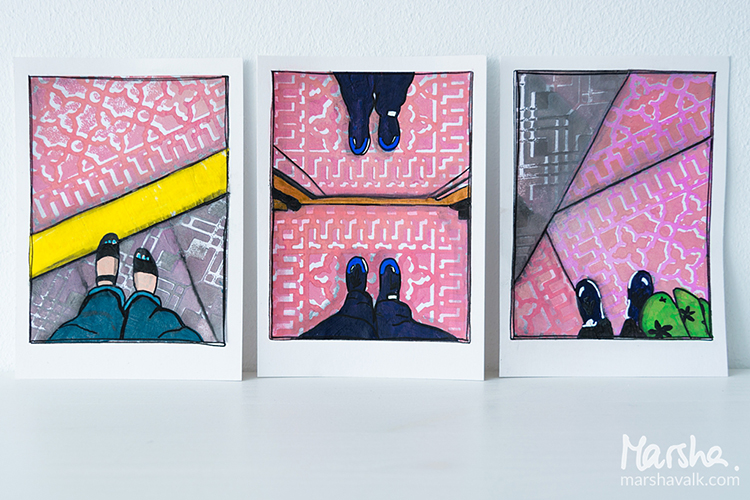
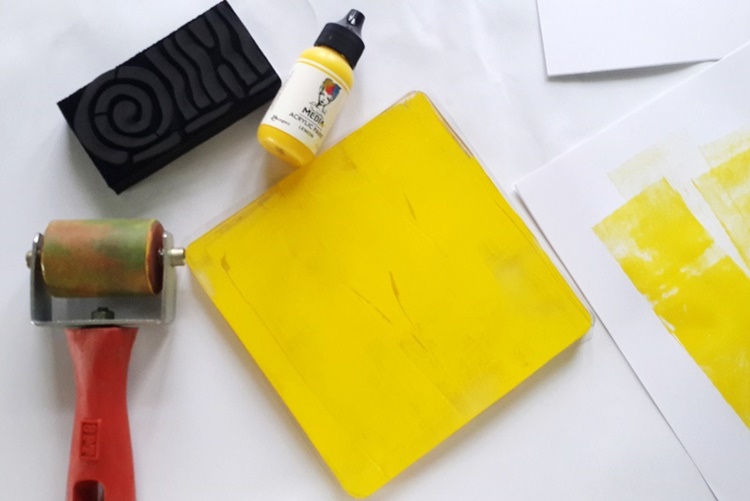
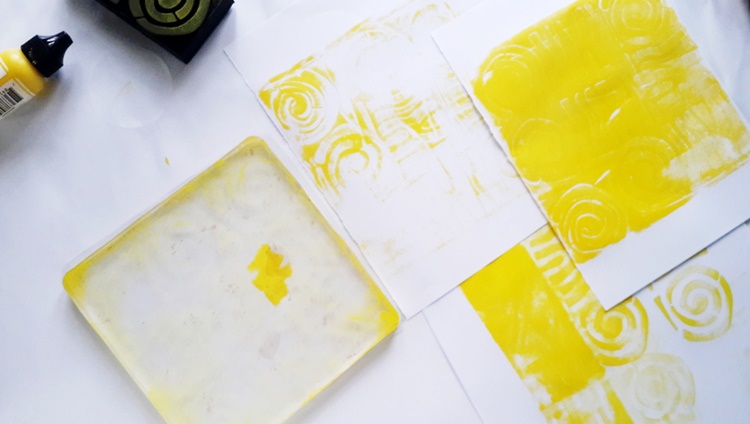
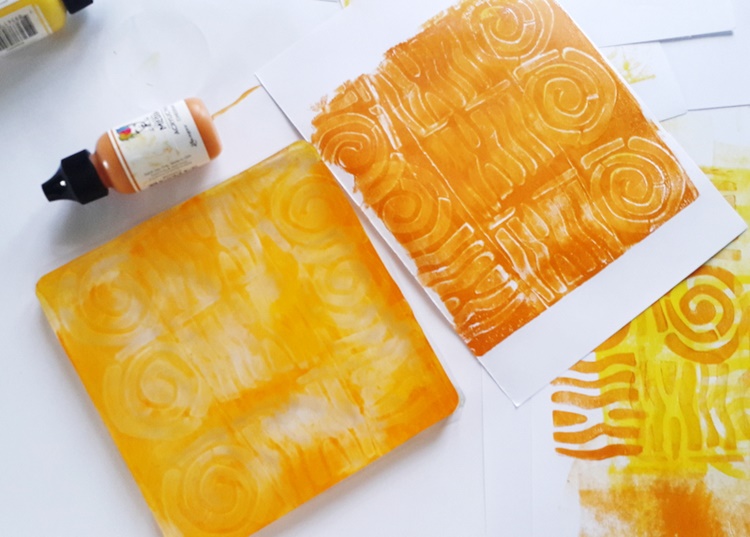
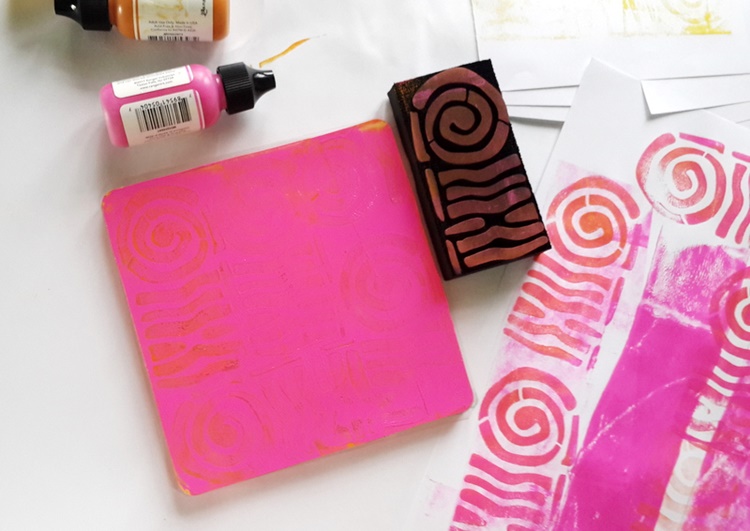
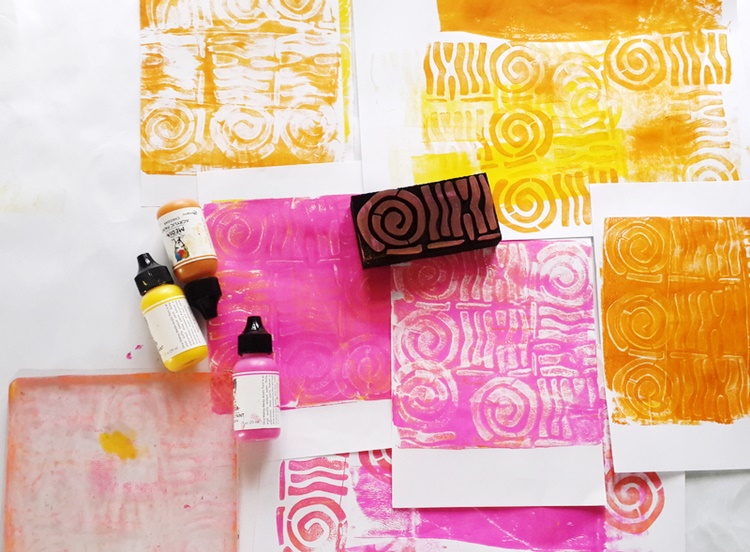
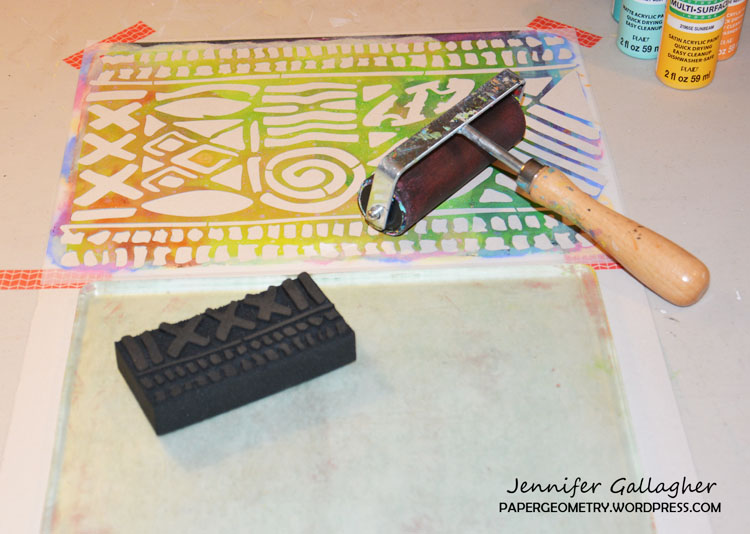
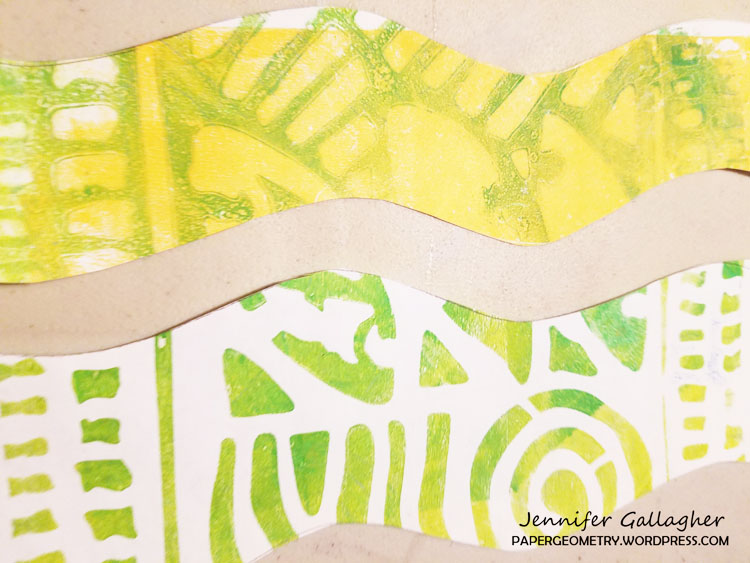
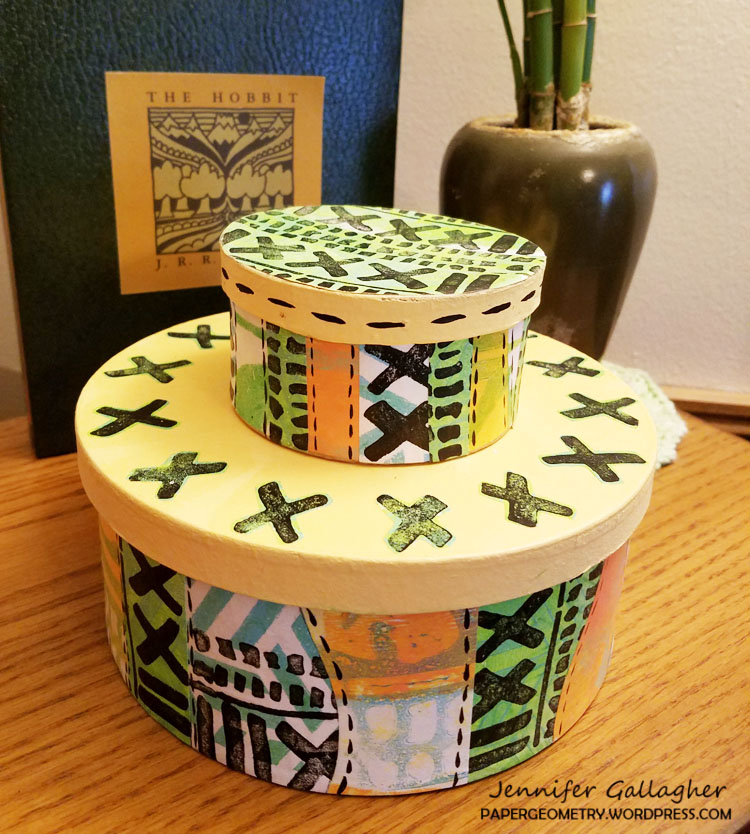
I covered my art journal page in the new Liquitex paint. Then I picked a few ArtFoamies (Mini Chicago and Manhattan) to stamp them with other shades on top. I used two different paints and alternated the colors between each stamping. Aren’t these colors just pretty? Do you understand why I couldn’t walk by them? :)
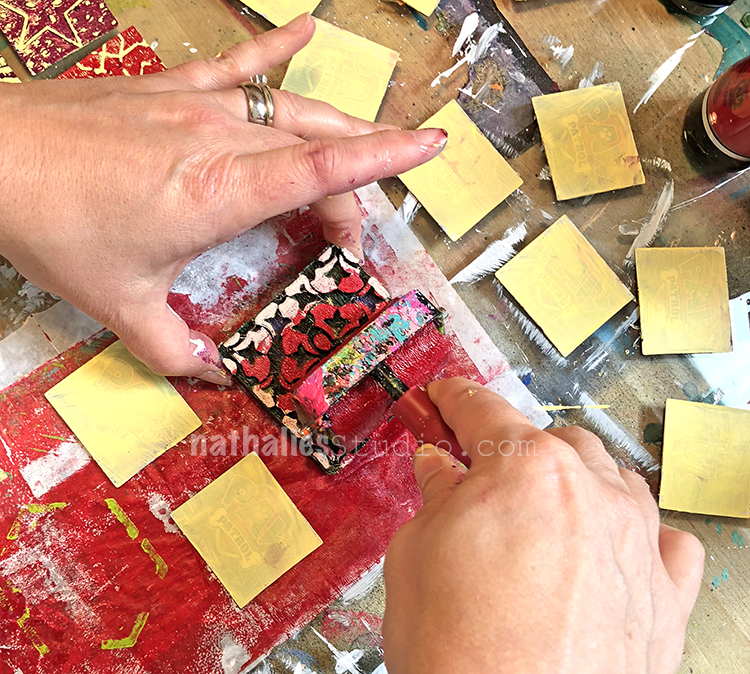
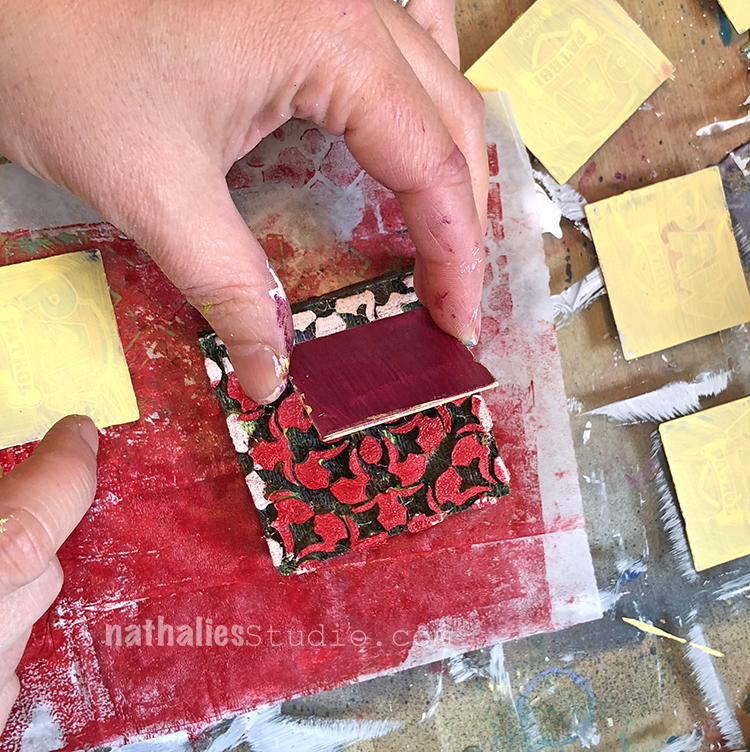
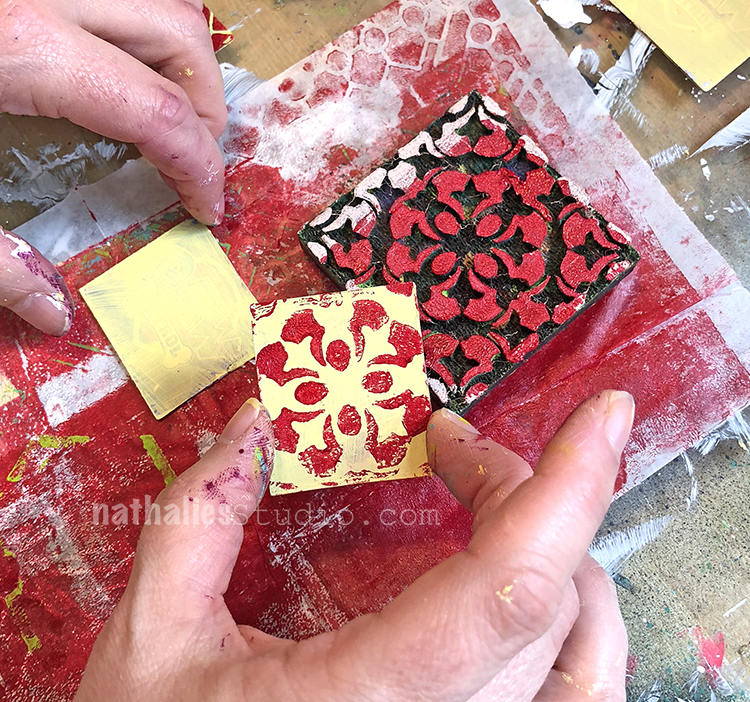
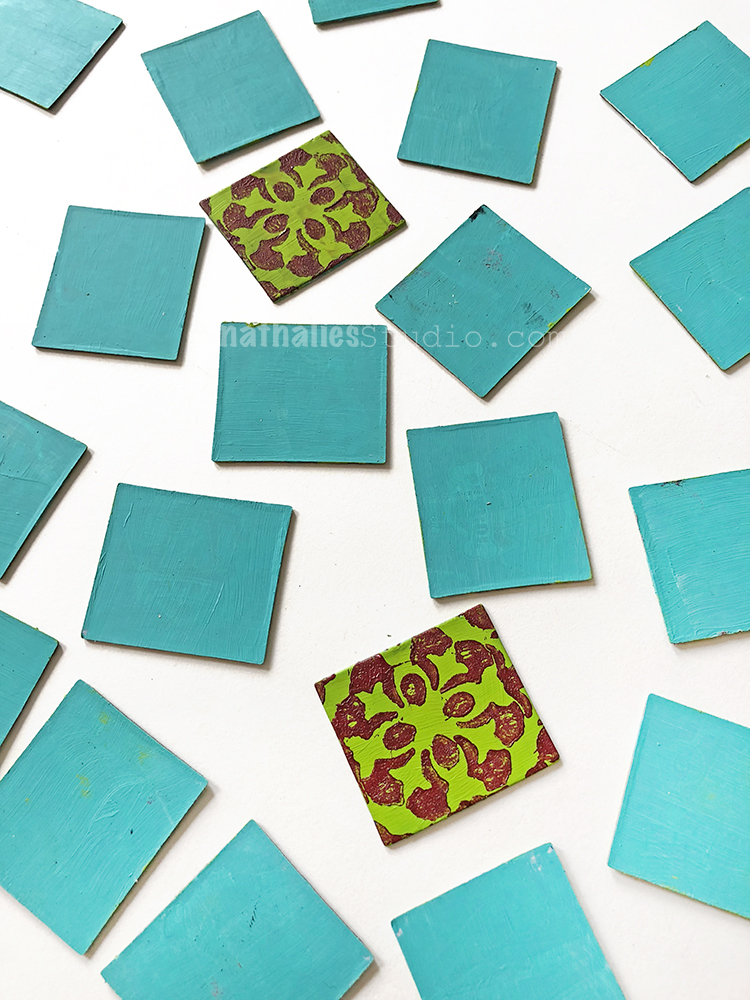
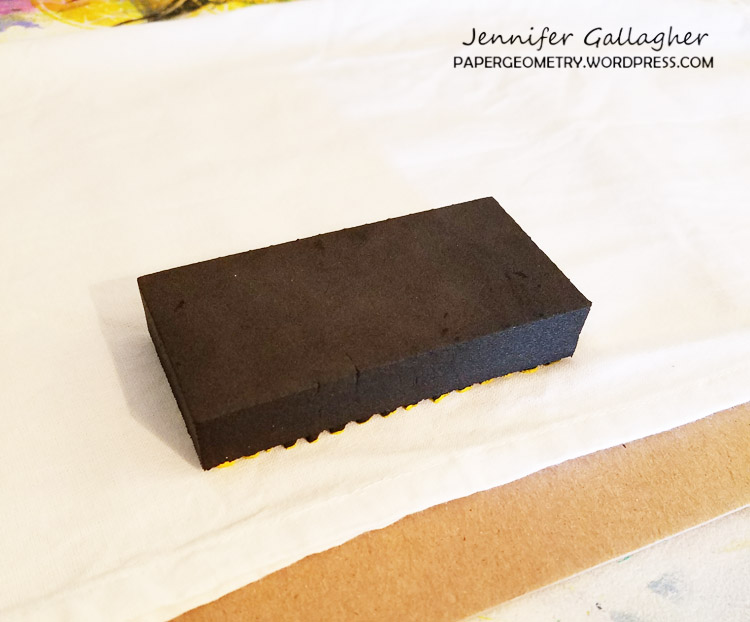
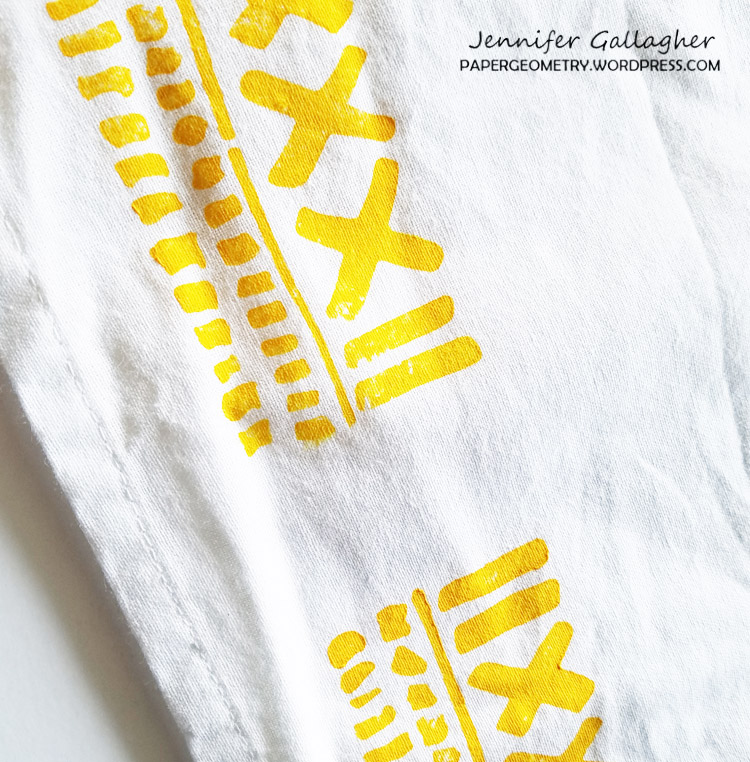
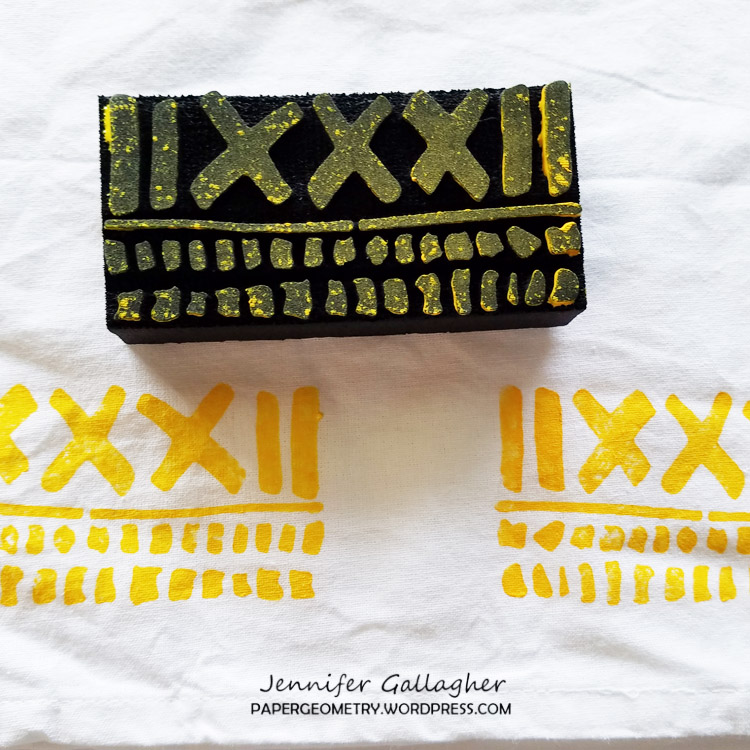
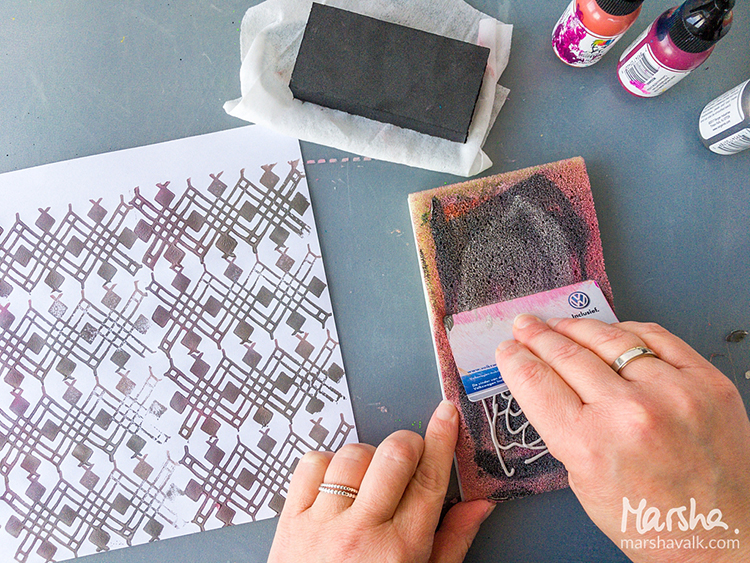
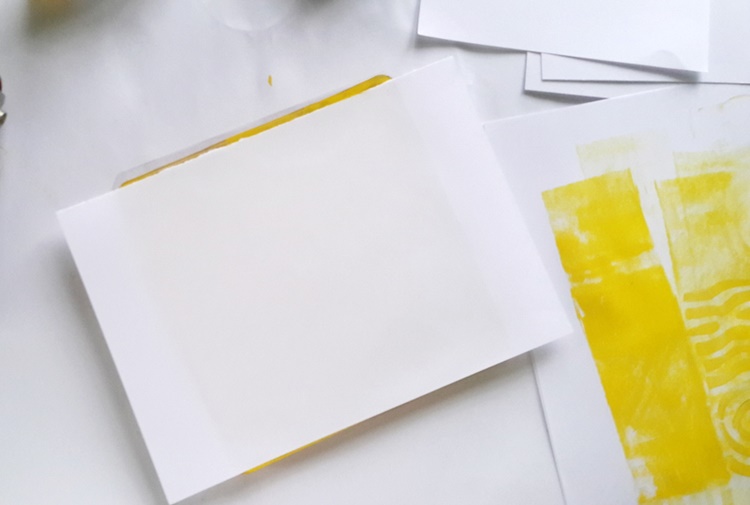
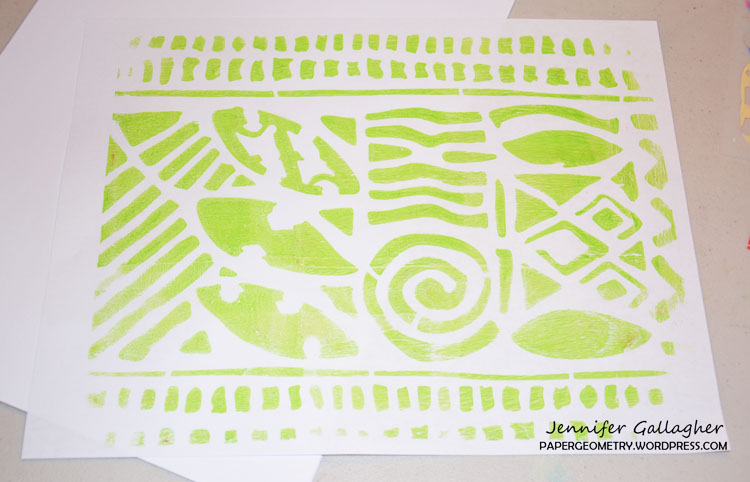
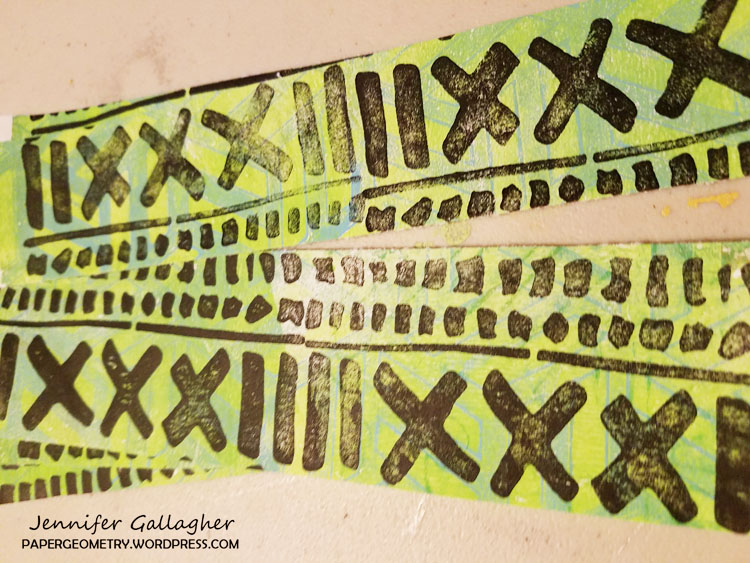
Next up, I used the new recycle paper and stamped the negative ArtFoamie in the same patterns, but with a contrasting color. Again, I alternated between two colors.
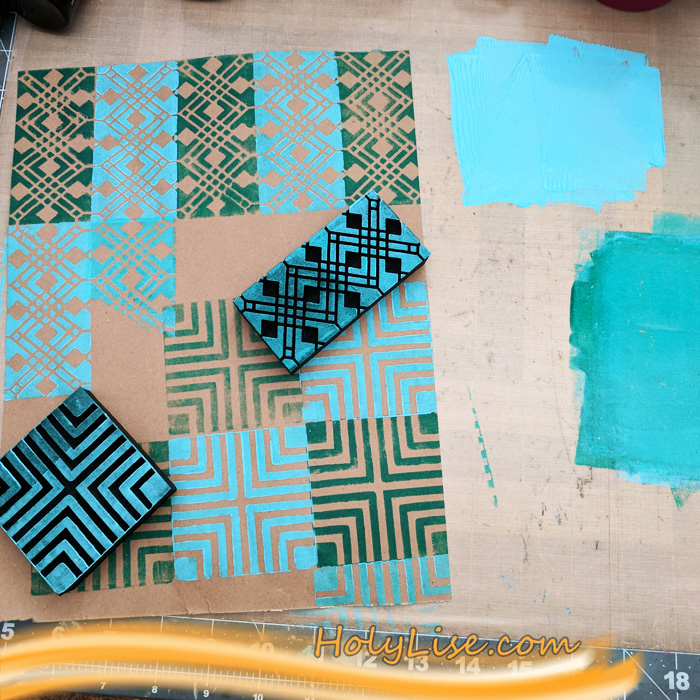
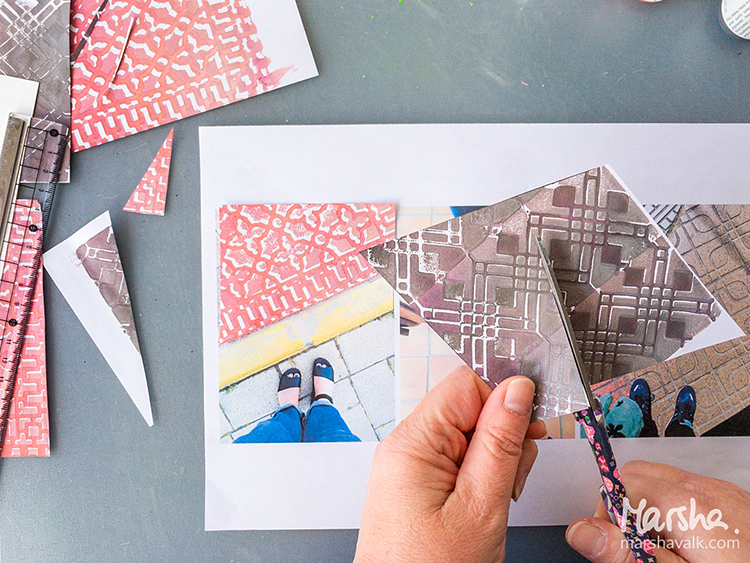
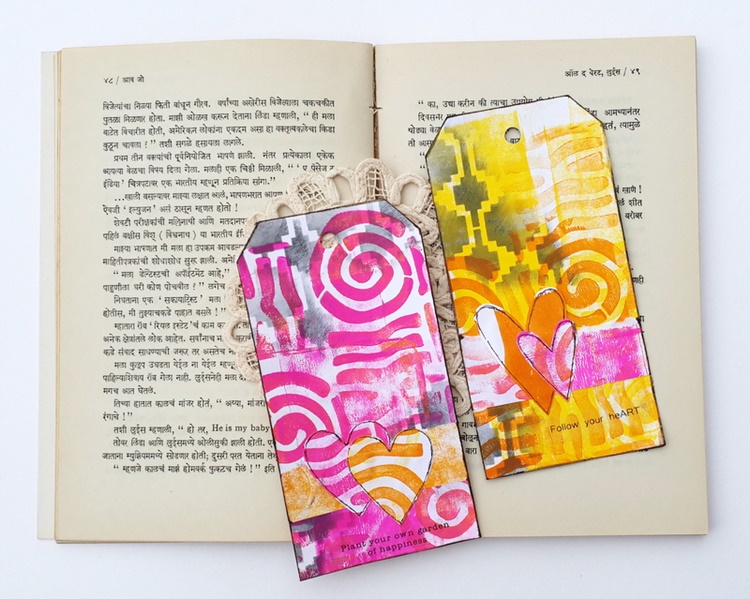
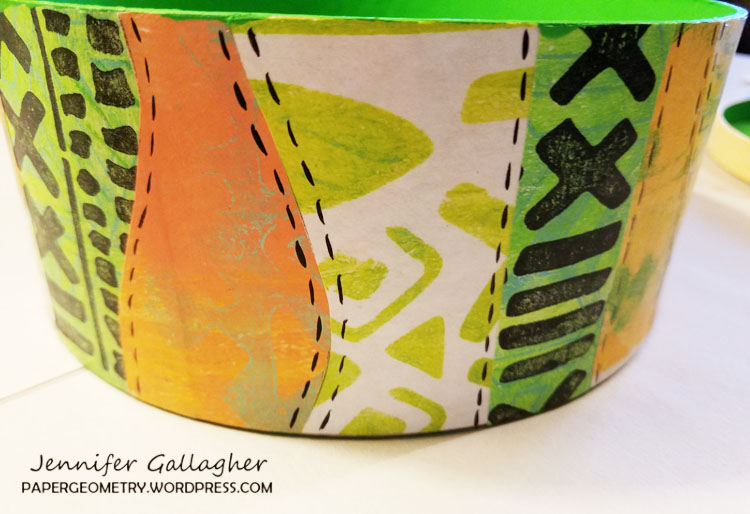
Now I ripped up the brown paper and adhered some of the scraps onto my art journal page. It was important for me that the patterns match and create the illusion all the shapes merging together.
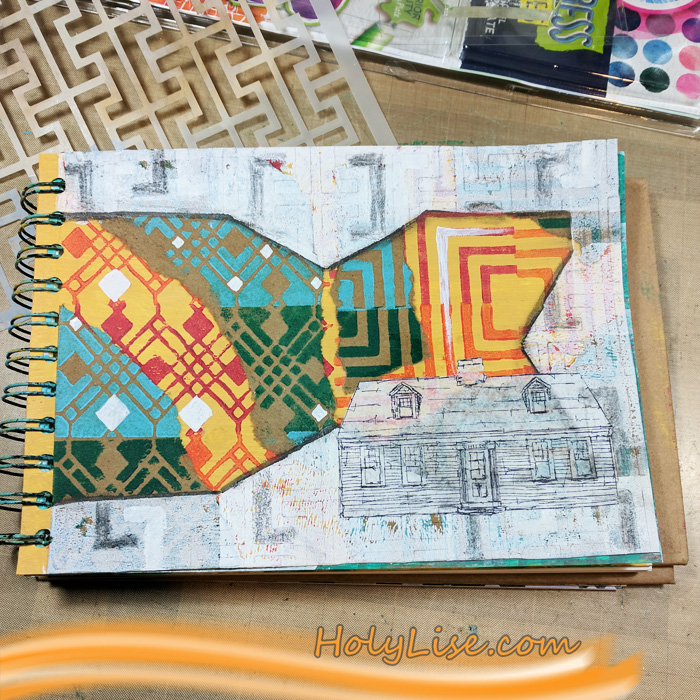
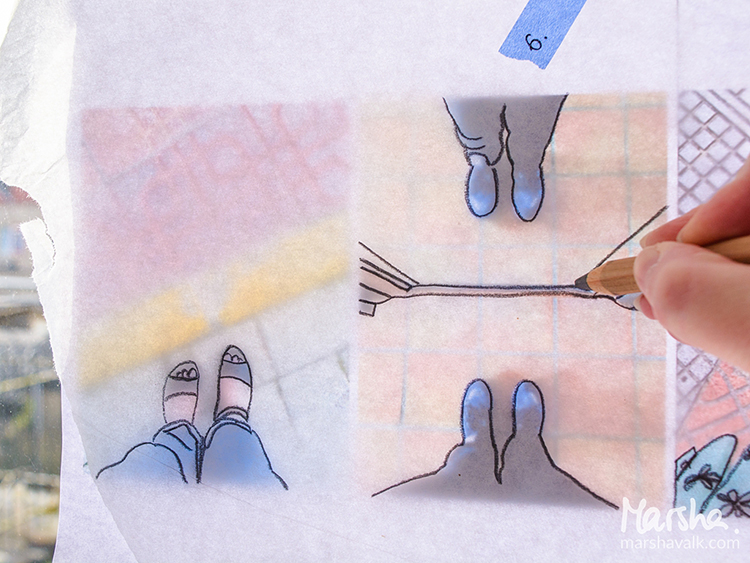
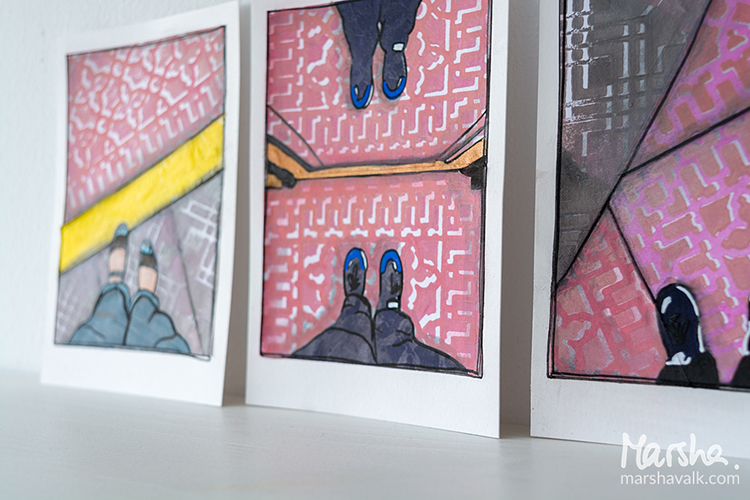
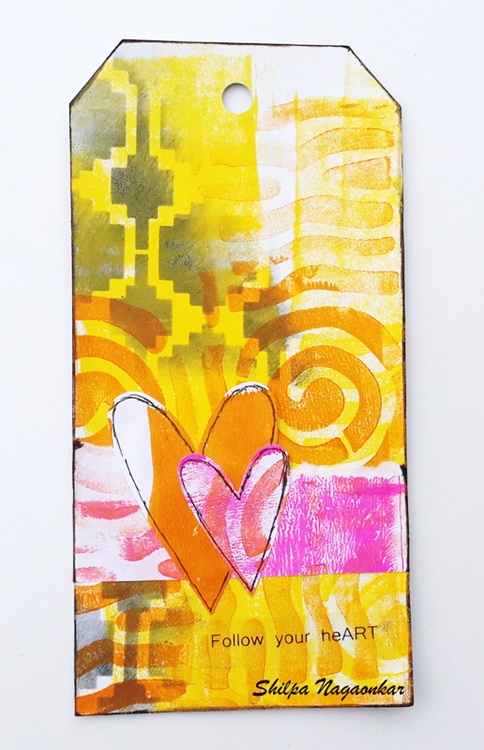
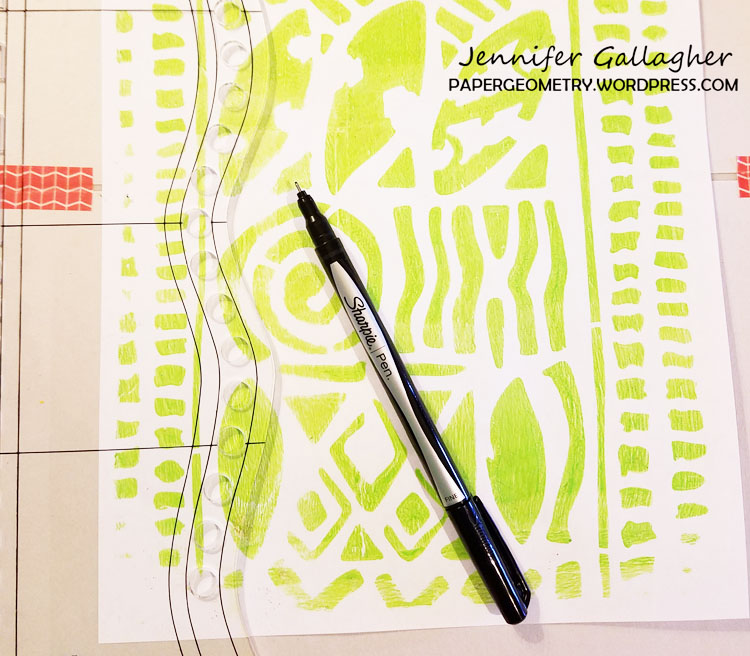
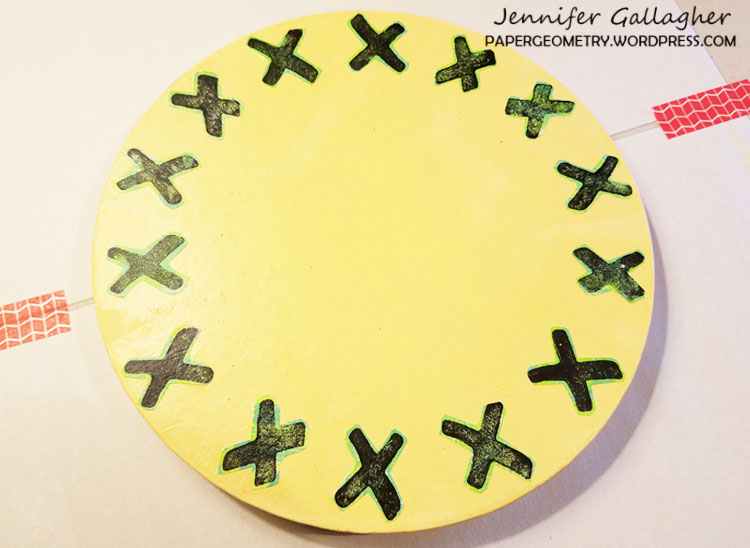
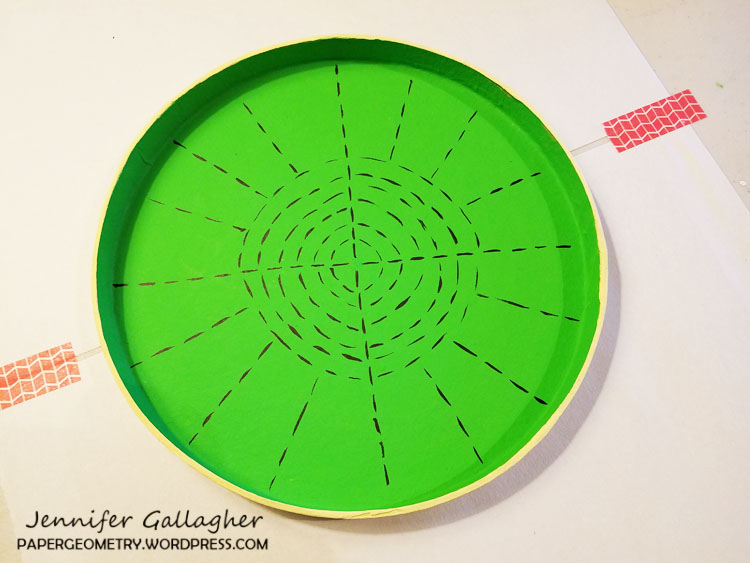
I needed a border, so I used the Gel Press petites and white acrylic paint to add one. Because the border was rather boring, I added a very light pattern to it. I did that by tracing the pattern from the Hamburg stencil with a pencil.
While I was coloring in some of the stenciled shapes with the same pencil, I thought that the colorful background needs some white as well. So I added a few white shapes.
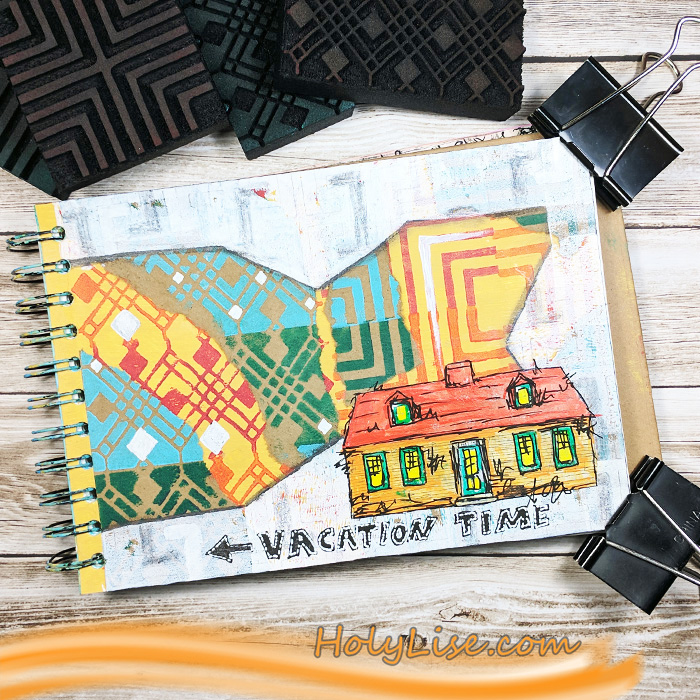
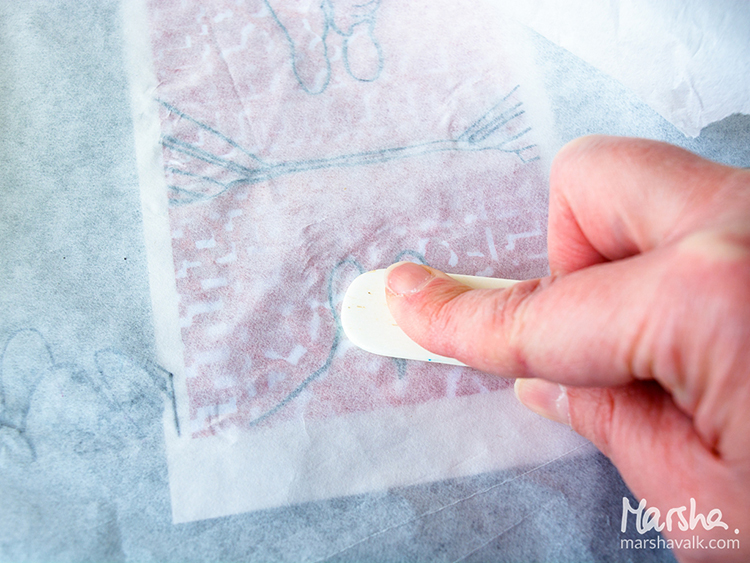
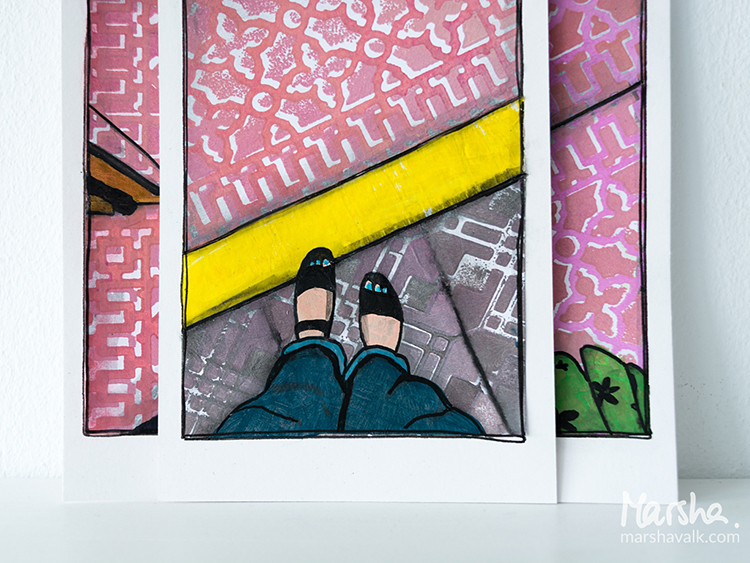
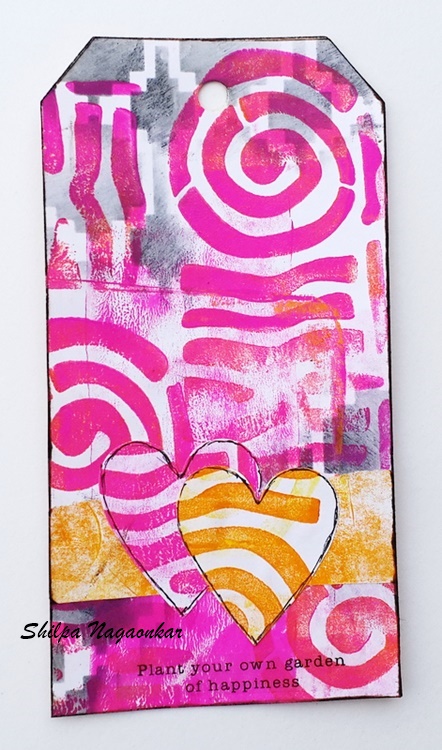
The page still was missing a focal point, but I didn’t want to stamp anything directly onto the page. Usually that doesn’t end well for me. Instead, I prefer to stamp the image (in that case the Cape Cod house from the Stroll Around the Block set) onto a piece of tissue paper. I adhered that with gel medium and colored the house with Liquitex and Montana paint pens.
To finish the page up, I added a few scribbles and some shadows. I love that the paint pens made the house look like a cartoon.
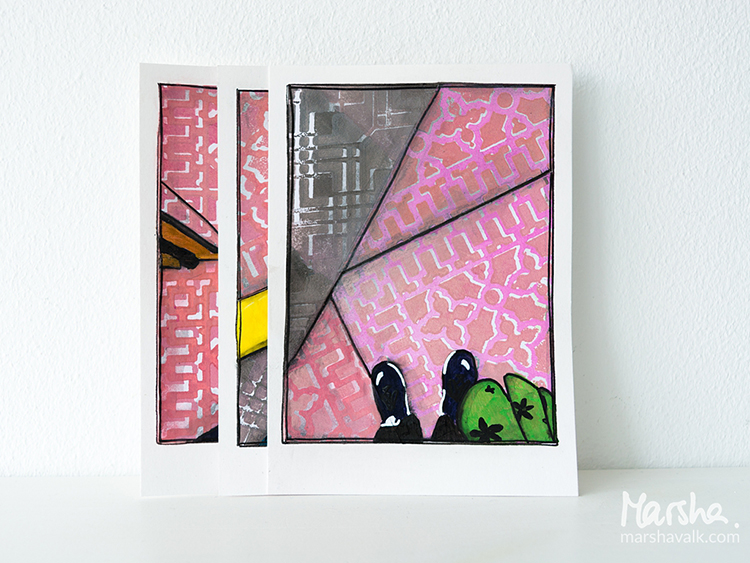
On a side note, I totally enjoyed working with the brown recycle paper. It has such a neat texture to it and added the perfect contrast for the negative/ positive foam stamps.

Thanks so much for stopping by! Don’t forget to check out all the other Creative Squad creations every Tuesday!
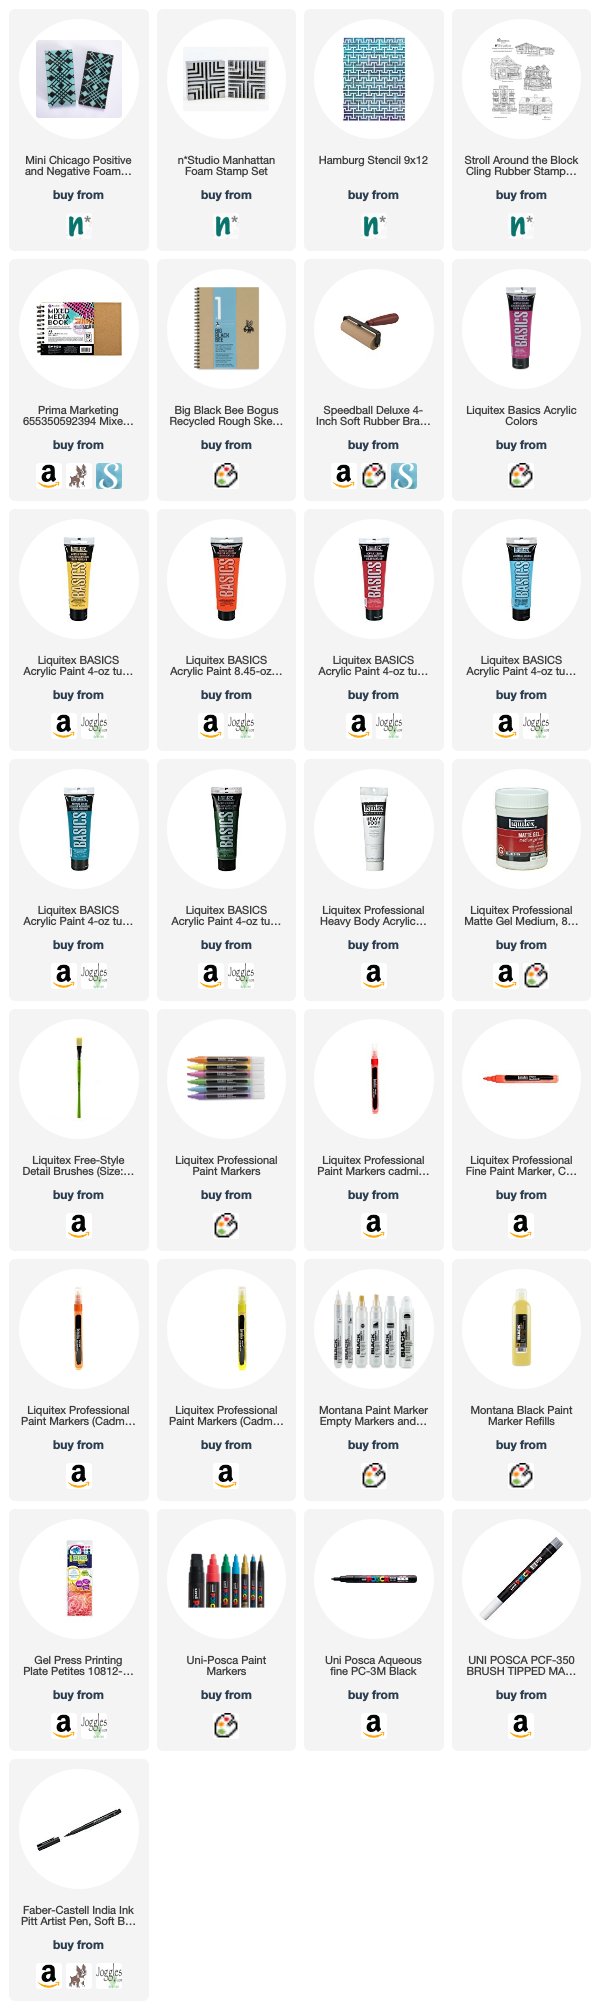
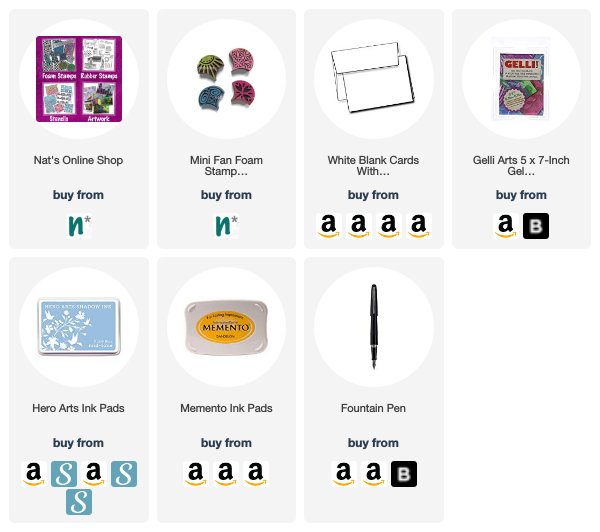
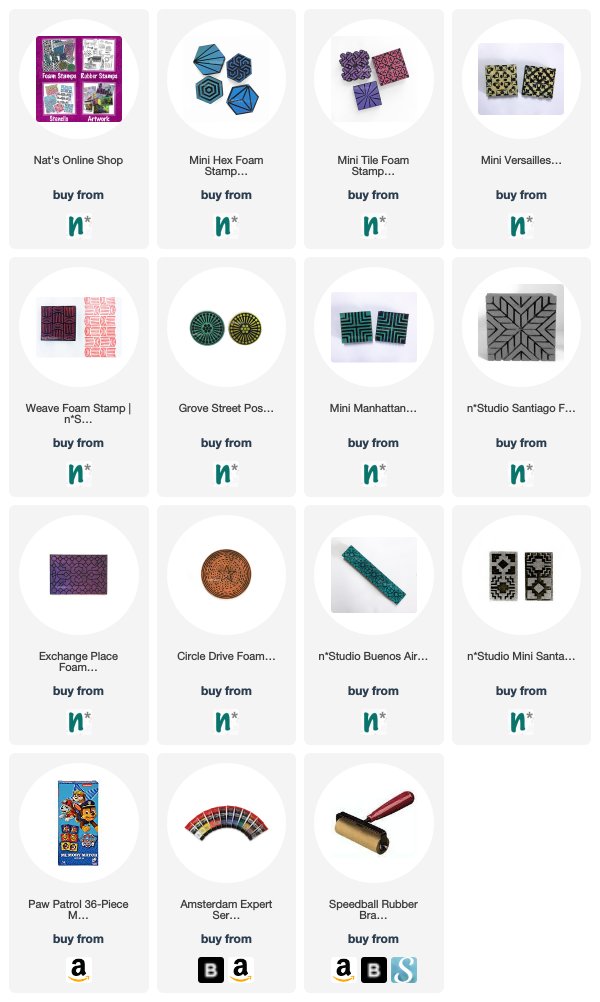
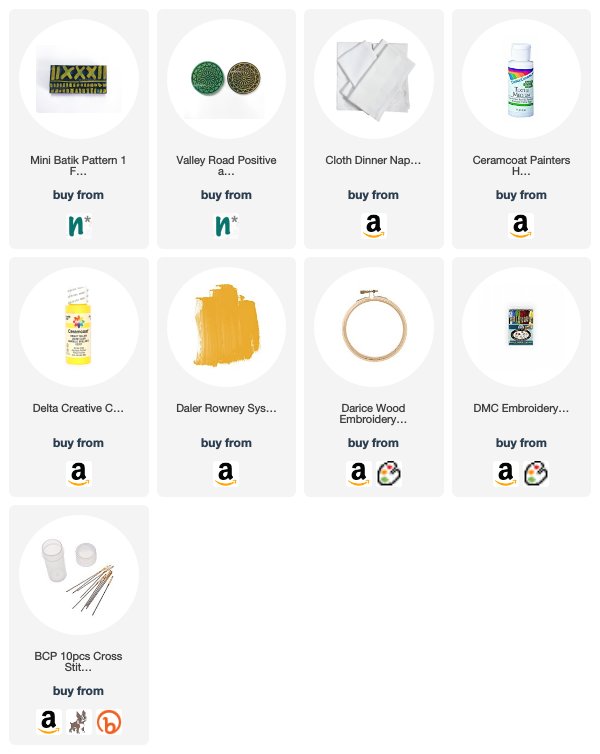
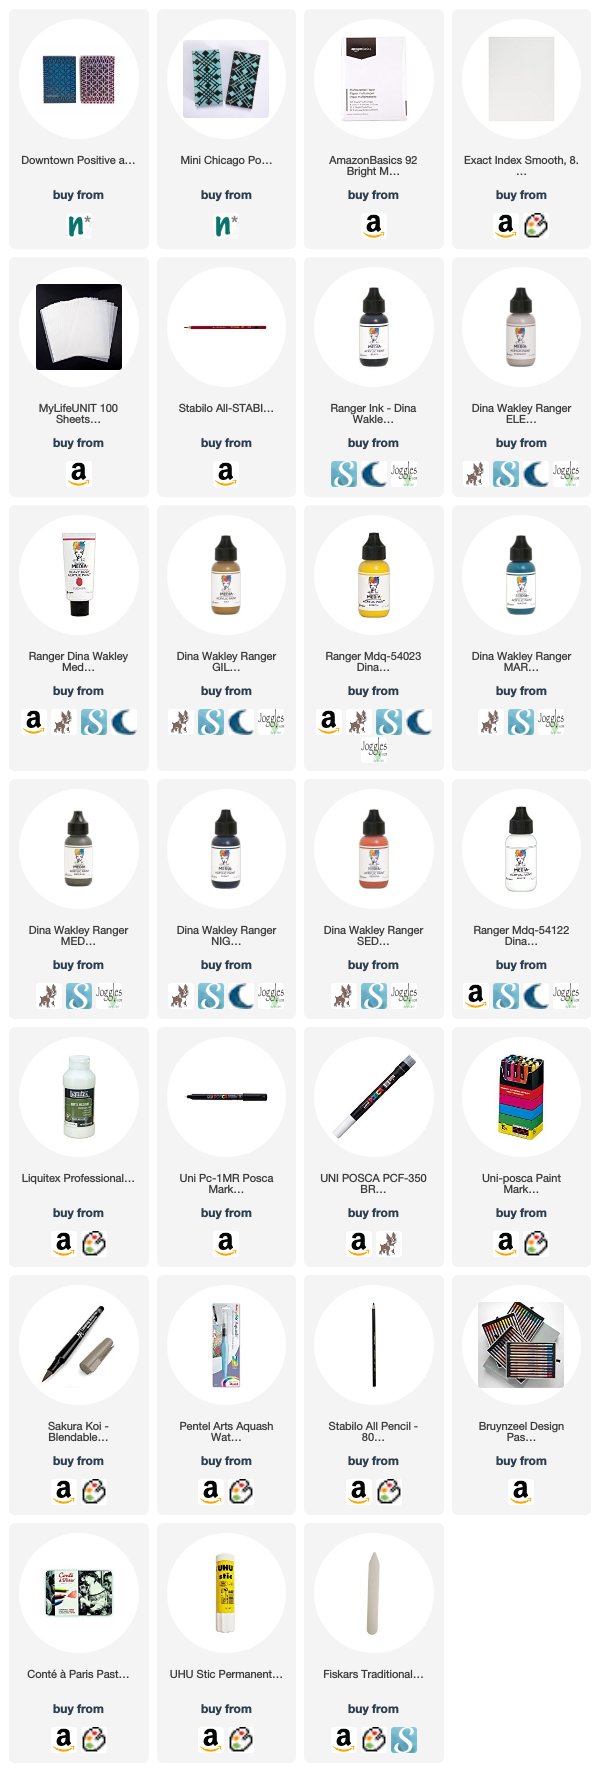
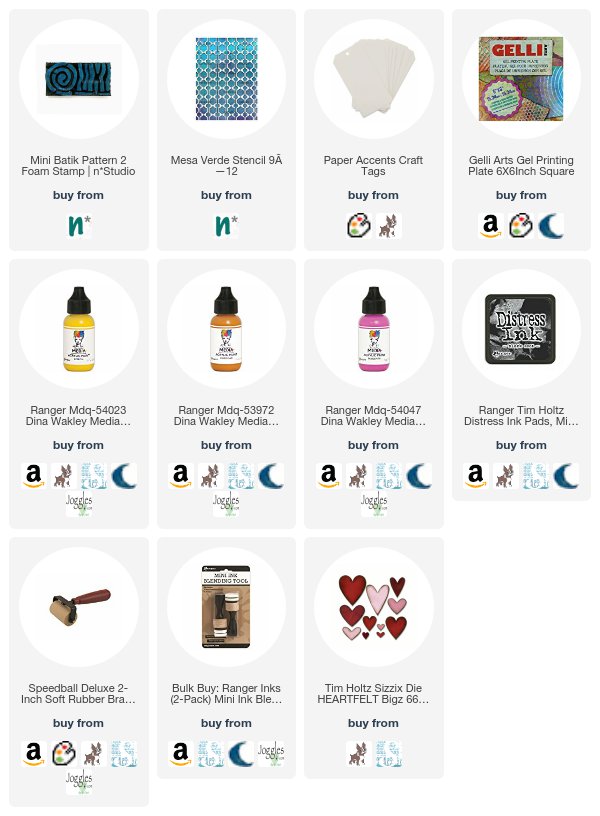
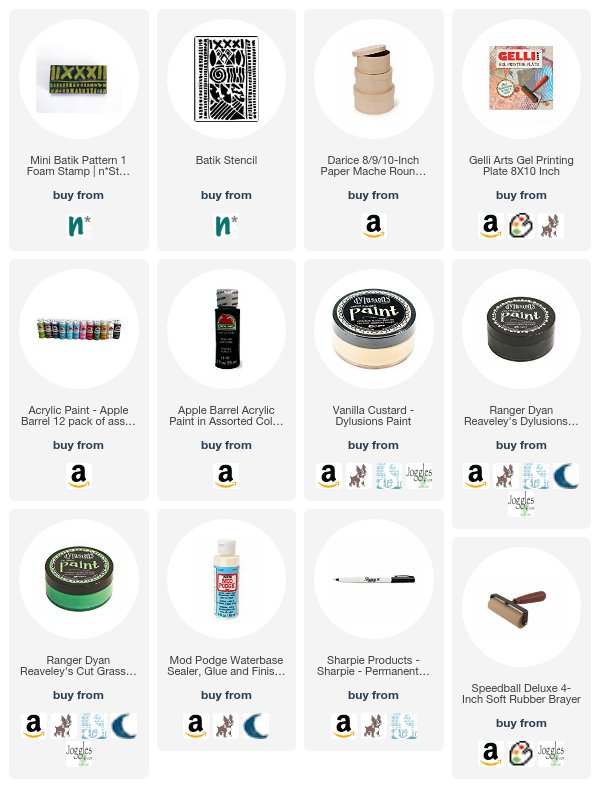
Thank you Josefine! I absolutely love those colors and patterns together! Here are some of the supplies that Josefine used:

Feel inspired? Working on something yourself that you’d like to share? I love to see how you interpret our monthly themes. Email me how you used my stencils and stamps with the theme and email me an image – I would love to share your projects in my next “n*Spiration From Around the Globe“.
SaveSave


Nat, that is exactly what I needed to read this afternoon!
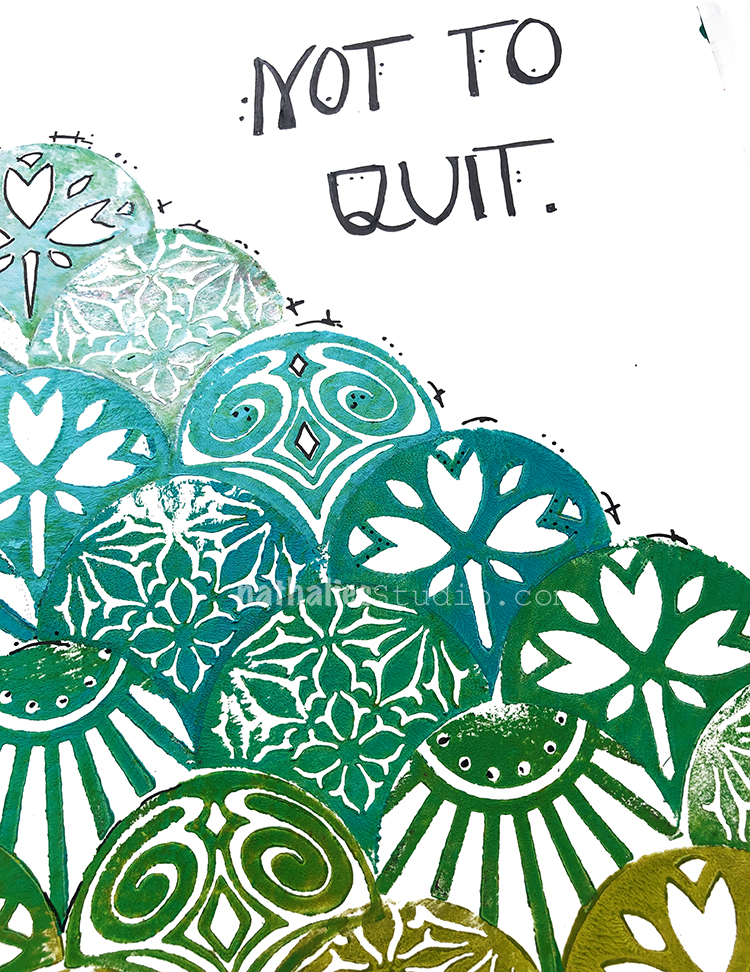
I especially like that the pattern is a hill…one more step.
Reply