Creative Squad

Sing Your Song – Jennifer Gallagher

Hello from my Creative Squad! We are kicking off a new theme this month with a fun secret and clever little art journal page from Jennifer Gallagher. She is using my Santiago stencil, my Early Bird stamp, and my Jugendstil stamp. The theme is: Sing Your Song – Everybody has their own voice, their own groove, their own one-of-a-kind personality. What is something unique about YOU that you are proud of? Don’t be shy, Sing YOUR Song!


This month the Creative Squad is singing a song about what makes each of us uniquely us! We all have our own voice and talents. Not many people know it, but I love to sing. I can’t work on an art project or even wash a load of dishes without singing along to my favorite playlists. Don’t tell anyone, but I’m not half bad. It’s our secret. So this month, I’m literally singing my song in this fun art journal page. Let’s get started.
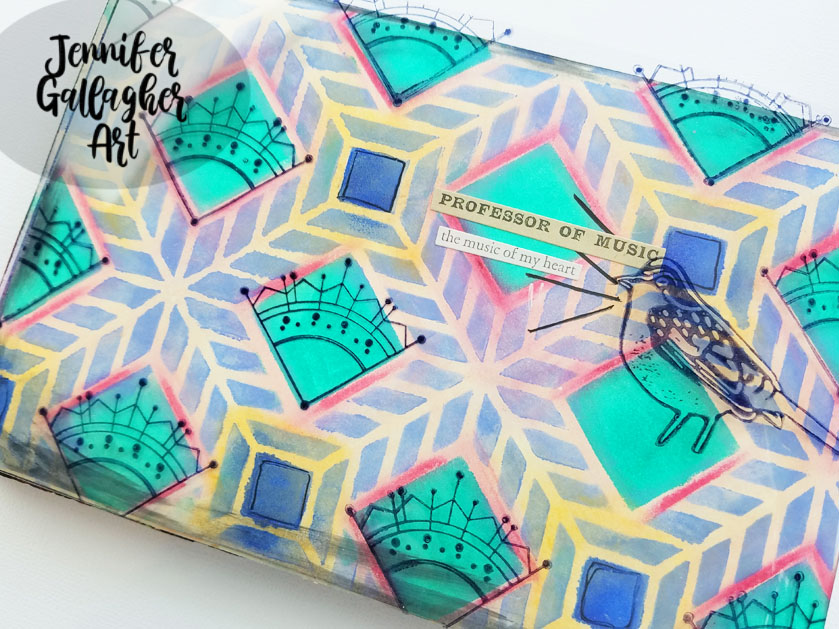
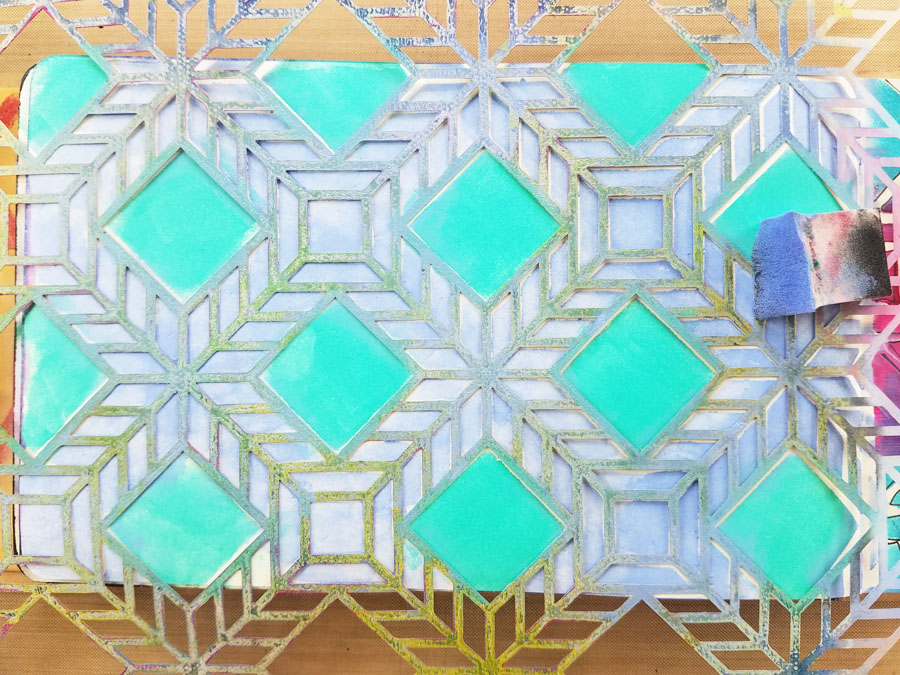
I’m working in my small dylusions journal. I placed Nat’s Santiago stencil down and put Bright Aqua Green acrylic paint through the square designs in the stencil with a makeup sponge. Next, I painted Light Blue Violet acrylic paint through the rest of the stencil design. 
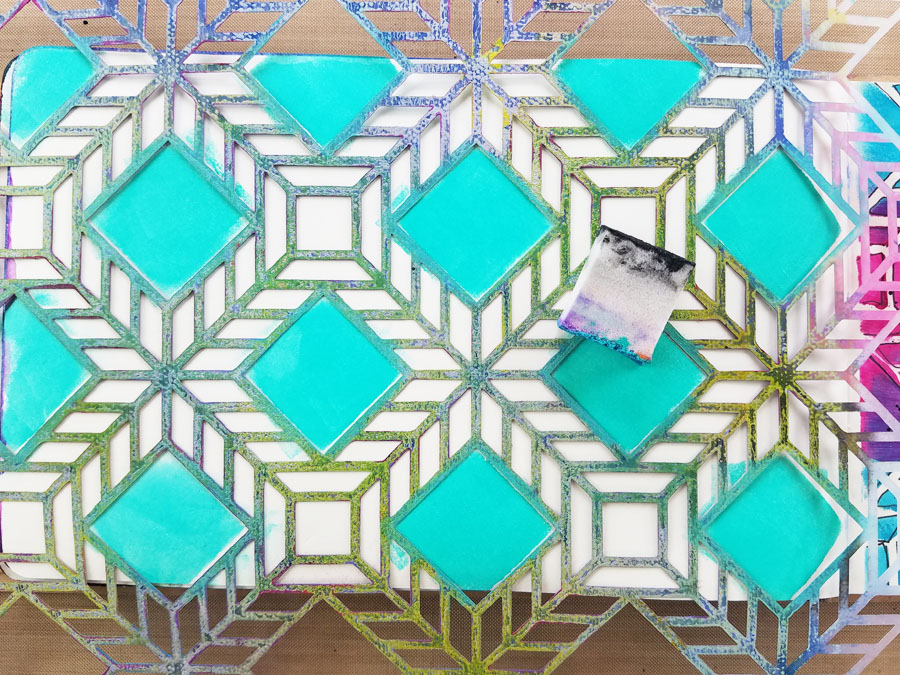
Using a cosmetic sponge I dab a little Ultramarine Blue fluid acrylic paint onto the small squares in the design.
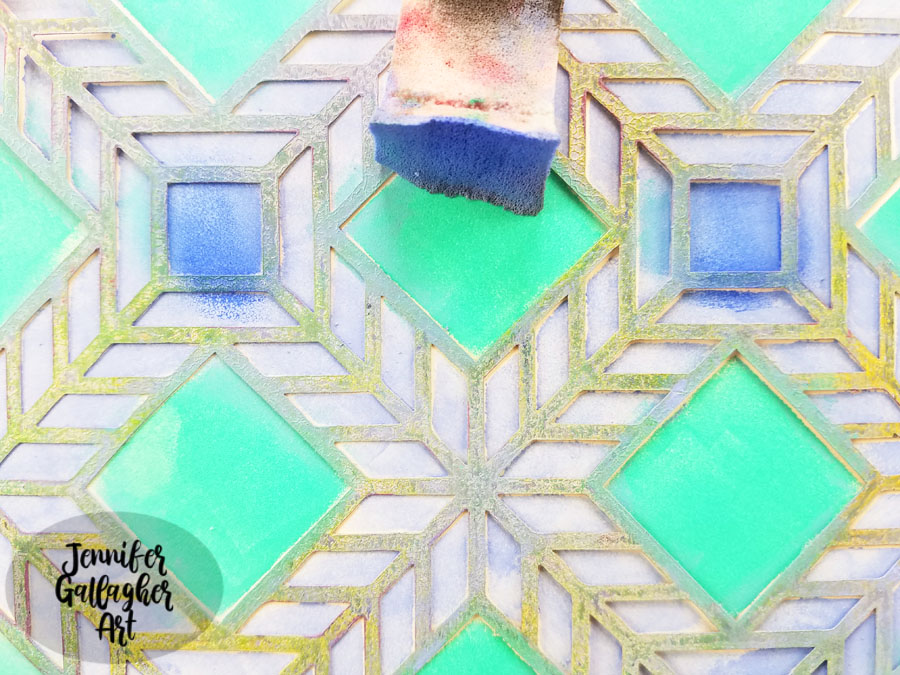
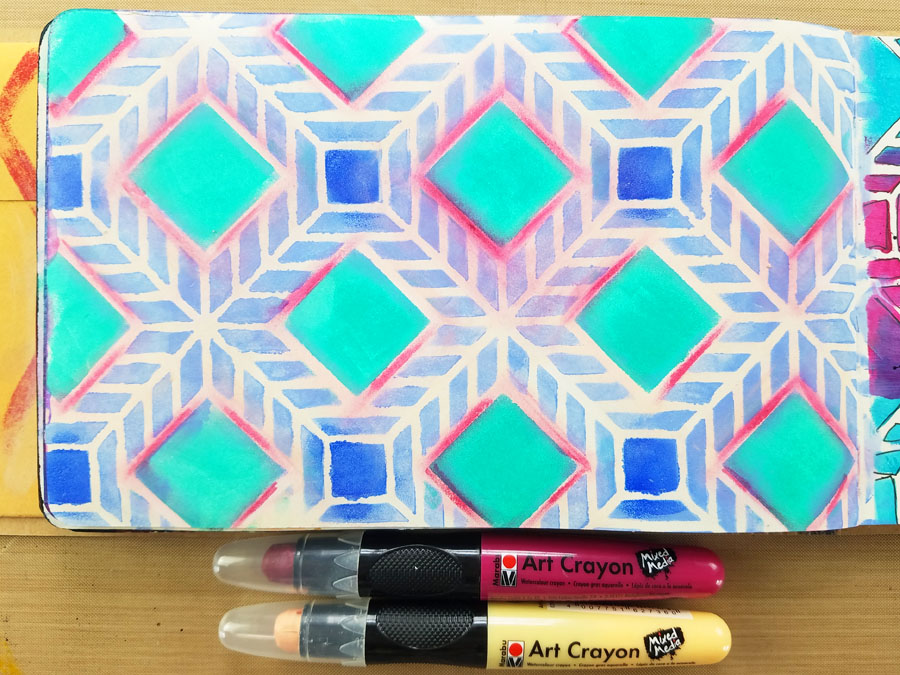
I drew directly onto the page with Marabu Art Crayons in Flesh and Pomegranate and rubbed the color with my finger.
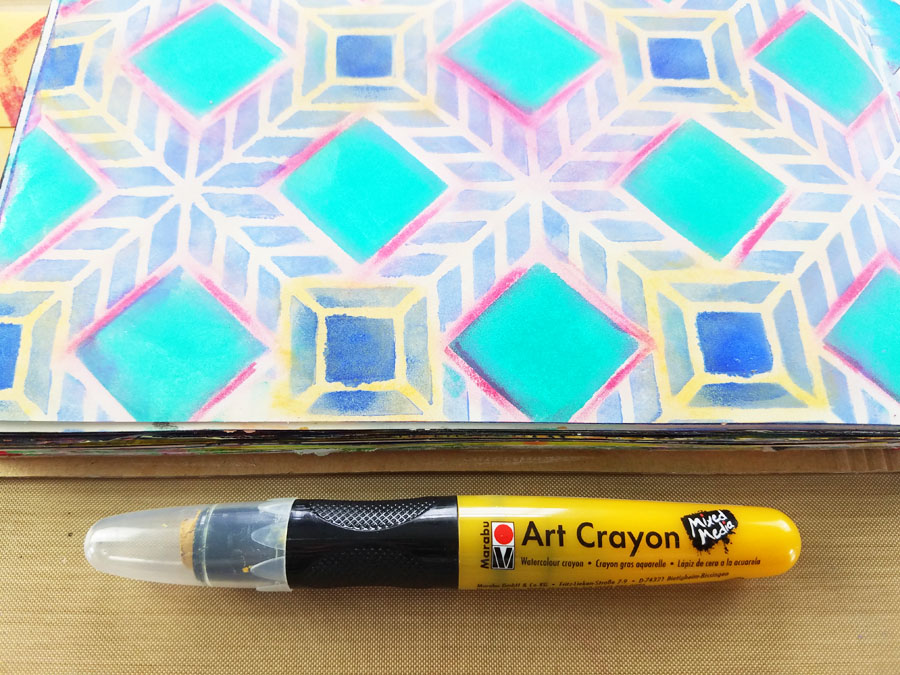
Using a Marabu Art Crayon in caramel, I highlighted the areas around the dark blue square and spread the color with my finger.
I edged my page with a little Payne’s Grey on a cosmetic sponge.
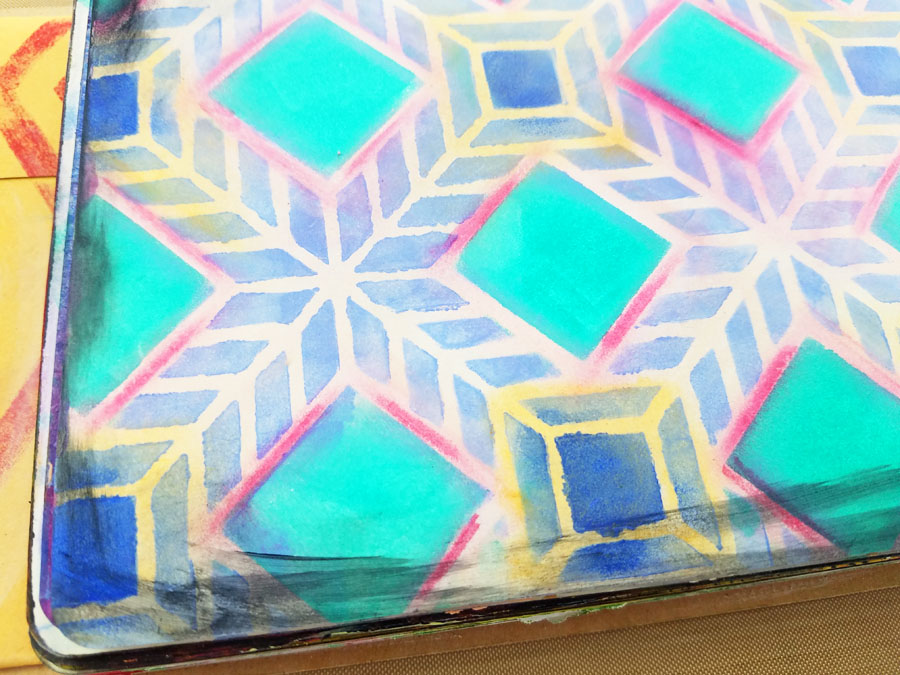
I cut a piece of Grafix Clear Craft Plastic and cut a sheet the same size as my journal page, eight inches by five inches.I attached it to the journal with Dina Wakley Media washi tape.
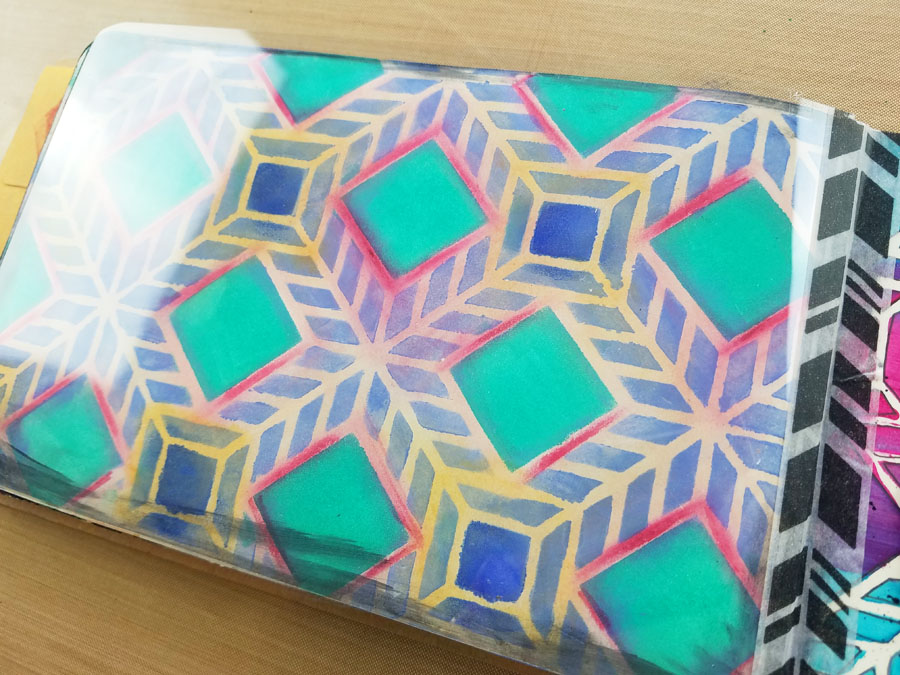
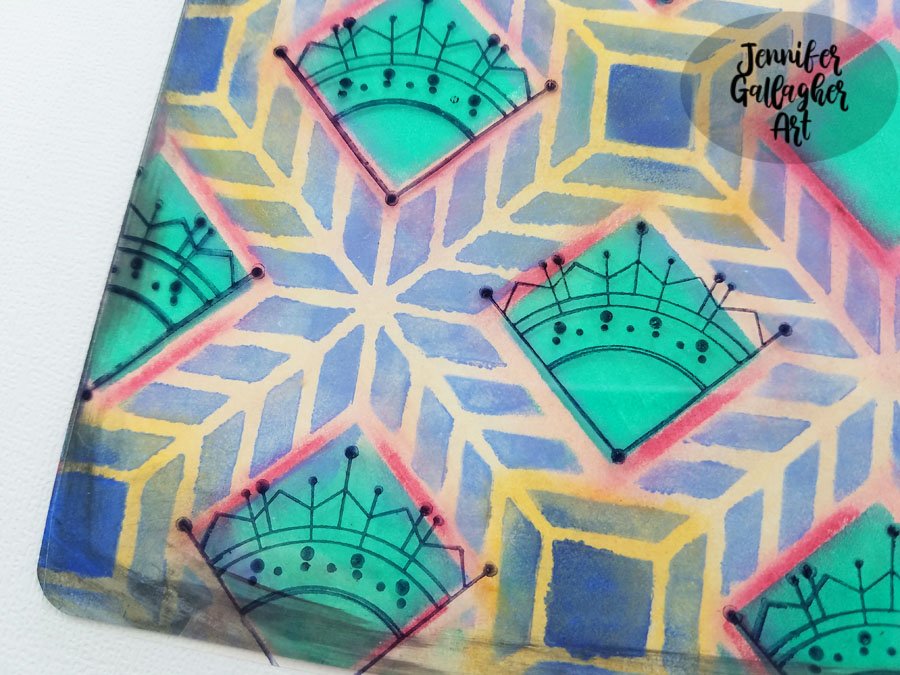
Using black archival ink, I stamped Nat’s Jugendstil stamp over the green squares. The stamp will slide easily on this material so stamp with care. Also, keep in mind it will take a few minutes for the ink to dry on the plastic so be sure not to smear it.
I wanted to stamp Nat’s Early Bird stamp on the page but the orientation was going the opposite direction that I wanted. So, I stamped the bird onto the “wrong” side of the craft plastic. This causes the image to face the direction that I wanted.
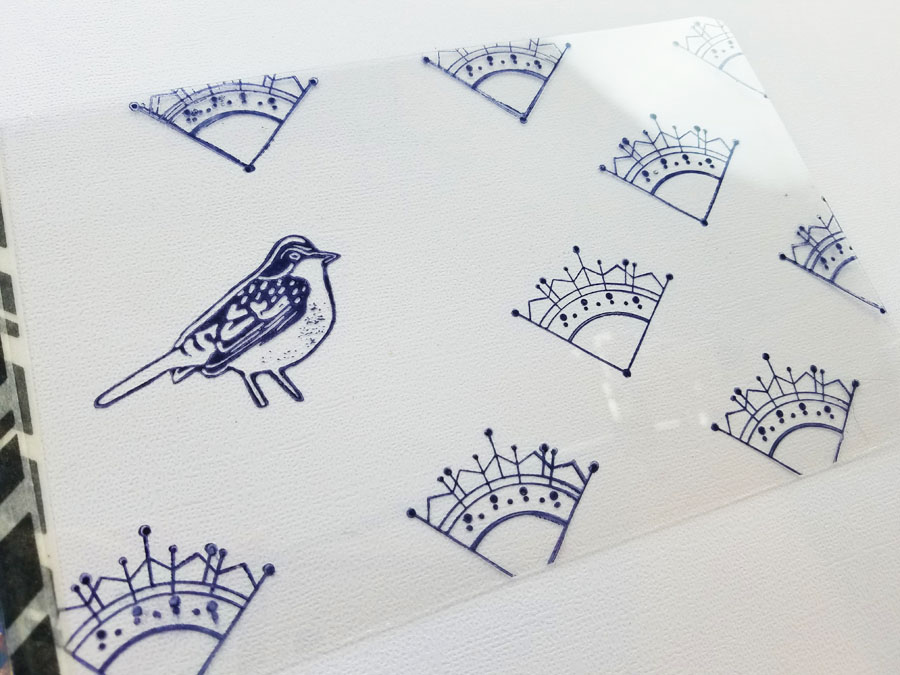
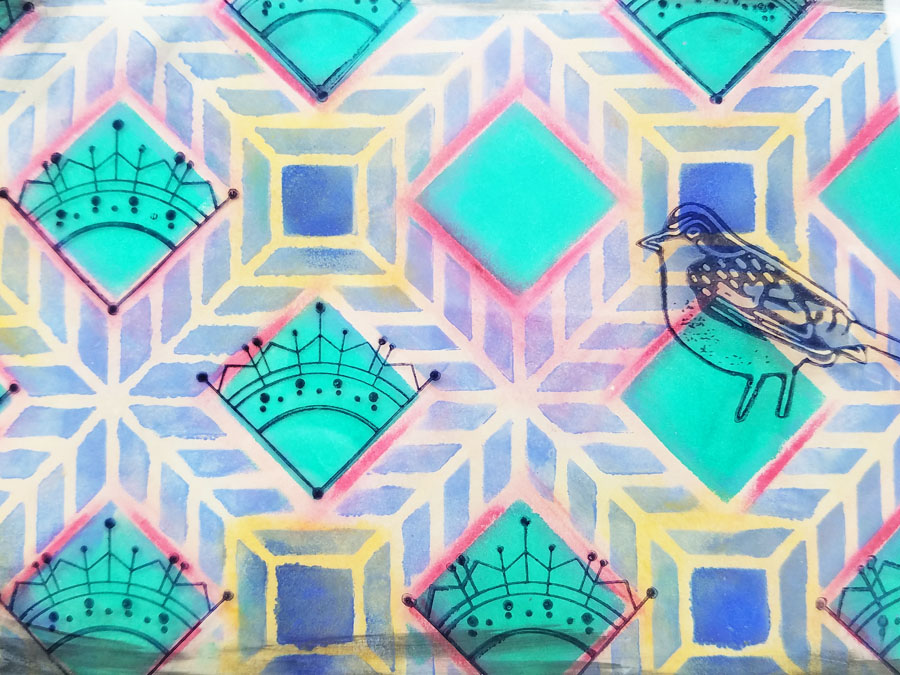
Next, I drew lines from the birds beak and around each dark blue square with a black fine-point acrylic paint marker. The finishing touch is a few stickers from Tim Holtz clippings sticker set.
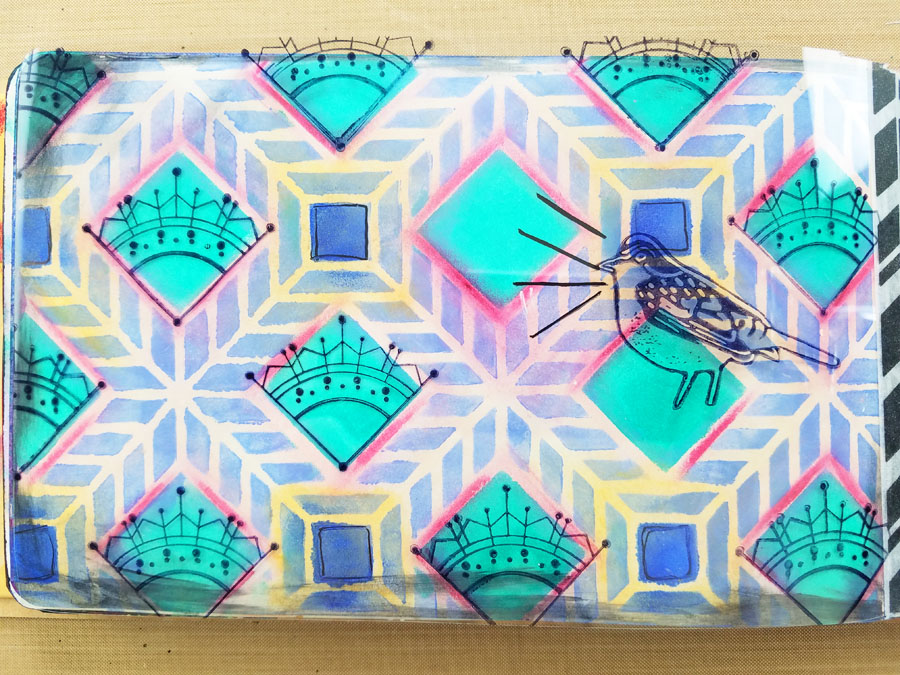
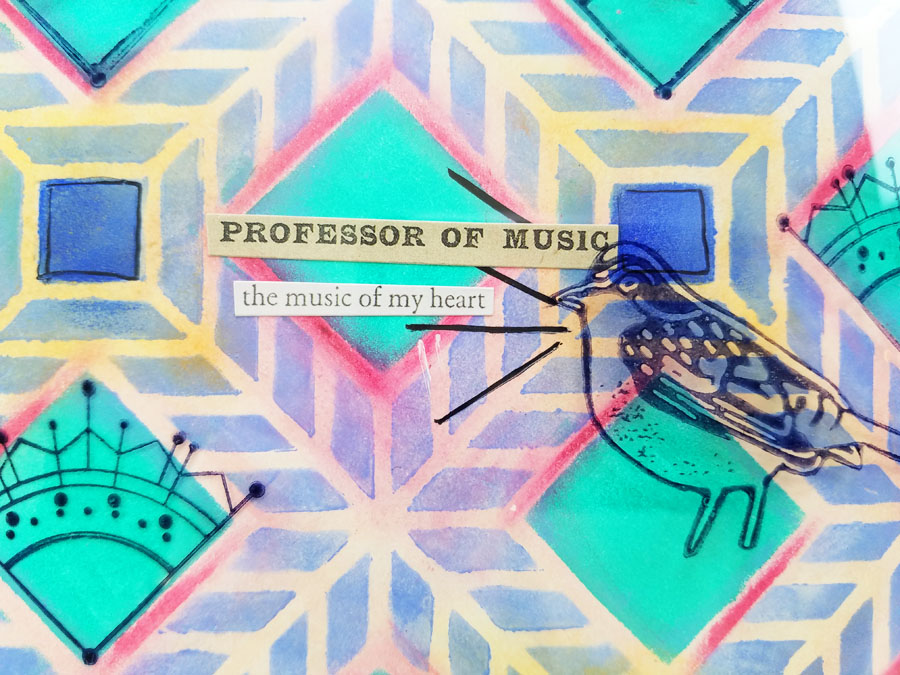
Well that is it for this art journal page. Stamping with Nat’s stamps onto the craft plastic really gives the page some extra pizzazz. It is also a great way to change the orientation of some of your stamps. I hope you have enjoyed this tutorial. Crack open that art journal and sing your song.
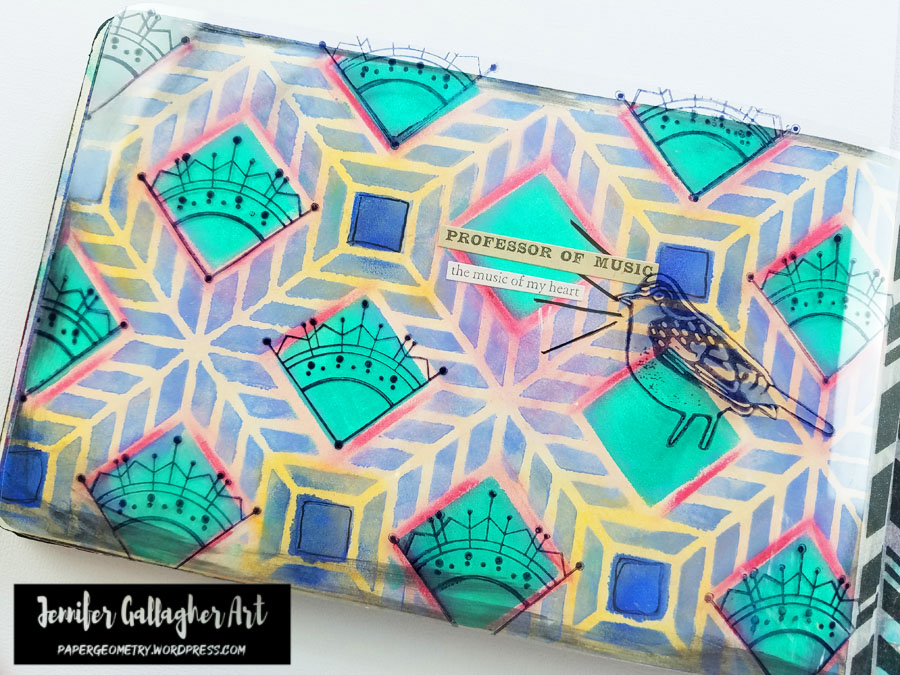

Thank you Jennifer – love the Grafix trick and loved learning your secret love of singing :) 

Give it a try: you can find all my Stencils and Rubber Stamps in my Online Shop and here are some of the other supplies Jennifer used:
Feel inspired? Working on something yourself that you’d like to share?  I love to see how you interpret our monthly themes. Email me how you used my stencils and stamps with the theme and email me an image – I would love to share your projects in my next  “n*Spiration From Around the Globe“.

Leave a comment

Rise & Shine – Nicole Watson

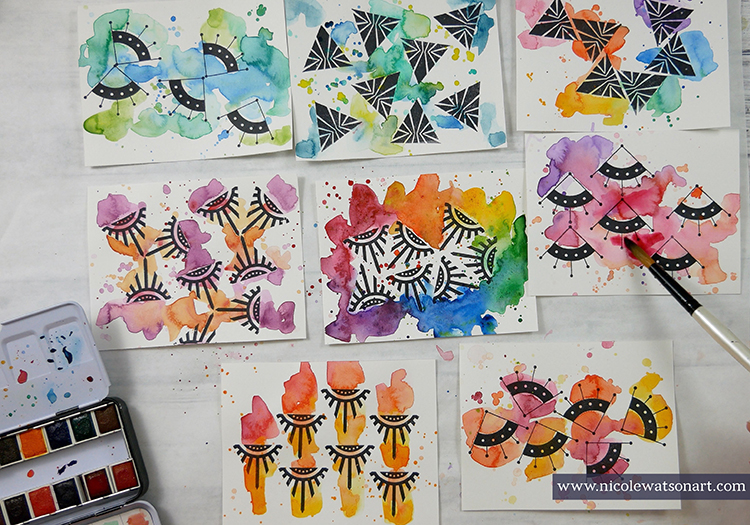
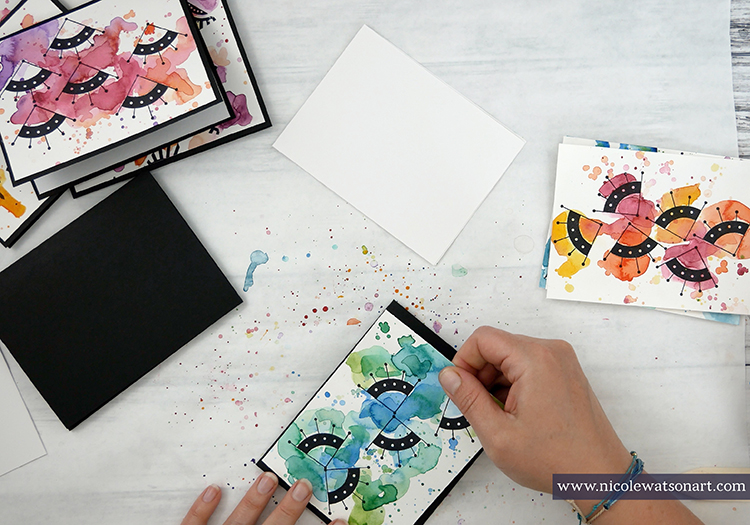
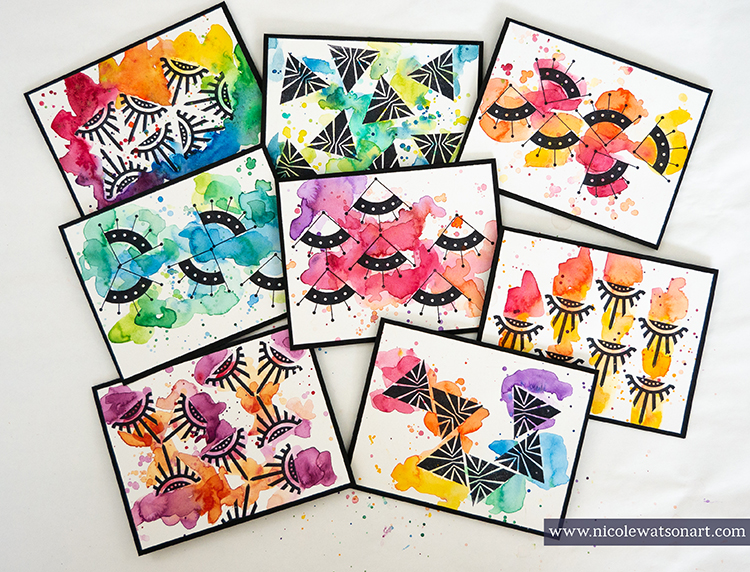
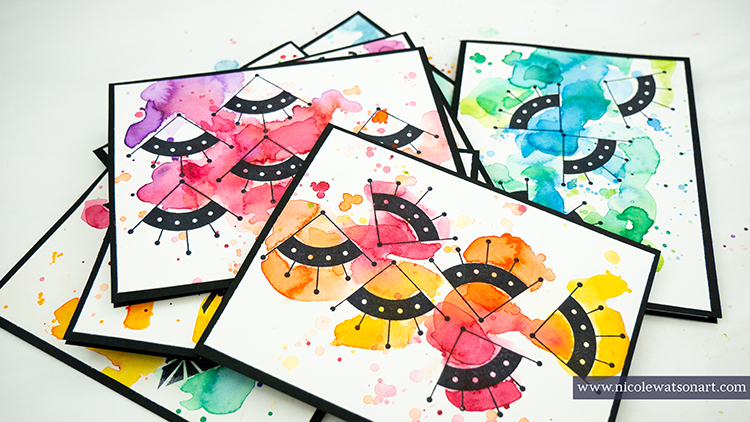
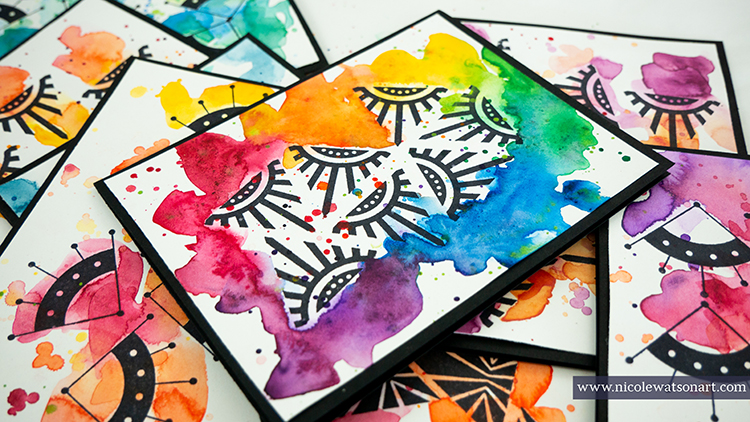
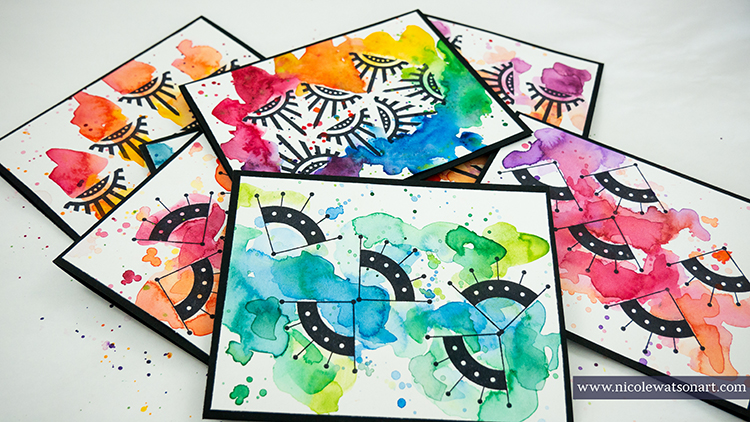
Hello from my Creative Squad! Today we have a colorful suite of cards and a video from Nicole Watson. Check out her process below using my new Mini Motifs and Triangle Love stamp sets and this month’s theme: Rise & Shine – Sometimes it is inspiring to think of each new day as an opportunity to do something good – to shine. Create something that will encourage others to do the same and let’s all bring a little more light into this world!


If you’re like me, you’ve probably spent some extra time during these stay at home days browsing Instagram and admiring all the creativity that is flowing from so many artists. Maybe, much like me, that creativity just isn’t flowing for you. It’s ok! You’re not alone!

Honestly, I struggled a bit with the theme this month. Sometimes it’s hard to shine and encourage others when you are feeling a bit blah yourself. Last month I shared that I’ve been focusing my time outside and in our garden planting flowers. This has brought me so much joy! The simplicity of planting flowers, caring for them, and watching them flourish has helped me cope with staying home (except for my trips to explore local nurseries and for groceries!).

I’ve noticed I’m not alone in the need to DO something creative and with one’s hands! While some are creating art, others are baking or gardening and yet others are returning to pen pals and sending snail mail. I wanted to send some mail to brighten some days this last week and realized my blank card stash was getting low… and that’s when this project came together!

Watch my video:

Here’s how:

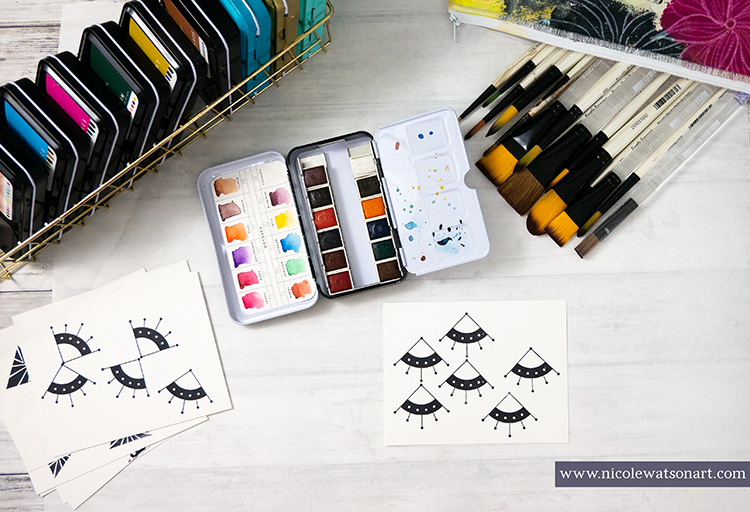
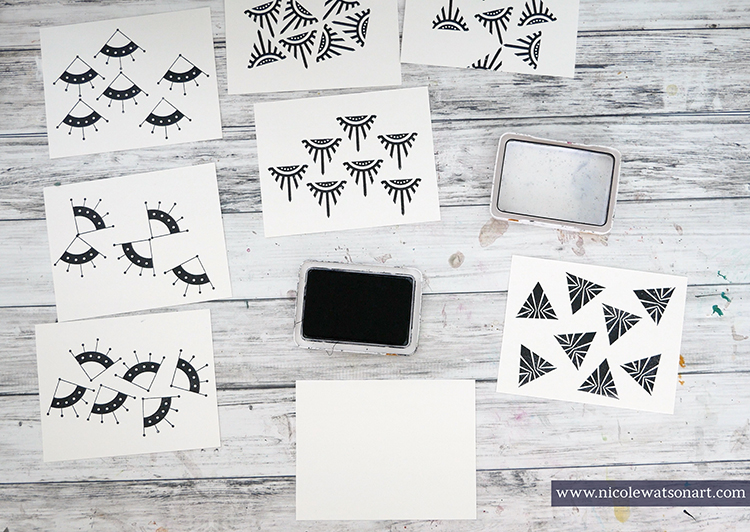
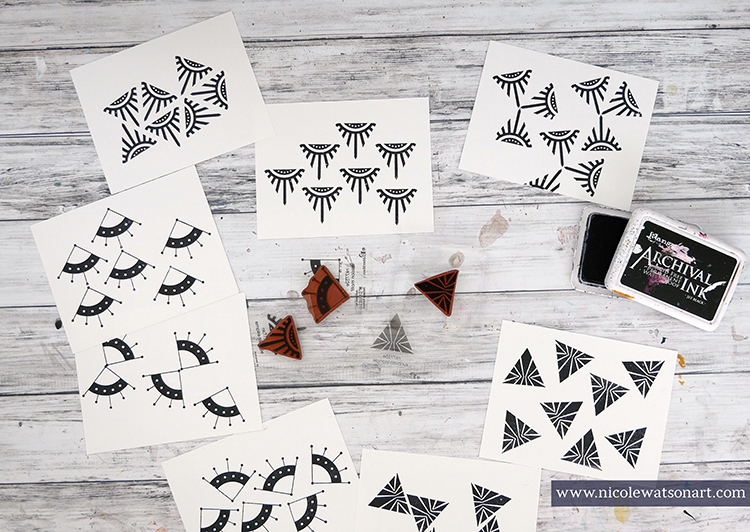
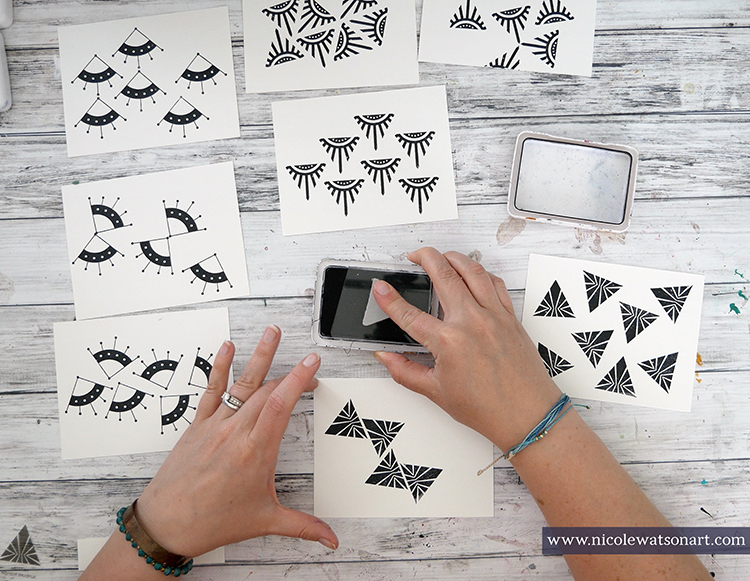
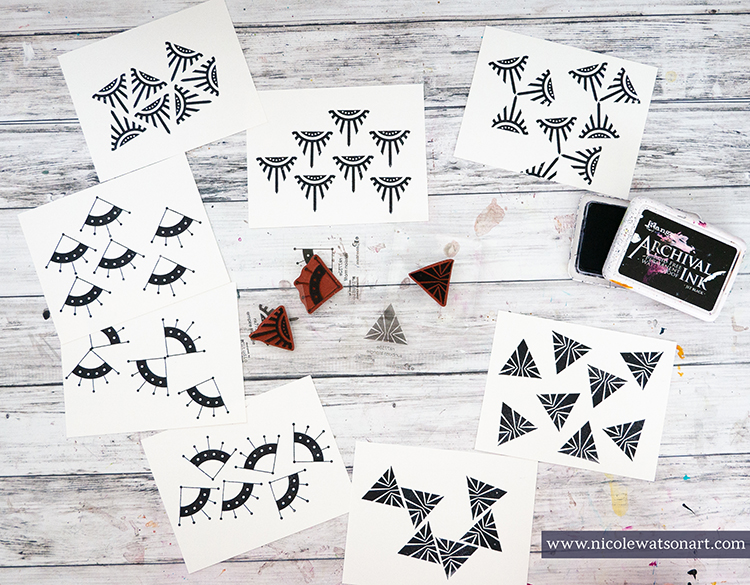
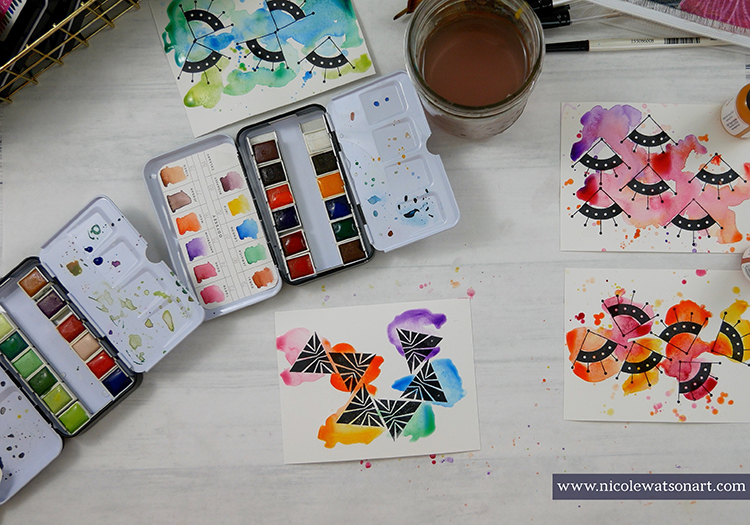
Grab some hot press watercolor paper and stamp on it with Nat’s Mini Motifs and Triangle Love stamps using black archival ink. Have fun! 

I enjoyed this process of creative stamping, all wonky, not perfect. Archival ink is important as it will not bleed or run with the watercolor in the next step. 

And, hot press paper is smoother for stamping. You can use cold press, but your stamped images will not turn out as clear (Note: I pre-cut my watercolor paper into card fronts (4.25×5.5) and will trim them down again to mount on the cards.)

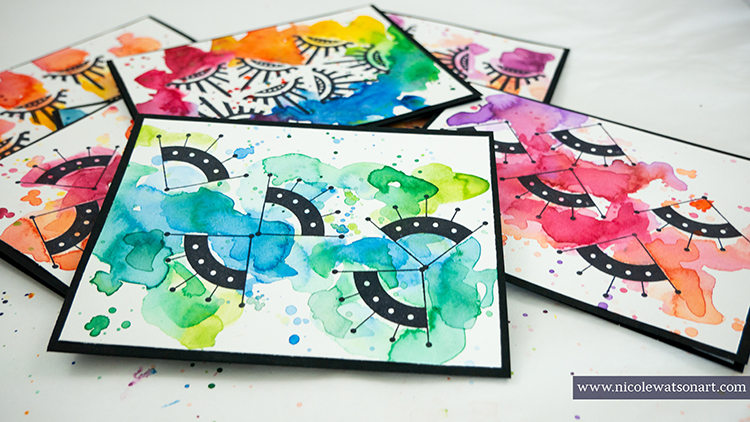
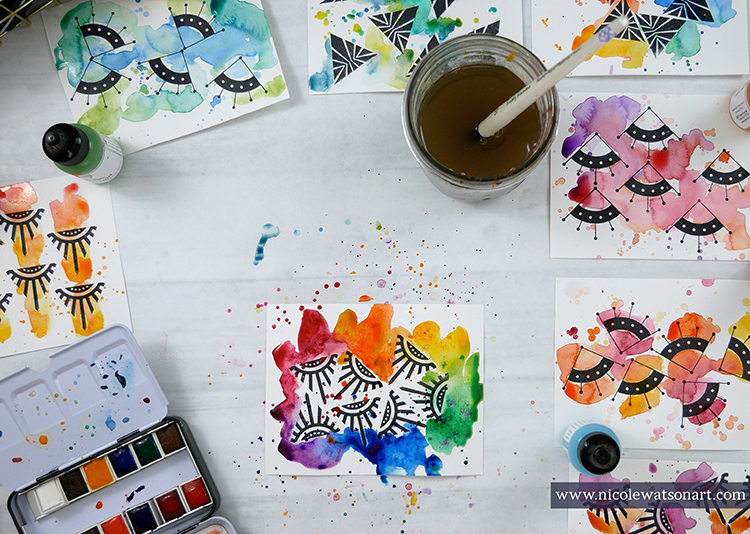
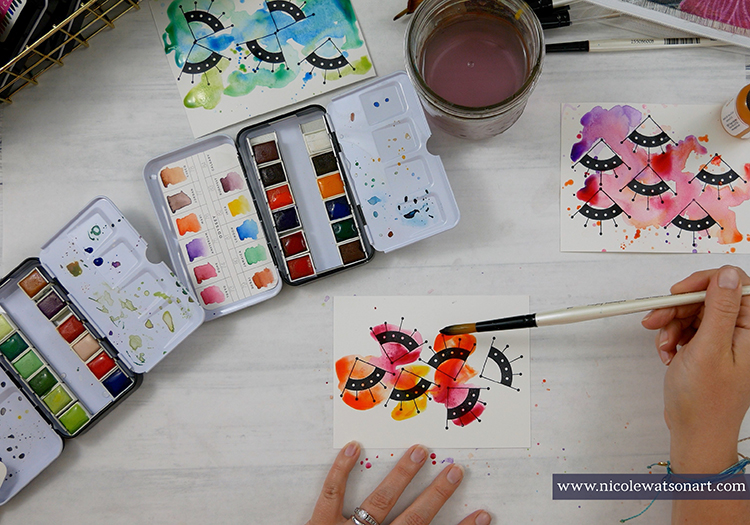
Let the ink thoroughly dry and then watercolor. Again, have fun! The only thing to keep in mind while you are water coloring is how colors blend. I stayed with palettes of warm colors or cool colors and then also a couple full rainbow palettes. Add some splatters and lots of puddles of color around the stamped images. 

Let your fronts dry completely. Once they are dry, if there are areas that didn’t turn out dark enough or exactly how you’d like, go ahead and add some more color and splatters. And, of course, let dry.

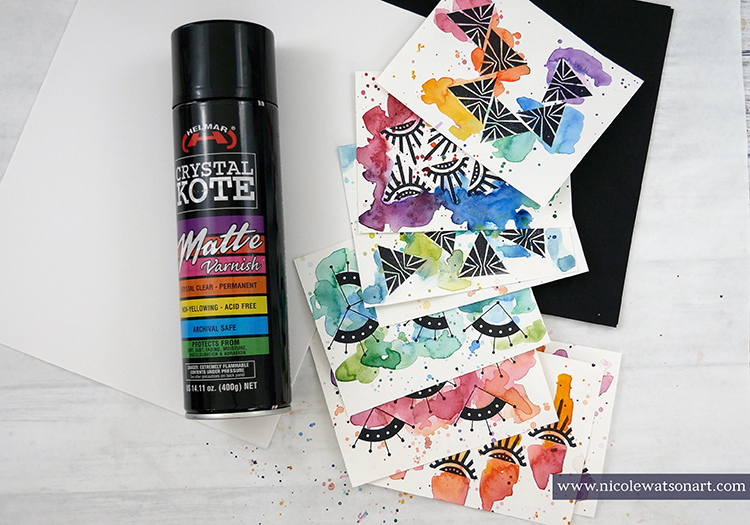
The next step is personal preference. I like to spray my watercolor cards with a clear matte varnish to protect them in case they become wet or damp in the mail. Be sure you follow the instructions on your spray.

Once they are dry (again!), trim your cardstock bases and liners for your cards. Then, if you want a border around your artwork, trim your art a bit (to 4×5.25). Even though I knew I’d be trimming them when I started, I like to allow this option so I can trim off a funny area or help center the design if I didn’t stamp it quite right.  Then, fold your cards and stick the liners inside and your art on the front.

Final step? Mail them! These bright, cheery cards are perfect to shine, encourage someone, and do something good.

I did not want to stop painting these card fronts. Had I not run out of watercolor paper, I would have made many more. (Note to self, order more watercolor paper!) I cannot wait to send these in the mail, and I’d love to send out a couple to YOU as well. Find me on Instagram, and look for the post about this tutorial to see how to receive one in the mail. I can’t wait to see what you create with Nat’s stamps and watercolor.


Thank you Nicole! Love the brilliant colors here and super appealing color combinations. What a treat to see.

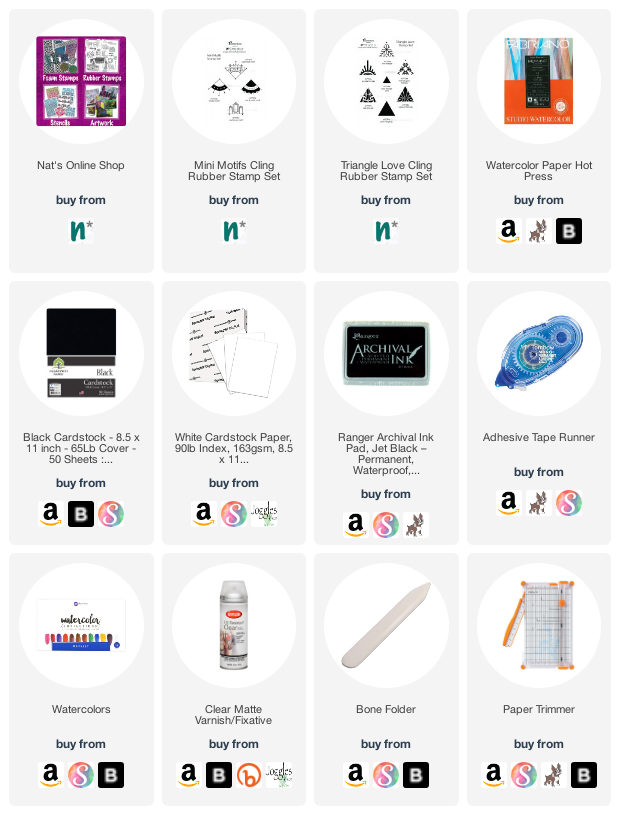
Give it a try: you can find all my Rubber Stamps in my Online Shop and here are some of the other supplies Nicole used:

Feel inspired? Working on something yourself that you’d like to share?  I love to see how you interpret our monthly themes. Email me how you used my stencils and stamps with the theme and email me an image – I would love to share your projects in my next  “n*Spiration From Around the Globe“.
Comments (1)

  • Sue Clarke

    |

    Nicole, those are gorgeous cards! I especially like the crisp, clear stamp image that you got on the paper, and the cheery colors you chose.

    Reply

Leave a comment

Rise & Shine – Maura Hibbitts

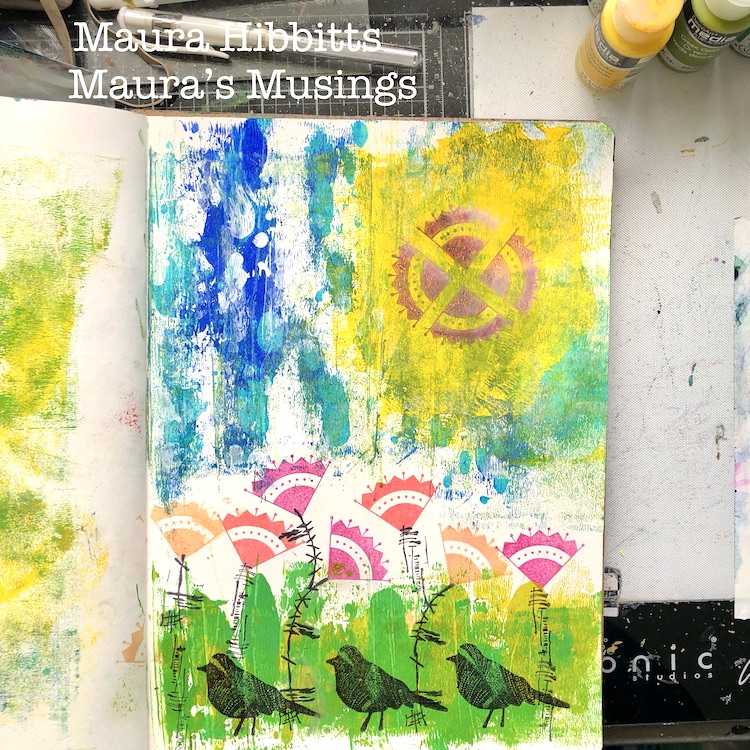
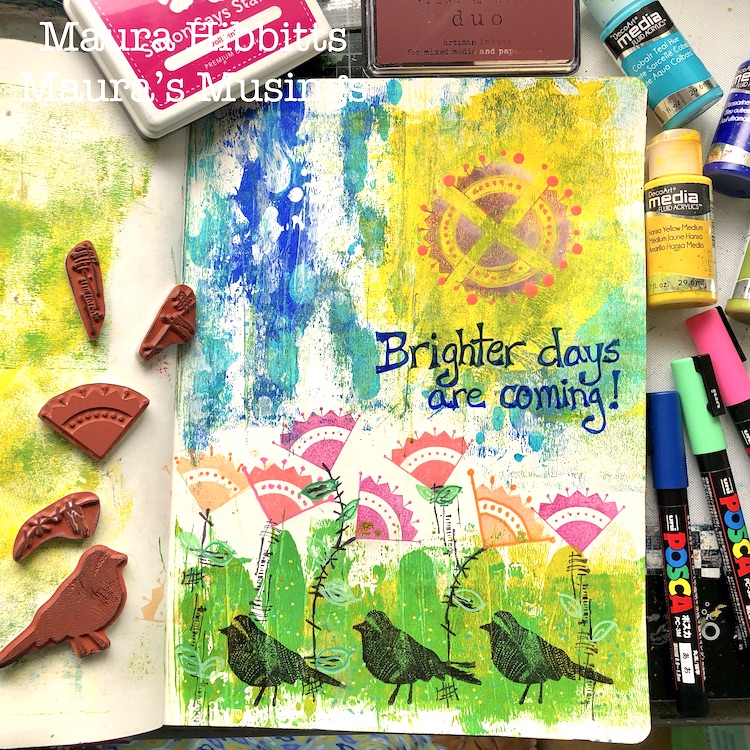
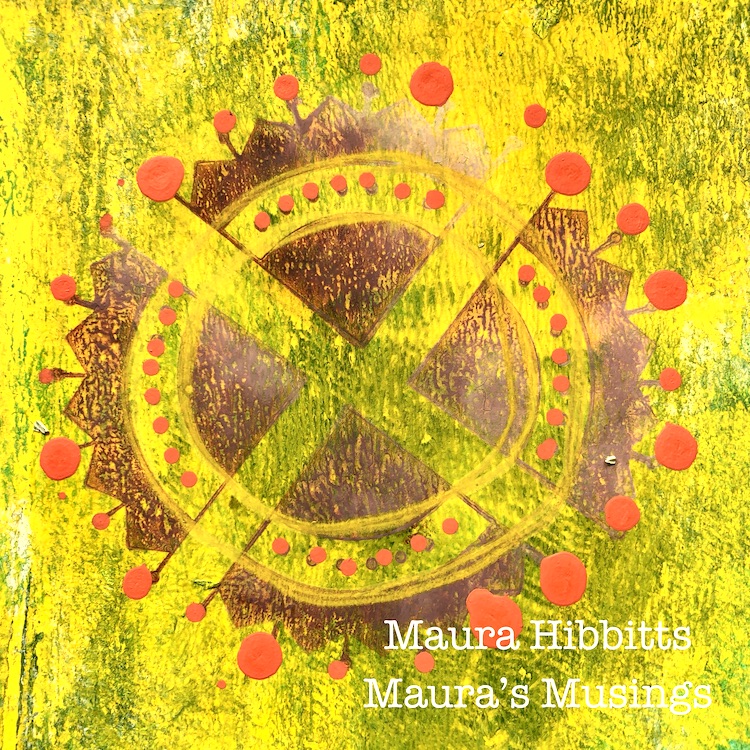
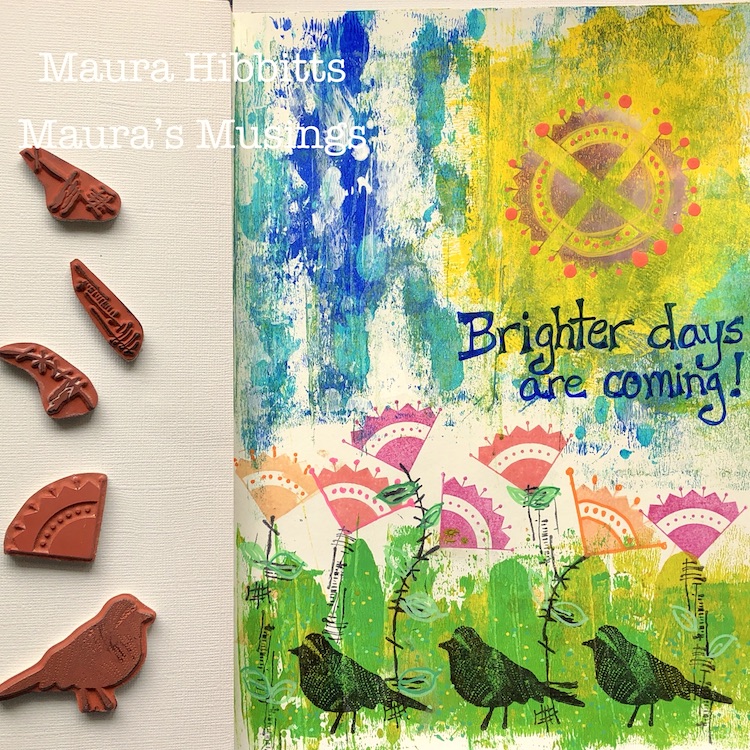
Hello from my Creative Squad! Today we have an art journal page from Maura Hibbitts to lift you up a bit. Maura is using my new Mini Motifs, Nightingale, and Wabi Sabi rubber stamps with this month’s theme: Rise & Shine – Sometimes it is inspiring to think of each new day as an opportunity to do something good – to shine. Create something that will encourage others to do the same and let’s all bring a little more light into this world!


“Rise and Shine” bring back strong childhood memories of my mother using these exact words to get me out of bed in the morning and off to school. Some days I can remember grumbling to myself, “what is there to shine about today?” Those were the days I was so cozy and snug, I just did not want to get up. Today, I am thinking about these words a little differently. Right now, we need things to look forward to in our daily lives, things that shine brighter. Perhaps it is a beautiful sunny day, or the flowers starting to bloom (at least here in upstate NY) that bring some joy to us, so we want to rise and start our day. I am also hopeful that there are brighter days ahead for all of us!

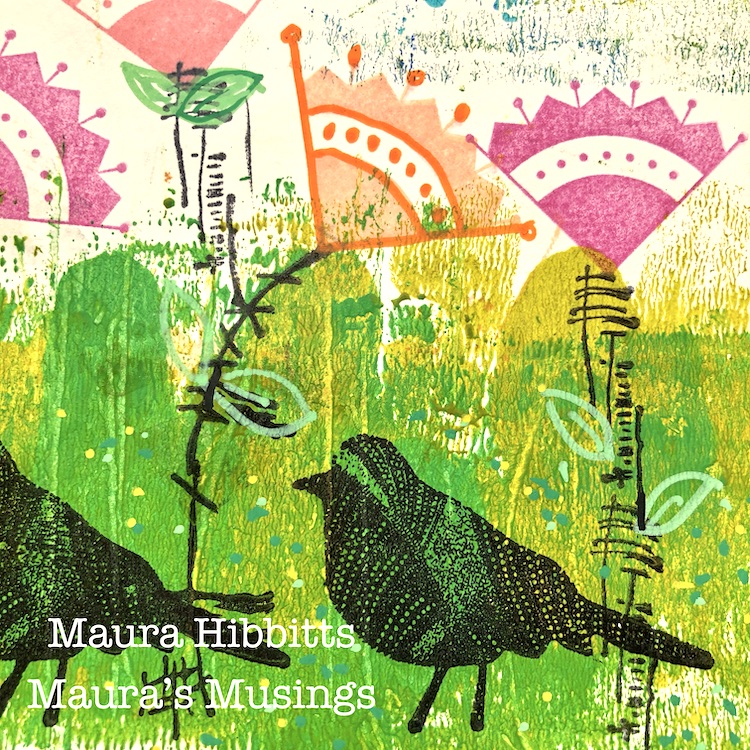
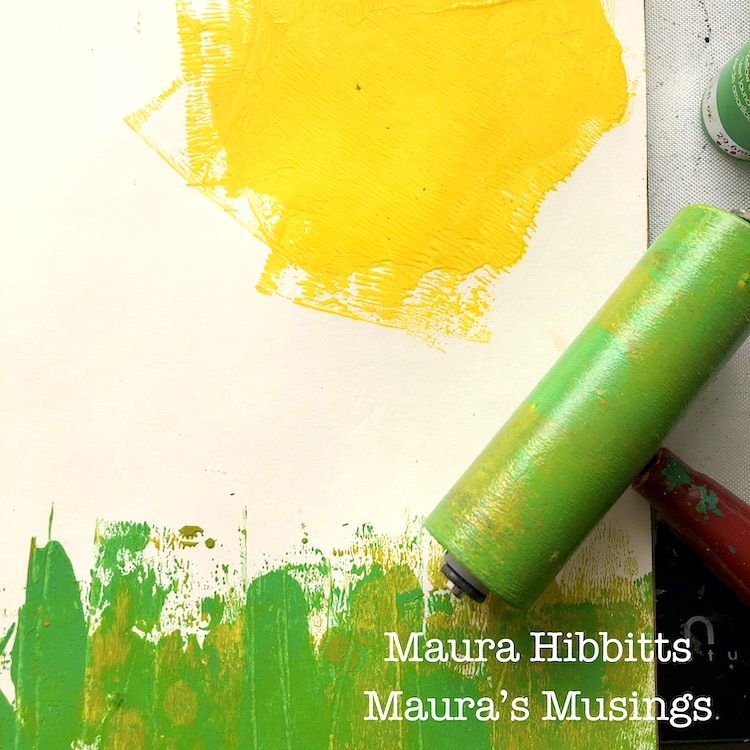
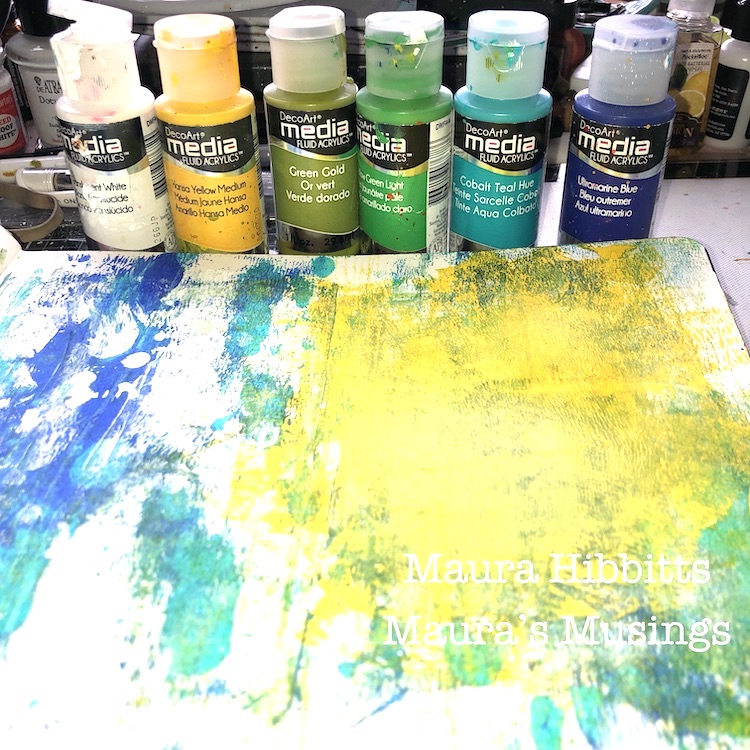
I started off in one of my large art journals with fluid acrylics and a brayer. I began at the top with a good squirt of Hansa Yellow Medium, and rolled the brayer in several directions, to create an area for my sun. Next, I added some drops of Ultramarine blue and Cobalt Teal Hue for my sky area, and rolled the brayer vertically to blend a bit. I also went in and added a bit of Translucent White. I repeated the same vertical strokes with the brayer and Yellow Green Light and Green Gold at the bottom of the page for the grass area. Any extra paint, I just rolled onto the page next to this one, no use wasting any of it.

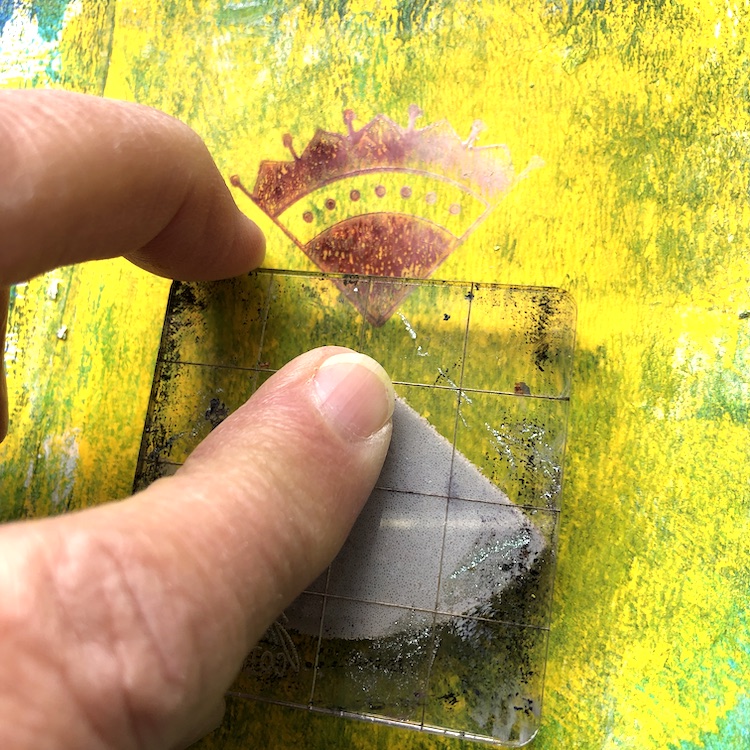
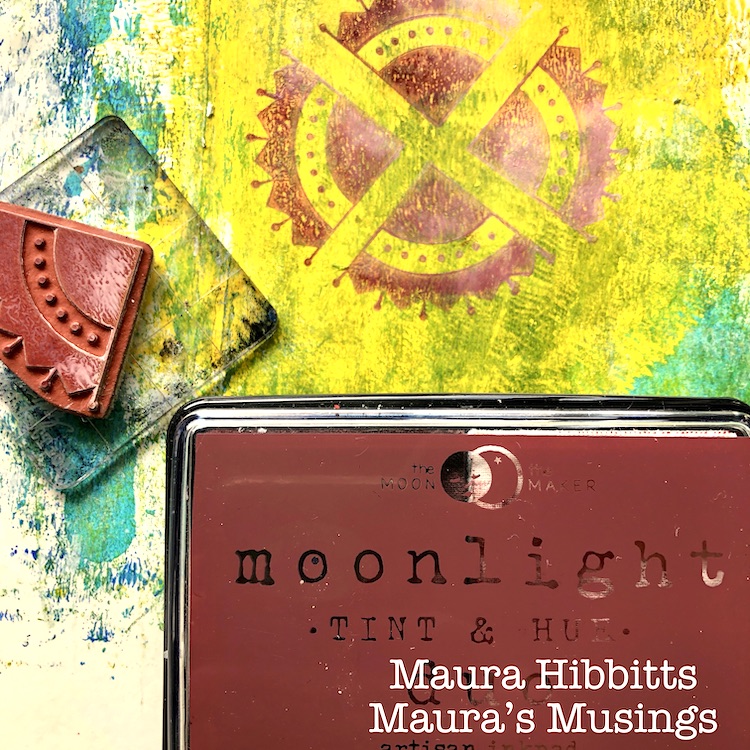
Once the paint was completely dry, I began to stamp the sun. I did this with the Arts and Crafts Motif stamp in a repeating pattern, and used the Moonlight Duo Nebula Rust ink.

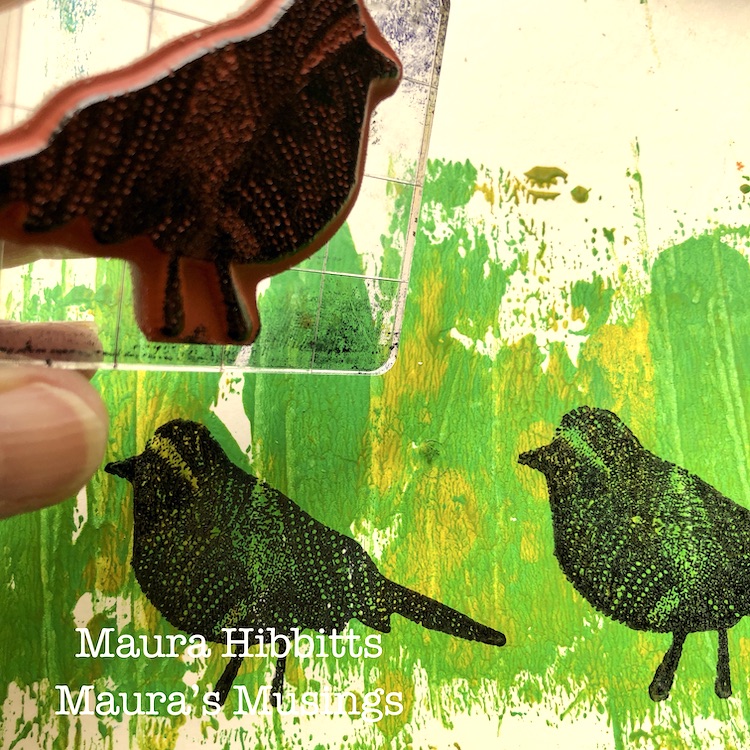
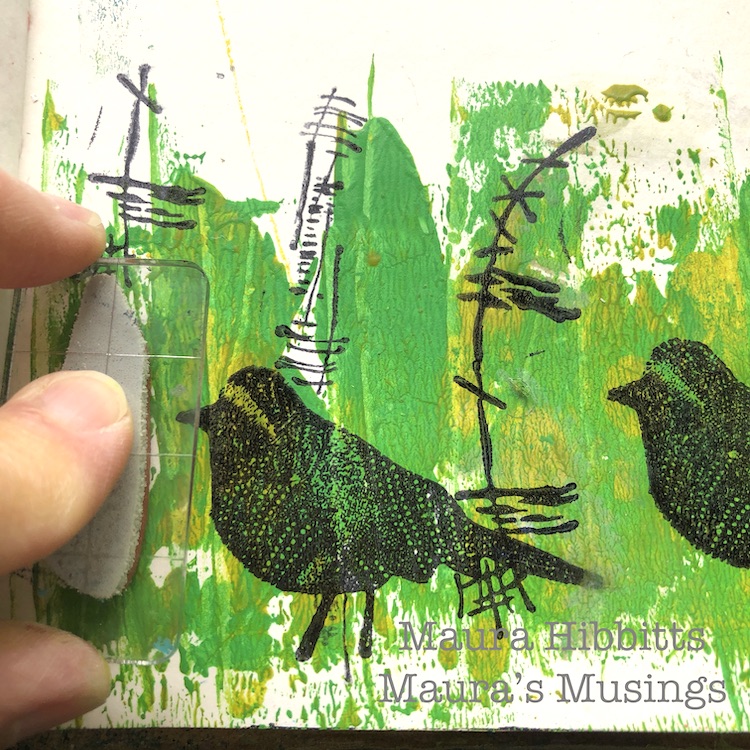
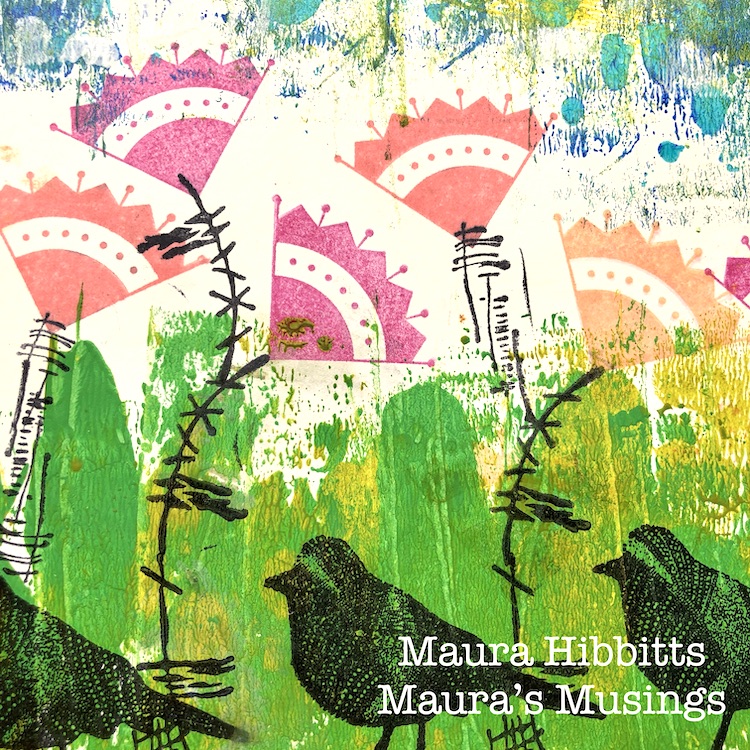
I stamped three Nightingale images in the grassy area with black ink. One great tip I have learned over the years, is to use an uneven number of objects. One bird didn’t feel like enough. Remember that saying, the early bird gets the worm? (another rise and shine moment) Well, my trio of birds is out early looking for them!

Next, I stamped a variety of “flower stems” with the Wabi Sabi stamps – Jazzed, Groovy and Gnarly and black ink.

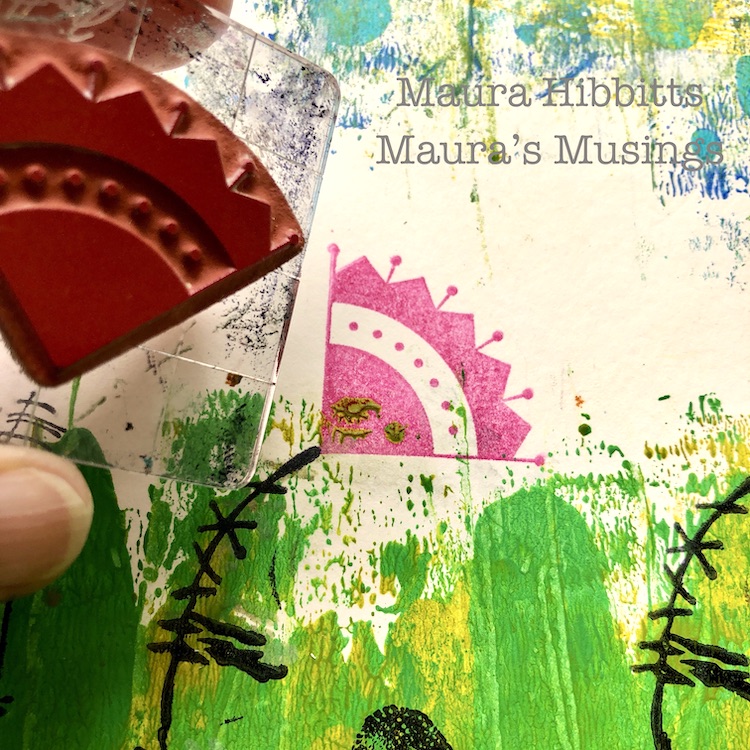
I turned the Arts and Craft Motif stamp into flowers, and stamped them with bright inks, using pinks and oranges, on the end of the stems. I don’t know about you, but colorful flowers always make me smile.

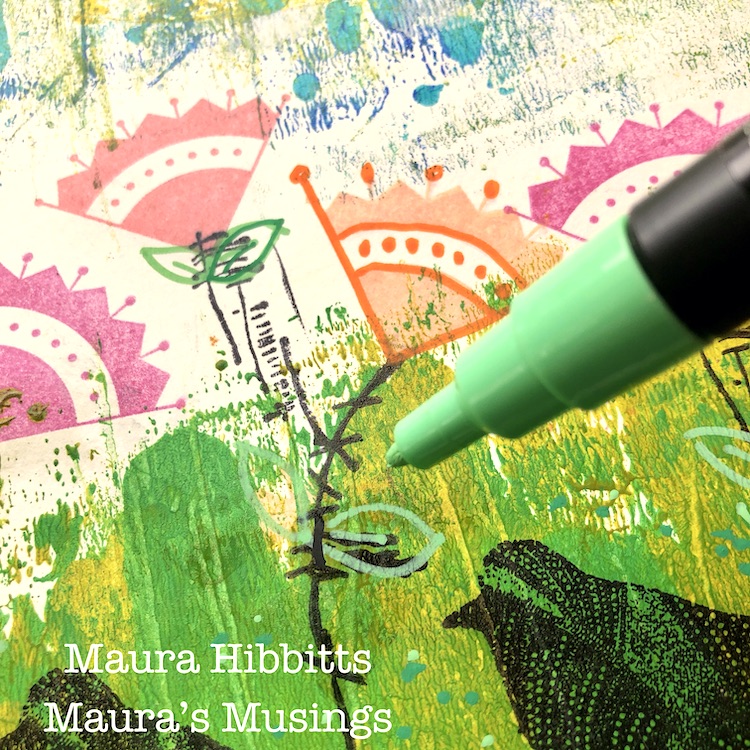
Next, I took several colors of Posca paint pens to add in a bit of detail on the sun and flowers. I also drew in a few leaves for the stems, and added some dots into the grass.

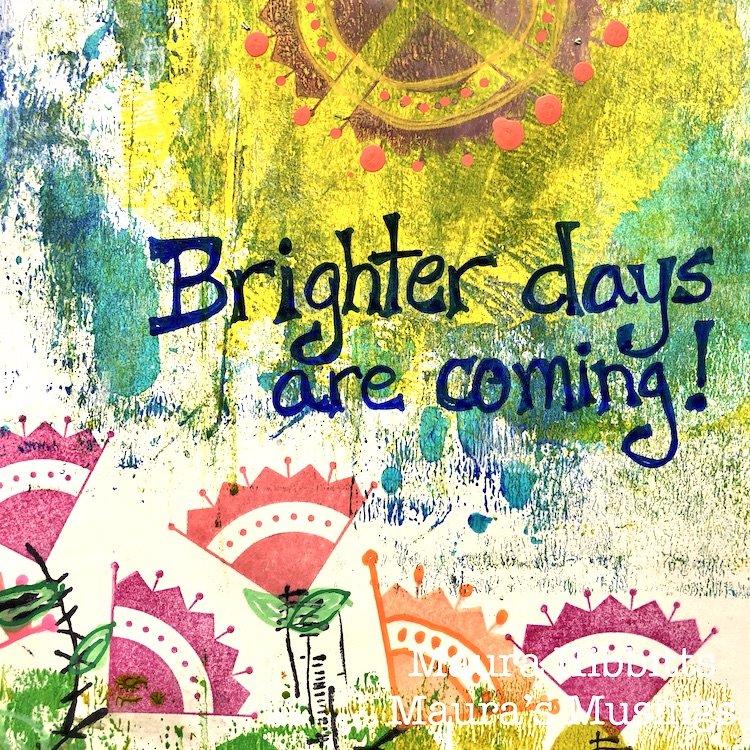
Final step was to hand letter “Brighter days are coming!” with a Posca pen.

I try to live my life in a positive and optimistic way, and even when times are really difficult like now, I have to believe bright days will be here again. Creating a cheerful art journal page helps uplift my mood.

What helps you to Rise and Shine each day? Children, grandchildren, spouse, friend, pet? A sunny day, your garden, art, birds singing outside your window? Look for the special joys in your life to help lift your spirits. I wish you the best! – Maura


Thank you Maura! We are definitely ready for some brighter days ahead :)

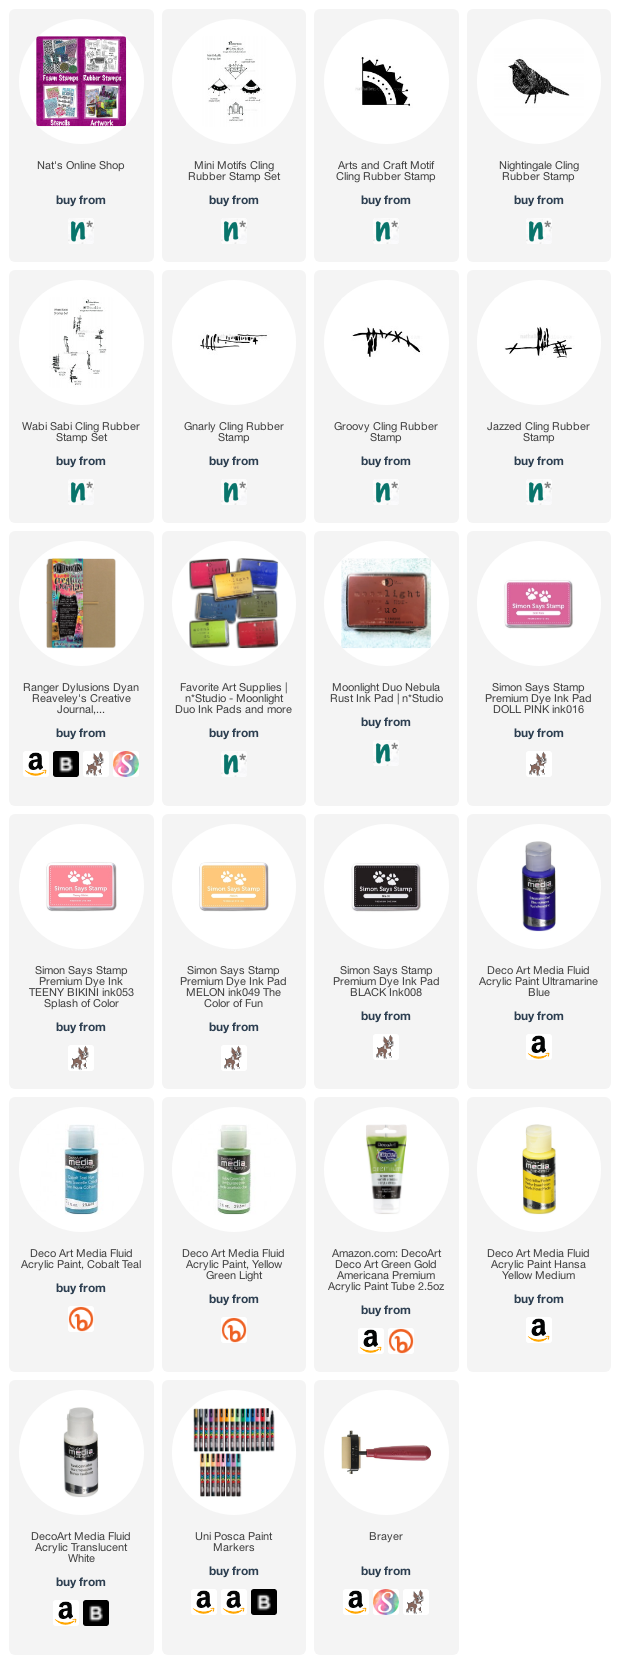
Want to give Maura’s project a try? You can find all my Rubber Stamps in my Online Shop. Here are some of the other supplies Maura used:

Feel inspired? Working on something yourself that you’d like to share?  I love to see how you interpret our monthly themes. Email me how you used my stencils and stamps with the theme and email me an image – I would love to share your projects in my next  “n*Spiration From Around the Globe“.
Leave a comment

Interesting – Art Journal

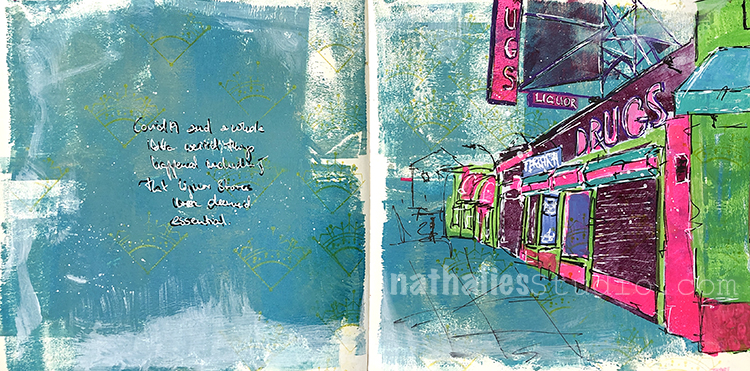
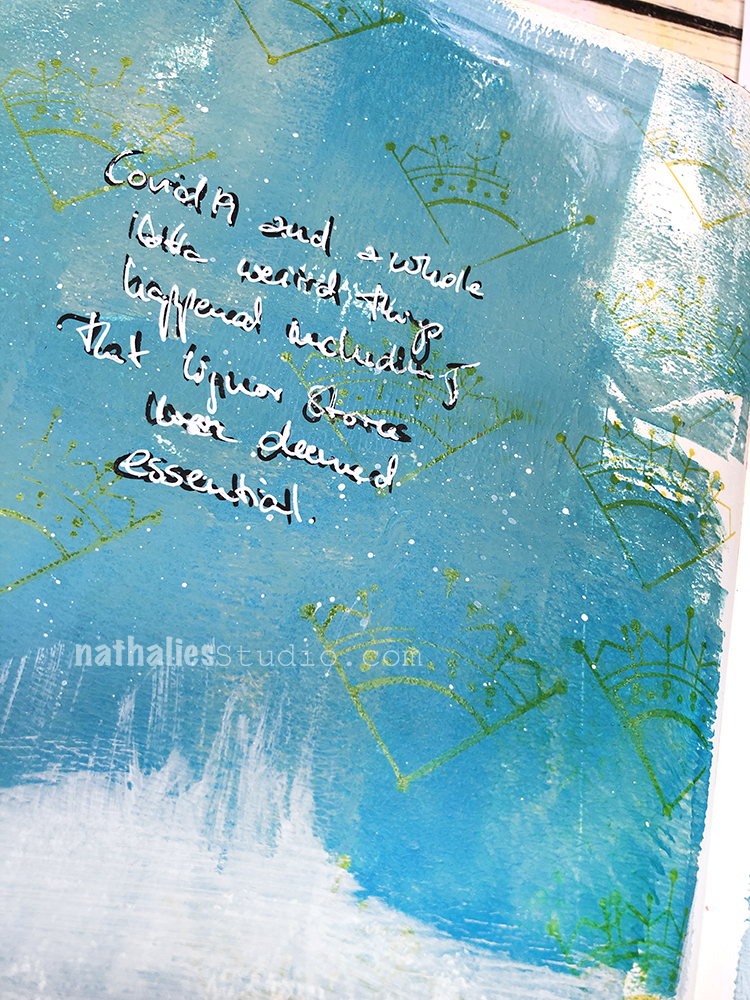
Just some thoughts on what is deemed essential in the age of covid-19. This art journal spread is also a study for a painting of a liquor store close by – I love the scaffolding and the look of the building as well as the old signs.
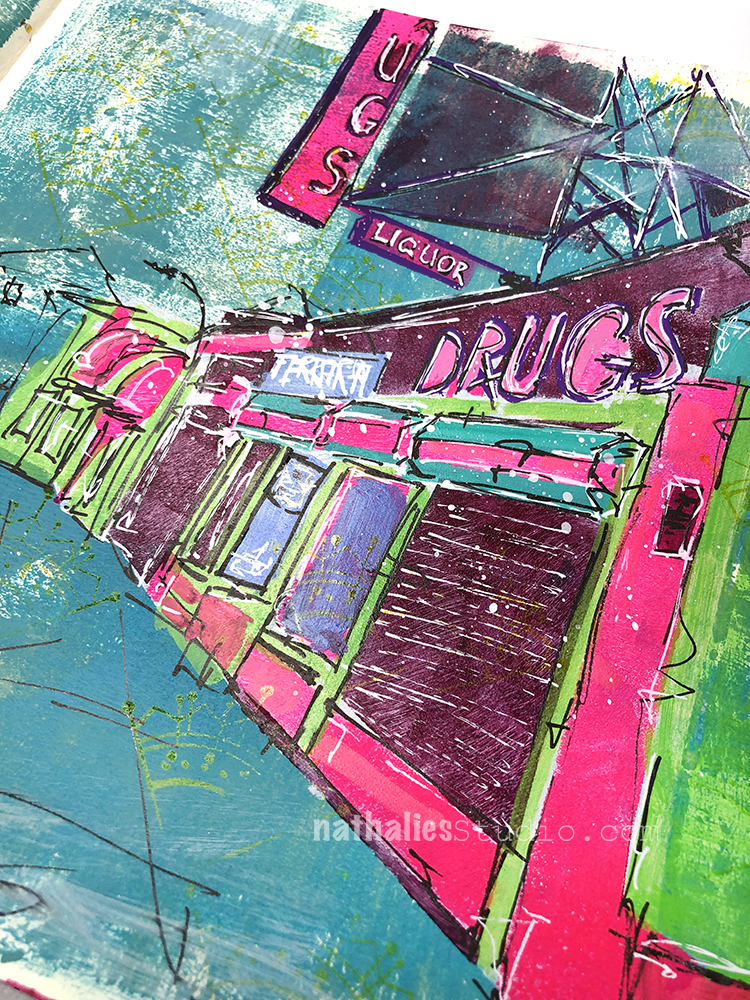
I used acrylic paints and markers to create the buildings and add detail.

I also stamped one of my Mini Motifs stamps in gold to give the background a delicate pattern.

Here are some of the supplies I used:


My class on Wanderlust goes live tomorrow, May 1st! Are you taking part in the year long workshop? If not, you can still sign up HERE. There are a ton of amazing teachers to take you on your artistic journey.

…and I hope to see you tomorrow for another one of my Kaffeeklatsch Get Togethers on Facebook! I’ll be broadcasting LIVE from my studio and chatting with all of you :) Drop by and say Hello!

Leave a comment

Together – Art Journal

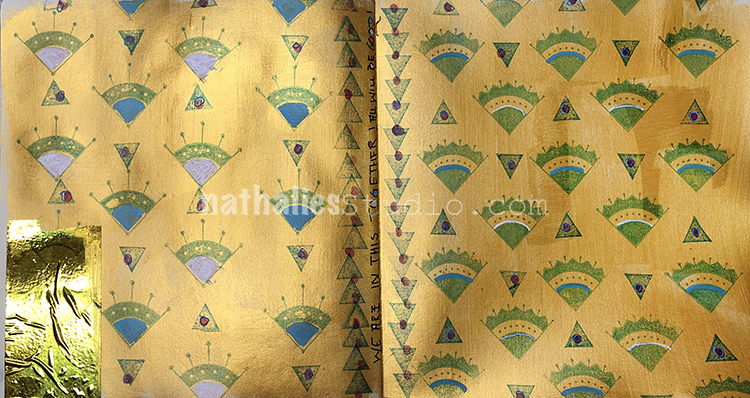
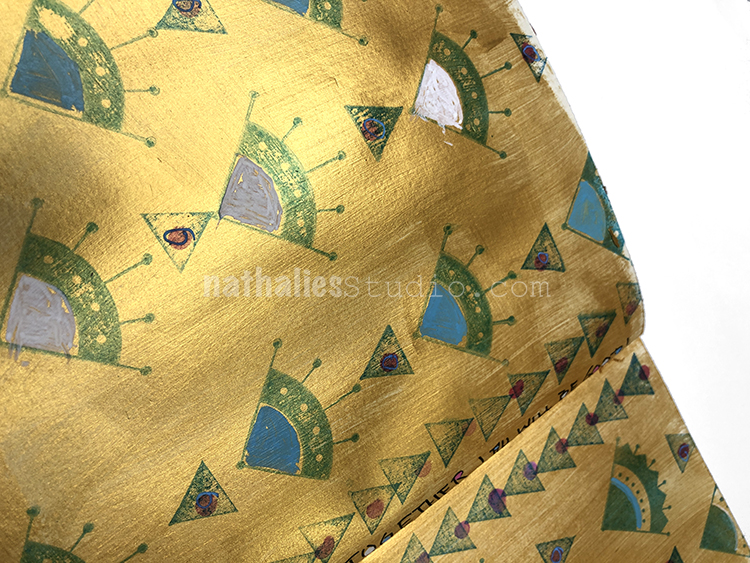
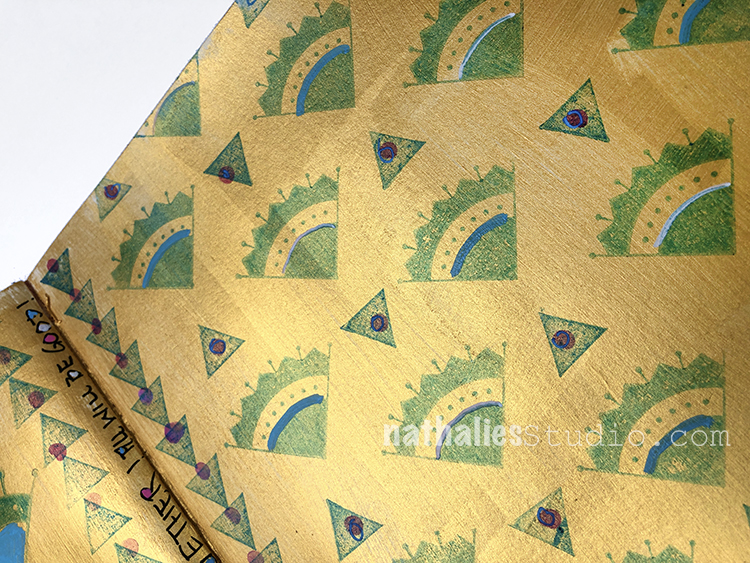
“We are in this together! All will be good!” Hope this page finds you well and coping with everything ok.

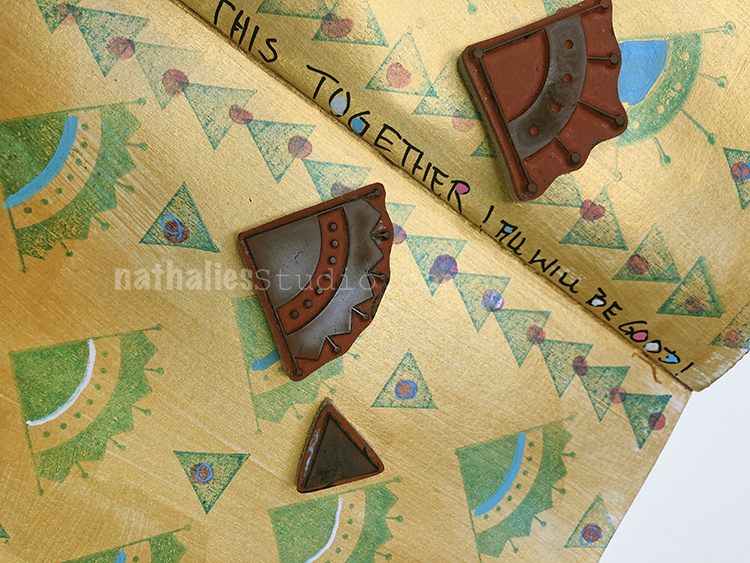
For my background I used Daniel Smith’s gold gesso and then stamped over that with my new Mini Motifs set and my Solid Triangle Small.

Then I added a bit of color with some fine point Posca markers and used a pencil eraser for the dots with an ink pad.

I think I might also be channeling a little bit of Klimt here too. Speaking of- you can still sign up for my Artful Adventures with Gustav Klimt Workshop here – check it out – it is super fun! 

Here are some of the supplies I used:

Leave a comment